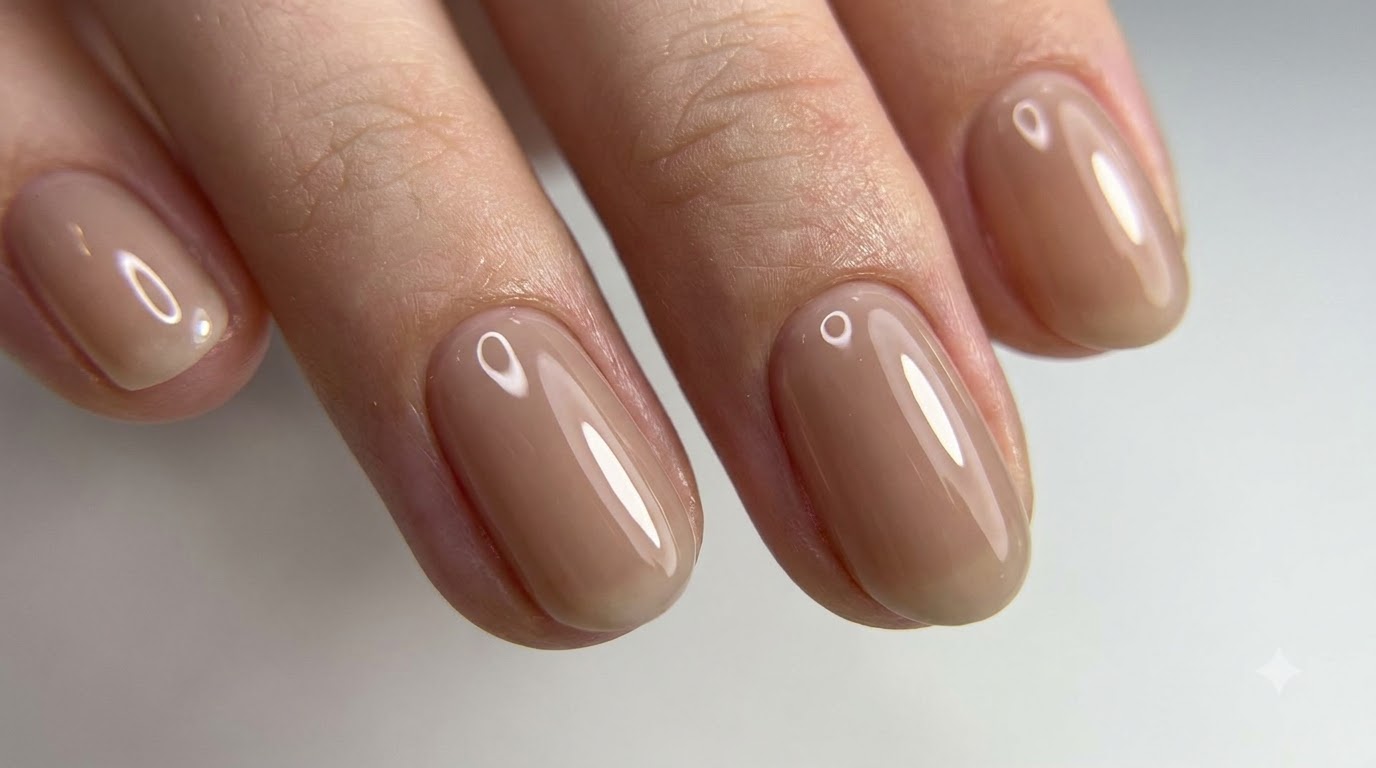
Two-Color Nude
Milky White Gradient Gel Nails — Step-by-Step Tutorial
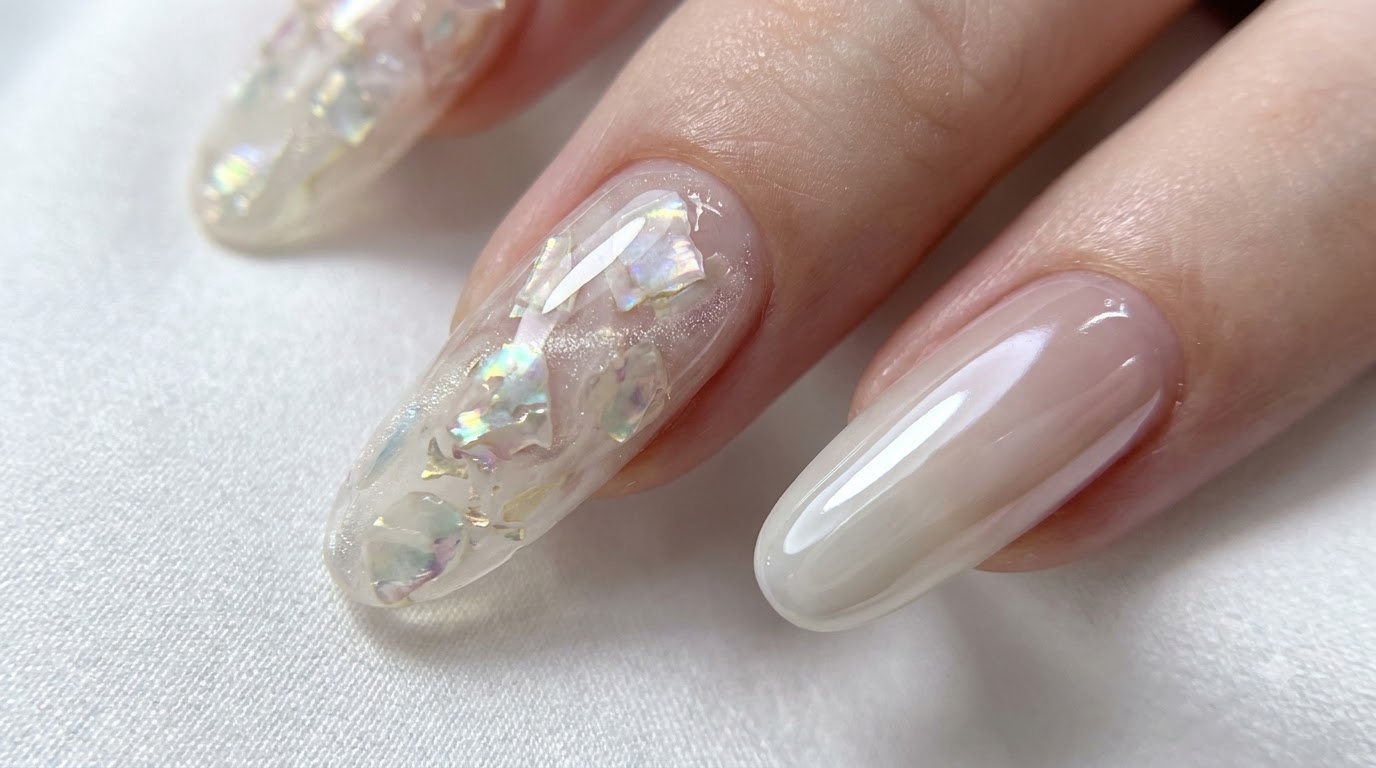
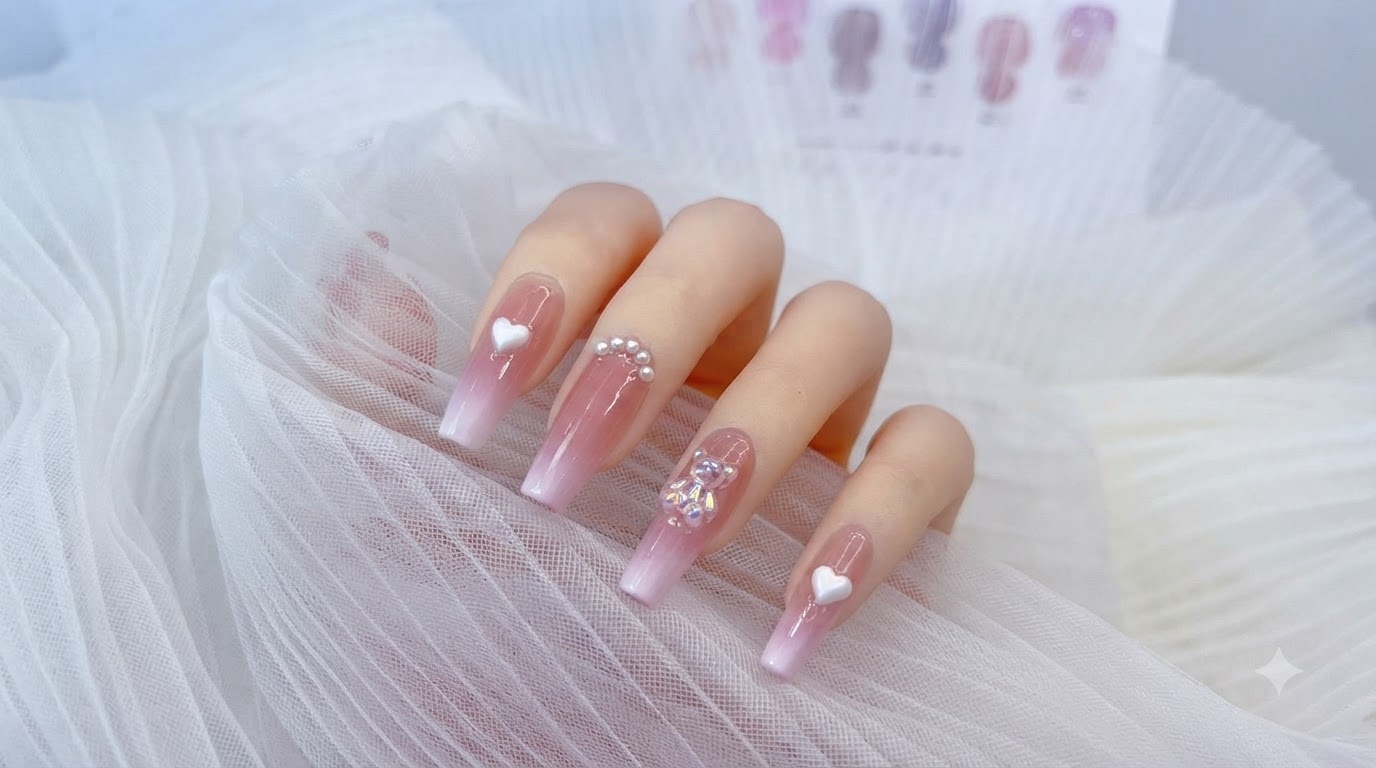
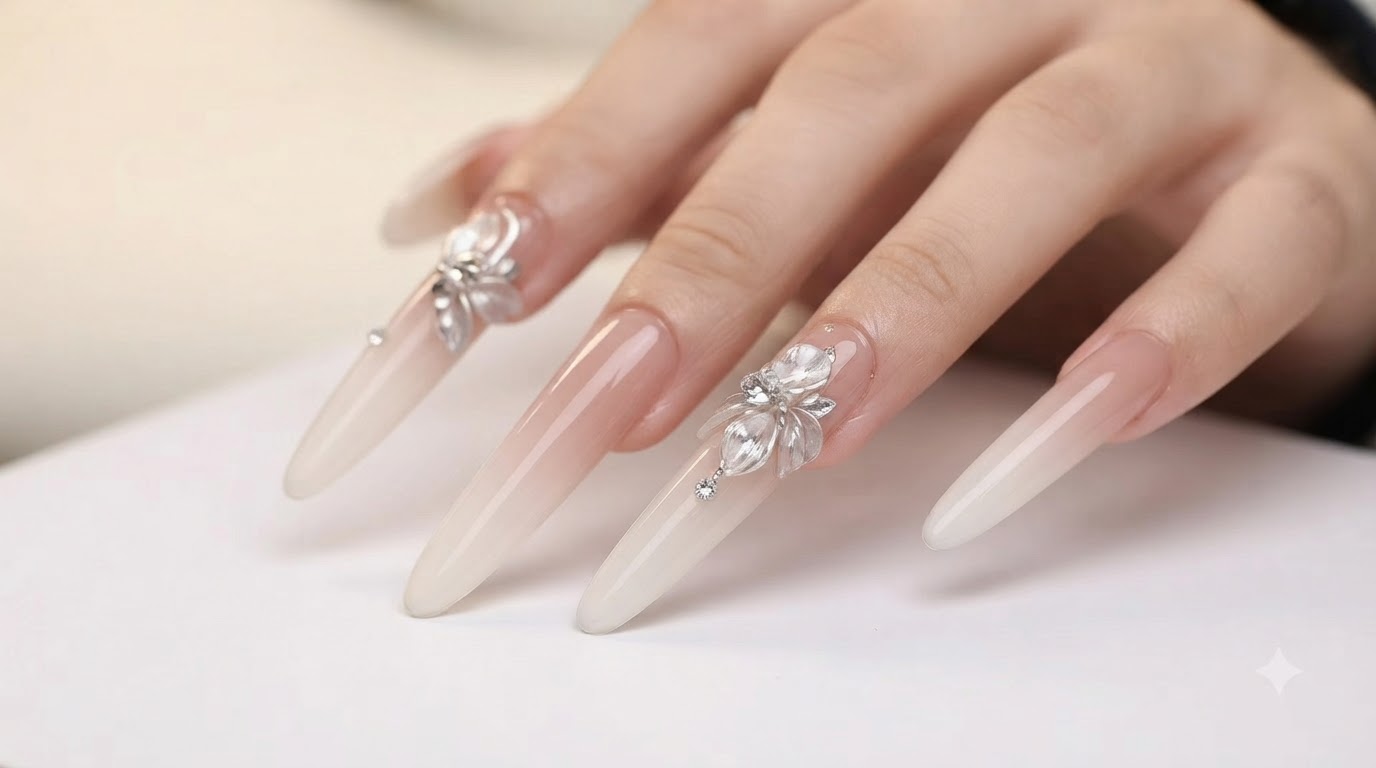
Create a stunning and universally flattering two-color nude and milky white gradient gel nail look with gorgeous 3D butterfly charms.
The two-color gradient technique creates a soft, seamless transition that looks effortlessly luxurious. By blending a semi-transparent concealer nude with a milky white tip, this look delivers a timeless aesthetic that complements any outfit or occasion.
Steps
- 1Apply concealer nude gel near the cuticle
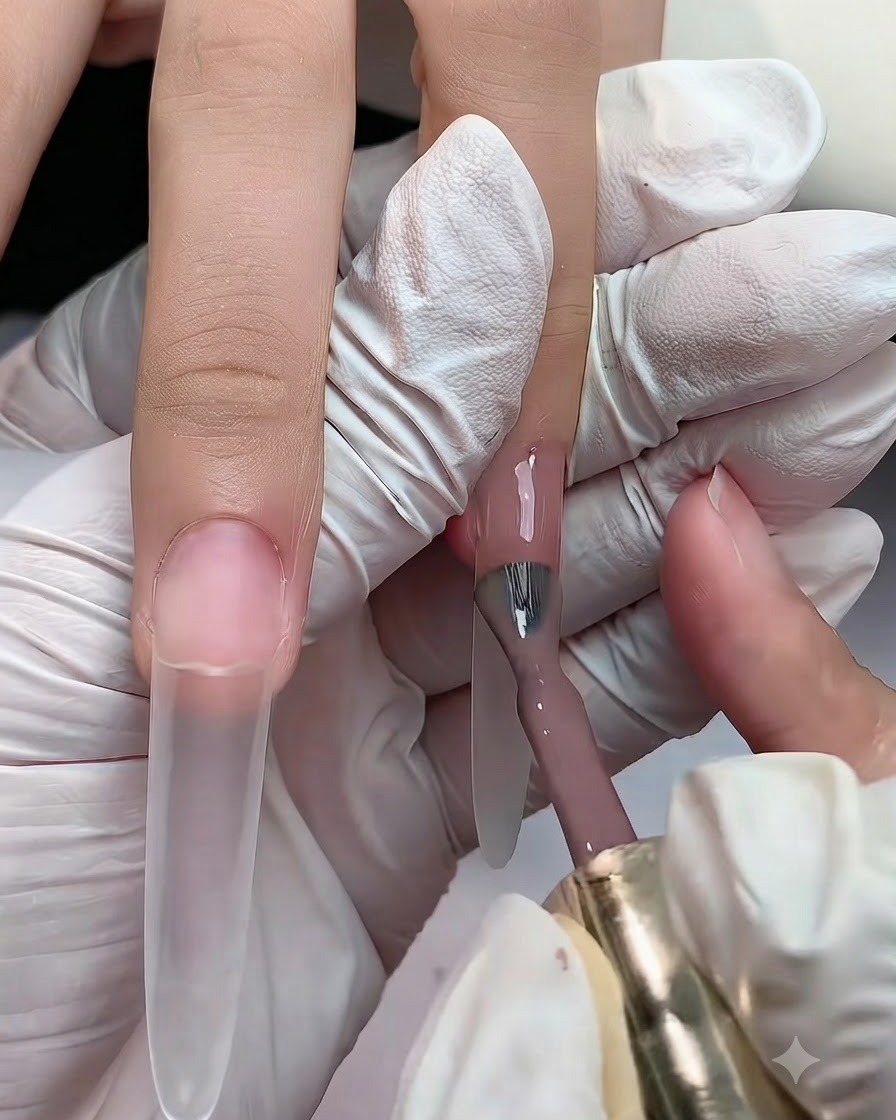
Take the semi-transparent concealer nude gel in shade number two and apply a layer to the top half of the long extension nail near the cuticle area using the bottle brush. Do not cure this layer under the lamp yet, as you will need the surface to remain wet for blending.
Tip: Keep the application smooth and concentrated near the upper half to leave enough room for the gradient transition. - 2Blend the lower edge of the nude gel
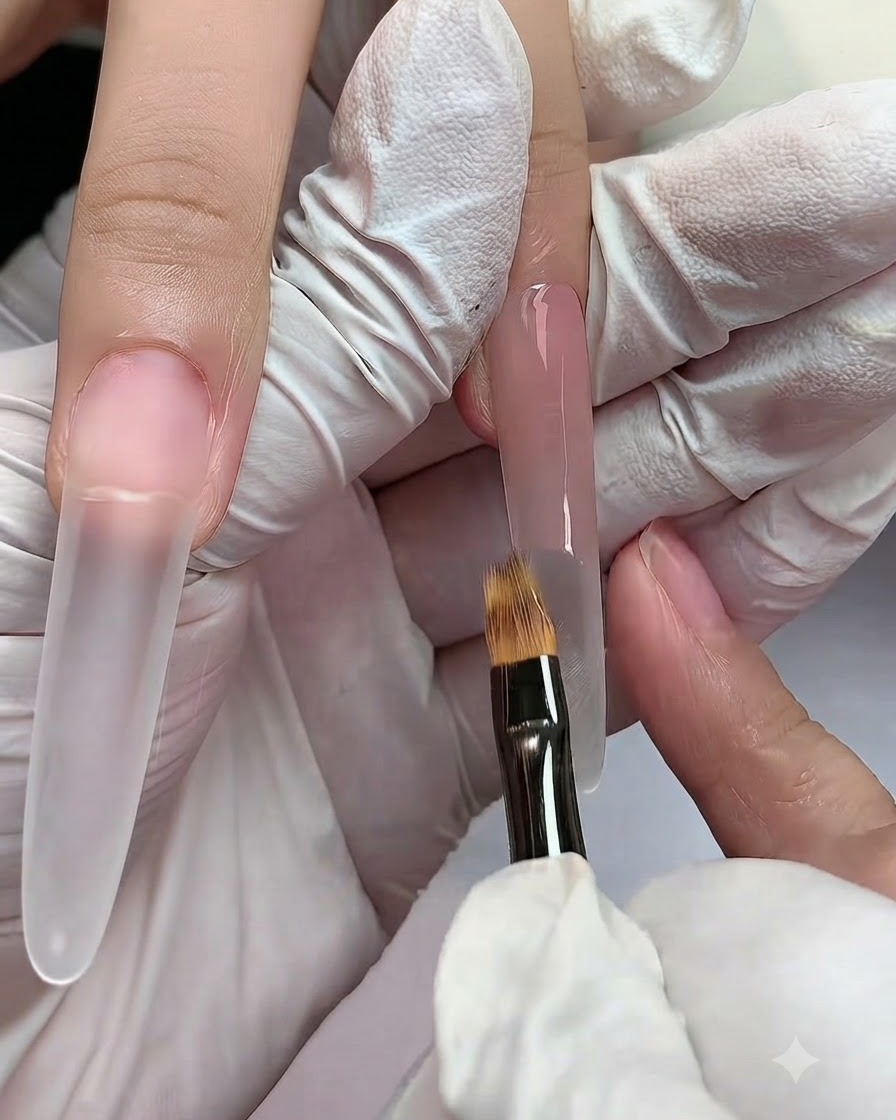
Take a clean, flat gradient brush and use light sweeping motions to feather and blur the lower wet edge of the concealer nude gel downwards toward the middle of the nail. This initiates the ombre gradient effect by softening the harsh line between the natural nail bed and the color.
Tip: Use a very light touch with the flat brush to avoid wiping away too much product. - 3Apply milky white gel to the lower half
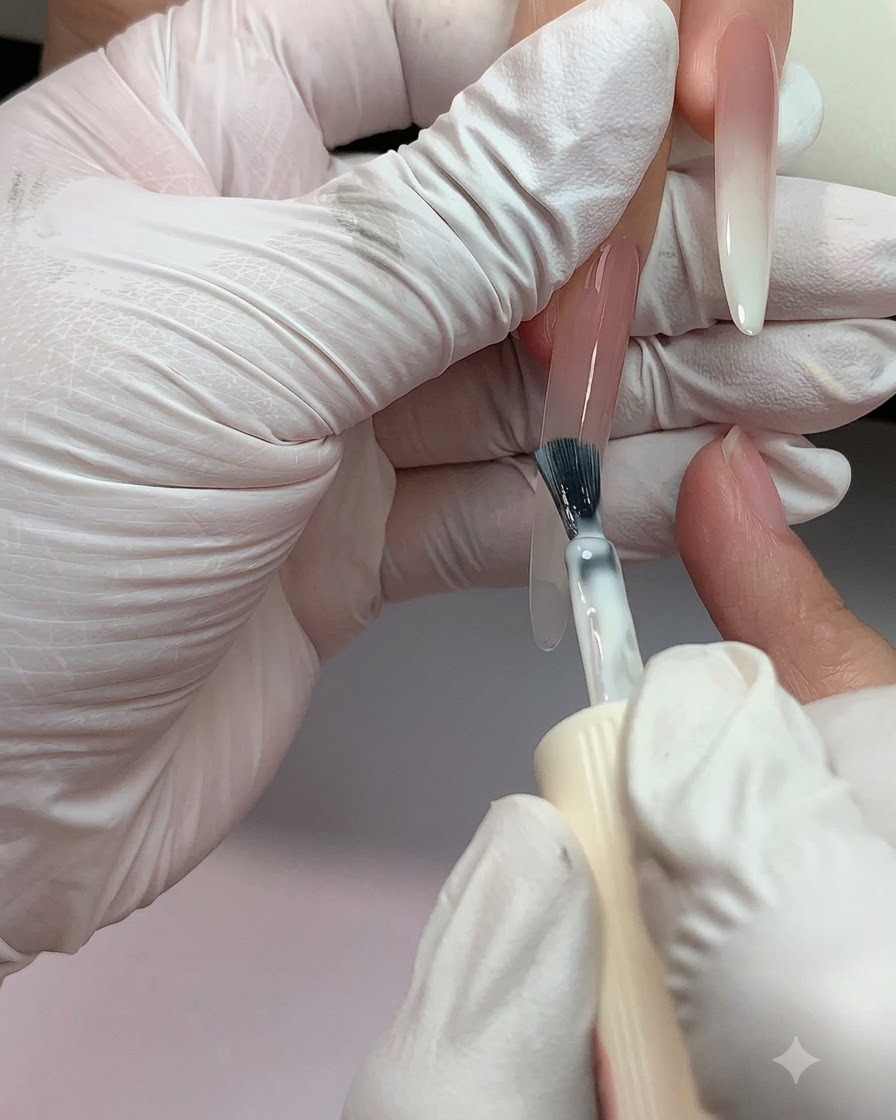
Apply a semi-transparent milky white gel to the bottom half of the nail, starting from the free edge tip and brushing upwards toward the middle to meet the nude section. Leave the gel uncured so it can be blended seamlessly with the layer above.
Tip: Ensure even coverage across the tip to maintain a bright, clean white appearance. - 4Blend white and nude gels together
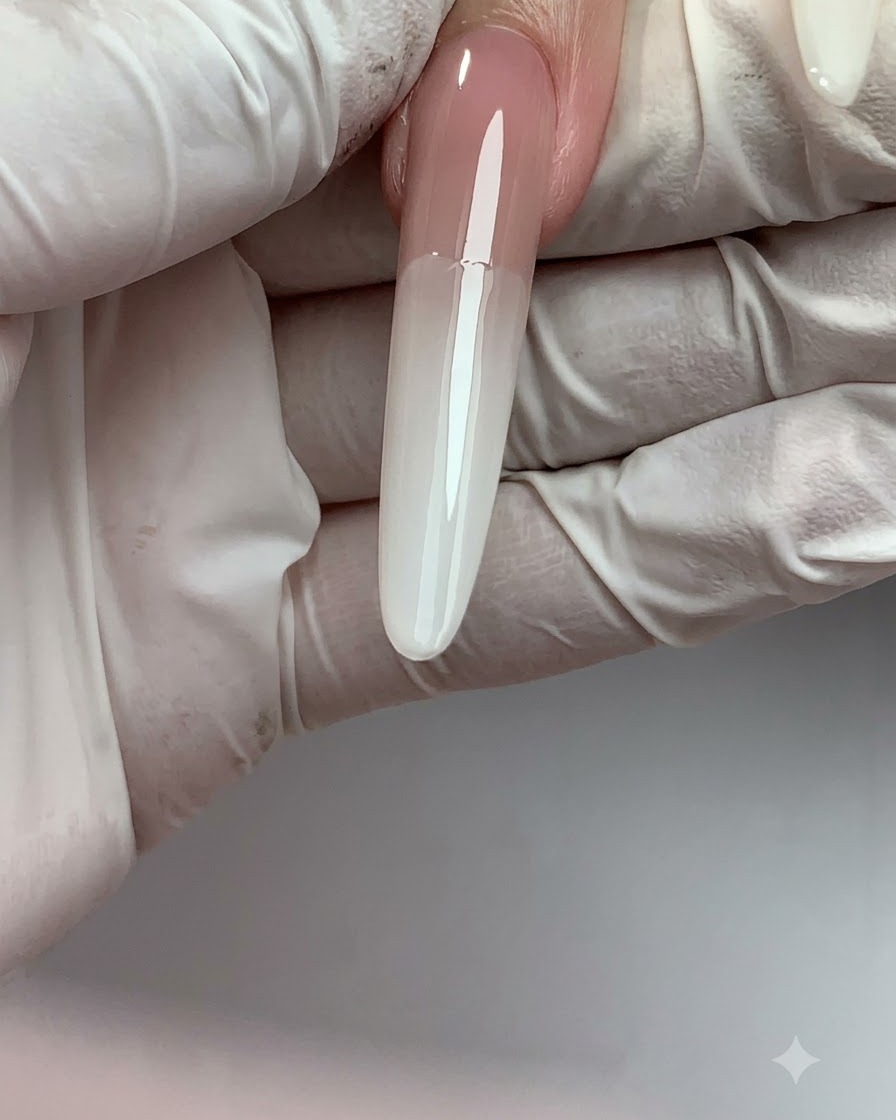
Using the flat gradient brush, sweep the milky white gel upwards to merge it seamlessly with the wet concealer nude gel, creating a smooth ombre transition. Once the gradient looks flawless, place the nail under the UV or LED lamp to fully cure the layer.
Tip: Check the transition under good lighting before curing to ensure there are no abrupt lines between the two colors. - 5Inspect the cured first-pass gradient
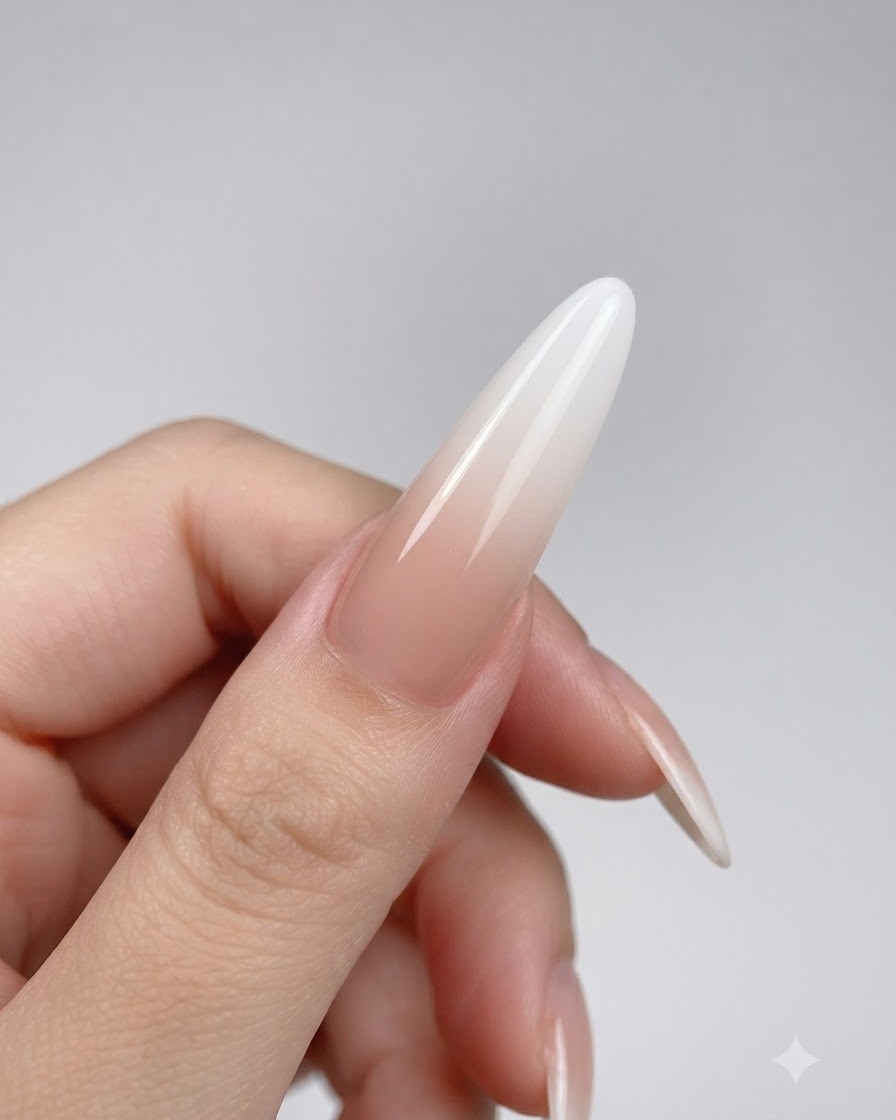
Inspect the first-pass gradient result on the long nail after it has completed its cure under the lamp. The ombre effect at this stage is already clean and stunning, setting a solid foundation for intensification in the next steps.
Tip: Always verify that the gel is completely cured and dry before moving on to additional color layers. - 6Apply second nude gel layer
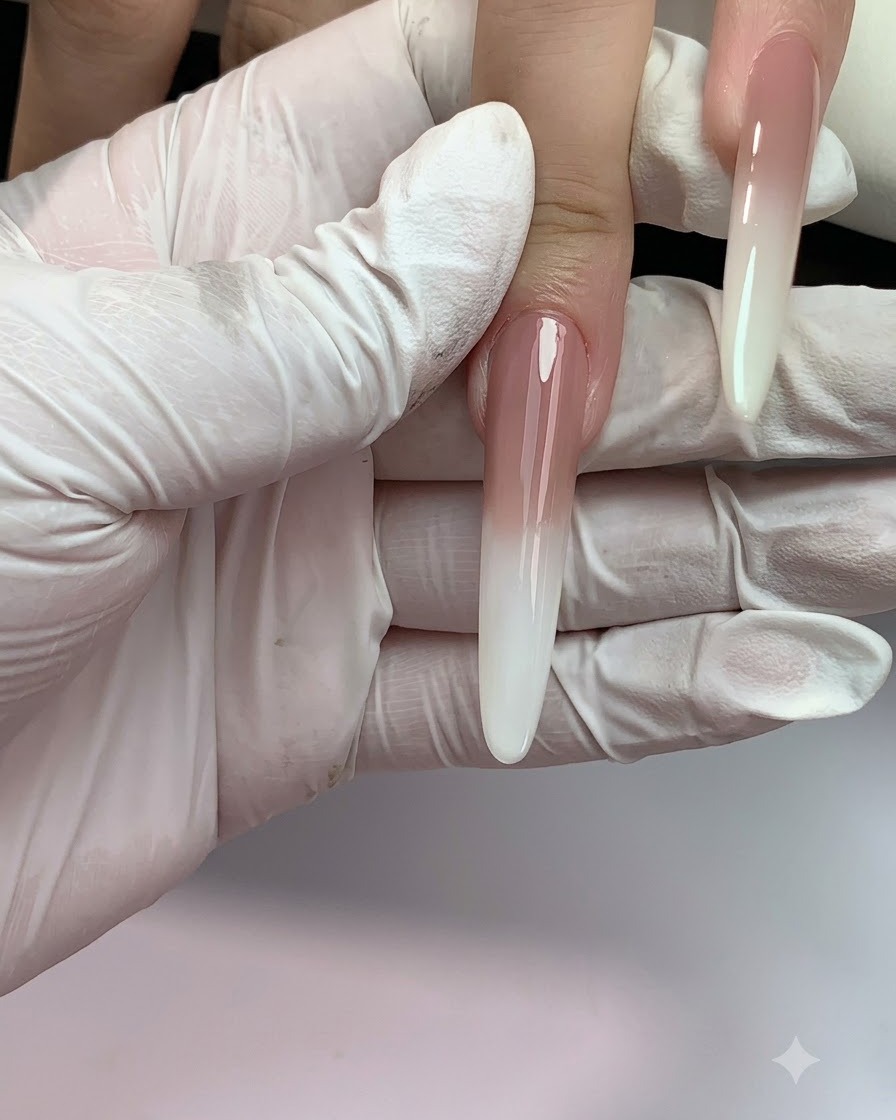
Apply a second layer of the semi-transparent nude gel to the upper half of the nail near the cuticle area to build depth and opacity, enhancing the gradient transition without curing yet.
Tip: Building layers gradually ensures a smooth transition and prevents the gel from becoming too thick at the cuticle. - 7Blend second nude layer
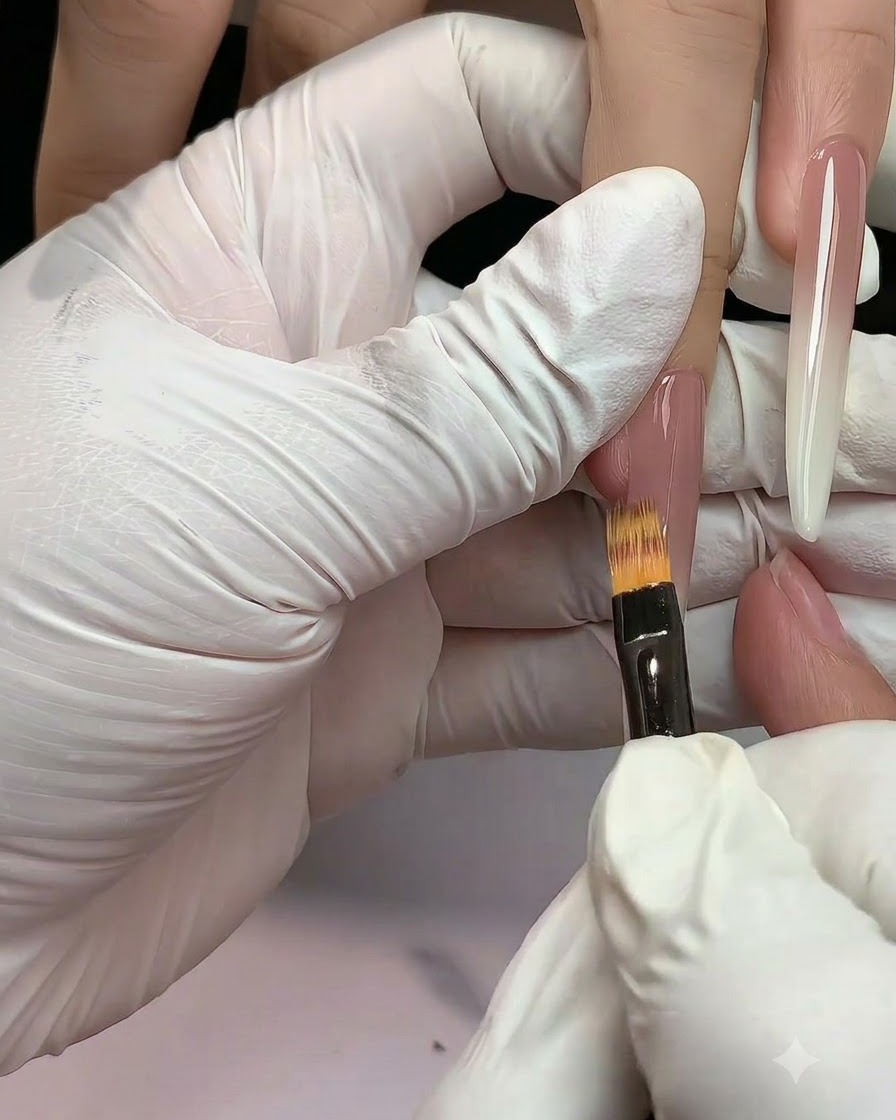
Use the flat gradient brush again to softly blend the second layer of nude gel downwards into the center of the nail to maintain a seamless ombre effect before curing.
Tip: Keep the brush strokes light and flat against the nail surface to avoid creating harsh lines. - 8Apply glossy top coat
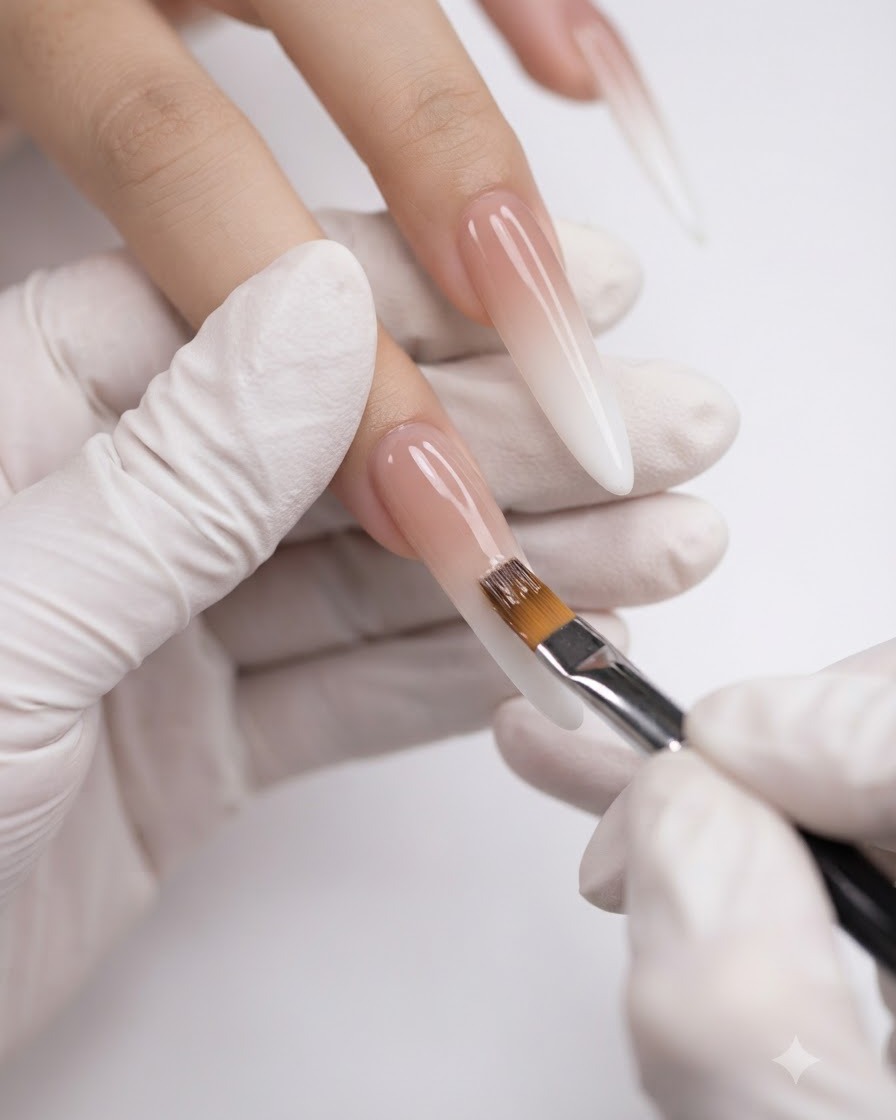
Apply a glossy clear top coat over the entire nail from the cuticle down to the tip to seal and protect the gradient design, then cure thoroughly under the lamp.
Tip: Capping the free edge with top coat prevents chipping and prolongs the life of the manicure.