Acetate Shell
Cat-Eye Gel Nails — Step-by-Step Tutorial
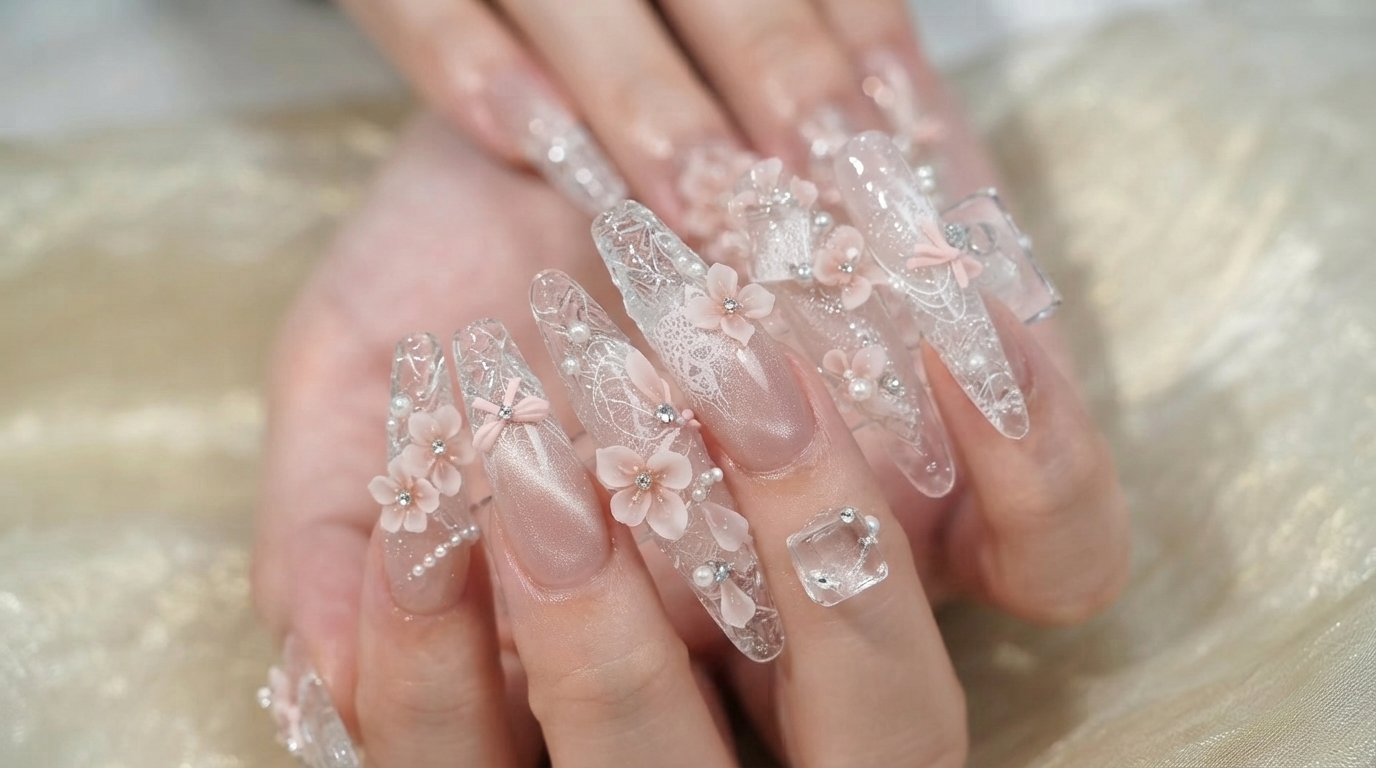
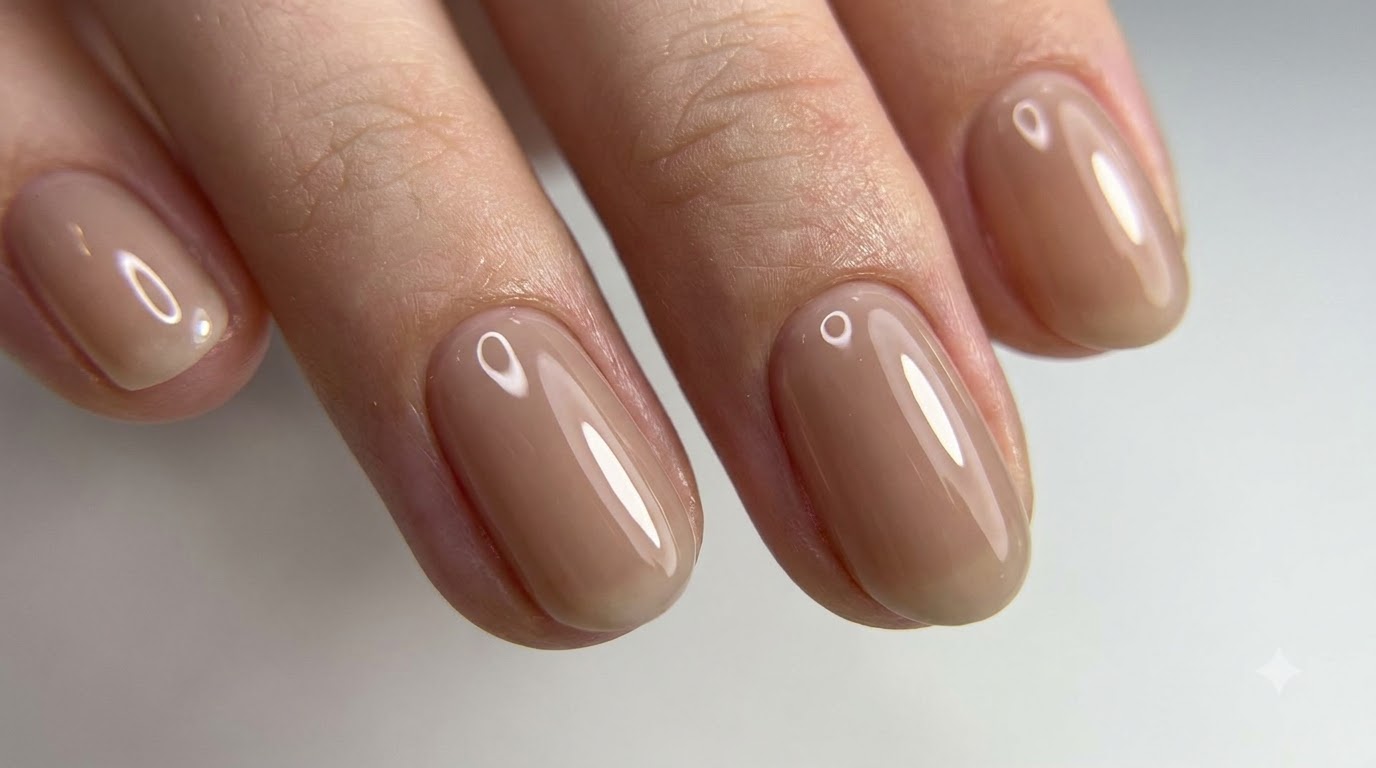
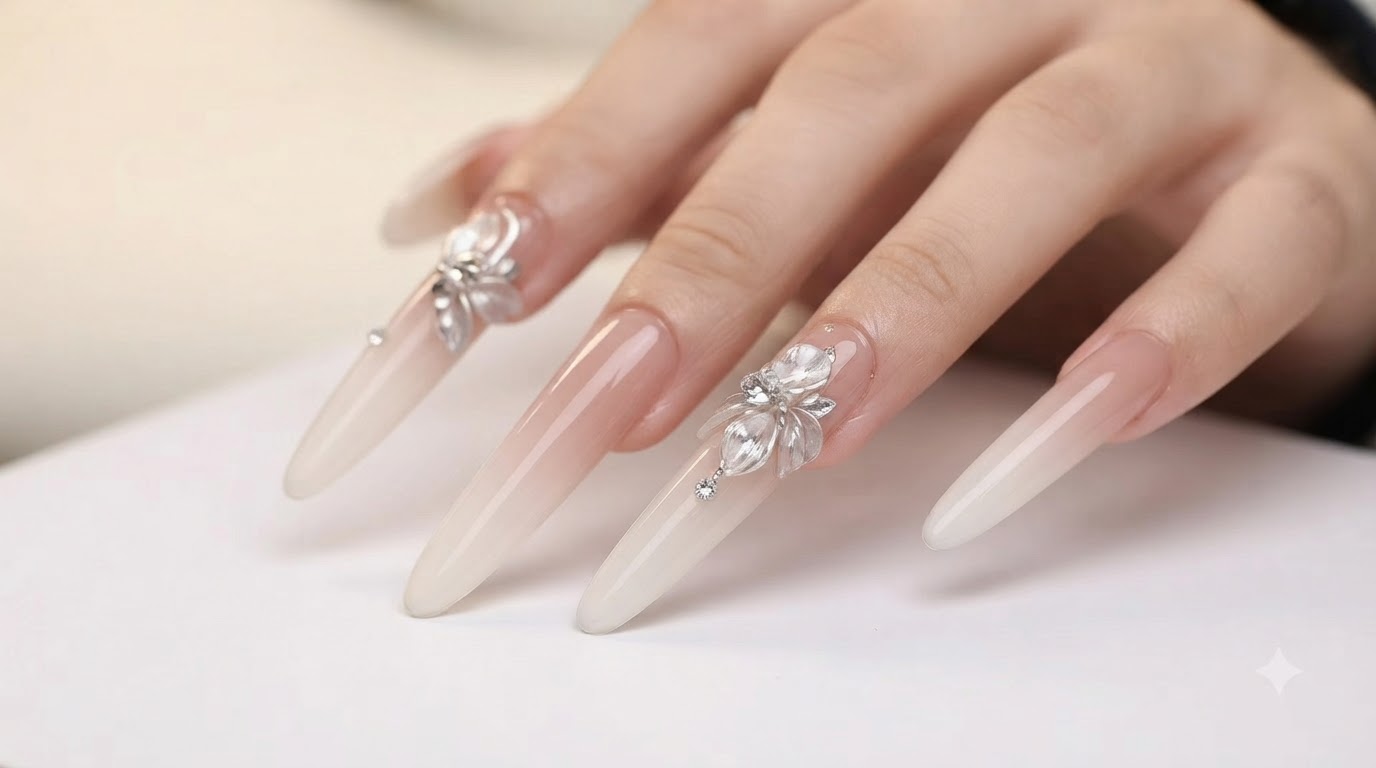
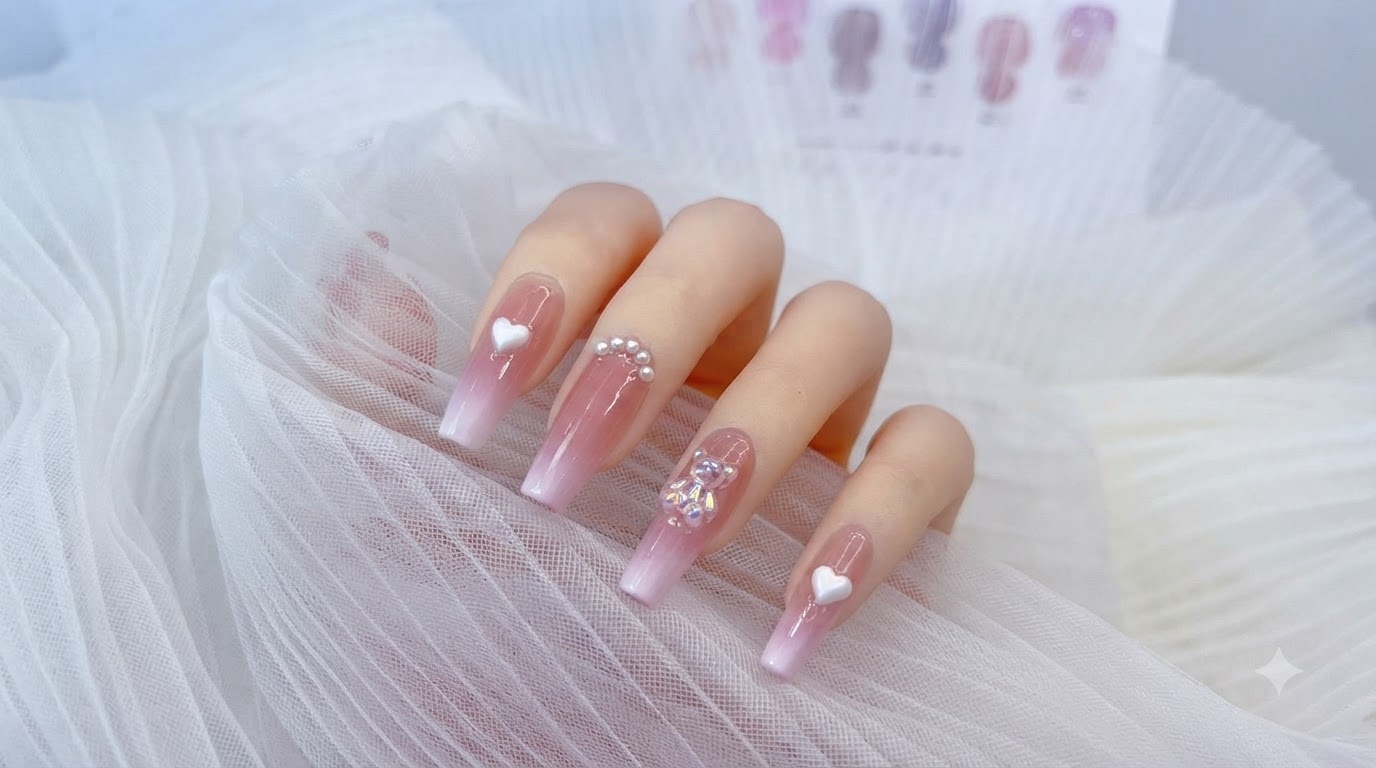
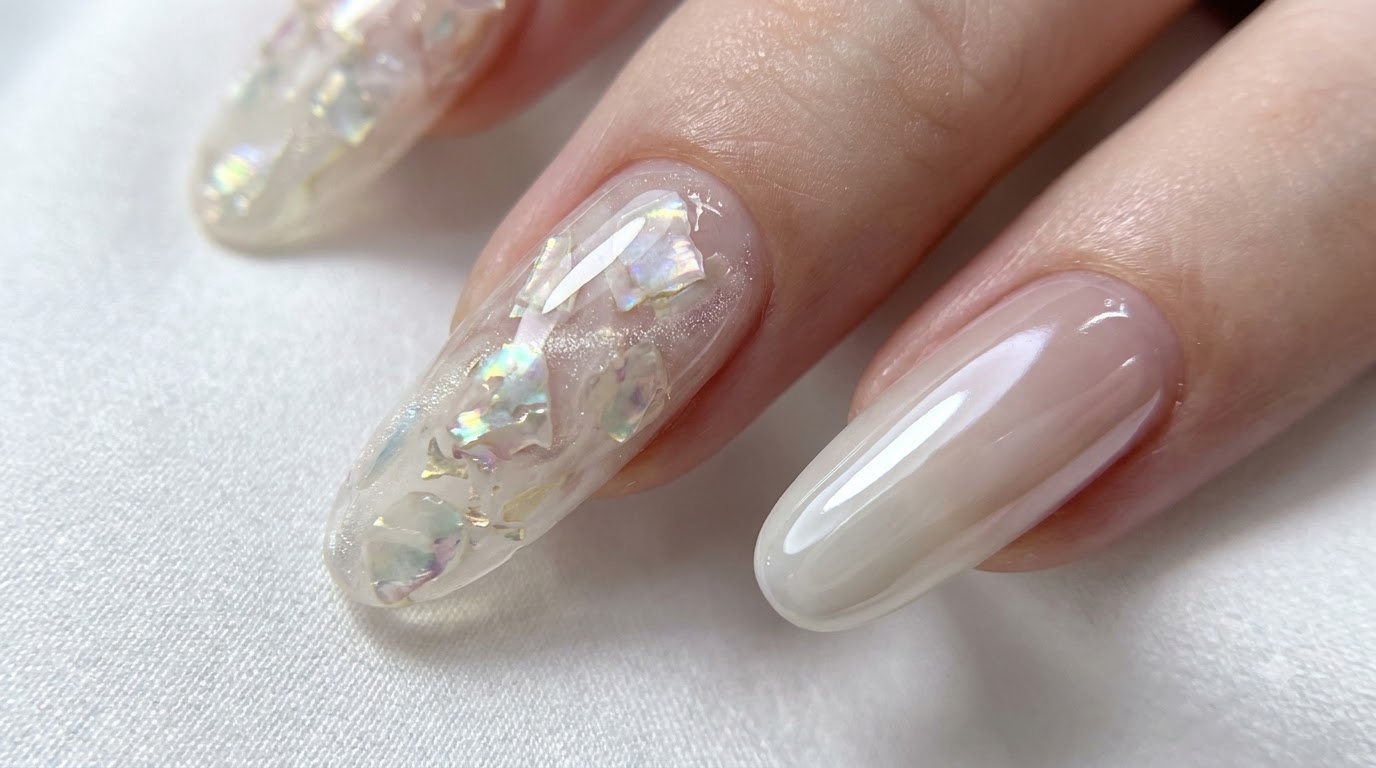
Create a stunning dimensional manicure featuring reflective acetate texture gel, encapsulated shell fragments, and a Hailey-style chrome gradient.
Acetate and shell nail art combine a gorgeous mosaic look with high-fashion textures that catch the light from every angle. This tutorial guides you through layering high-gloss texture gel, iridescent shell pieces, cat-eye shimmer, and a complementary chrome gradient accent nail.
Steps
- 1Apply high-gloss texture gel
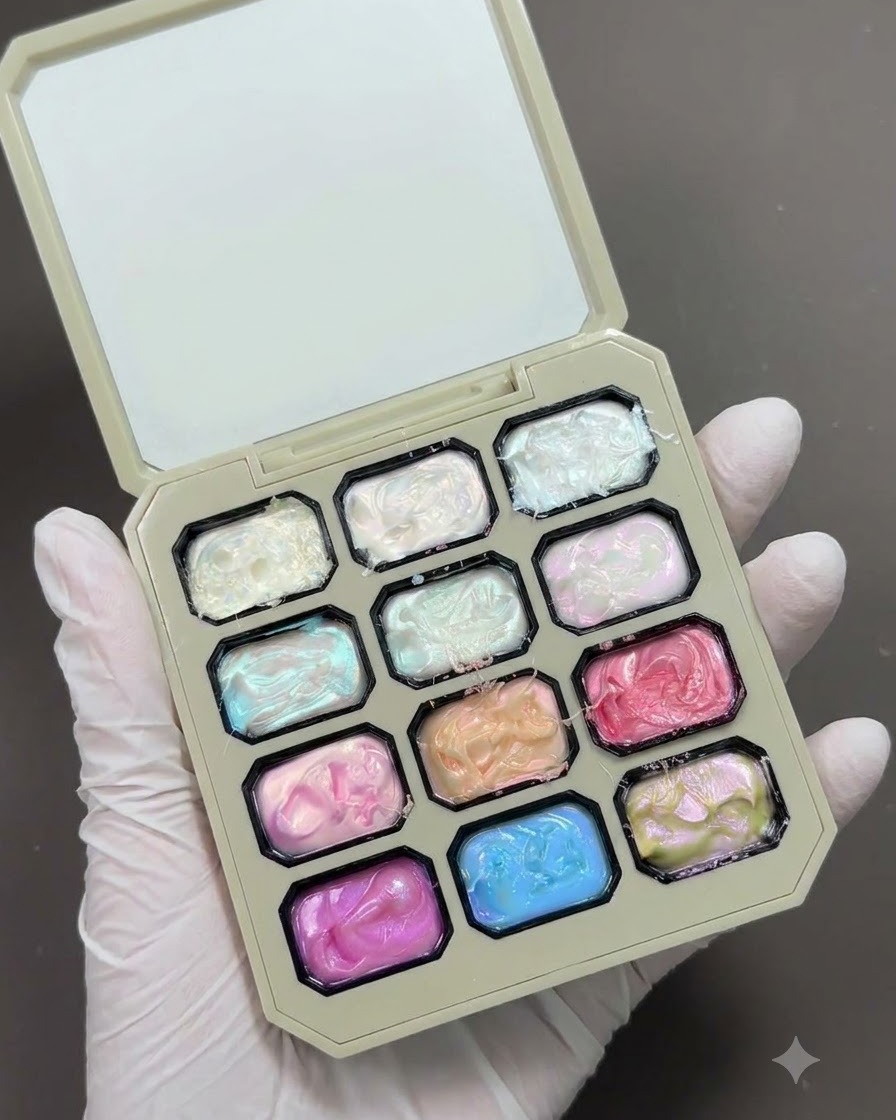
Apply high-gloss texture gel onto the nail tip using a brush, forming random patterns and leaving deliberate brush marks to create the acetate base. Cure under the UV or LED lamp.
Tip: Leave visible texture and brush marks to mimic the distinct look of genuine acetate patterns. - 2Cure Texture Gel
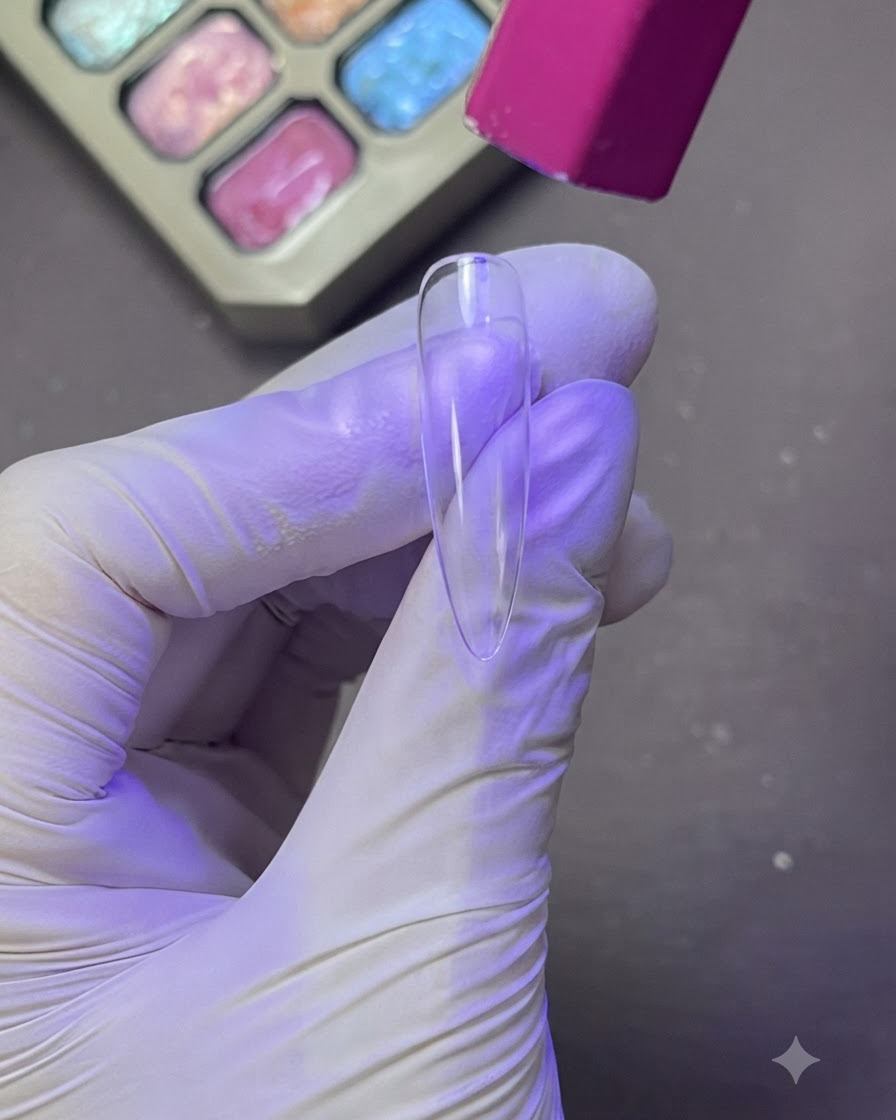
Place the nail under a UV or LED lamp to fully cure the high-gloss texture gel layer, setting the random pattern and preparing the surface for embellishments.
Tip: Ensure the gel is completely cured so the subsequent layers adhere properly without shifting. - 3Prepare decorative shell pieces
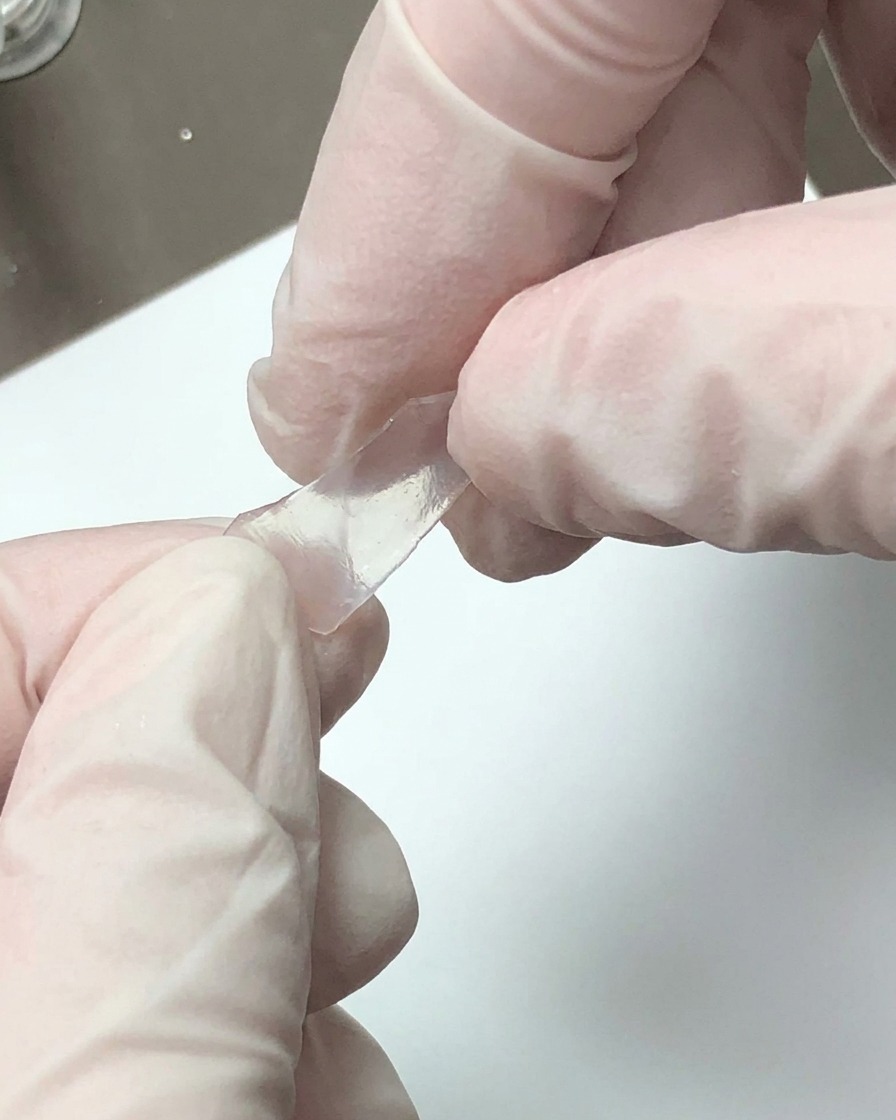
Take decorative shell pieces and break them down into smaller fragments by hand to prepare them for embedding into the nail design.
Tip: Breaking them into varying small sizes makes them easier to arrange naturally across the nail surface. - 4Embed Shell Pieces
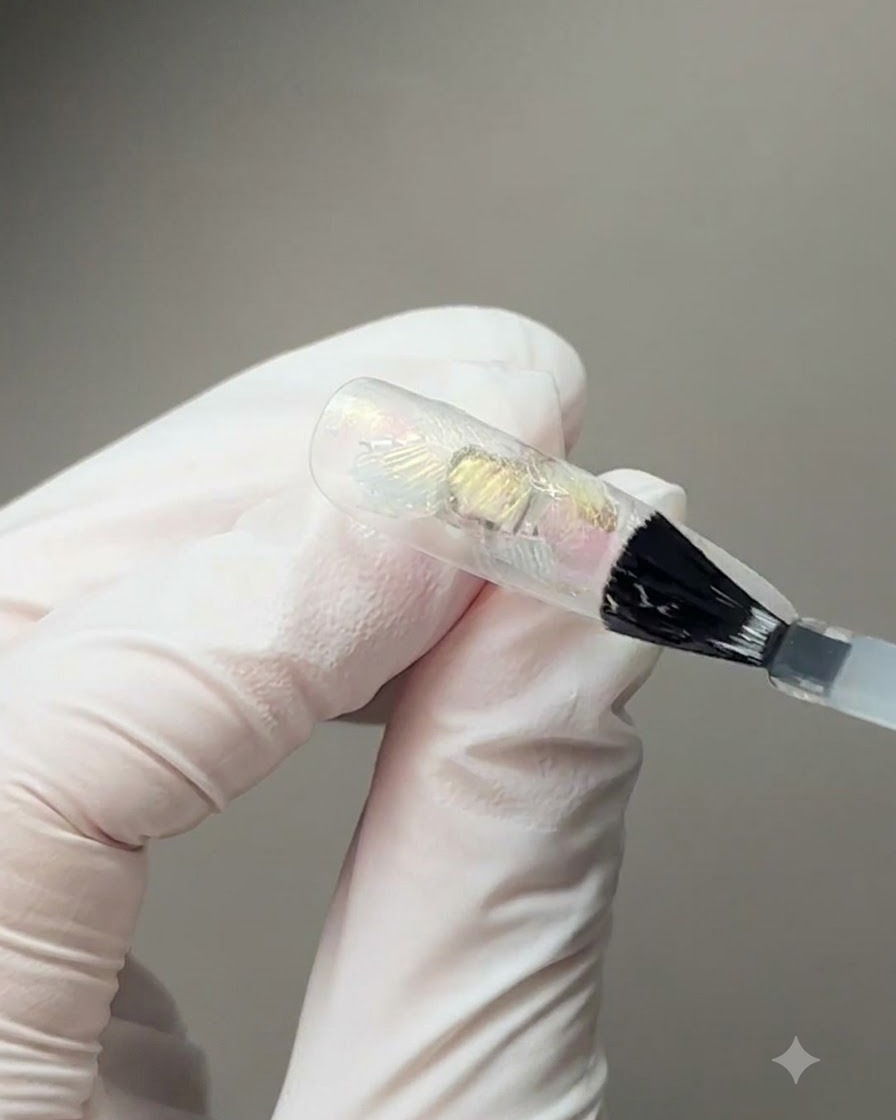
Brush a fresh layer of base gel onto the nail surface, then carefully pick up and stick three or four prepared shell fragments onto the gel. Arrange them artfully across the nail before curing.
Tip: Press the shell pieces gently into the wet base gel so they lie flat and do not stick up past the final top coat. - 5Embed shell pieces and fill gaps
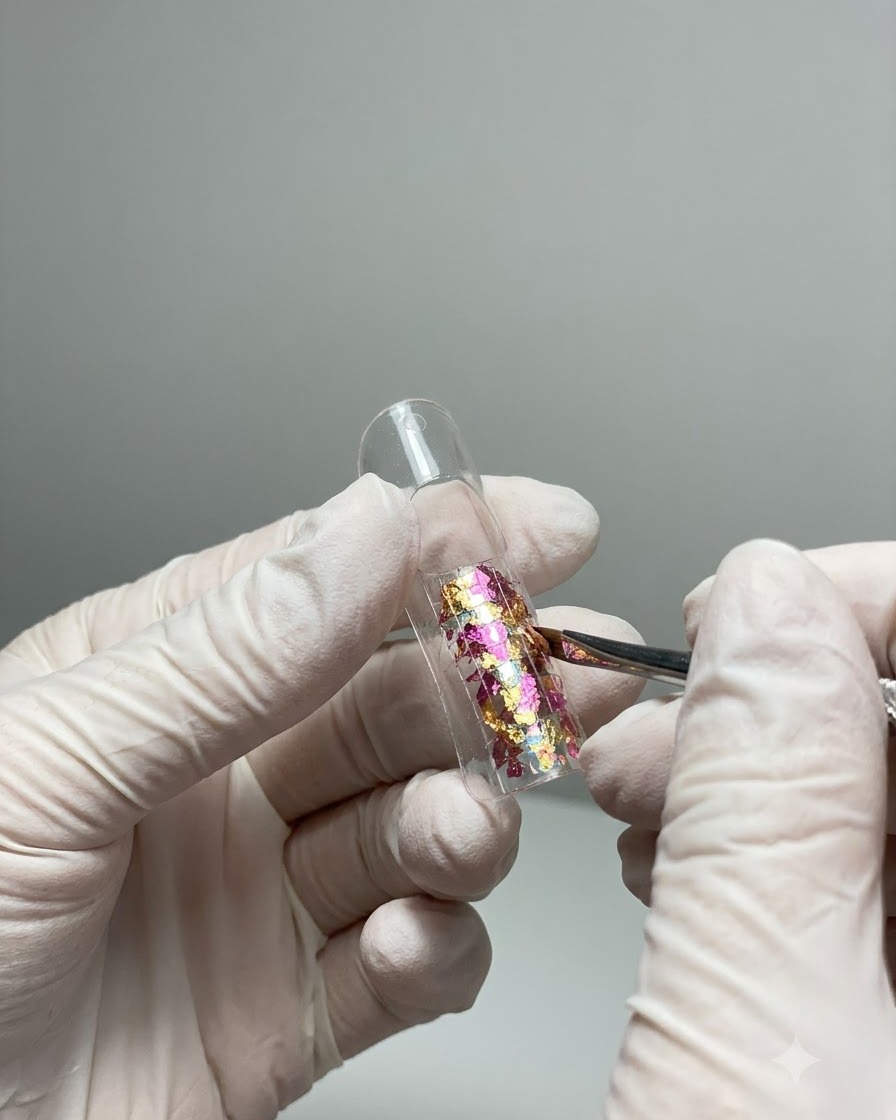
Brush base gel onto the nail and stick three to four prepared shell pieces in place. Then, use a brush to fill the gaps between the shell pieces with cat-eye color gel.
Tip: Combining texture gel, shell pieces, and cat-eye gel creates a highly reflective multidimensional layer. - 6Activate the cat-eye shimmer with a magnet
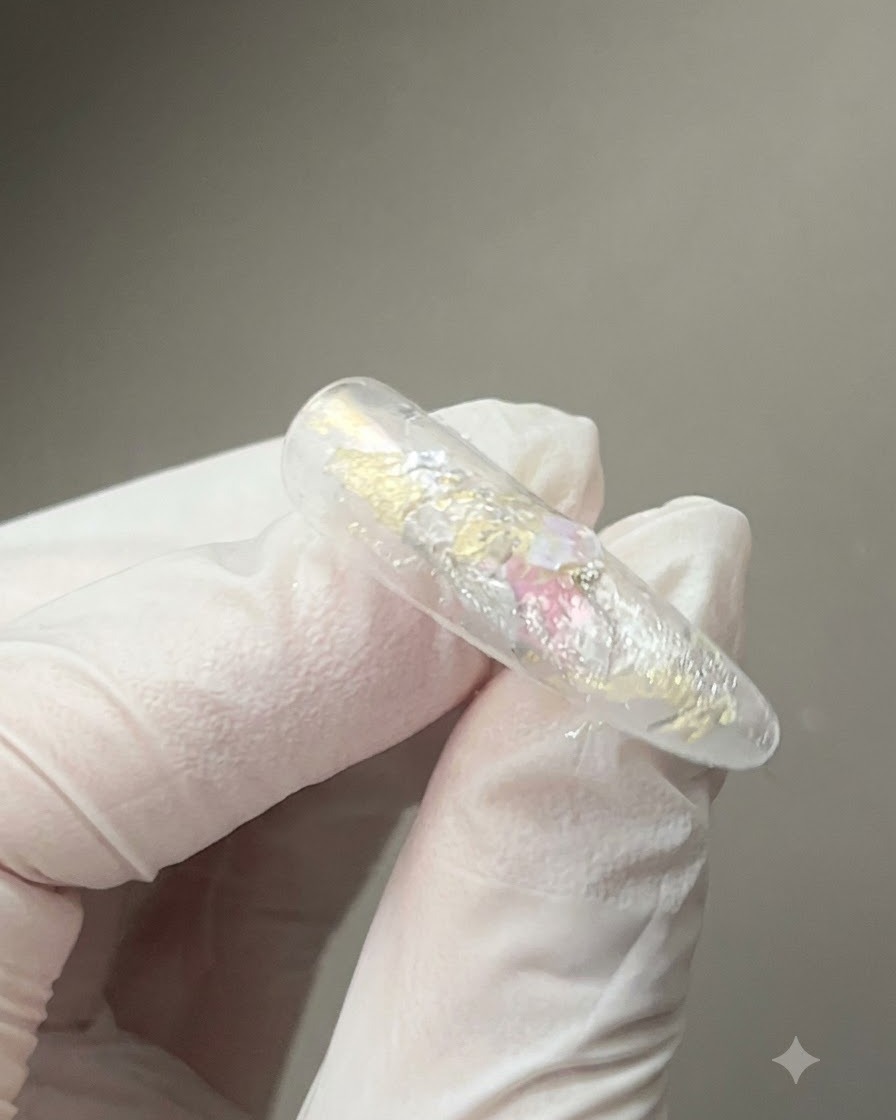
Hold a magnet tool close to the uncured cat-eye gel layer without touching it to push and shape the magnetic particles. This creates a dimensional, reflective shimmer effect in the gel. Once you achieve your desired look, immediately cure under the lamp to lock the shimmer in place.
Tip: Keep your hand steady while holding the magnet to prevent the shimmer particles from dispersing before curing. - 7Create opposite corner marble effect
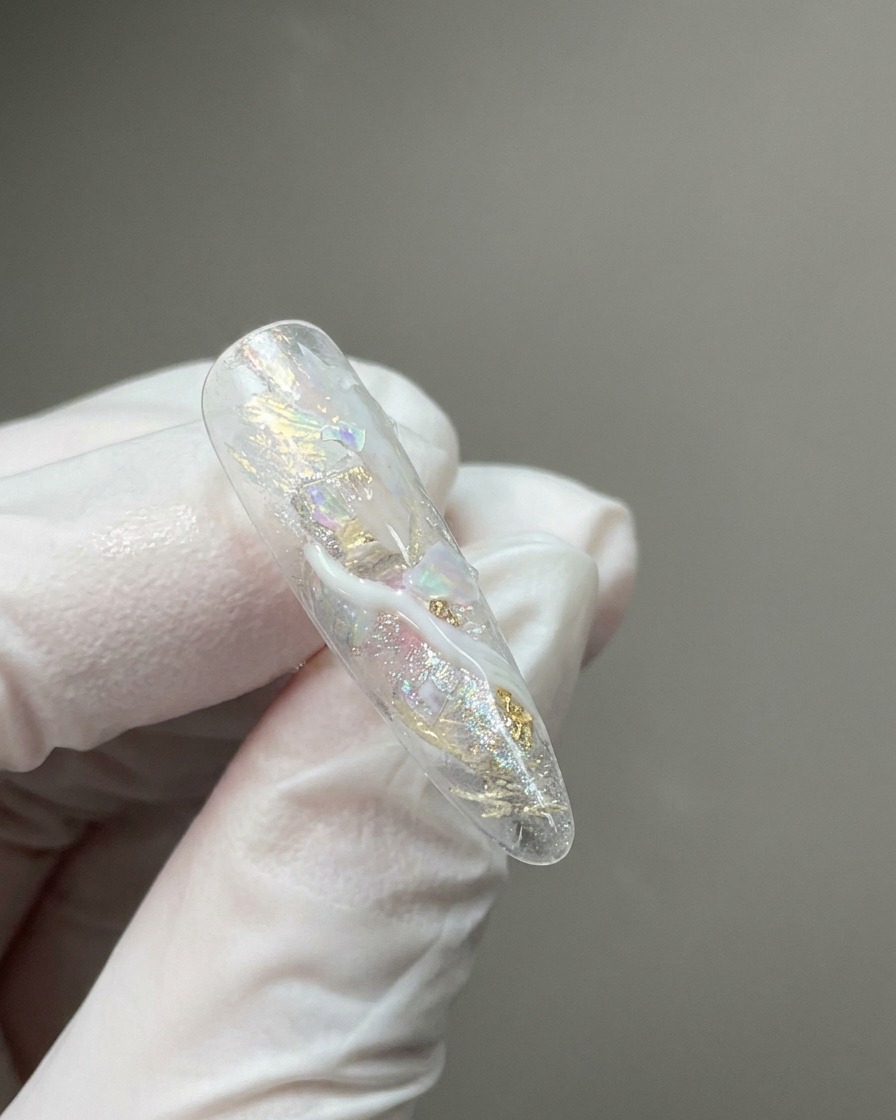
Use milky white gel to create a marble or gradient effect in the opposite corner of the nail. Allow the milky white to slightly overlap some of the shell pieces to achieve a hazy, dreamy aesthetic.
Tip: Softly blending the milky white over the edges of the shell fragments enhances the depth and hazy appearance. - 8Apply construction gel and seal
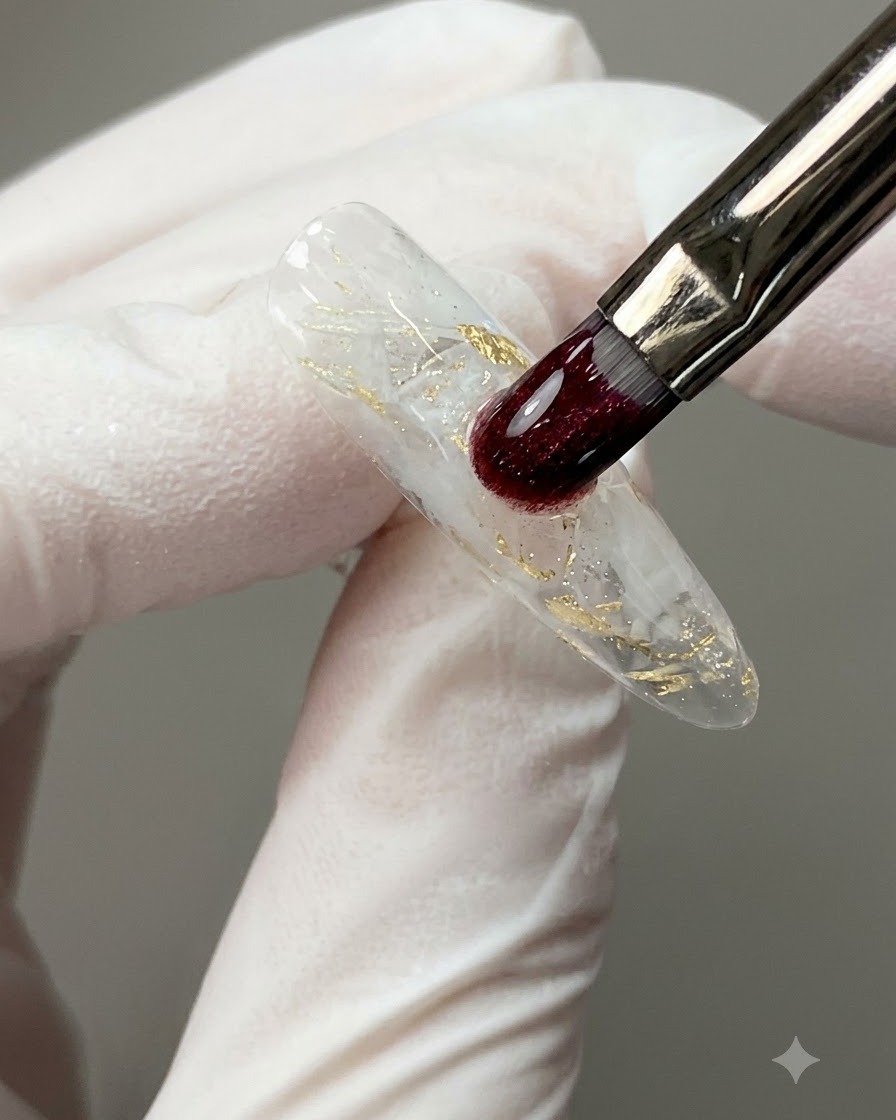
Take an ample amount of construction gel to thoroughly encapsulate all layers, build up the nail structure, and level the surface. Cure under the lamp, then finish by brushing on a top coat.
Tip: Using a slightly larger bead of construction gel ensures complete encapsulation of the embedded elements and creates a smooth apex. - 9Cure construction gel layer
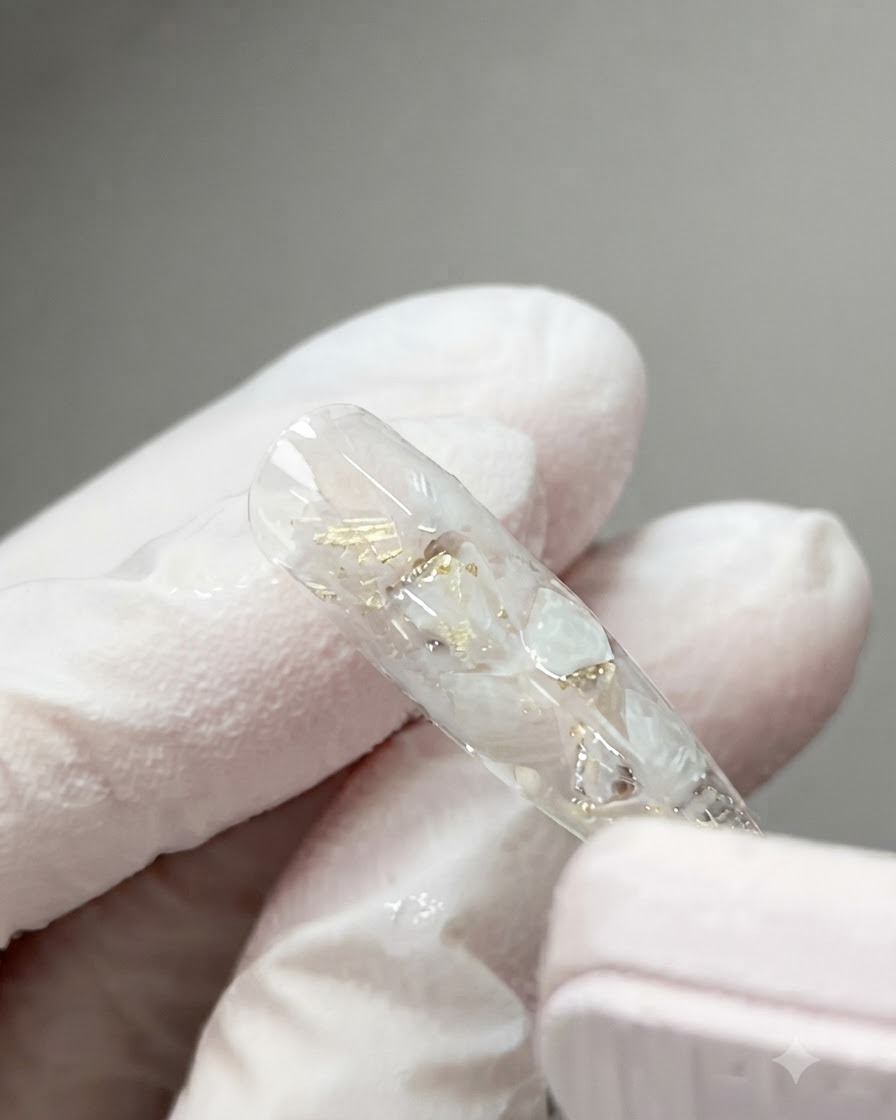
Place the nail under a UV or LED lamp to fully cure the protective construction gel layer. Ensure the hand is positioned correctly inside the light source so that the structure sets evenly across the entire surface and encapsulates all underlying shell fragments and gel details.
Tip: Do not remove the hand prematurely, as incomplete curing of thick builder gel can lead to wrinkling or lifting. - 10Apply final top coat
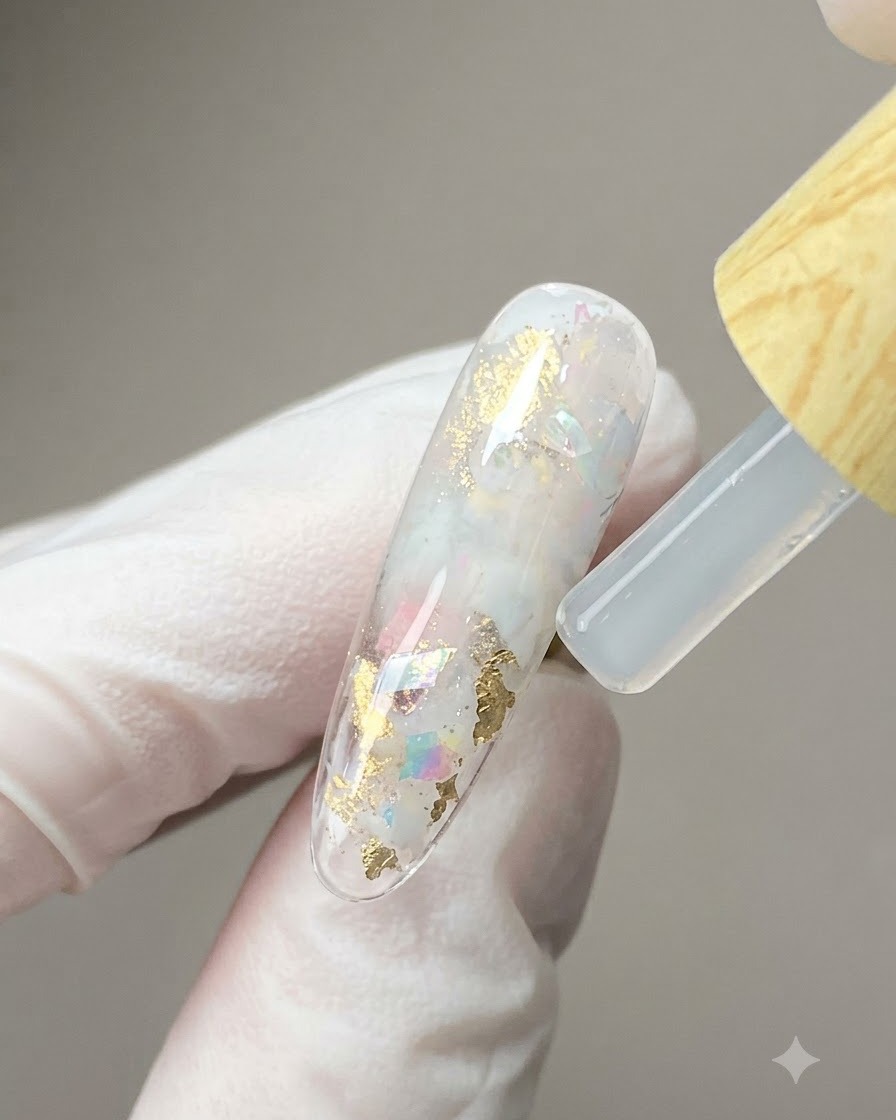
Brush a smooth, glossy top coat over the entire textured nail surface to seal the design and protect the embedded elements. Ensure full coverage across the edges and cap the tip to prevent premature chipping and give the nail a high-shine finish.
Tip: Apply an even layer without pooling to maintain the smooth structural leveling achieved by the construction gel. - 11Wipe sticky inhibition layer
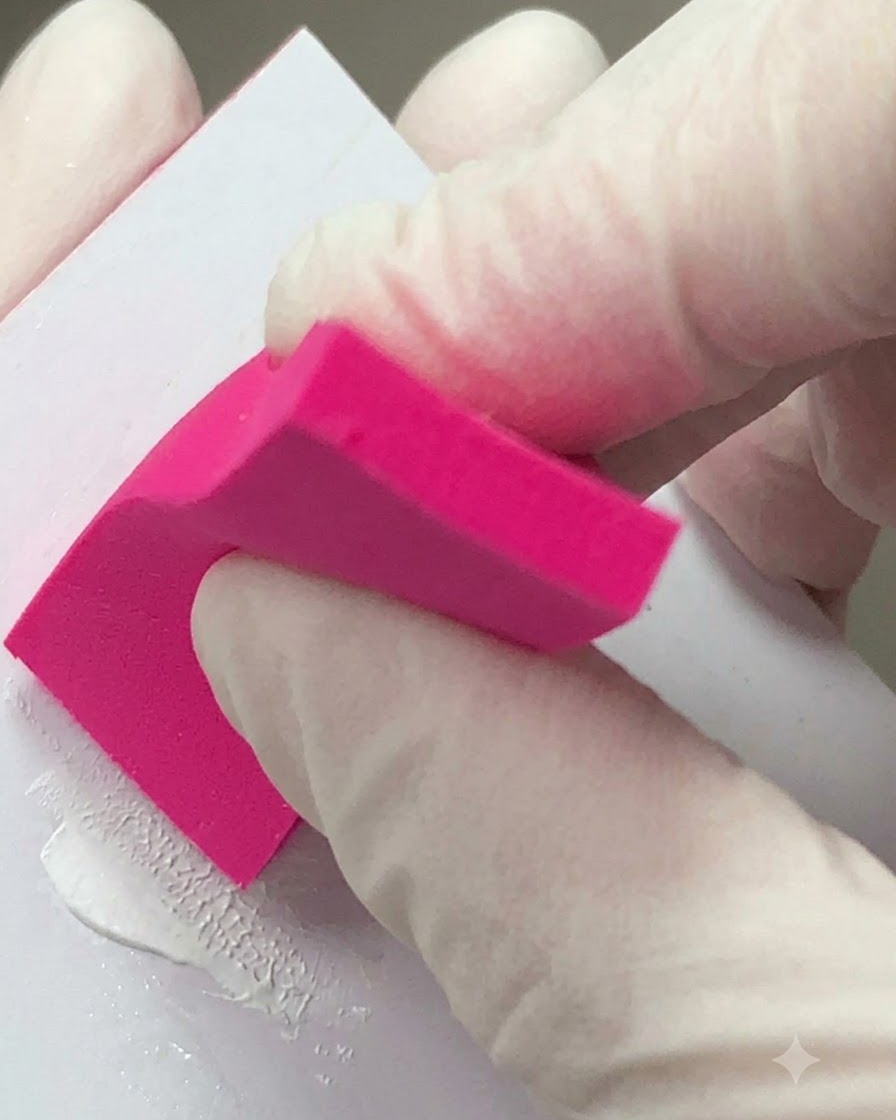
Take a lint-free cleansing wipe saturated with nail cleanser or alcohol and firmly wipe down the surface of the second nail. This removes any residual tacky inhibition layer left behind after curing, preparing a clean, smooth surface for subsequent layers or powder applications.
Tip: Use a fresh section of the wipe for each pass to avoid smudging residue back onto the clean nail surface. - 12Create milky white gradient
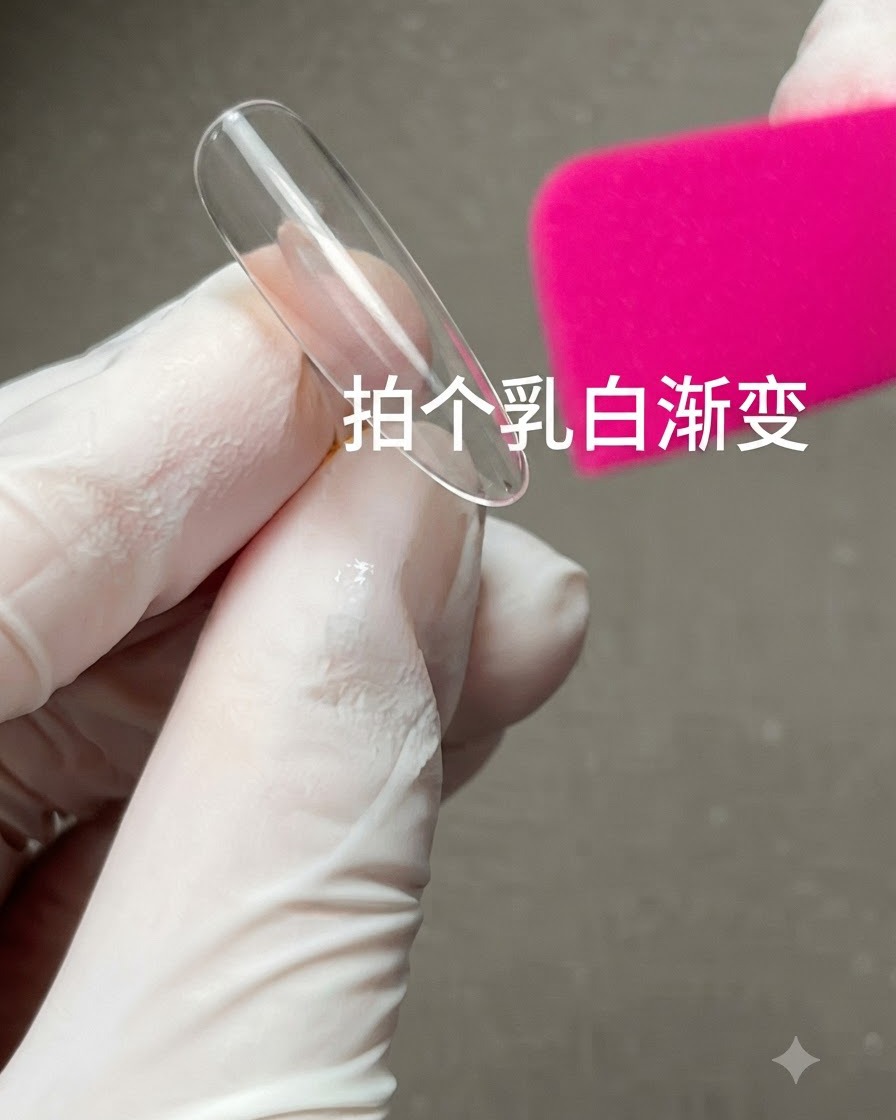
Apply a translucent milky white gel color onto the second nail to build a soft, hazy gradient effect. Tap or blend the product gently to achieve a smooth transition across the nail bed before curing under the lamp.
Tip: Dabbing the gel lightly with a sponge or brush can help soften harsh transition lines for a seamless gradient. - 13Apply no-wipe top coat for chrome
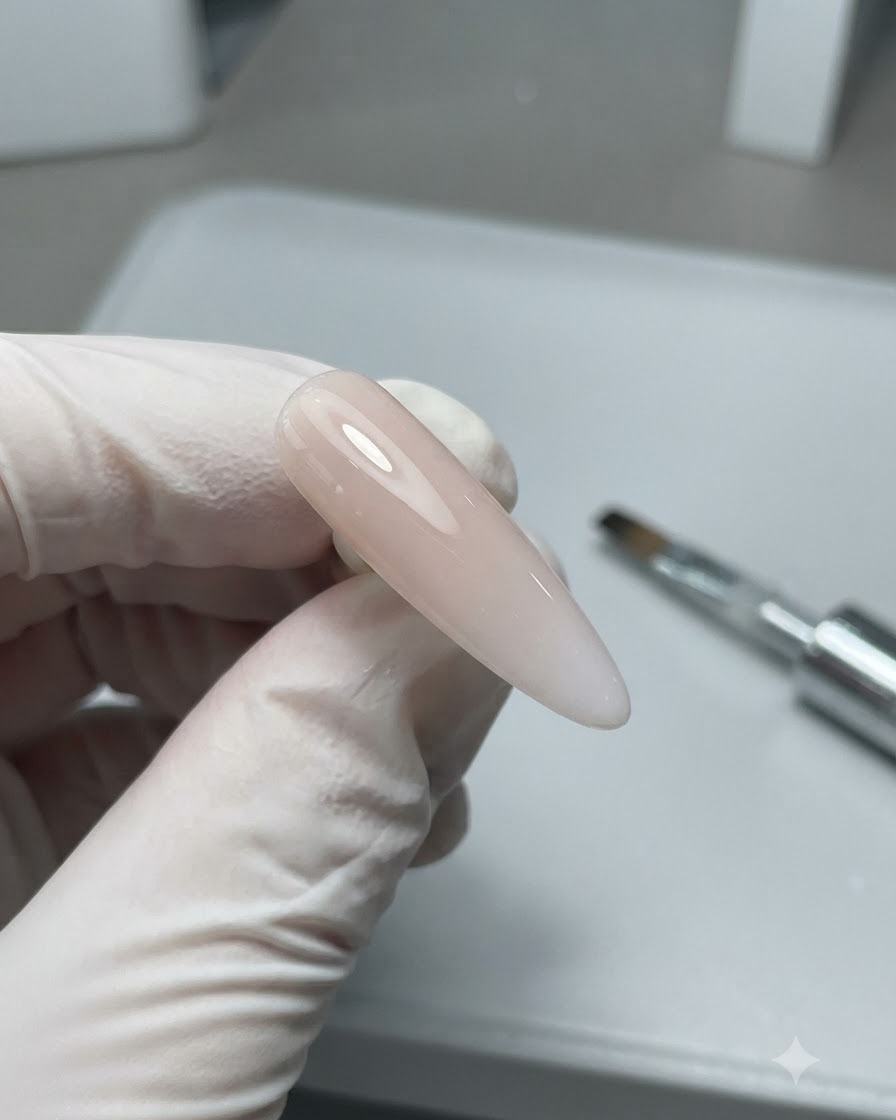
Apply an even layer of no-wipe top coat to the second nail and cure it fully. This specialized top coat cures to a smooth, dry finish that provides the optimal tacky-free base for rubbing and buffing chrome powder into a mirror effect.
Tip: Cure the no-wipe top coat for the exact recommended duration so the chrome powder adheres smoothly without sticking unevenly.