Jelly Nude Gel Manicure: Flawless Prep
Structure Tutorial
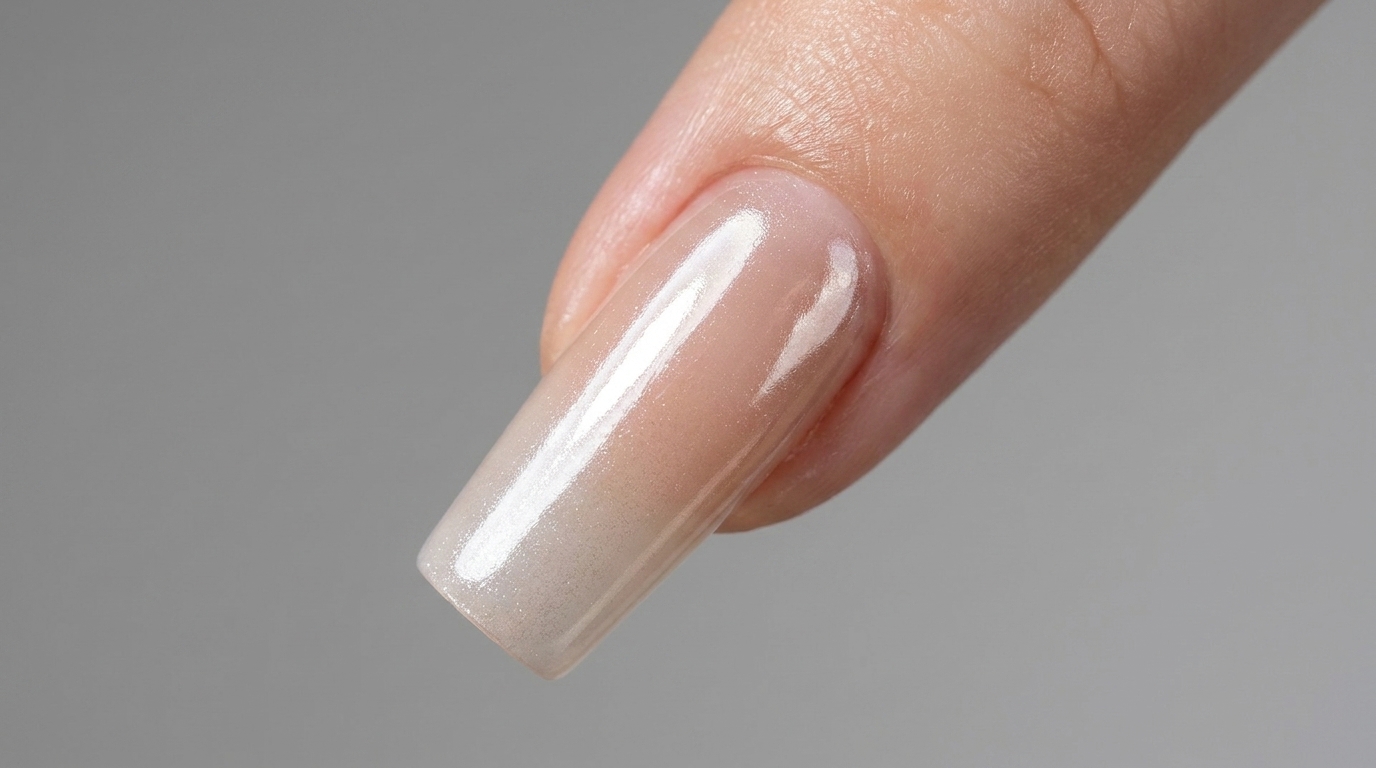
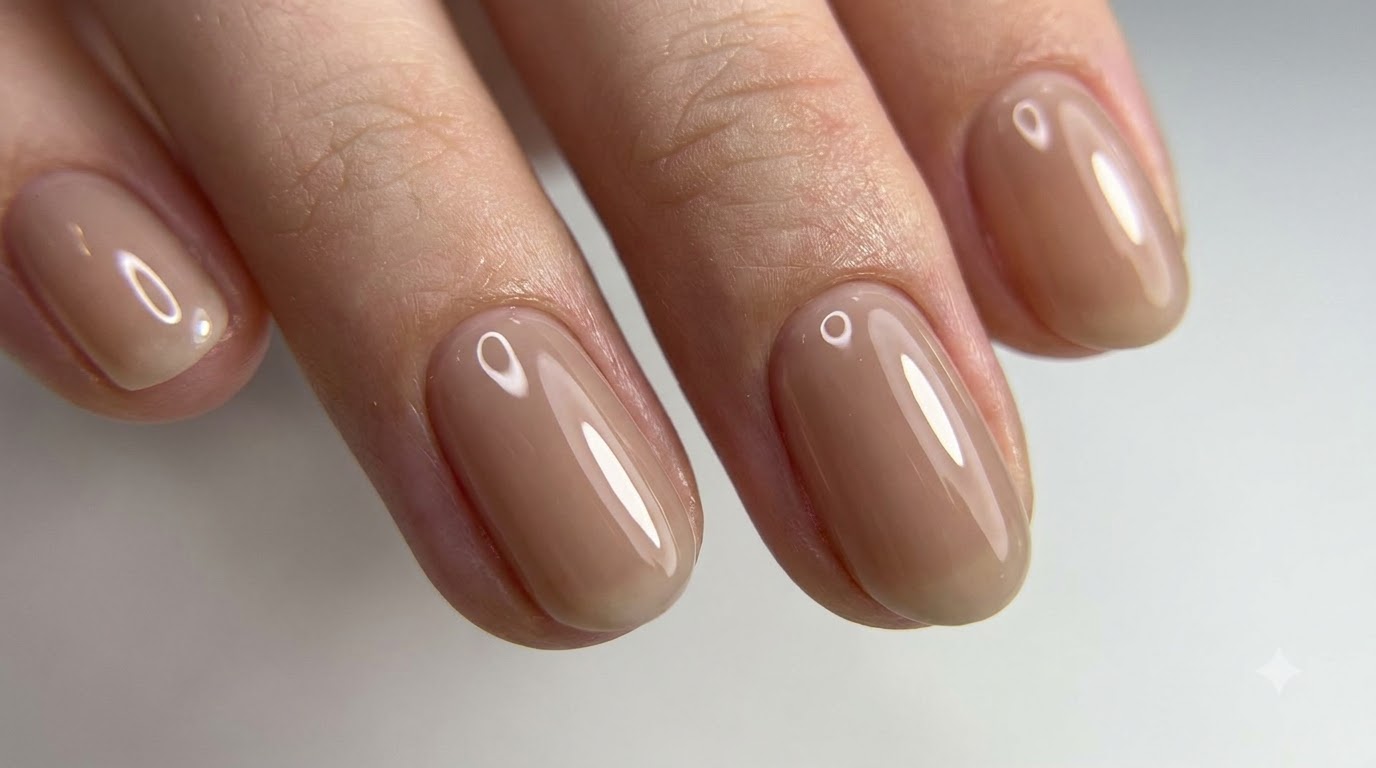
Master the classic jelly nude gel manicure. Discover professional e-file preparation and builder gel application for a flawless, high-gloss finish.
The jelly nude manicure is a timeless staple that relies entirely on impeccable technique rather than bold colors to make an impact. Achieving that flawless, mirror-like finish starts long before the gel is applied, requiring meticulous cuticle work and perfect structural balance. This look combines advanced e-file preparation with precise builder gel application to create a strong, elegant, and natural-looking enhancement.
Steps
- 1Shape and refine the free edge
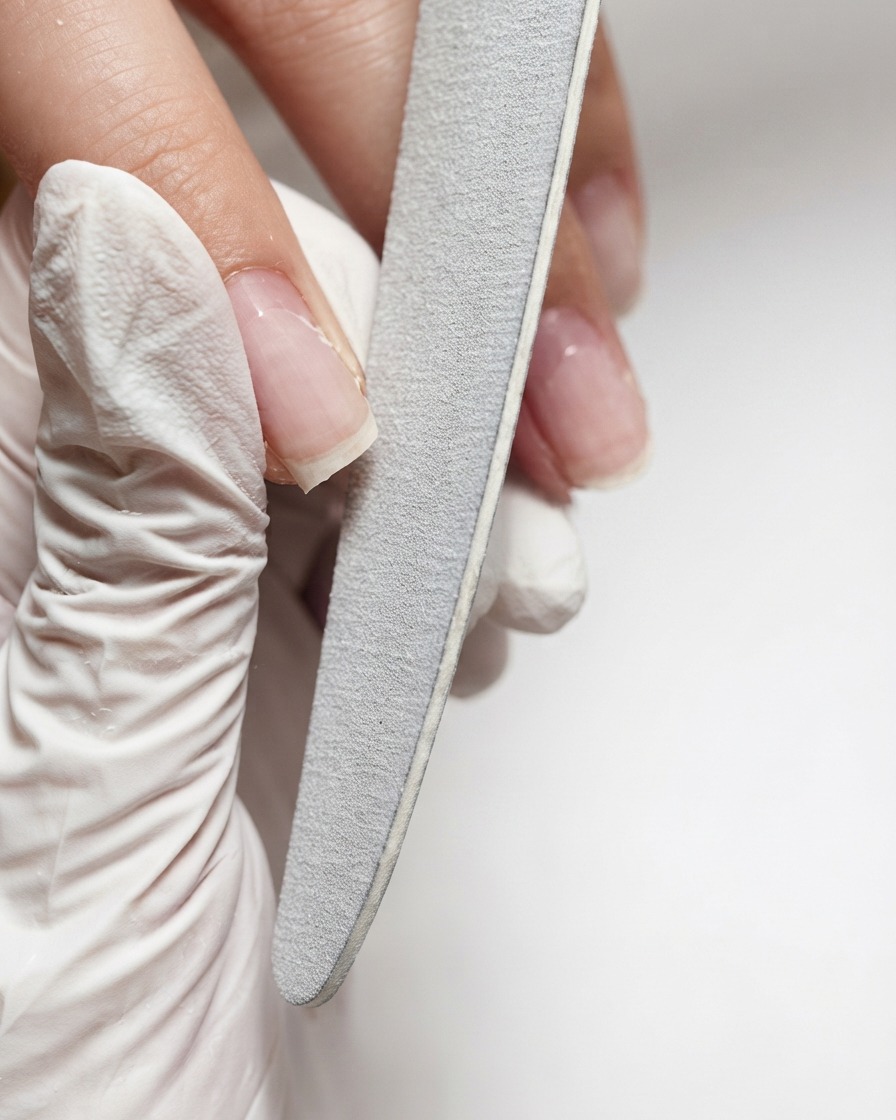
Using a hand nail file, gently shape and refine the free edge of the nail to achieve your desired form. File smoothly in consistent directions to prevent any splitting or fraying of the natural nail layers.
Tip: Always file in a single direction to maintain the structural integrity of the nail edge. - 2Etch nail plate and push cuticles
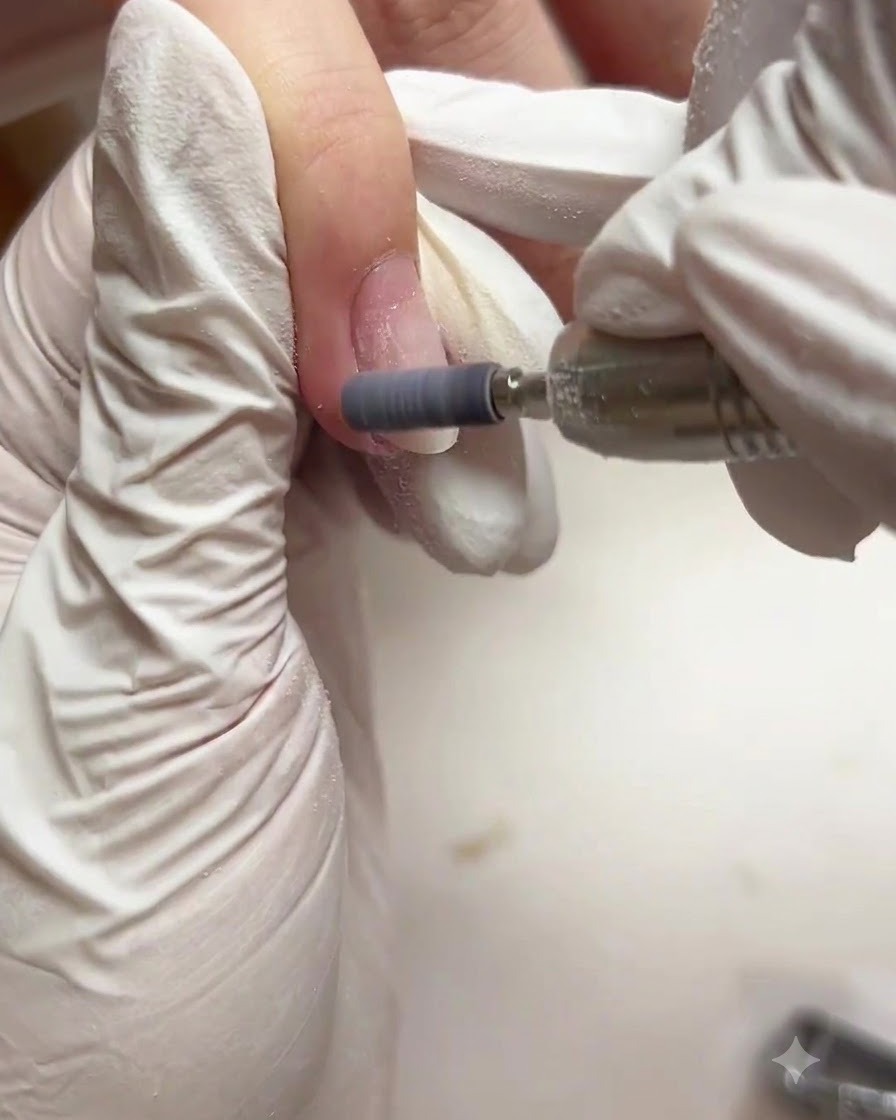
Set your electric nail file to speed 5 with a sanding band bit attached. Carefully etch the surface of the nail plate to remove shine and gently push back the cuticles to prepare the nail bed for product adhesion.
Tip: Keep the electric file moving constantly across the nail plate to avoid friction heat and over-thinning. - 3Clean up cuticle zone with ceramic flame bit
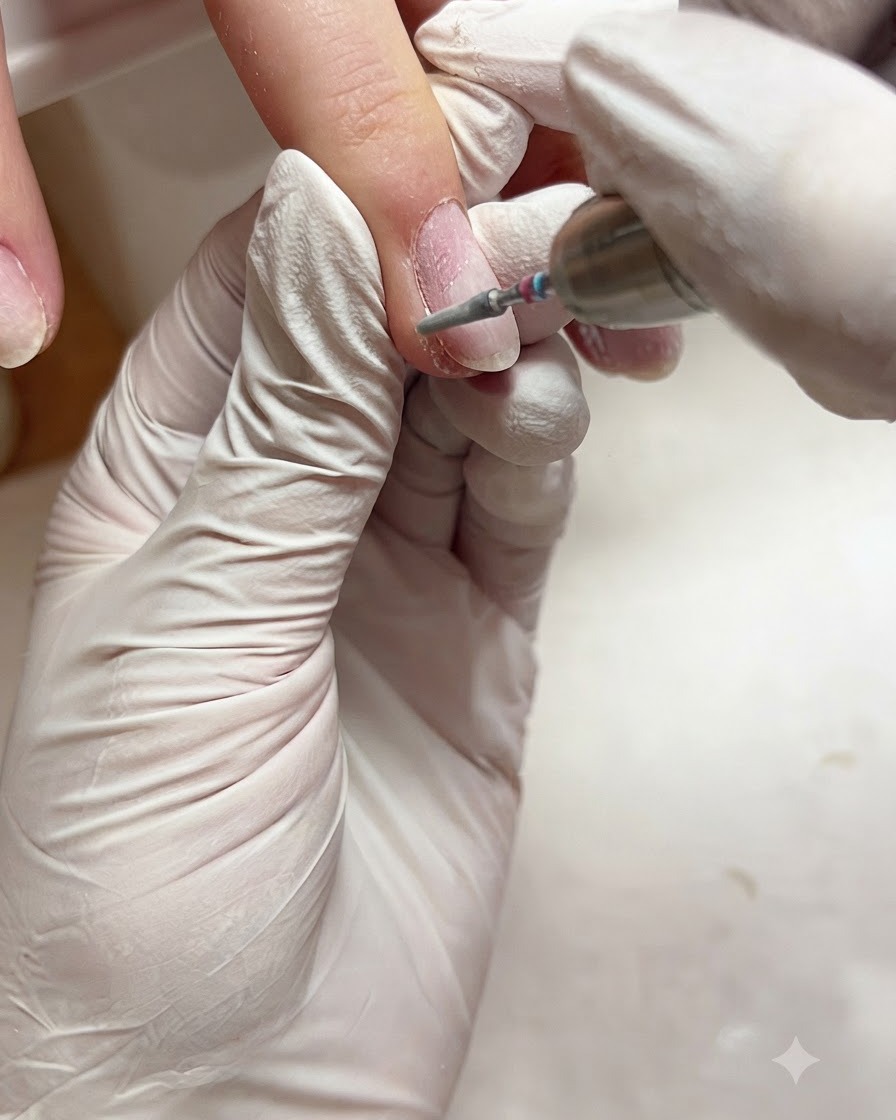
Switch to a ceramic flame bit and adjust your electric file speed to 16-17. Gently clean up and lift the dead skin around the cuticle standing plane to expose a clean nail pocket.
Tip: Hold the ceramic flame bit at a slight parallel angle to the nail plate to prevent cutting or digging into the live tissue. - 4Treat left side wall
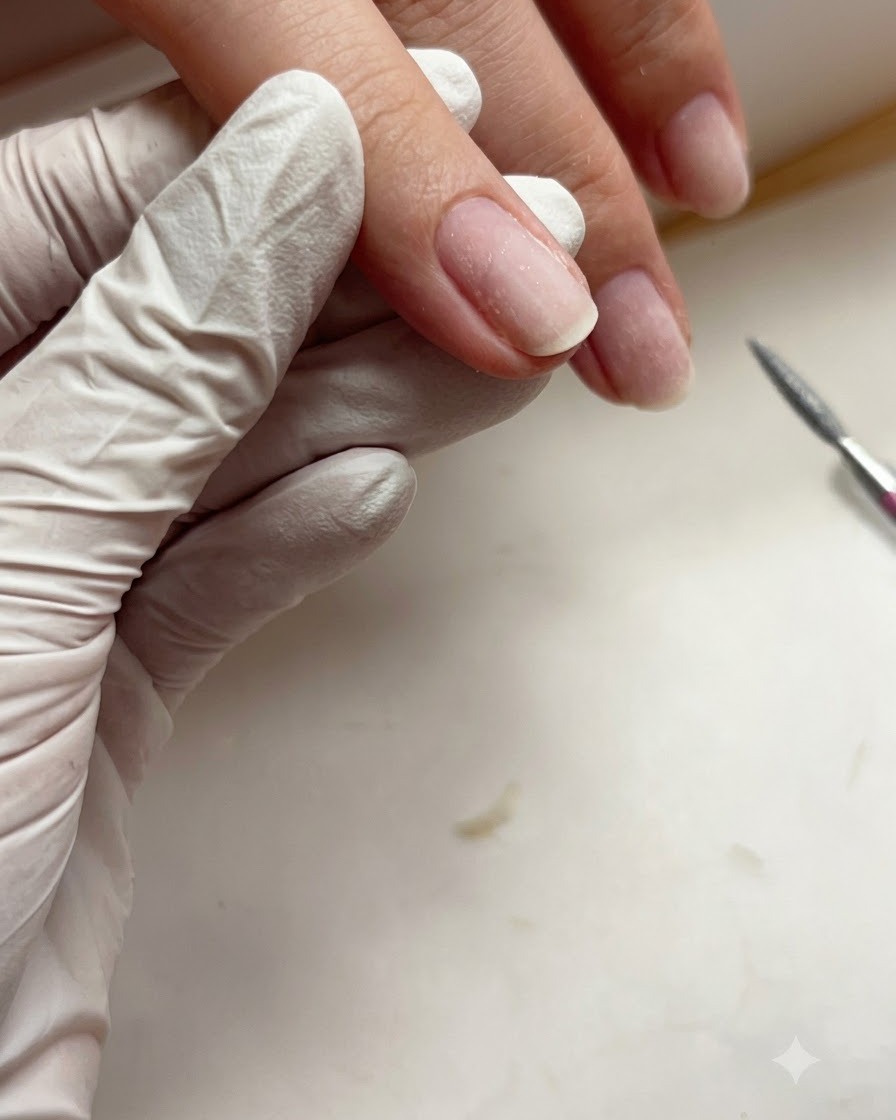
Perform a wet treatment on the left side wall of the nail using an F-bit running at speed 16. This smooths out hardened skin boundaries and refines the side wall contour.
Tip: Ensure proper lubrication or moisture when performing wet treatments to keep the bit gliding smoothly. - 5Treat right side wall
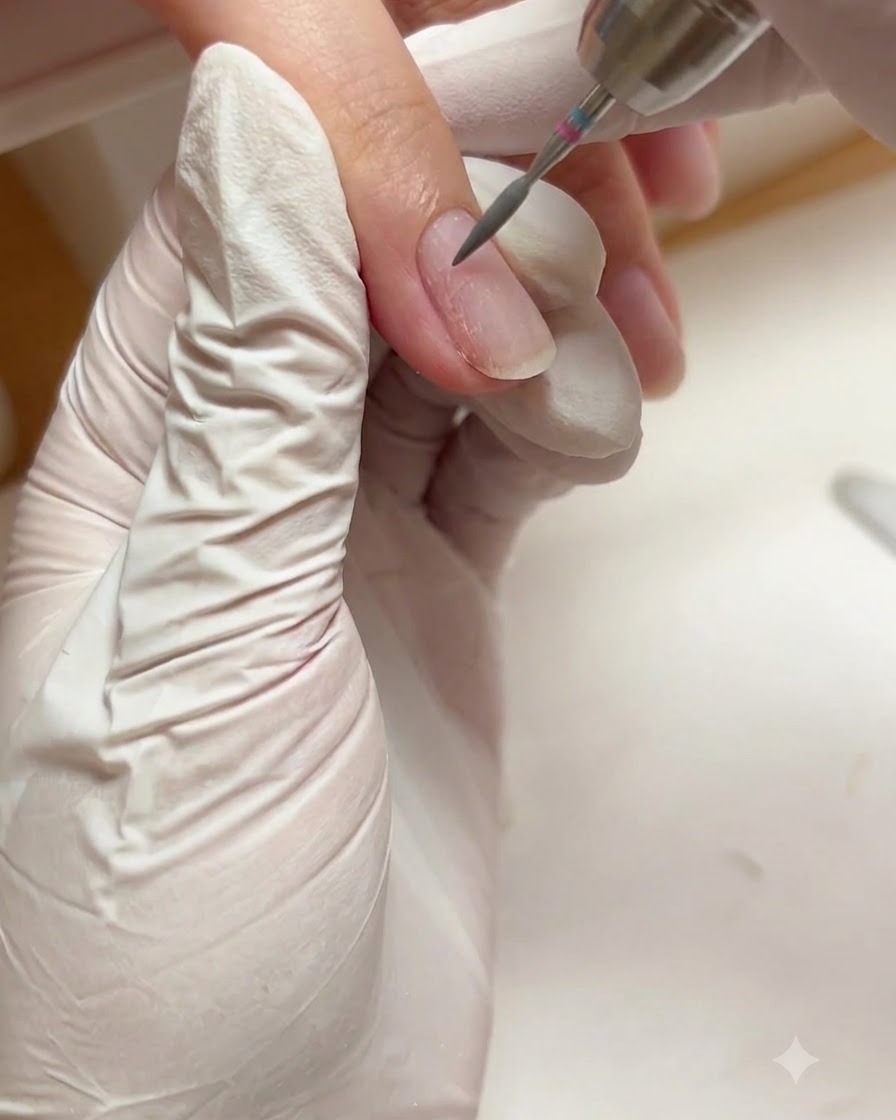
Perform a wet treatment on the right side wall using an R-bit at speed 16. Carefully follow the contour of the right lateral fold to clear away remaining debris and smooth the skin texture.
Tip: Maintain a light, steady touch to avoid friction burns on the sensitive skin around the lateral fold. - 6Refine cuticle zone and edges
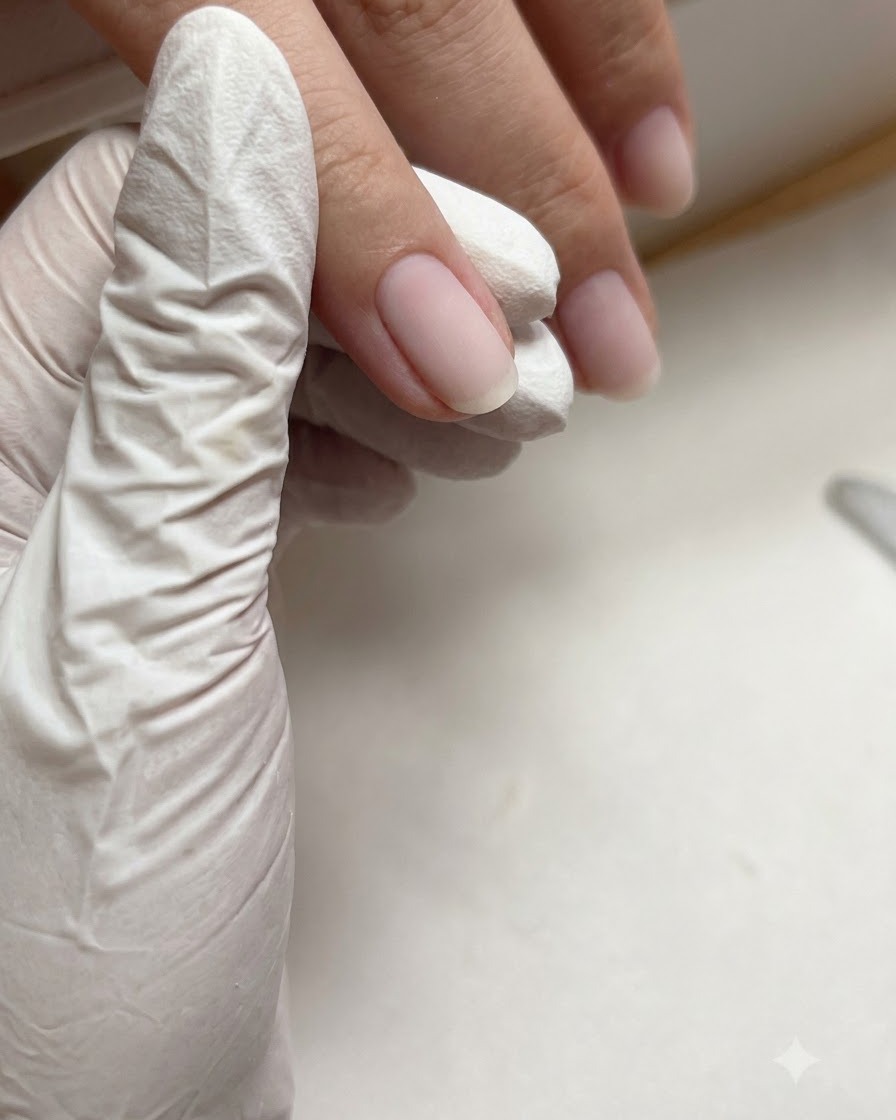
Use a fine carbide bit to further refine the cuticle zone and any remaining hard skin edges around the nail perimeter. This ensures a flawless, smooth transition from skin to nail plate.
Tip: Use a light dusting brush frequently to check your progress and remove filing dust as you go. - 7Apply base gel
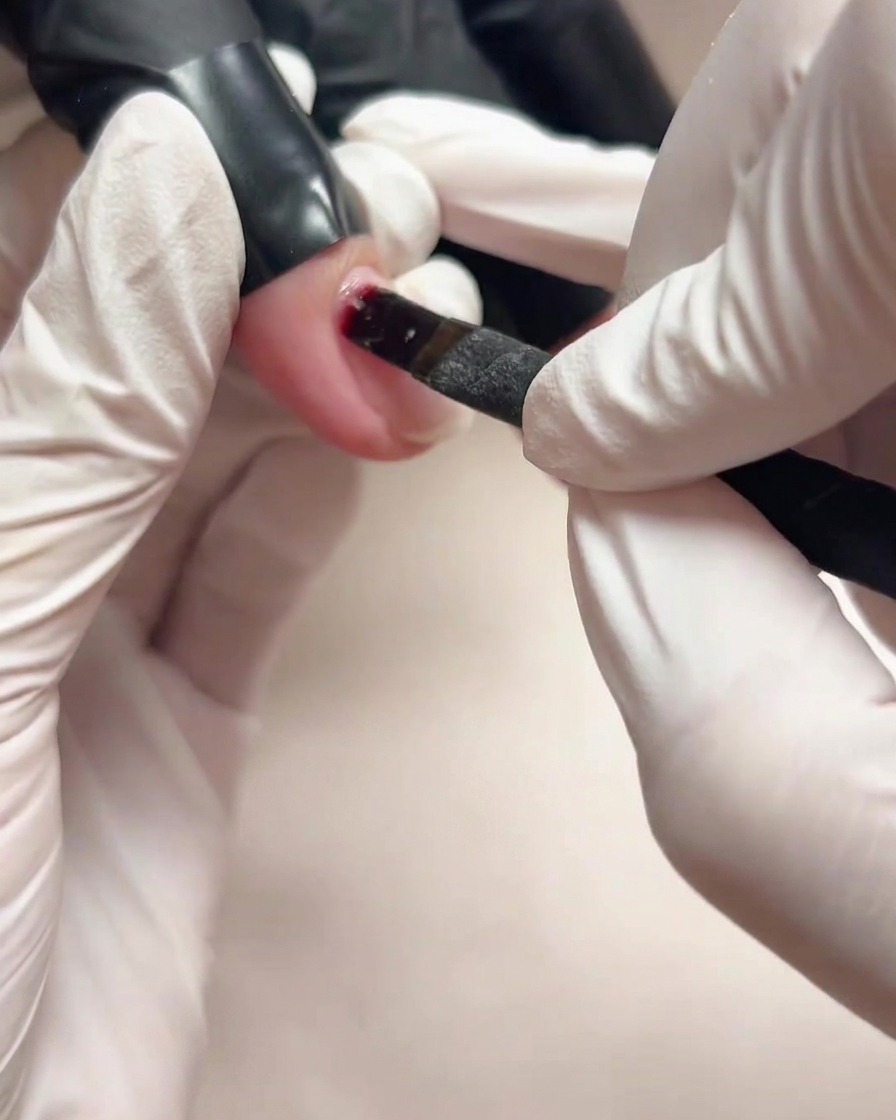
Take a small amount of base gel on your brush and work it firmly into the prepped nail plate. Ensure complete coverage from the cuticle to the free edge to create a strong adhesive foundation for the upcoming builder gel layers.
Tip: Scrub the base gel lightly into the nail plate with the brush bristles to maximize adhesion and prevent lifting. - 8Cure base gel
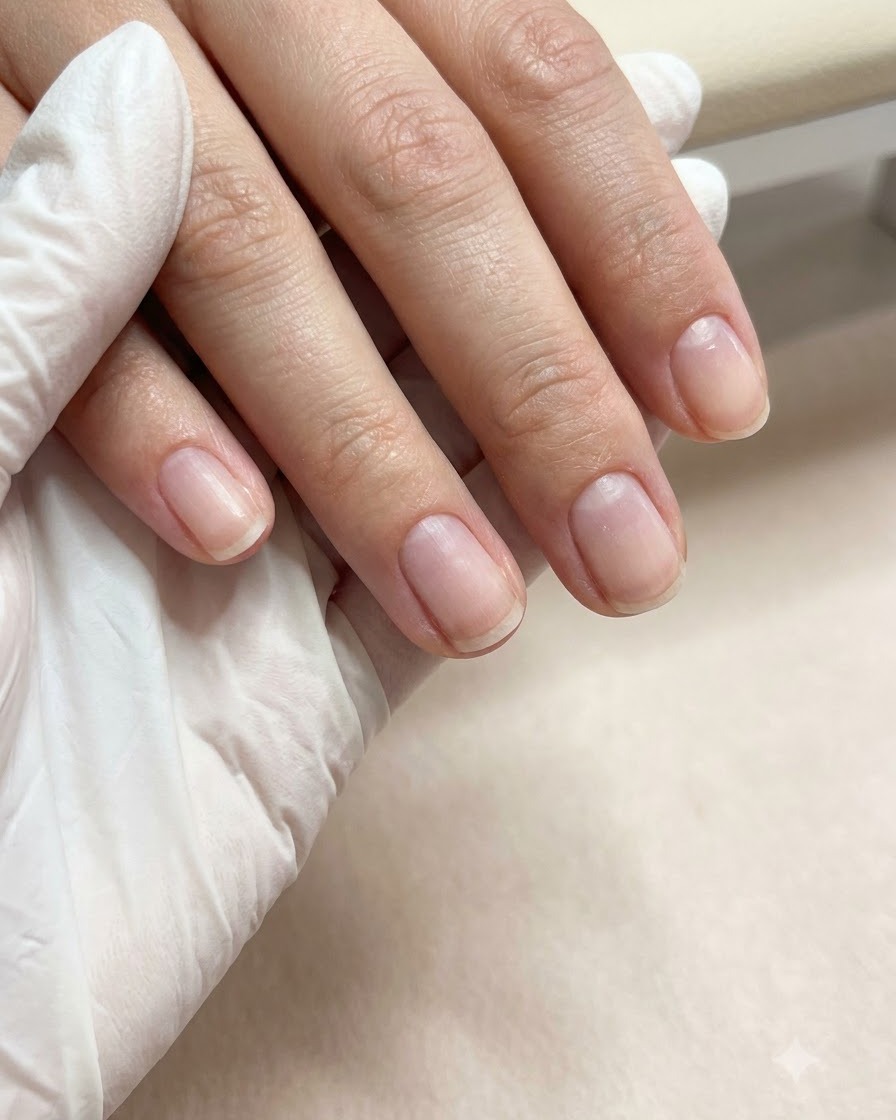
Place the hand under a mini UV or LED lamp to cure the freshly applied base gel layer. Cure for the recommended duration specified by your gel manufacturer to ensure the layer is fully set before moving on to structural application.
Tip: Hold the mini lamp steady or position the finger properly to ensure all parts of the nail receive even UV/LED light exposure. - 9Map out builder gel boundaries
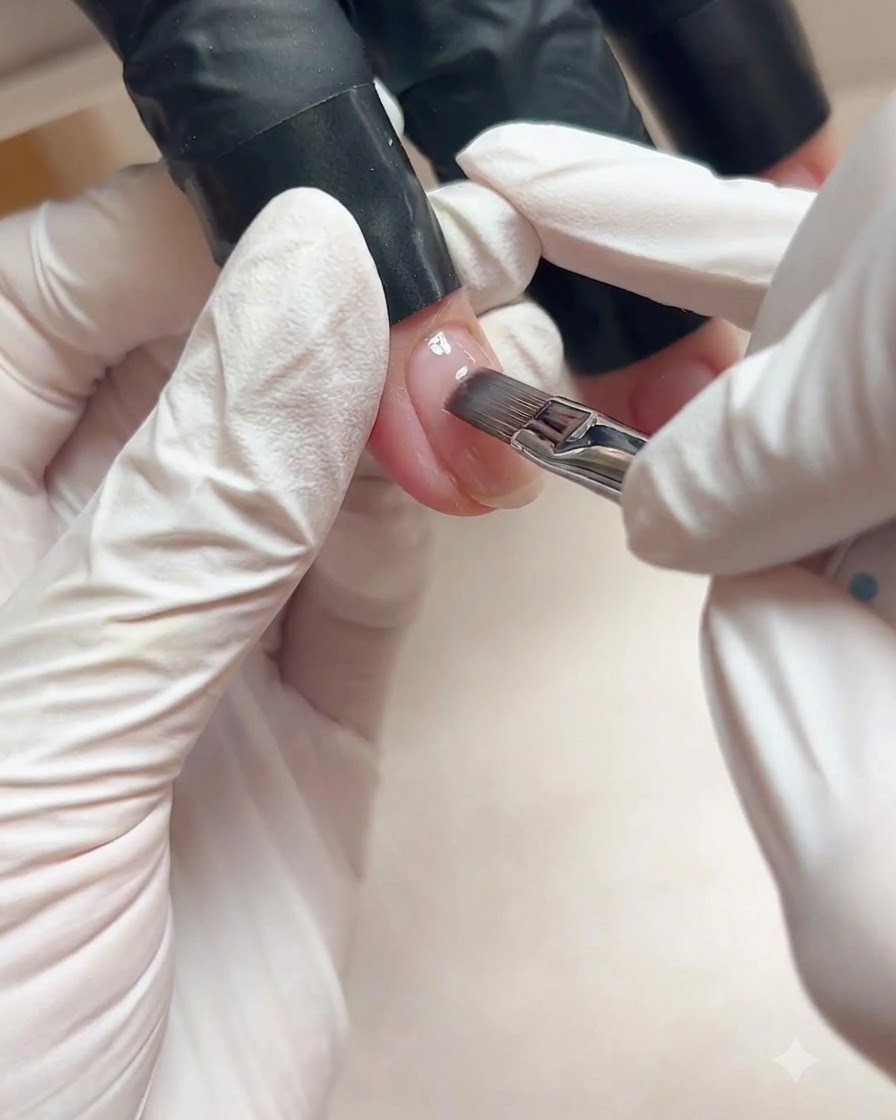
Apply a thin sliding layer of builder gel across the nail without curing it yet. This wet slip layer acts as a guide to map out the application boundaries and helps control where the thicker apex bead will flow.
Tip: Keep this initial slip layer thin so the subsequent builder bead stays controlled within your desired boundaries. - 10Build the structural apex
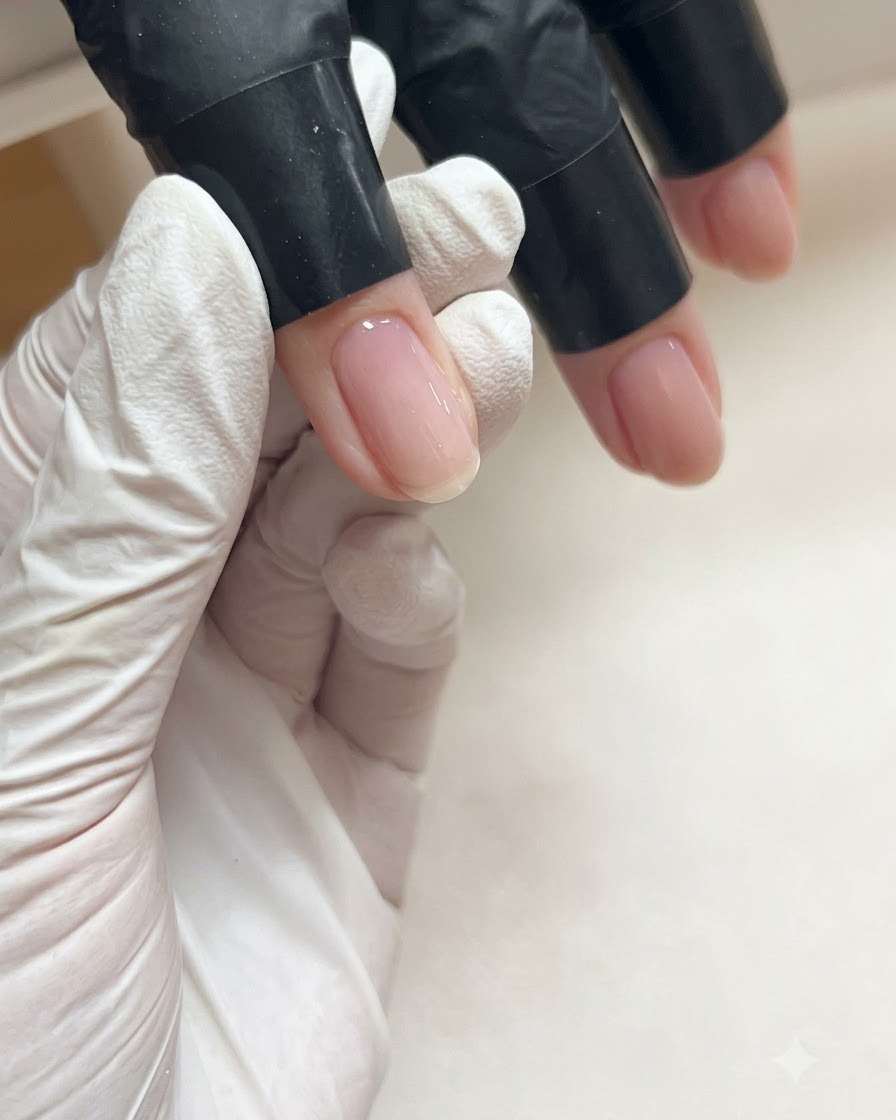
Pick up a controlled bead of builder gel and guide it from the cuticle area down toward the free edge. Gently manipulate the gel to build proper apex thickness and structural strength, ensuring a smooth, balanced arch.
Tip: Lightly float the brush over the gel bead to level the surface and achieve a natural-looking apex without excessive filing later.