Peach Blossom Frozen Gel Nail Art — Step-by-Step Tutorial
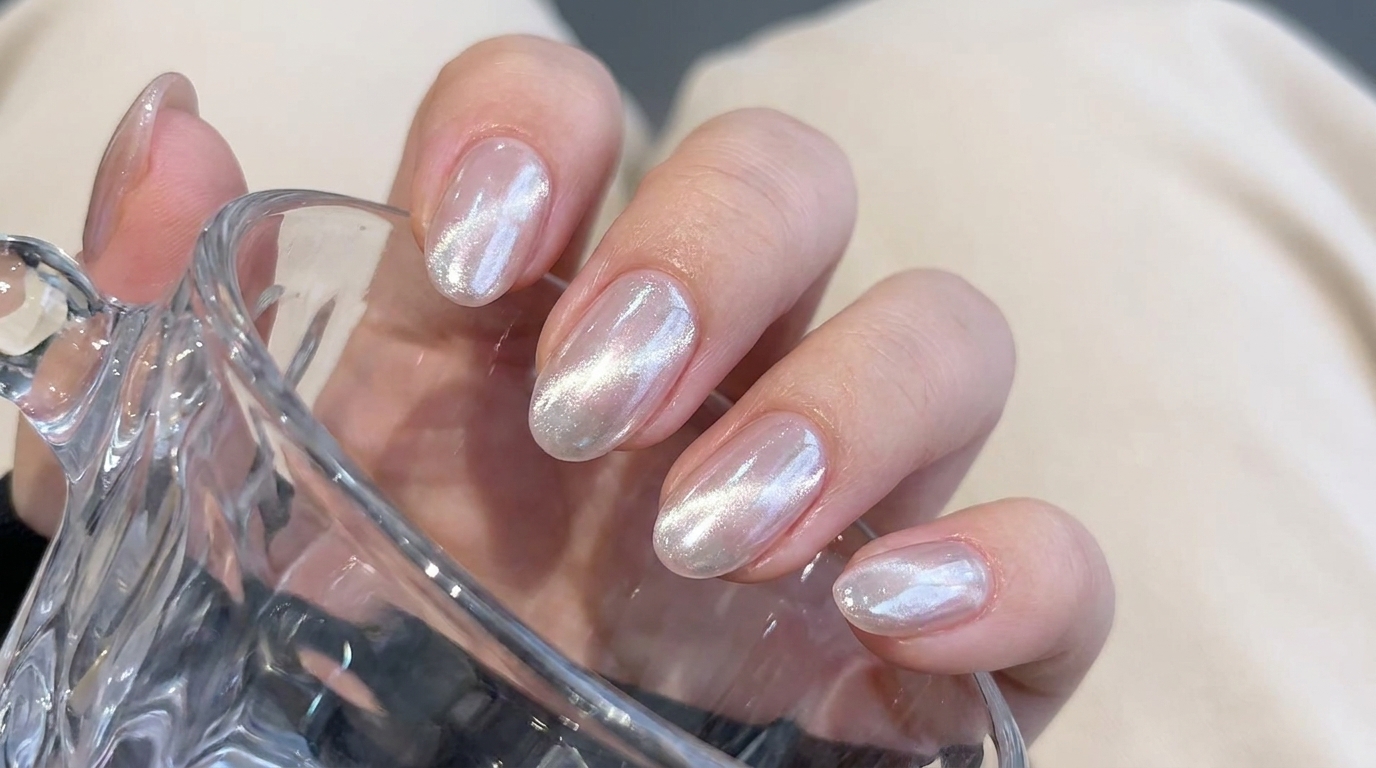
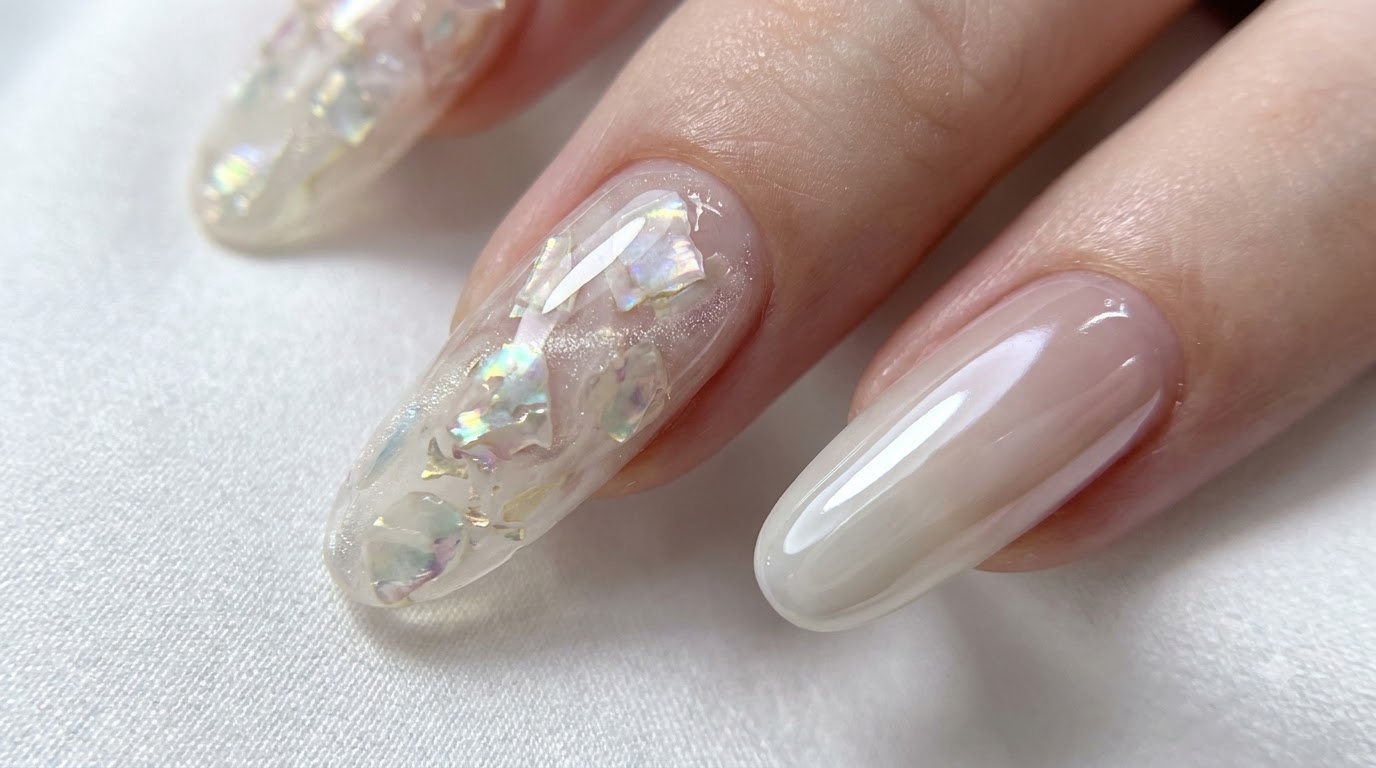
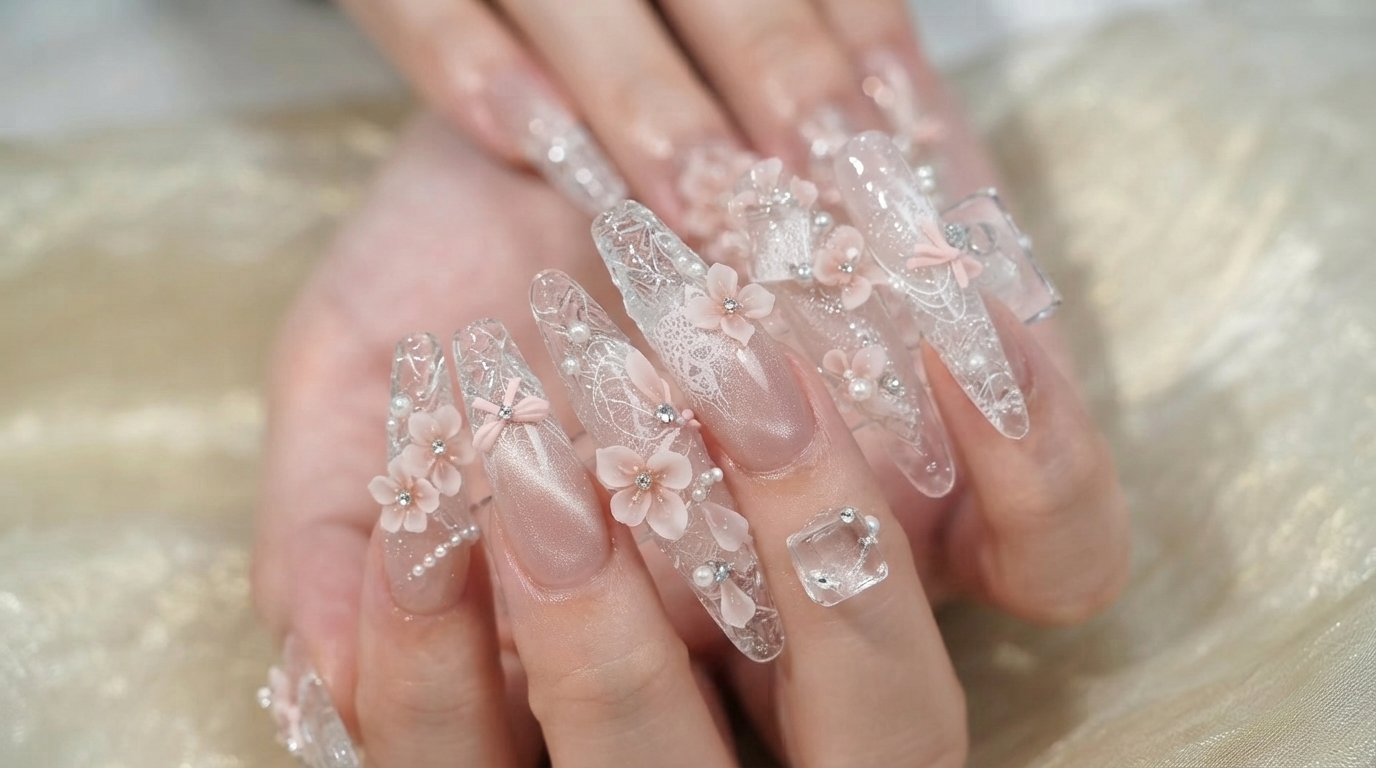
Create an enchanting frozen ice-crack texture and 3D peach blossom nail art look using nude cat-eye gel, delicate lace transfers, and sculpted petals.
Elevate your nail artistry with this breathtaking frozen peach blossom design, combining textured ice-crack tips, shimmering cat-eye gradients, and exquisite 3D floral sculpting. Perfect for special occasions or anyone looking to embrace a romantic, tender pink aesthetic.
Steps
- 1Apply top coat to the inner nail tip
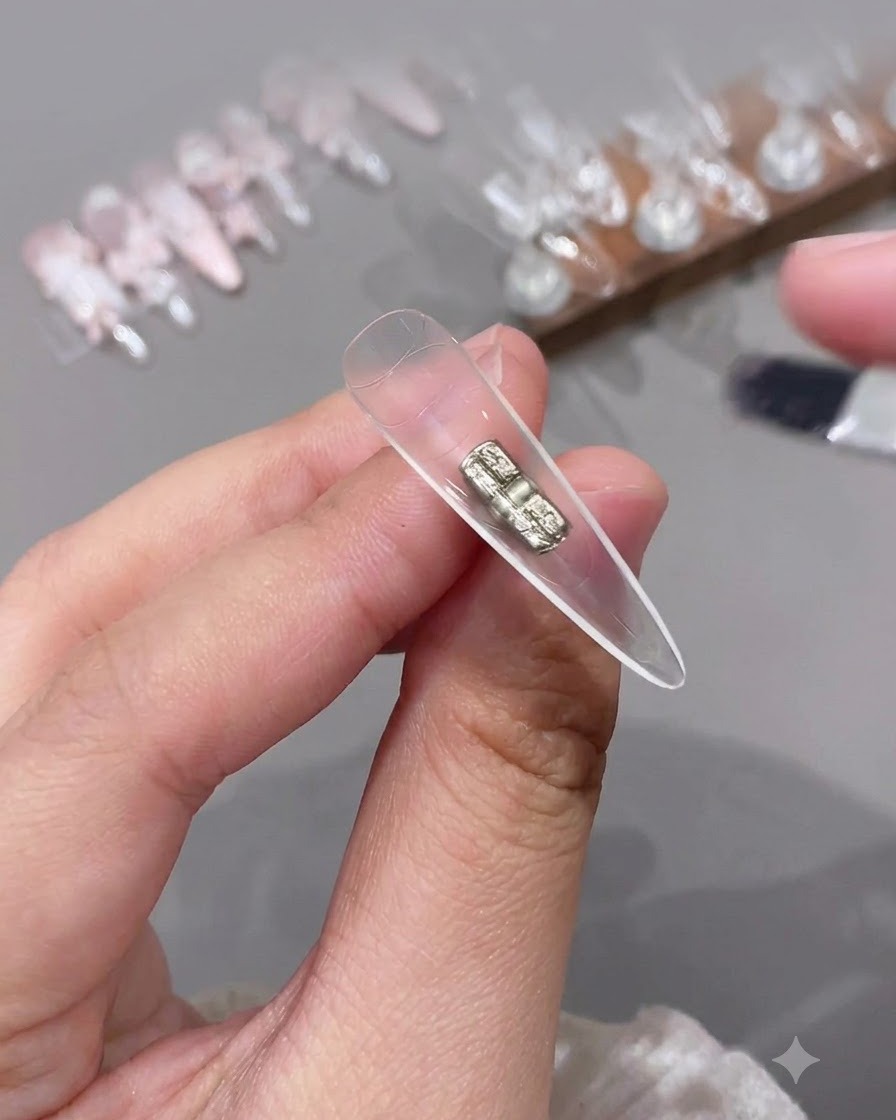
Apply a layer of hard-style top coat specifically to the inner side of the clear nail tip. This creates the textured base needed for the upcoming ice crack effect. Ensure the application is even but do not cure it yet.
Tip: Be precise when applying product to the inner surface to keep the edges clean and avoid overflow. - 2Cover with plastic wrap
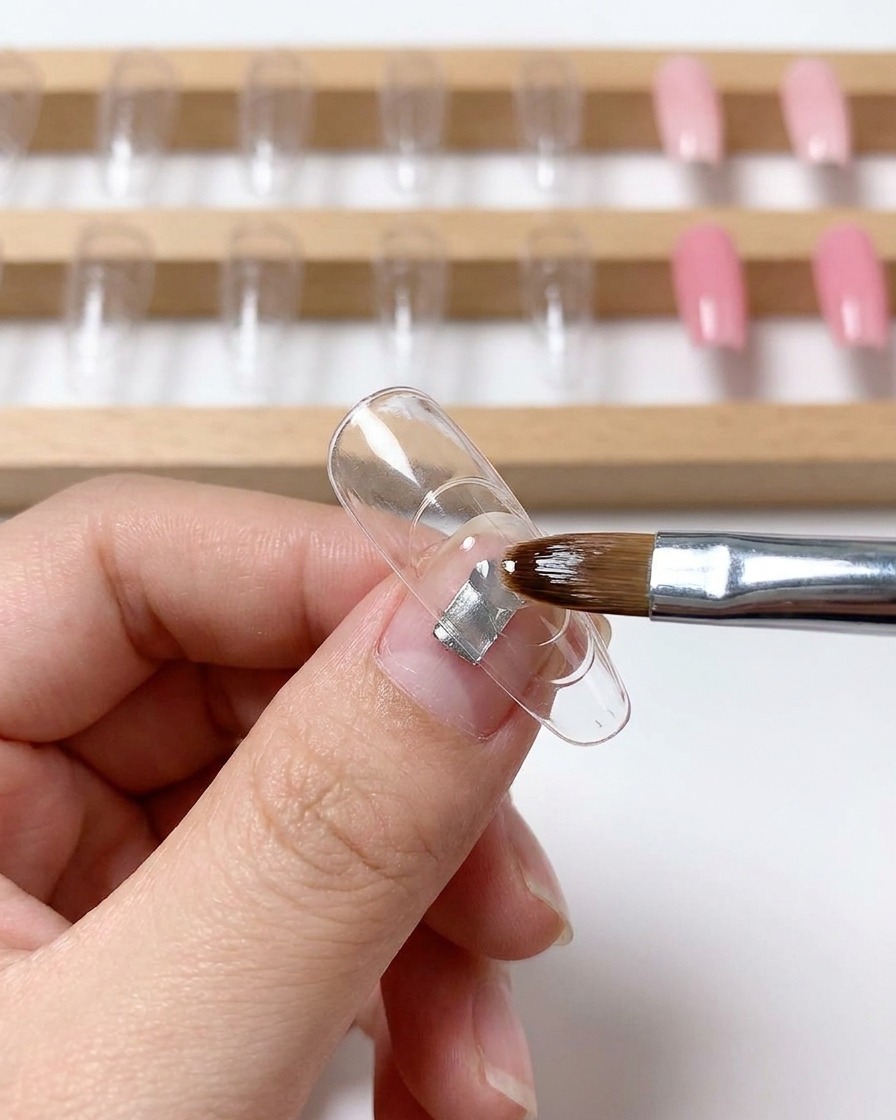
Take a small piece of plastic wrap and carefully place it directly over the wet top coat layer inside the nail tip. Ensure it makes full contact with the gel surface so it can capture the texture.
Tip: Avoid trapping large air bubbles underneath the plastic wrap to ensure a clean texture transfer. - 3Create ice crack texture
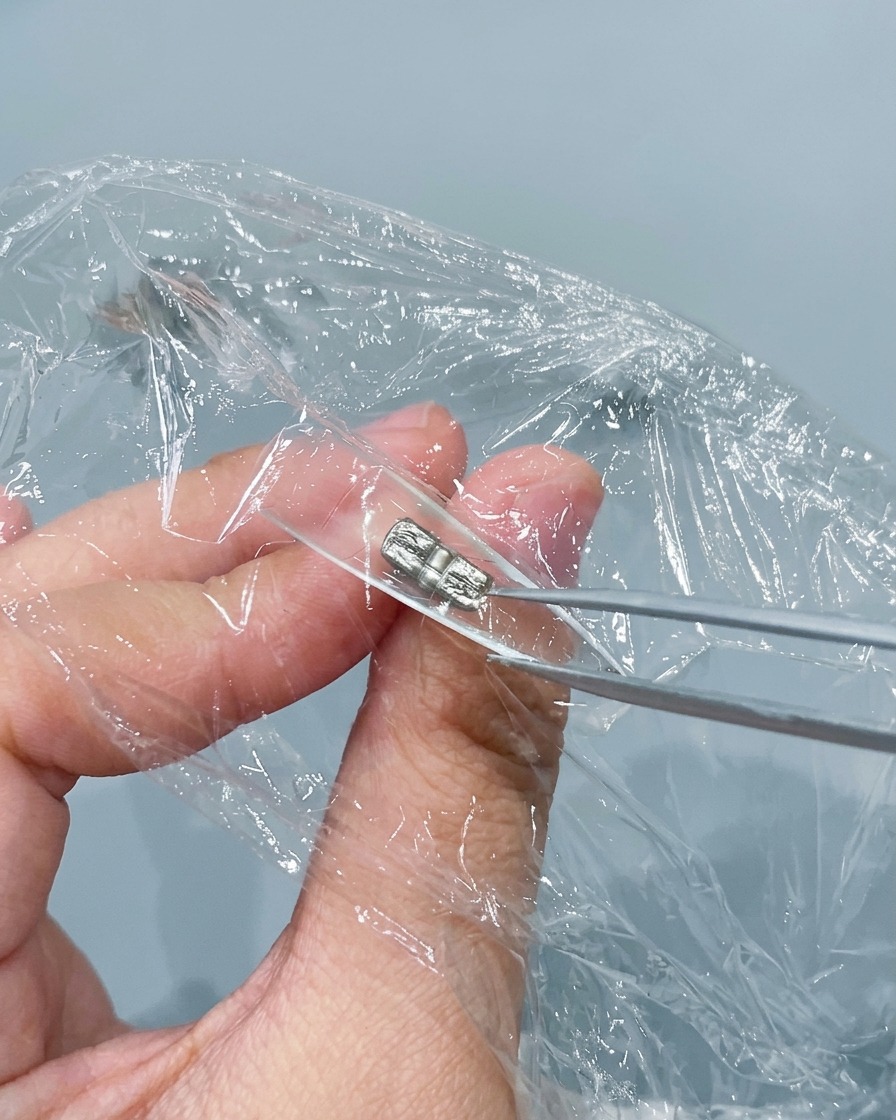
Using a pair of fine tweezers, gently pinch, fold, and wrinkle the plastic wrap over the gel surface. This manipulation forms intricate crinkles and lines that mimic the look of cracked ice.
Tip: Pinch from multiple angles to create a random, natural-looking fracture pattern rather than uniform lines. - 4Cure and remove plastic wrap
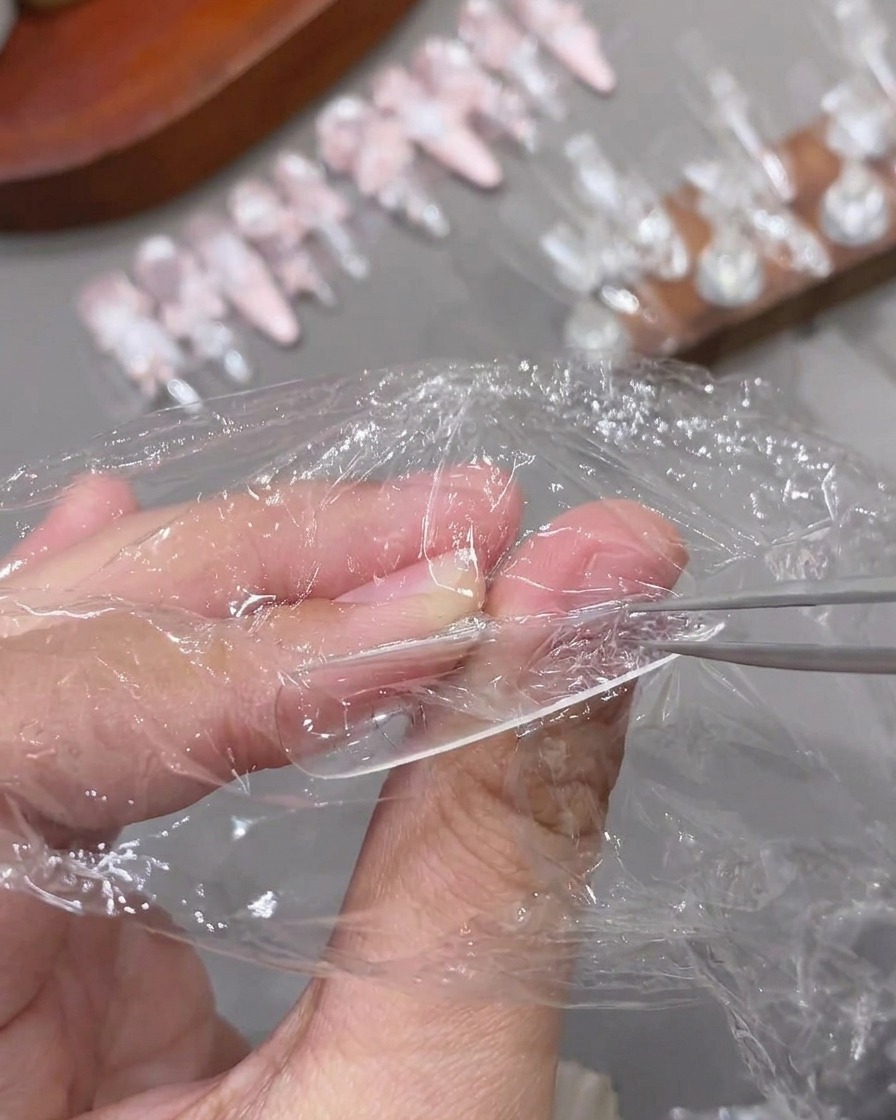
Place the nail tip under a UV or LED lamp to fully cure the hard top coat with the plastic wrap in place. Once cured, carefully peel away and discard the plastic wrap to reveal the hardened cracked ice texture underneath.
Tip: Make sure the gel is completely cured before removing the wrap so the texture doesnt collapse or flatten. - 5Clean the nail tip surface
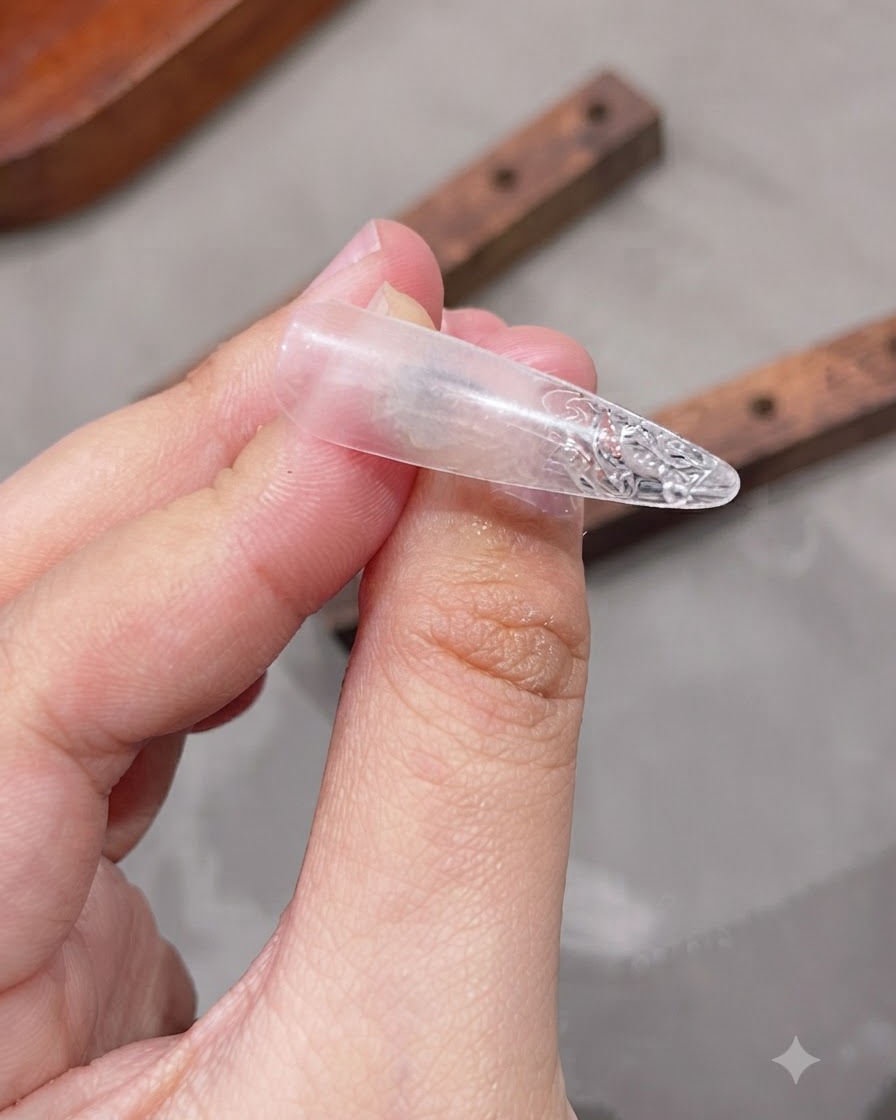
Take a lint-free wipe moistened with cleanser and thoroughly clean the surface of the nail tip. This removes any tacky inhibition residue left behind by the top coat, leaving a pristine finish.
Tip: Always use a lint-free wipe to prevent stray fuzz or fibers from sticking to the tacky gel surface. - 6Apply nude gel gradient
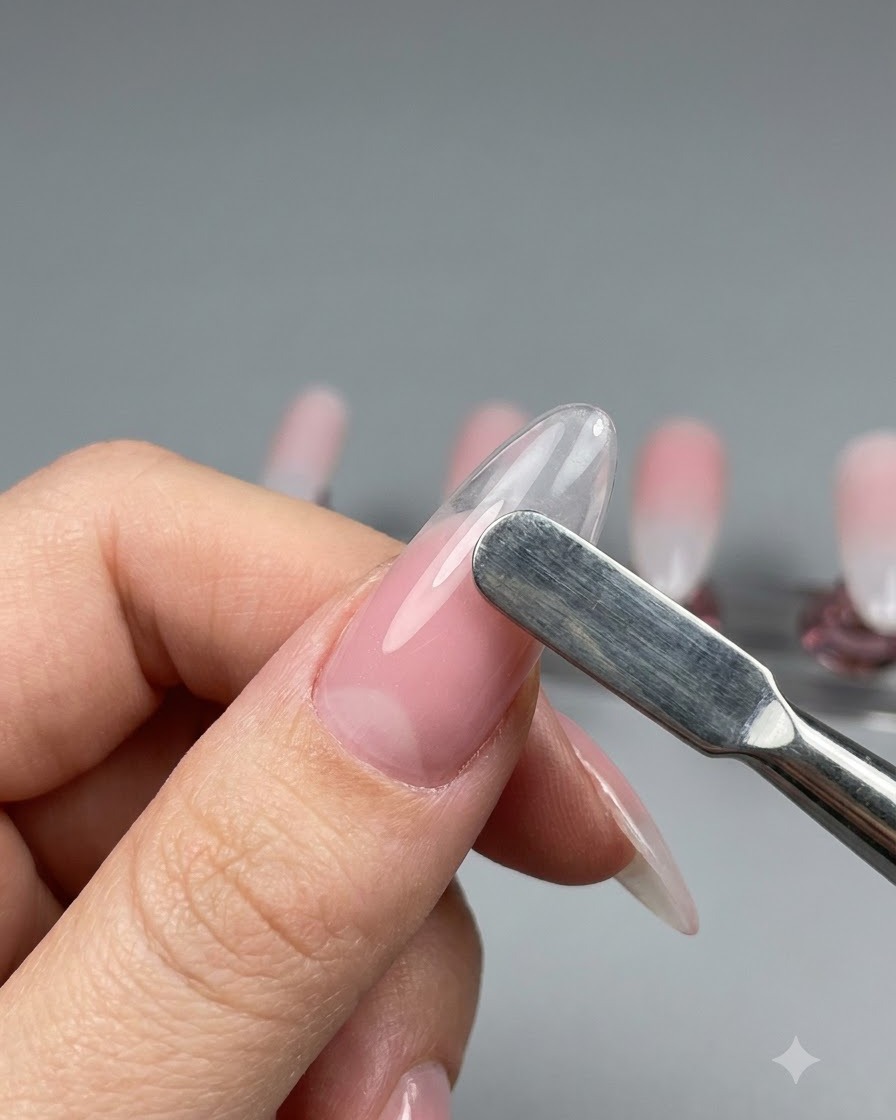
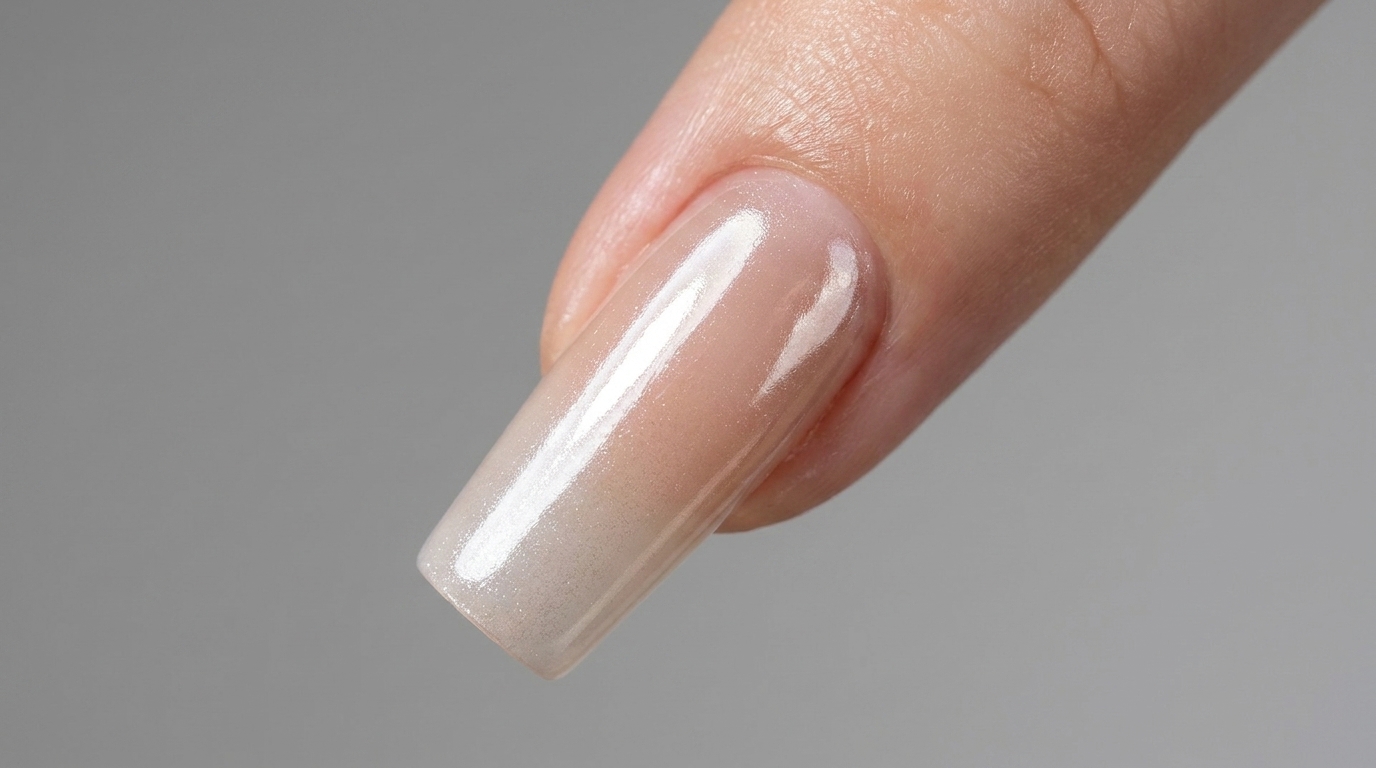
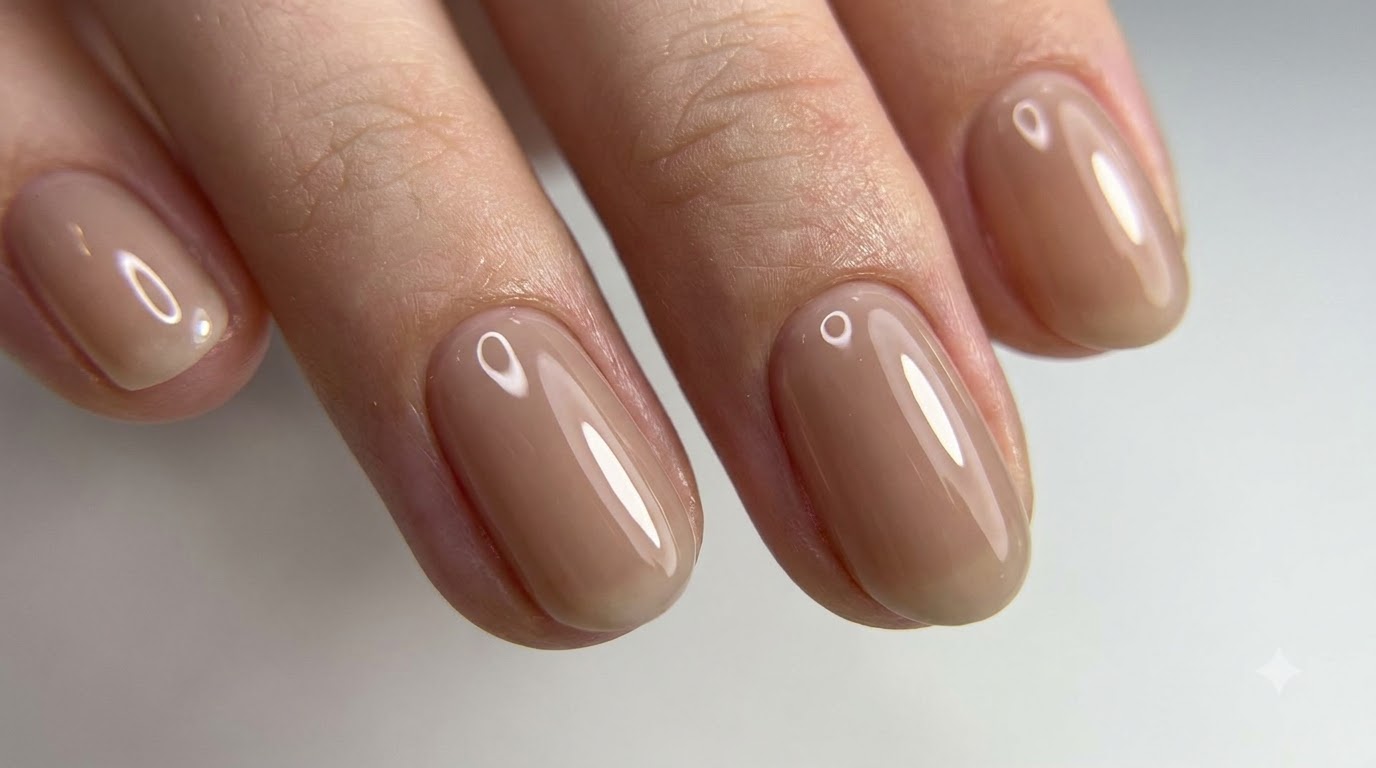
Apply a layer of Oxygen Nude Beauty Gel starting from the back half of the nail and sweep your brush forward toward the front edge. This technique builds a smooth, translucent color gradient base for the design.
Tip: Keep the brush strokes light and feathery near the transition zone to create a seamless, natural fade. - 7Blend the pink nude gel
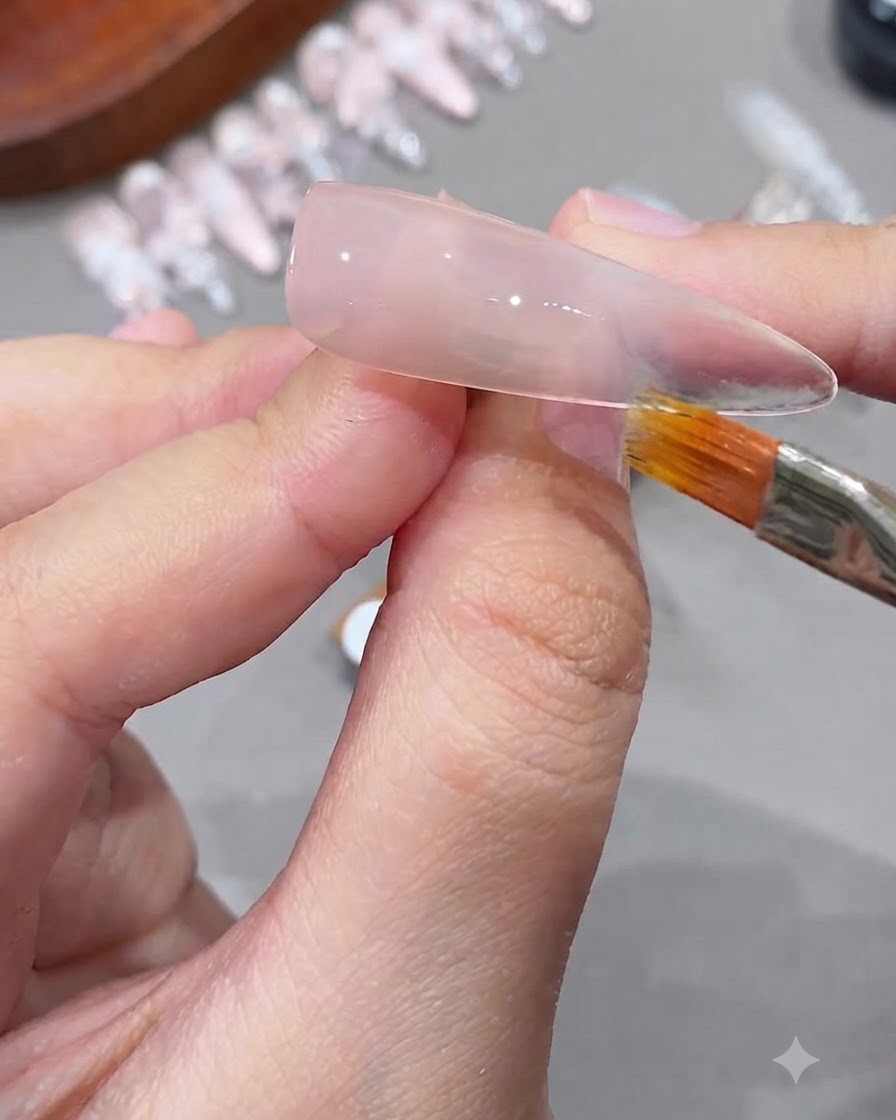
Apply the nude pink beauty gel starting from the back half of the nail. Use a gel brush to gently sweep the color forward towards the free edge, creating a seamless and smooth gradient effect over the nail.
Tip: Keep a light touch with the brush while blending to avoid harsh lines and ensure a soft gradient transition. - 8Apply cat-eye gel
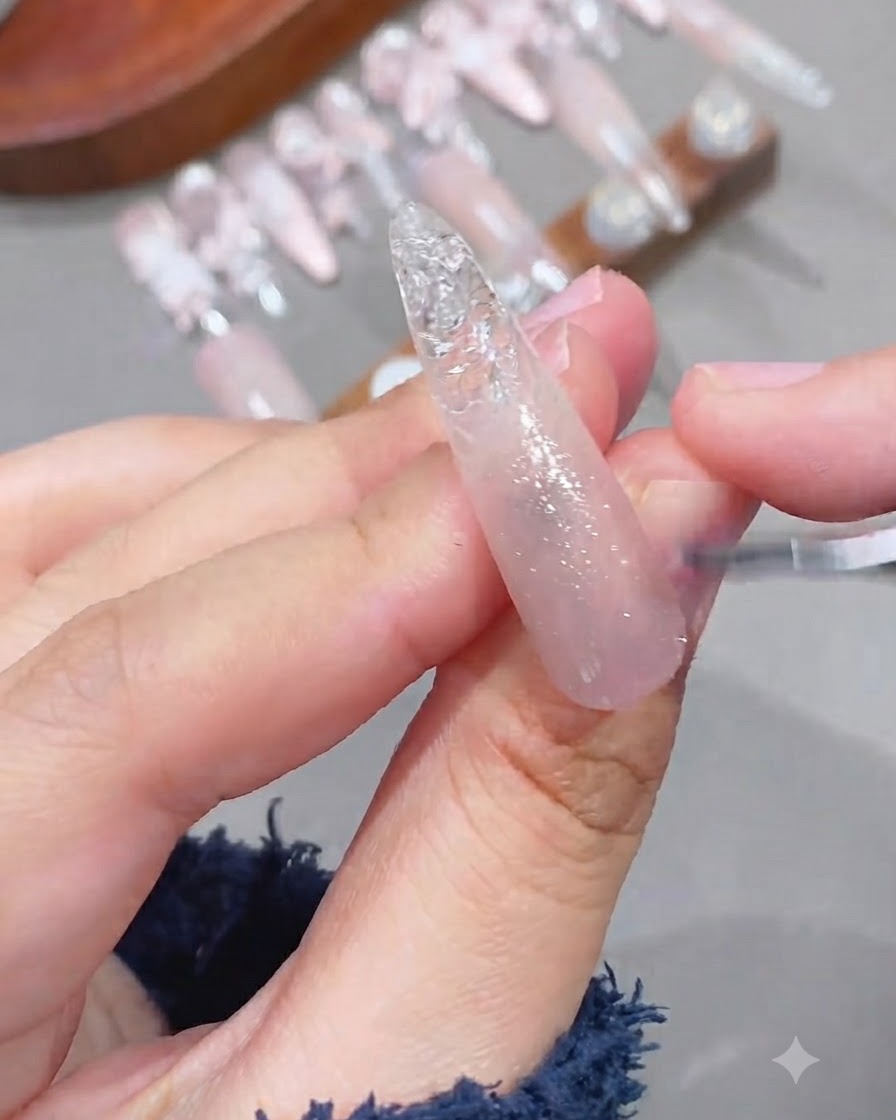
Once the gradient base is prepared, apply a layer of cat-eye gel over the nail. Start from the back edge and carefully sweep the product forward, following the same technique used for the nude base to maintain the gradient look.
Tip: Ensure the cat-eye gel is applied evenly across the nail so the magnetic particles can move uniformly in the next step. - 9Create chasing cat-eye effect
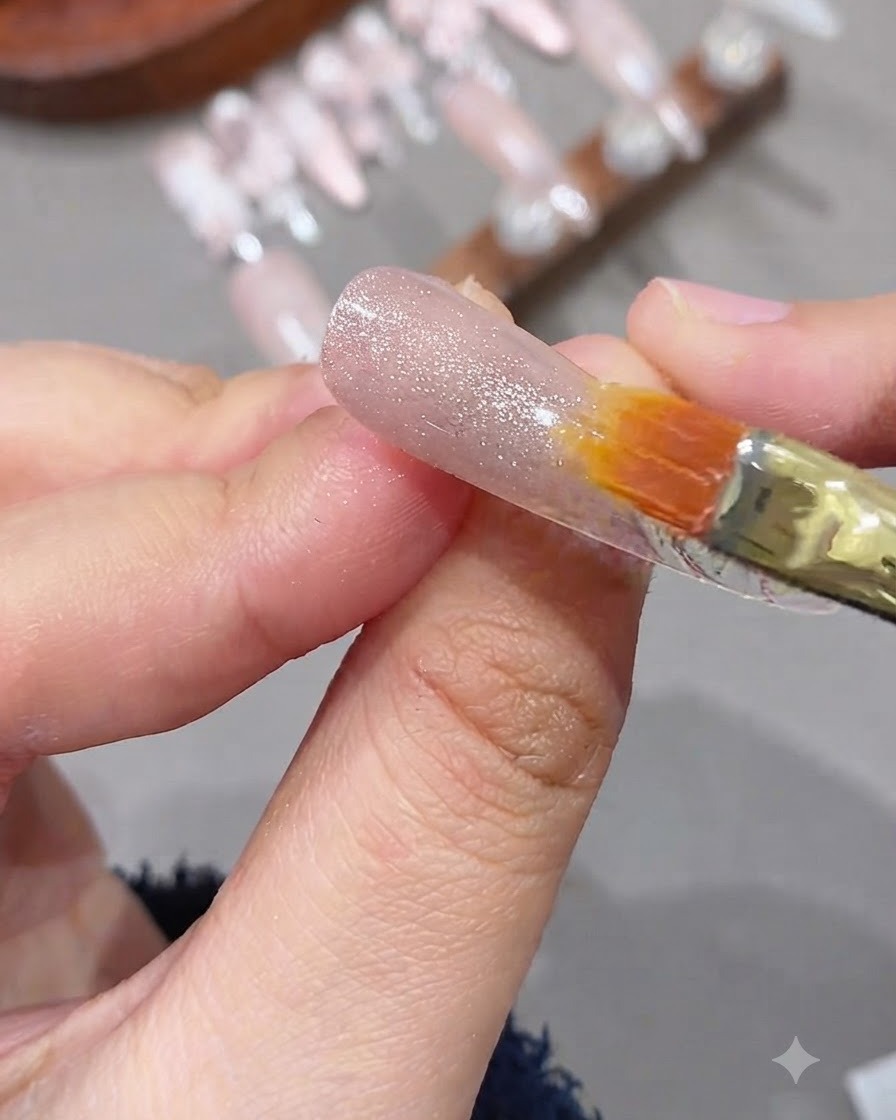
Position a specialized nail magnet close to the uncured cat-eye gel surface to push and pull the magnetic particles into a focused, moving stripe known as the chasing cat-eye effect. Keep the magnet steady for a few seconds until the desired luminous beam appears, then immediately cure under the lamp to lock the pattern in place.
Tip: Move the magnet slowly and deliberately. Pulling it away too quickly can cause the magnetic particles to disperse and ruin the sharp light line. - 10Apply gel to the stamping plate
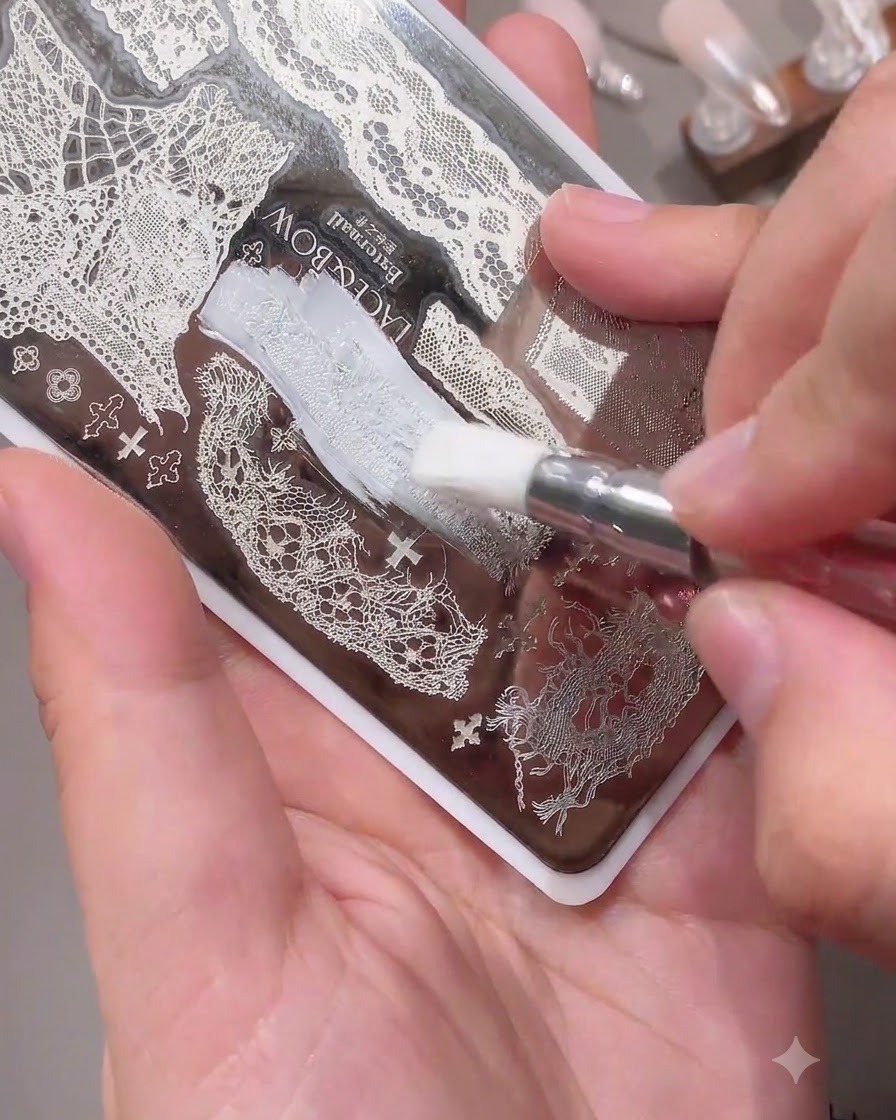
Select your desired lace pattern on the metal stamping plate. Apply a generous amount of white color gel or stamping polish directly over the lace design, ensuring the pattern area is well covered.
Tip: Use a highly pigmented white stamping polish or a thick color gel to ensure the fine lace details will transfer clearly. - 11Scrape excess polish from stamping plate
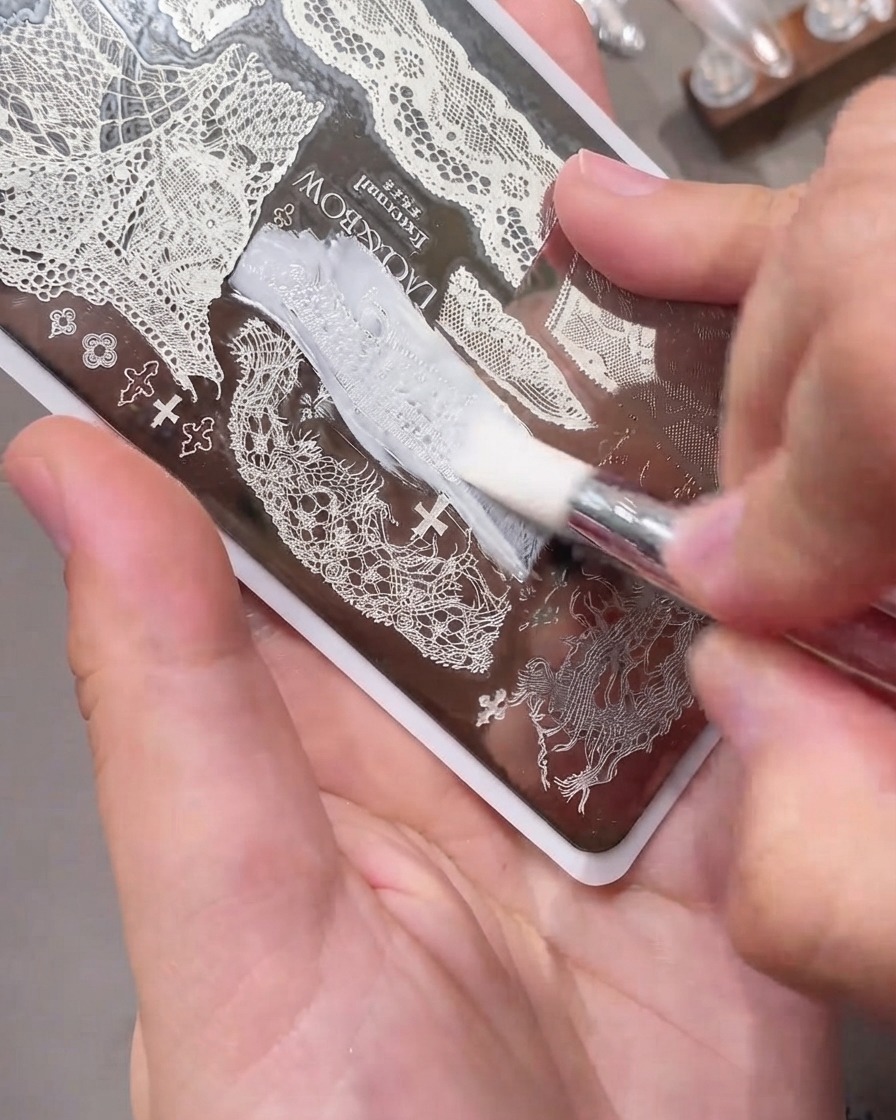
Apply white color gel onto the desired lace design on the transfer plate. Hold a scraper card at a 45-degree angle and firmly glide it across the plate to remove all excess gel polish, leaving the paint only inside the engraved etched grooves of the pattern.
Tip: Scrape in a single, smooth, swift motion. Pressing too softly leaves a messy background, while pressing too hard can gouge paint out of the design. - 12Pick up lace pattern with stamper
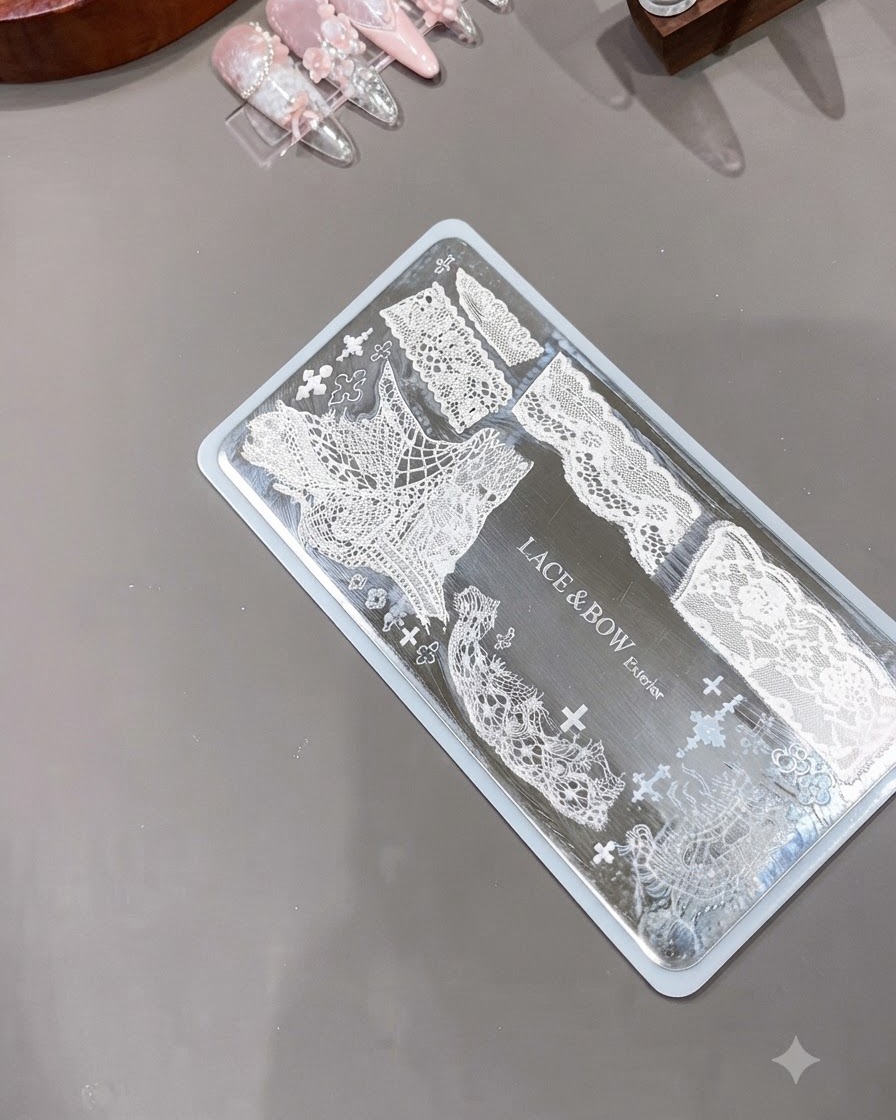
Take a clear silicone nail stamper and press it down onto the prepared lace engraving on the metal plate using a gentle rolling motion. Ensure the entire pattern makes full contact with the stamper surface so the complete design lifts cleanly.
Tip: Roll the stamper across the plate rather than pressing straight down to prevent air bubbles and ensure a crisp image transfer. - 13Transfer lace pattern onto nail
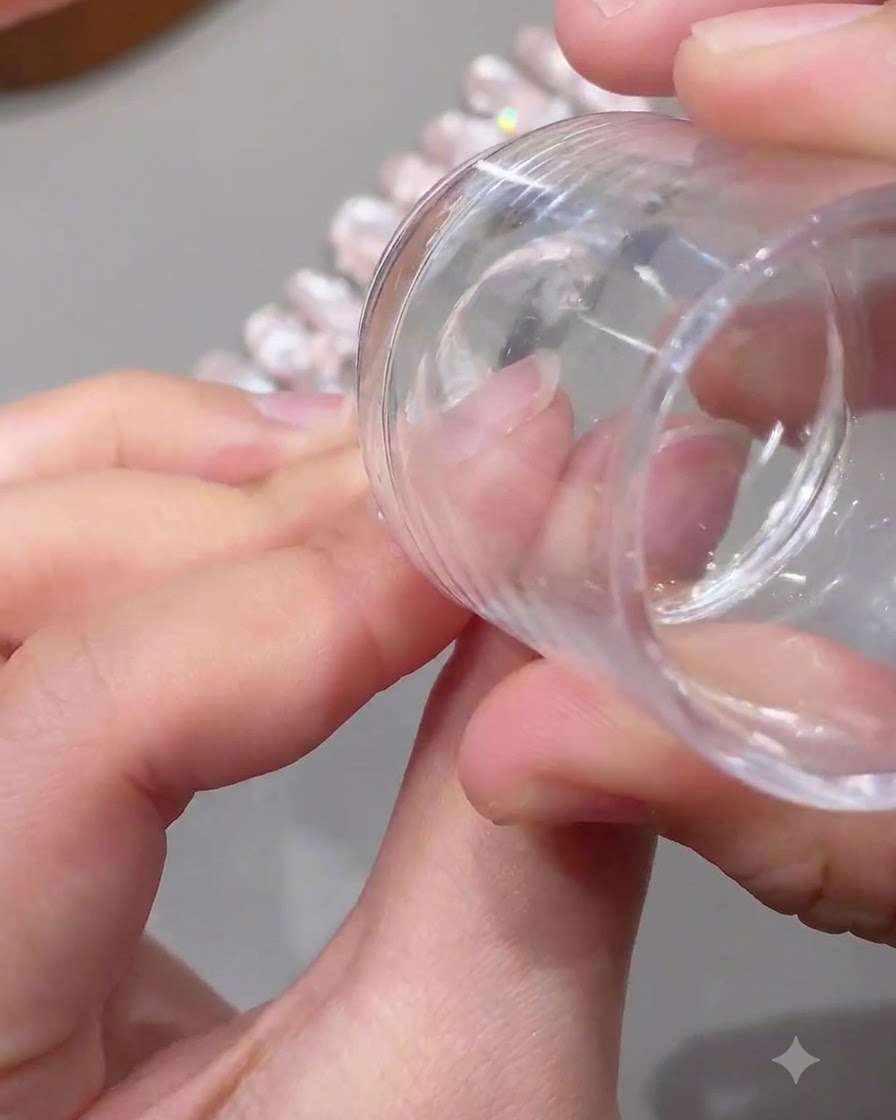
Align the picked-up lace design on the silicone stamper with the target area on the nail tip. Gently press and roll the stamper across the nail surface to transfer the delicate white lace details accurately onto the cured gel layer.
Tip: Work quickly once the pattern is picked up, as gel can begin to skin over or attract dust if left exposed in the air too long. - 14Outline French tip shape
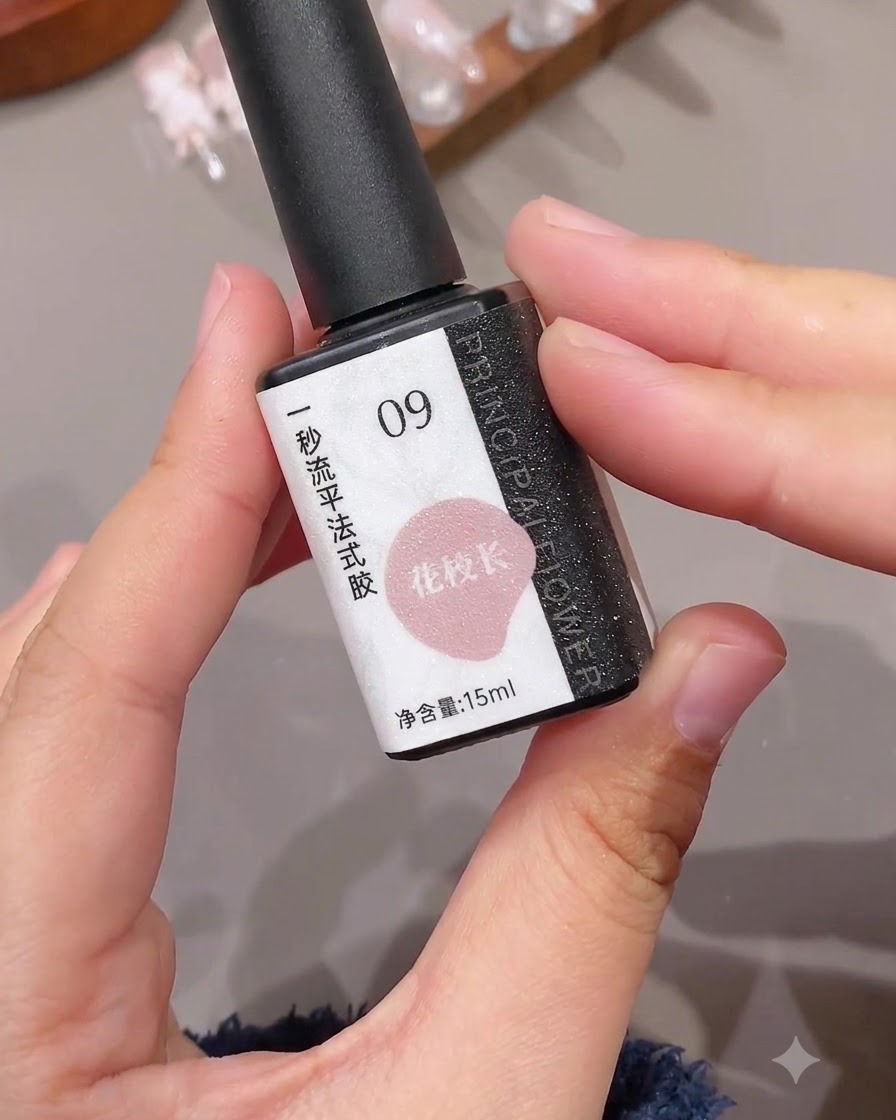
Dip a fine liner brush into Huaxiaochang 1-second flow gel (09) and carefully outline the desired height, curve, and arch of the French tip along the edge of the nail. Take your time to ensure symmetry and clean smile lines on both sides.
Tip: Keep your hand anchored on your work table for stability when drawing fine lines to prevent shaky brush strokes. - 15Fill in French tip area
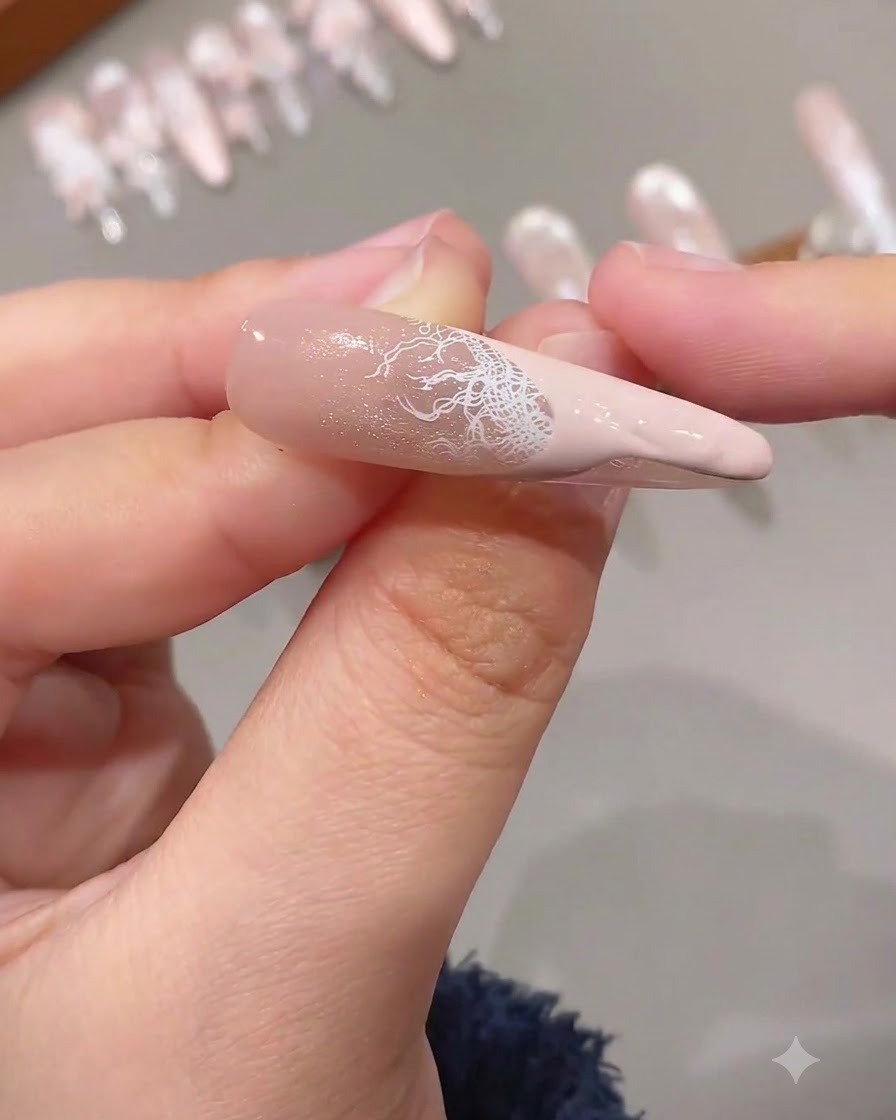
Using the 1-second flow gel, fill in the remaining area of the French tip below the outlined border. Smooth out any uneven patches so the color layer is uniform and neat, then cure under the lamp before moving on to the next design phase.
Tip: Use the self-leveling properties of the flow gel to let the surface smooth out naturally before curing, eliminating brush marks. - 16Apply soft reinforcement gel
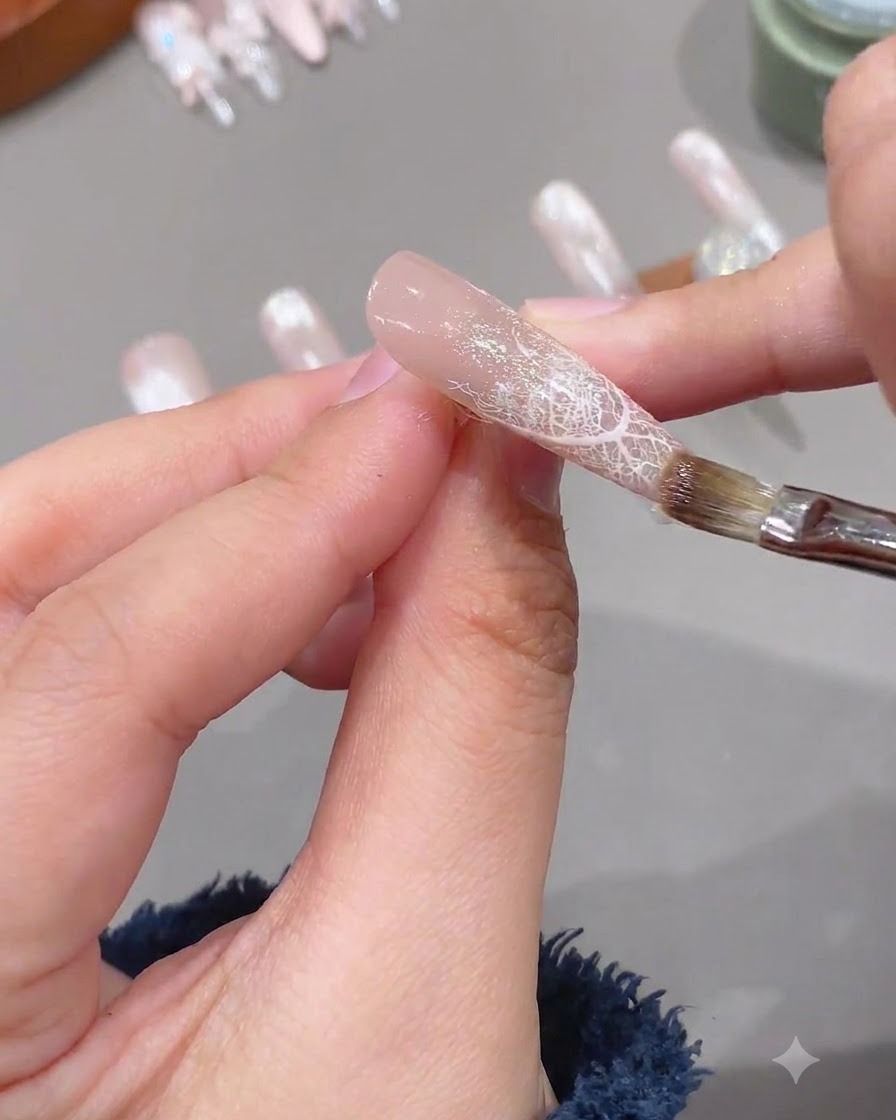
Apply a layer of soft reinforcement gel over the entire nail to prepare the surface for sculpting the 3D nail art. This layer provides extra strength and creates an ideal tacky base for the sculpted petals to adhere to securely.
Tip: Ensure the reinforcement gel is evenly distributed across the entire nail without pooling near the cuticles.