Hailey Bieber Pearl Chrome Aurora Glass Cat Eye Nails — Step-by-Step Tutorial
Create Hailey Bieber's iconic pearl chrome aurora glass cat-eye nails with an easy-to-follow guide featuring sponge gradient techniques and magnetic gel effects.
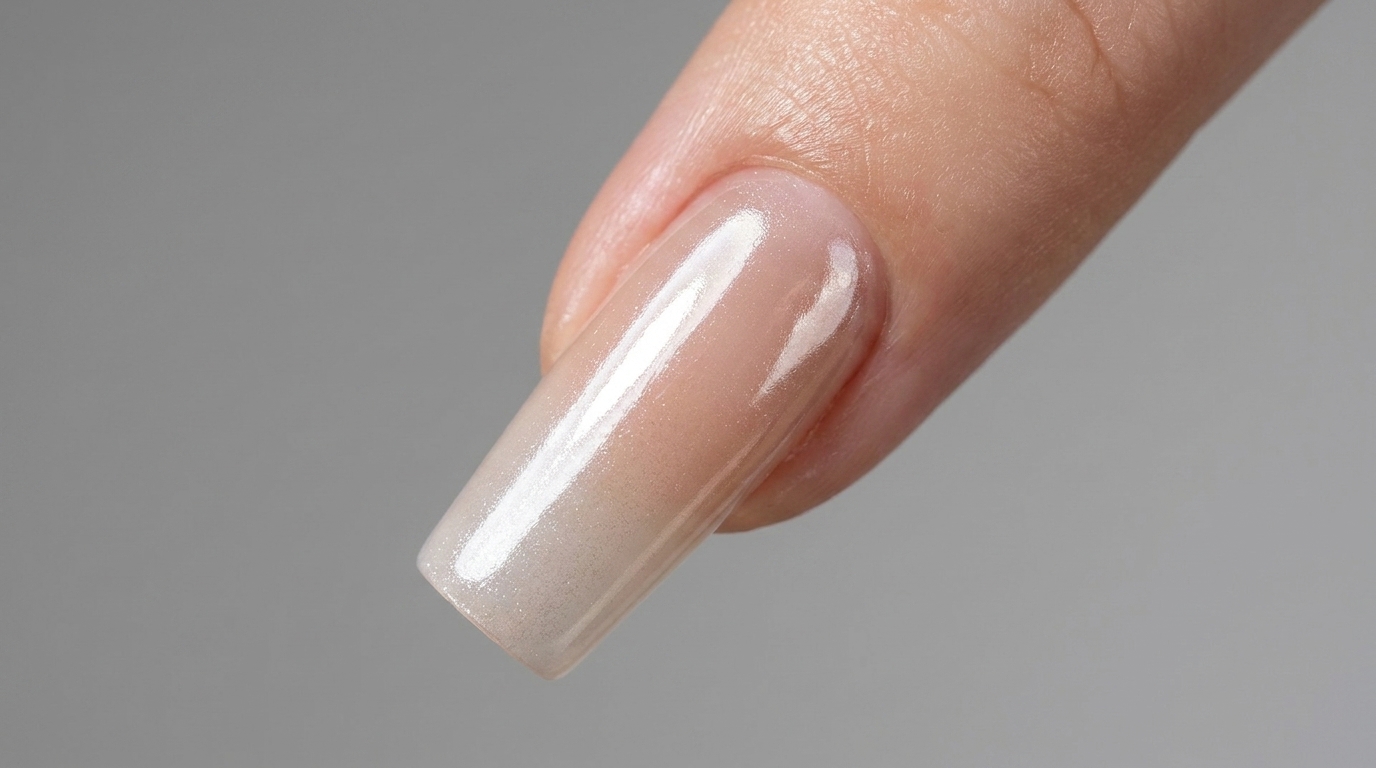
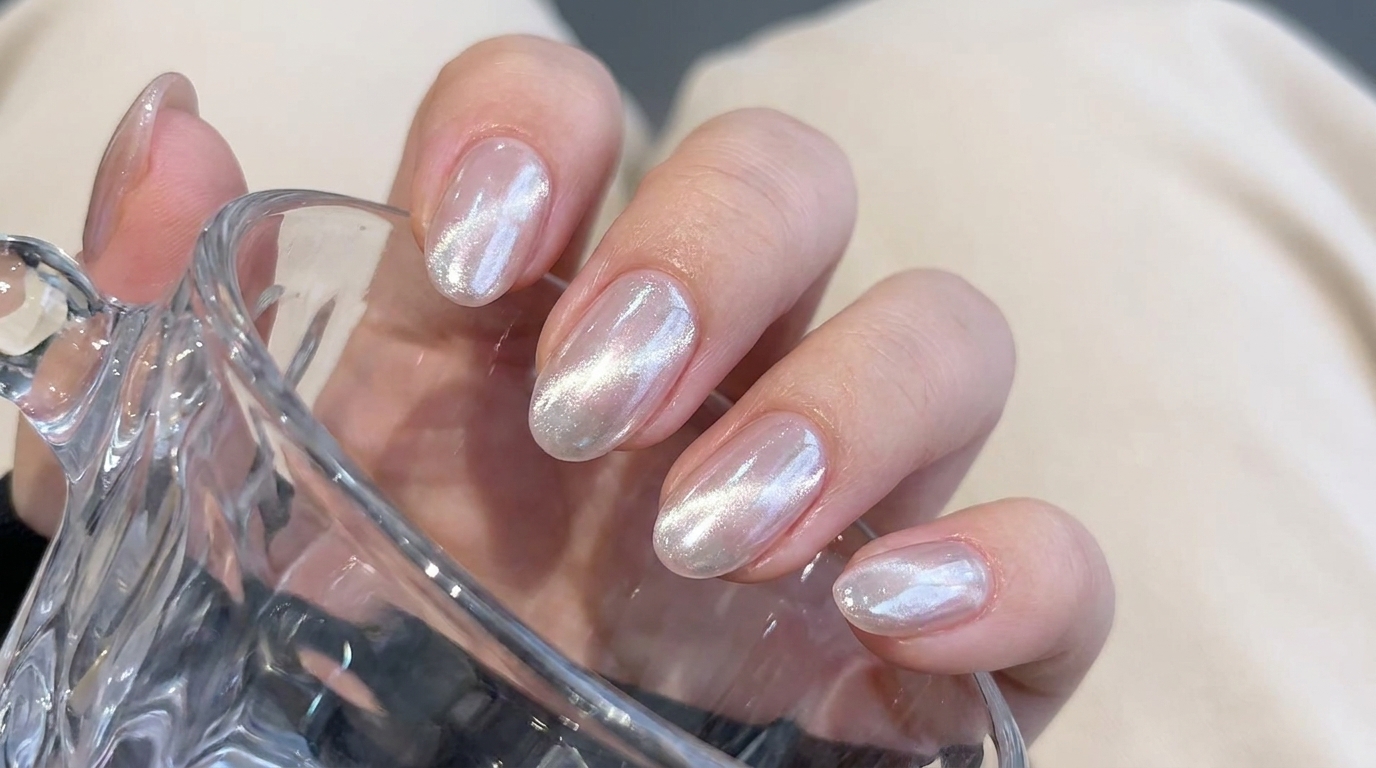
Pearl chrome and magnetic cat-eye effects have dominated modern nail trends, offering an ethereal finish that catches the light from every angle. This look combines an ivory white gradient base with a sheer pink wash, a dimensional glass ball cat-eye effect, and a high-end aurora chrome powder to achieve Hailey Biebers signature luminous style. Whether you are prepping for a special event or simply love a radiant, multi-dimensional manicure, this detailed guide walks you through each professional technique.
Steps
- 1Apply ivory white gradient at the cuticle line
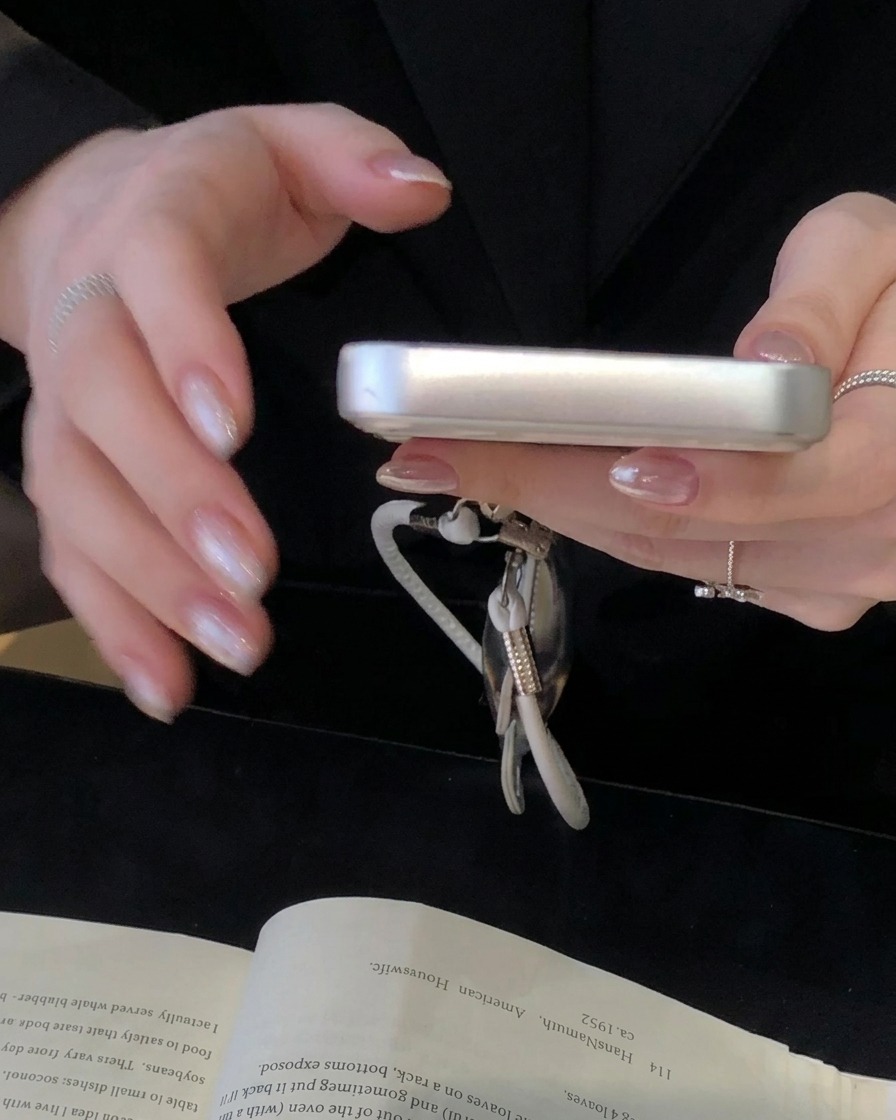
Apply ivory white gel onto a sponge stamp tool to create a soft gradient effect at the cuticle line. Gently stamp the color onto the nail to achieve a smooth, delicate transition. Repeat this sponge stamping technique twice to ensure even coverage across the nail surface.
Tip: Applying the stamp twice with light pressure ensures a seamless, ultra-thin gradient without heavy texture. - 2Stamp ivory white gradient at the cuticle
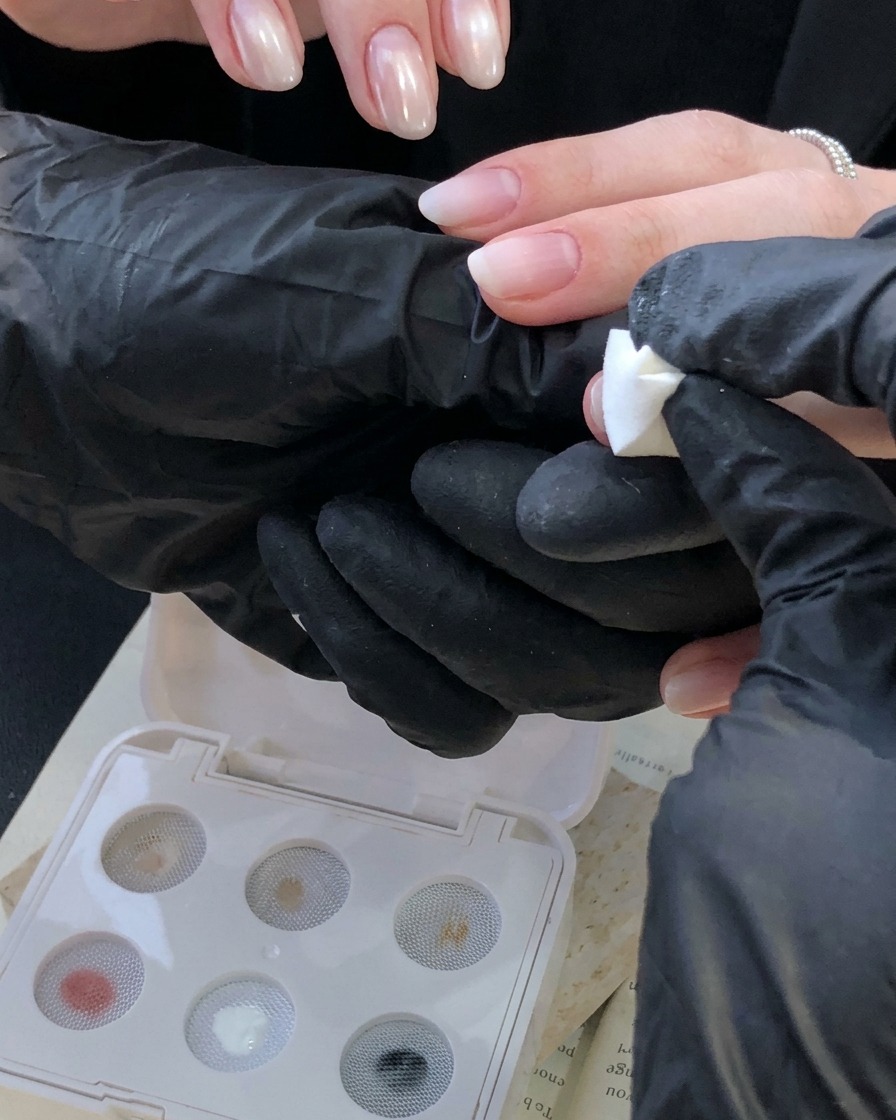
Take an ivory white sponge stamp nail and gently stamp the gradient look onto the nail plate near the cuticle line. Apply this sponge stamping technique twice to ensure even coverage and a delicate, ultra-thin finish.
Tip: Applying the sponge stamp twice creates a much smoother and more even gradient coverage than a single pass. - 3Repeat sponge stamping for smoothness
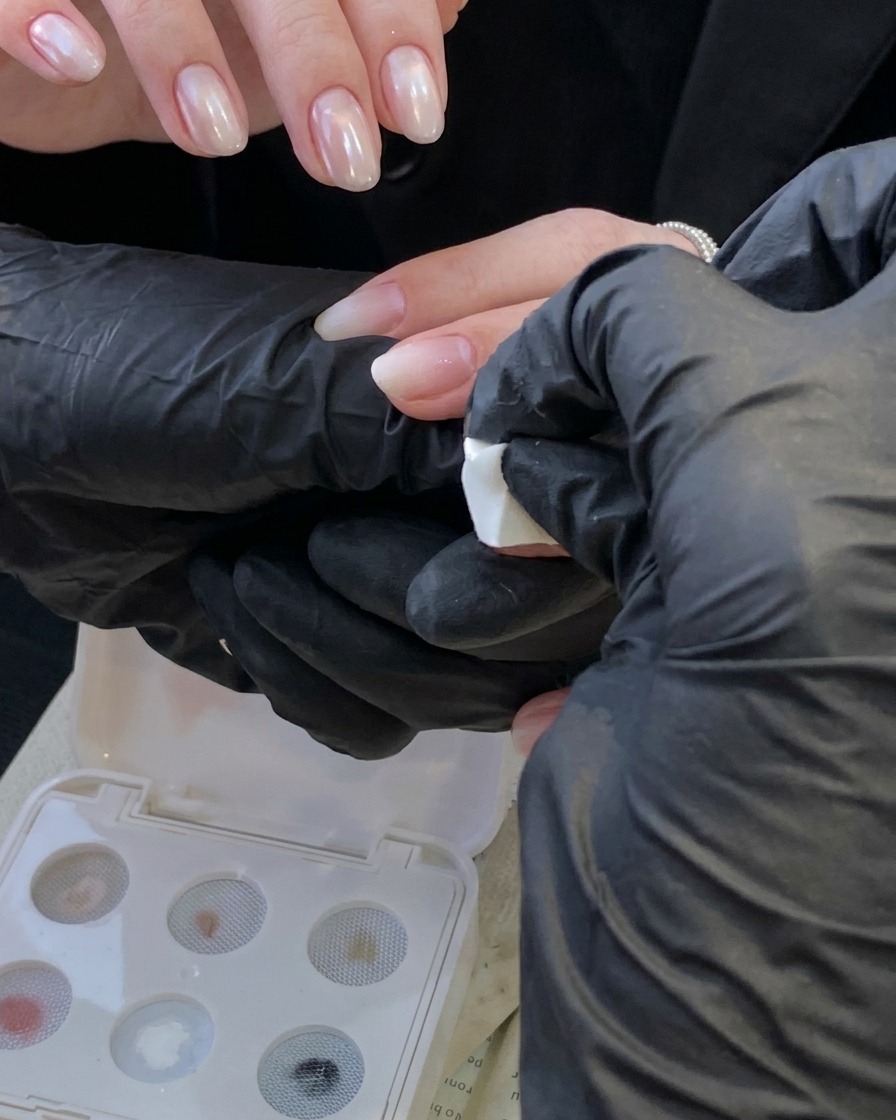
Repeat the sponge stamping technique a second time over the same area to achieve an even and refined coverage. This method ensures the gradient remains delicate and ultra-thin.
Tip: Keep the sponge light-handed during the second pass to avoid disturbing the first layer of gradient. - 4Layer a light sheer pink color
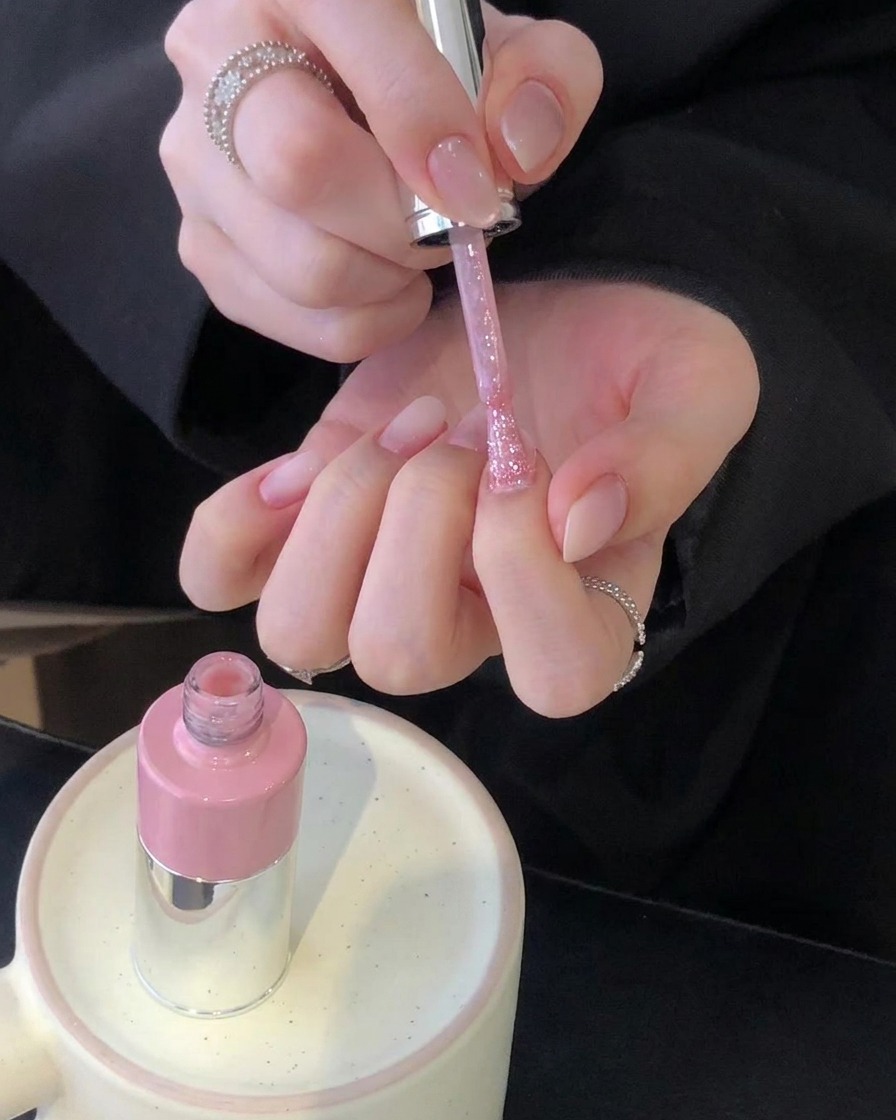
Layer a small amount of light pink color polish over the nail using the brush to introduce a warm, cozy vibe to the manicure. Apply it evenly across the pre-stamped gradient base.
Tip: A sheer pink wash adds a lovely depth over the white gradient without overpowering the soft transition. - 5Apply translucent sheer white gel color 205
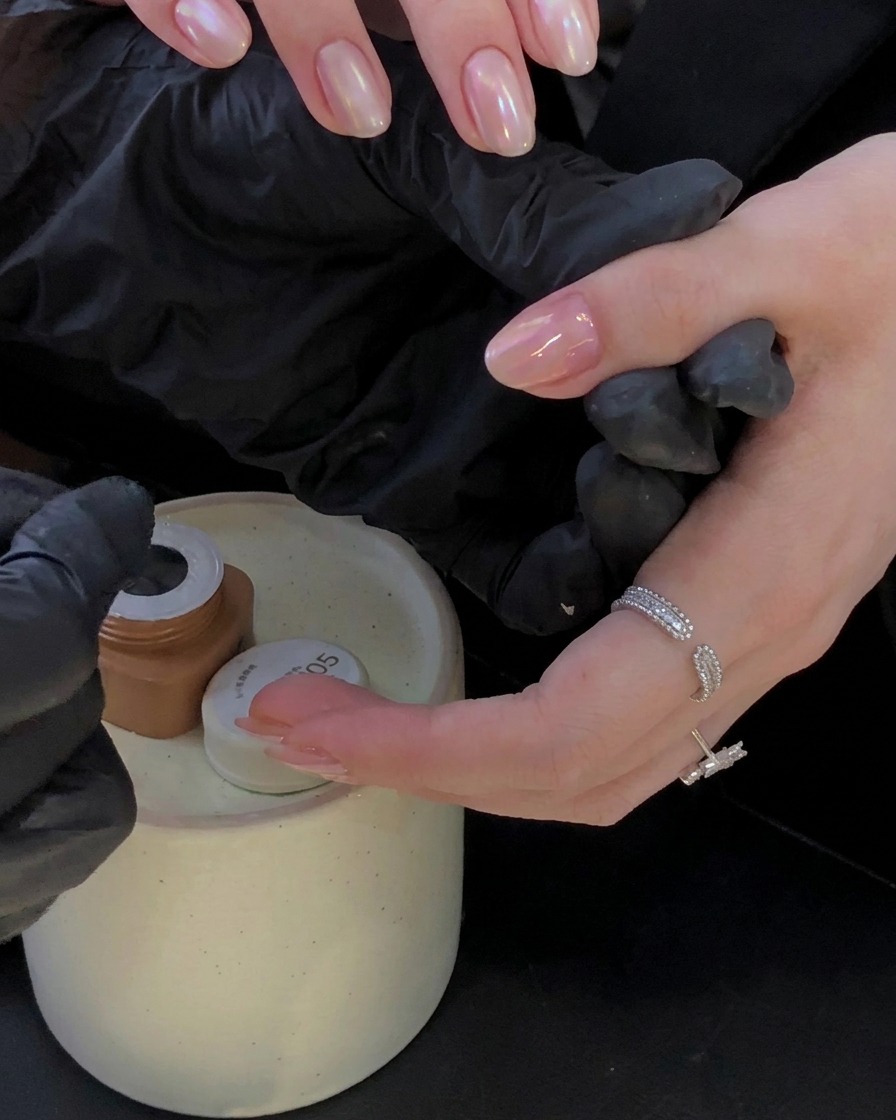
Apply color number 205, a translucent sheer white gel, across the entire nail plate in a thin layer. Ensure it is applied thinly so it avoids looking like jade stone and maintains its delicate translucent appearance.
Tip: Always apply this shade thinly; a thick application will make the nails look heavy and lose their sheer quality. - 6Activate cat eye magnetic effect
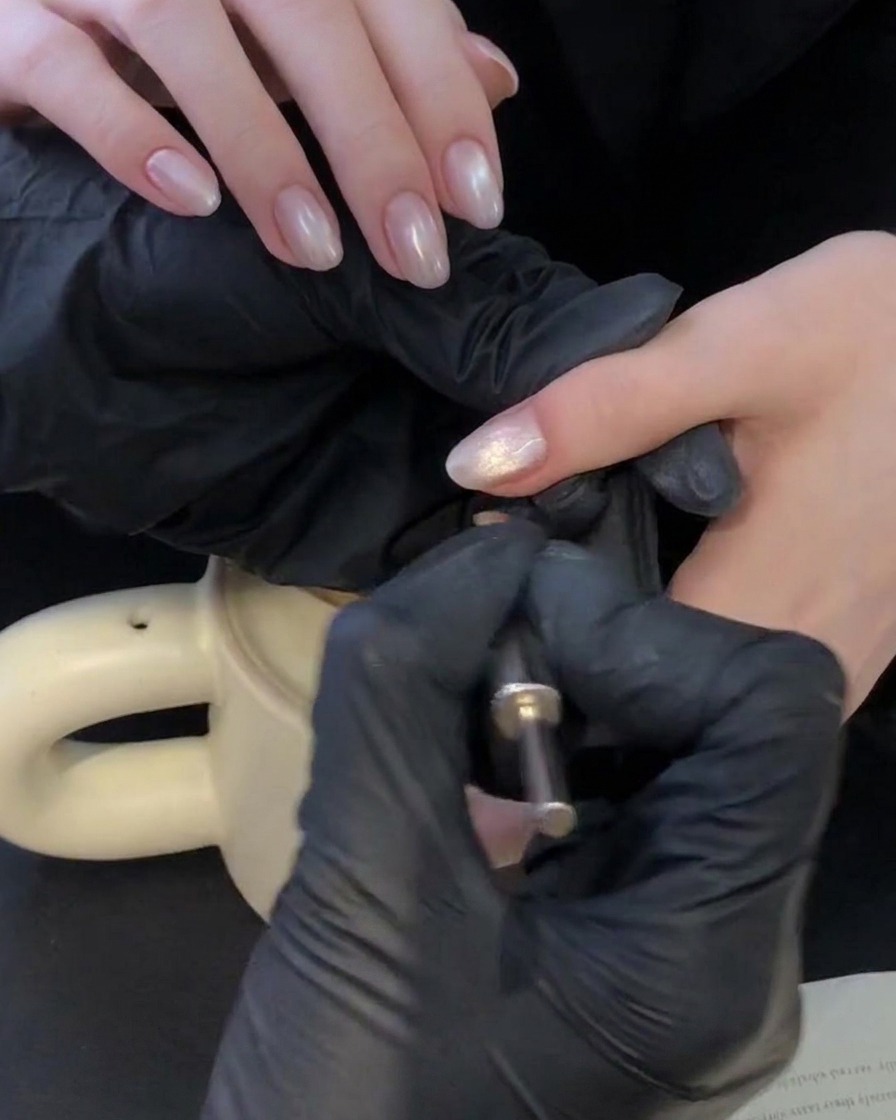
Directly use the magnet to pull the cat eye light while the gel is still wet. Gently hover and pull the hand to create a brilliant, attractive broken glass ball effect.
Tip: Hover the magnet closely and steadily to achieve a sharp, dimensional light reflection without touching the wet surface. - 7Shape the cat eye light with a magnet
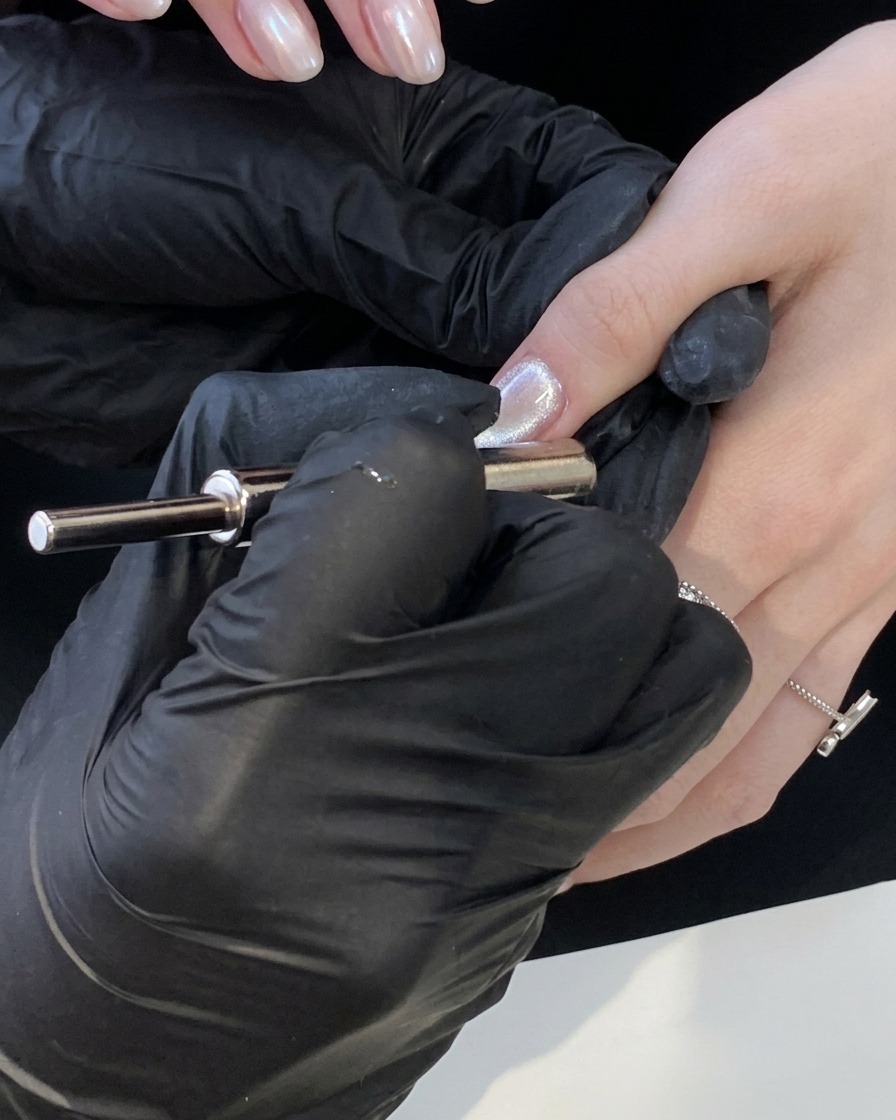
Directly use the magnet to pull the cat eye light after applying the sheer white base. Gently hover and pull the hand using the magnetic wand to shape the particles into a brilliant, concentrated glowing glass ball effect.
Tip: Keep the magnet close to the nail without touching it, and hold it steady for a few seconds to lock the magnetic particles into place. - 8Apply color base top coat
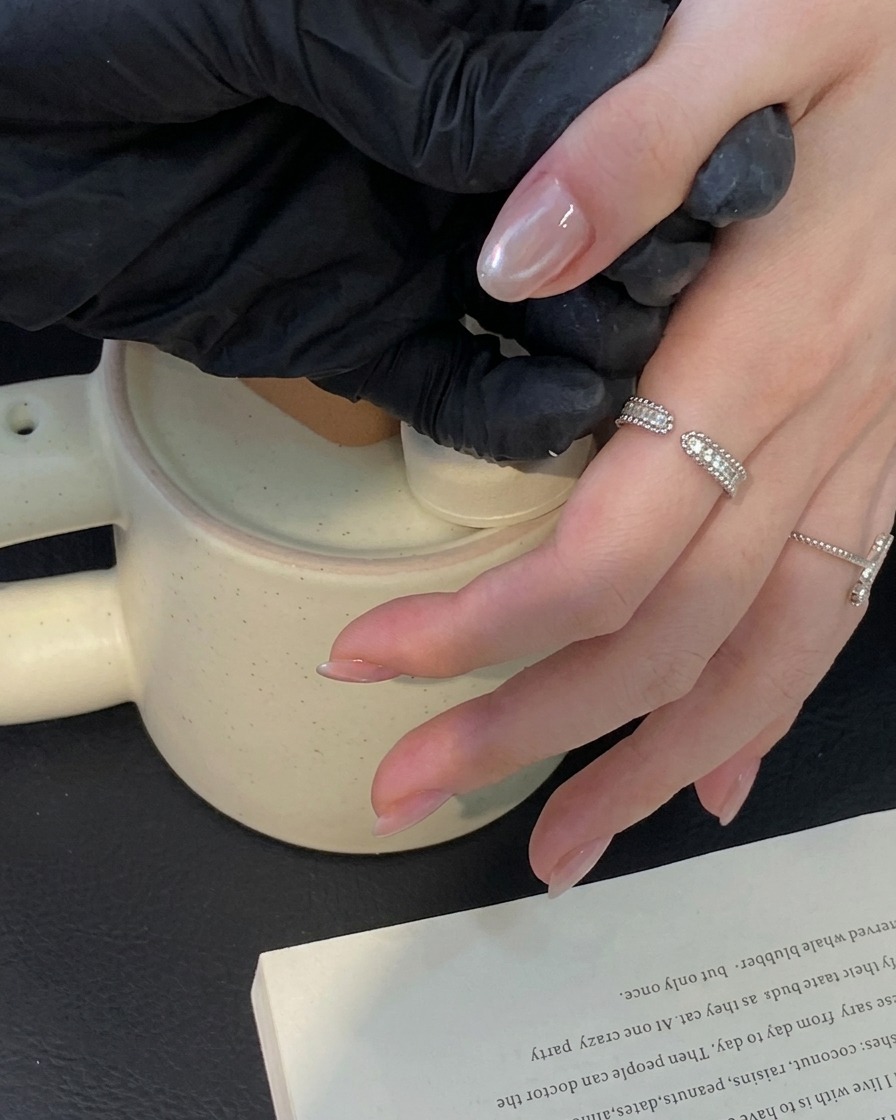
Apply a layer of color base top coat over the cured cat eye gel to seal the design and prepare the surface for subsequent layers. Ensure an even application across the entire nail for a smooth finish.
Tip: Cap the free edge with the top coat to prevent chipping and ensure longevity. - 9Cure under UV/LED lamp
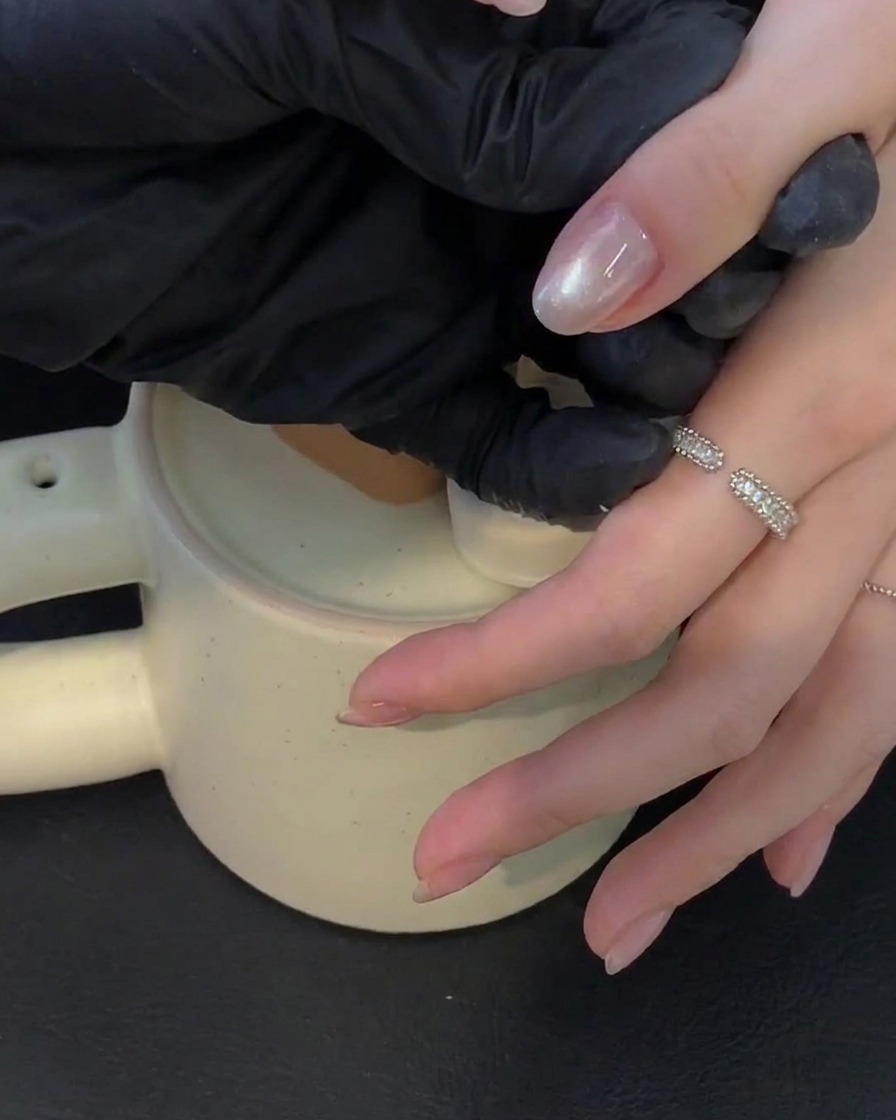
Place the hand under the UV or LED lamp and cure for 30 seconds or more to ensure the top coat and gel layers are completely set and hardened.
Tip: Make sure your hand is positioned correctly inside the lamp to ensure all fingers receive even UV exposure. - 10Pick up aurora chrome powder
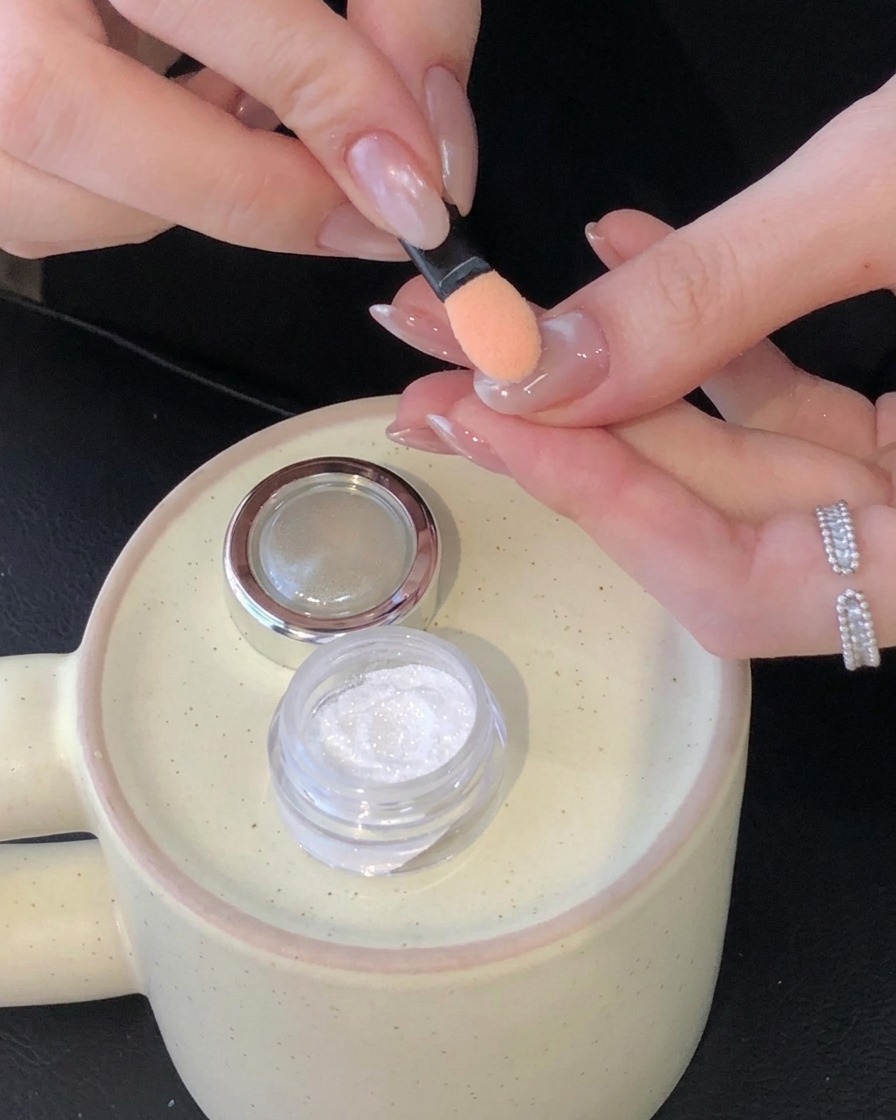
Take a sponge eyeshadow applicator and pick up a small amount of high-end white aurora chrome powder. Ensure the powder is evenly distributed on the applicator tip for a smooth application.
Tip: Tap off any excess powder from the applicator before touching the nail to prevent clumping. - 11Rub in aurora chrome powder
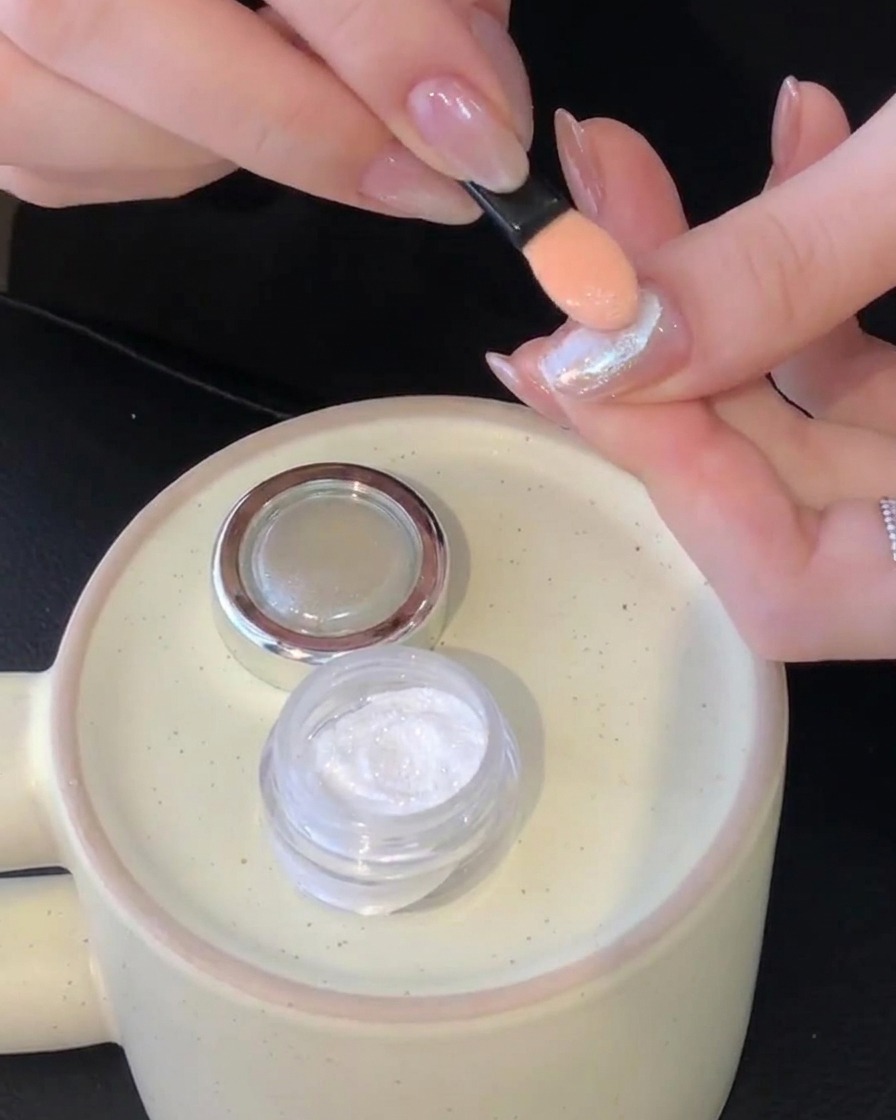
Rub the chrome powder vigorously across the cured nail surface in circular motions using the sponge applicator. This magical step creates a metallic yet soft sheen that flashes with an electric pearl-like luster.
Tip: Buff the powder gently until it transforms into a smooth, mirror-like ethereal glow resembling moonlight. - 12Seal with base and top coat
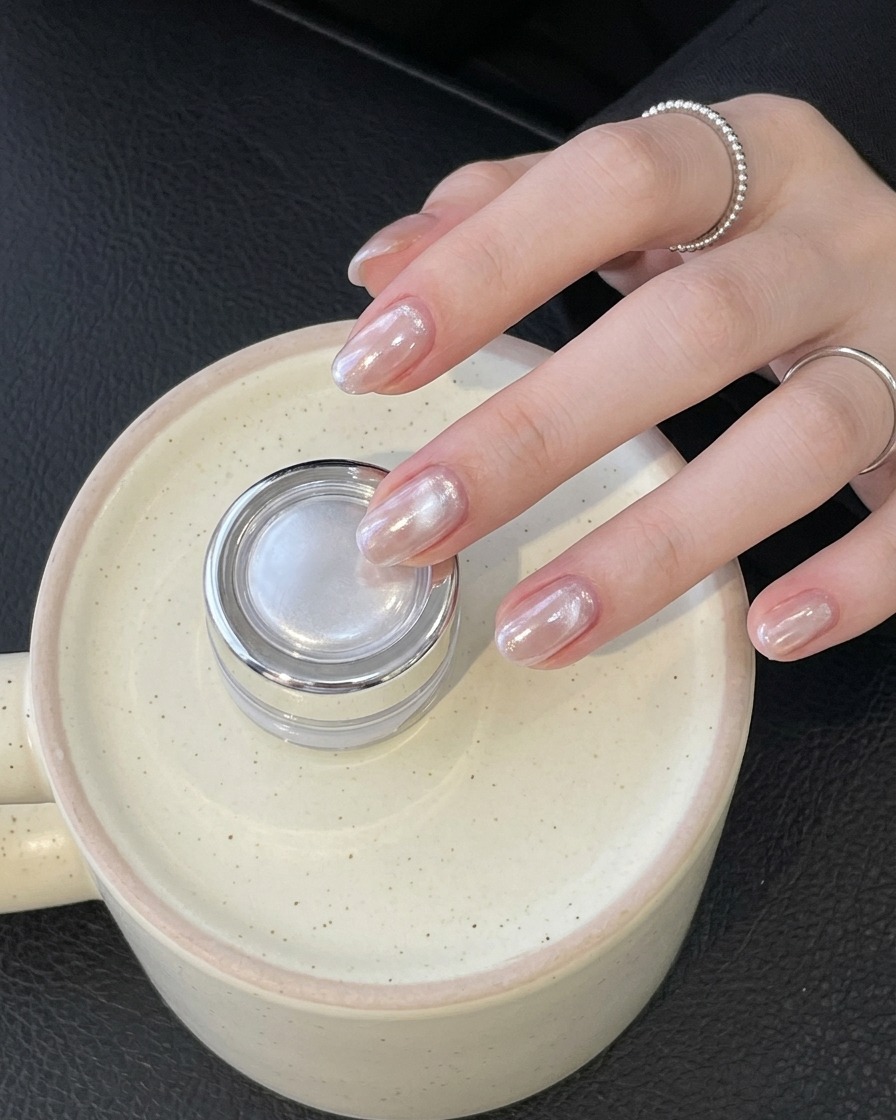
Apply the final layer of base coat and top coat to seal in the pearl chrome aurora finish, ensuring long-lasting wear and a brilliant high-gloss shine. Cure completely under the UV or LED lamp.
Tip: Cap the free edge carefully with the top coat to prevent chipping and seal the chrome powder completely.