White Gradient Hollow Butterfly Nail Art — Step-by-Step Tutorial
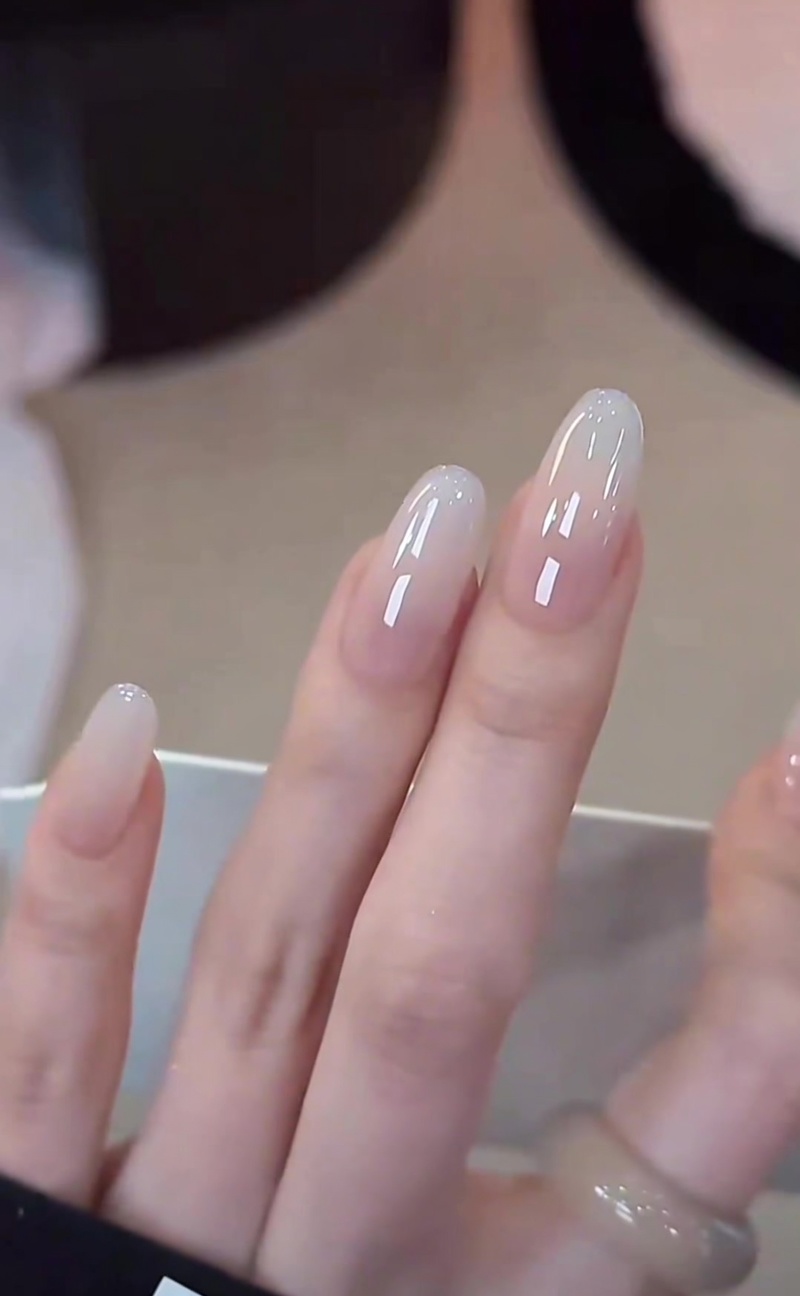
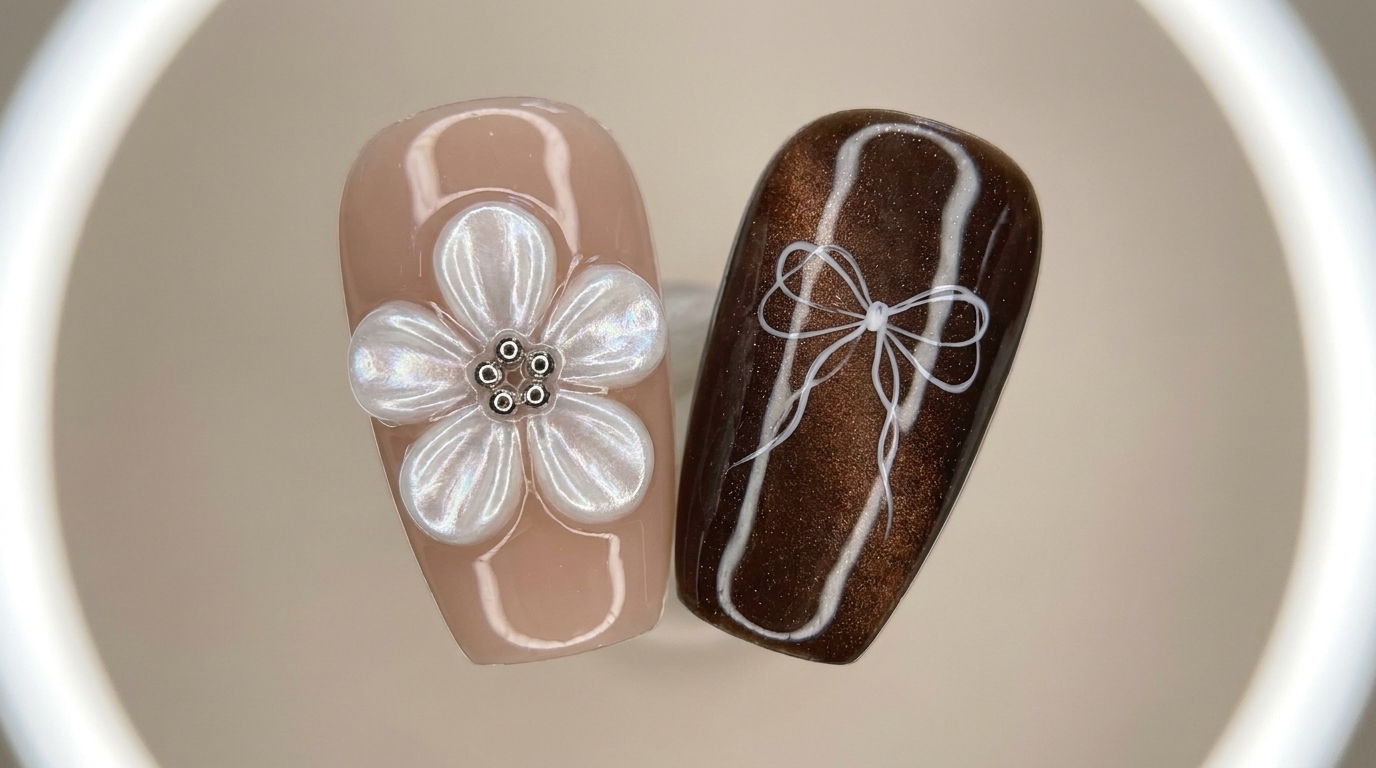
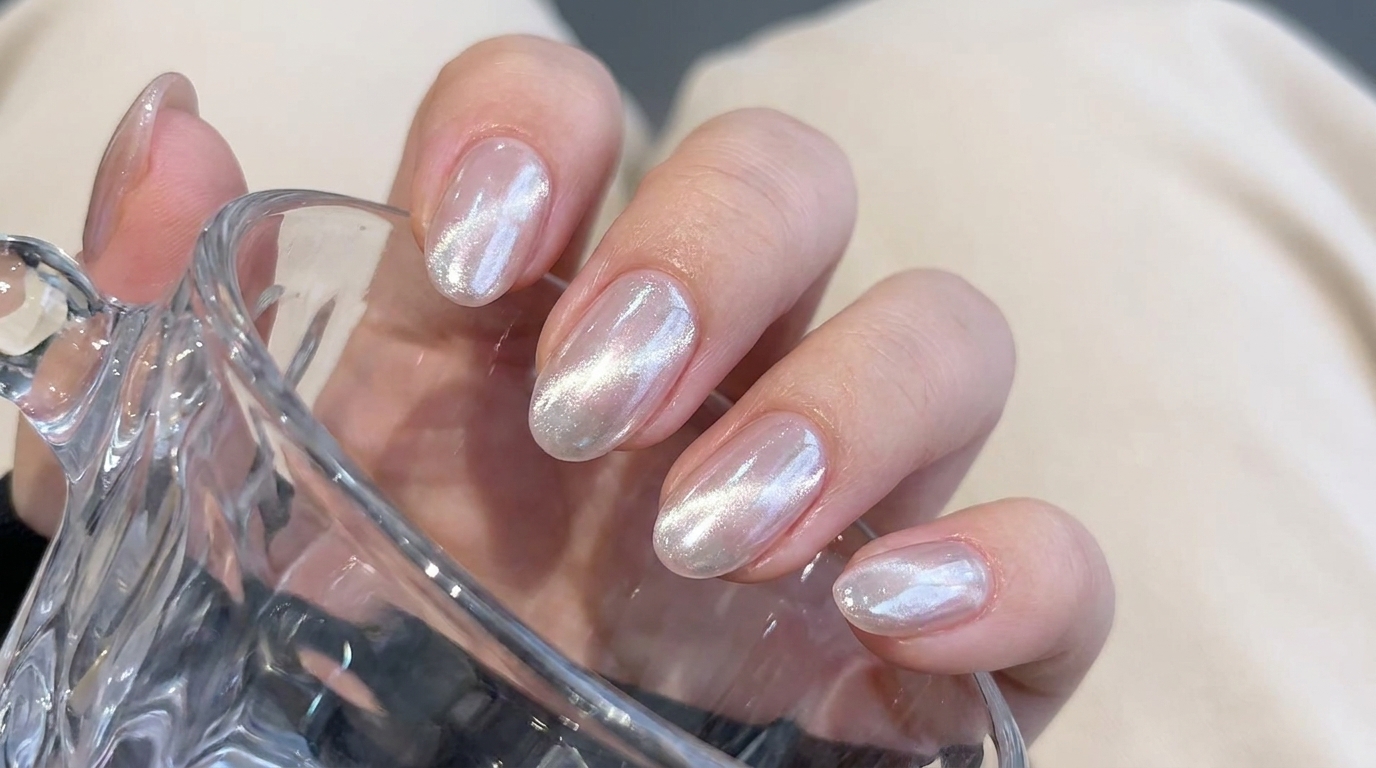
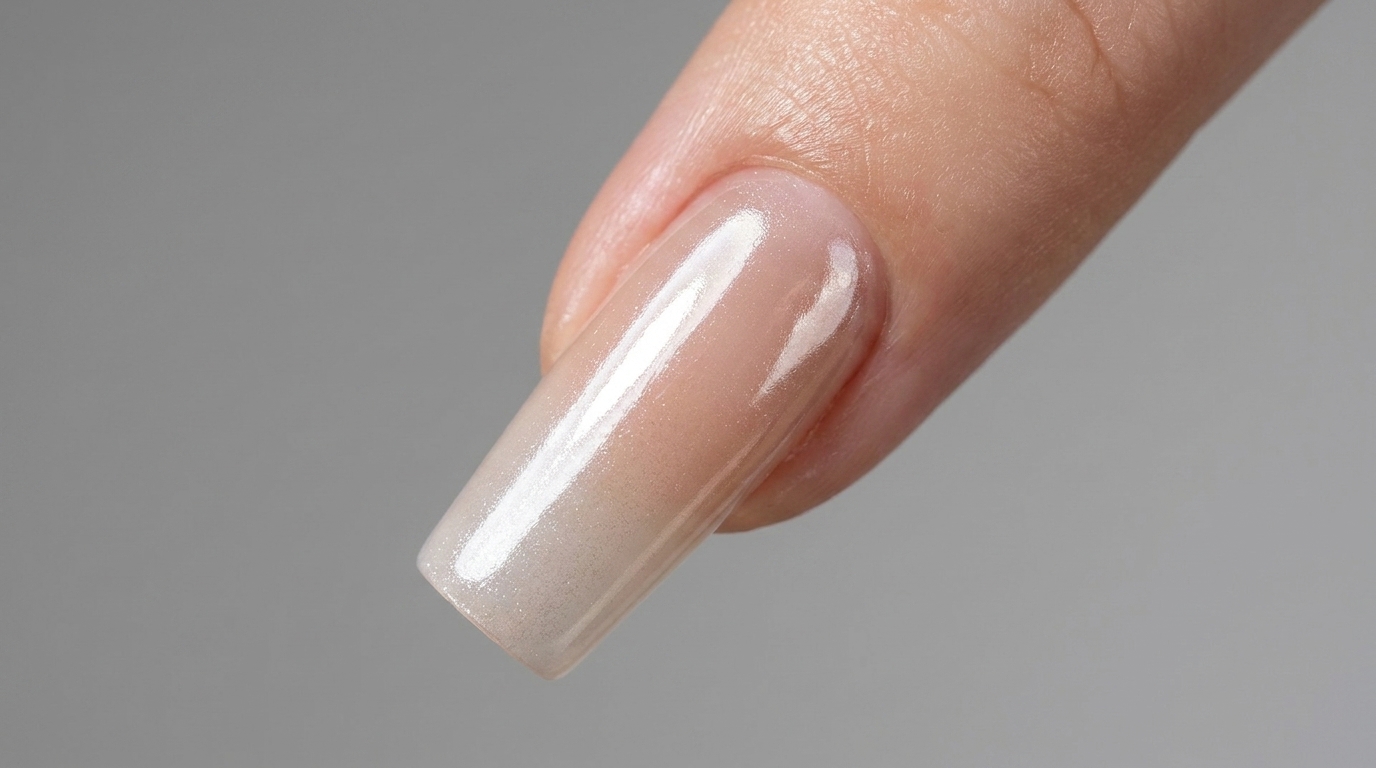
Create an elegant white gradient hollow butterfly nail art design featuring iridescent opal flakes, stencil stickers, and delicate rhinestones without an airbrush.
Hollow butterfly designs combined with soft gradient effects offer a mesmerizing, ethereal look that stands out in any setting. By using precision stencil stickers and a dry sponge patting technique, you can easily achieve a professional salon-quality finish at home.
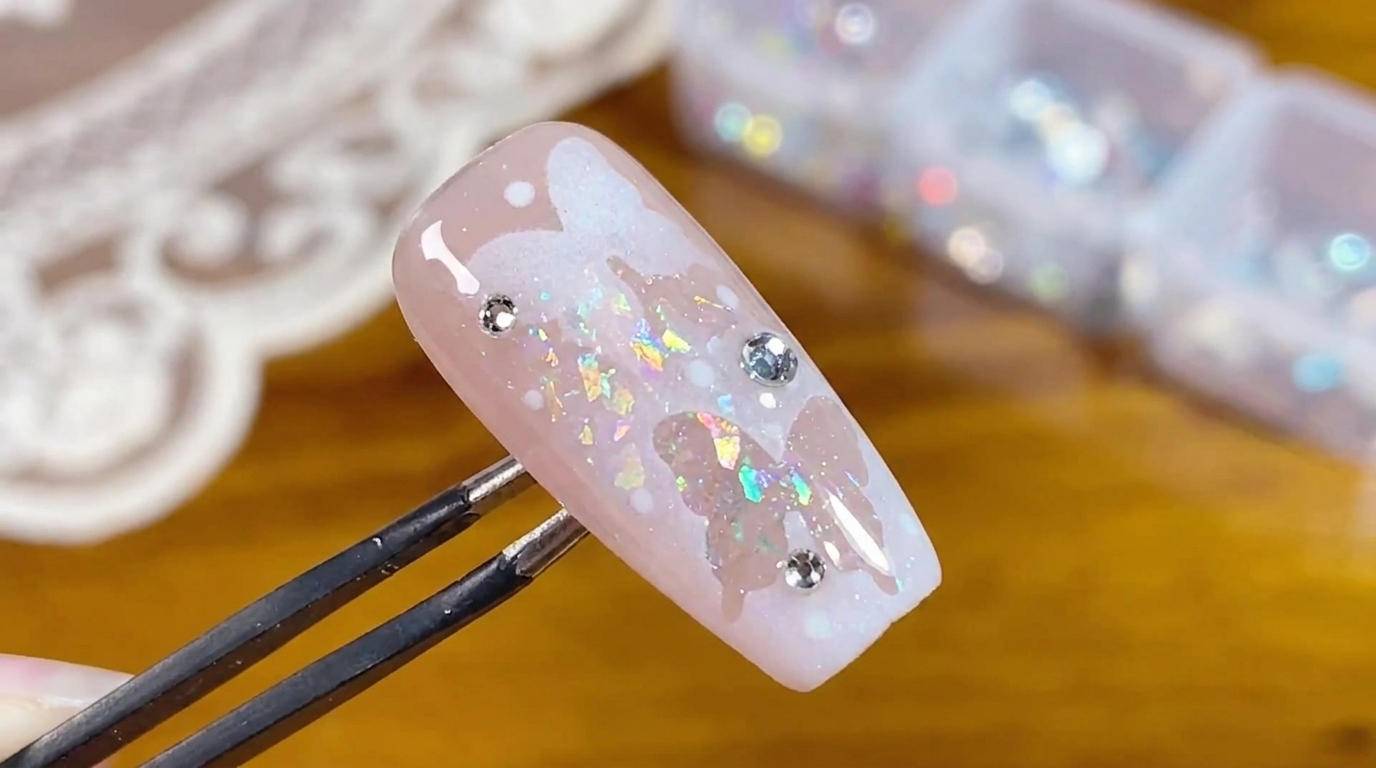
Steps
- 1Apply pink crystal gel base
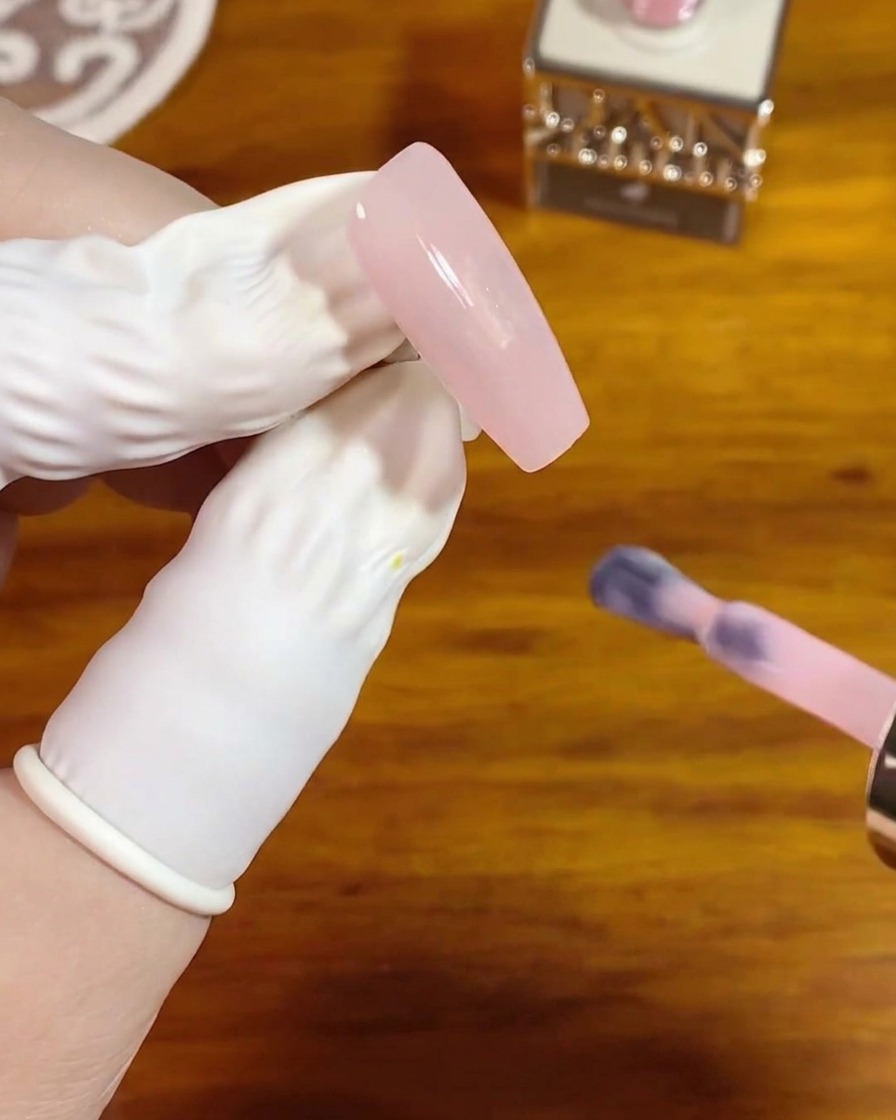
Begin by applying an even layer of translucent pink crystal gel base to the prepared nail. Choosing a color that closely matches your natural skin tone will ensure the final gradient looks seamless and natural. Once the application is smooth, cure the nail under your UV/LED lamp for 30 seconds.
Tip: Keep the base layer thin and even to prevent any bumpiness that could distort the hollow design later. - 2Add iridescent opal flakes
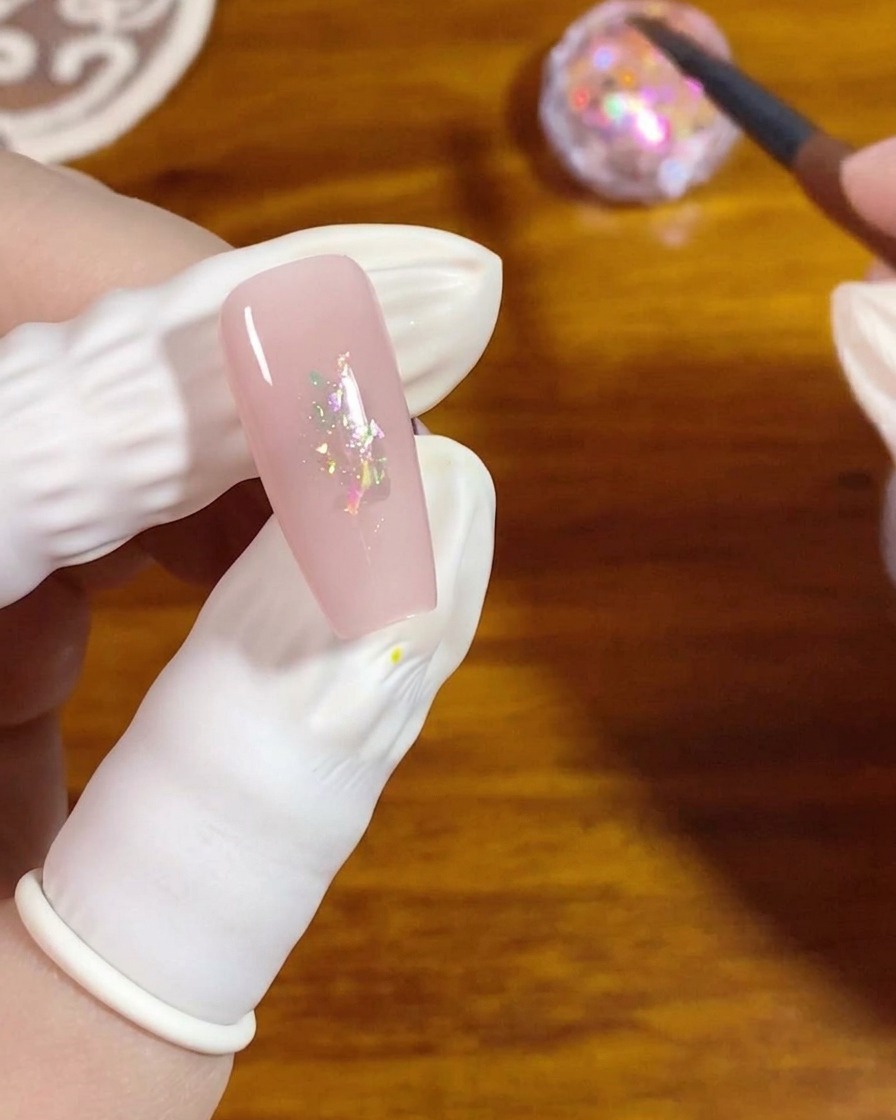
While the pink base is still slightly tacky, use a flat gel brush to pick up some iridescent opal flakes. Gently place and press them flat onto the center area of the nail. Avoid spreading them too close to the side walls.
Tip: Ensure the flakes lay completely flat against the nail surface so they do not poke through the subsequent layers. - 3Apply matte top coat
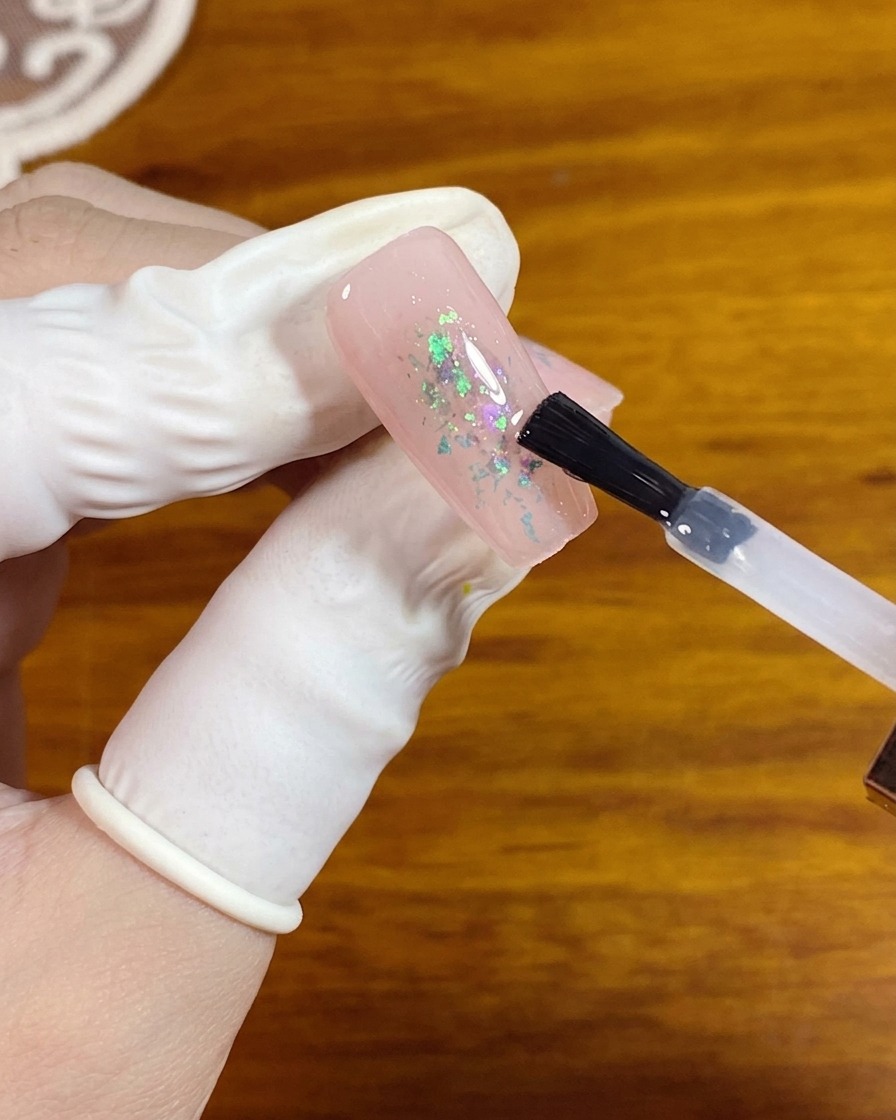
Apply an even layer of matte top coat over the entire nail surface to seal in the opal flakes. Cure under the lamp for another 30 seconds. This step is essential because it removes the sticky layer, creating a smooth, dry surface that helps the stencil sticker adhere perfectly.
Tip: A matte surface provides better grip for stickers and prevents them from sliding or peeling up at the edges. - 4Place the butterfly stencil
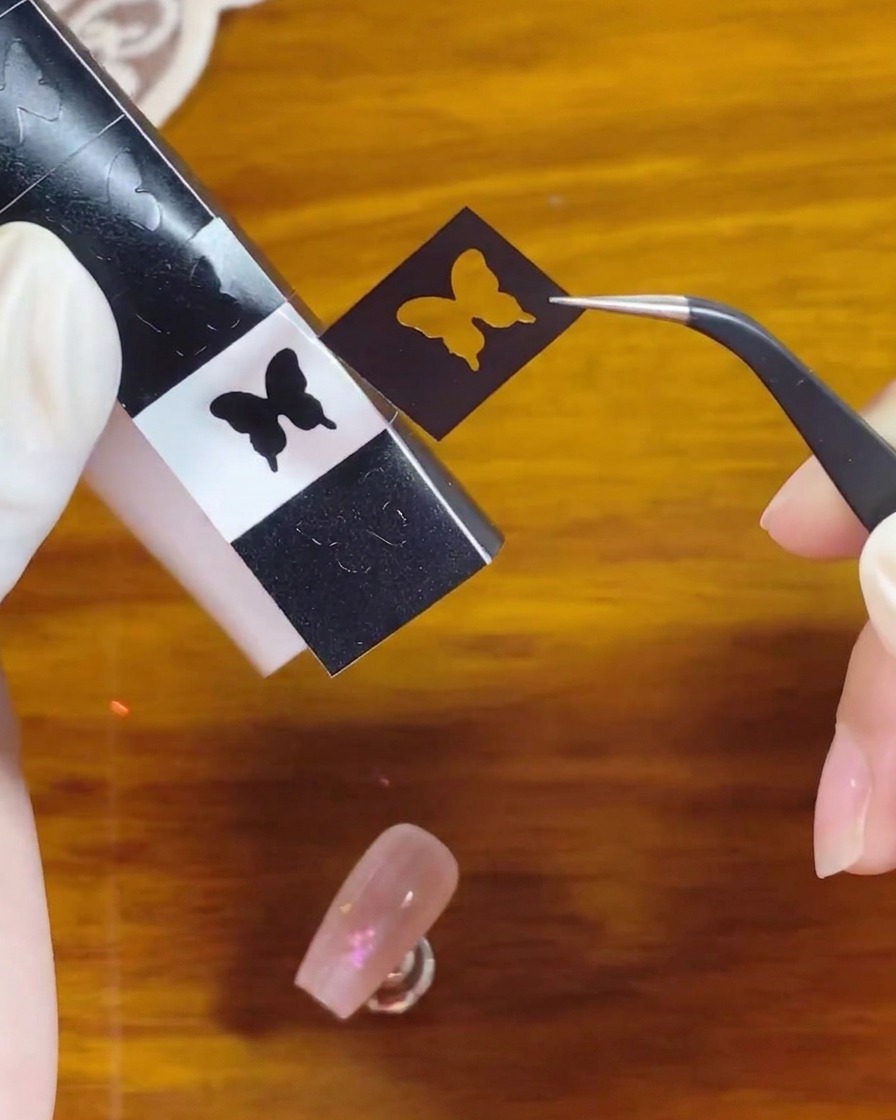
Using a pair of precision tweezers, carefully remove a butterfly stencil sticker from its backing. Position the stencil directly onto the cured, matte nail surface. Press down firmly across the entire sticker, paying special attention to the edges.
Tip: Use a silicone tool or the pad of your finger to firmly smooth out the edges of the sticker to prevent any gel from bleeding underneath. - 5Prepare white patting gel
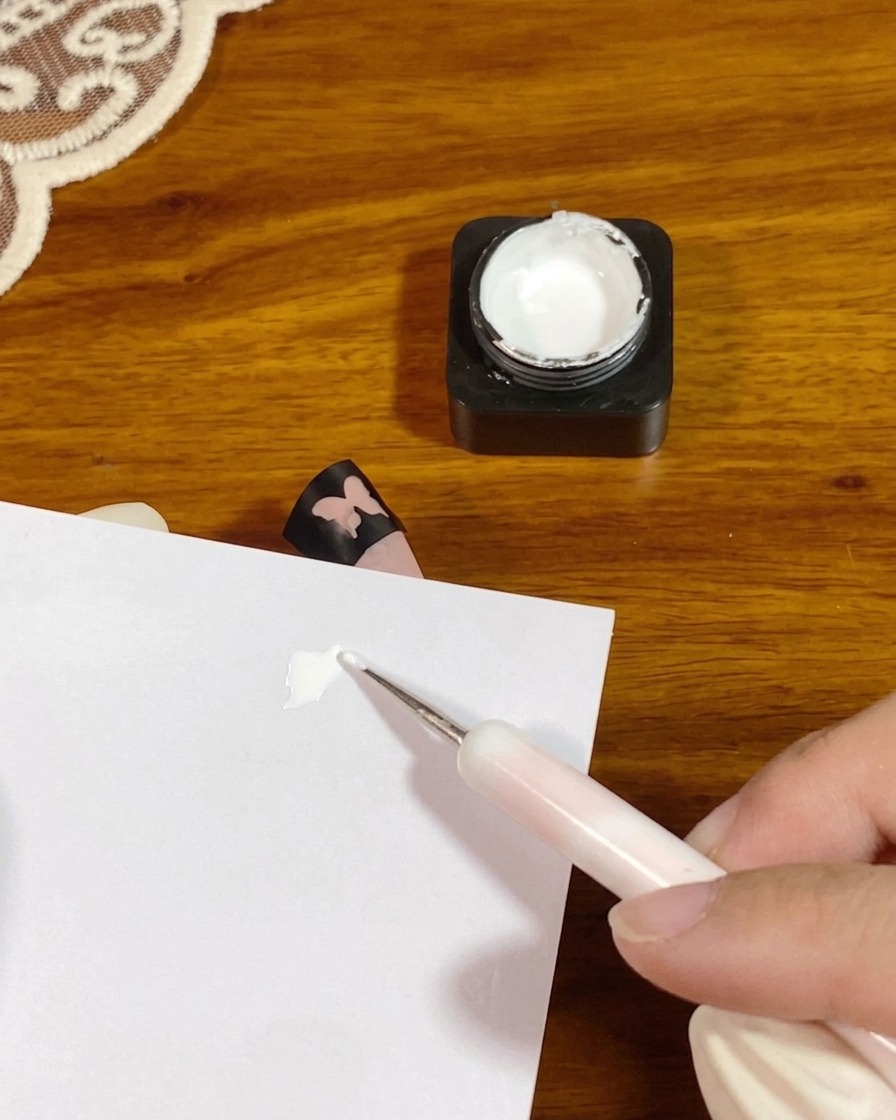
Dispense a small amount of white patting gel onto a palette paper or mixing tray. It is crucial to use a dry, highly pigmented gel that does not get stringy—similar to a painting gel—to ensure a clean, crisp gradient without a wet look.
Tip: Avoid using standard gel polish for this step, as its thinner, wetter consistency will easily bleed under the stencil and ruin the design. - 6Load the sponge with gel
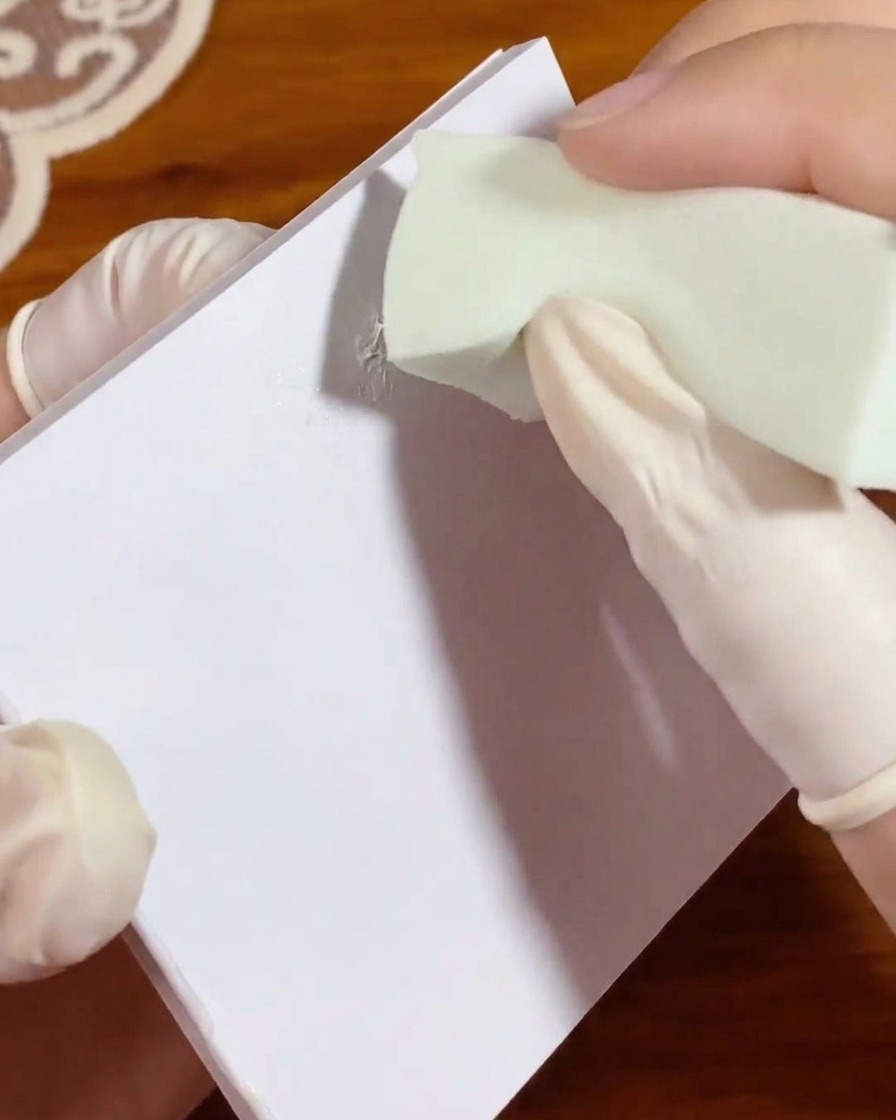
Take a fine, elastic, lint-free makeup sponge and dab it lightly into the white gel on your palette. Tap the sponge a few times on a clean area of the palette paper to distribute the product evenly across its surface and remove any excess gel.
Tip: Loading the sponge evenly is key to preventing harsh blobs of color and makes blending the gradient much smoother. - 7Pat white gel over the stencil
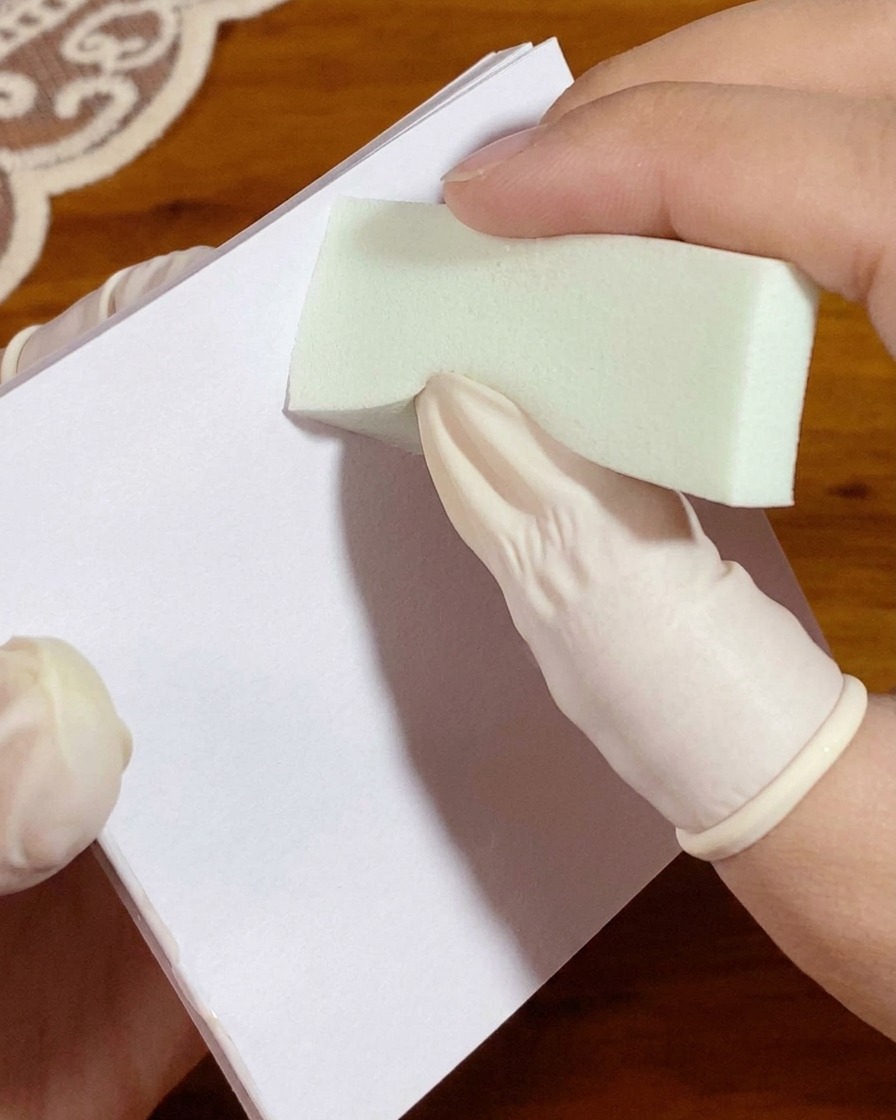
Take out a butterfly stencil sticker and place it on the nail. Put some white patting gel onto a palette paper and use a fine, elastic, lint-free sponge to pat it evenly. Pat the white gel directly over the stencil on the nail to create a soft gradient effect.
Tip: Make sure to use a dry patting gel that doesnt get stringy, similar to a painting gel, otherwise it will look wet and the gradient will fail. - 8Peel off the first butterfly stencil
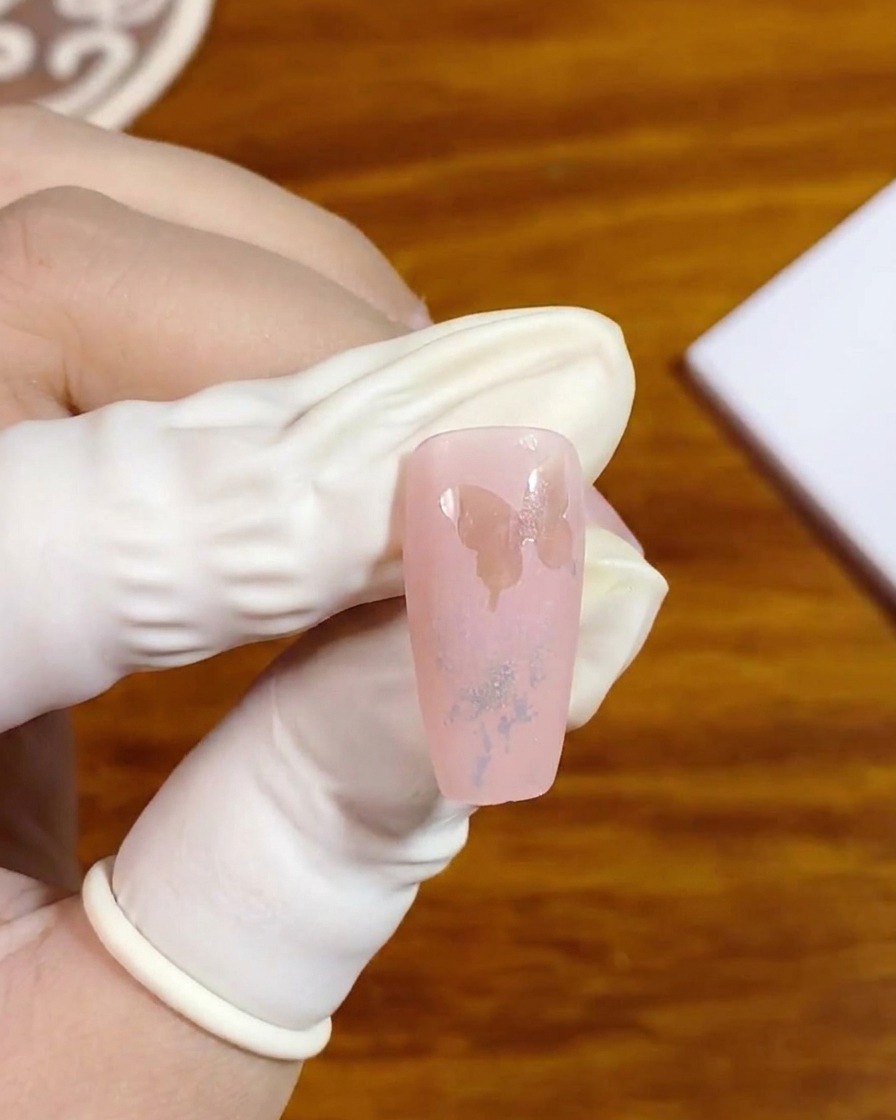
Use tweezers to carefully peel off the first butterfly stencil sticker before curing, revealing the negative space butterfly shape on the pink crystal gel base.
Tip: Always peel off the stencil sticker before curing the gel to ensure clean, sharp edges around the hollow butterfly design. - 9Apply second butterfly stencil
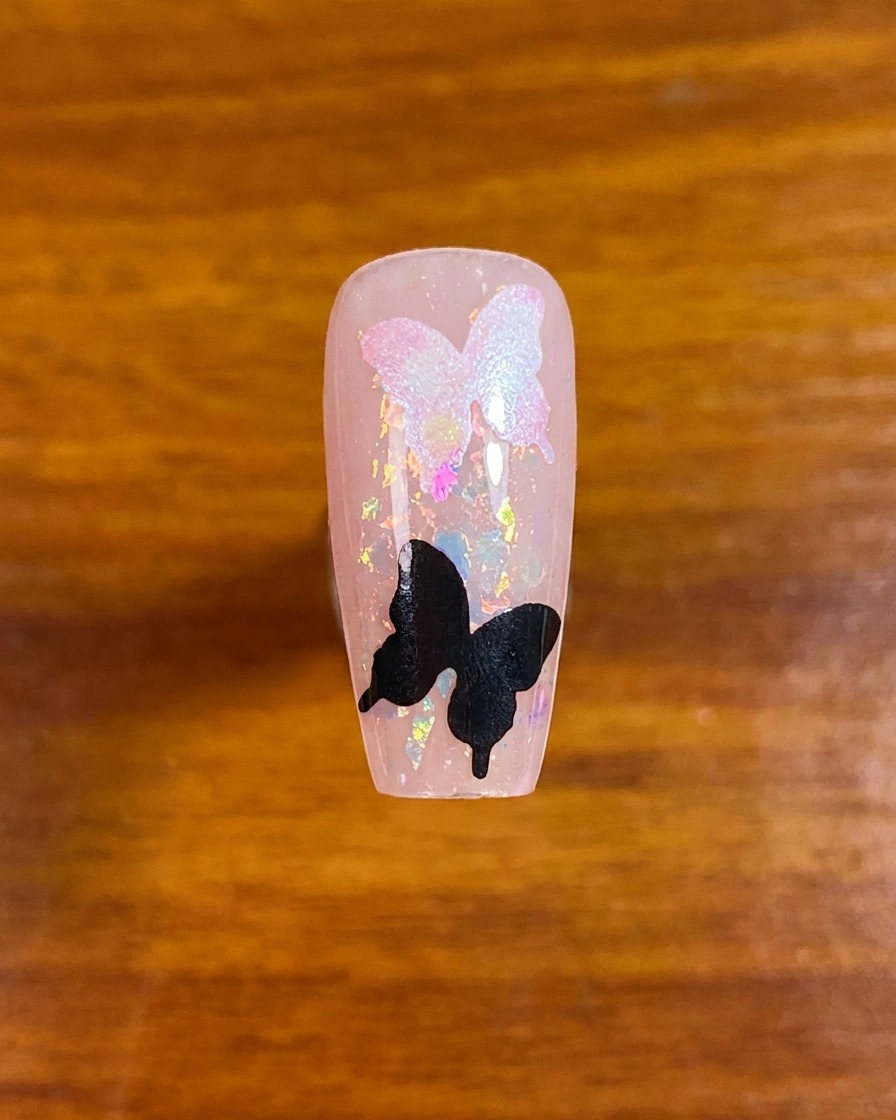
Place a second butterfly stencil sticker onto the nail using tweezers to create an layered composition alongside the first design.
Tip: Position the second stencil carefully to ensure a balanced and elegant layout on the nail surface. - 10Pat white gel over the second stencil
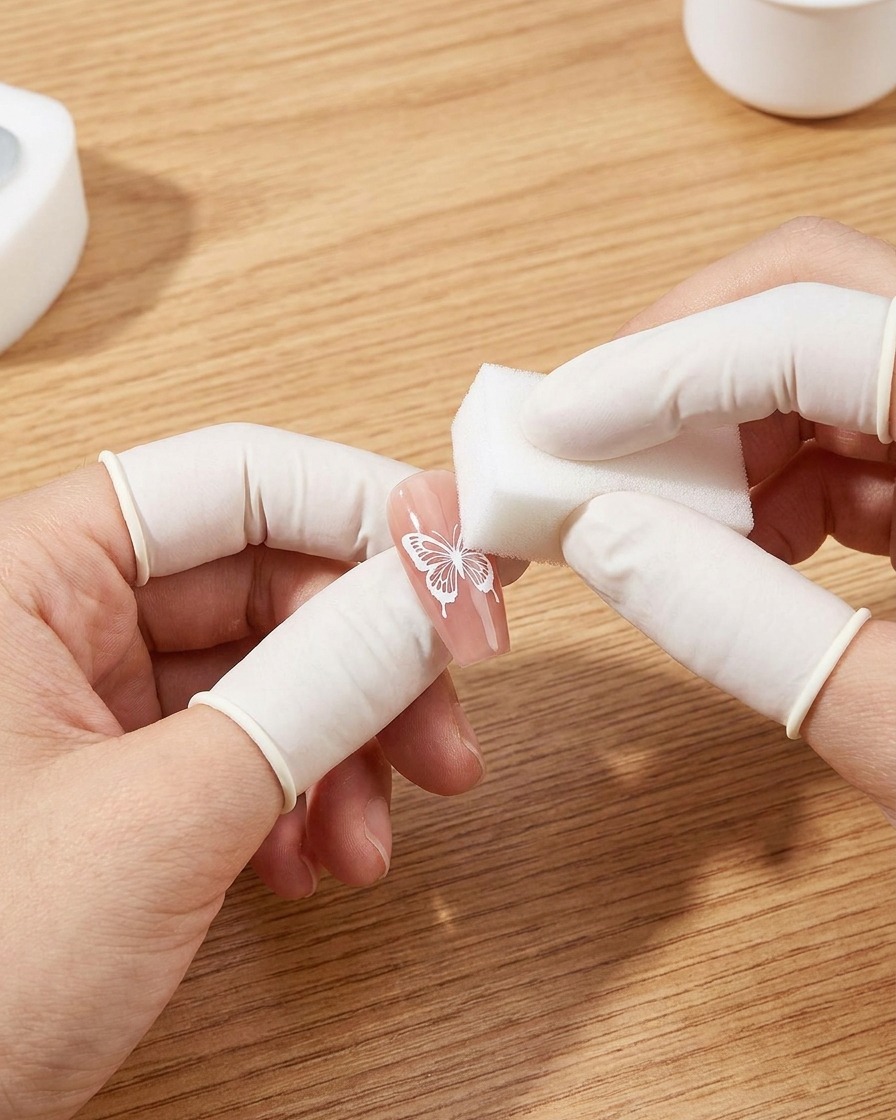
Pat the white gel over the second stencil using the fine elastic sponge, creating another layer of smooth gradient across the design.
Tip: If the white is too opaque, use a clean section of the sponge to sheer it out evenly. - 11Remove the second butterfly stencil
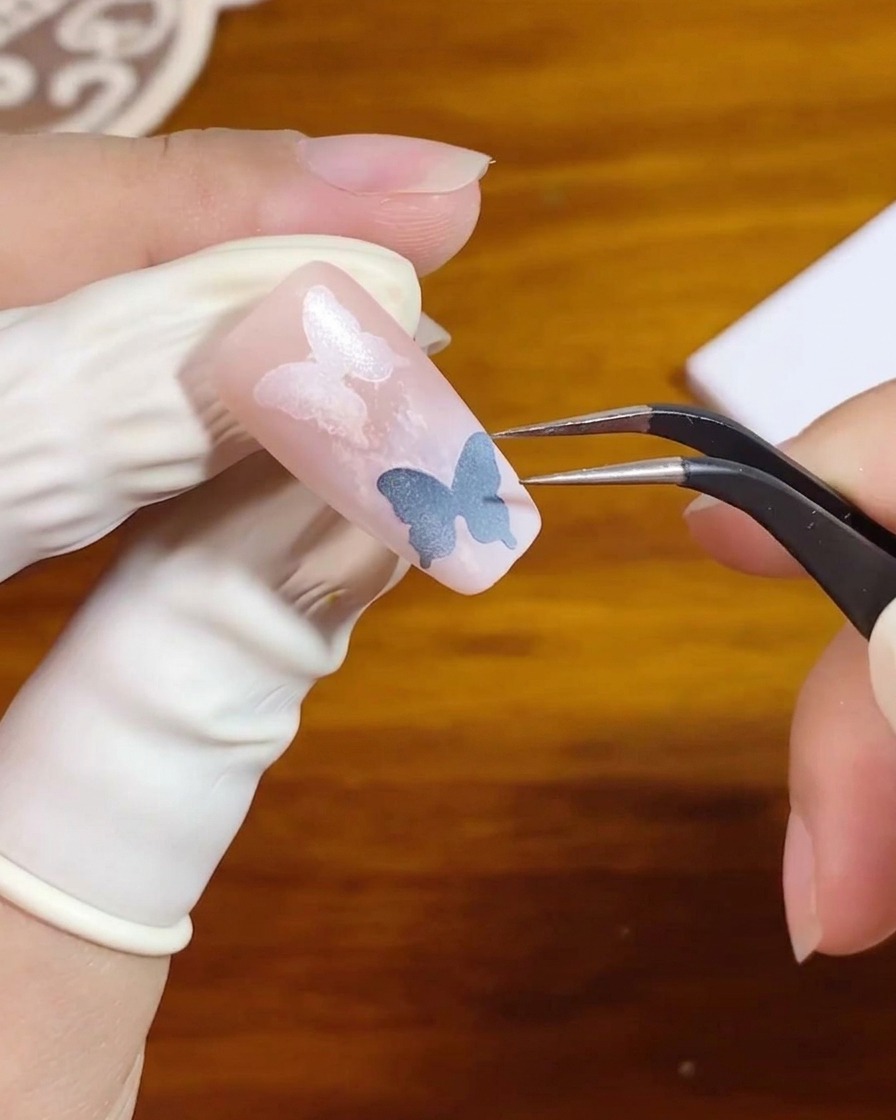
Use tweezers to gently remove the second butterfly stencil sticker from the nail to uncover the second hollow butterfly silhouette.
Tip: Lift the sticker smoothly at an angle to avoid disturbing the wet gel gradient underneath. - 12Paint accent dots around butterflies
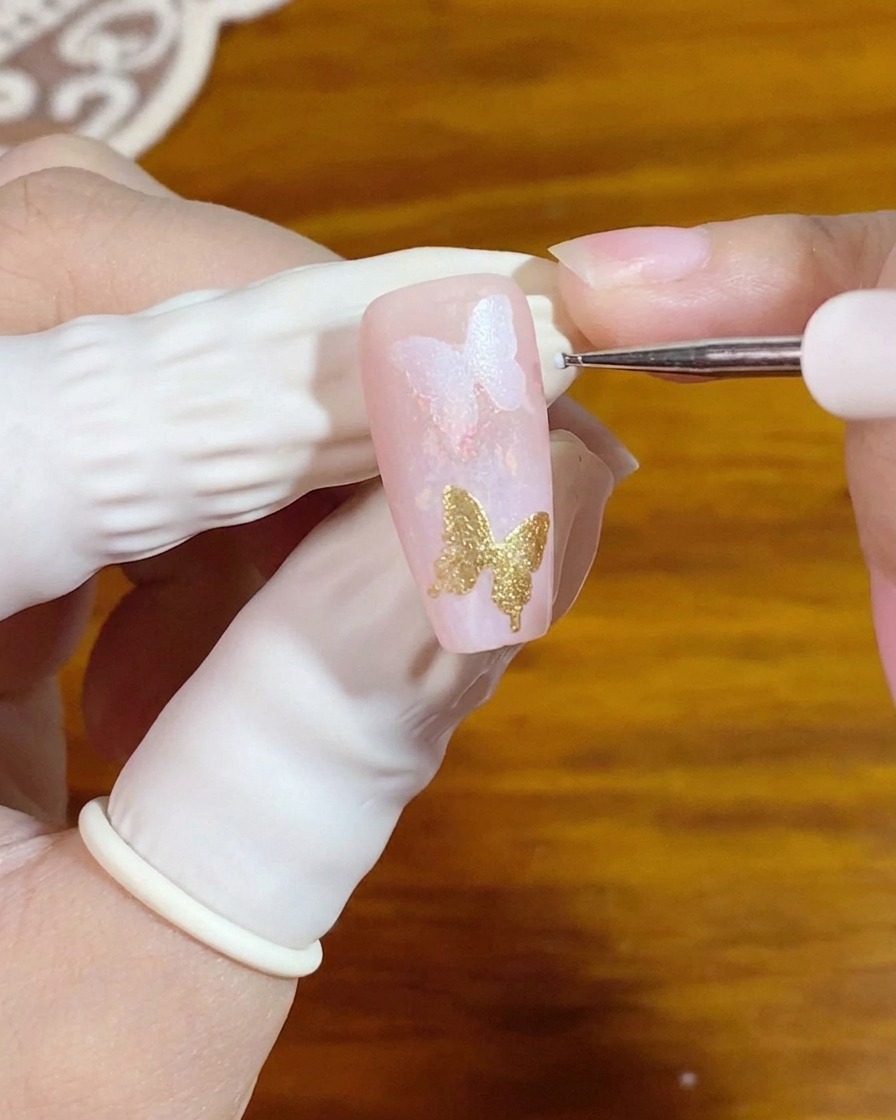
Use a fine liner brush or dotting tool to paint a few small white dots around the hollow butterfly silhouettes, adding a delicate and magical atmosphere to the design.
Tip: Keep the dots varied in size and placed sparingly to enhance the elegance without overcrowding the nail. - 13Apply rhinestone gel
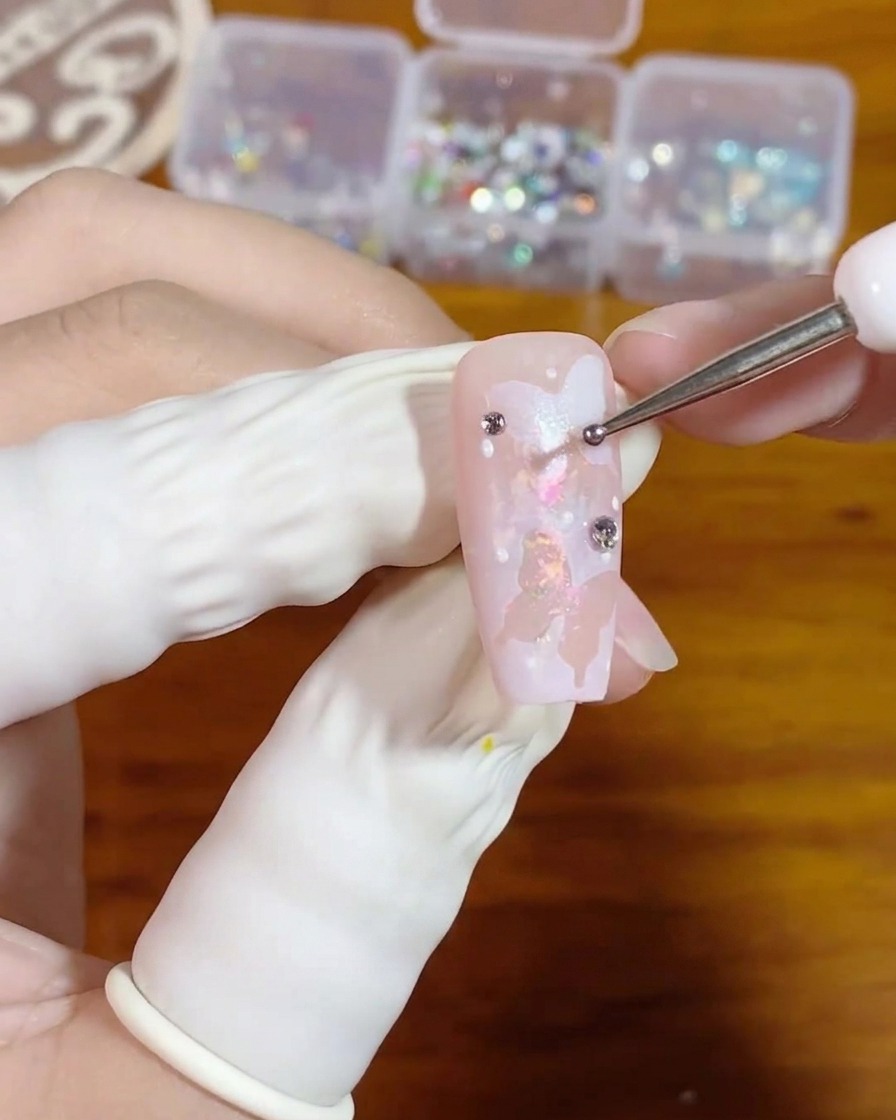
Use a fine dotting tool to place small beads of rhinestone gel onto the areas of the nail where you want to add embellishments. Position them carefully to enhance the hollow butterfly design.
Tip: Keep the beads of gel small so that excess product doesnt ooze out from under the rhinestones once they are placed. - 14Place the rhinestones
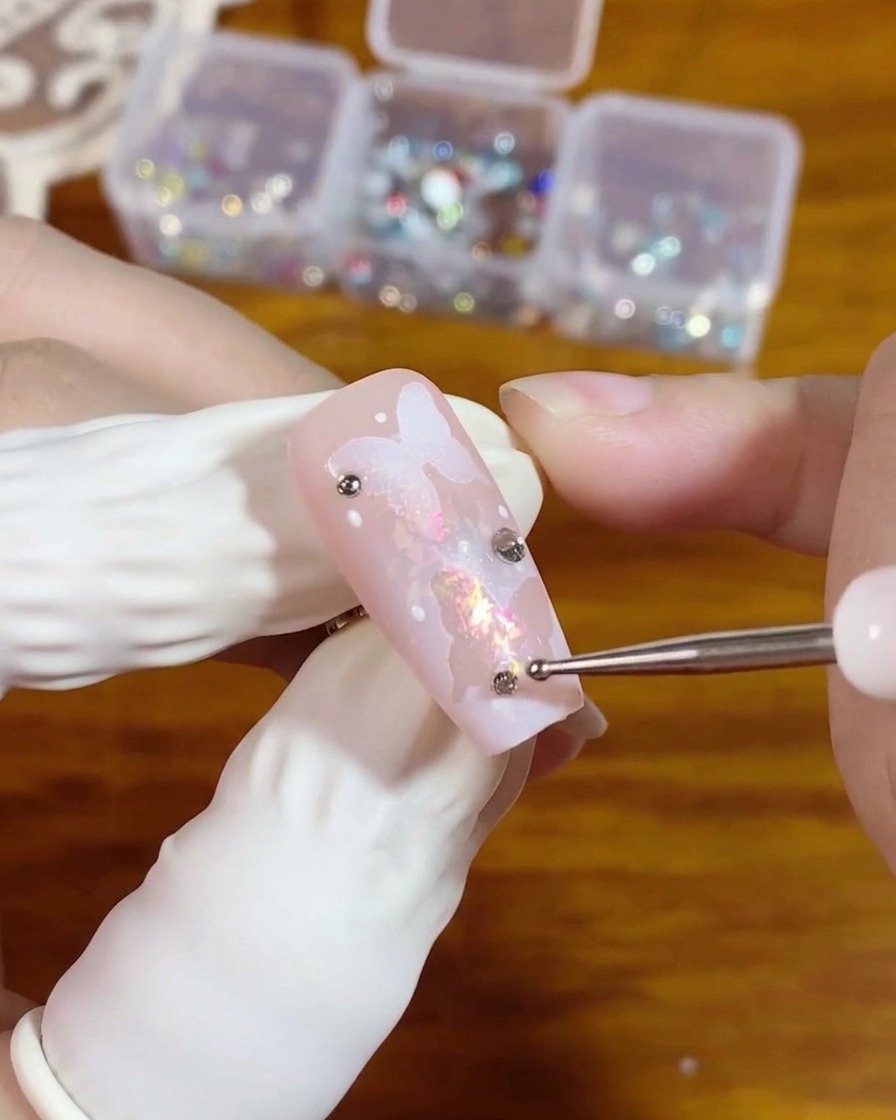
Pick up your flat-back silver rhinestones using a wax picker tool or a dotting tool and gently press them directly onto the dots of rhinestone gel you just applied. Ensure they are seated securely in the gel bead.
Tip: Work quickly but carefully to position the rhinestones before the gel starts to self-level or shift. - 15Secure the rhinestones
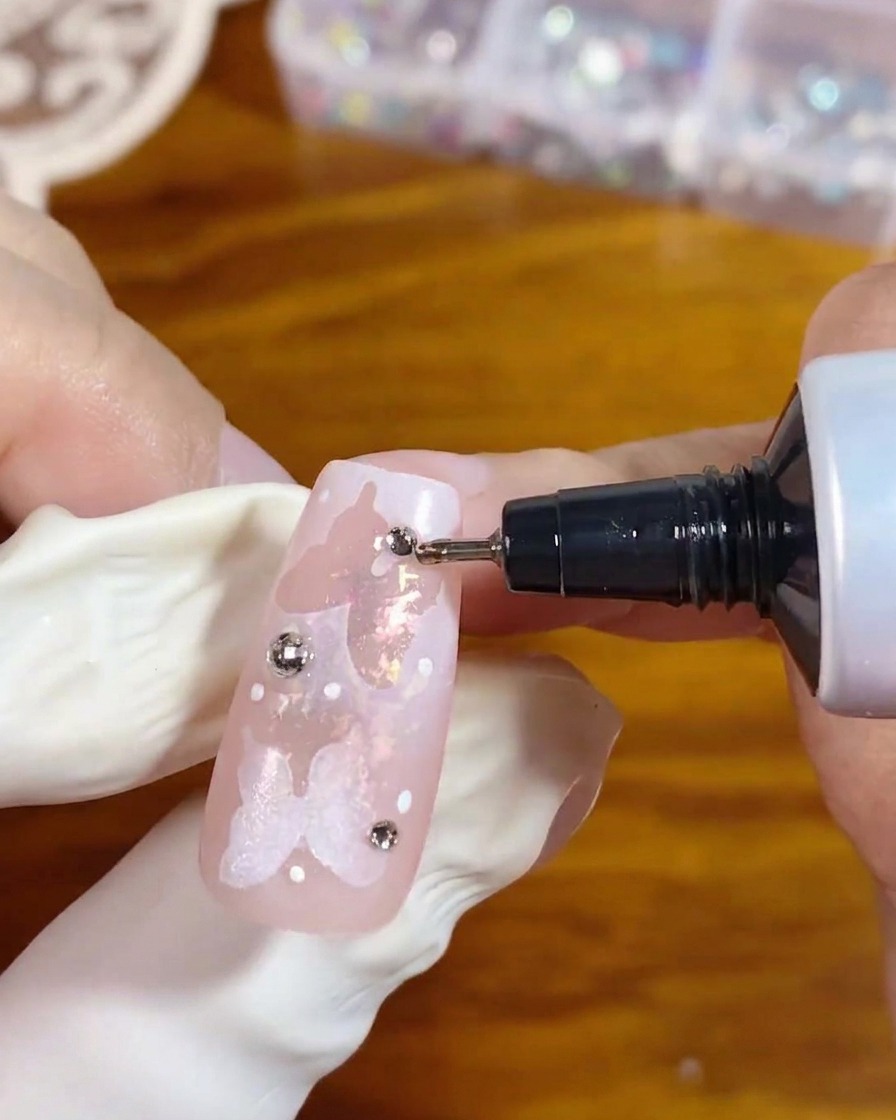
Using a precision applicator tube or a fine liner brush, carefully apply extra rhinestone gel around the base edges of each flat-back gem. Encapsulating the edges prevents the rhinestones from catching on your hair or falling off prematurely.
Tip: Be extremely careful not to get any gel over the top of the rhinestones, as this will dull their facets and ruin their sparkle. - 16Apply builder gel and top coat
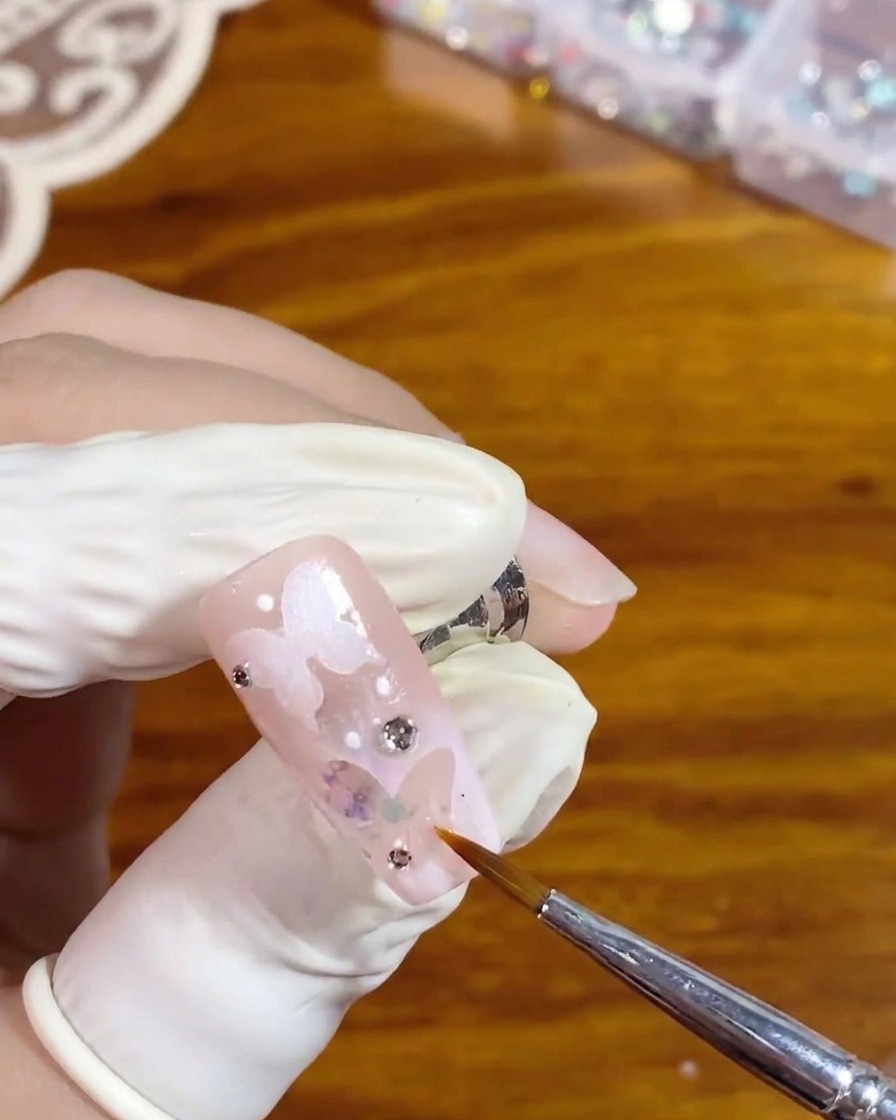
Brush on a final layer of builder gel to smooth the nail surface, followed by a glossy top coat to seal the entire hollow butterfly design. Use a fine brush to carefully paint around the rhinestones. Once complete, cure the nail under your lamp for 60 seconds.
Tip: Painting carefully around the gems rather than over them preserves their brilliant cuts and keeps the 3D effect intact.