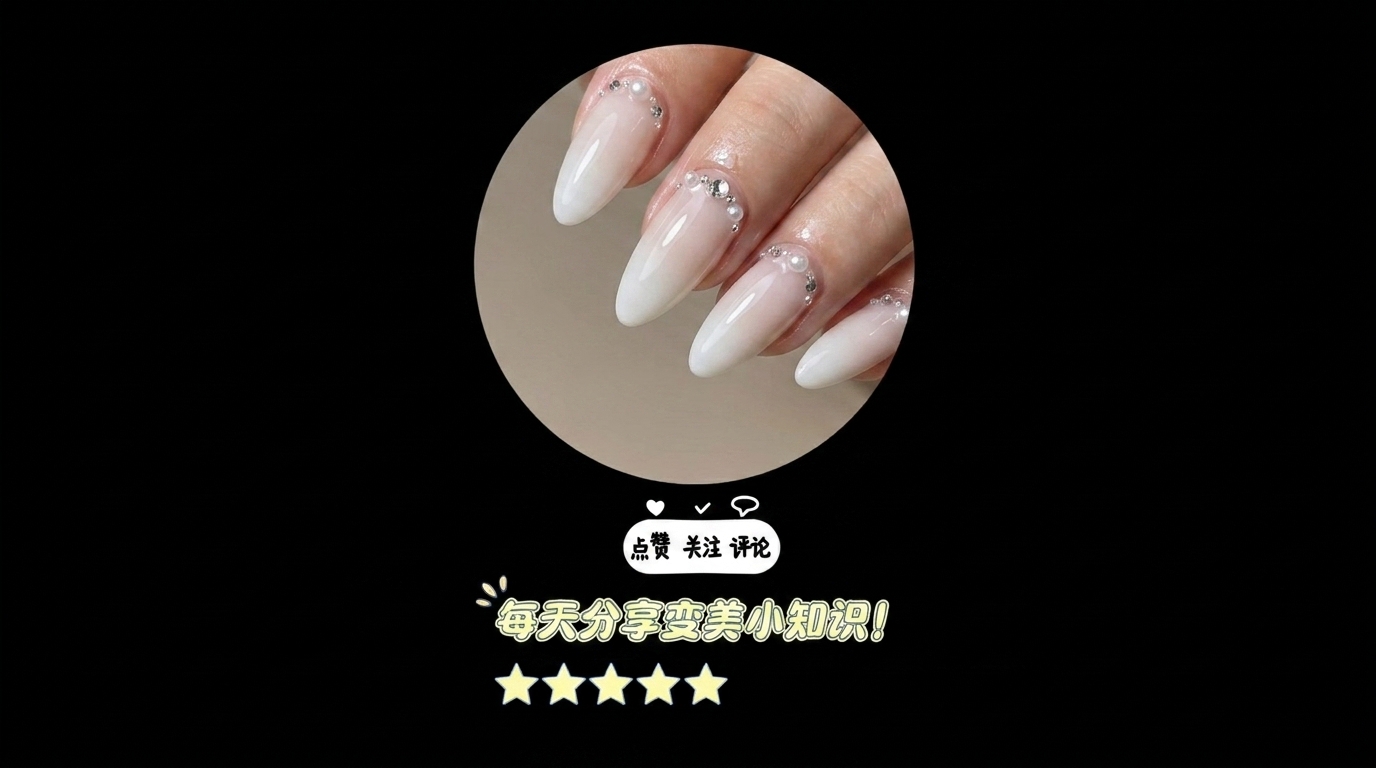
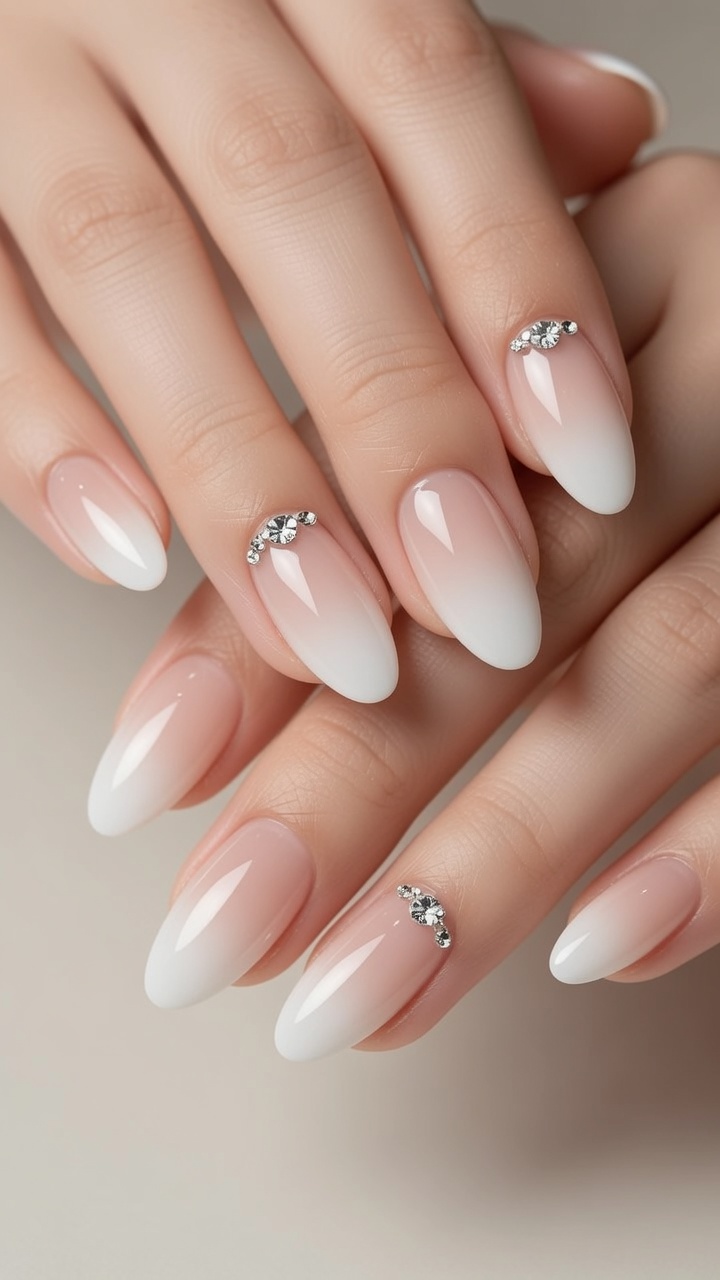
Milky White Gradient Nails — Elegant Ombre Tutorial
Master the minimalist trend with these milky white gradient nails. Achieve a seamless, soft-focus ombre effect with this easy, step-by-step gel tutorial.
Milky white gradient nails offer a sophisticated, clean aesthetic that perfectly balances sheer natural tones with a polished white finish. This look is incredibly versatile, making it an ideal choice for both daily wear and special occasions. By using a soft blending technique, you can create a professional-looking ombre effect at home that elevates any manicure.
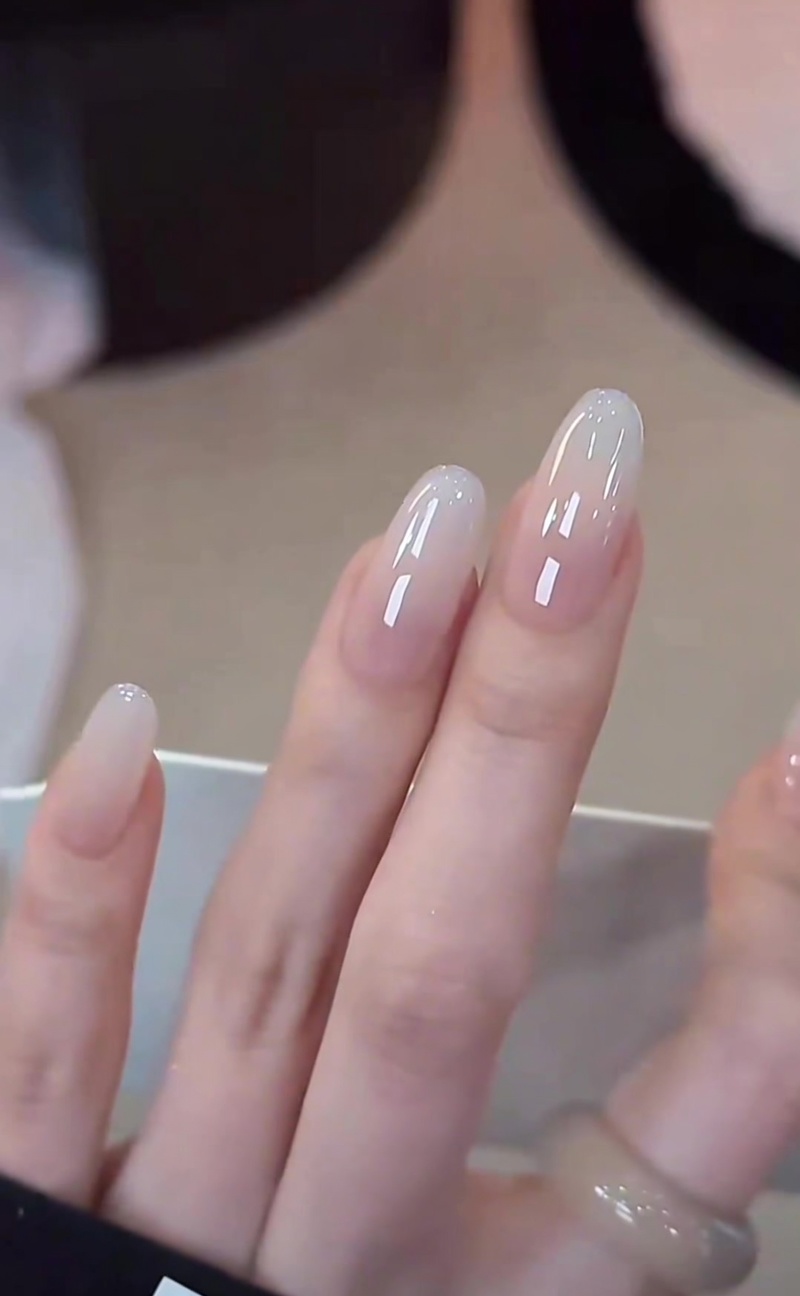
Steps
- 1Apply milky white gel to the tips
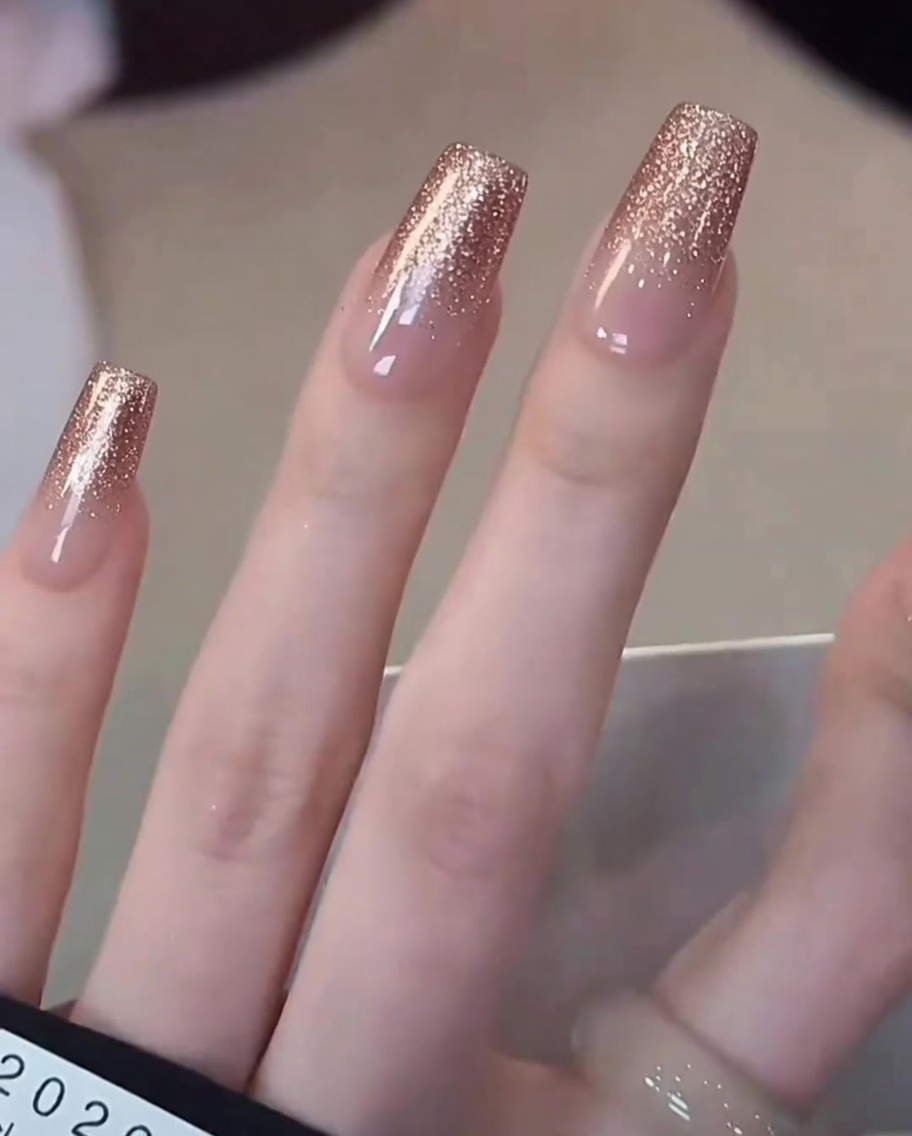
Apply a thin layer of milky white gel polish starting at the free edge of the nail. Concentrate the color intensity at the tip, which will serve as the anchor point for your gradient transition.
Tip: Apply a small amount of product initially to keep the layer thin and build up opacity gradually. - 2Begin blending the gradient
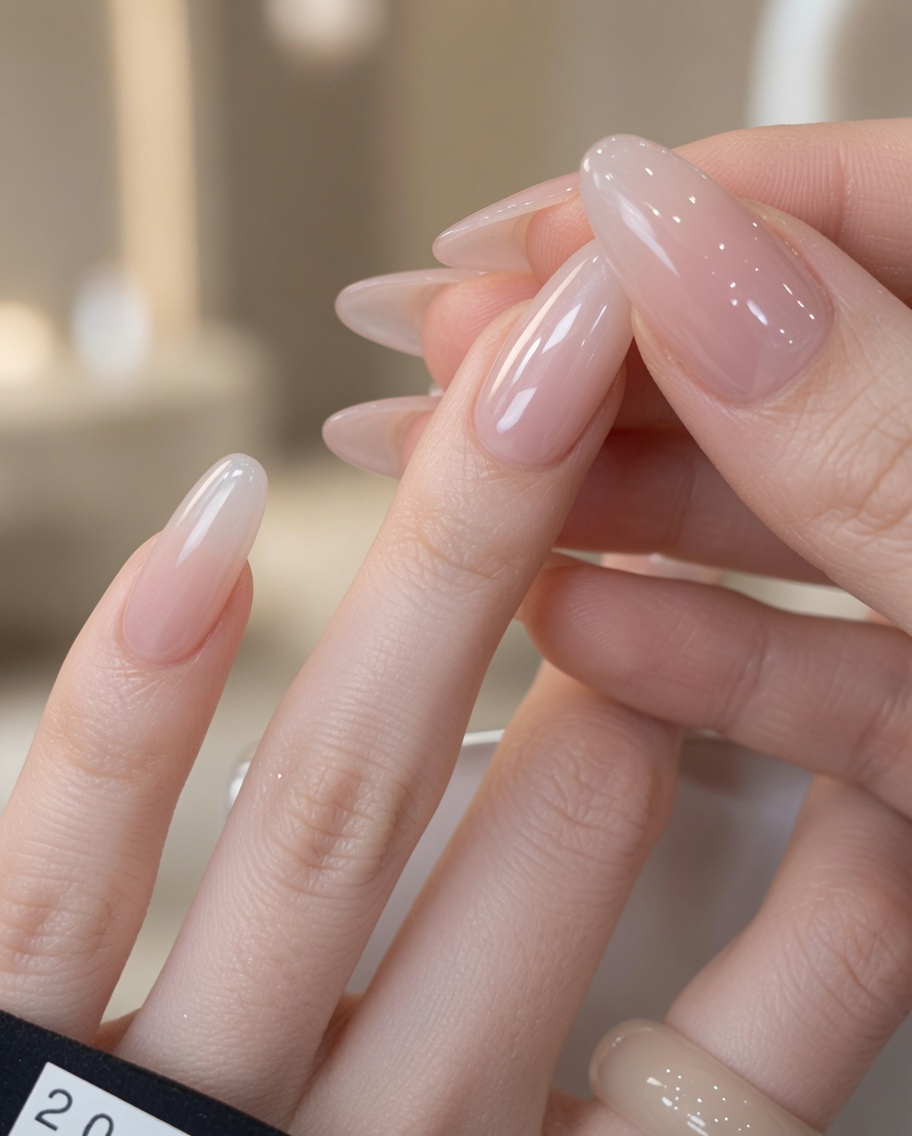
Using a clean, flat brush, gently pull the milky white gel from the free edge toward the center of the nail. Use light, horizontal strokes to blur the boundary of the polish, creating a soft transition between the white tip and the natural nail bed.
Tip: Keep your touch light to avoid dragging too much product and making the transition harsh. - 3Refine the gradient blend
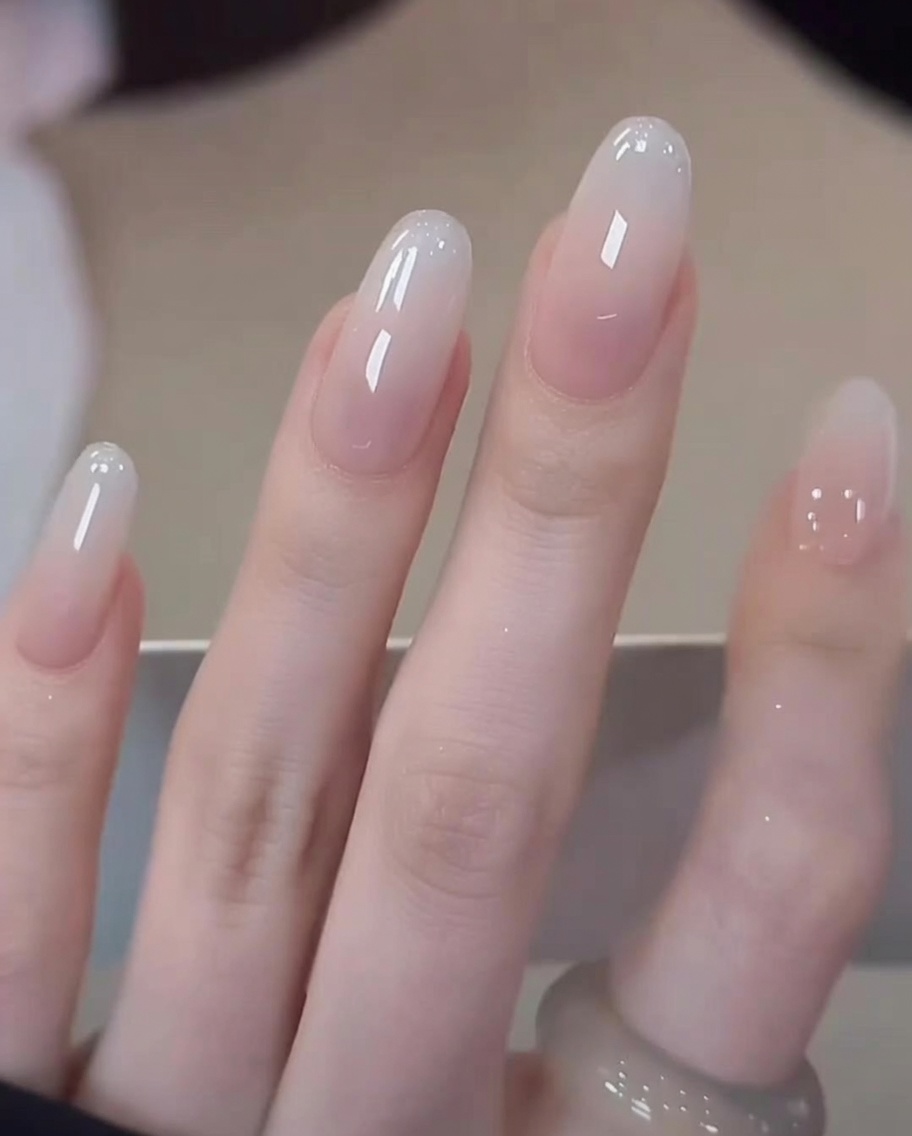
Continue to blend the white gel slightly further toward the cuticle. Keep the layers extremely sheer as you move upward to ensure a seamless, natural-looking fade from the opaque white tip to the sheer base.
Tip: Wipe your brush frequently on a lint-free wipe to prevent buildup and keep the blending process clean. - 4Cure the gradient
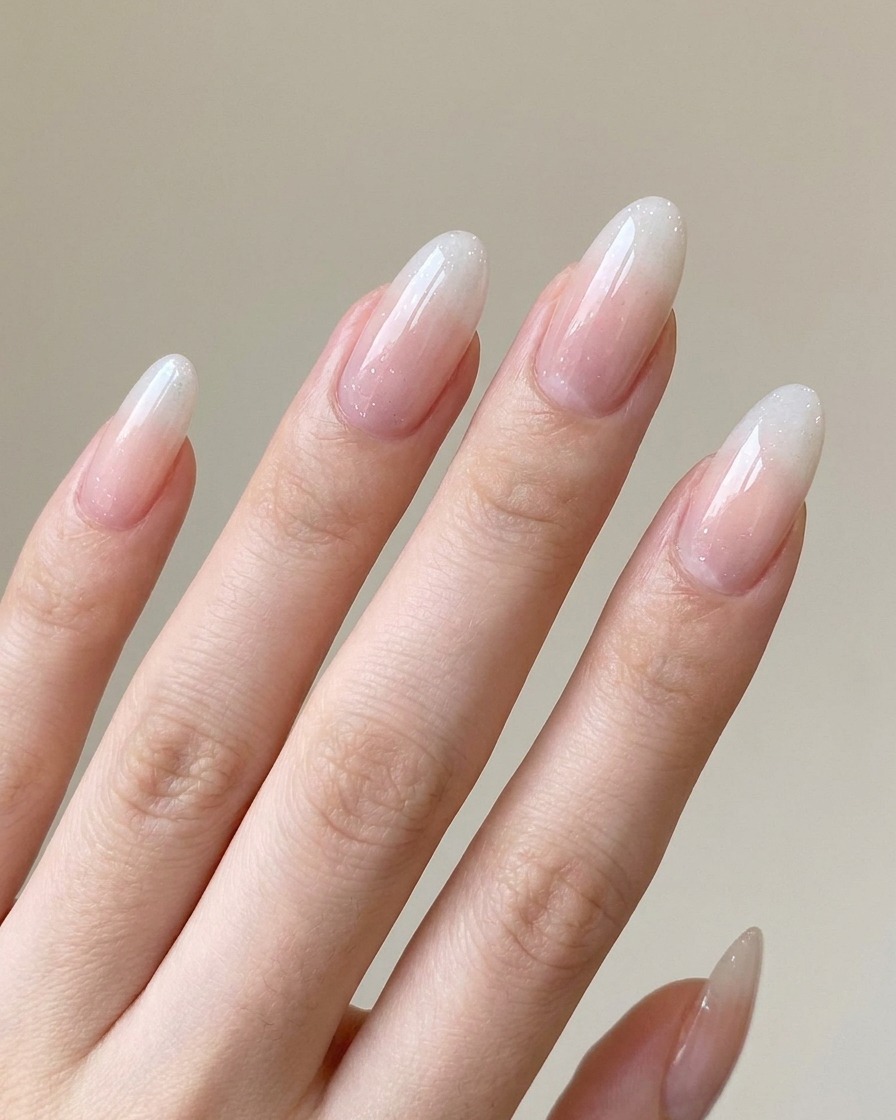
Place your hand under the UV/LED lamp to cure the gradient layer. Ensure all fingers are positioned correctly to receive even light exposure for the manufacturers recommended time.
Tip: Ensure the hand is flat and stable during the cure to prevent the gel from shifting. - 5Apply clear top coat
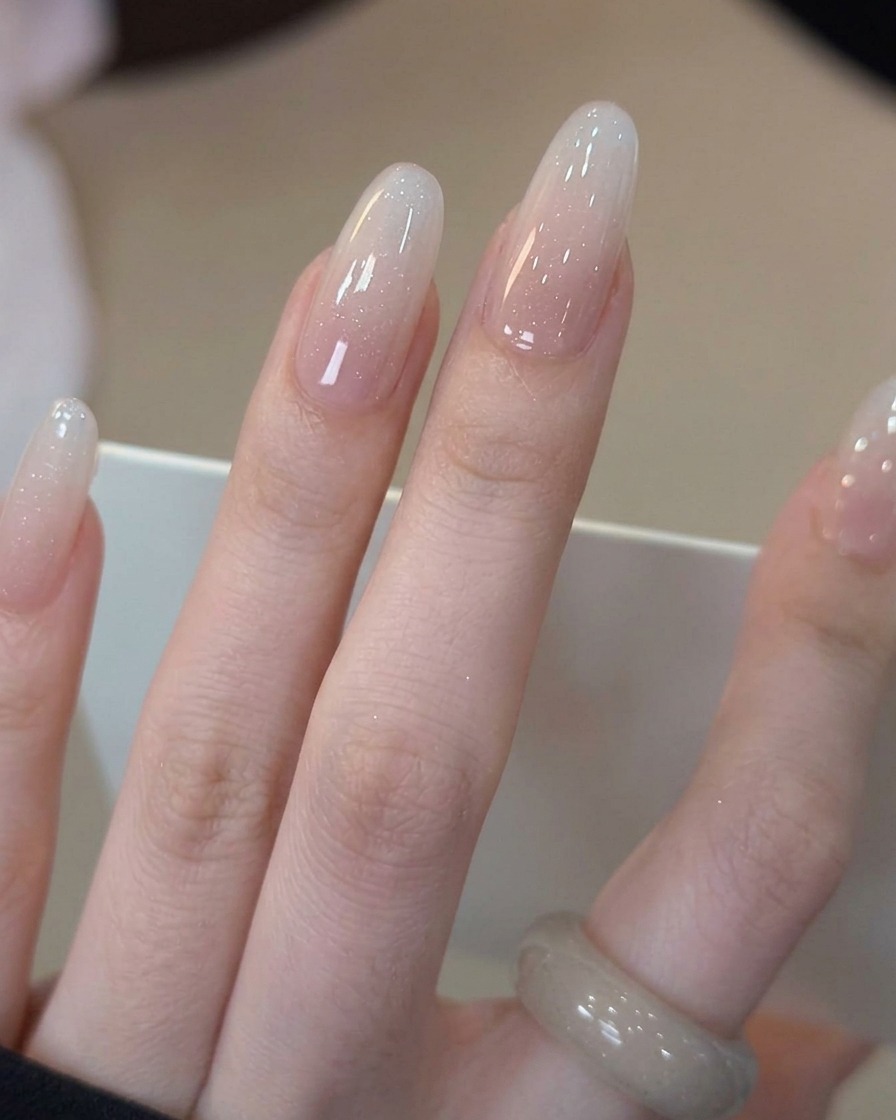
Apply a thin, even layer of clear glossy top coat over the entire nail. This seals the gradient design, provides a smooth finish, and adds high shine.
Tip: Cap the free edge with the top coat to improve durability and prevent chipping. - 6Final cure for high-shine
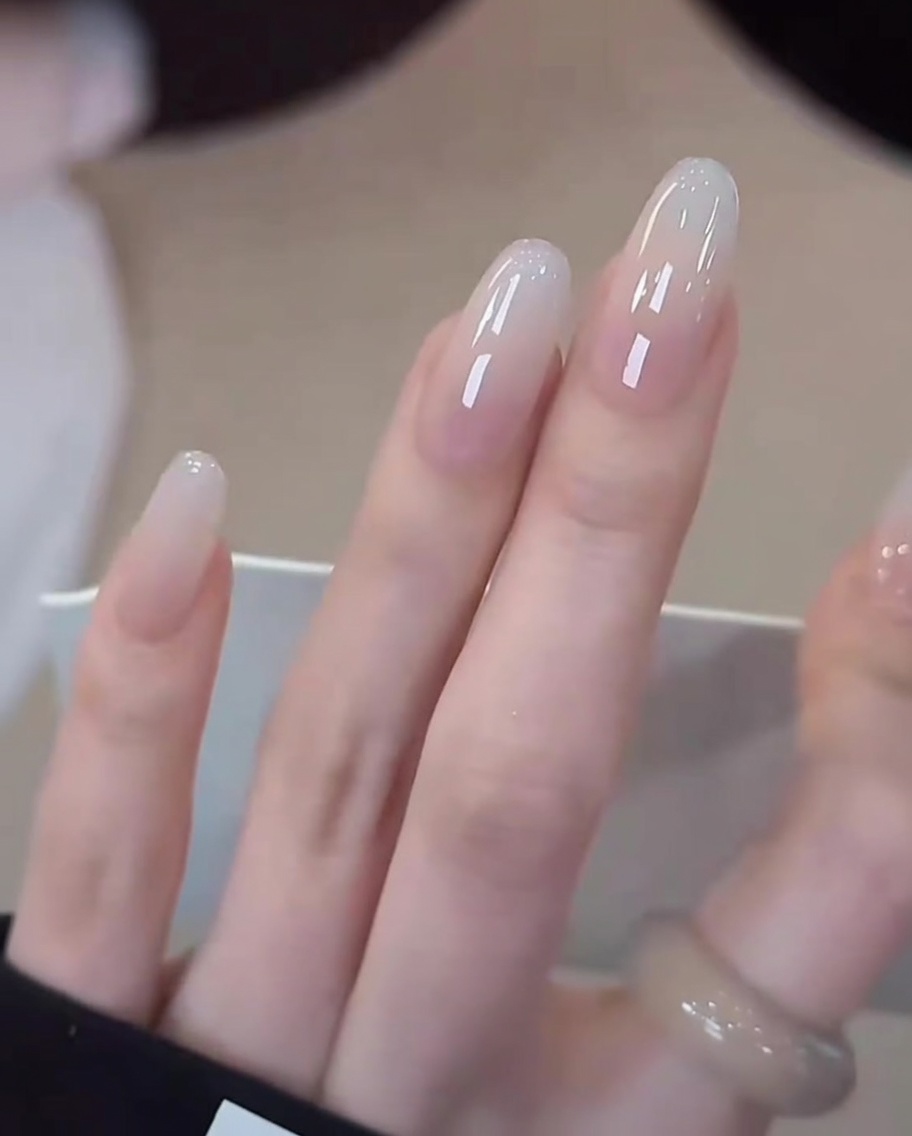
After applying the final layer of clear top coat to all nails, place your hand under the UV or LED lamp to fully cure. Follow the manufacturers recommended time for your specific gel system to ensure a durable, scratch-resistant, and high-shine finish.
Tip: Ensure your hand is placed flat and stable inside the lamp to avoid any uneven curing or bubbles in the top coat.