Aesthetic 3D Pearl Flower
Cat-Eye Bow Nail Tutorial
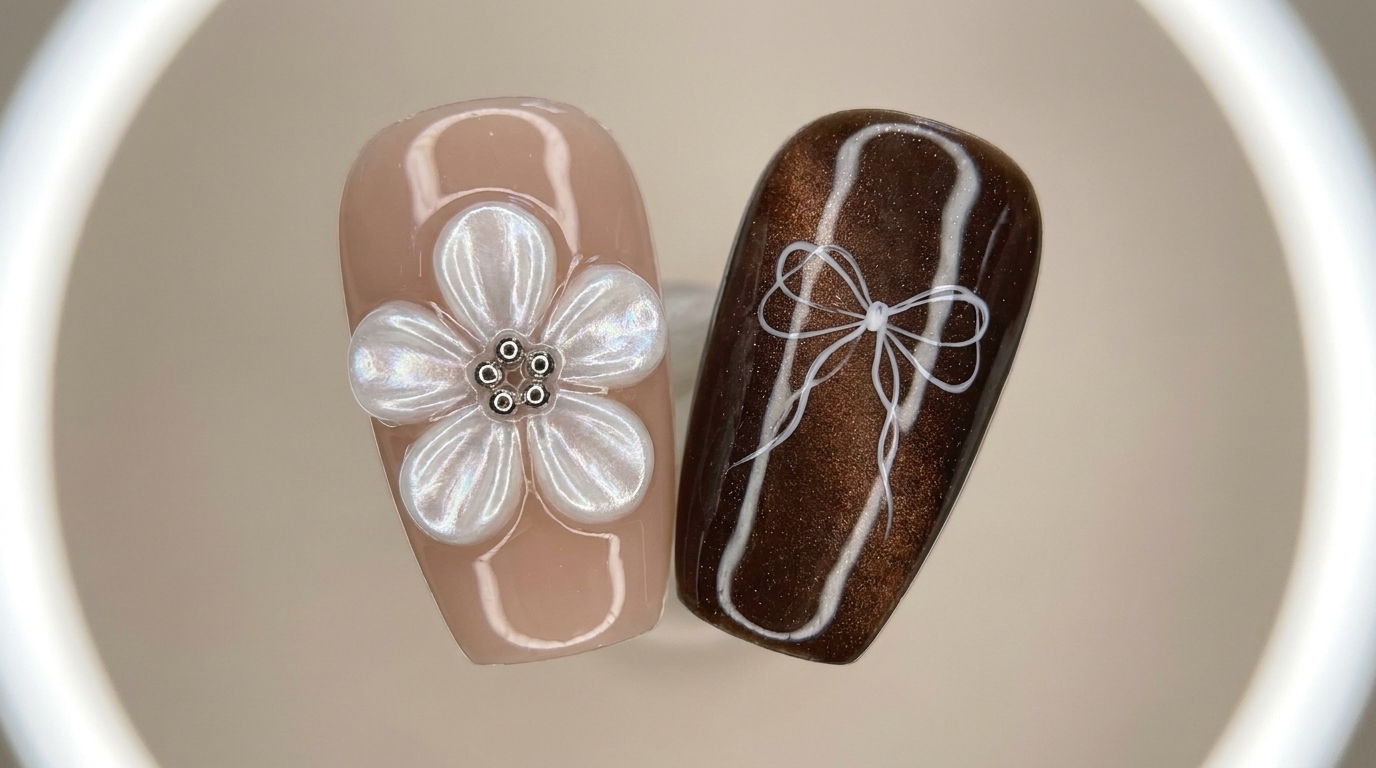
Master this Instagram-worthy aesthetic nail look featuring a 3D sculpted nacreous pearl flower and a rolling magnetic dark brown cat-eye base with delicate bow details.
This highly aesthetic, niche nail art design blends two stunning trends: 3D sculpted florals and rich, rolling magnetic cat-eye polish. While it looks intricate and hard to duplicate, breaking it down step-by-step makes it surprisingly approachable. The nude orange-toned sheer base beautifully complements the nacreous pearl carving gel, while the deep brown cat-eye adds a luminous contrast. Short nails actually carry this detailed style exceptionally well, making it a perfect, skin-brightening look to try at home or in the salon.
Steps
- 1Apply light base coat
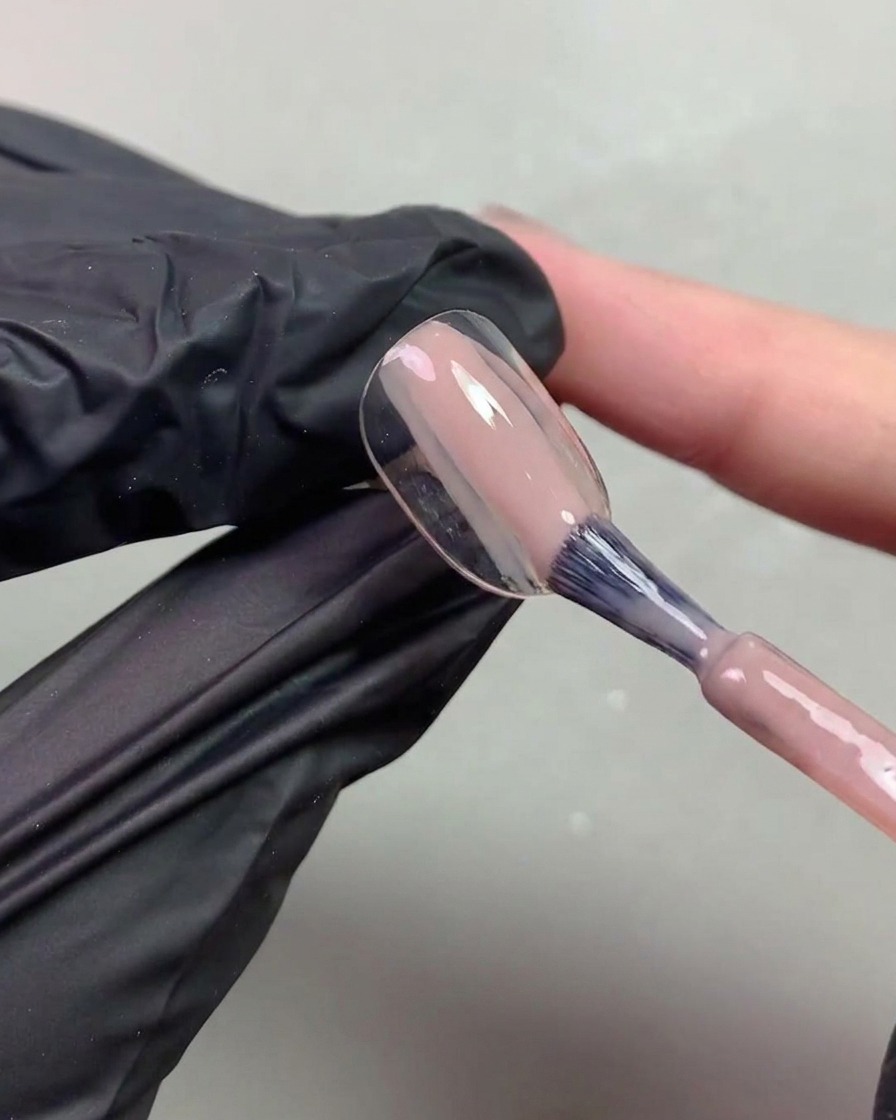
Apply a light base coat of sheer nude orange-toned gel onto the nail surface using a brush. This specific color provides great coverage and creates a beautiful foundation for the niche style.
Tip: If you do not want the natural nail line to show, you can apply two thin layers. - 2Apply a second thin layer
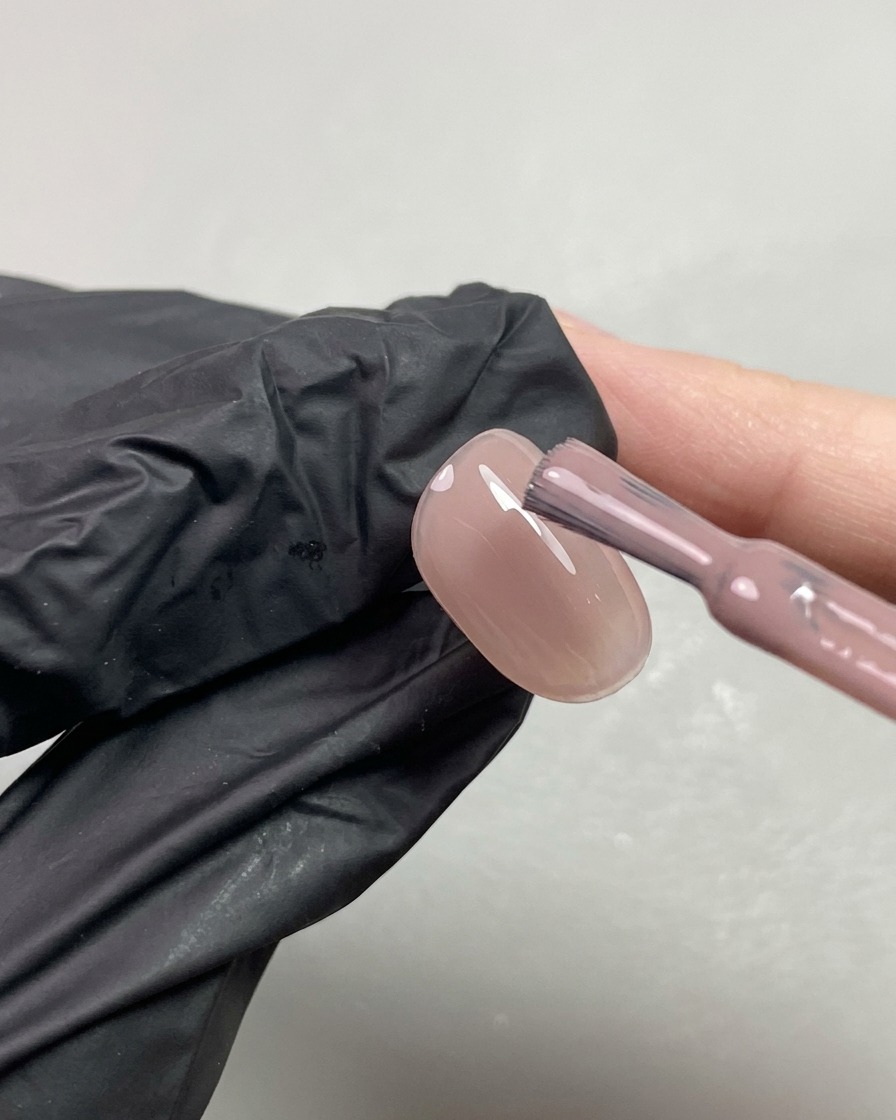
Apply a second thin layer of the sheer nude orange-toned gel to the nail. This step ensures better coverage and successfully hides the natural nail line for a flawless base.
Tip: Applying two thin layers rather than one thick layer prevents pooling and ensures an even cure under the lamp. - 3Scoop out carving gel
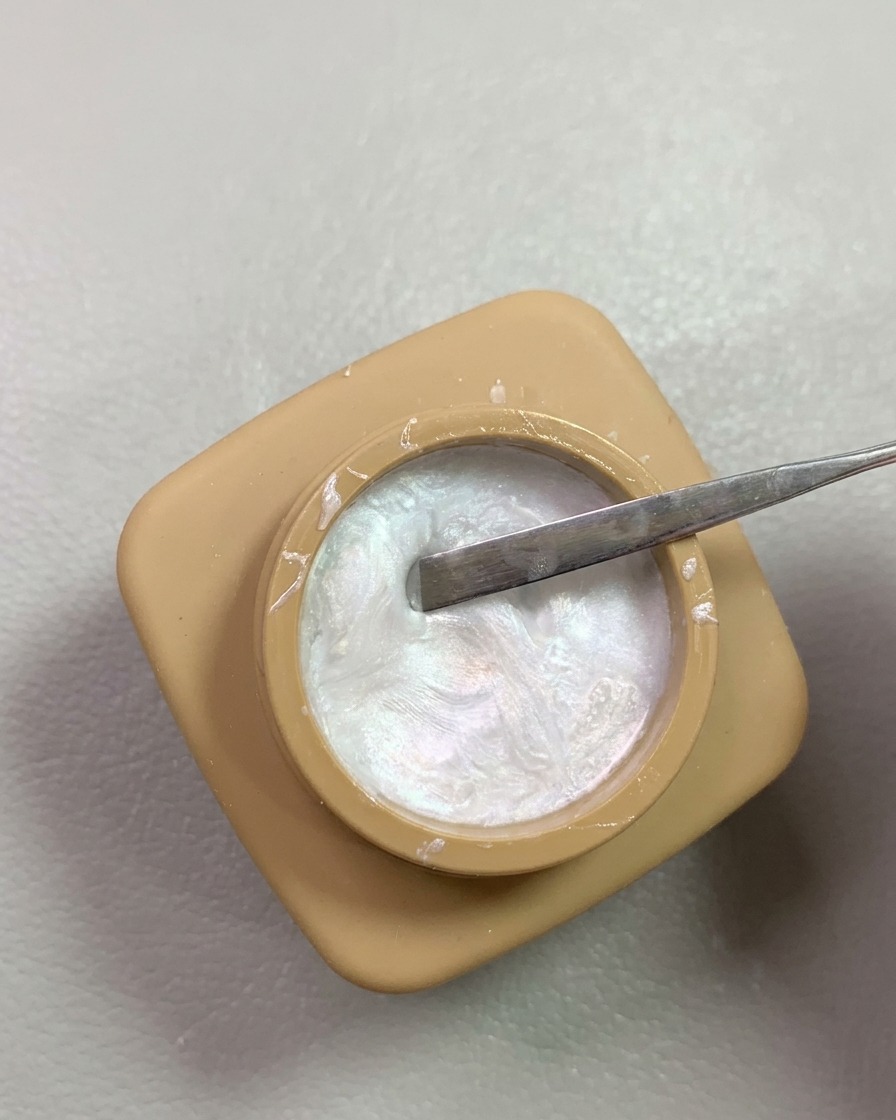
Use a metal carving stick or spatula to scoop out some nacreous pearl carving gel from the jar. This shimmery gel is perfect for creating the 3D flower design.
Tip: Using a pearlescent white rather than a pure white carving gel makes the design more dirt-resistant. - 4Portion the carving gel
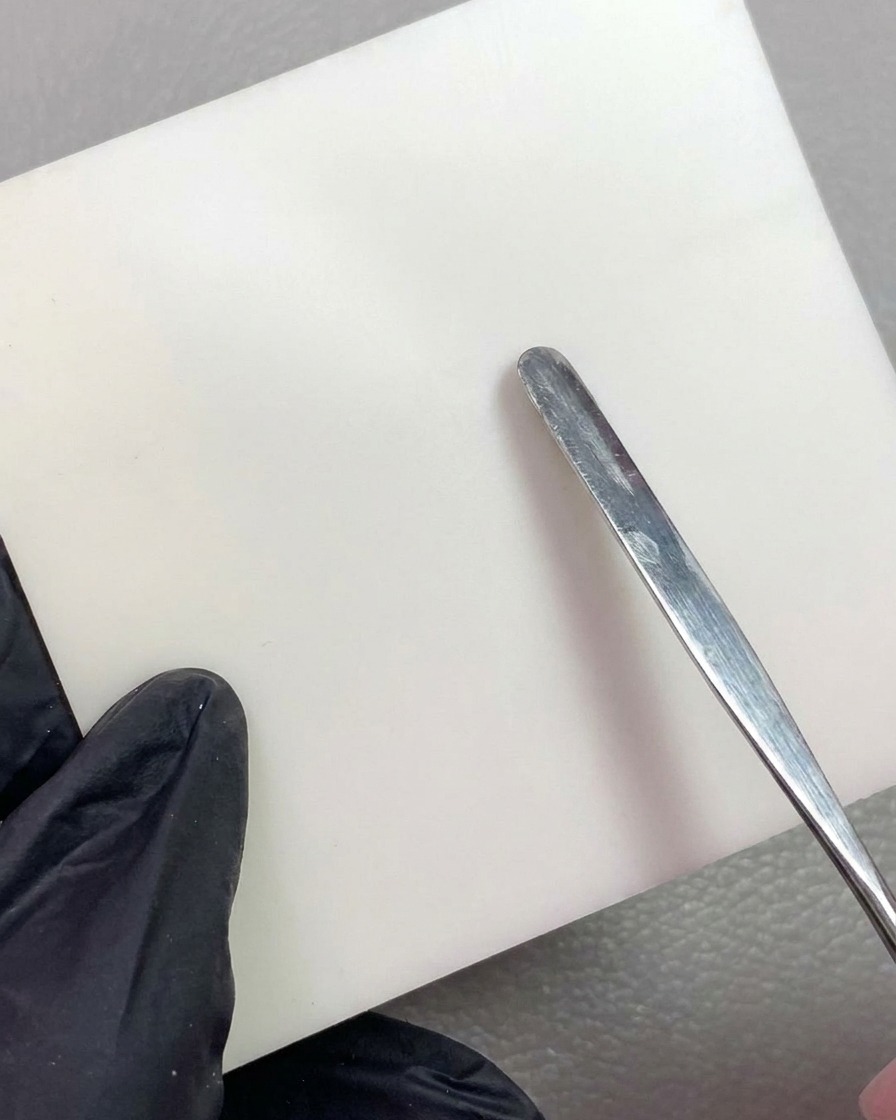
Place the scooped pearl carving gel onto a piece of mixing paper or a palette. Split the gel in half directly or portion it out to prepare for making the individual flower petals.
Tip: Portioning the gel on a palette first helps ensure your petals will be consistent in size. - 5Place the petal gel balls
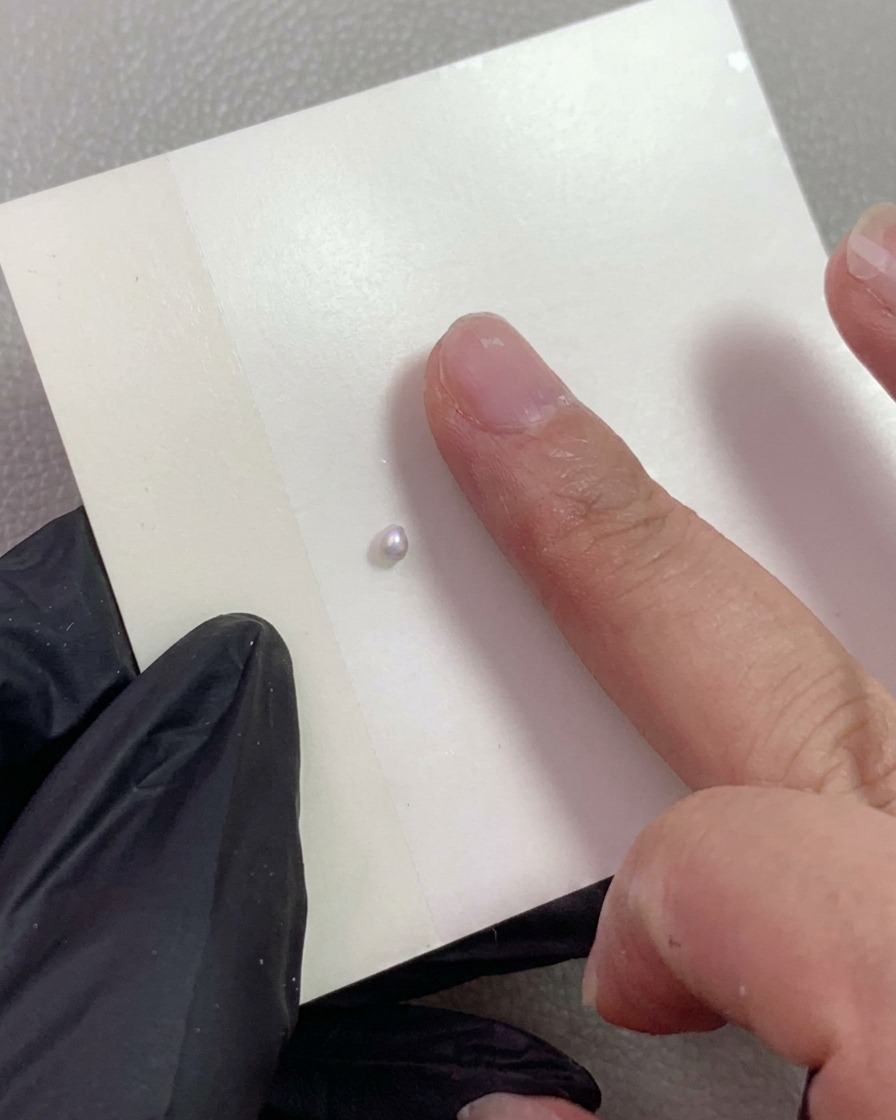
Take the carved flower gel from the mixing paper and split it in half to make small balls. Roll a total of five small balls and place them directly onto the nude nail surface following a five-petal flower layout.
Tip: Splitting the gel and making uniform balls ensures that all five petals come out balanced and symmetrical. - 6Shape the 3D flower petals
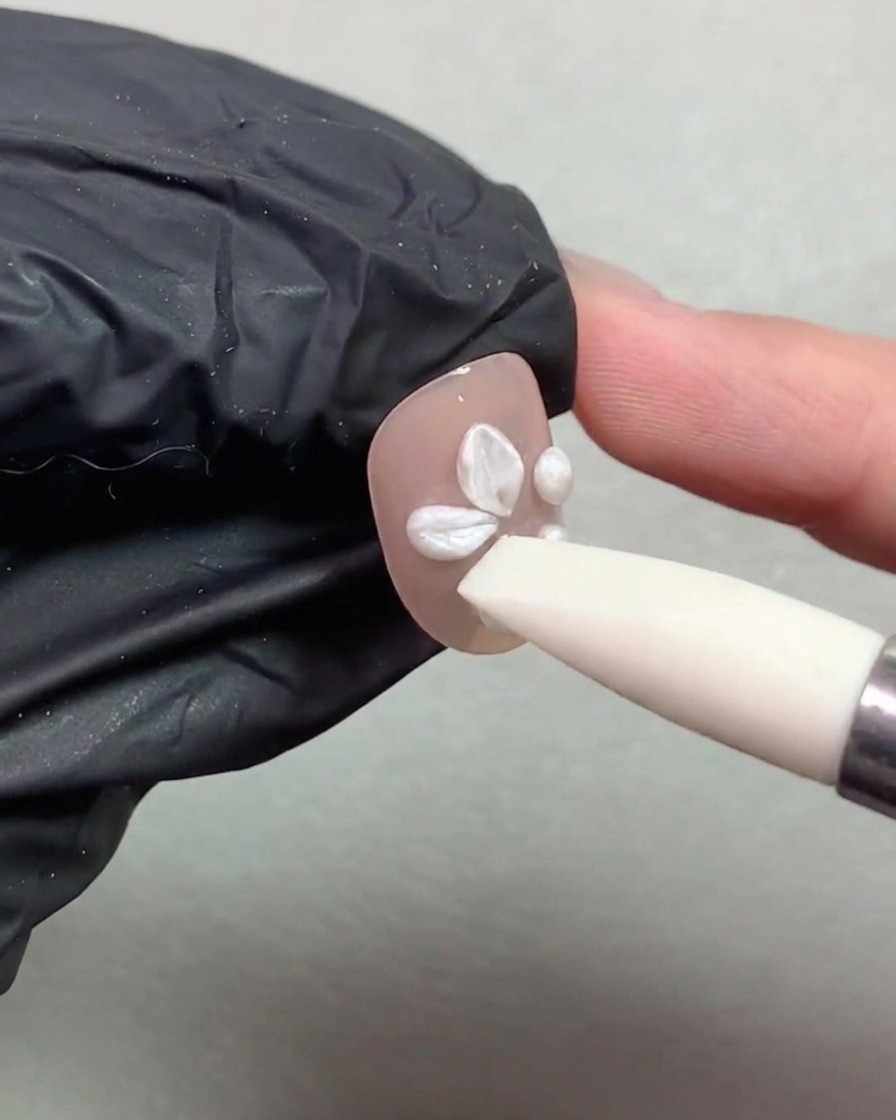
Using the flat side of a silicone pen, gently tap and press the end of each gel ball toward the center to collect it. This shapes the gel into delicate 3D petals.
Tip: Ensure the direction and thickness of each petal are centered. You can make slight adjustments before curing it under the lamp. - 7Refine the 3D flower shape
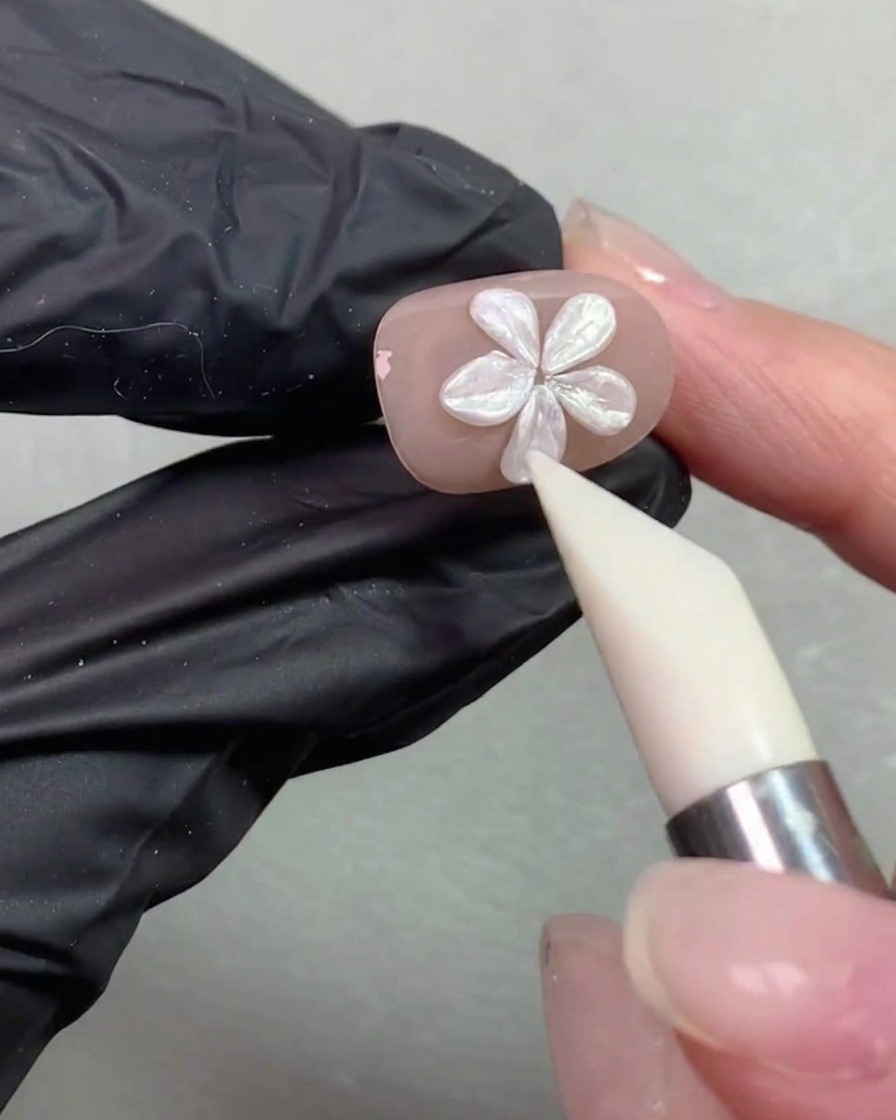
Take a moment to evaluate the overall symmetry of your flower. Use the flat side of your silicone tool to gently adjust any uneven petal contours, ensuring the thickness and direction are perfectly centered before committing to a final cure.
Tip: Make sure to check the symmetry and overall petal orientation carefully before putting the hand under the lamp. - 8Cure the carved flower
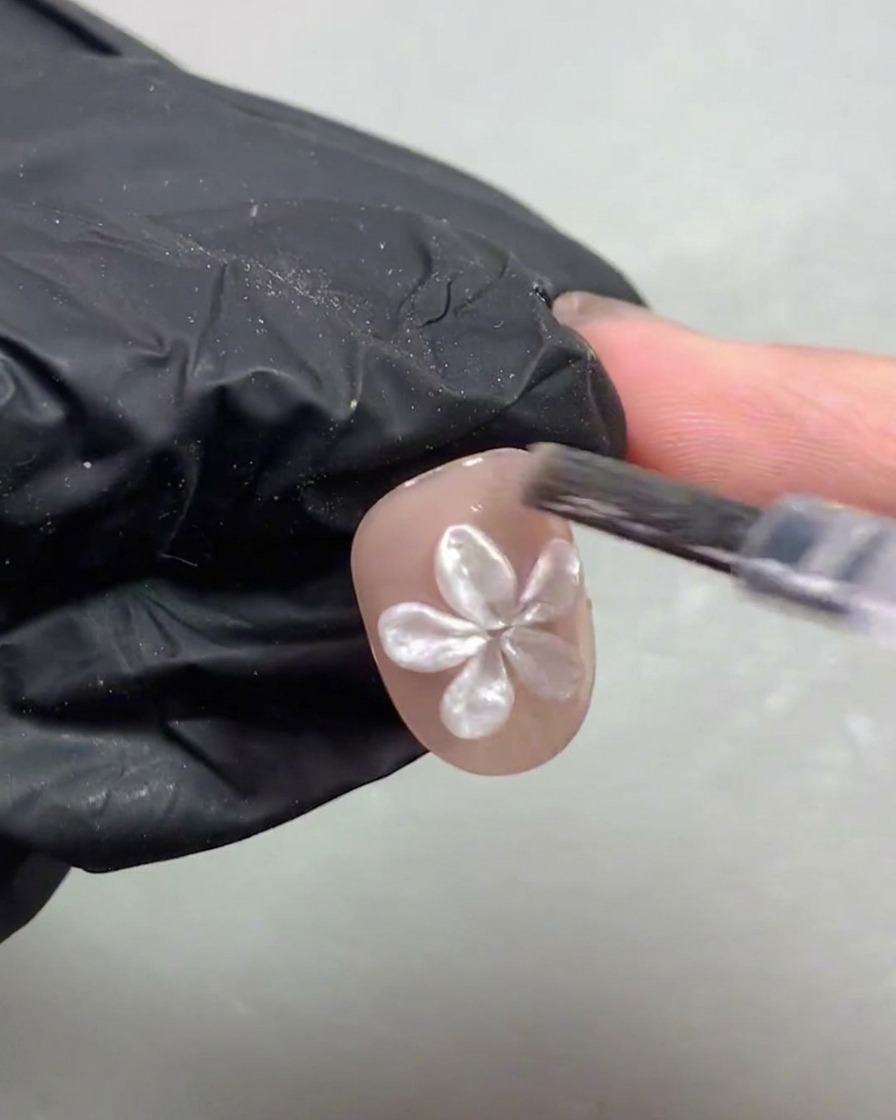
Place the hand under the UV or LED lamp to cure the newly shaped carved flower gel. Ensure the hand is positioned properly so that the entire nail surface receives adequate light exposure. Curing hardens the structural flower petals so they remain firmly in place without shifting during subsequent top coat or decoration steps.
Tip: Make sure your hand stays completely steady inside the lamp to avoid any accidental smudging of the uncured carving gel before it sets. - 9Apply top coat around petals
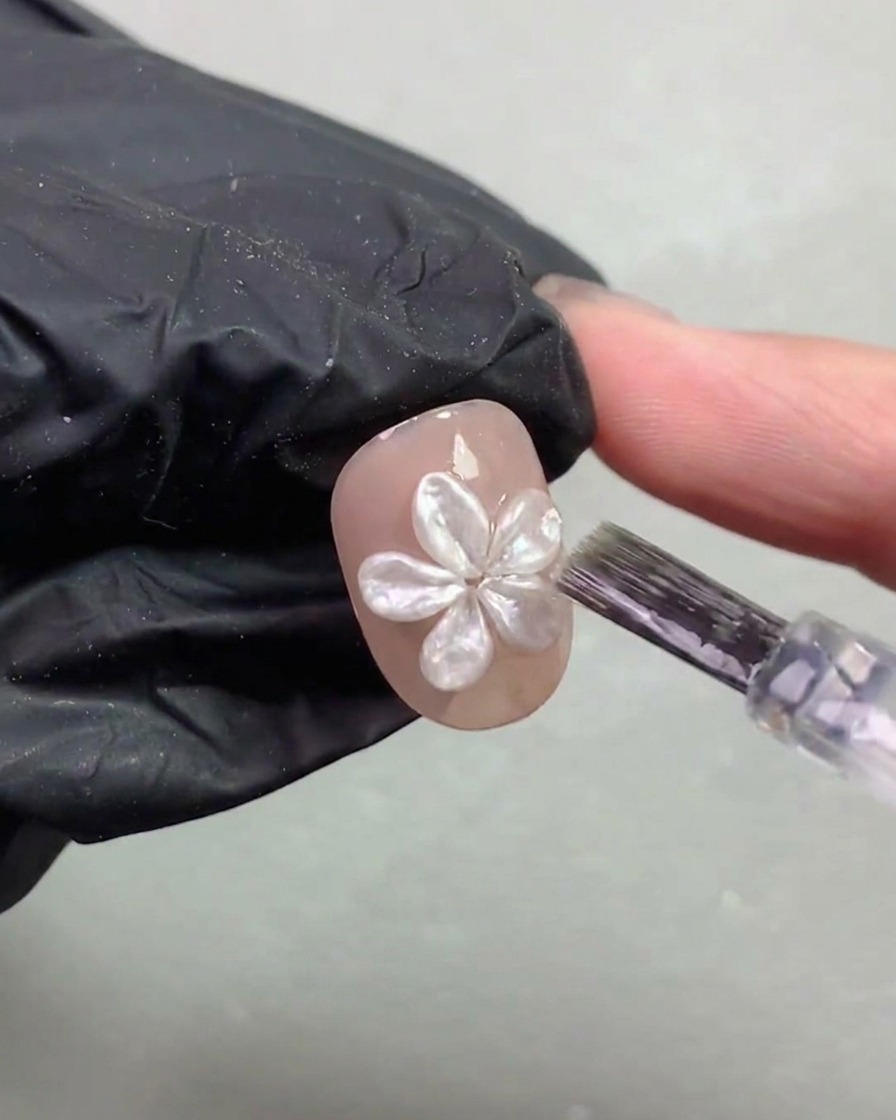
After curing, apply a thin layer of top coat over the nail. Be careful not to cover the flower petals contour so the 3D texture remains prominent.
Tip: Applying the top coat thinly around the art preserves the dimensional sharp edges of the carved flower. - 10Add center beads
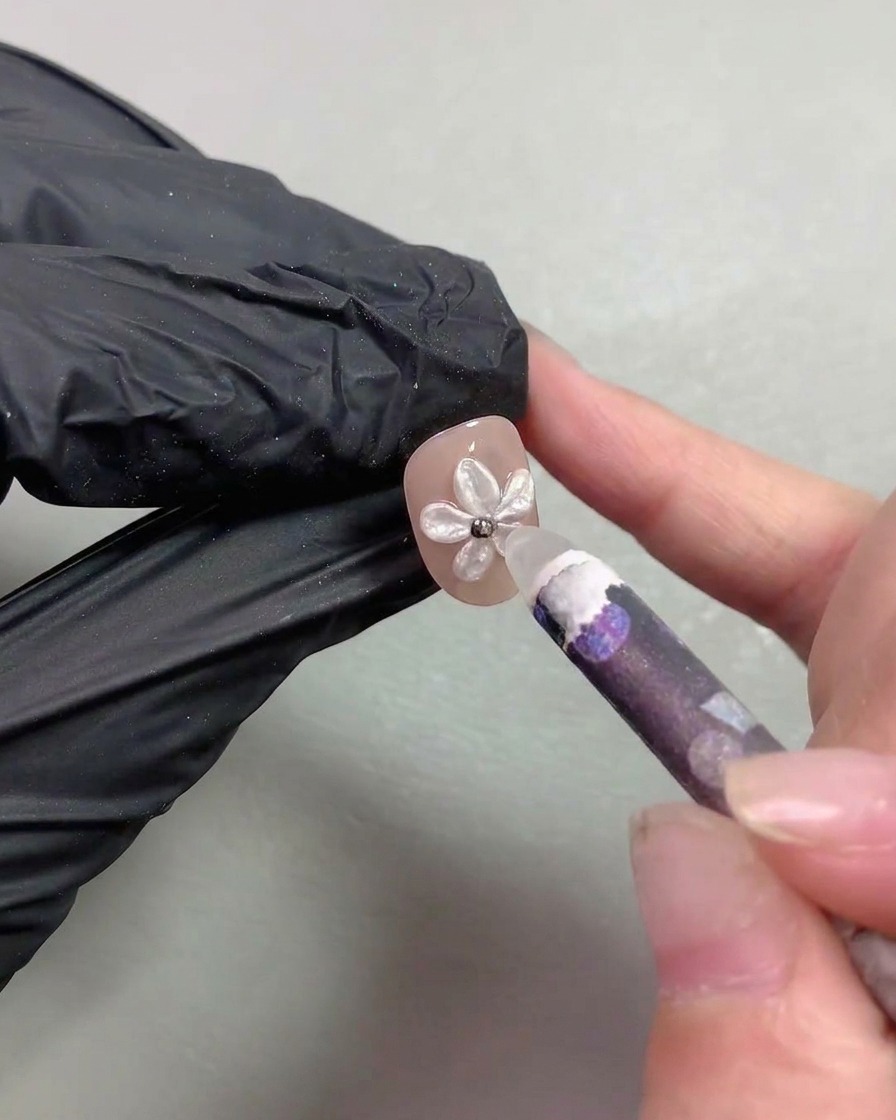
Using a picker tool or a detail brush, place a few metallic steel beads right into the center of the carved flower to complete the floral design.
Tip: Add a tiny drop of clear gel or base coat to the center first to act as glue for the steel beads. - 11Apply magnetic cat-eye gel
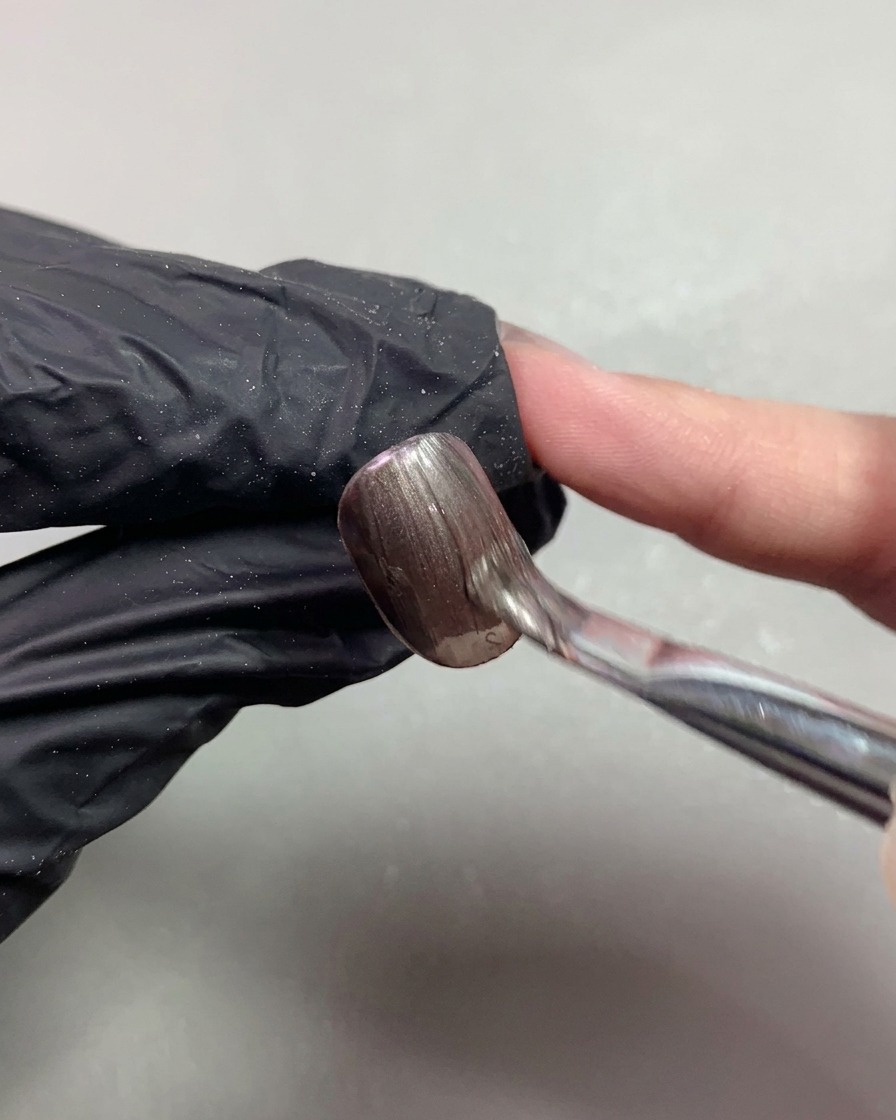
On another nail, directly apply a thick coat of dark brown magnetic cat-eye gel to prepare for creating the rolling glass bead effect.
Tip: Applying a thick enough layer allows the magnetic particles to shift and create a deep, dimensional rolling effect. - 12Magnetize cat-eye gel
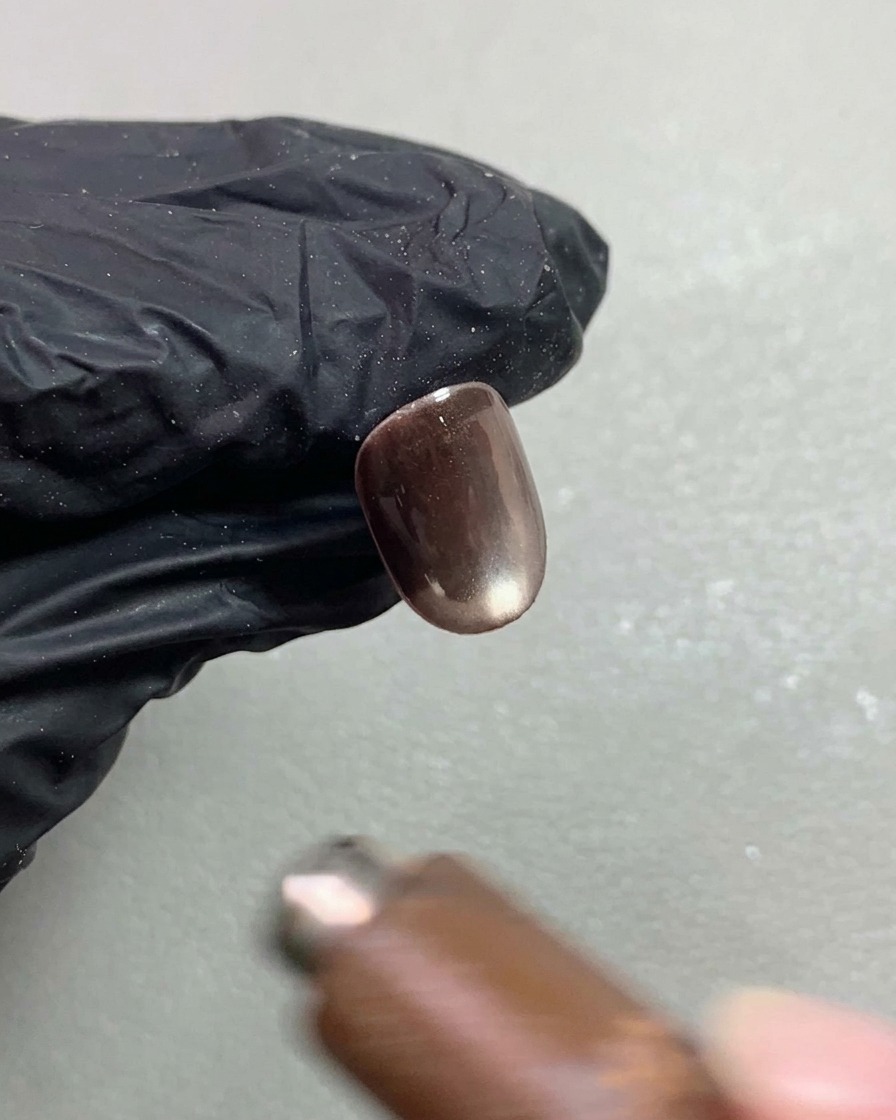
Immediately after applying the dark brown magnetic cat-eye gel, take a strong nail magnet and hold it close to the nail surface. Guide the magnetic particles to concentrate and form a glowing, round, rolling glass bead reflection effect right in the center. Adjust the angle of the magnet until the luminous depth effect looks smooth and well-centered.
Tip: Keep the magnet steady for a few seconds to lock the magnetic pigment grains into a sharp, clear glass bead shape before curing. - 13Cure the cat-eye gel under the lamp
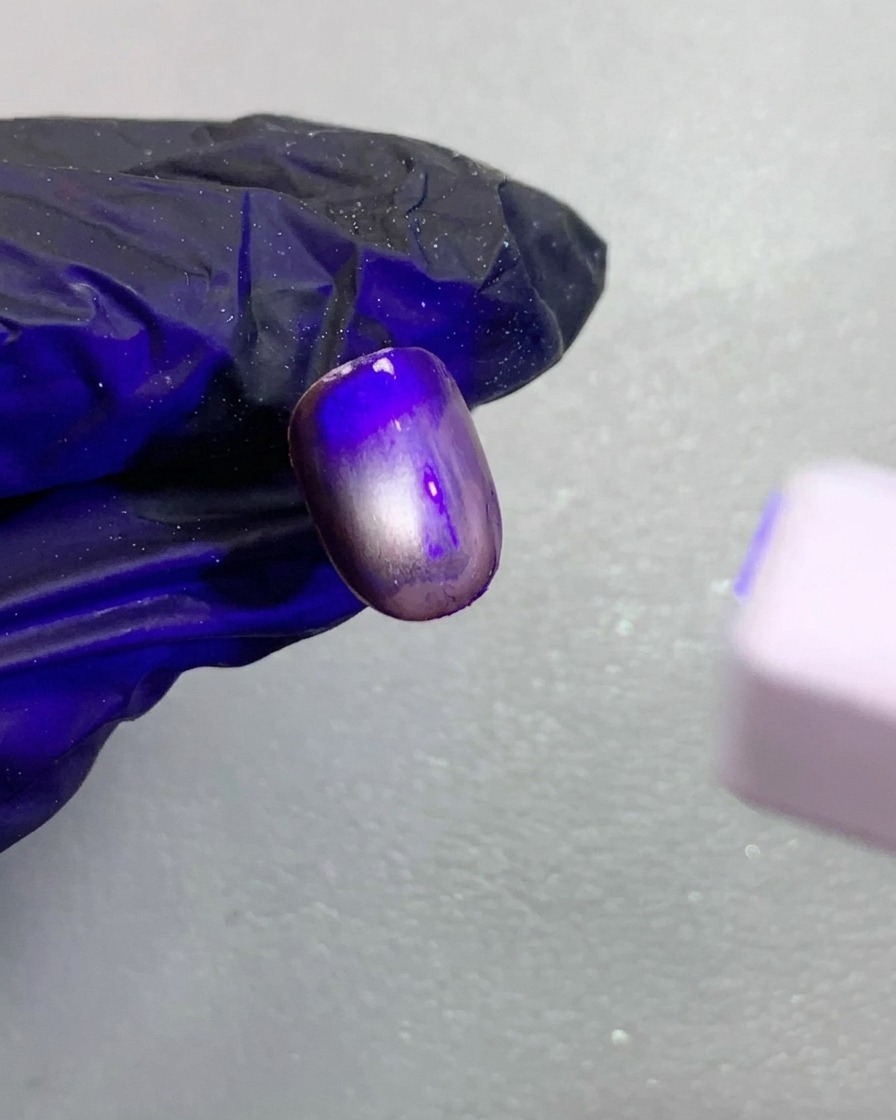
Place the nail under the UV or LED lamp and quickly cure the magnetized dark brown cat-eye gel to lock the rolling glass bead effect in place before it shifts. Ensure the curing time matches your gel manufacturers guidelines to prevent wrinkling or incomplete hardening.
Tip: Magnetize and cure one nail at a time to keep the magnetic pigment from dispersing before it is set. - 14Apply non-wipe top coat
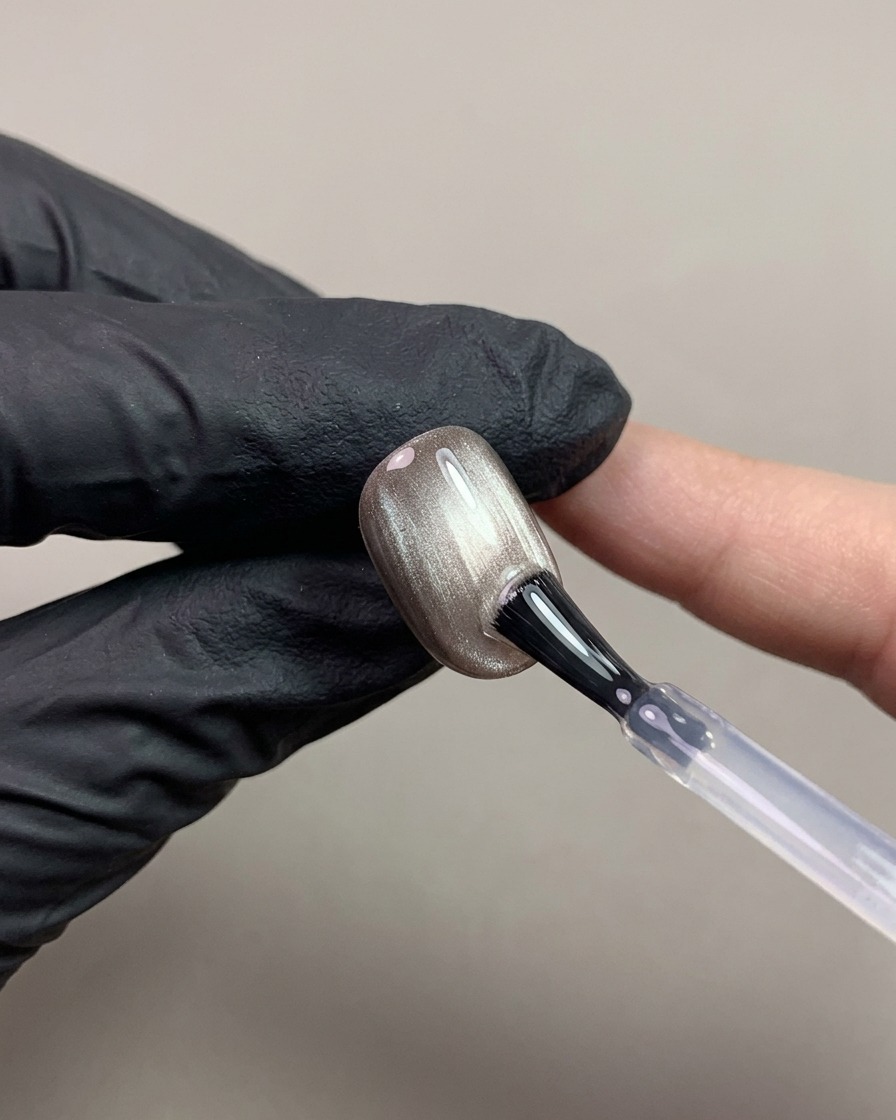
Apply a layer of non-wipe top coat directly over the cured dark brown magnetic cat-eye gel. This seals the magnetic glass bead effect and provides a smooth, wipe-free surface that is perfect for drawing delicate nail art in the next step.
Tip: Applying the top coat evenly ensures a completely smooth canvas, which helps your liner brush glide effortlessly when drawing. - 15Draw the bowknot details
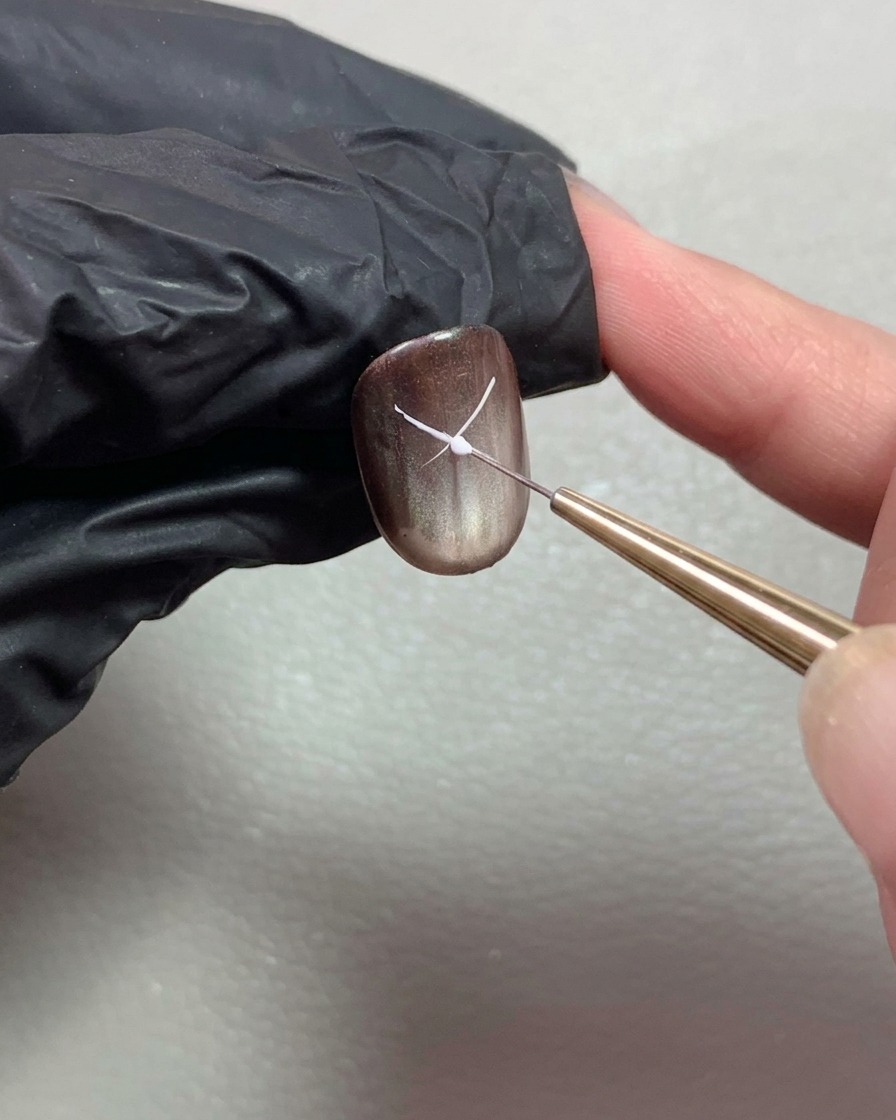
Using a fine liner brush and non-wipe white drawing paint, carefully begin outlining a double-layered bowknot on the cured top coat. Keep the overall lines drawn somewhat thinner to maintain a delicate, highly detailed look.
Tip: Do not overload your liner brush with paint; a small amount allows for much thinner, crisper lines.