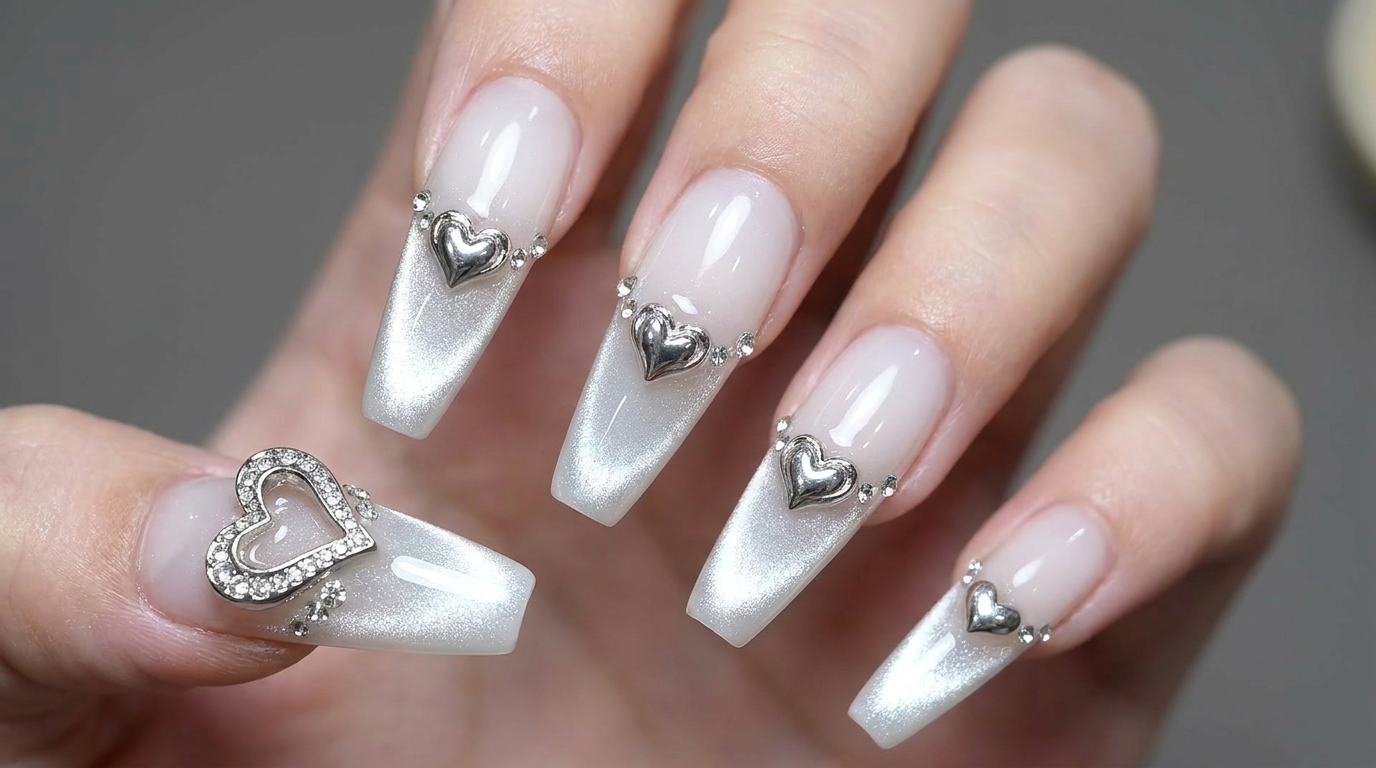
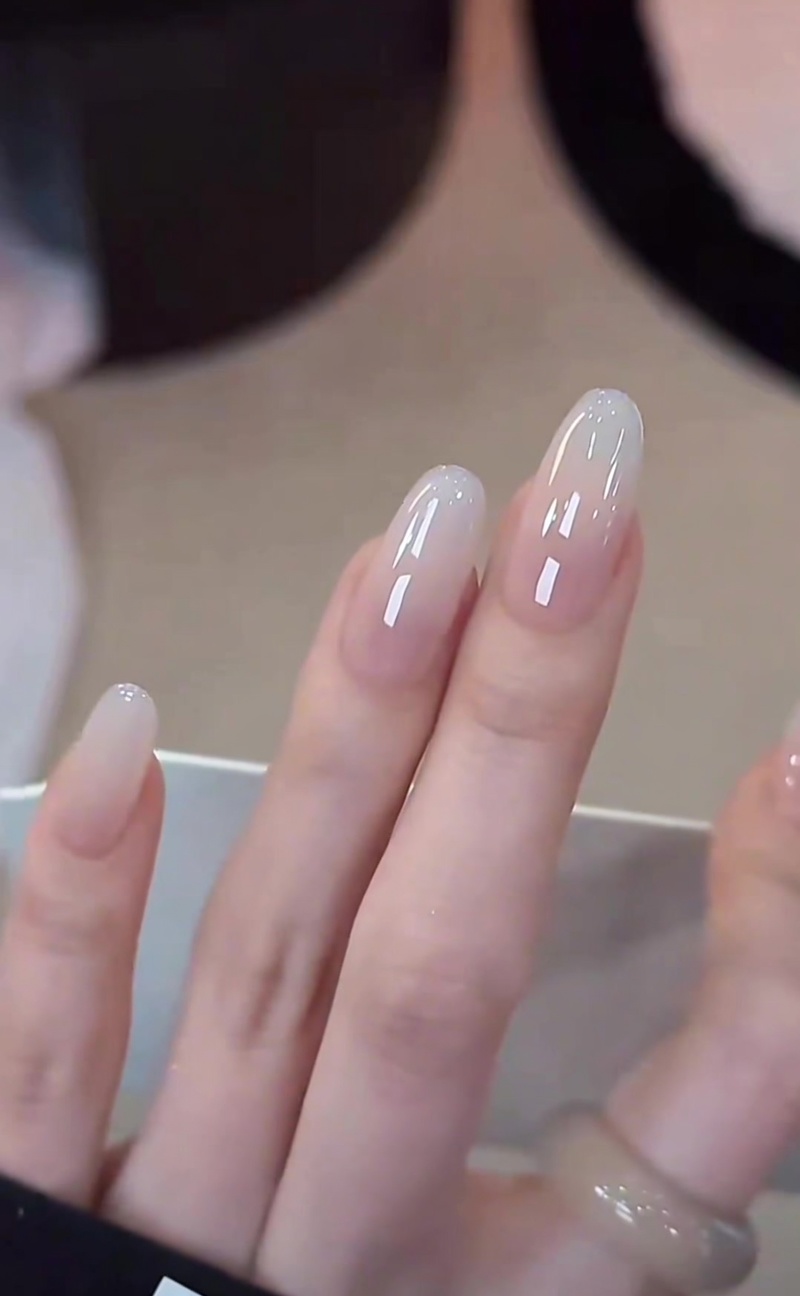
White French Ombre Nails
Rhinestones — Easy Salon-Style Tutorial
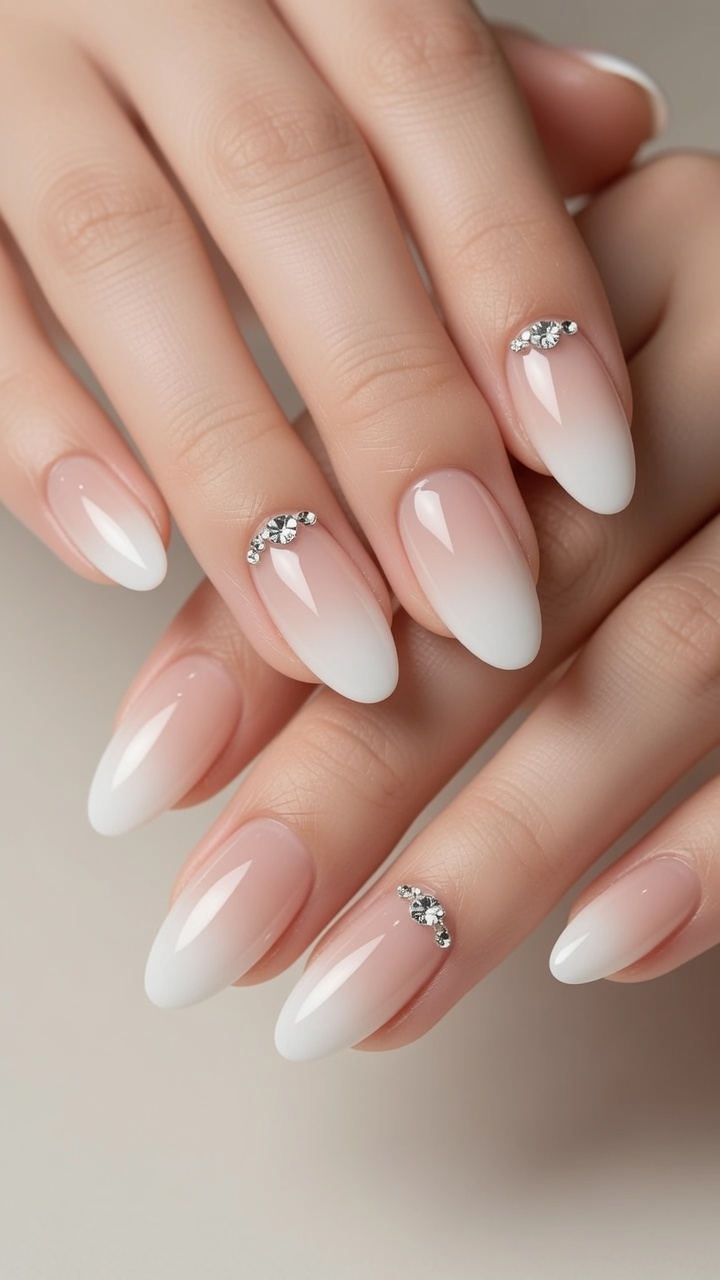
Achieve a flawless white French ombre with delicate rhinestone accents using a simple sponge technique. Perfect for an elegant, timeless manicure.
The white French ombre remains a staple of sophisticated nail art, offering a softer, more seamless alternative to the classic French tip. By utilizing a sponge blending technique rather than complex airbrushing, this look is highly accessible for at-home application. With the addition of subtle rhinestone clusters, this design elevates a simple gradient into a refined, high-end manicure suitable for any occasion.
Steps
- 1Buff and shape the nail
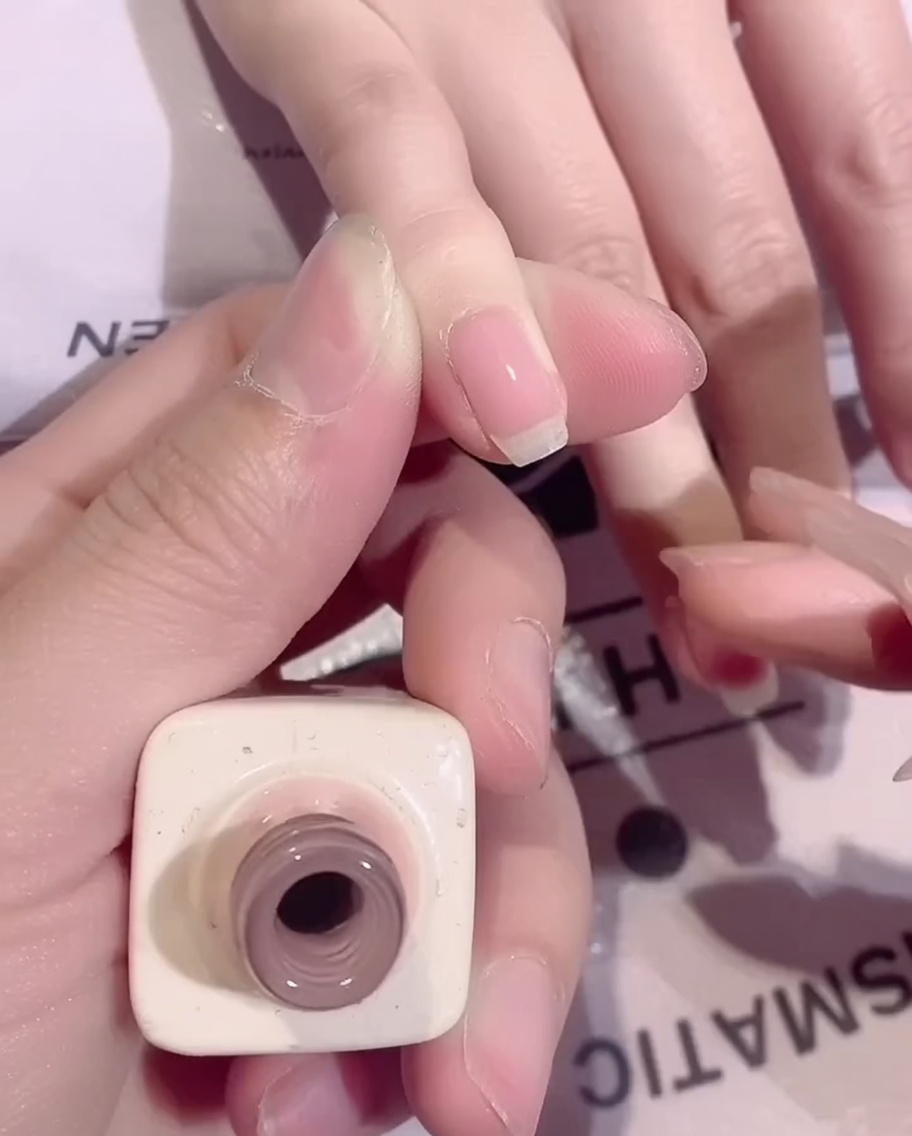
Using a fine-grit nail file, gently buff the surface of the natural nail to remove shine and create a slightly textured surface for better adhesion. Carefully shape the free edge of the nail to your desired style. This foundational step ensures a smooth base and promotes longer-lasting gel wear.
Tip: Be gentle with buffing; you only need to remove the natural oils and shine, not thin the nail plate. - 2Apply the first base coat
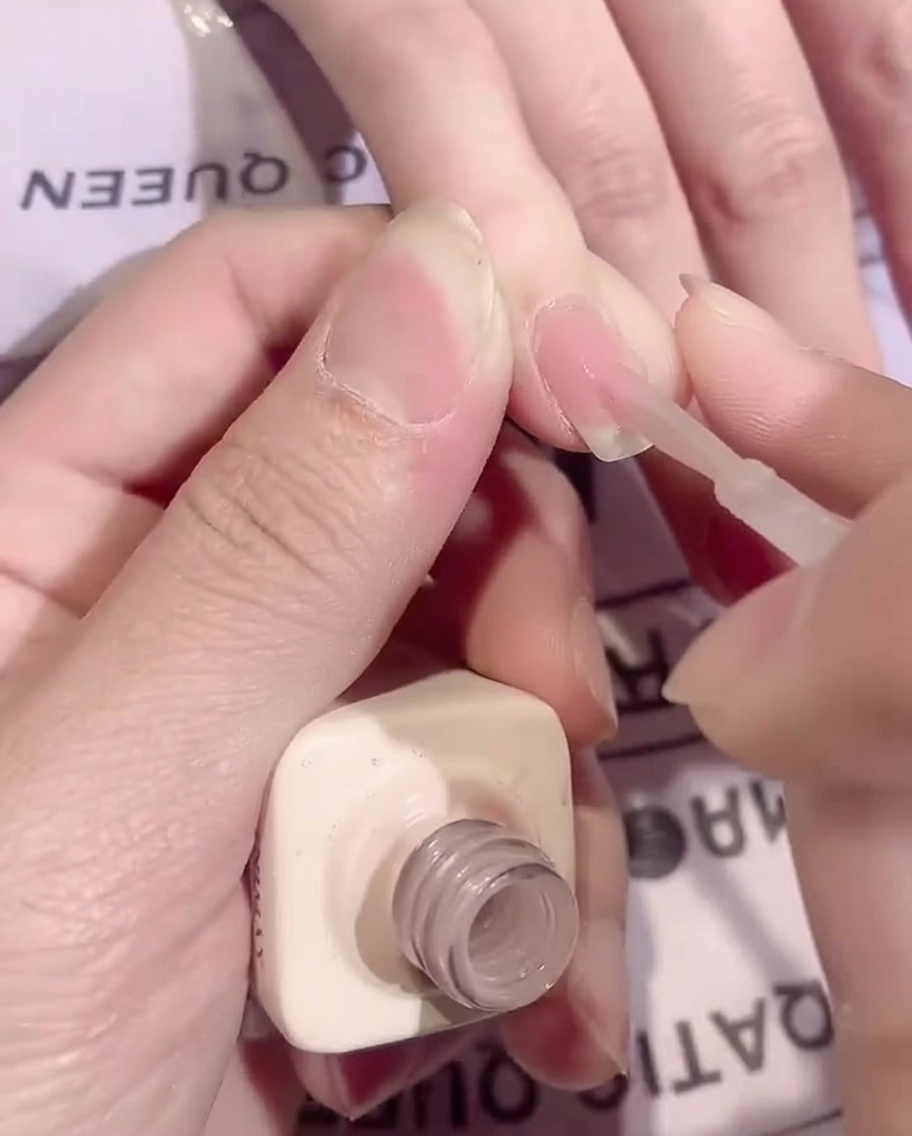
Apply a thin, even layer of your chosen nude base coat gel over the prepped natural nail. Use the brush to carefully cover the entire nail surface, capping the free edge while leaving a tiny gap around the cuticles to prevent flooding and future lifting.
Tip: Keep this initial layer extra thin. It acts as the foundational bond for your multi-layered gradient and prevents the final look from becoming overly thick. - 3Apply the second base coat
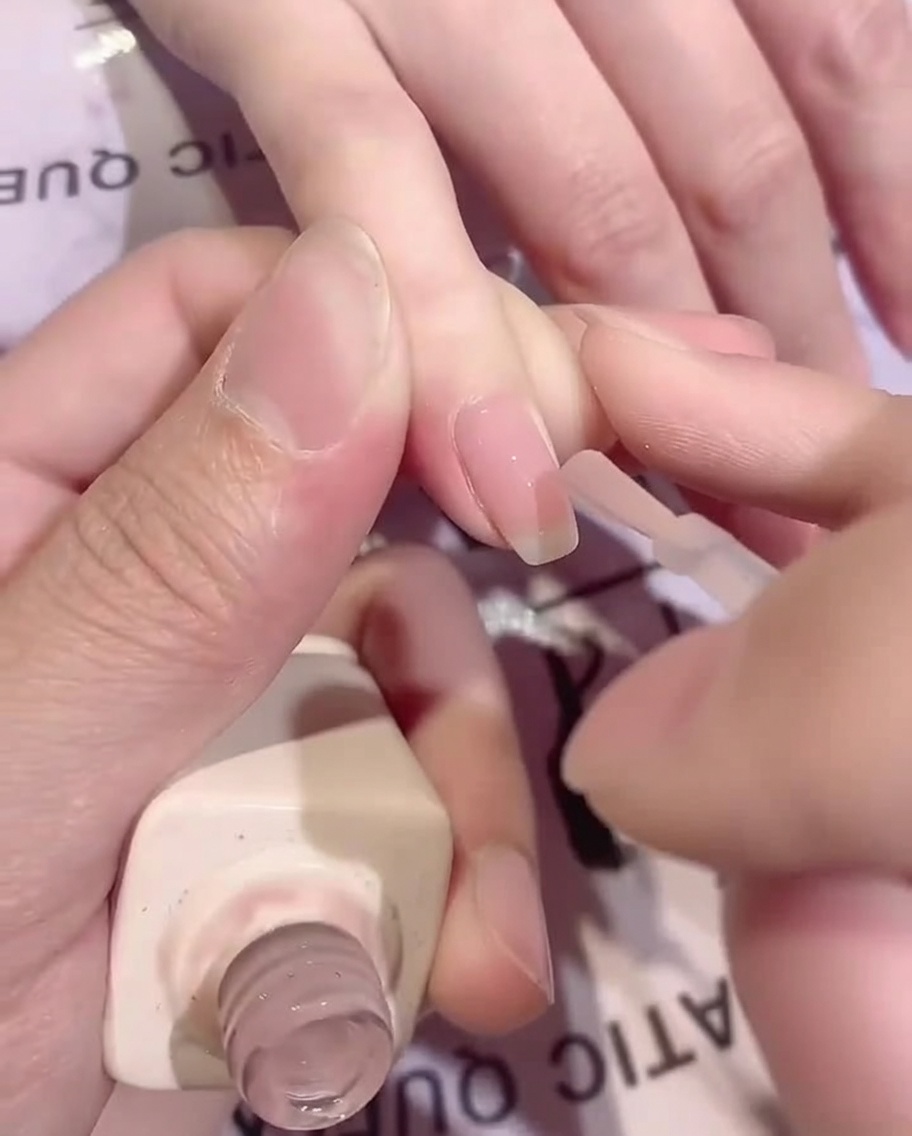
Brush on a second thin layer of the nude base coat gel to build opacity and create a flawless, uniform background color for your French gradient. Once the application is perfectly smooth, cure the nails fully under your UV or LED lamp.
Tip: Two thin coats always cure more reliably than one thick coat, providing better durability and minimizing the risk of heat spikes inside the lamp. - 4Dispense the white color gel
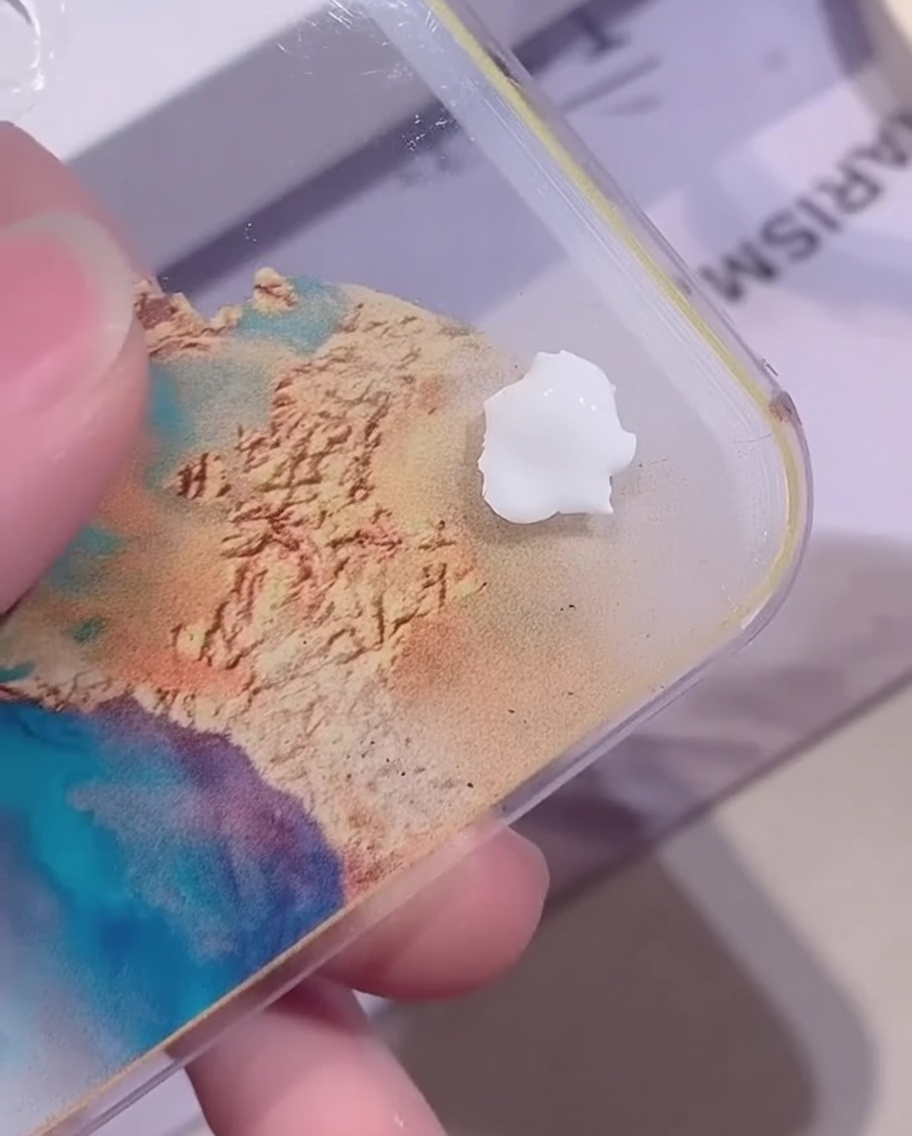
Squeeze or dab a small bead of highly pigmented white color gel onto a clean mixing palette. It is important to use a thicker color gel or painting gel rather than a standard gel polish, as regular polish is too thin and will not provide the right texture for sponging.
Tip: Using a dedicated painting gel helps the sponge pick up an opaque, concentrated layer of color without it running or pooling. - 5Prepare sponge for gradient
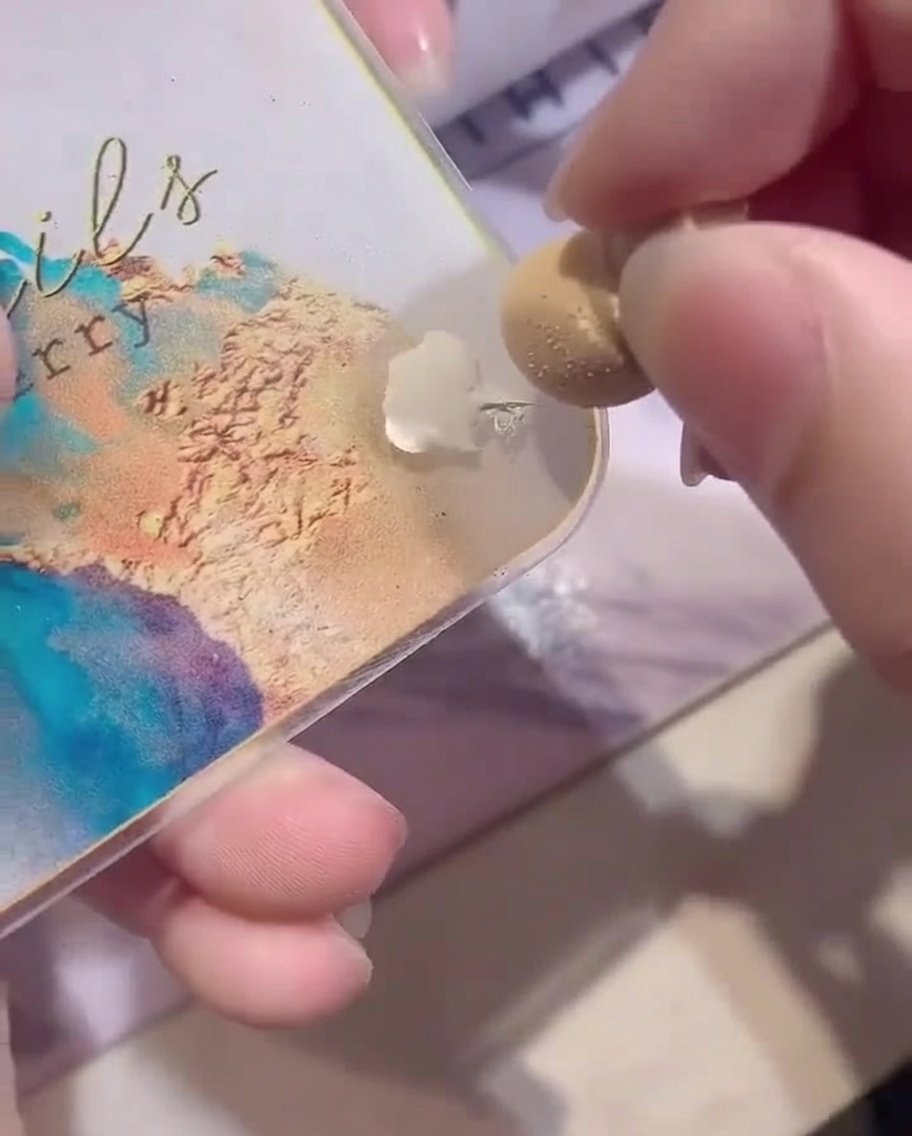
Take a clean makeup sponge and dab a small amount of white color gel onto it. Ensure the gel is evenly distributed on the sponge surface to create a consistent gradient effect. Using a sponge instead of a brush is key to achieving that soft, seamless ombre look.
Tip: Dont oversaturate the sponge; thin, dabbing motions provide the best control for a gradient. - 6Apply tape for the French tip
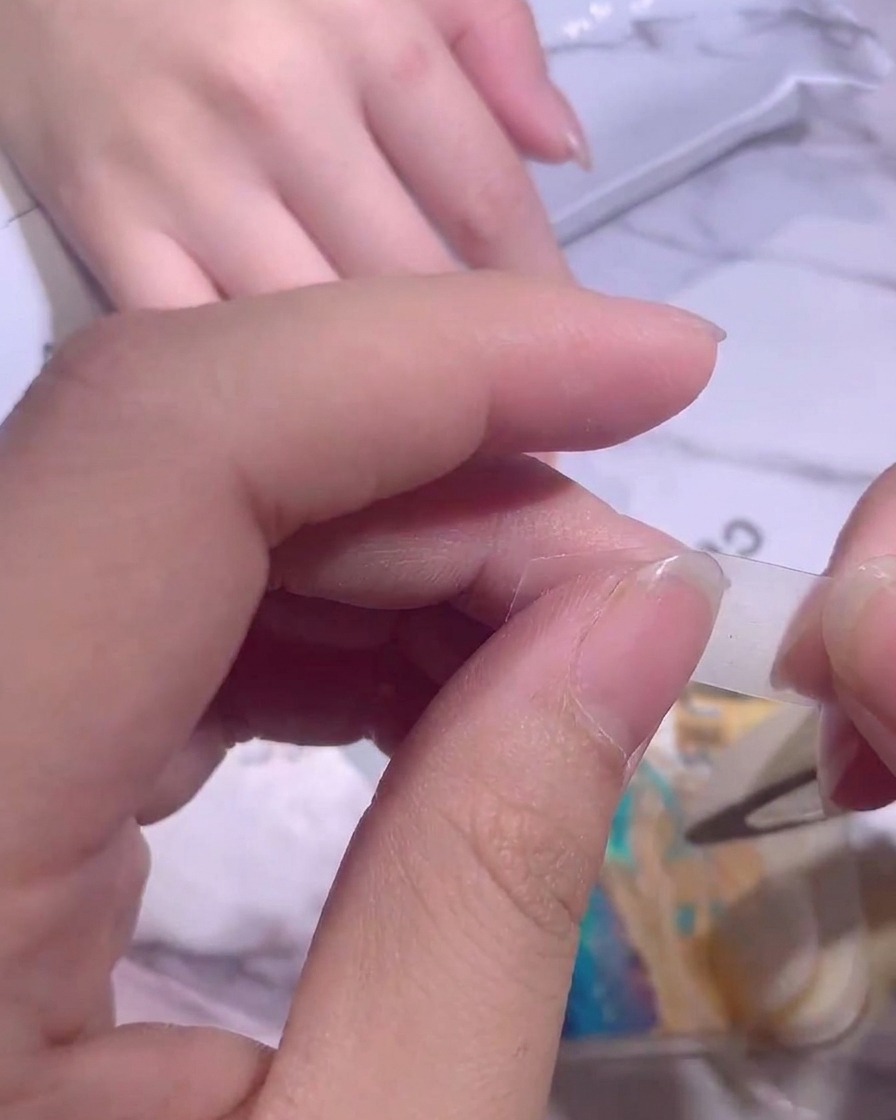
Cut a small piece of clear isolation tape or nail striping tape and apply it horizontally across the nail bed. Position the tape exactly where you want the French gradient fade to begin, pressing the edges down firmly so it acts as a clean, sharp stencil guide for your sponge.
Tip: Make sure your cured base layer is smooth and not overly sticky before applying the tape, so the tape adheres flush against the nail to prevent the white gel from bleeding underneath. - 7Apply gradient to nail tip
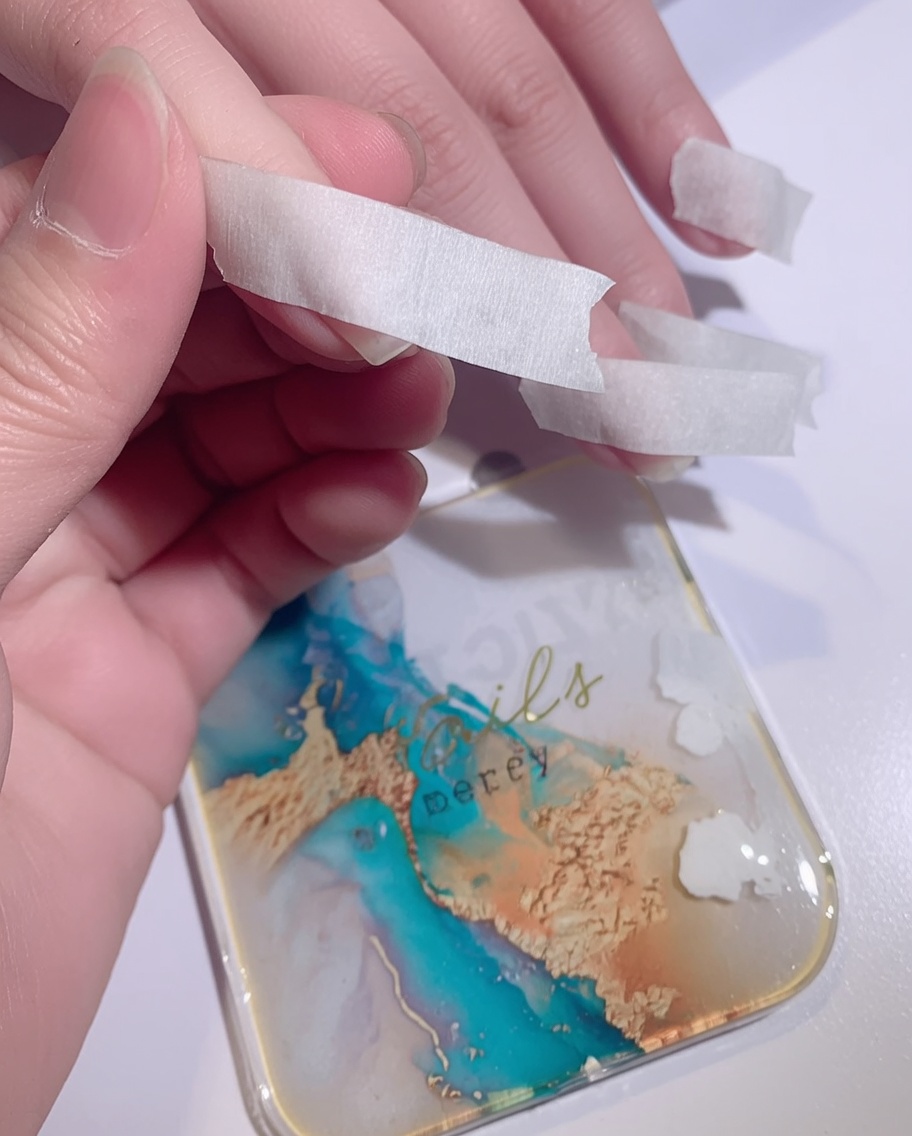
Using the gel-loaded sponge, gently dab the white color onto the tip of the nail. Use light, repetitive motions to blend the color toward the center, creating a soft ombre transition. Work carefully to build the gradient intensity where you want it most, typically fading out as you move toward the cuticle.
Tip: Keep your dabbing motions light to avoid creating textures or dragging the gel unevenly. - 8Build gradient opacity
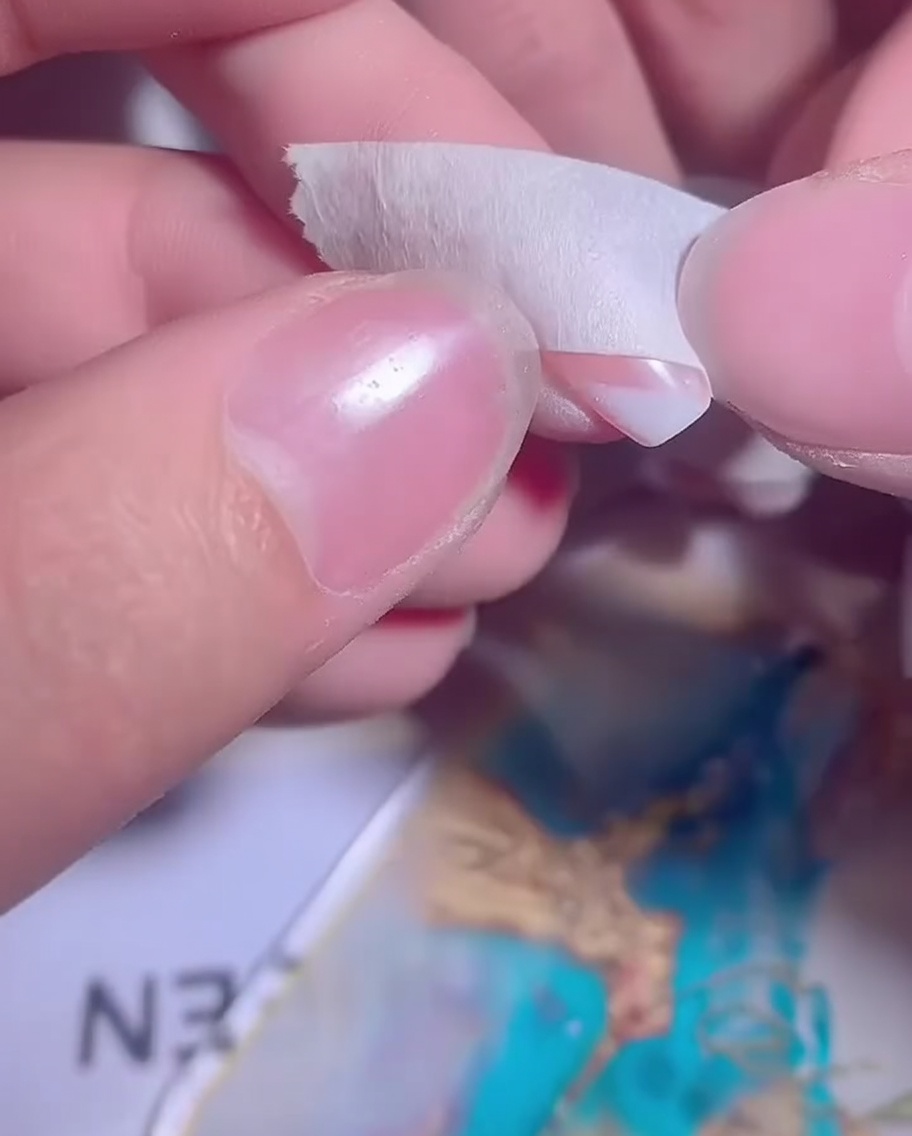
After curing the initial gradient layer under your UV or LED lamp, apply a second pass of white gel using the same sponge technique. This layer builds depth and opacity, ensuring the French ombre effect is bold and clean. Cure again according to your gel systems requirements.
Tip: Multiple thin layers are always better than one thick layer for a smooth, professional gradient.