Milky White Cat Eye Nails
Chrome Heart Charms — Step-by-Step Tutorial
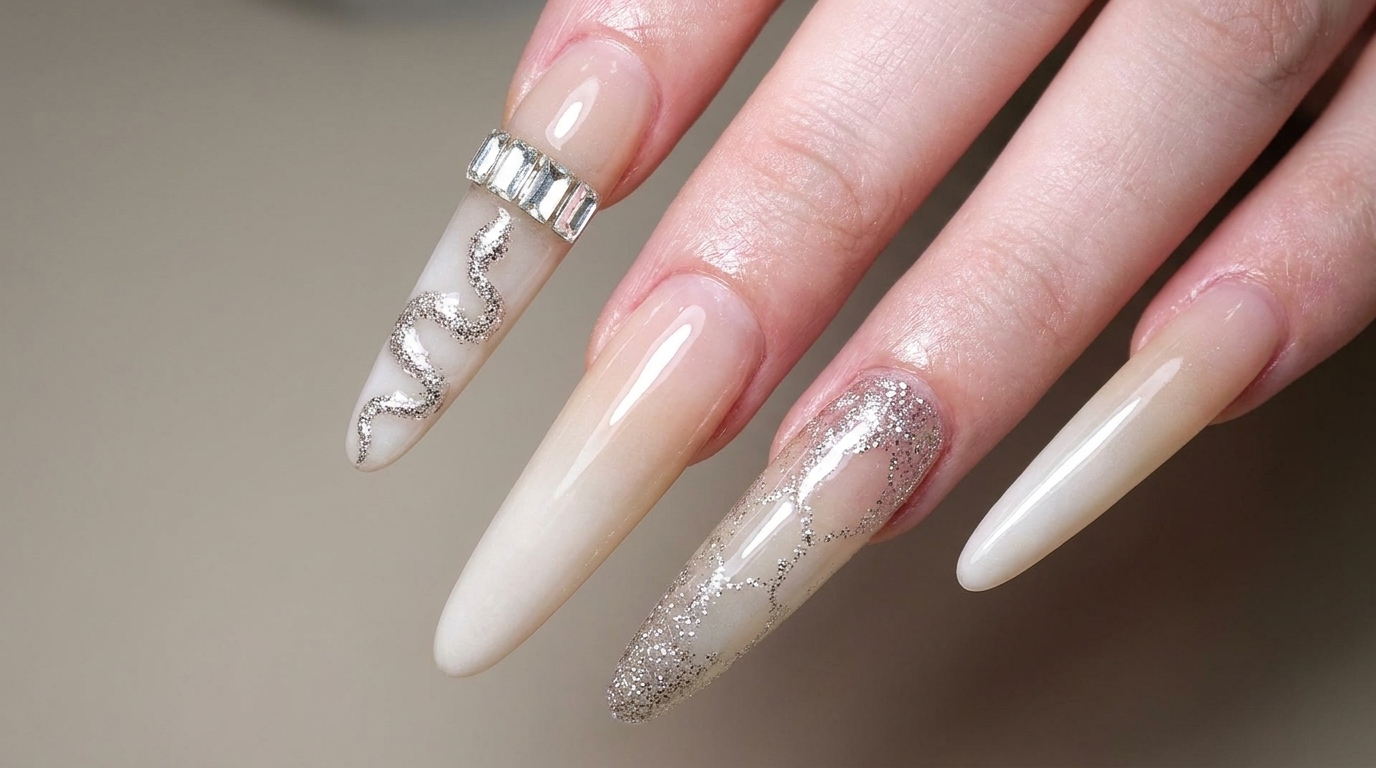
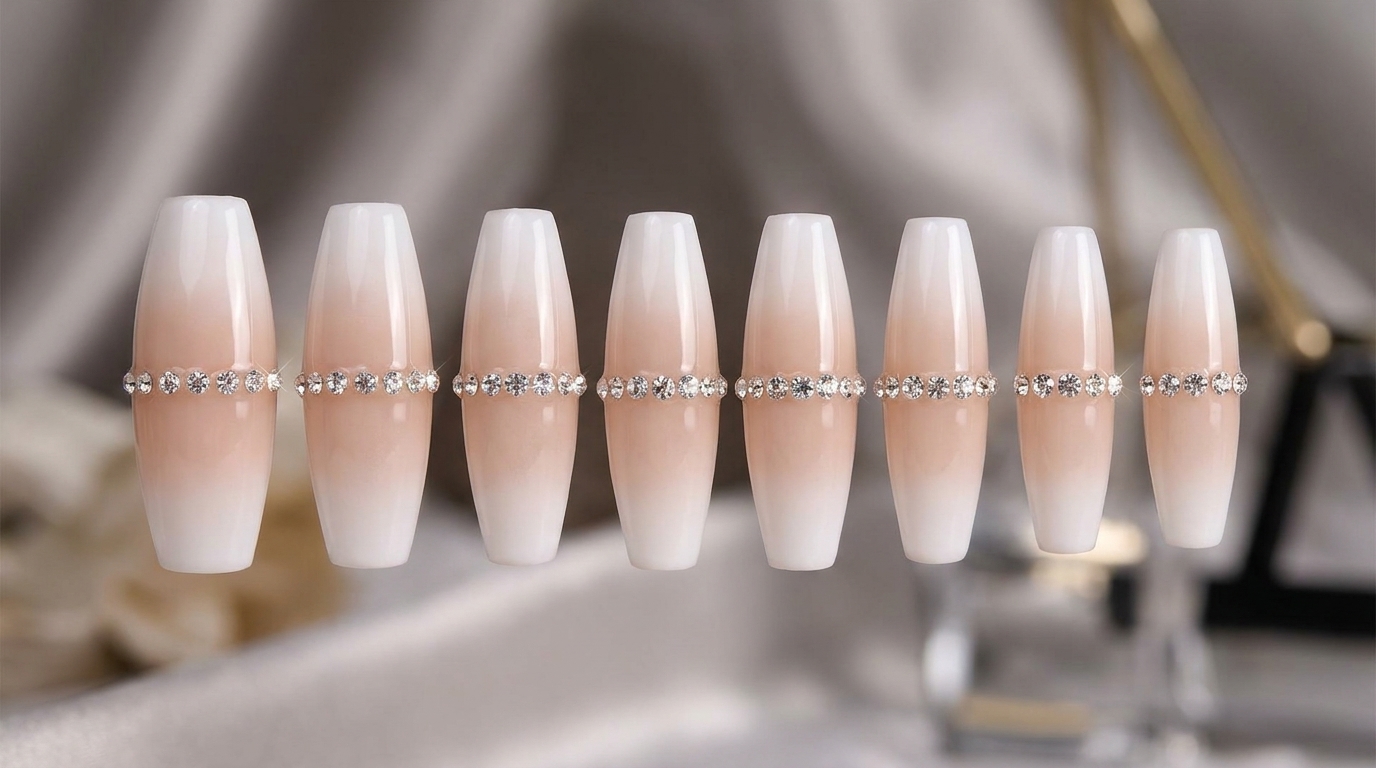
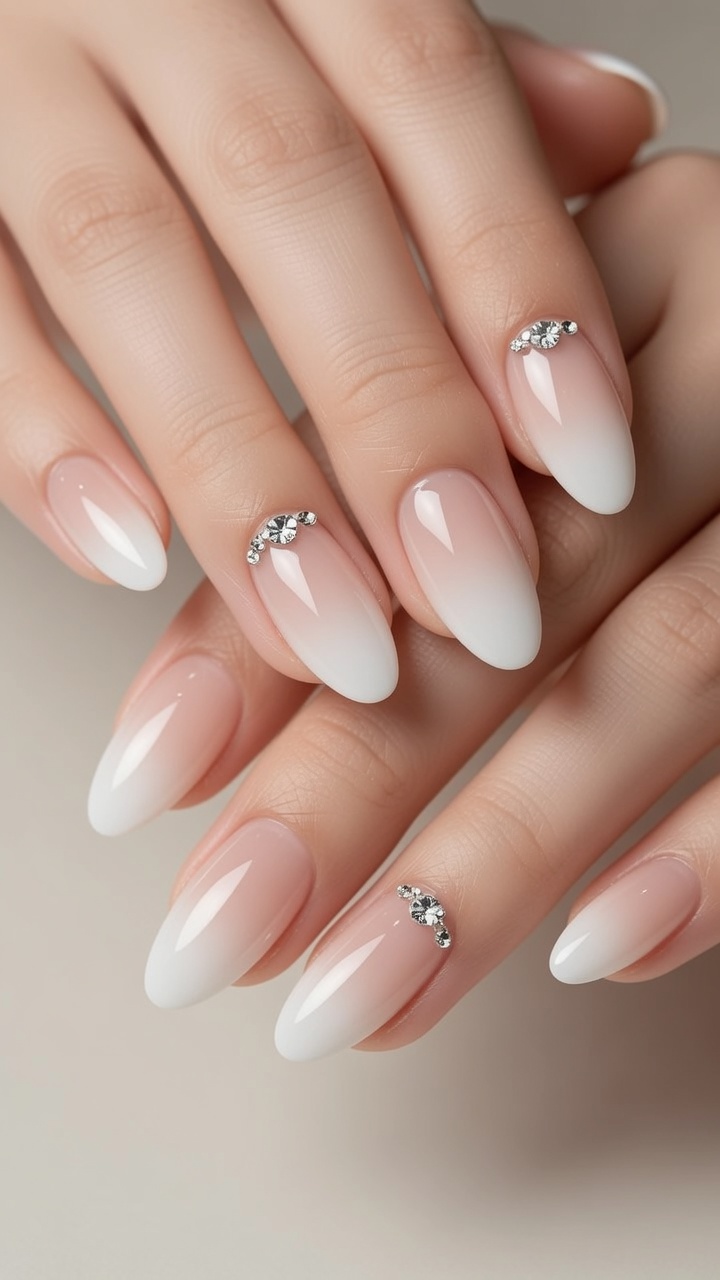
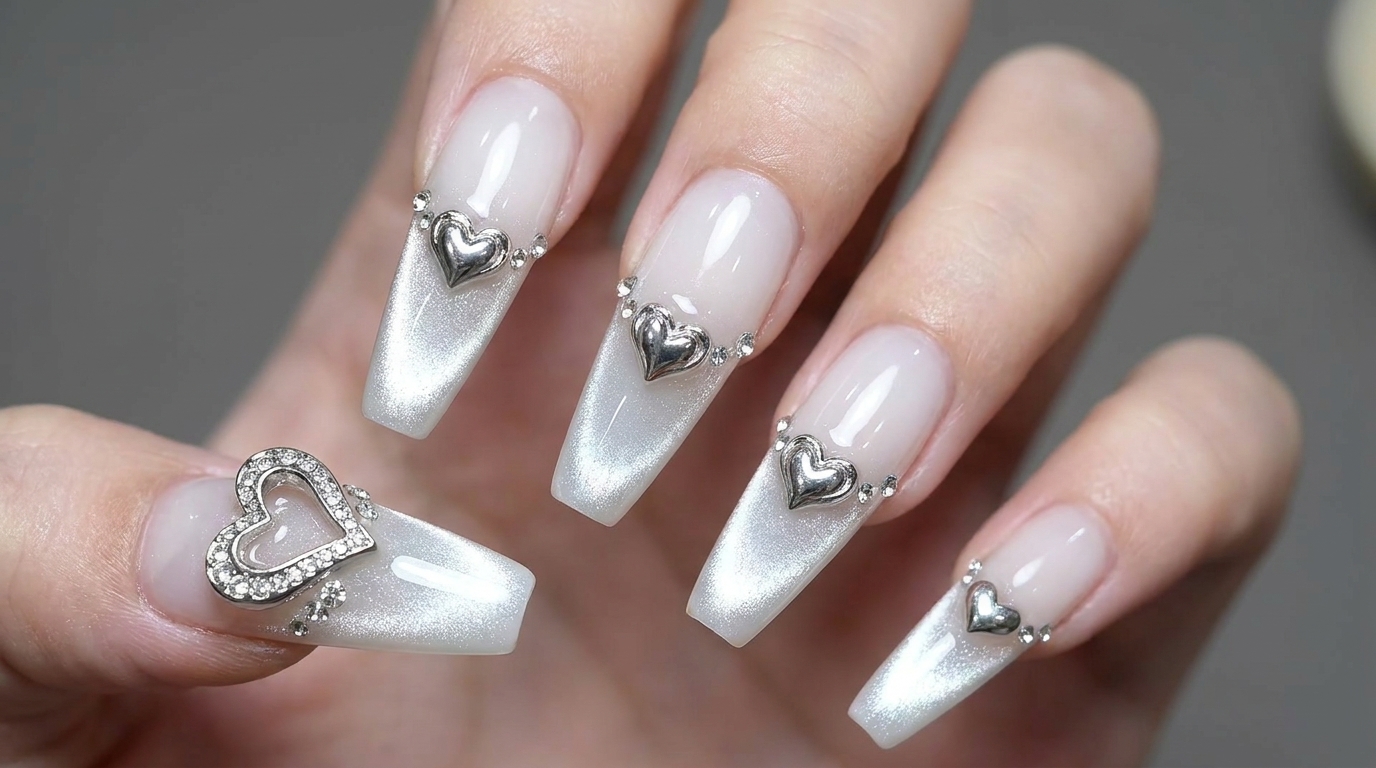
Create a sophisticated clean girl aesthetic with this milky white gradient and luminous cat eye nail tutorial, featuring delicate 3D chrome hearts and crystal details.
The clean girl aesthetic meets bold Y2K-inspired details in this gorgeous nail look. By combining a sheer icy tea base with a milky white gradient and magnetic cat eye gels, you get a dimensional, glass-like finish that catches the light beautifully. The addition of 3D silver chrome hearts and tiny crystals elevates the design, giving it a sophisticated yet edgy vibe. It looks intricate but is surprisingly simple to achieve at home with a few key tools and charms.
Steps
- 1Apply barrier tape
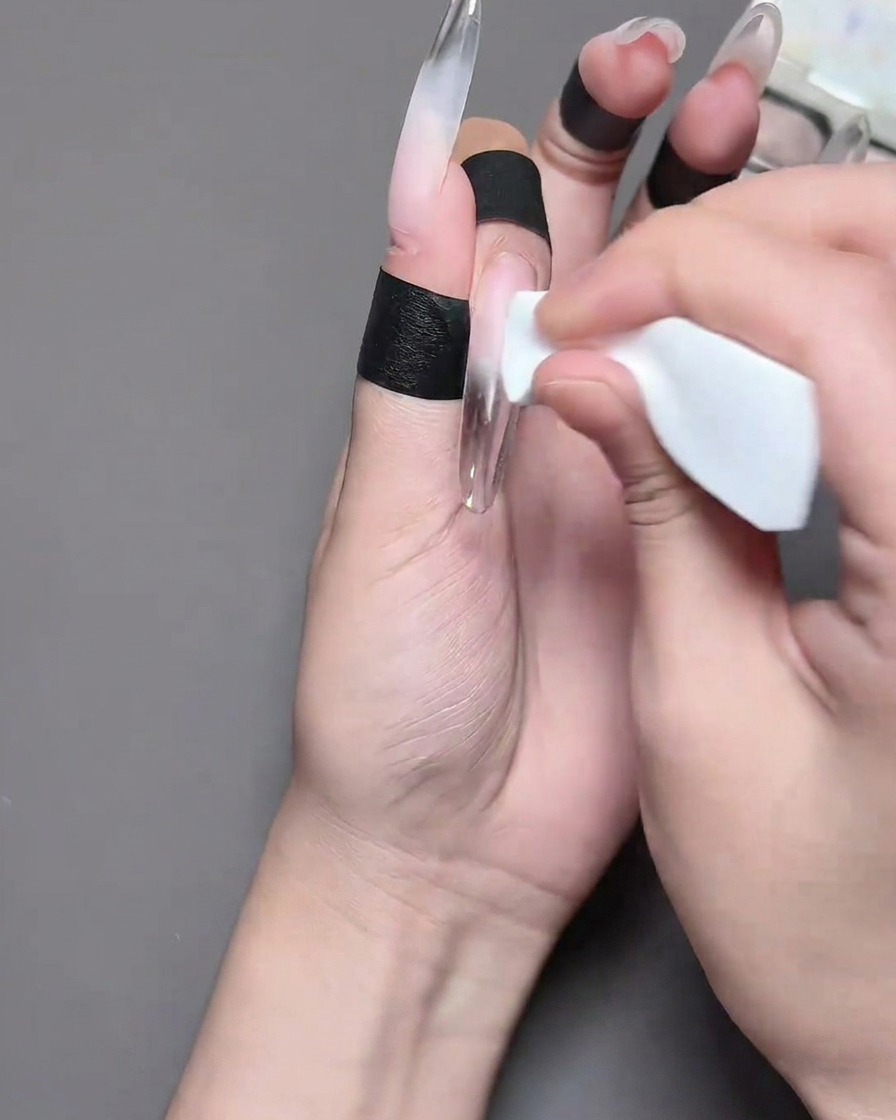
Apply a piece of barrier tape around the skin surrounding the nail plate. This prevents gel polish from contacting the skin during application, ensuring a clean and professional look.
Tip: Ensure the tape is pressed firmly against the skin to create a complete seal. - 2Apply base color
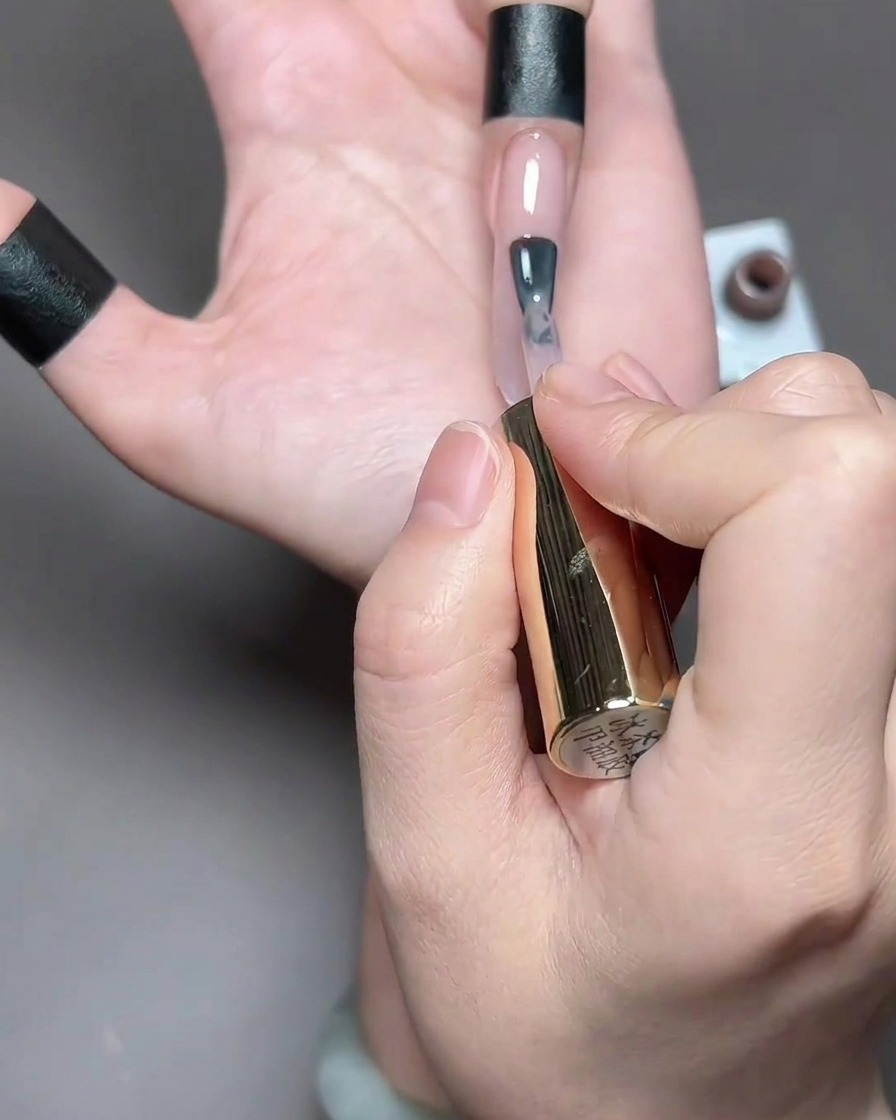
Apply a thin, even layer of an icy tea-colored translucent gel polish to the ring finger. This creates a soft, warm base for the 3D chrome charm. Ensure the color is applied smoothly and evenly across the nail surface.
Tip: Use light strokes to build up the color without getting it on the barrier tape. - 3Cure the gel
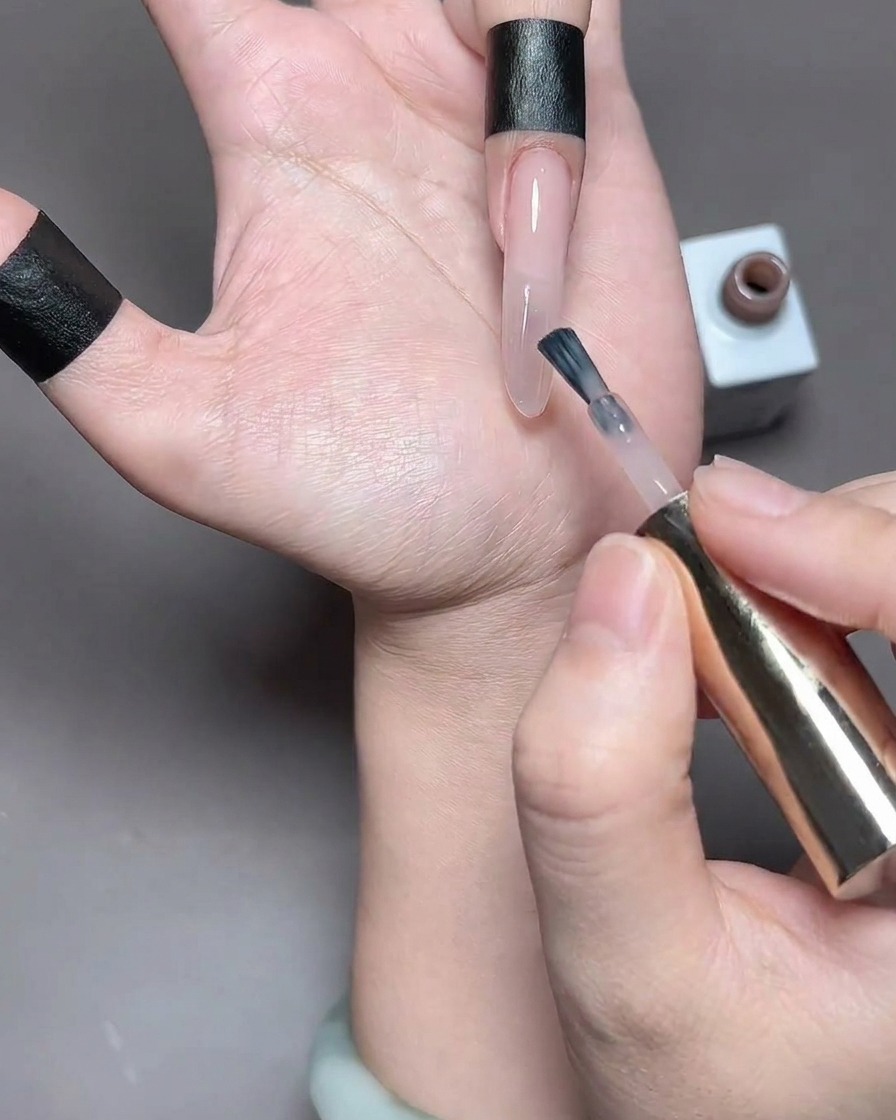
Place the ring finger under the UV or LED nail lamp. Cure for the manufacturer-recommended time to ensure the icy tea-colored gel is fully set.
Tip: Keep the finger centered under the lamp for even curing. - 4Apply cat eye gel
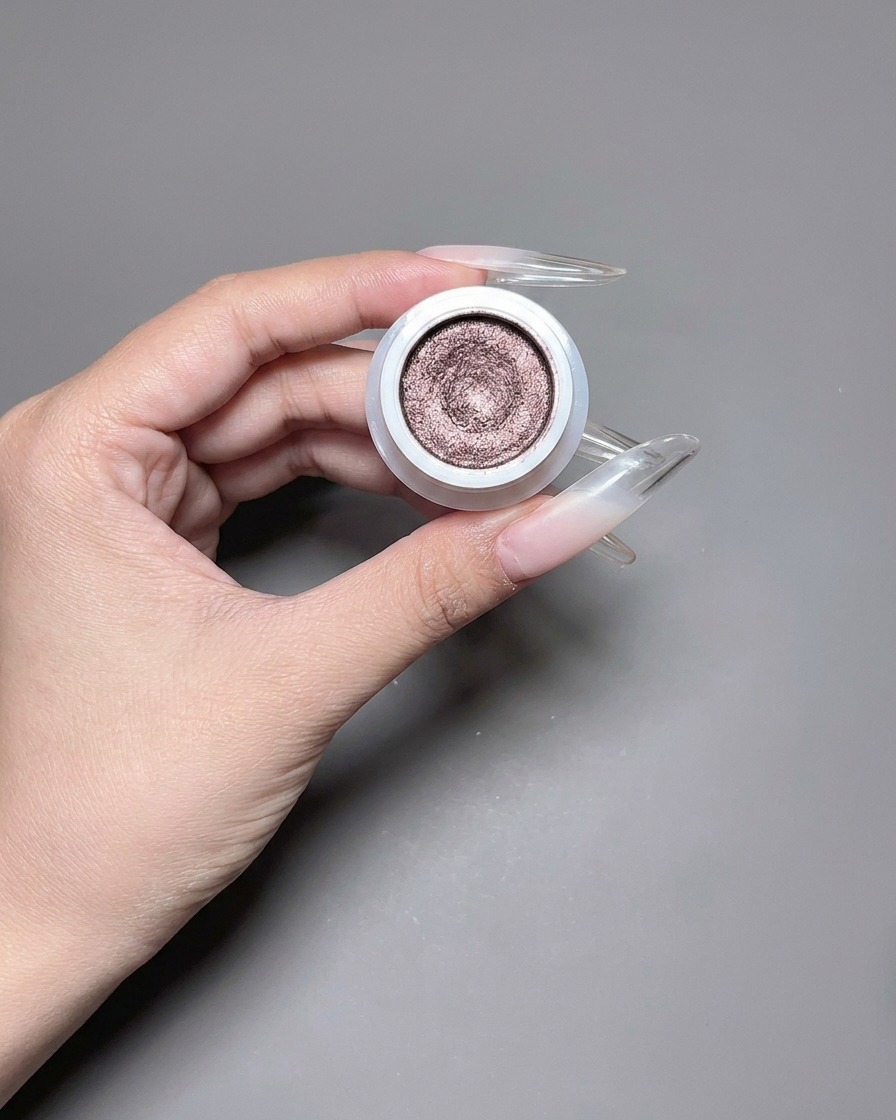
Apply a thin layer of the cat eye gel polish to the remaining fingers. Ensure full coverage without flooding the edges.
Tip: Work one nail at a time if the gel self-levels quickly, to keep the finish smooth. - 5Create cat eye effect
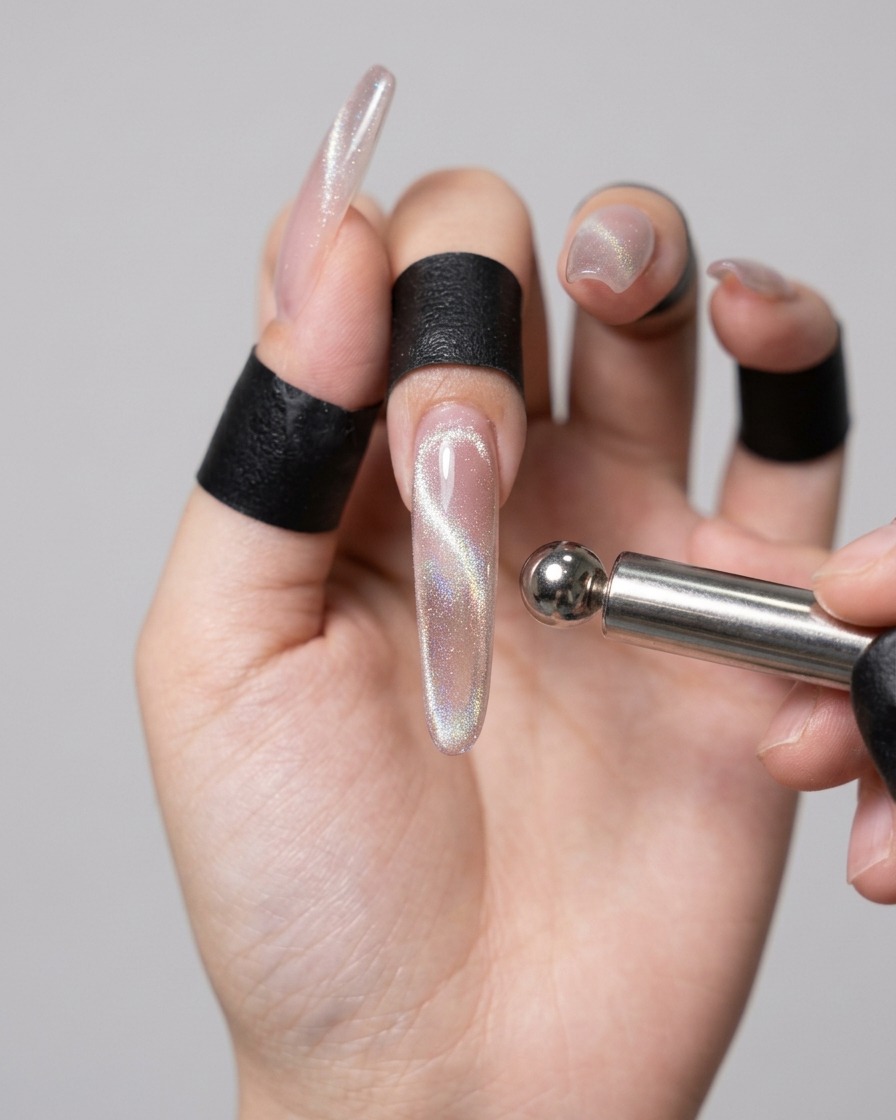
Hold a magnetic wand near the nail to draw the magnetic particles into a wide, luminous band. Then, move the magnet in a circular motion over the center to create a bright glass pearl effect.
Tip: Hold the magnet steady to get a crisp band before swirling for the pearl finish. - 6Cure cat eye nails
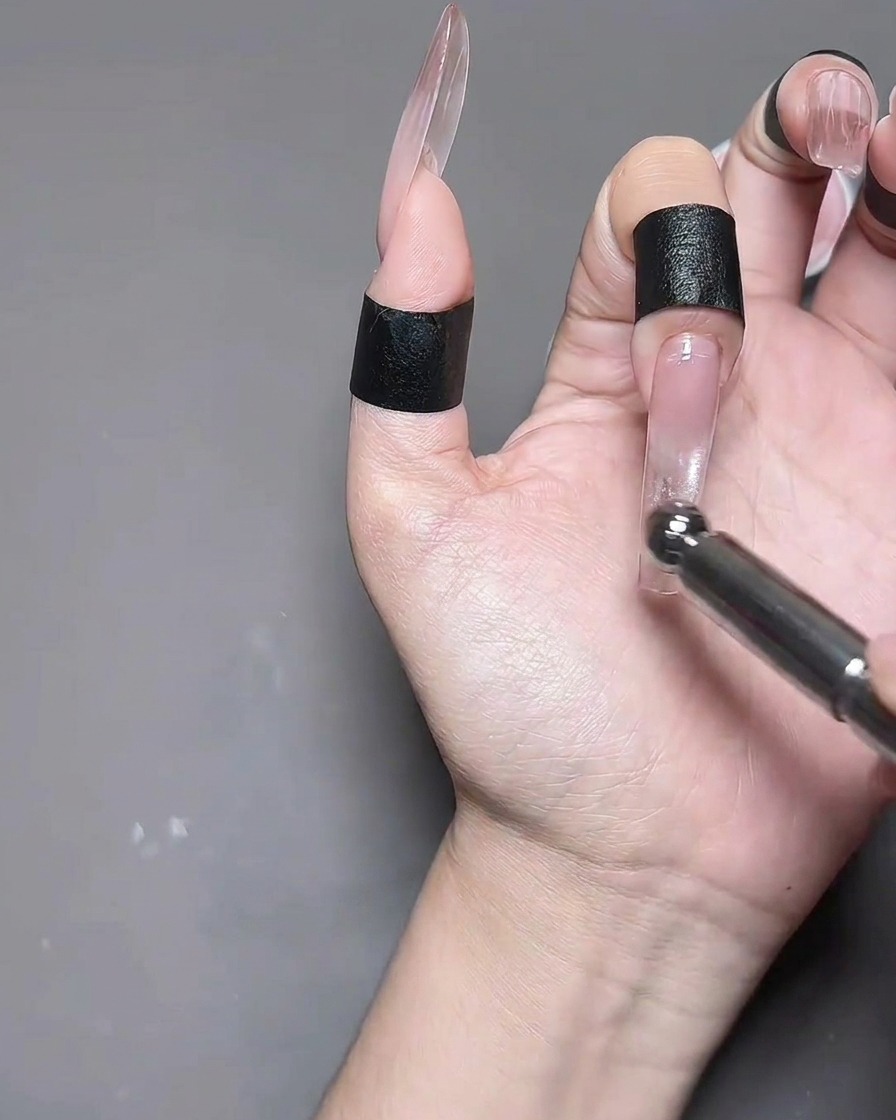
Place the nails under the UV/LED lamp and cure the cat eye effect to lock the magnetic particles in place.
Tip: Check that the magnetic effect is positioned exactly where you want it before curing. - 7Apply a hollow heart stencil
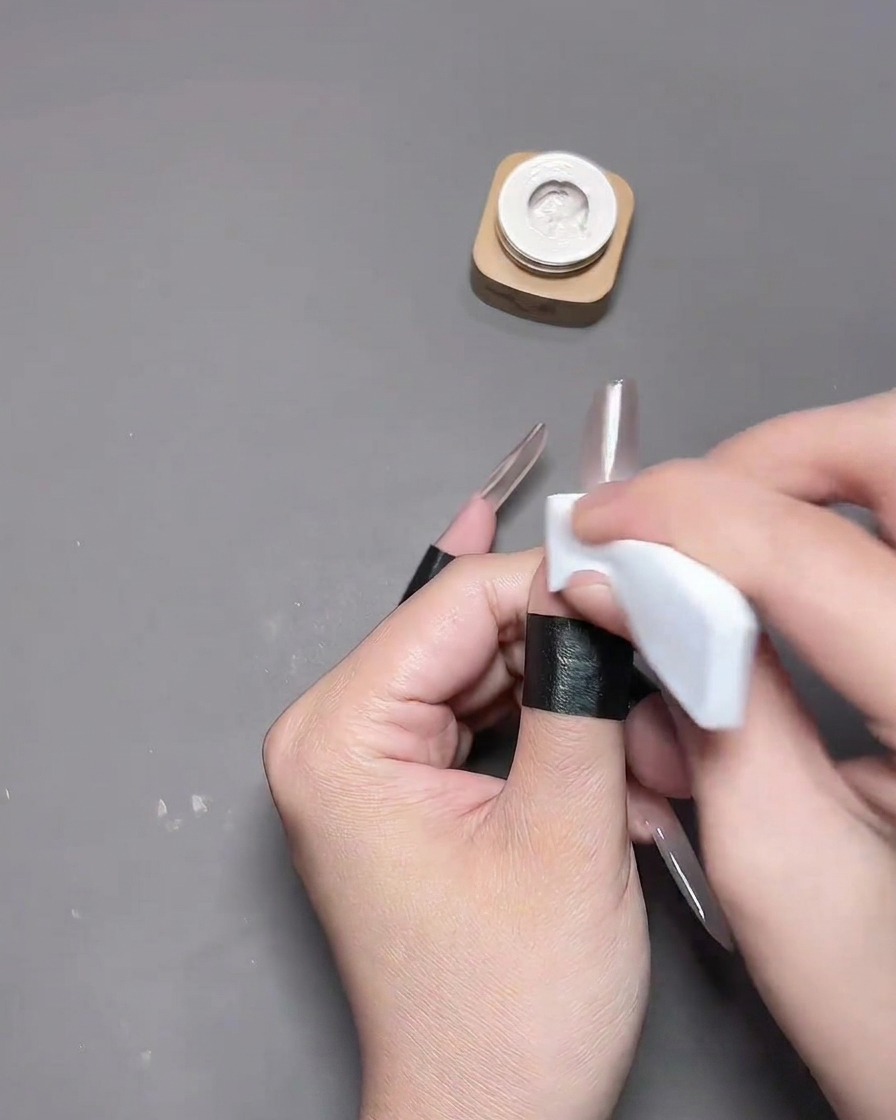
Place a hollow heart stencil sticker onto the thumb to begin the designcite: 1. Use an applicator tool or sponge to press the sticker firmly against the nail plate, ensuring it adheres seamlessly over the black barrier tape to prevent any gel from bleeding underneathcite: 1.
Tip: Make sure the base gel is completely cured and the sticky inhibition layer is wiped off before applying the stencil, so it adheres tightly without slipping. - 8Fill in the heart design
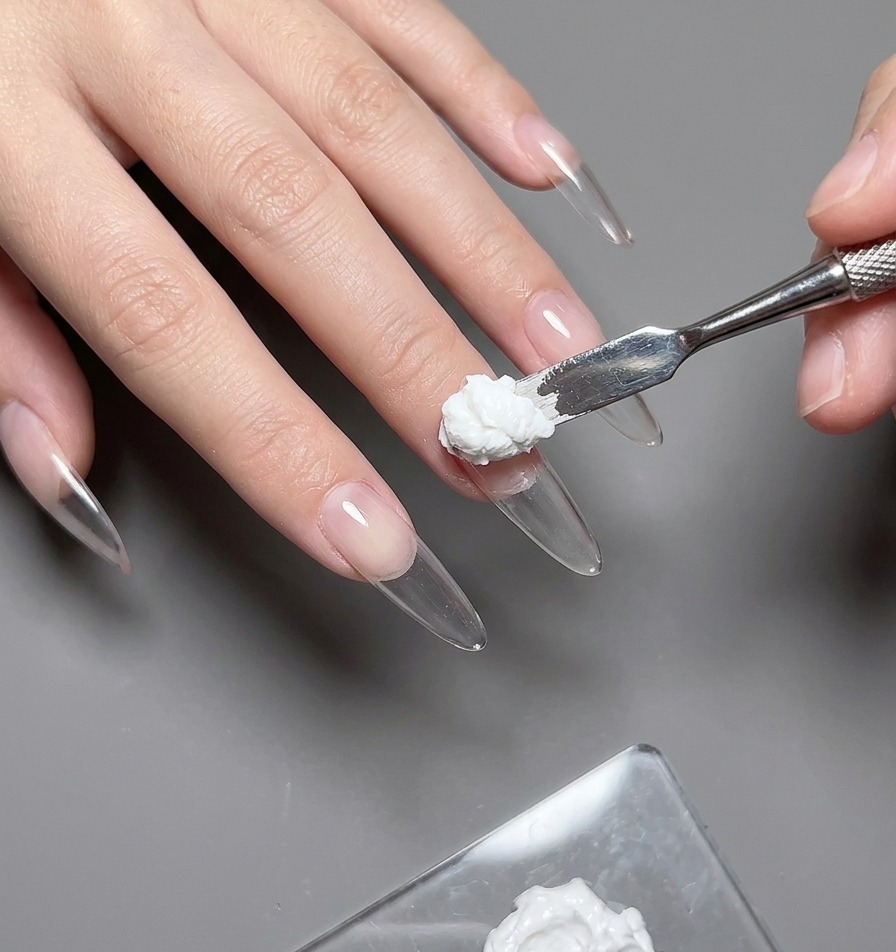
Using a fine liner brush dipped in your chosen color gel, carefully fill inside the hollow heart stencil on the thumb nail. Start from the edges and move inward to ensure a solid, opaque coverage, then cure the nail under your LED or UV lamp.
Tip: Work in thin layers to ensure the heart shape is perfectly filled without pooling at the edges of the stencil. - 9Paint the French tips
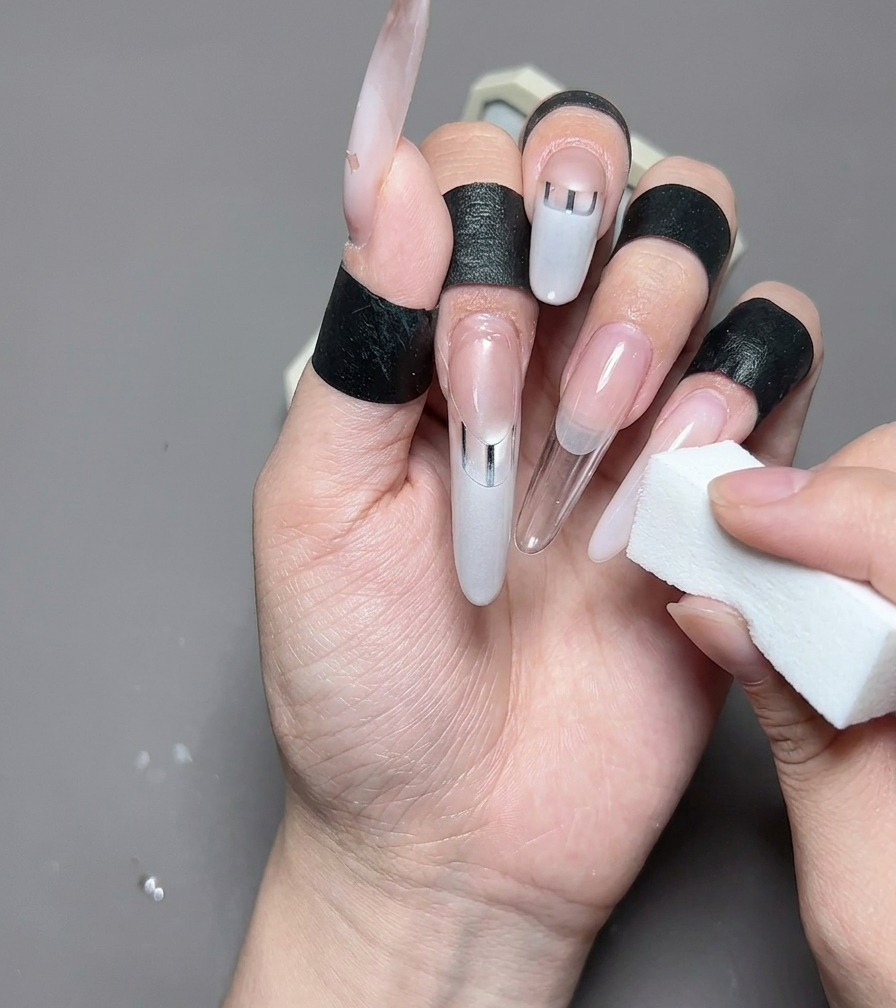
Using a thin liner brush, apply a milky white gel to create a classic French tip on the index and little fingers. Carefully outline the smile line first, then fill in the tip, ensuring the edges are smooth and even. Cure under the lamp for the recommended time.
Tip: For a perfect smile line, rest your hand steady and move the finger rather than the brush to create a smooth, guided stroke. - 10Apply top coat
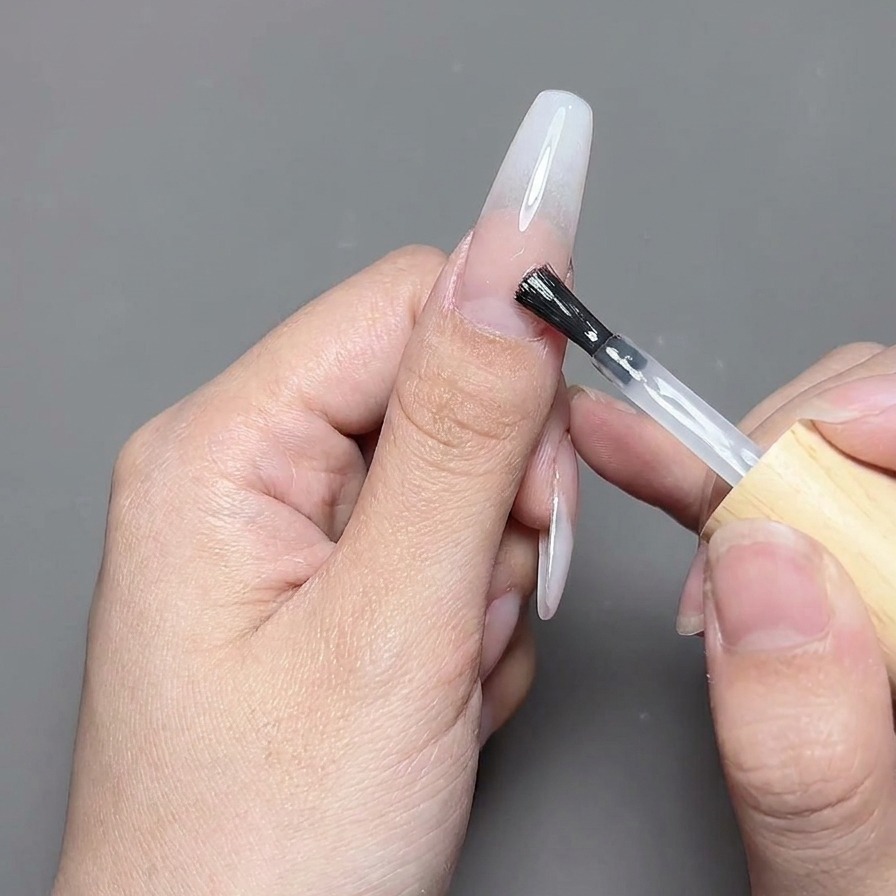
Apply a smooth layer of gel top coat over all nails. This provides a glossy, finished base and prepares the surface for the upcoming 3D nail art and crystal embellishments.
Tip: Cap the free edge by running your brush horizontally along the very tip of the nail for long-lasting wear. - 11Place chrome heart charm
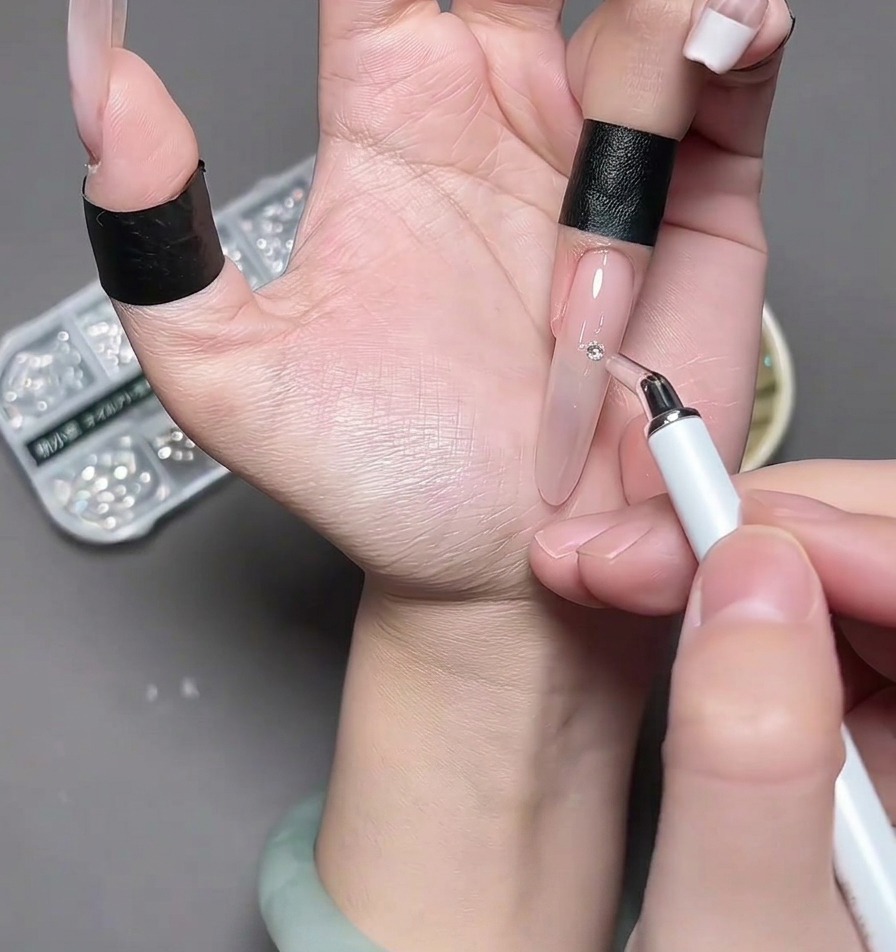
While a dab of top coat or rhinestone glue is still wet, use precision tweezers to carefully pick up a chrome heart charm and place it directly onto the center of the ring finger. Once perfectly positioned, cure the nail under the lamp to secure the charm in place.
Tip: Press down gently on the charm after placement to ensure it sits flat against the nail plate for a comfortable, secure fit.