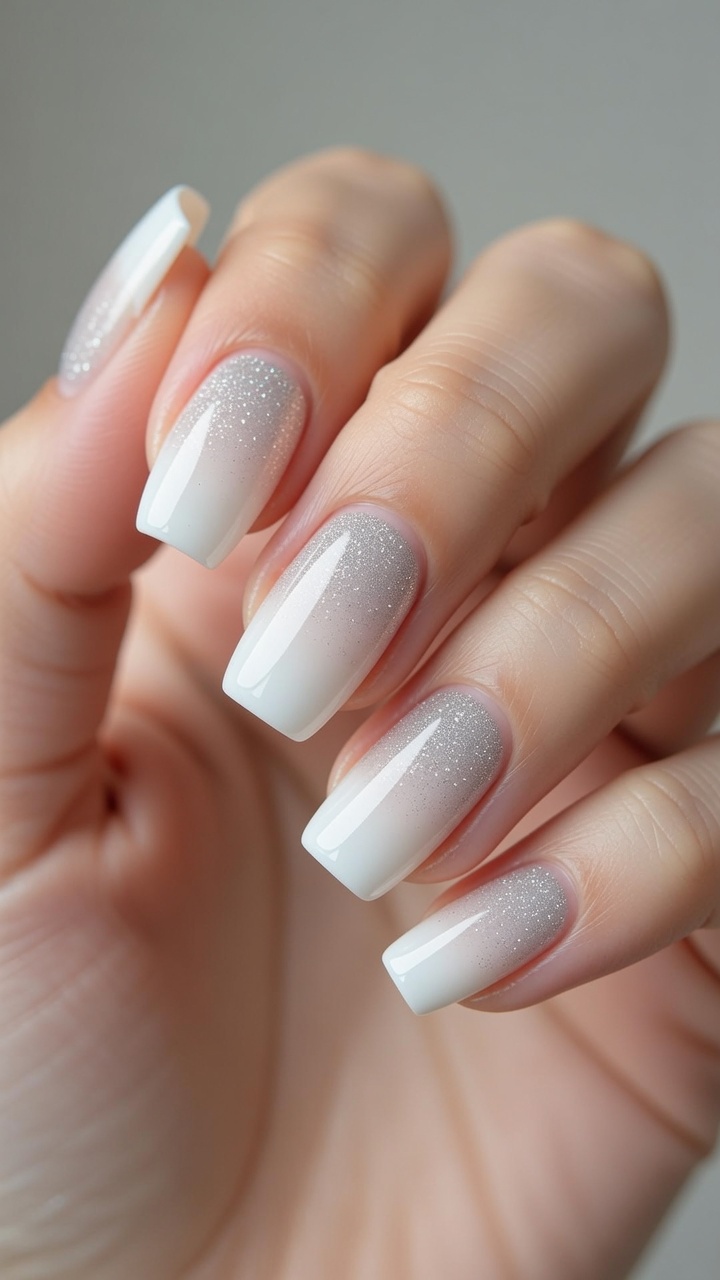
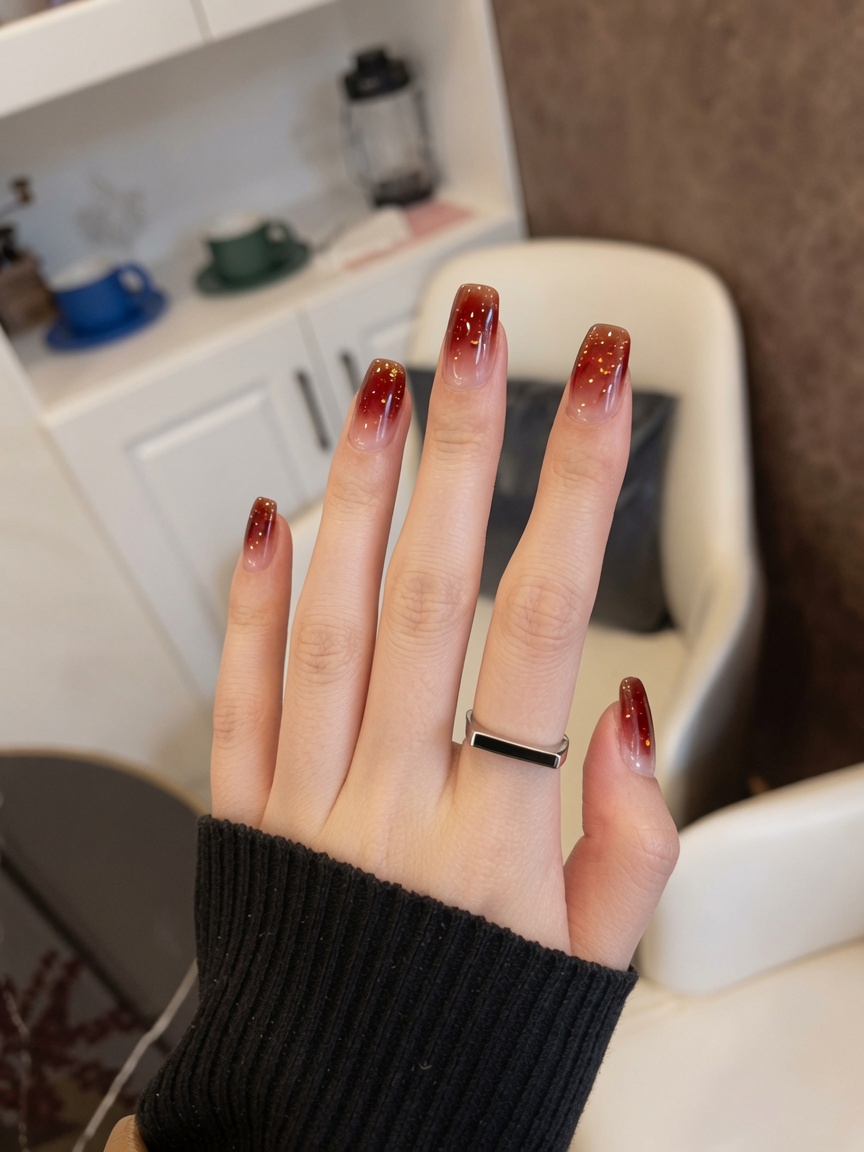
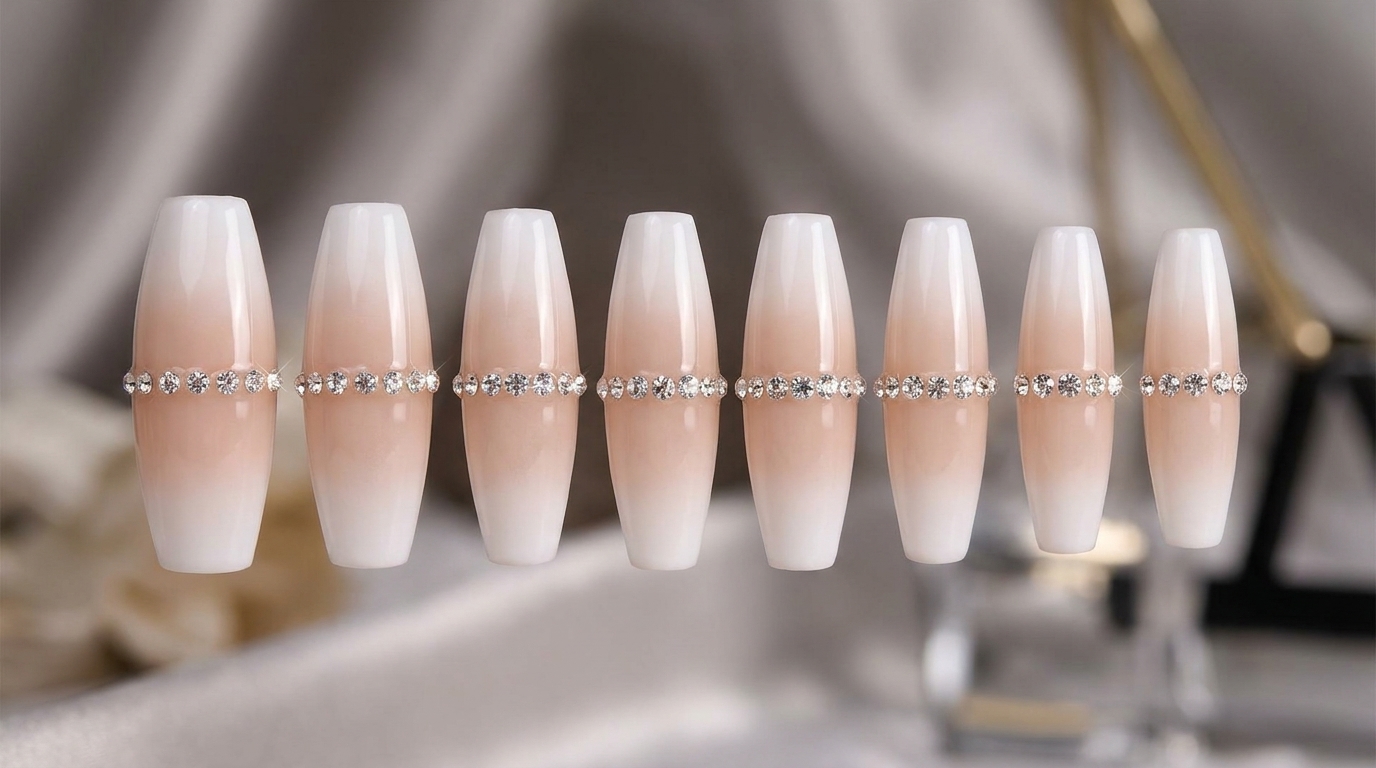
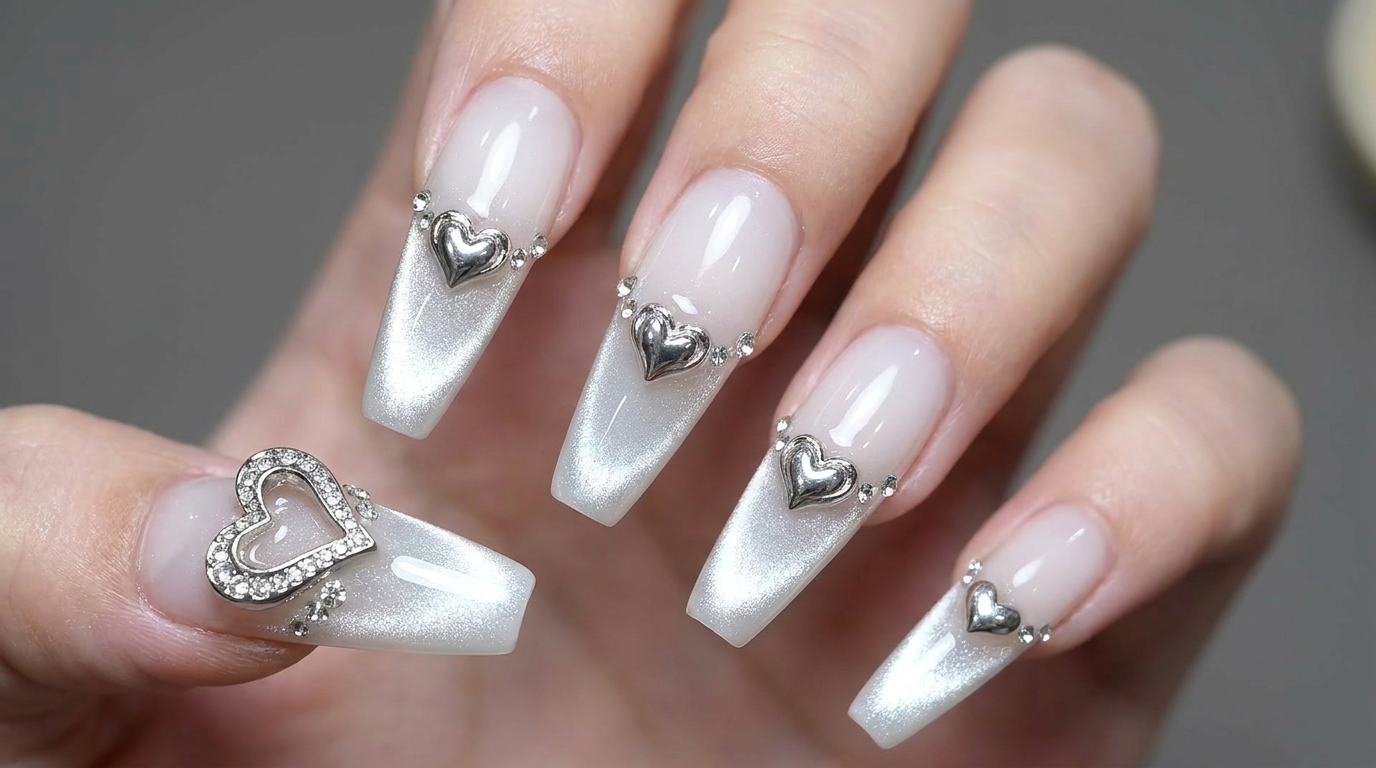
Milky White Gradient Nails
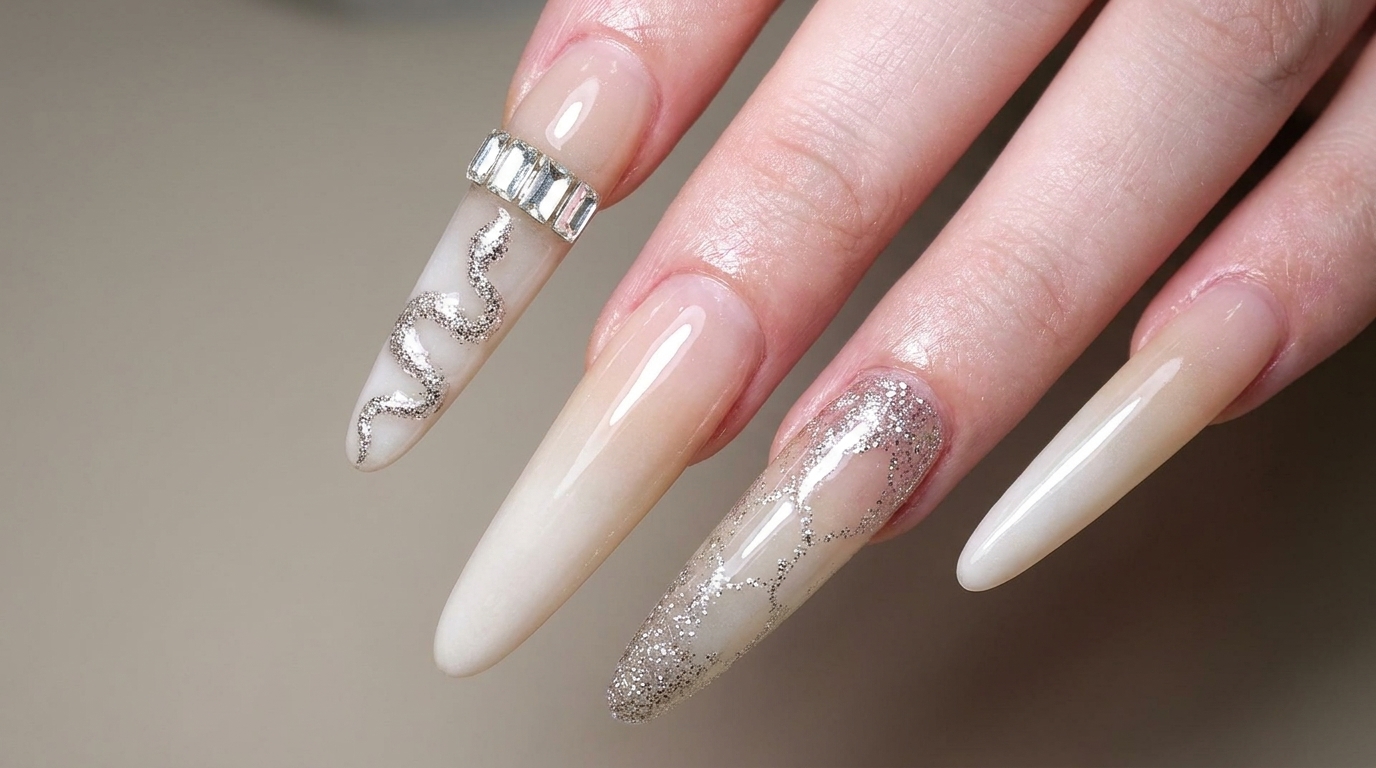
Silver Bvlgari Snake and Rhinestones
Elevate your stiletto nails with a sophisticated milky white gradient, featuring a detailed silver snake pattern and elegant rhinestone accents.
This sophisticated design blends a soft, milky white gradient with high-fashion elements for a striking stiletto look. By combining delicate glitter detailing with structured rhinestone placement, you can achieve a professional salon result at home. It is a perfect choice for those who love long, dramatic shapes accented with intricate, luxurious details.
Steps
- 1Remove cuticle with e-file
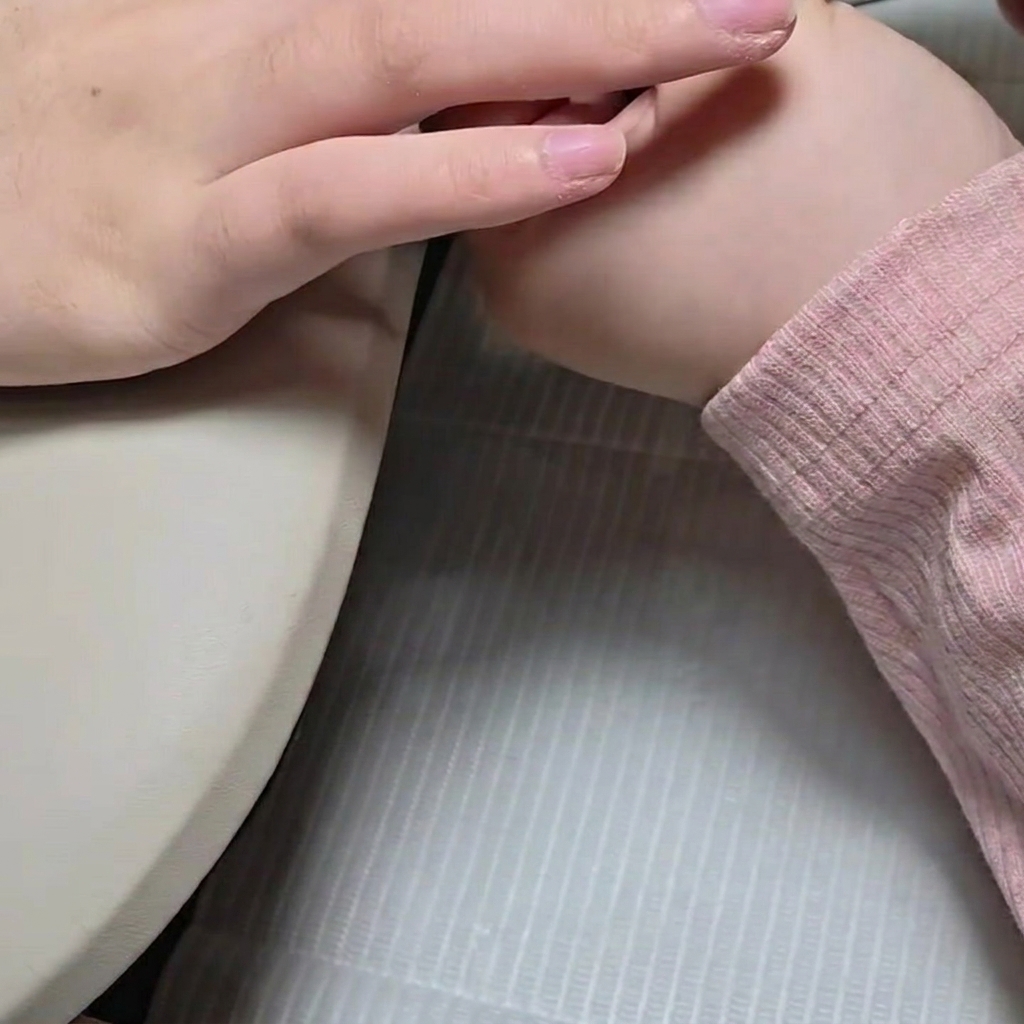
Using a fine e-file bit, gently remove the excess cuticle around the nail plate. Maintain a steady hand and use a light touch to ensure you only remove dead skin, avoiding the living tissue. This step creates a clean canvas for the nail enhancement, ensuring a smooth transition between the natural nail and the cuticle area.
Tip: Keep the e-file bit moving constantly to prevent heat spikes and ensure an even finish. - 2Push back cuticles
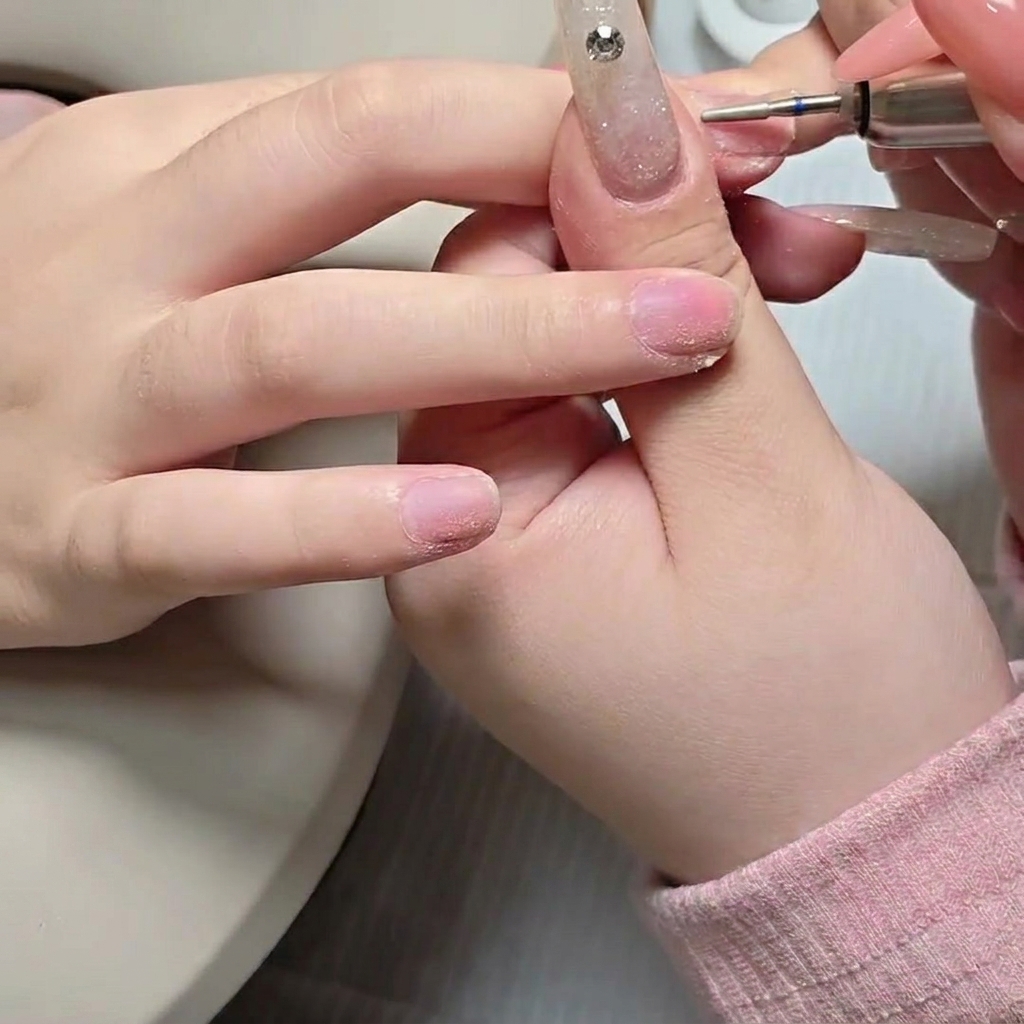
Use a manual metal cuticle pusher to gently push back the proximal nail fold. Apply light pressure to lift the cuticle away from the nail plate, which helps in cleaning the nail surface thoroughly and prevents the product from lifting later. Ensure you work across the entire cuticle line.
Tip: Be gentle during this step to avoid damaging the nail matrix underneath. - 3Buff the nail surface
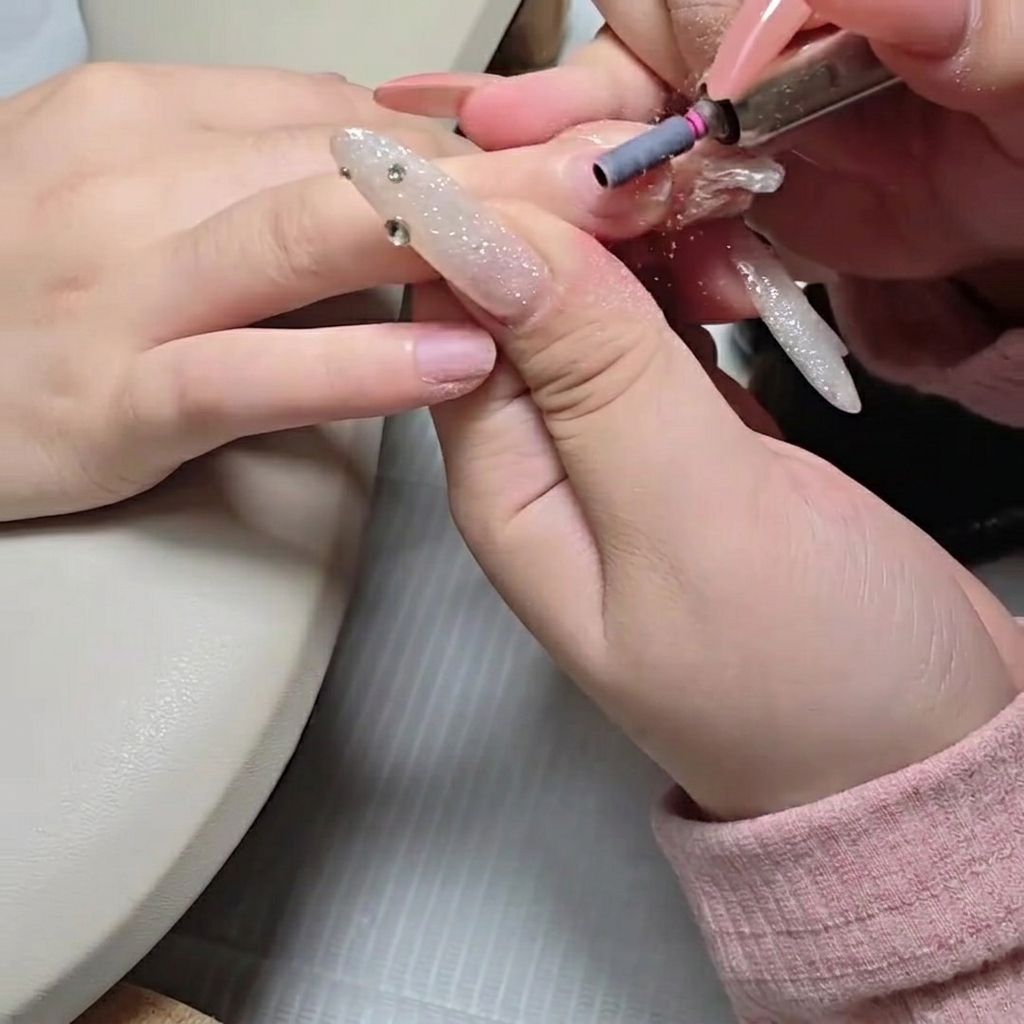
Use a sanding band on your e-file or a manual buffer to lightly buff the surface of the natural nail plate. This removes the natural shine and creates a slightly textured surface, which significantly improves the mechanical adhesion of the base gel and prevents premature lifting.
Tip: Do not over-buff; you only need to remove the shine, not thin the nail plate. - 4Trim dead skin
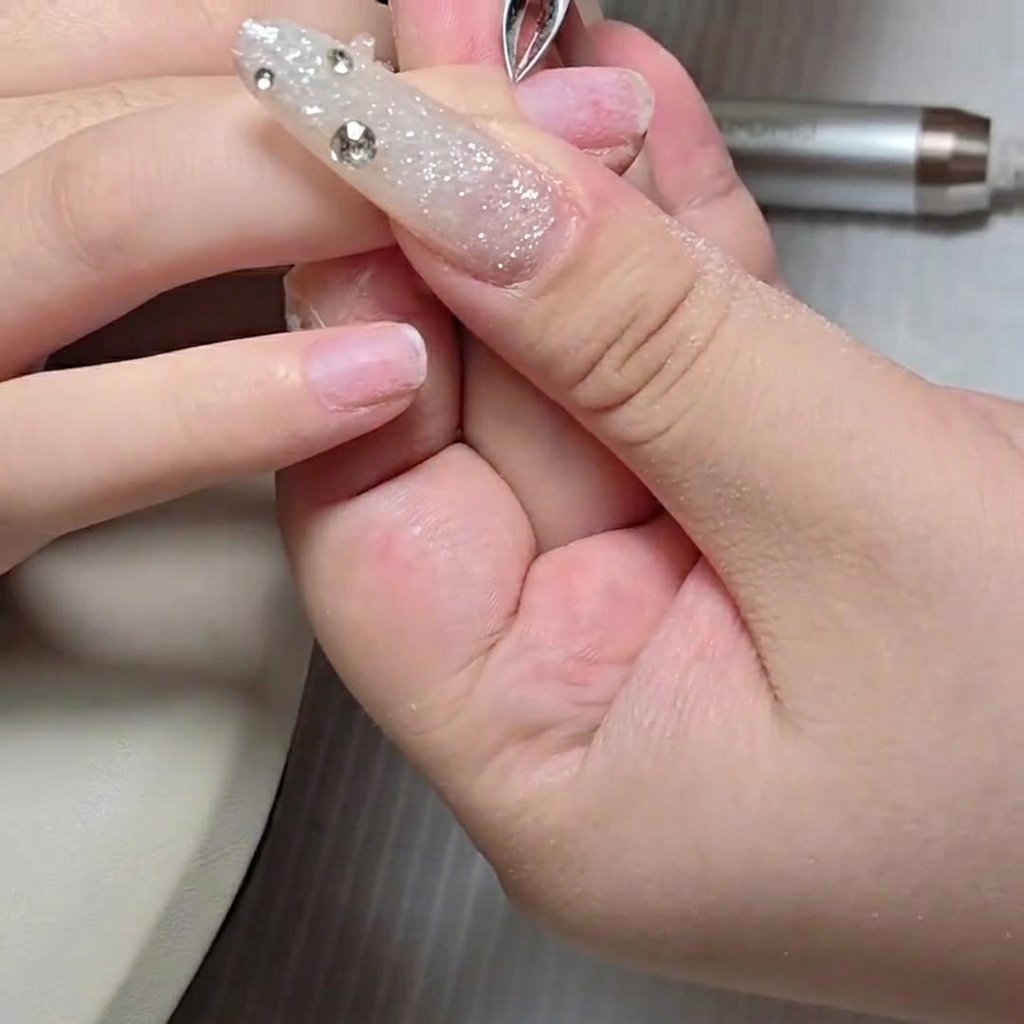
Using a clean pair of cuticle nippers, carefully trim away the excess dead skin around the nail folds. Focus only on the white, non-living tissue that has been pushed up, being very careful not to cut into the live skin. This essential prep step ensures a clean canvas for your base gel and helps prevent future lifting.
Tip: Keep your nippers sharp and always sanitize them before use. Never pull or tear the skin; let the sharp blades do the work. - 5File the tip seam
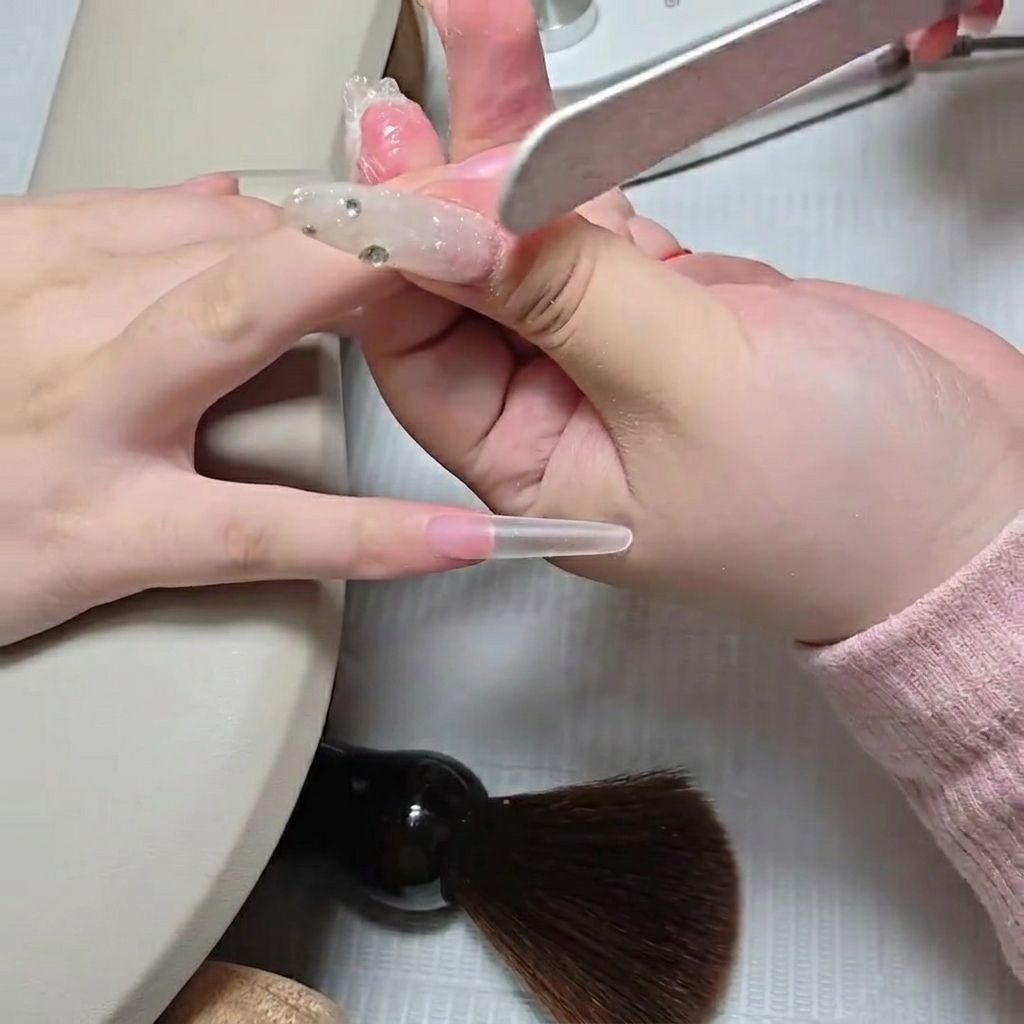
Take your hand file and gently blend the seam where the attached clear nail tip meets the natural nail bed. File with light, controlled strokes to smooth out the transition without damaging the surrounding skin. This ensures a seamless, flush base for your application.
Tip: Use a 180-grit file for this step to gently reduce the plastic edge without causing too much friction or heat. - 6Shape the free edge
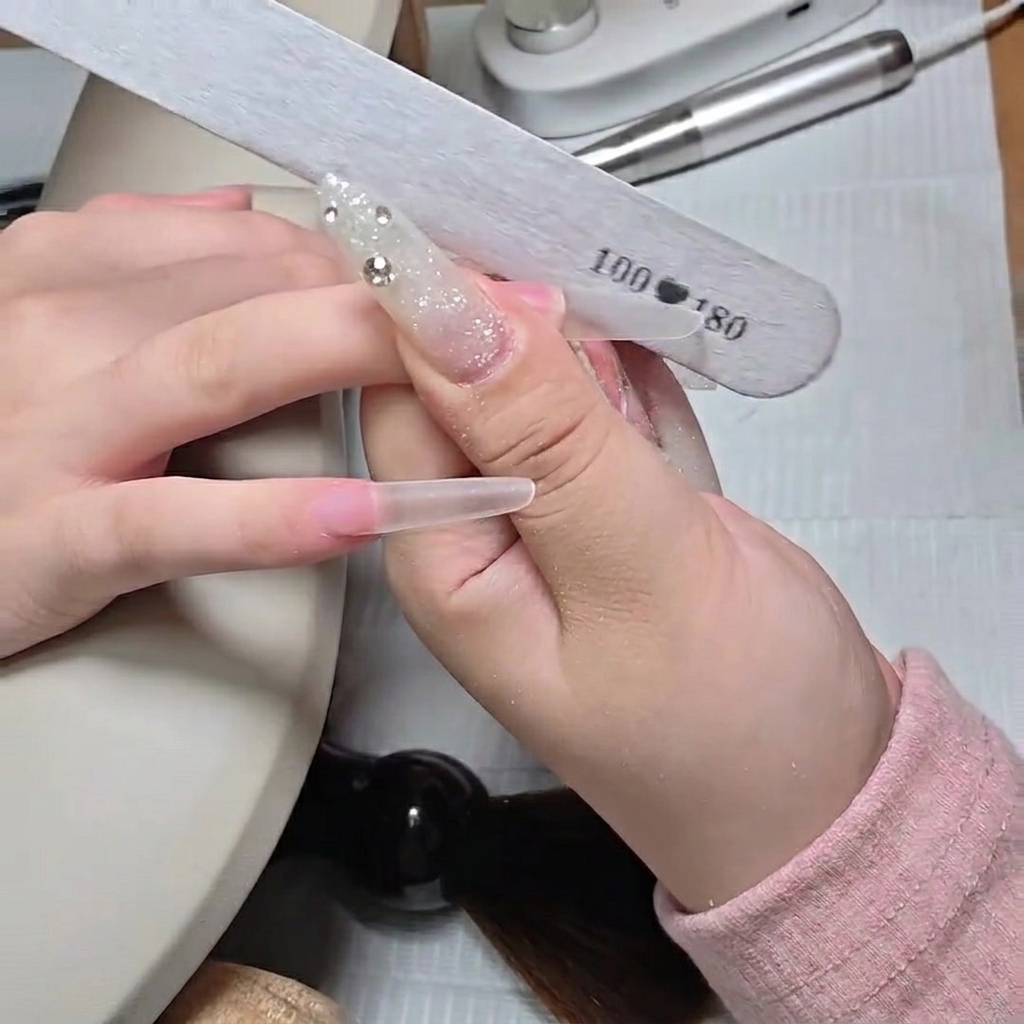
Refine the free edge of the long stiletto tip with your hand file. File both sides slightly to sharpen the point and ensure the shape is perfectly symmetrical. Check the nail from multiple angles to confirm the structure is straight before moving on to the wet prep.
Tip: Always file in one direction along the side walls to maintain the crisp, sharp structure of the stiletto shape. - 7Refine sidewalls
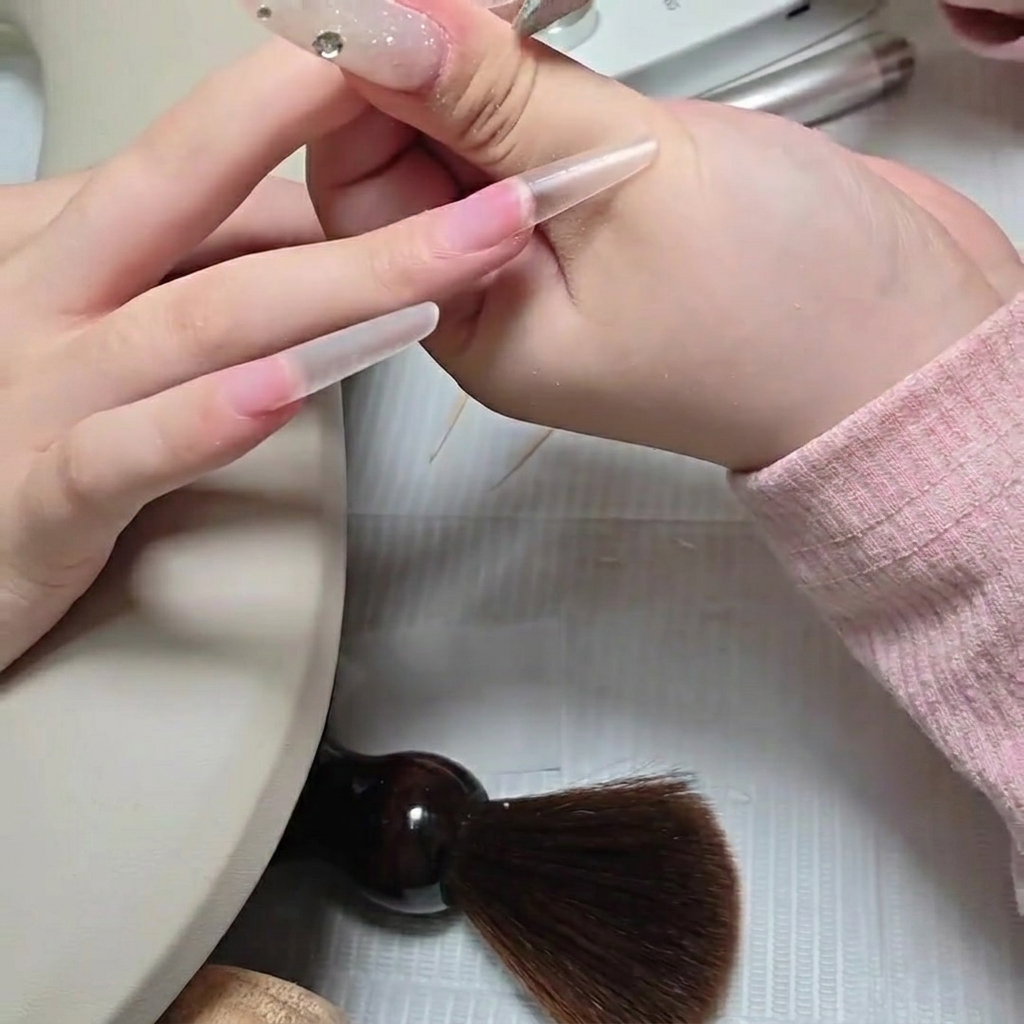
Use a hand file to carefully refine the lower sidewalls of the nail extension. Ensure the transitions are smooth and the shape is consistent, filing both sides slightly to achieve the desired contour. This step is crucial for maintaining the structural integrity and aesthetic of the nail shape.
Tip: Check the shape from multiple angles to ensure symmetry. - 8Perform wet prep
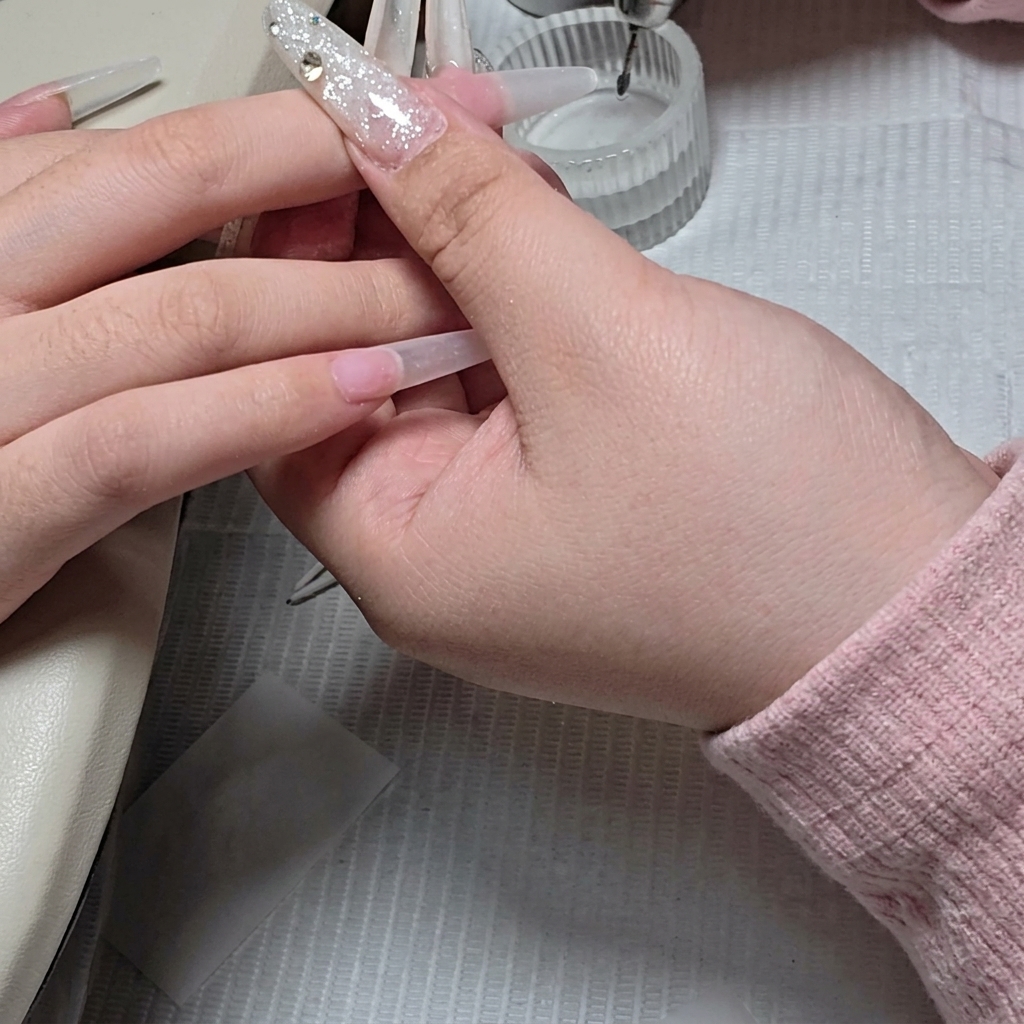
Use a small ball e-file bit to clean the cuticle area as part of your wet prep routine. This helps to remove any remaining microscopic skin cells and dead tissue from the nail groove, ensuring a flawless application area that is perfectly clean and ready for the base coat.
Tip: Work in small, controlled circular motions to effectively clean the area. - 9Apply base gel
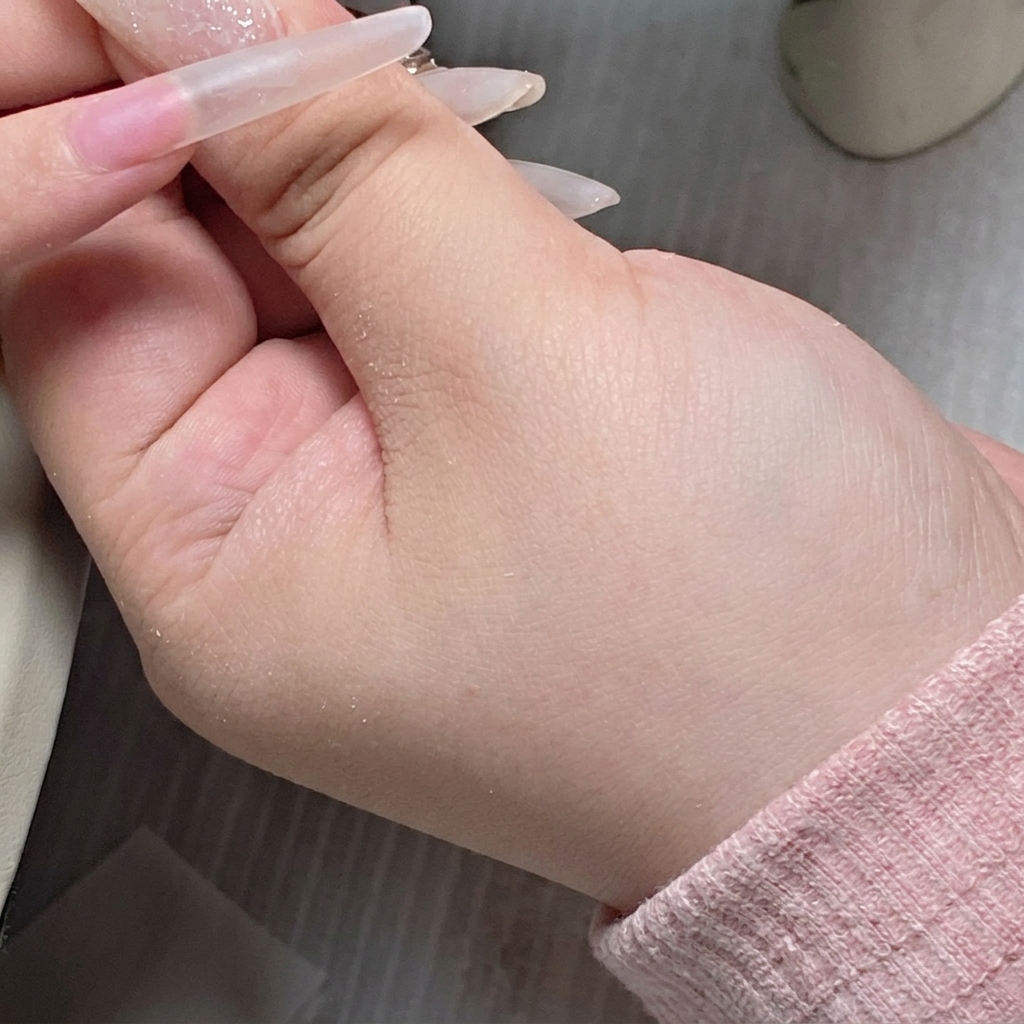
Apply a layer of bottled base gel onto the prepared nail plate. Start by applying a thin layer, ensuring you cover the nail surface evenly without touching the surrounding skin. This step is essential for creating a strong bond between the natural nail and the subsequent builder gel.
Tip: Using a bottled base gel is convenient and allows for a fast, consistent application. - 10Apply builder gel
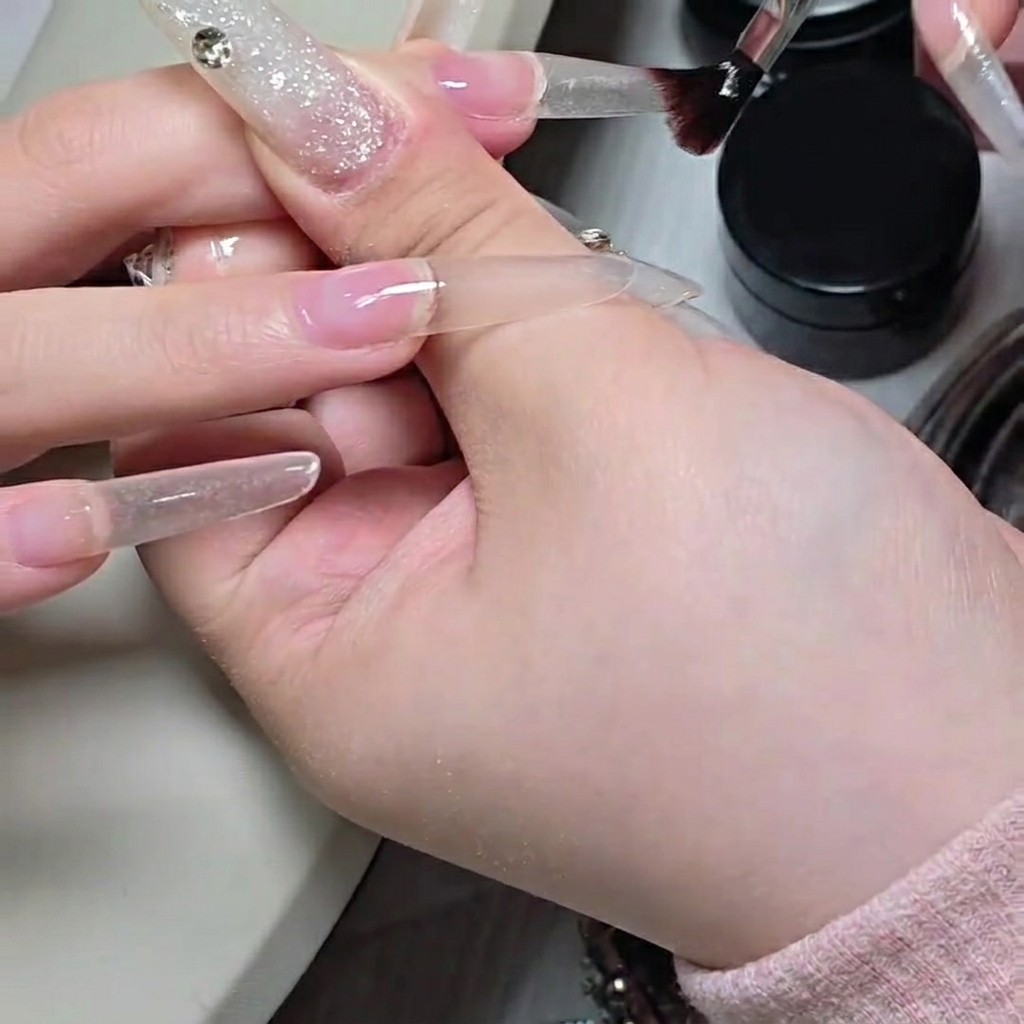
Using a flat gel brush, pick up an appropriate amount of builder gel and apply it to the nail surface to build the desired structure. Ensure the gel is evenly distributed to create a plump, balanced shape, working carefully to maintain the nails curvature.
Tip: Apply the gel in a controlled manner to avoid pooling at the sides, especially since this builder gel has a low curing heat. - 11Refine builder gel application
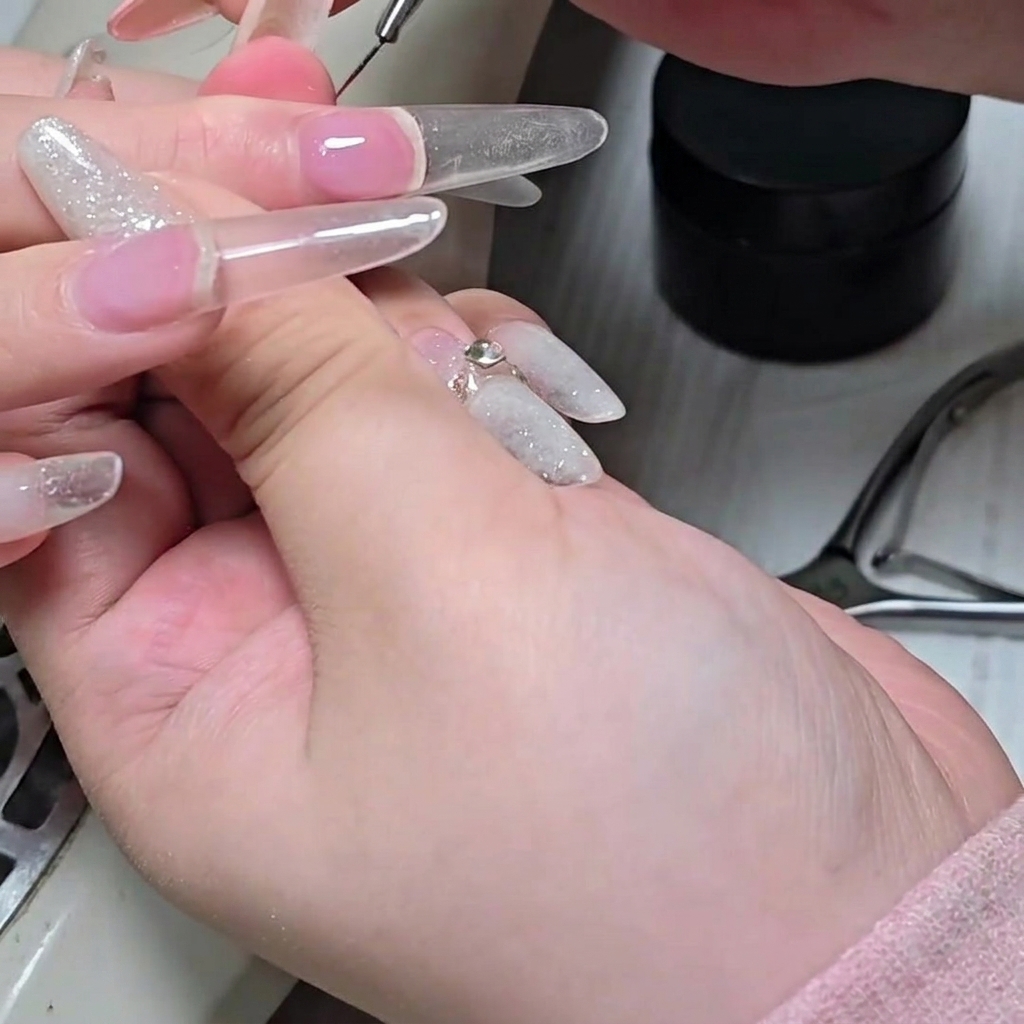
Take a fine liner brush to gently pull the builder gel closer to the cuticle area. This allows for precise placement without flooding the cuticles, ensuring a clean and professional look.
Tip: Work slowly and use only a small amount of gel on the liner brush to maintain control near the cuticle line. - 12Flash cure builder gel
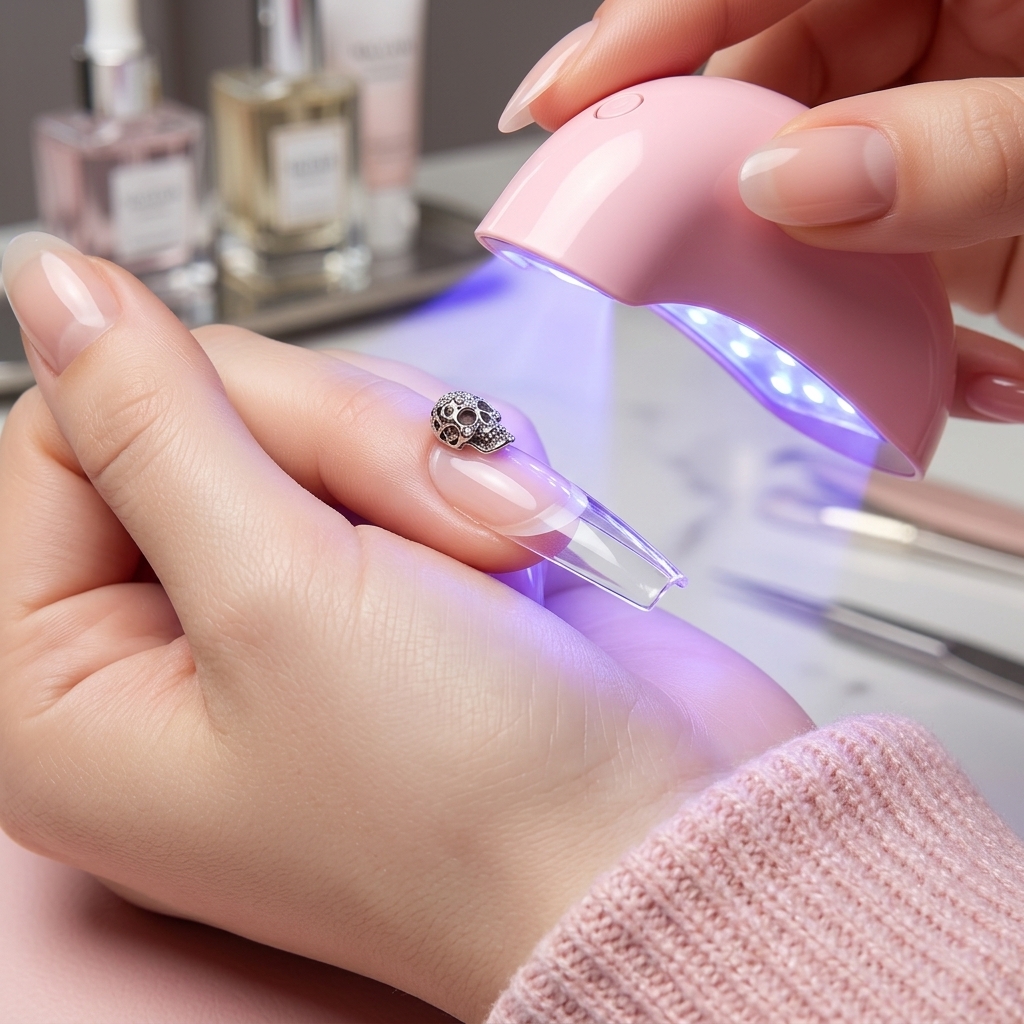
Place the nail under a handheld mini UV/LED lamp to flash cure the builder gel. This step sets the structure in place, ensuring the gel stays in the desired shape before a full cure.
Tip: Ensure the nail is positioned directly under the light source for an even flash cure. - 13Apply second layer of builder gel
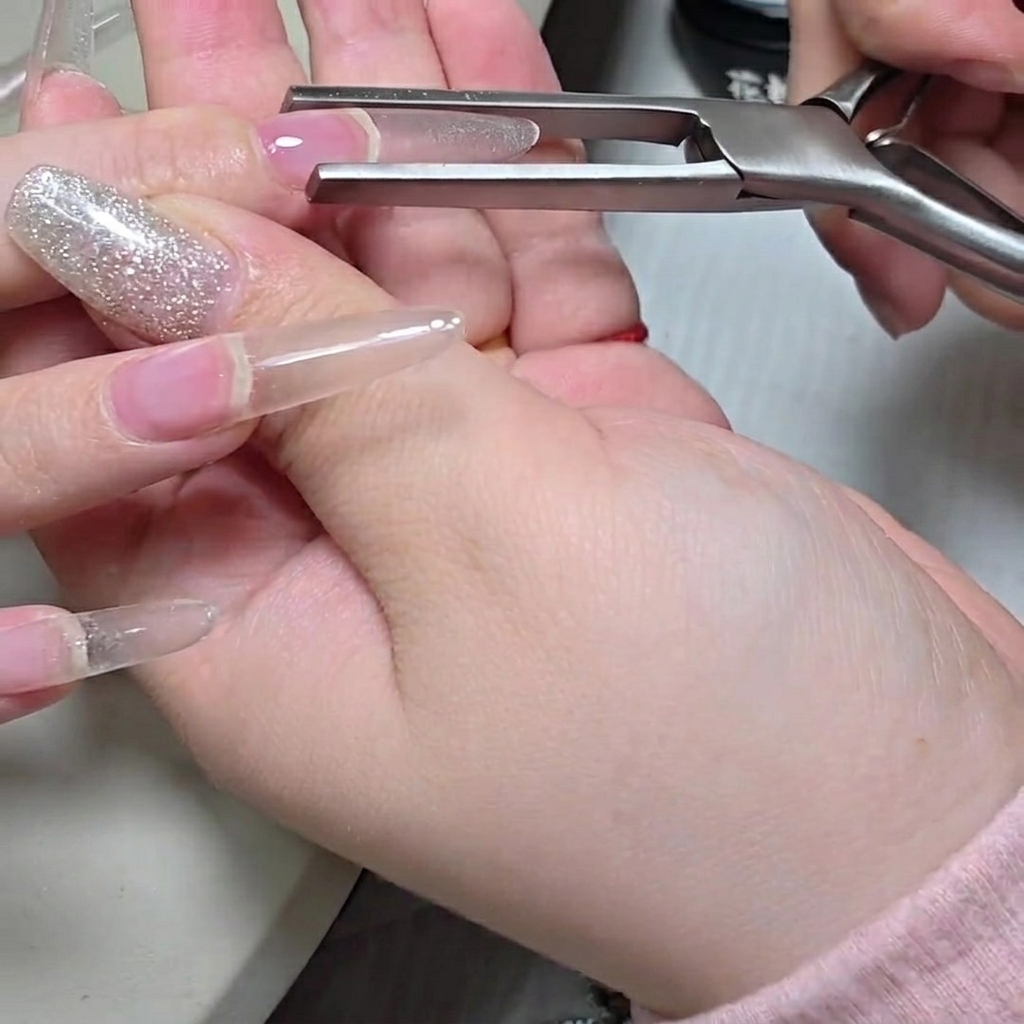
Apply a second layer of builder gel using the flat brush to further enhance the structure and build a plump, durable nail shape. Ensure consistent application across the nail surface.
Tip: Adding a second layer helps achieve the desired volume and strength for the nail extension. - 14Flash cure second layer
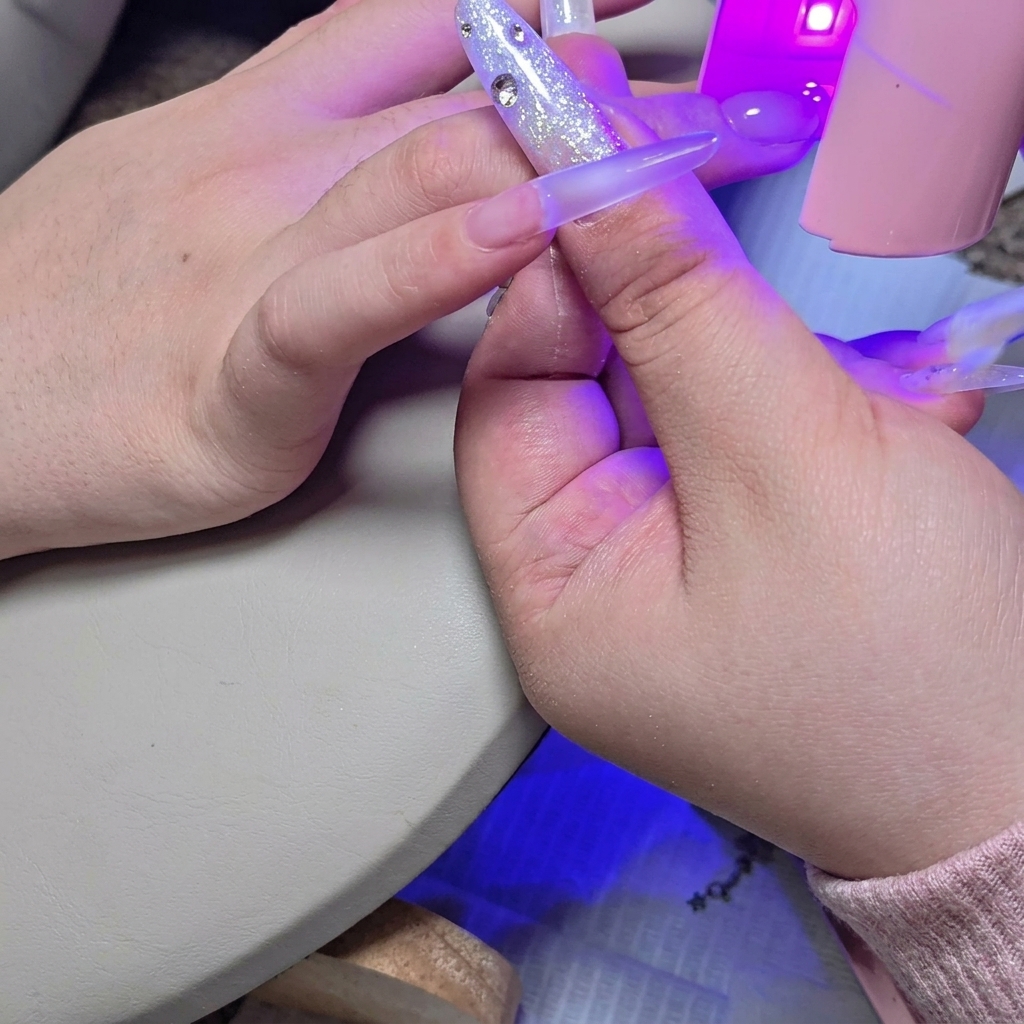
Flash cure the second layer of builder gel using the handheld mini UV/LED lamp. This ensures the added structure is fully set and ready for the next steps in the process.
Tip: Consistent light exposure during this flash cure ensures the second layer is properly set without shifting. - 15Review nail structure
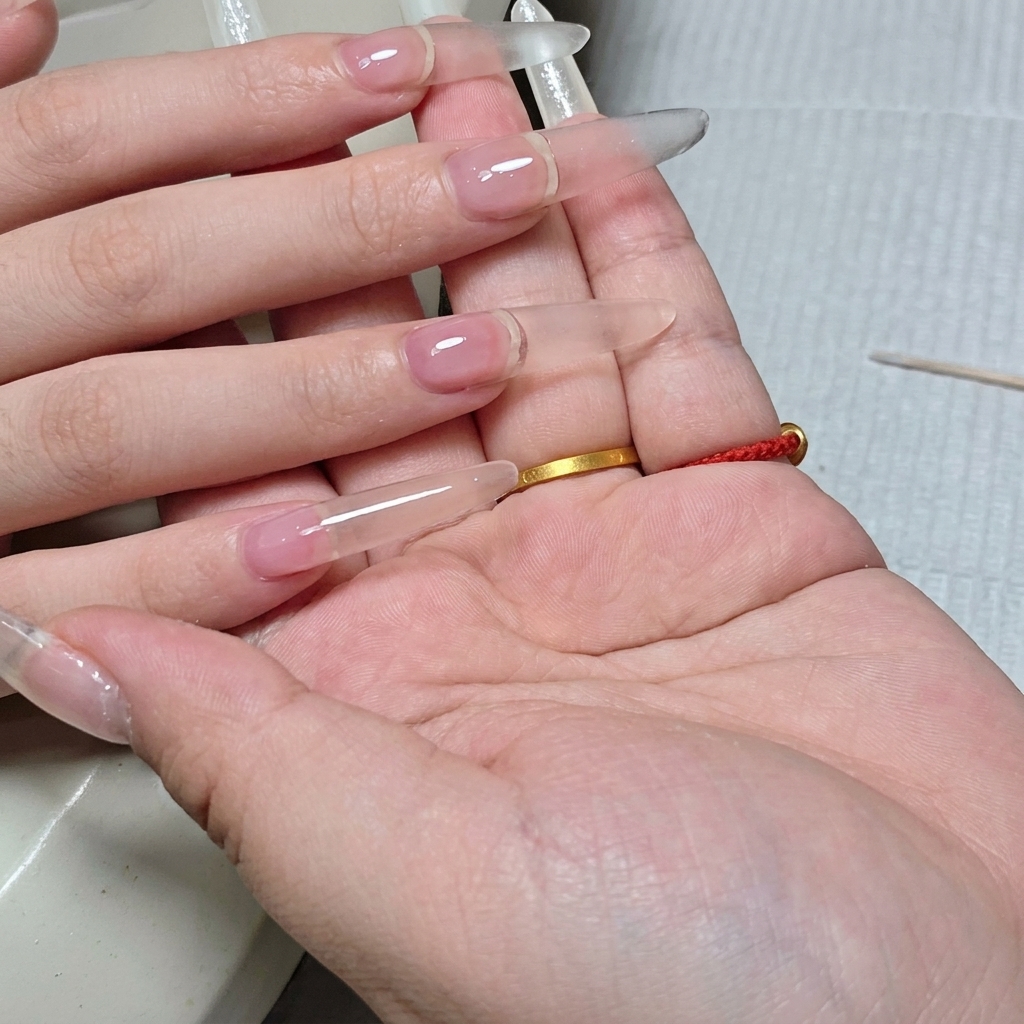
Observe the fully structured, clear nail extension from a side profile to check for balance and plumpness. Ensure the shape meets the desired aesthetic requirements before proceeding.
Tip: Checking from the side helps verify that the apex is correctly placed for durability and beauty. - 16Apply nude color coat
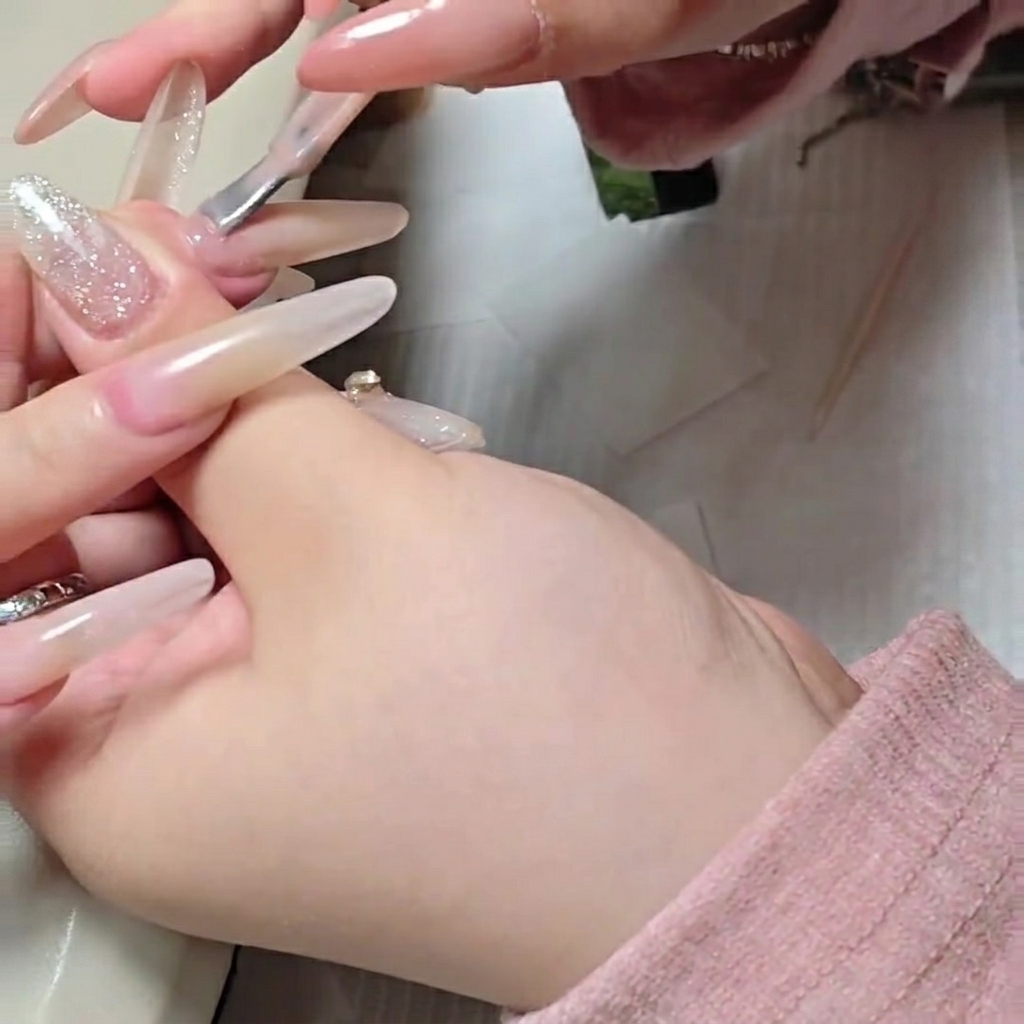
Apply a thin layer of sheer nude gel polish over the structured nail, ensuring even coverage. Carefully avoid the free edge line to maintain a clean structure. Cure the nail under your lamp as required.
Tip: Keep the layer thin to prevent the color from pooling at the sides or cuticles. - 17Draw the snake pattern outline
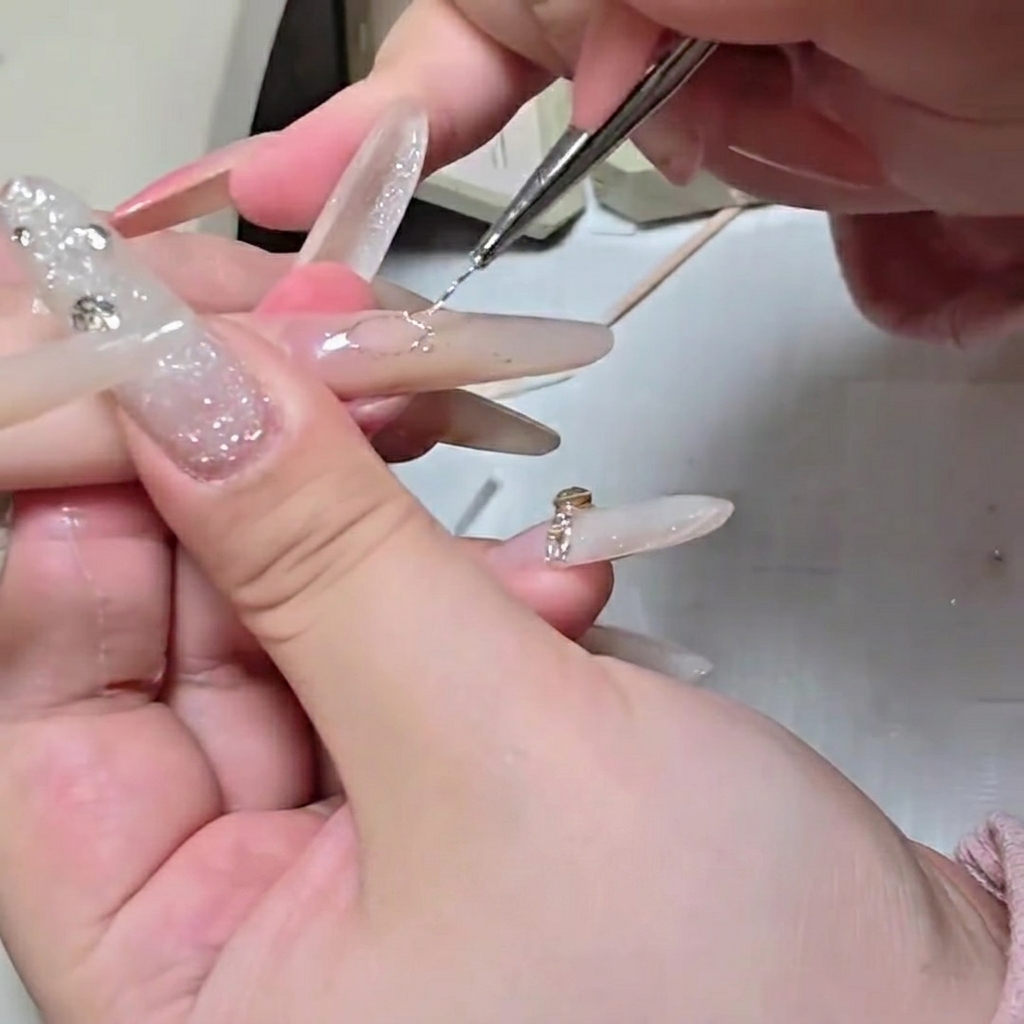
Using a fine liner brush and silver glitter gel, carefully draw the outline of the Bvlgari snake pattern onto the nail. Take your time to ensure the lines are precise and follow the desired shape.
Tip: Use a small amount of gel on the brush to maintain control over the fine details of the snake outline. - 18Fill in the snake pattern
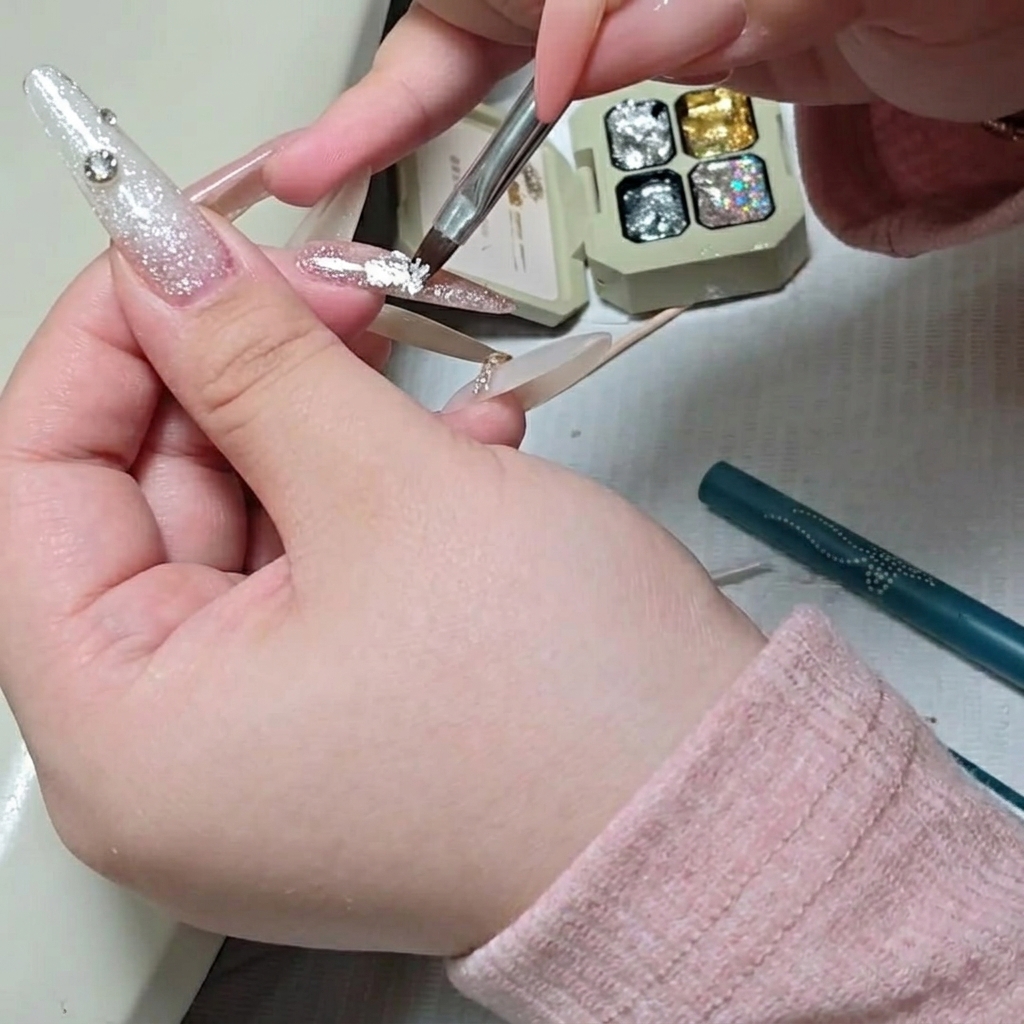
Once the outline is complete, use the same silver glitter gel to fill in the gaps of the snake pattern. Ensure the glitter is distributed evenly for a consistent look.
Tip: Use a dabbing motion to fill the gaps to ensure the glitter particles lay flat. - 19Create a smooth milky gradient
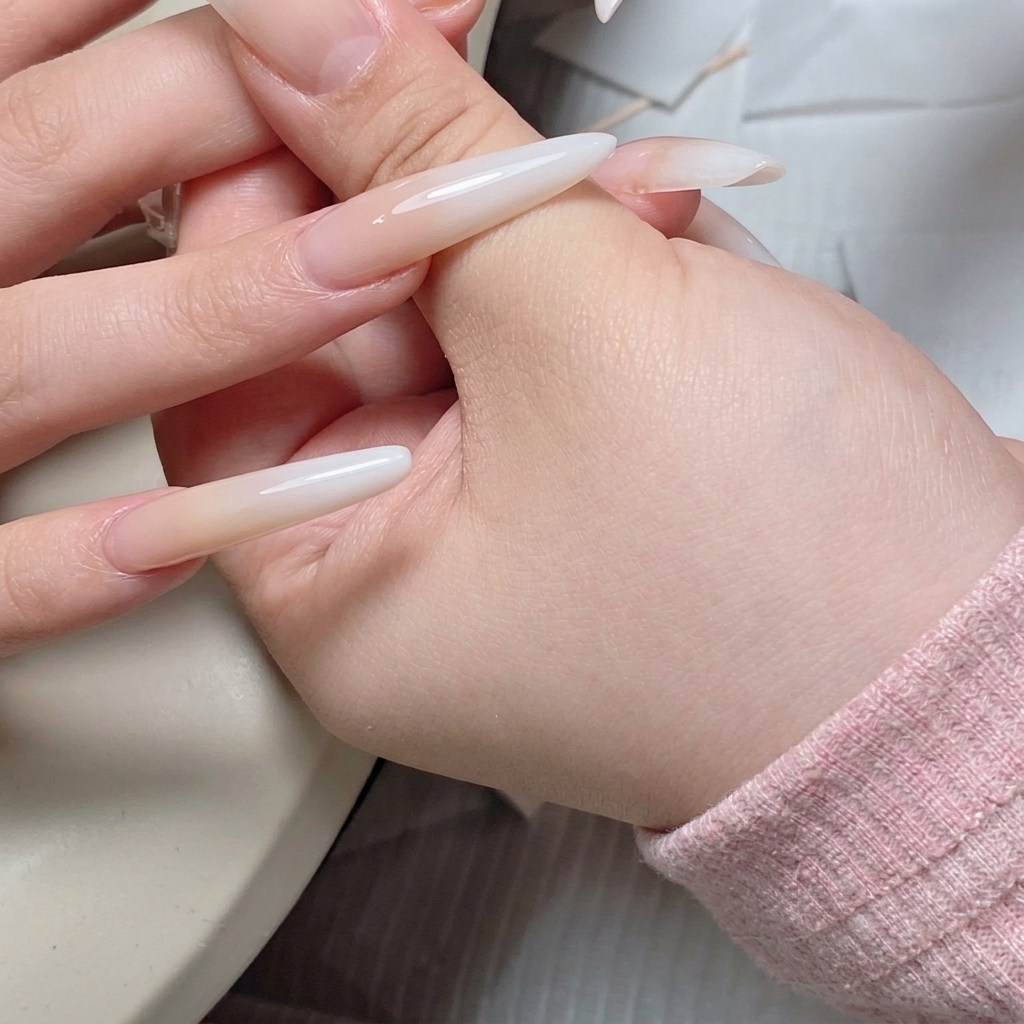
Apply a small amount of milky white gel to a makeup sponge. Gently dab the gel near the cuticle area, gradually fading it out towards the middle of the nail to achieve a seamless, soft-focus gradient effect.
Tip: Dab lightly and repeatedly to build the opacity gradually, ensuring a smooth transition. - 20Apply clear gel for rhinestones
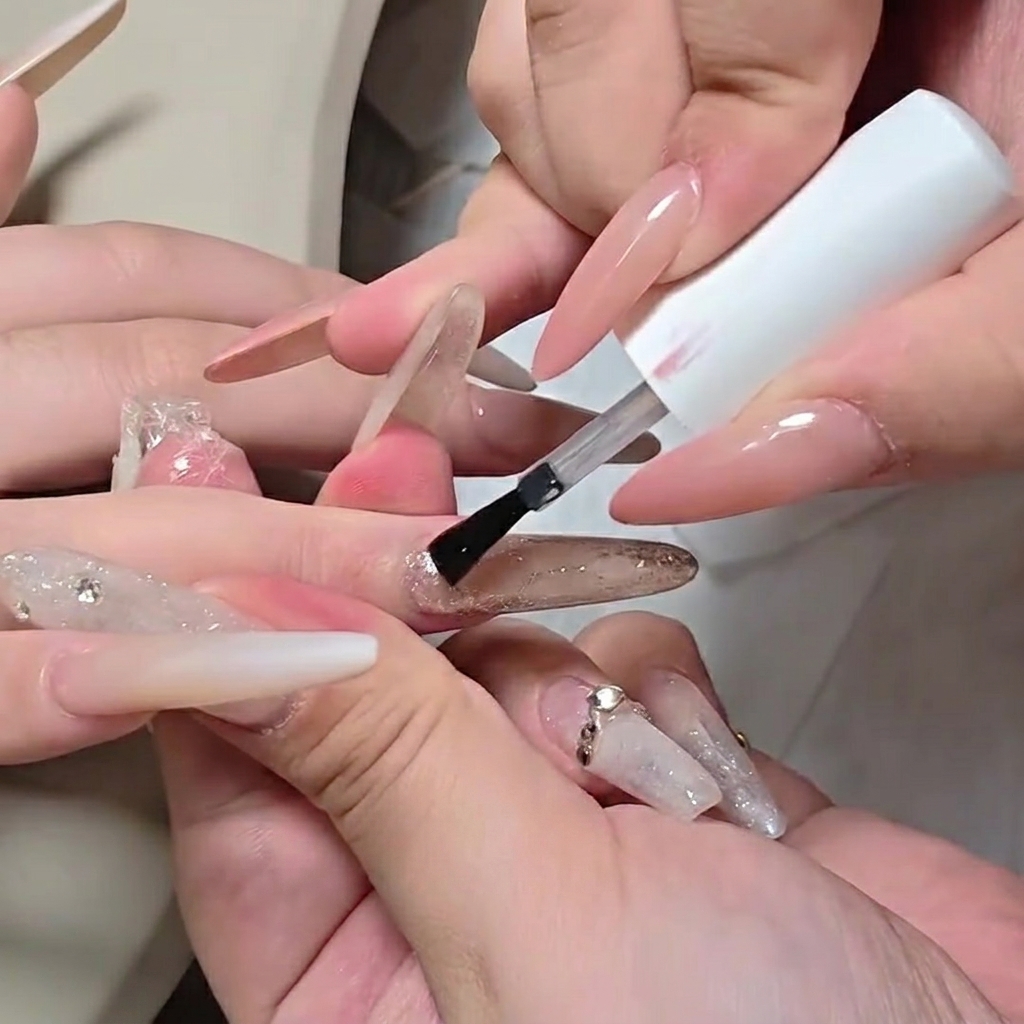
Apply a thin layer of clear gel or adhesive over the nail surface where you intend to place the rhinestones. This acts as the anchor for the embellishments.
Tip: Do not cure this layer yet, as it needs to remain tacky to hold the rhinestones in place. - 21Place the rectangular rhinestone
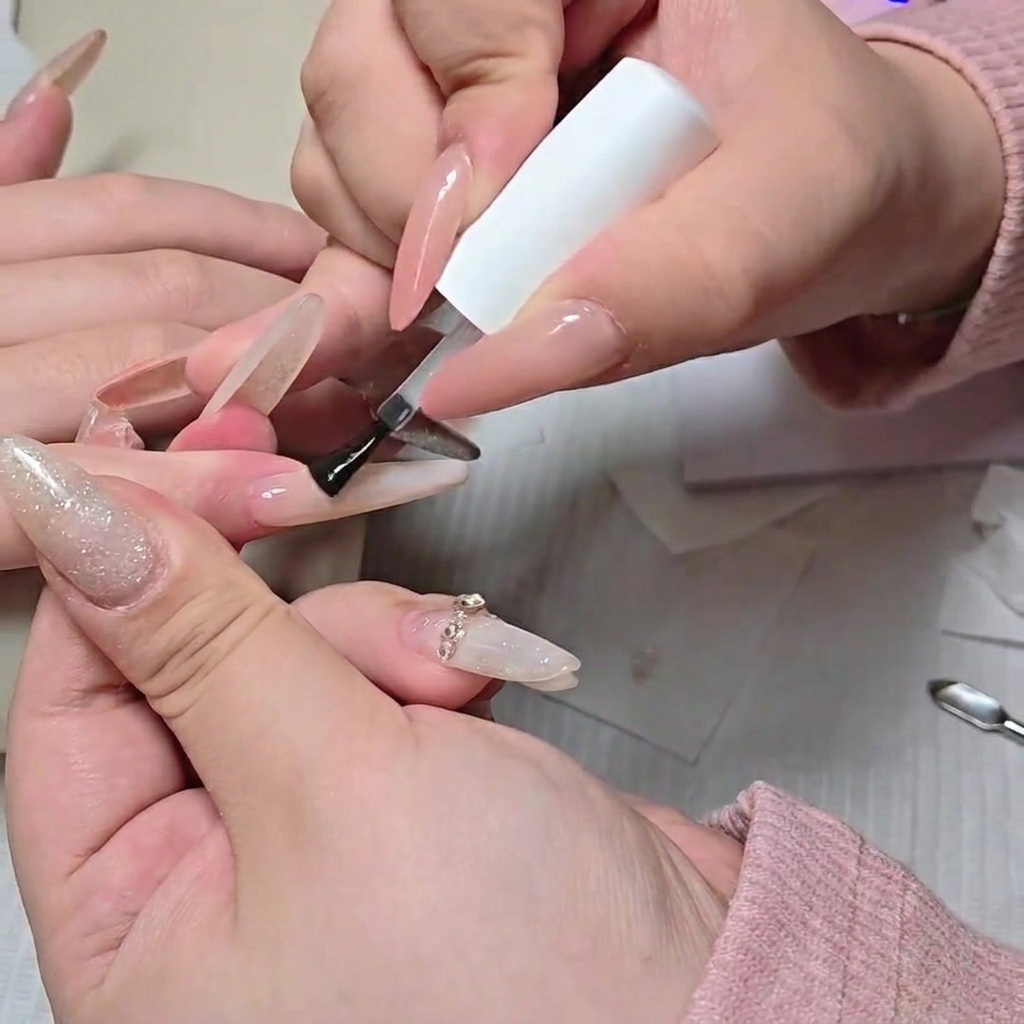
Using a rhinestone picker tool, carefully lift the rectangular rhinestone and set it onto the uncured clear gel base. Position it accurately before proceeding to the next stone.
Tip: Lightly press the rhinestone into the clear gel to ensure it is secure before curing. - 22Place rhinestones
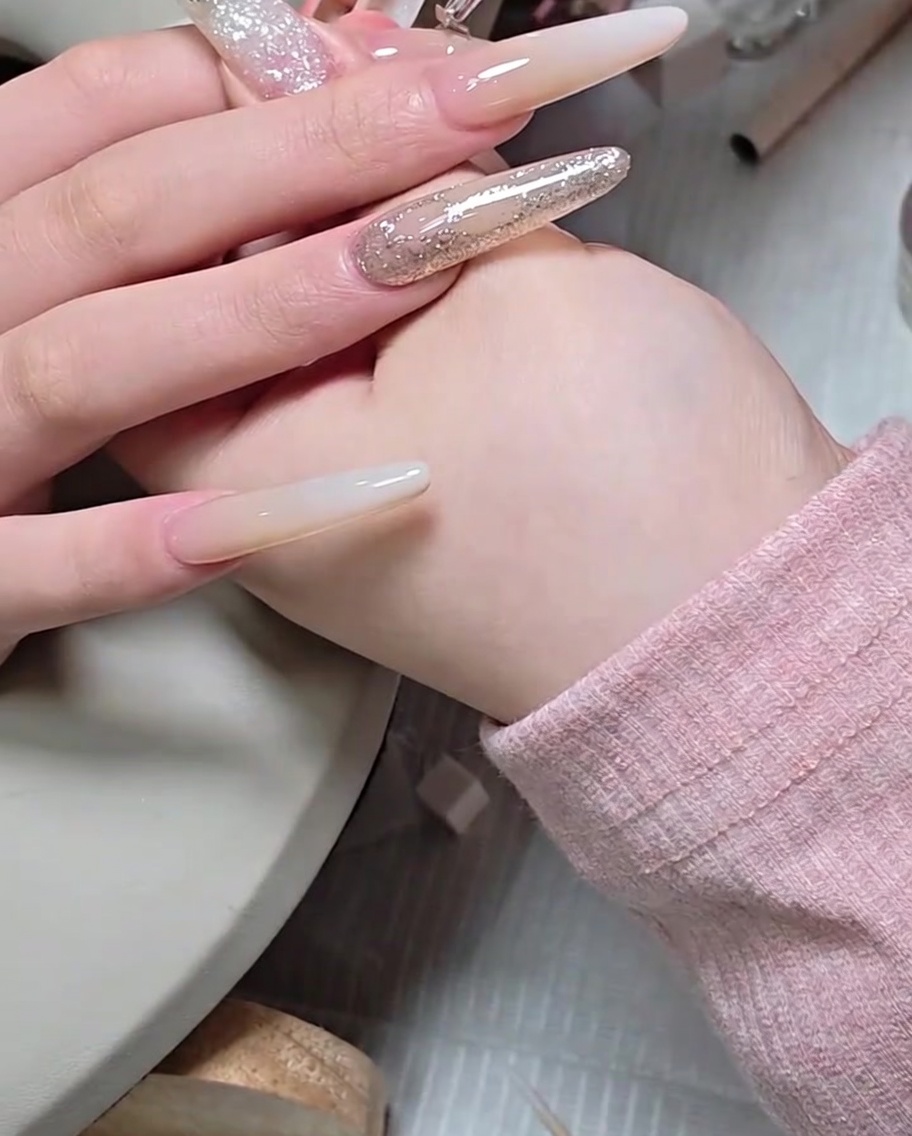
Continue decorating the nail by placing a second, smaller rhinestone directly below the primary piece. Carefully adjust its position to ensure it aligns with your desired pattern. Use a precision tool to set it firmly into the uncured gel before moving on to secure the arrangement.
Tip: Work with a small amount of clear builder gel or rhinestone glue to prevent the stones from sliding out of place before they are cured. - 23Adjust rhinestone placement
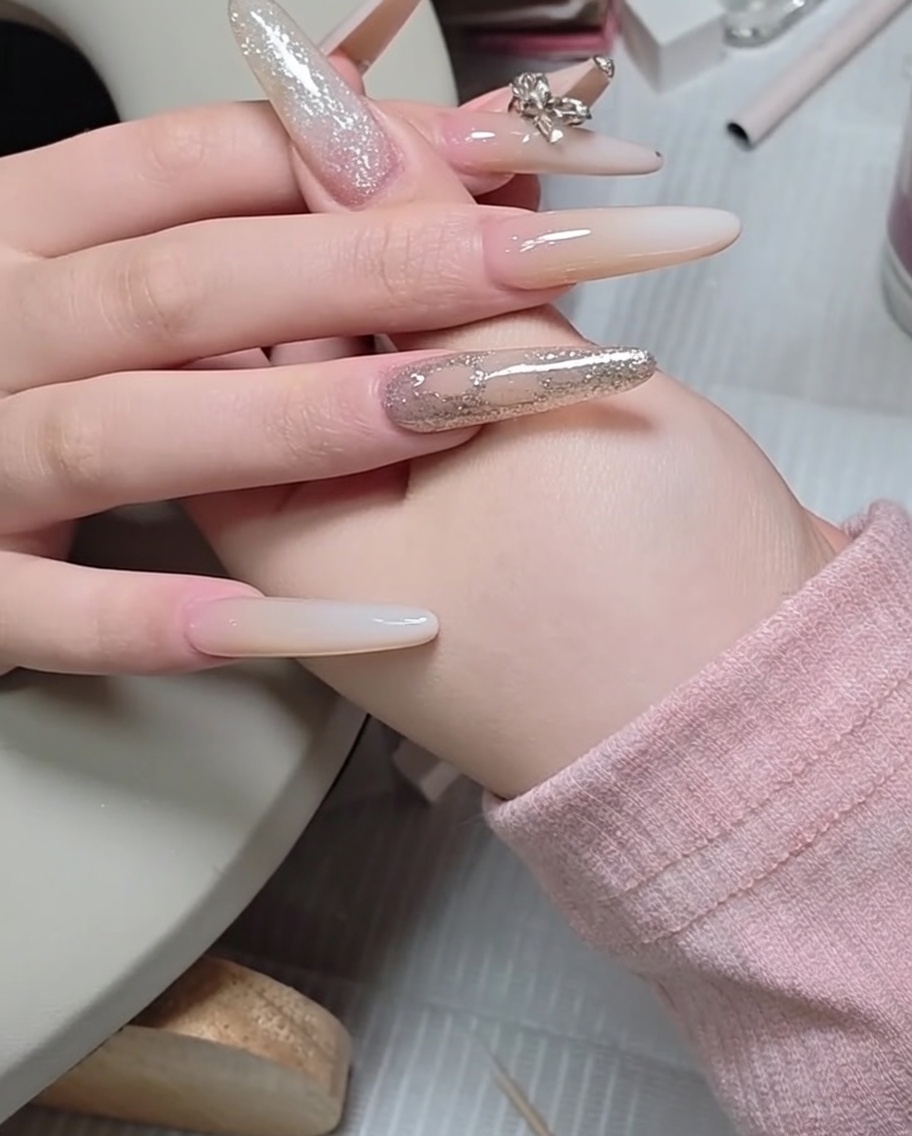
Using a pointed metal tool, gently nudge the rhinestones into their final, perfect positions. Ensure the stones are symmetrical and follow the curvature of the nail design. Take your time to align them precisely to achieve a professional, polished finish.
Tip: If the gel starts to harden slightly, you can dab a tiny drop of fresh gel to keep the area workable while you adjust the stones. - 24Secure rhinestones with gel
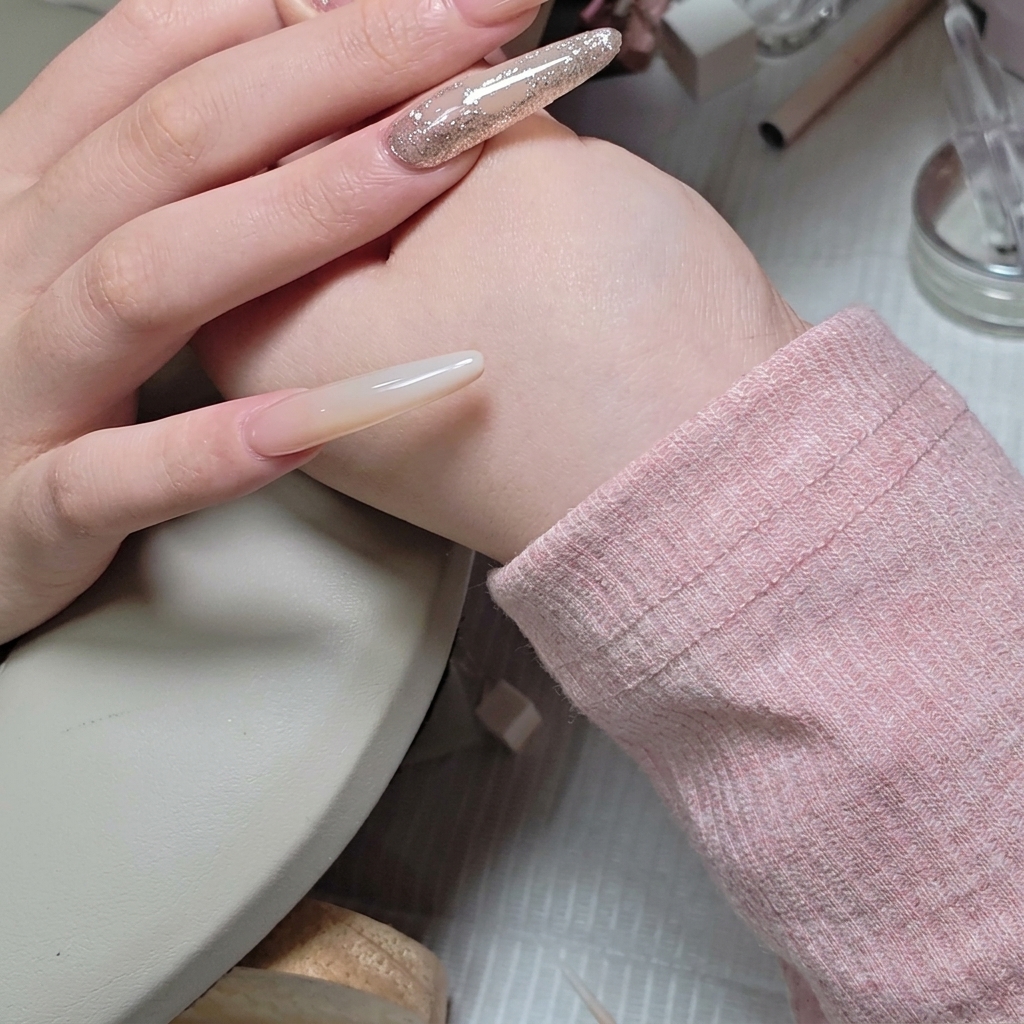
To ensure long-lasting wear, apply a small amount of clear builder gel or thick top coat around the base of the rhinestones. This creates a protective seal, locking the stones in place and preventing them from snagging on hair or clothing. Do not cover the surface of the stones, as this will dull their sparkle.
Tip: Using a fine-liner brush makes it easier to navigate around the edges of the stones without flooding them with gel. - 25Cure rhinestones
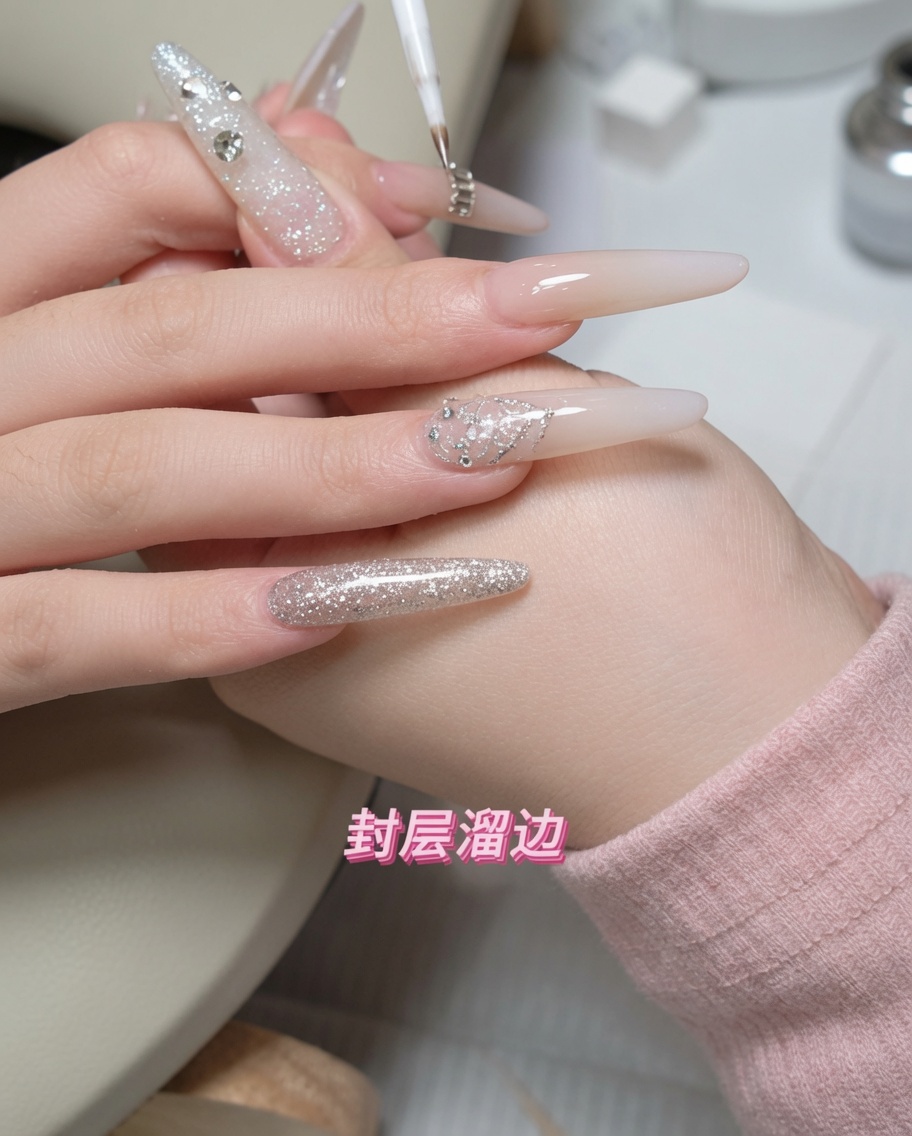
Place the nail under a handheld mini LED or UV lamp to cure the gel securing the rhinestones. Hold the lamp steady to ensure a thorough cure that locks the design into place. Once cured, the rhinestones will be firmly set and ready for the final top coat.
Tip: Make sure the light source is directly above the rhinestones to ensure the gel underneath them cures completely. - 26Seal with glossy top coat
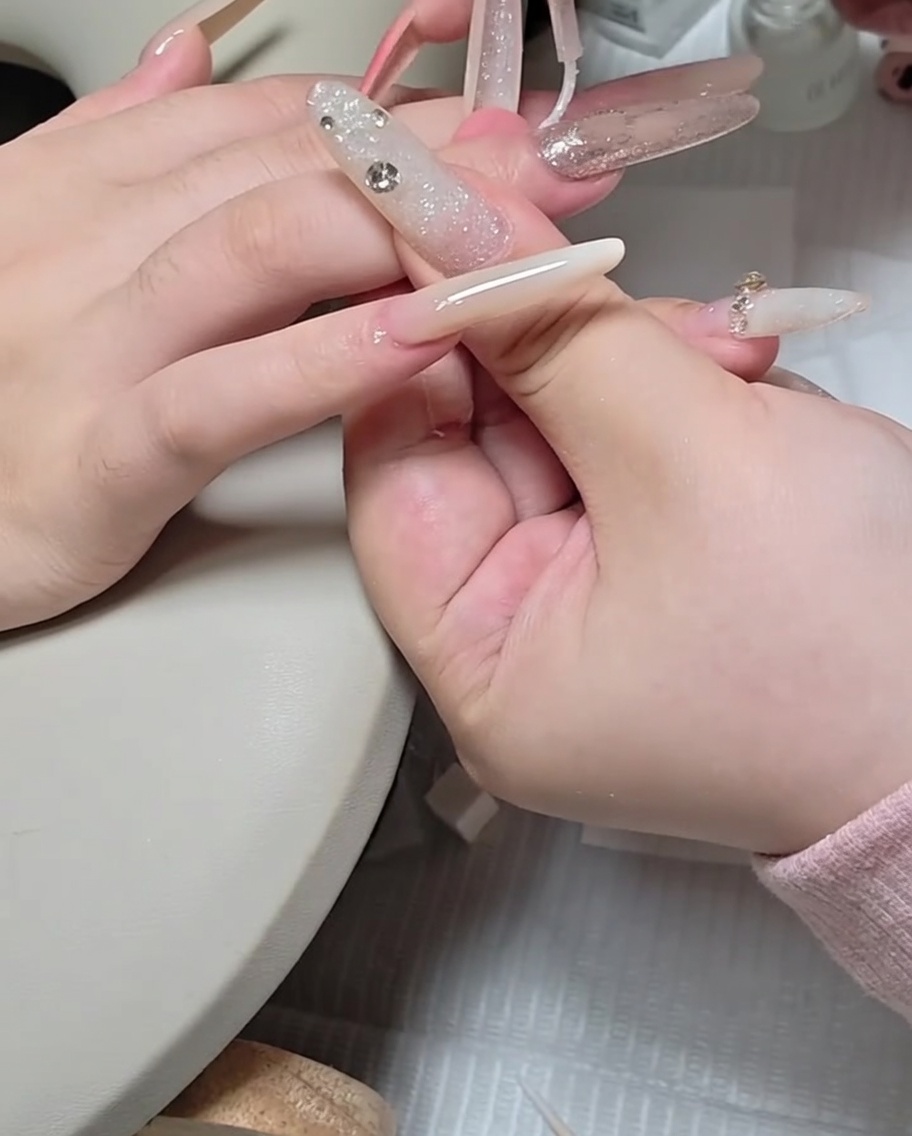
Apply a smooth, generous layer of glossy top coat over the entire nail to protect the intricate snake art and rhinestones. Carefully cap the free edge to ensure longevity and prevent chipping.
Tip: Be careful to seal around the rhinestones without flooding them, which can dull their sparkle. - 27Apply cuticle oil
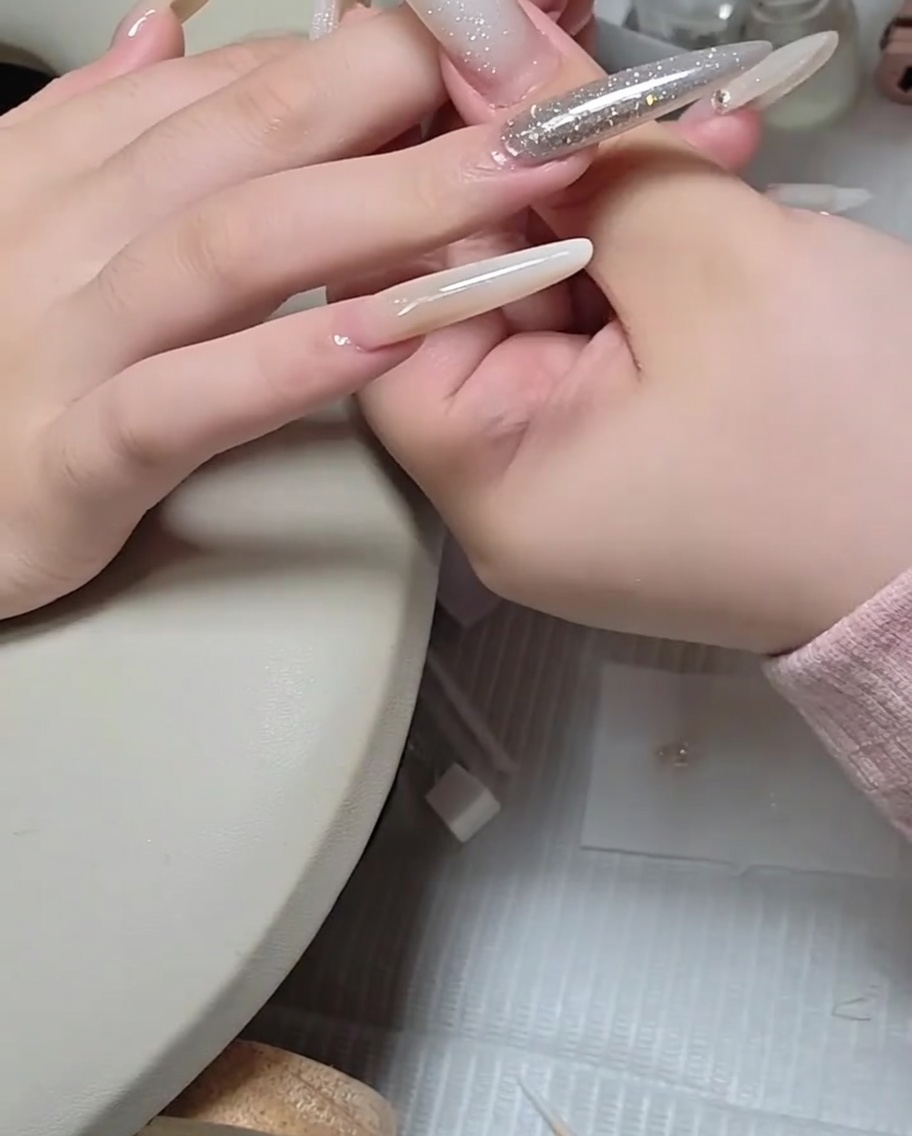
Complete your manicure by applying a nourishing cuticle oil to the skin surrounding the nail bed. Massage the oil gently into the skin to hydrate and soothe the area after the filing and curing processes. This final step adds a healthy-looking finish and keeps the cuticles soft.
Tip: Regular use of cuticle oil helps extend the life of your manicure and keeps your natural nails healthy and flexible.