Autumn Amber Gold Foil Gradient Nails — Step-by-Step Tutorial
Master this sophisticated amber gradient look with delicate gold foil accents. Follow our simple layering technique for a professional, glass-like finish.
The candied hawthorn red is the star of this elegant A/W nail look. By layering sheer pigment and using a gentle feathering technique, you can create a seamless, depth-filled amber effect that looks stunning with the subtle shimmer of embedded gold flakes.
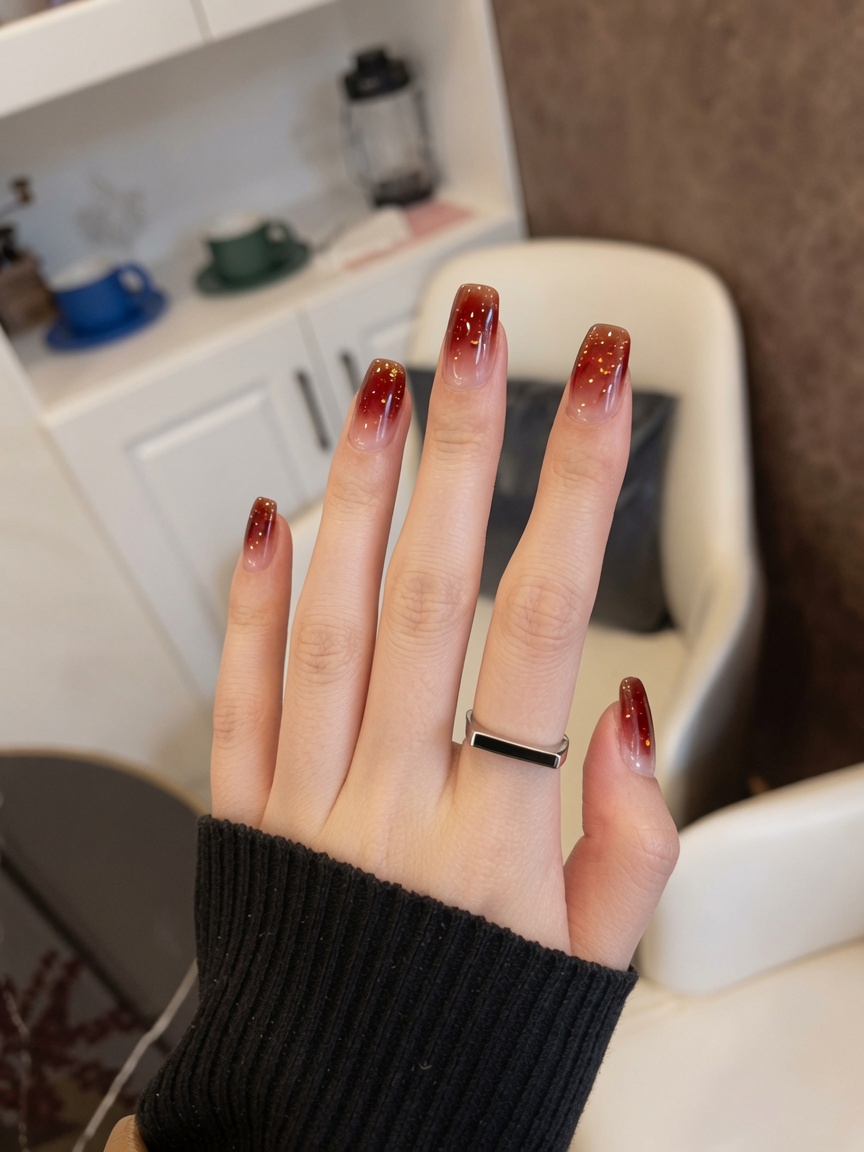
Steps
- 1Apply clear base coat
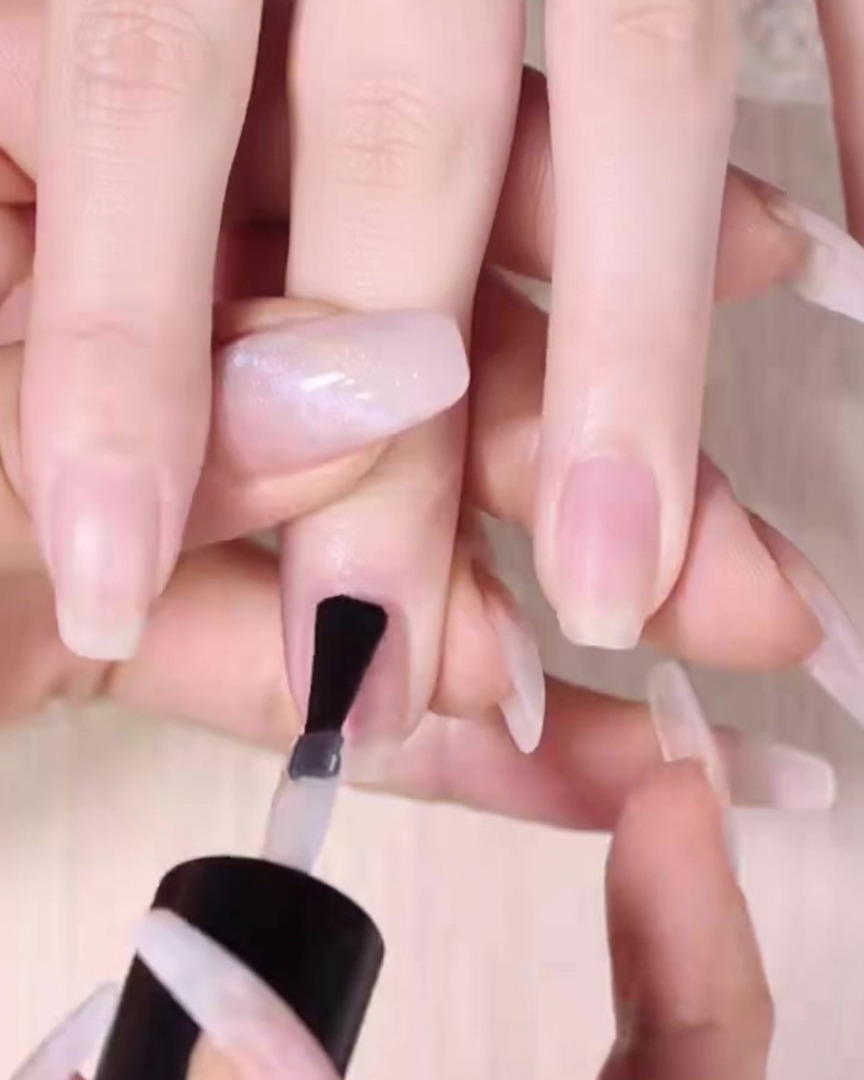
Begin by applying an even layer of clear base coat over the completely prepped nail surface. Ensure full coverage to protect the natural nail and create a smooth foundation for the color gradient.
Tip: Apply the base coat thinly and evenly to avoid pooling around the cuticles. - 2Apply first amber layer
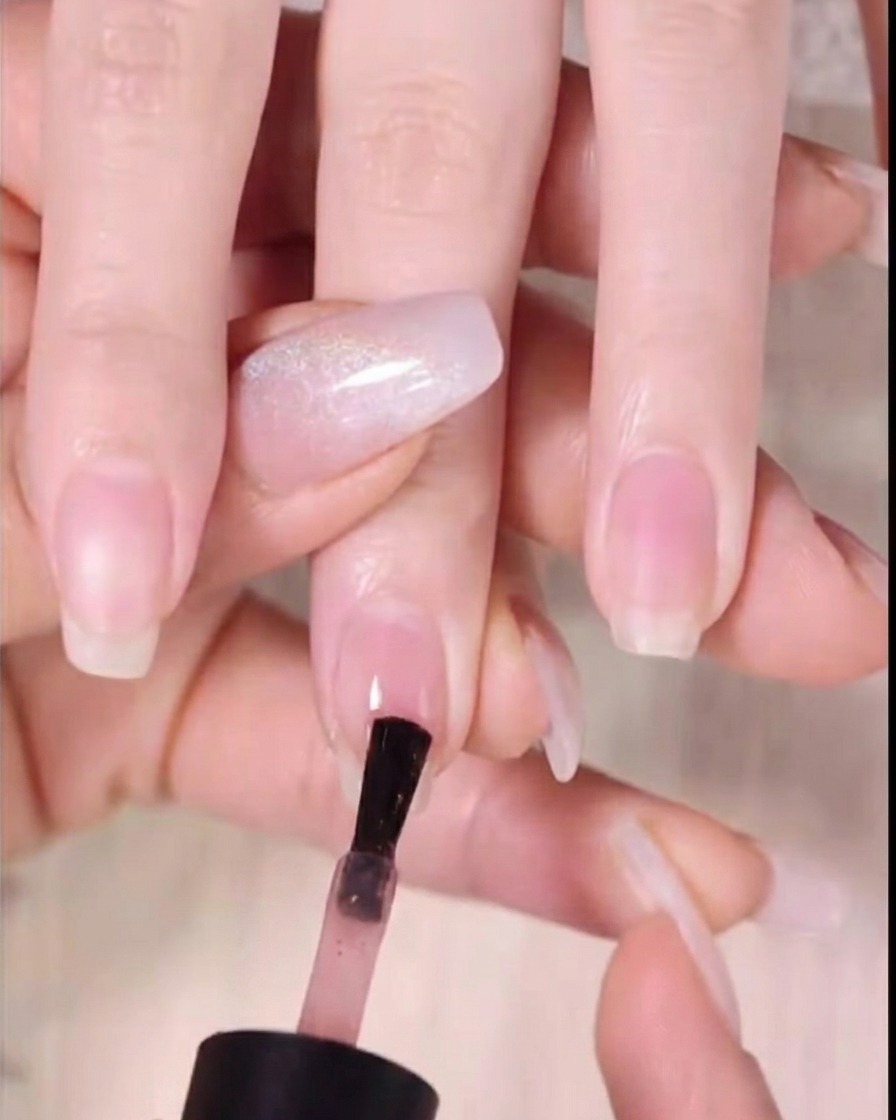
Brush the first layer of candied hawthorn red or dark amber gel onto the top one-third of the nail tip. Leave the rest of the nail bare for now.
Tip: Use a sparing amount of polish on the brush to make the gradient blending easier in the next step. - 3Blend the first gradient
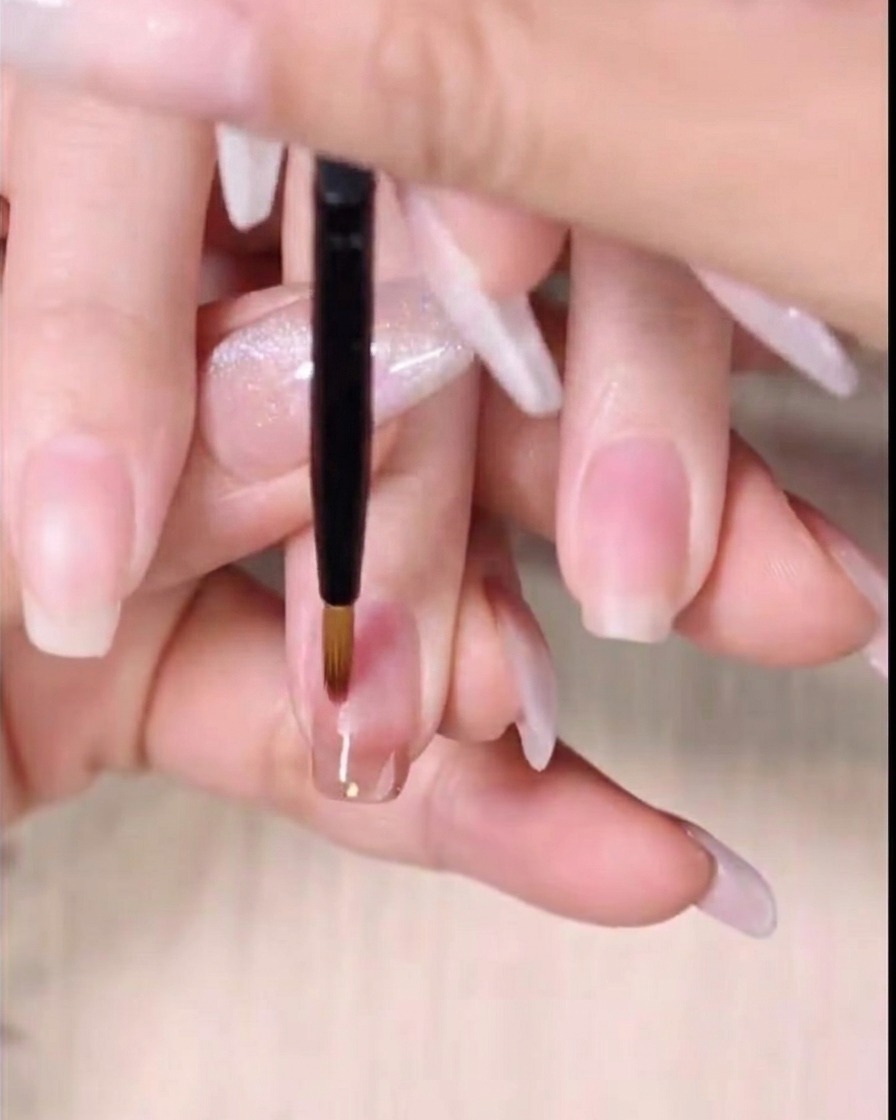
Before the color dries, take a fine detailing brush or a clean sweeping brush. Lightly feather the bottom edge of the wet product downward toward the cuticle, creating a soft, faded gradient transition.
Tip: Use gentle, sweeping motions so you do not drag the color too far down or remove too much product. - 4Dry the first layer
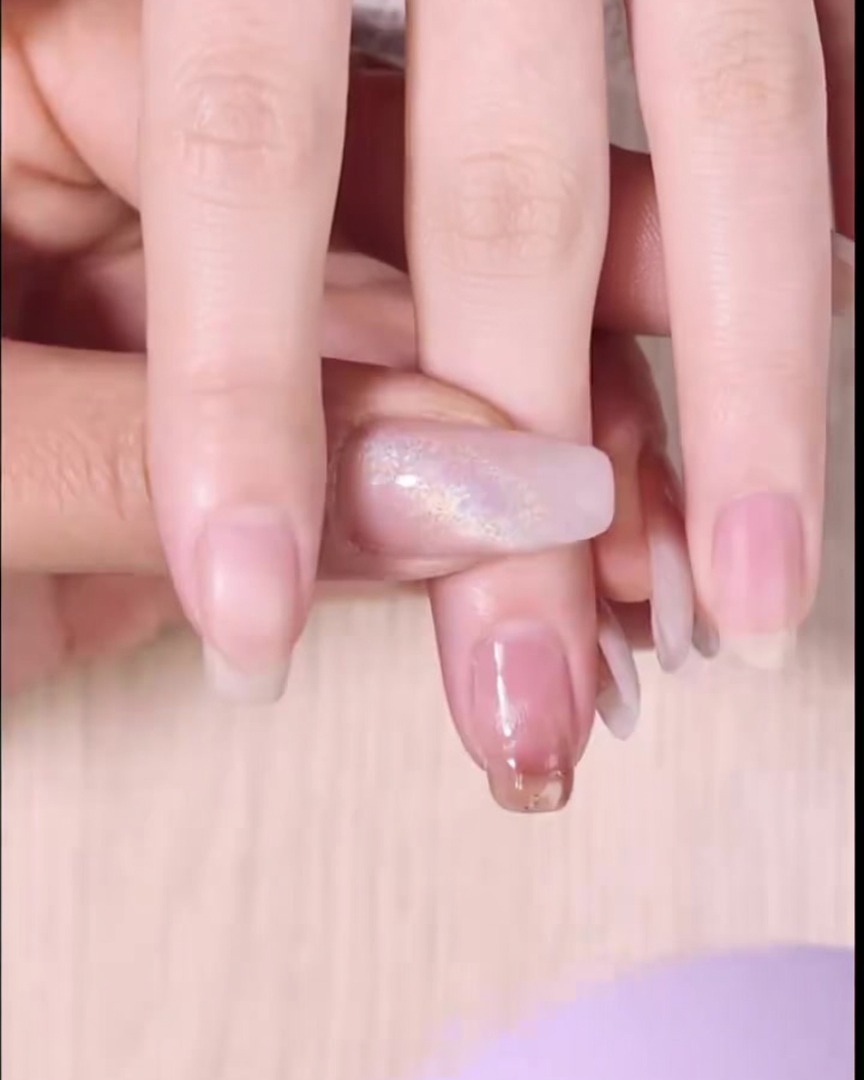
Allow the first blended layer to air dry completely. To speed up the process, you can use a hair dryer on the cool setting for about one minute to set the color.
Tip: Ensure the air from the dryer is cool; hot air may cause the polish to bubble or set incorrectly. - 5Apply second color layer
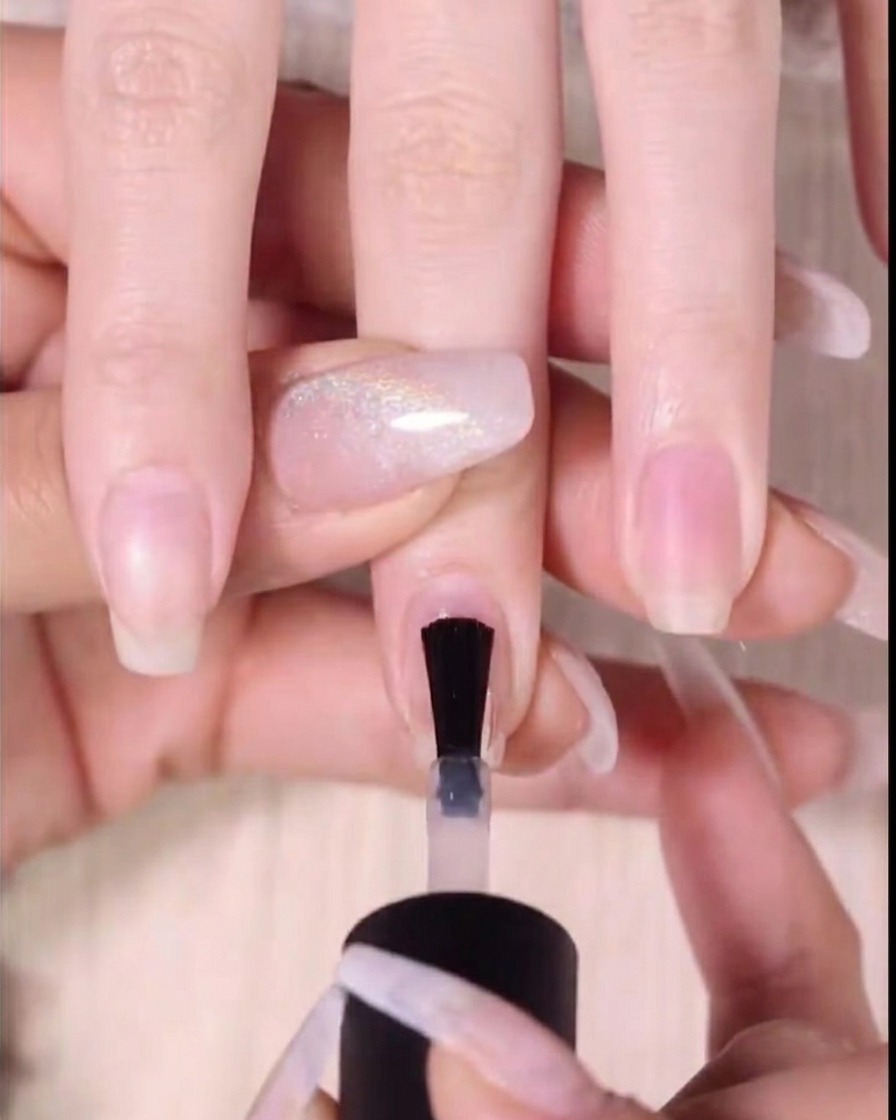
Apply a second layer of the candied hawthorn red gel, covering the top two-thirds of the nail tip. This layer adds depth and intensifies the gradient effect.
Tip: Work in thin layers to ensure the gel dries properly and remains smooth. - 6Feather the second layer
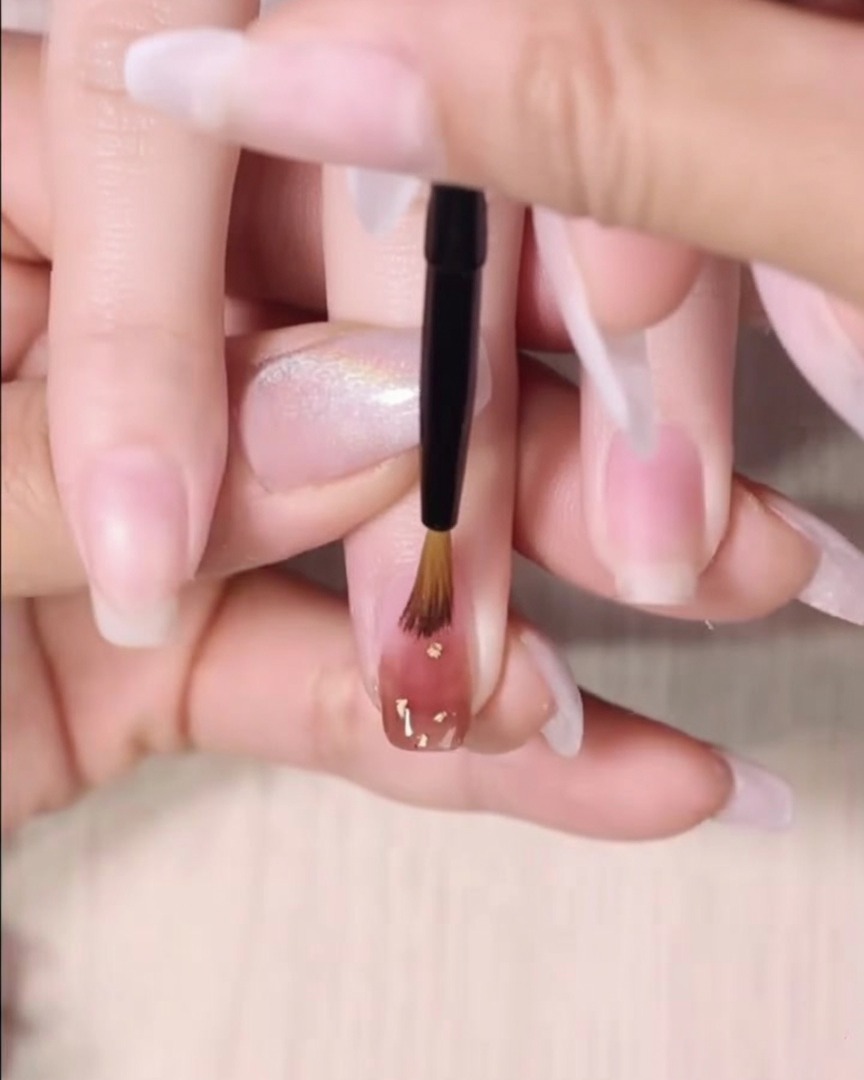
Just like before, while the second layer is still wet, use the fine detailing brush to lightly sweep and blend the bottom boundary of the polish. Feather it out for a seamless gradient transition.
Tip: Keep the brush clean as you work; wipe off excess product so you maintain a smooth fade rather than depositing more color. - 7Dry the second layer
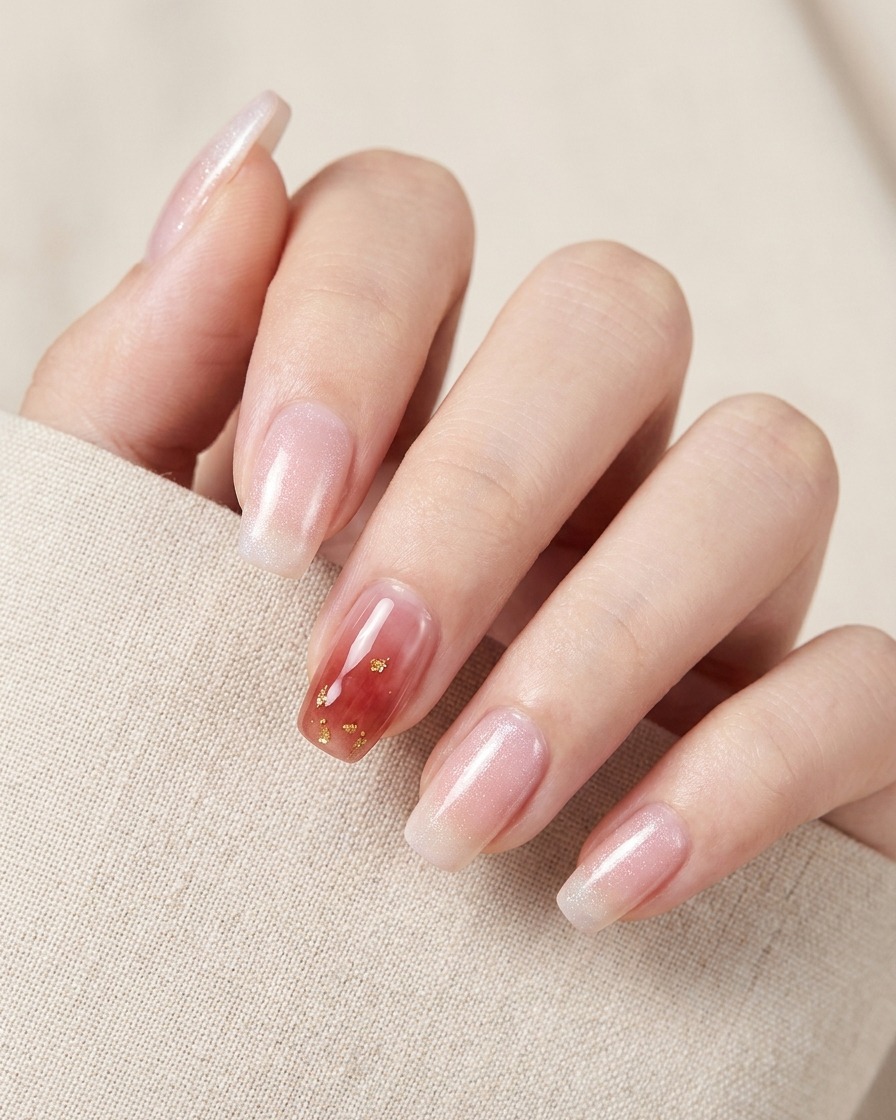
After feathering the edge of the second layer for a smooth gradient, allow it to dry. Use a hair dryer on the cool setting for one minute to speed up the drying process.
Tip: Using the cool setting on your hair dryer prevents heat damage to the gel. - 8Apply third color layer
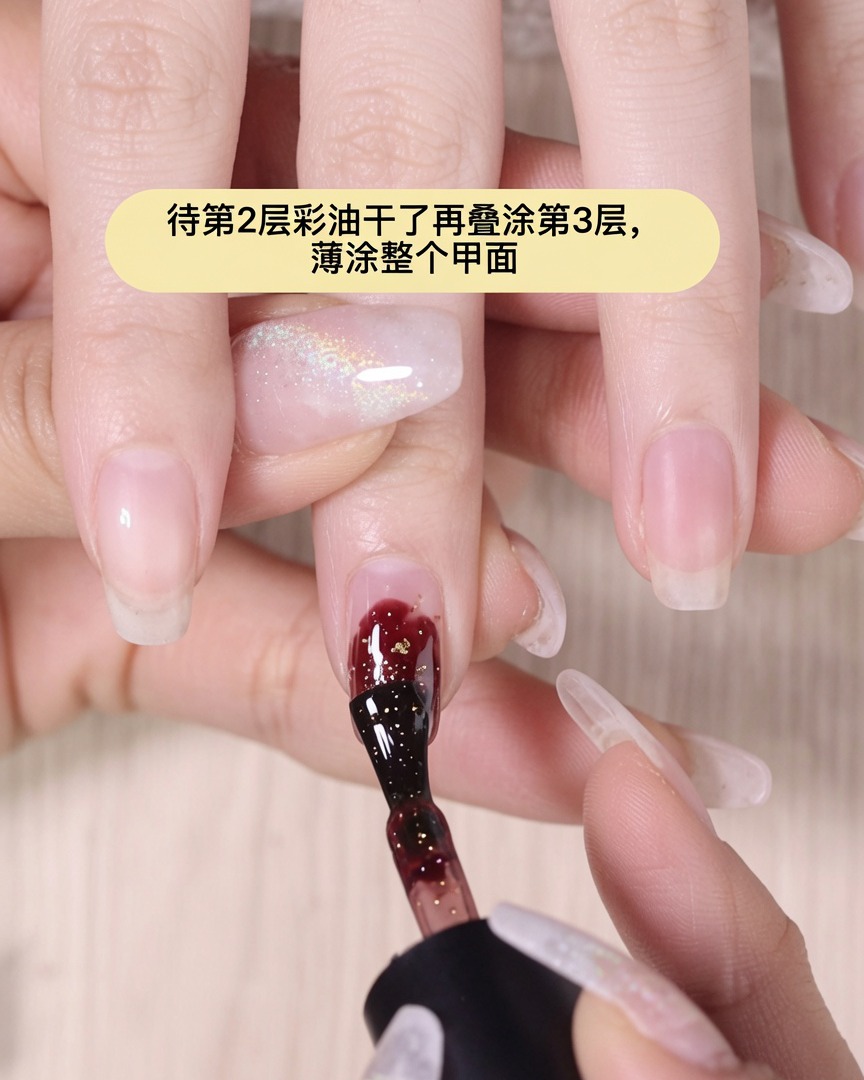
Apply a third, very thin layer of the red gel across the entire nail surface. This final color layer unifies the gradient and enhances the appearance of the gold flakes embedded in the gel.
Tip: Keep this layer as thin as possible to maintain a natural look and ensure even drying. - 9Apply top coat
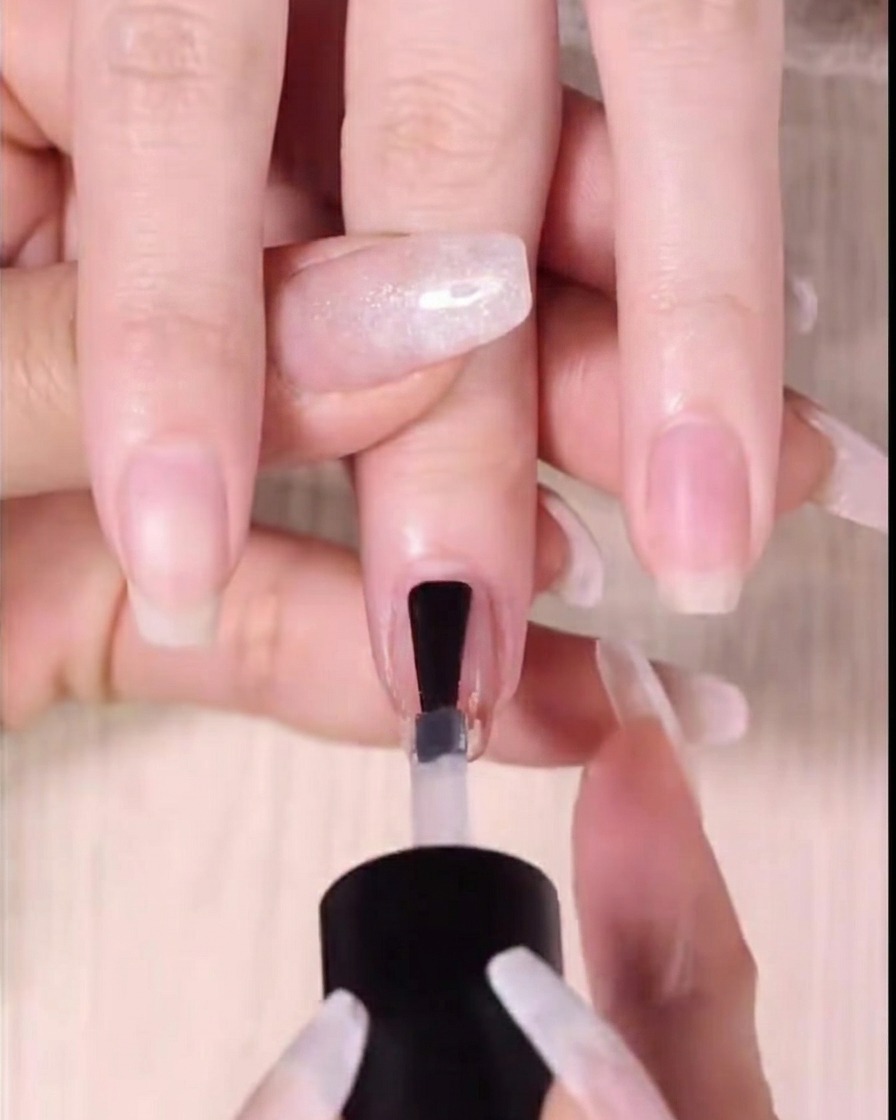
Once the third color layer is completely dry, apply a final layer of clear, high-gloss top coat. This seals your design, protects the nail art, and provides a professional, shiny finish.
Tip: Be sure to cap the free edge of your nail with the top coat to maximize the longevity of your manicure.