Milky White Gradient Nails — Elegant Ombre Tutorial
Master the sophisticated milky white gradient nail look with this step-by-step tutorial, featuring a simple sponge technique and delicate rhinestone accents.
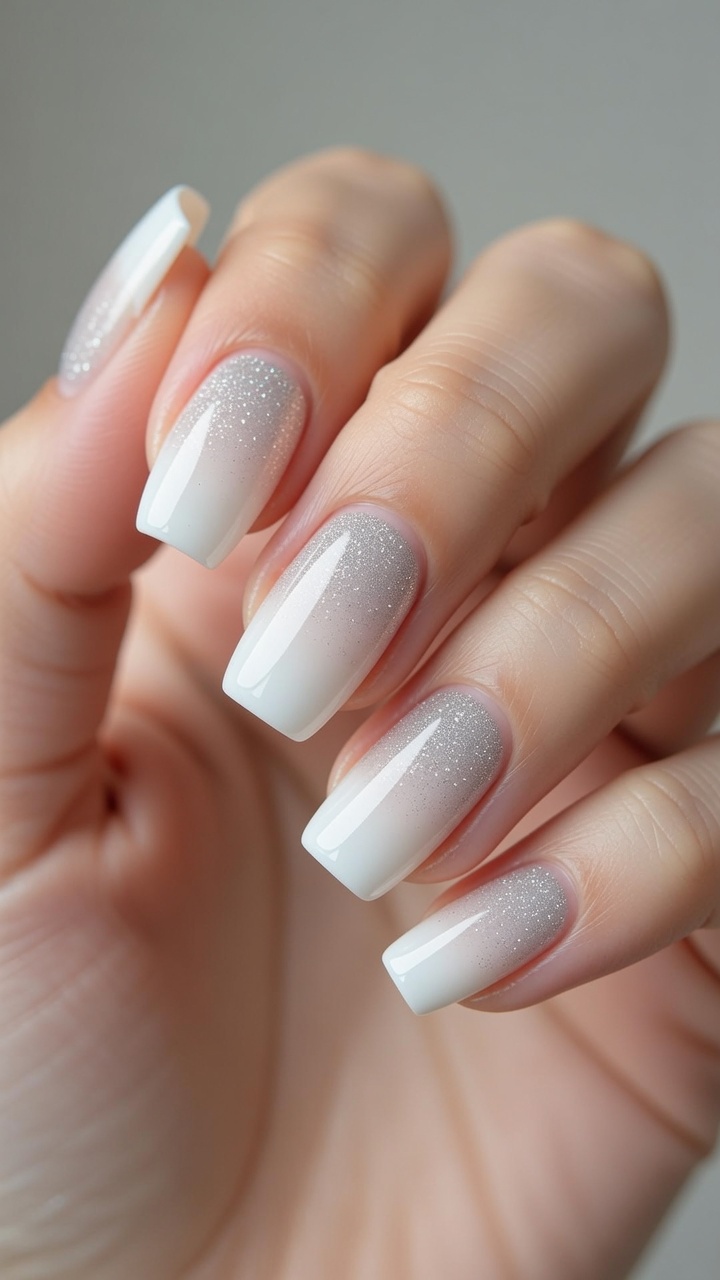
The milky white gradient, or ombre, look is the epitome of clean, modern elegance. By blending sheer nude tones with crisp white tips, you create a soft, seamless transition that suits any occasion. This tutorial will guide you through the professional techniques needed to achieve this polished style, including building a proper apex for structural integrity.
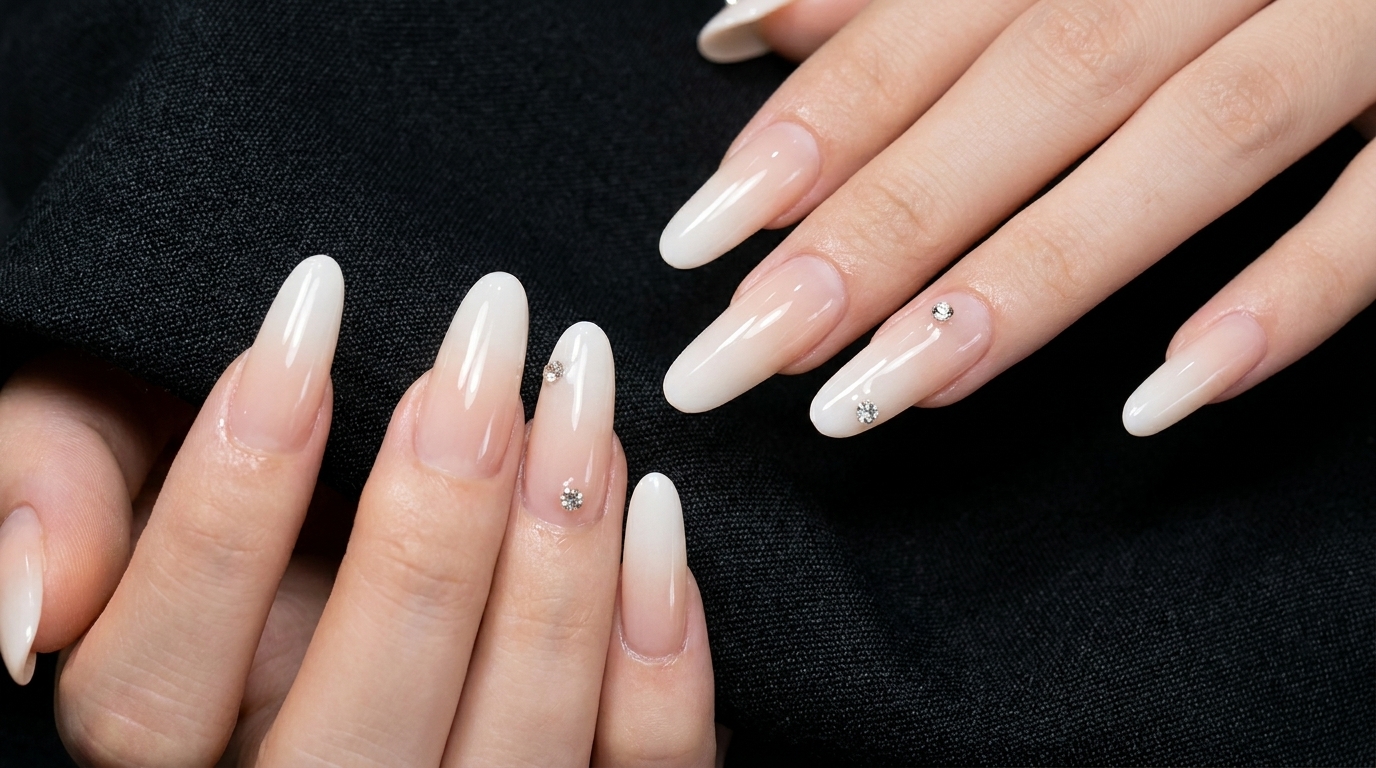
Steps
- 1File and shape natural nails
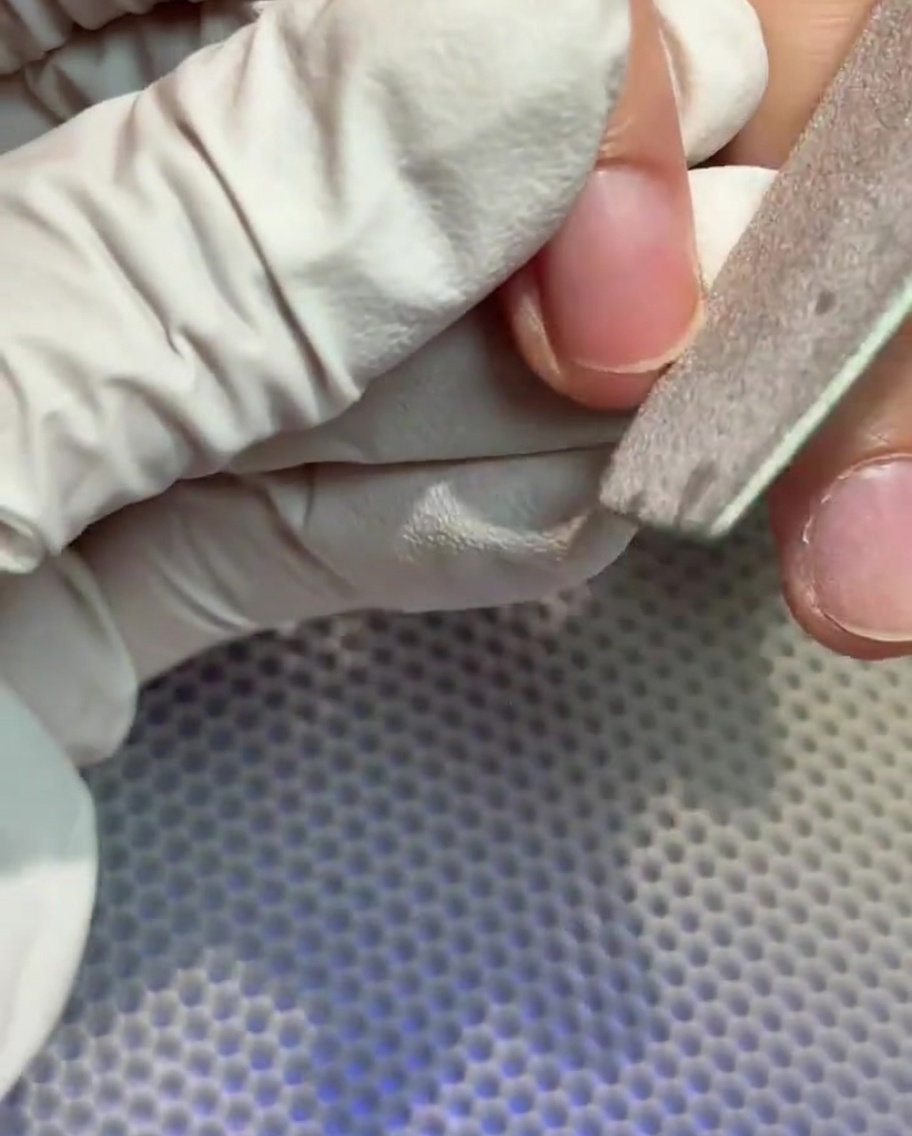
Begin the manicure by using a nail file to lightly buff and shape the natural nail edge. This helps to prepare the nail plate for product application and ensures a clean, uniform shape to build upon.
Tip: Keep the filing gentle to avoid damaging the natural nail plate surface. - 2Open the cuticle pocket
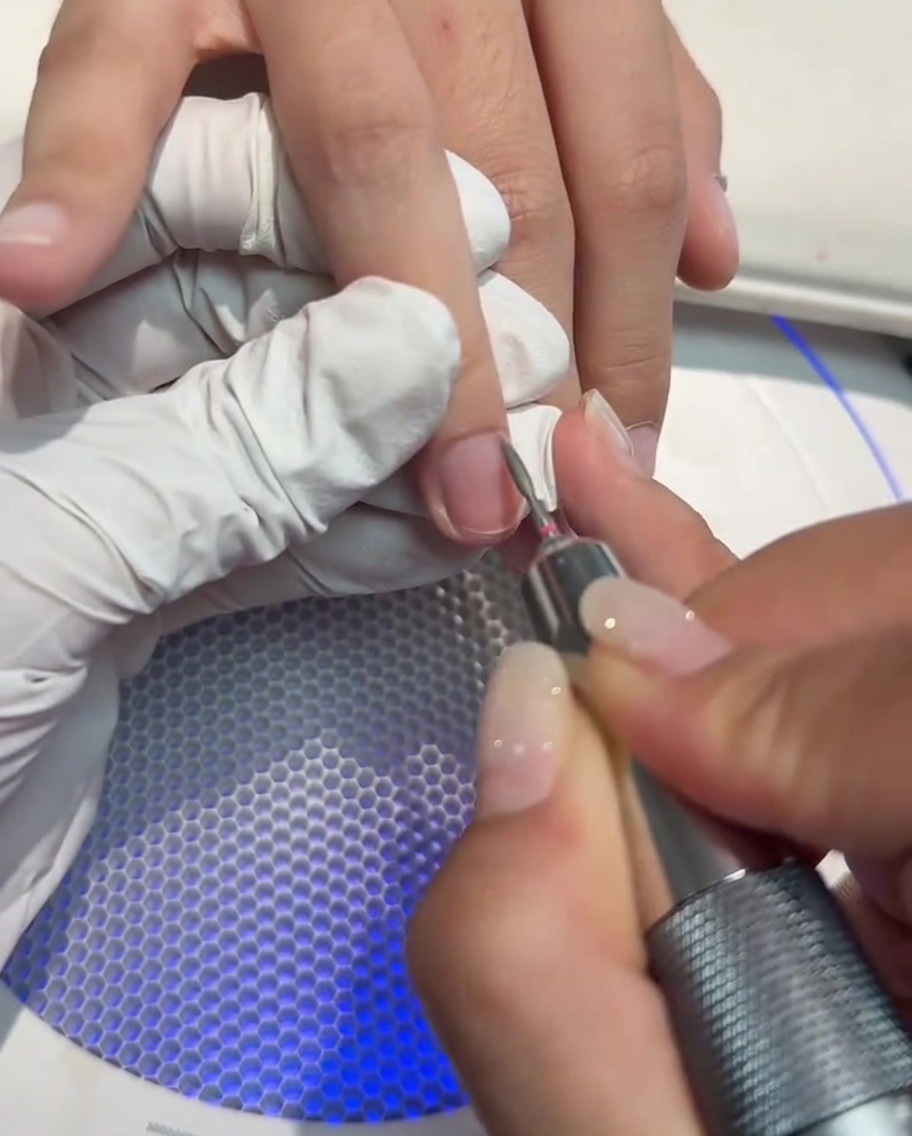
Using a cuticle drill bit, carefully work around the nail base to open the cuticle pocket. This step is essential for a clean application that resists lifting over time.
Tip: Maintain a low speed on the drill and keep the bit moving constantly to prevent heat buildup. - 3Push back cuticles
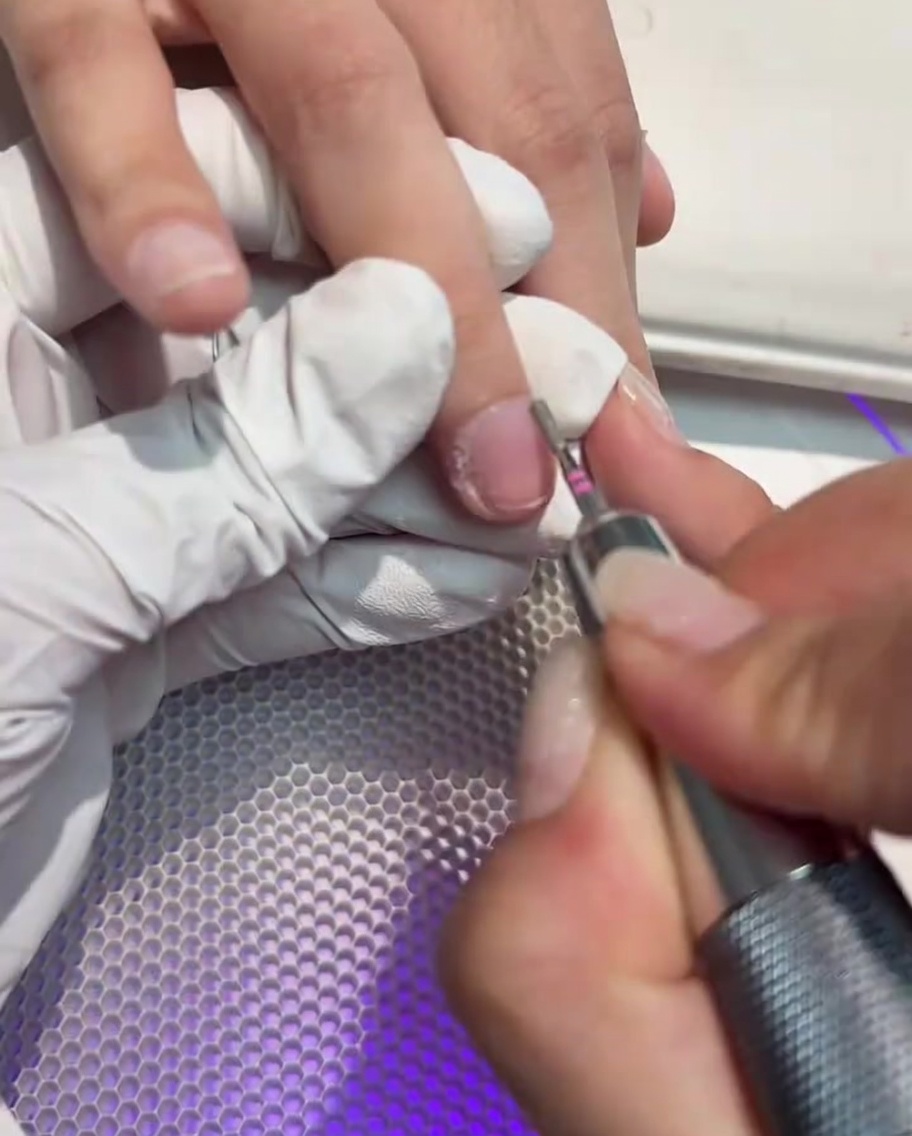
Take a cuticle pusher tool and gently lift and push back the cuticles. Clearing the cuticle area thoroughly ensures that your gel product can be applied closely without touching the skin, promoting better adhesion.
Tip: Be gentle when pushing back the cuticles to avoid injuring the delicate nail matrix. - 4Prep the nail surface
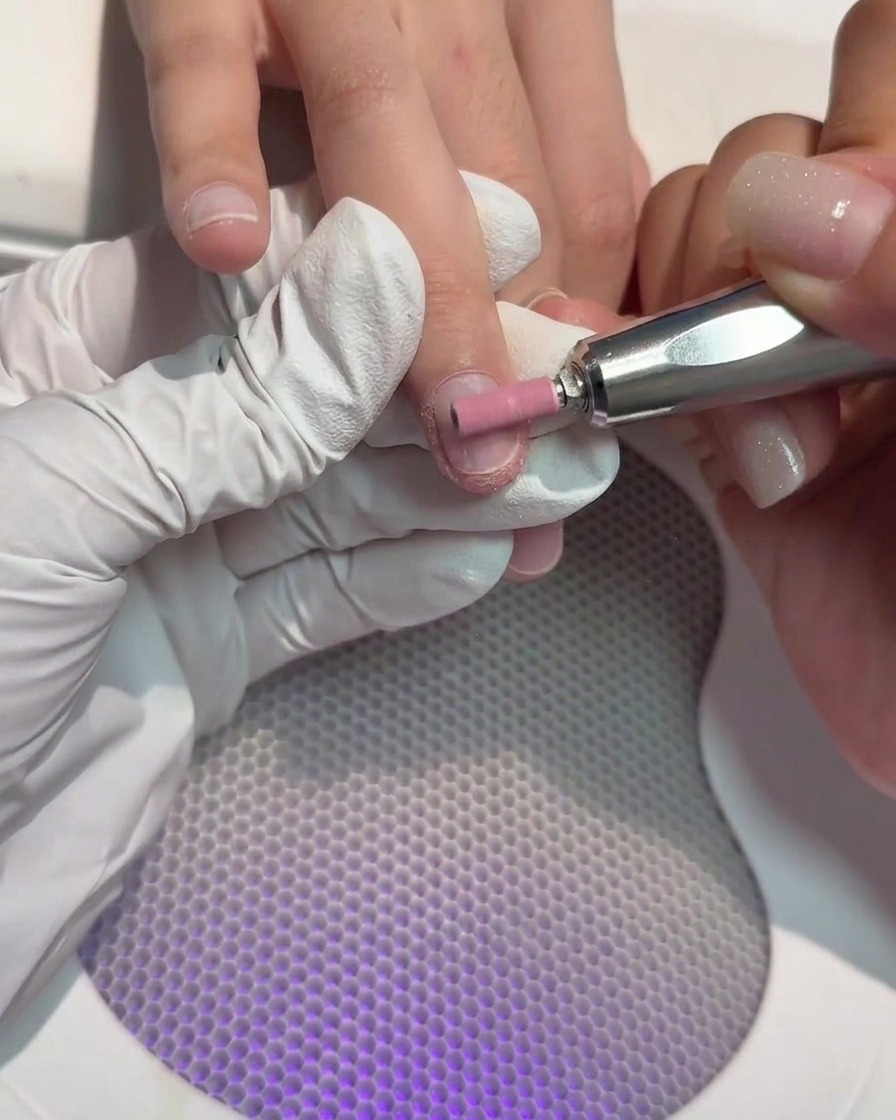
Utilize a cylindrical drill bit to lightly buff and clean the nail surface. This removes any remaining shine and dead skin, creating the perfect textured surface for the base coat to bond with.
Tip: Use light pressure to avoid thinning out the natural nail plate. - 5Trim excess cuticle
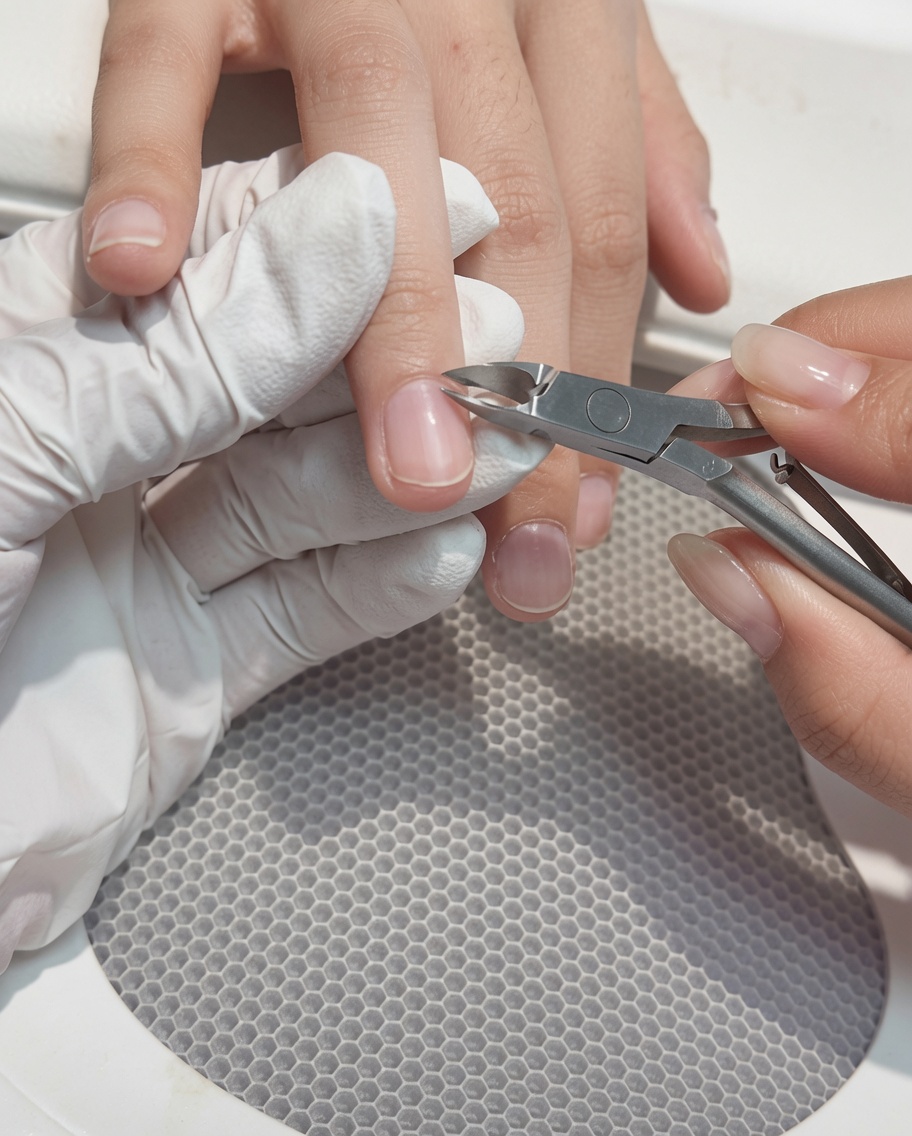
With a pair of cuticle nippers, carefully trim away any excess, lifted cuticle skin. Only remove the dead skin that has been pushed back to maintain a neat and clean look.
Tip: Be very careful not to cut into live skin to avoid soreness or infection. - 6Apply nail extension
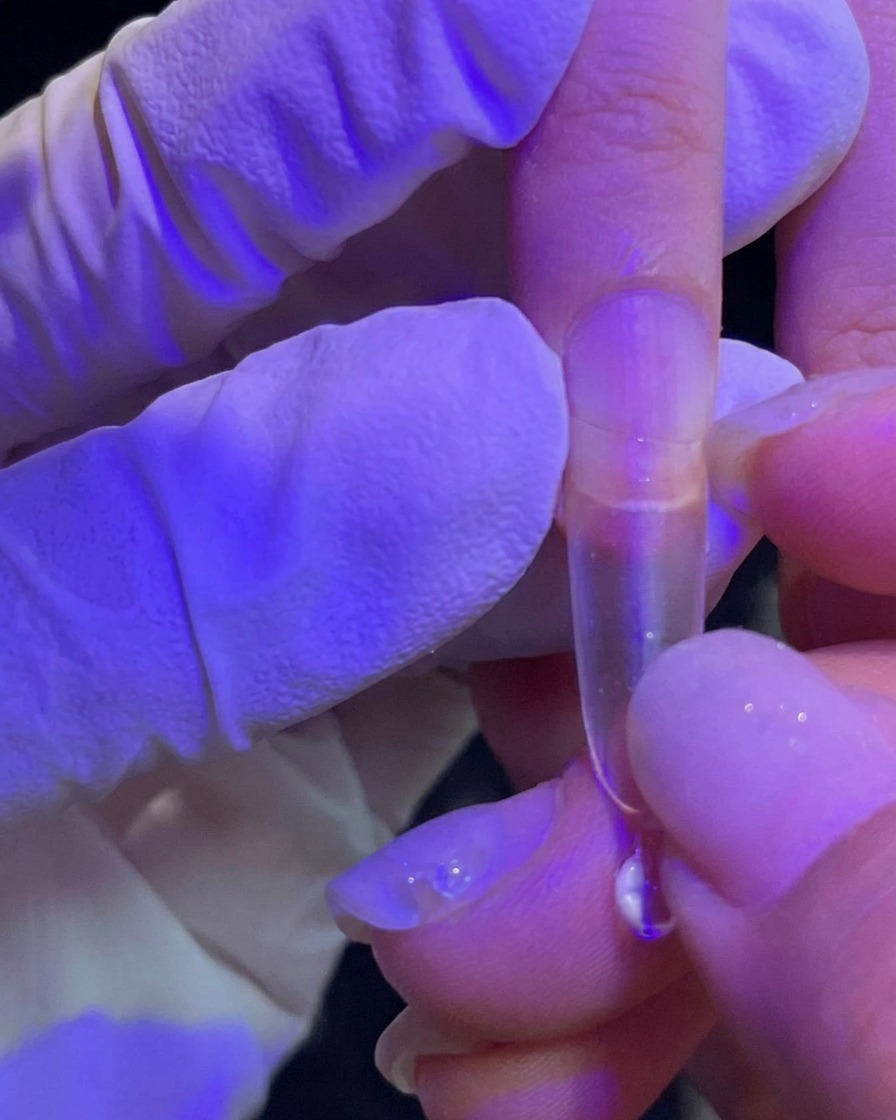
Apply a small amount of nail glue to the extension tip and press it firmly onto the natural nail. Ensure there are no air bubbles trapped between the tip and the nail plate for a secure bond.
Tip: Hold the extension in place until the glue has fully set before releasing. - 7Trim the nail extension
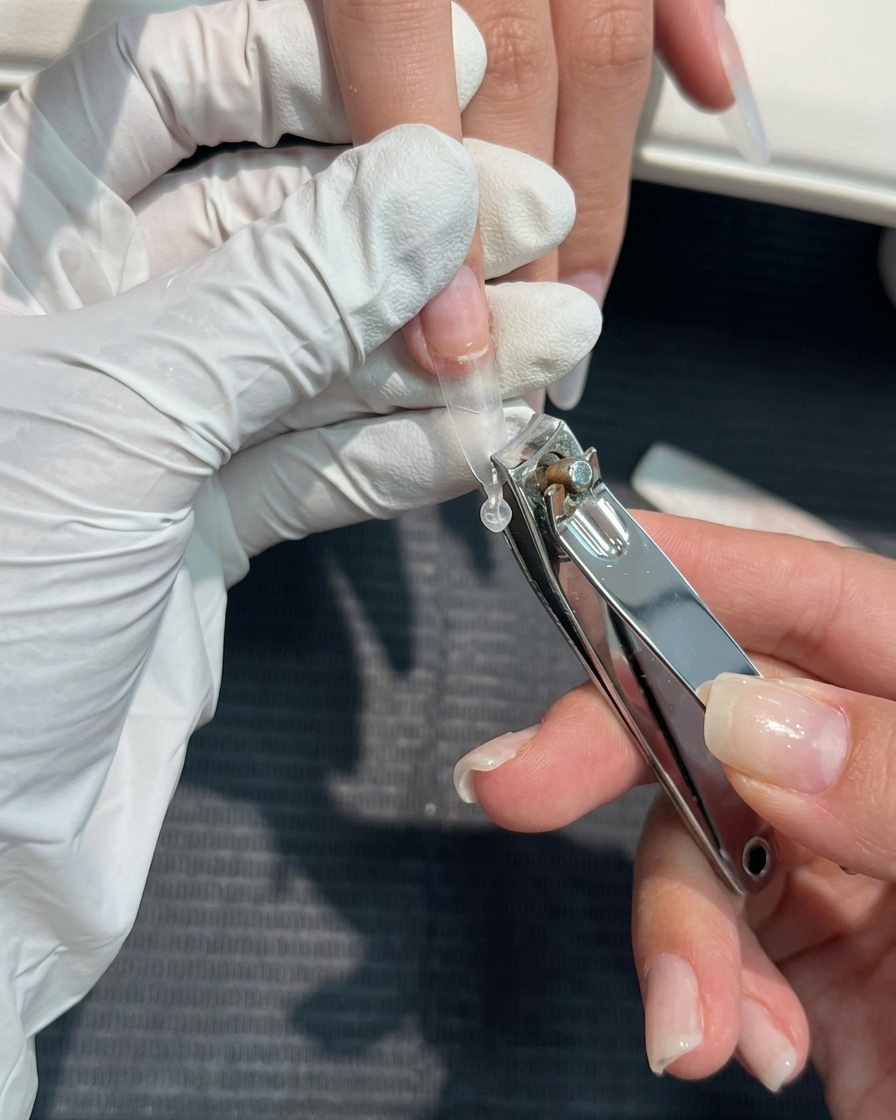
Using nail clippers, carefully trim the applied nail extension tip to your desired length. Ensure you cut evenly across the tip to maintain a consistent shape before proceeding to filing.
Tip: Start slightly longer than you think you want; you can always file away more, but you cannot add length back. - 8Shape the nail extension
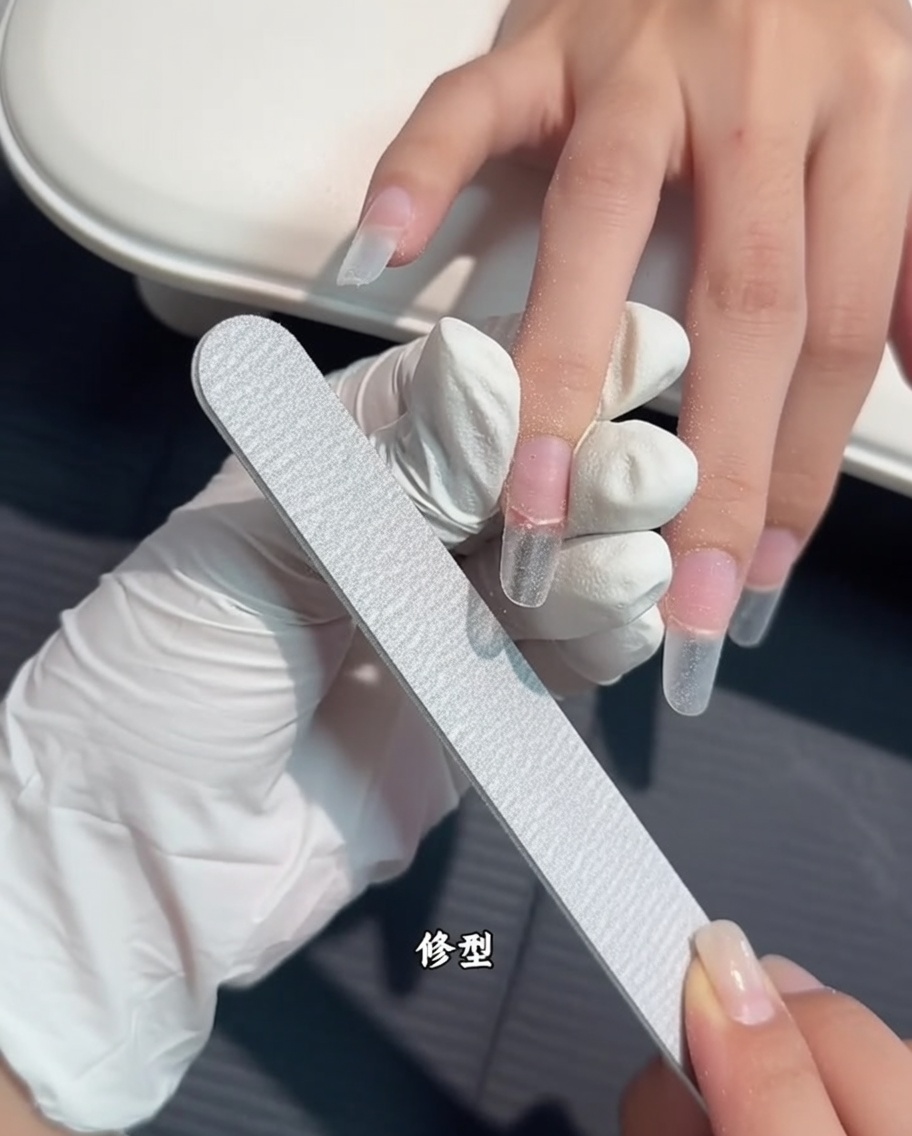
Use a nail file to carefully smooth and shape the sides and the free edge of the extension. Ensure the shape is consistent and matches the desired style, such as almond or square, according to your preference.
Tip: Keep the file parallel to the sidewalls of the nail to avoid over-filing and creating a weak point. - 9Buff the nail surface
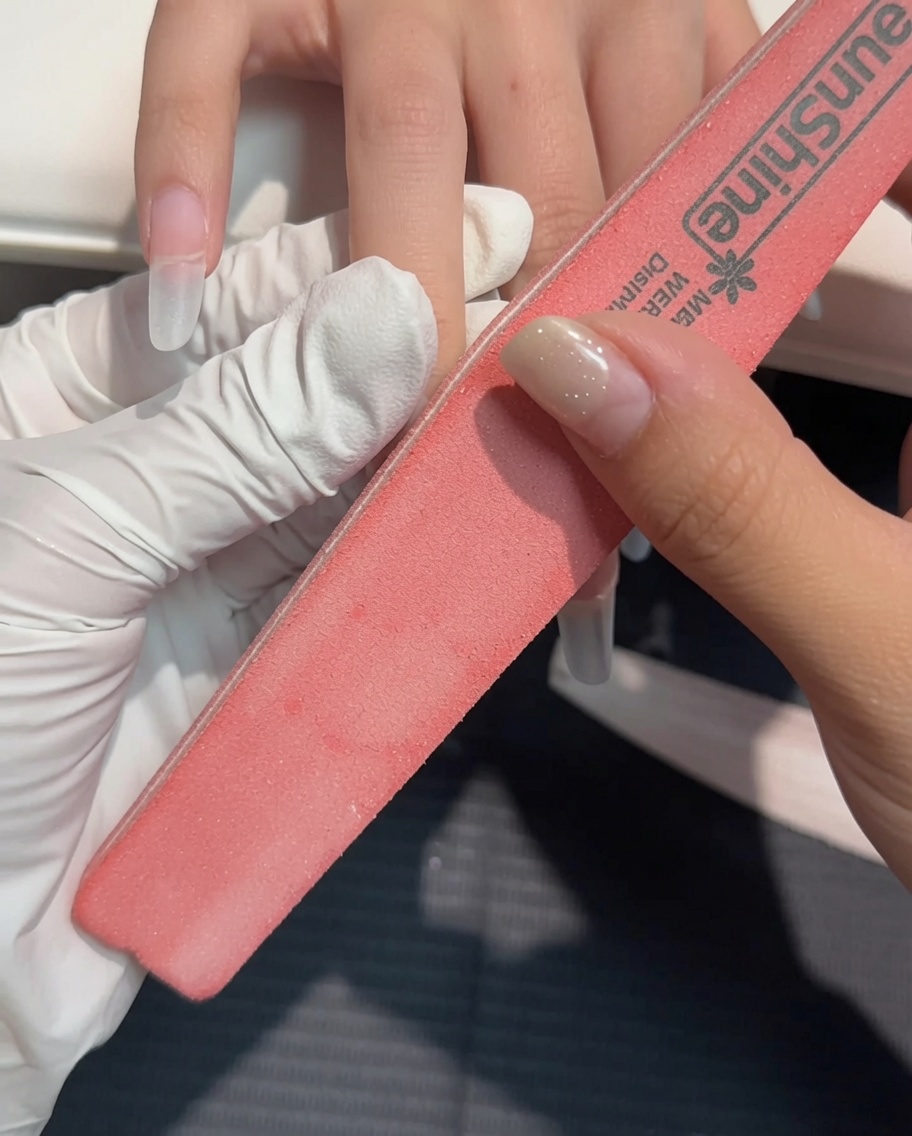
Using a fine-grit buffer, gently buff the surface of the nail extension. This process removes any shine, creates a slightly textured surface for better product adhesion, and smooths out any minor imperfections from filing.
Tip: Use light pressure; the goal is to dull the surface, not to thin out the extension. - 10Apply base coat
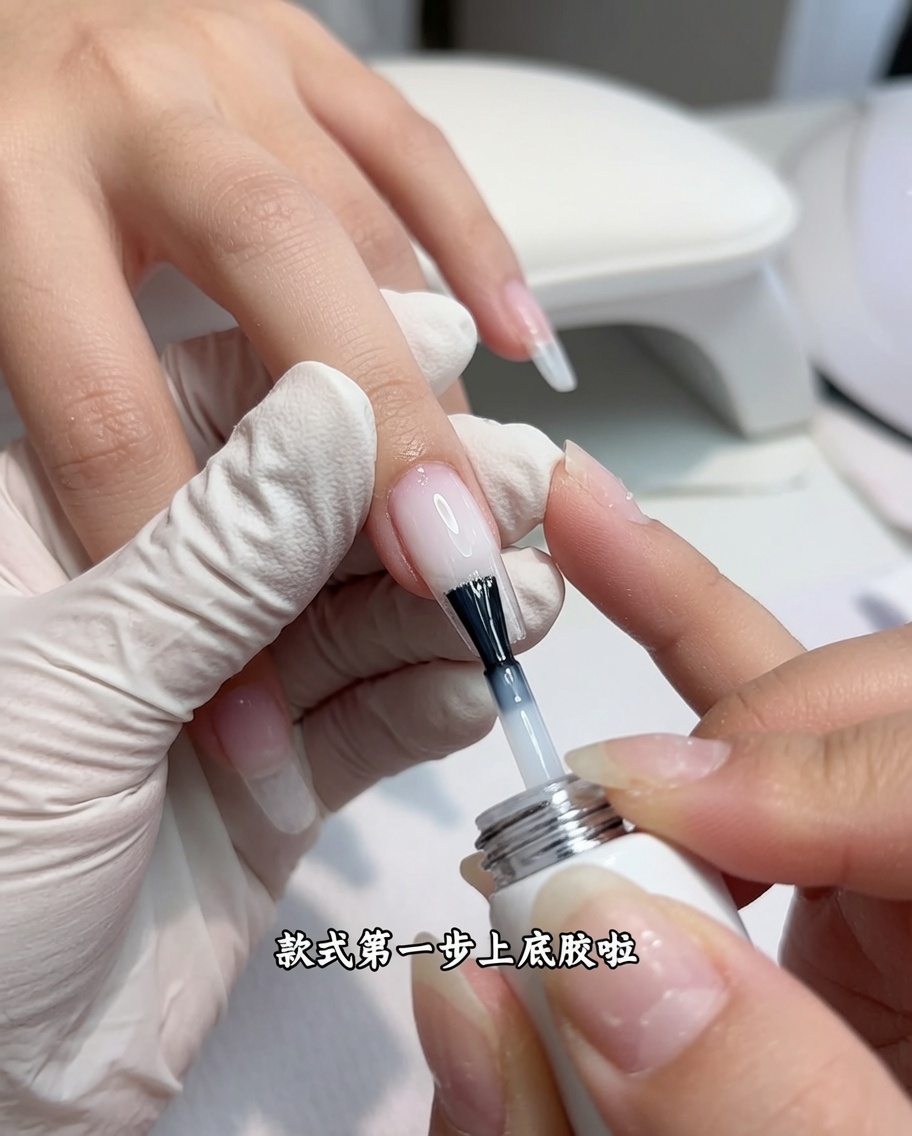
Apply a thin, even layer of gel base coat over the entire surface of the nail. Be careful to avoid the cuticle and skin areas, and cap the free edge of the nail to ensure long-lasting wear.
Tip: A thinner application of base coat prevents pooling and ensures a smooth foundation for the subsequent layers. - 11Apply structure gel
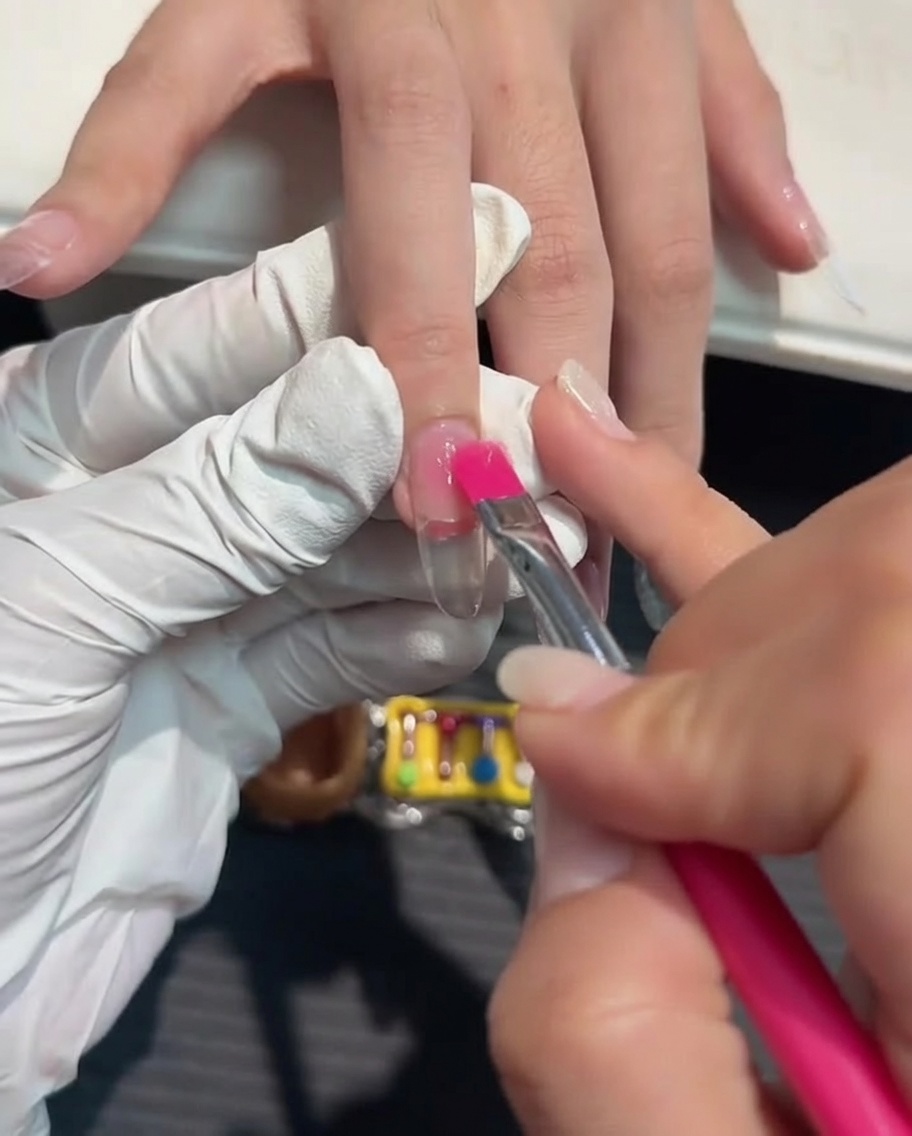
Apply a thin layer of structure gel across the nail plate. This layer provides extra strength and creates a smooth foundation for building the apex, ensuring the nail has a natural-looking curve and structural integrity.
Tip: Keep the layer thin initially to maintain control over the product before adding more to build the apex. - 12Build the apex
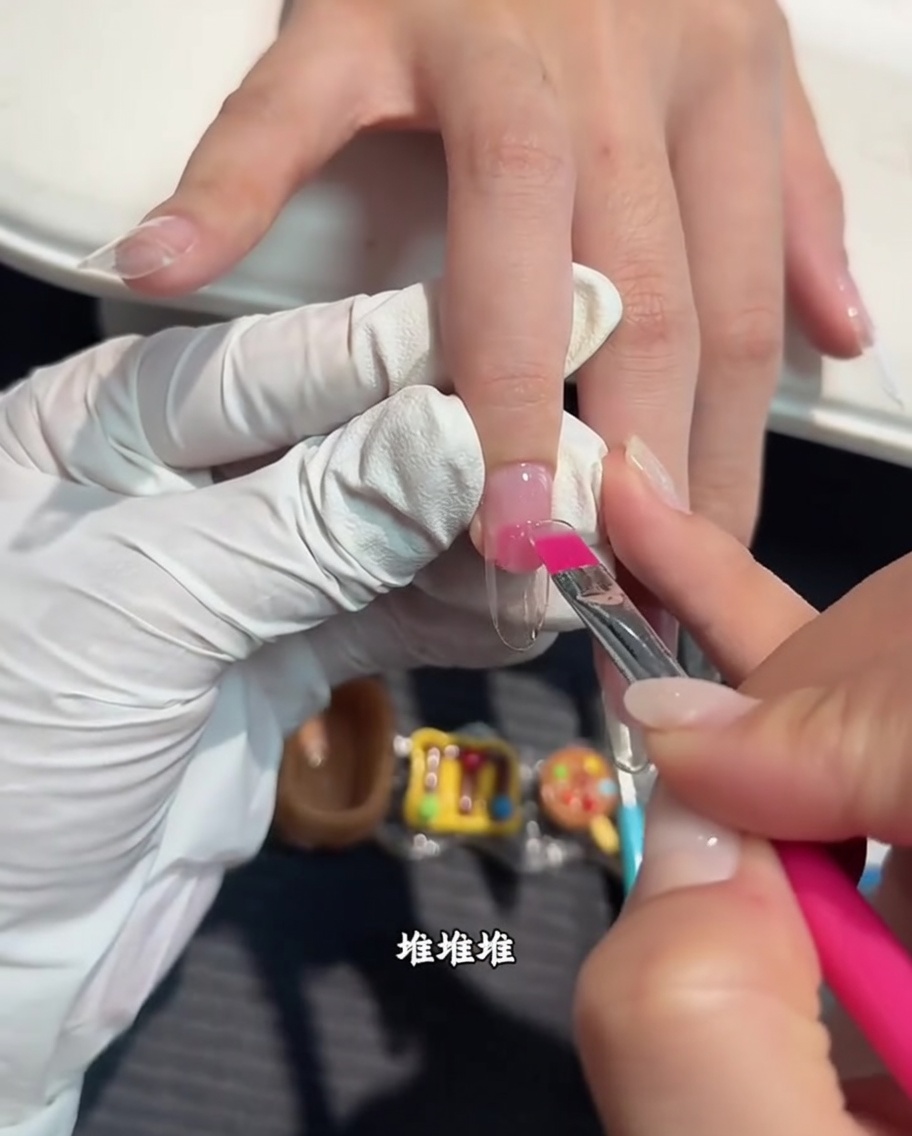
Use your brush to gently push and maneuver the structure gel toward the center of the nail to build the apex. This helps distribute the product to create a balanced, durable shape that mimics a natural nails curve.
Tip: Work in small sections, allowing the gel to self-level slightly before curing to achieve a smooth finish. - 13Check the nail structure
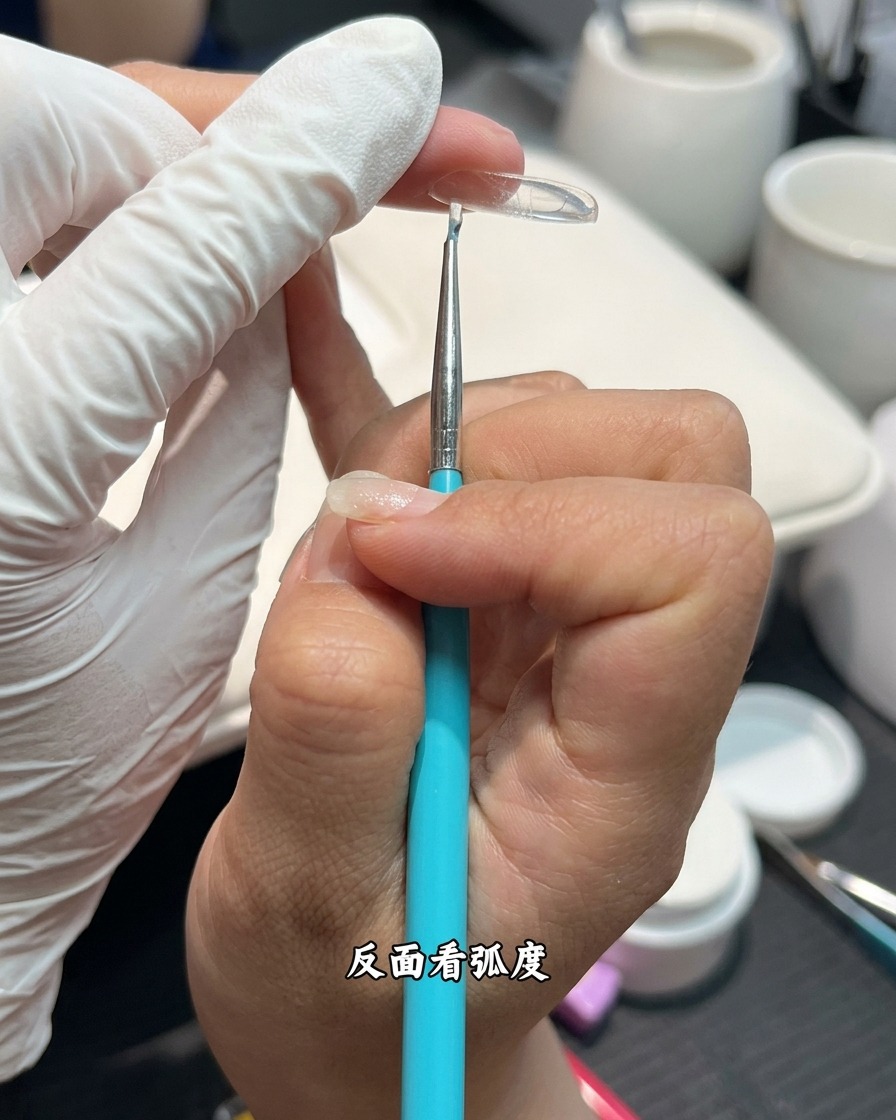
With the structure gel applied and cured, examine the nail from the side profile to ensure the apex is correctly placed and the curvature is smooth. A proper apex provides necessary strength to the extension, preventing the nail from bending or breaking under stress.
Tip: If the side profile looks flat, you can add a tiny bit more structure gel, cure it, and file it to perfect the shape before moving on. - 14Cure the nail
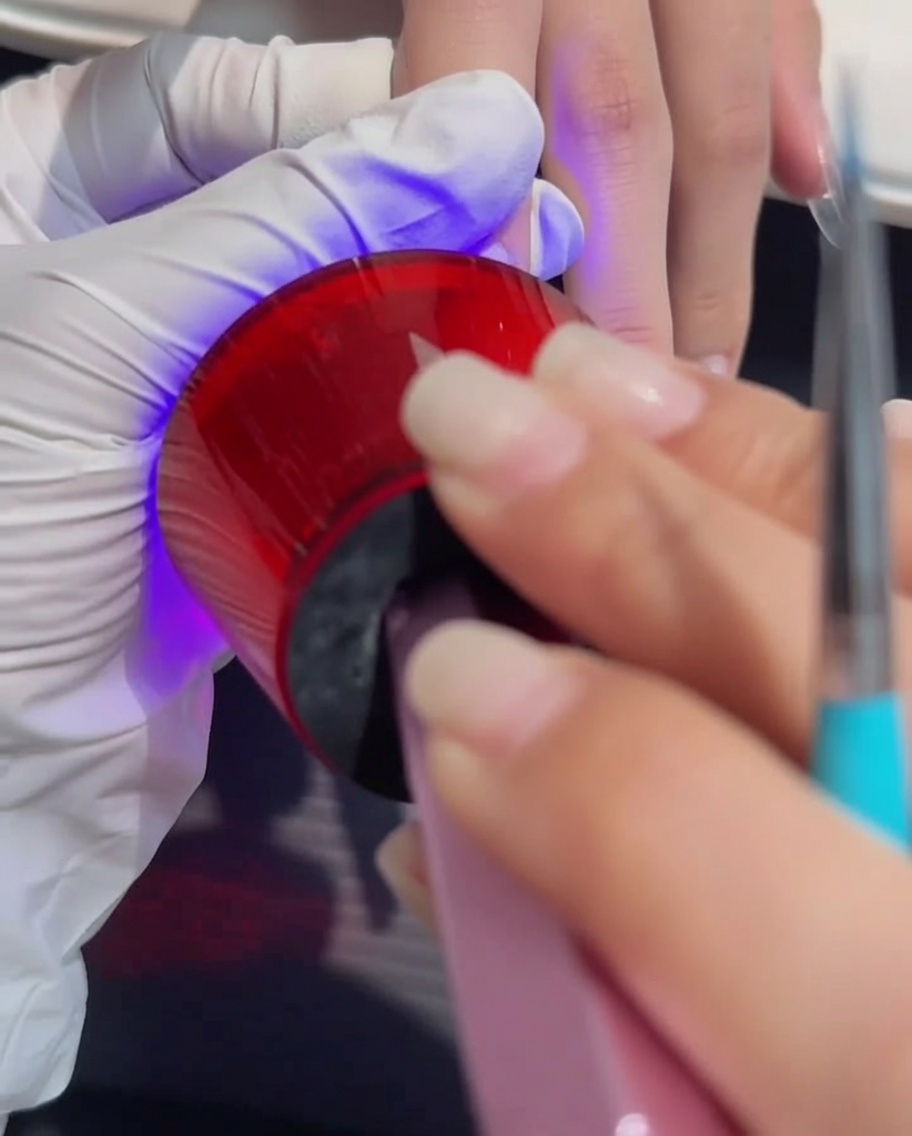
Place the nail under your UV/LED lamp to fully cure the structure gel. Ensure the finger is positioned correctly so that the light hits the entire surface of the nail, ensuring a complete and thorough cure.
Tip: Follow your specific gel brands instructions for curing times, as these can vary between products and lamp types. - 15Pinch the nail for shape
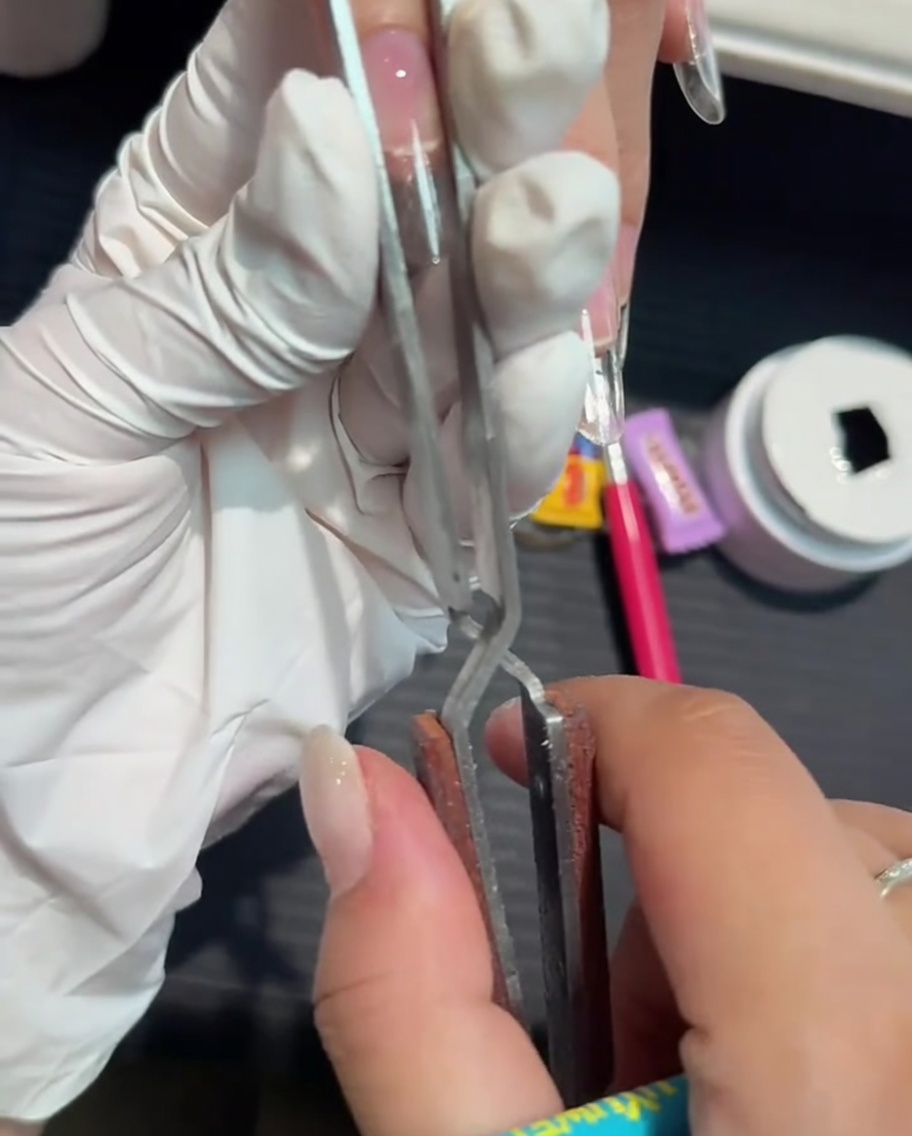
While the gel is still warm or just after curing, use a nail pinching tool to gently squeeze the sides of the extension. This helps to taper the nail, giving it a slimmer, more elegant silhouette.
Tip: Be gentle with the pinching tool to avoid cracking the gel or causing discomfort to the natural nail underneath. - 16Refine and smooth the surface
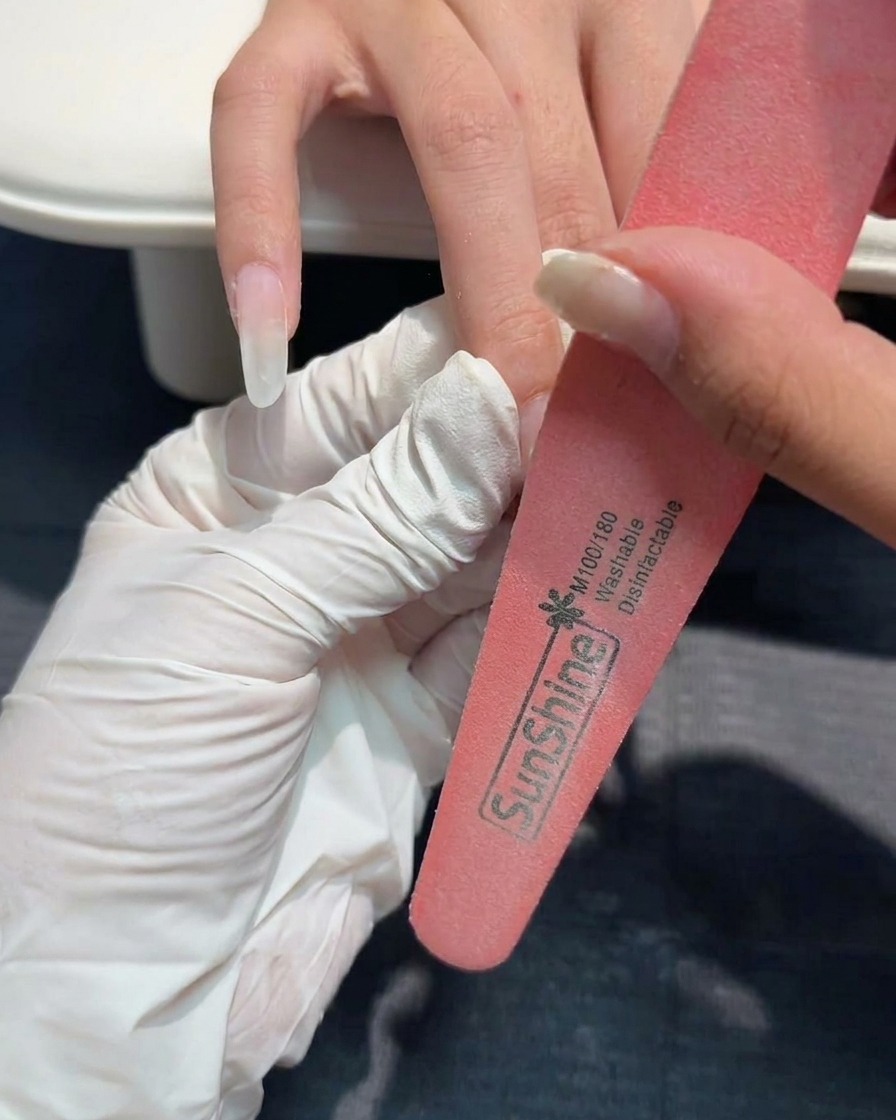
Use a nail file to gently buff and smooth the surface of the structure gel. This removes any bumps or uneven texture, creating a perfectly flat and uniform canvas for your color application.
Tip: Use a lighter grit file for this step to avoid thinning the structure gel you worked hard to build. - 17Apply milky white gradient
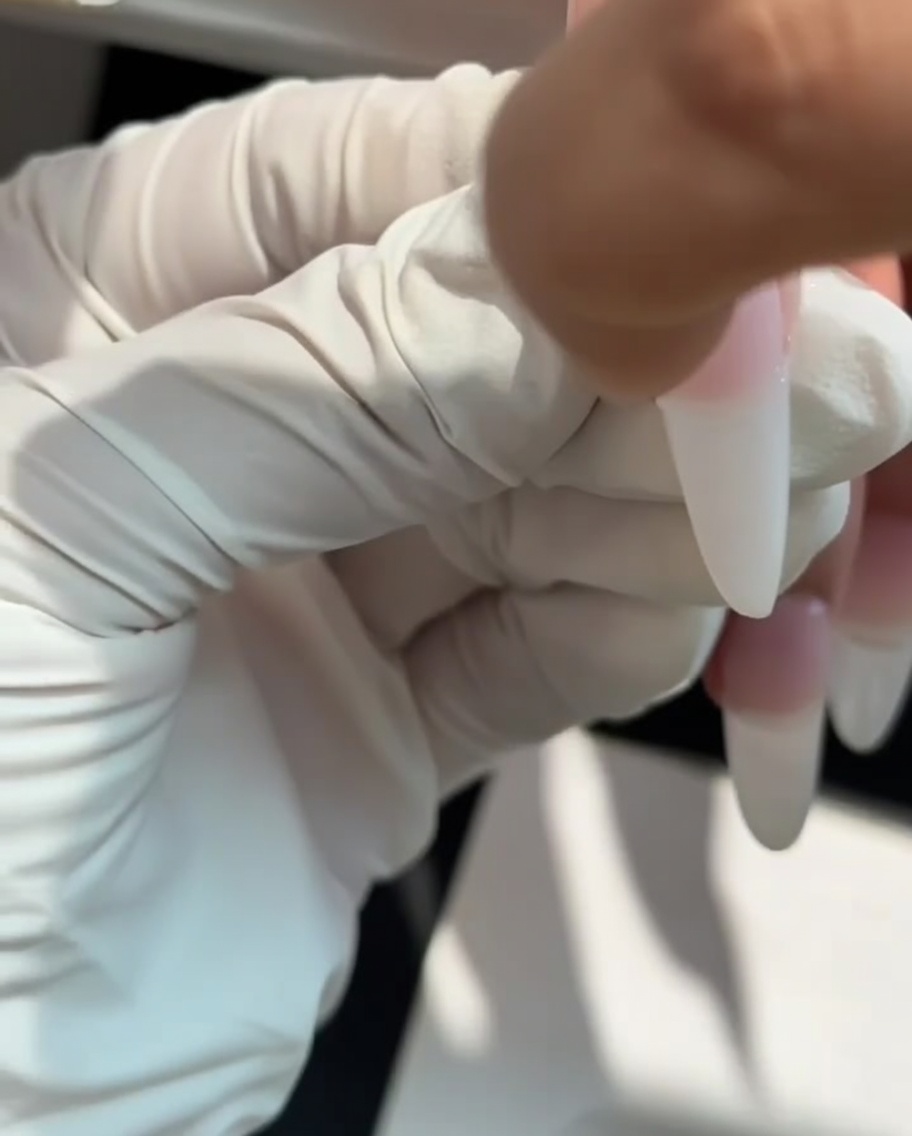
Using a small sponge, gently pat the milky white gel onto the tip of the nail. Focus the color heavily at the free edge and lightly dab towards the middle of the nail to create a soft, seamless transition.
Tip: Do not overload the sponge with gel; it is easier to build up the desired opacity with several light, thin layers. - 18Apply nude gel blend
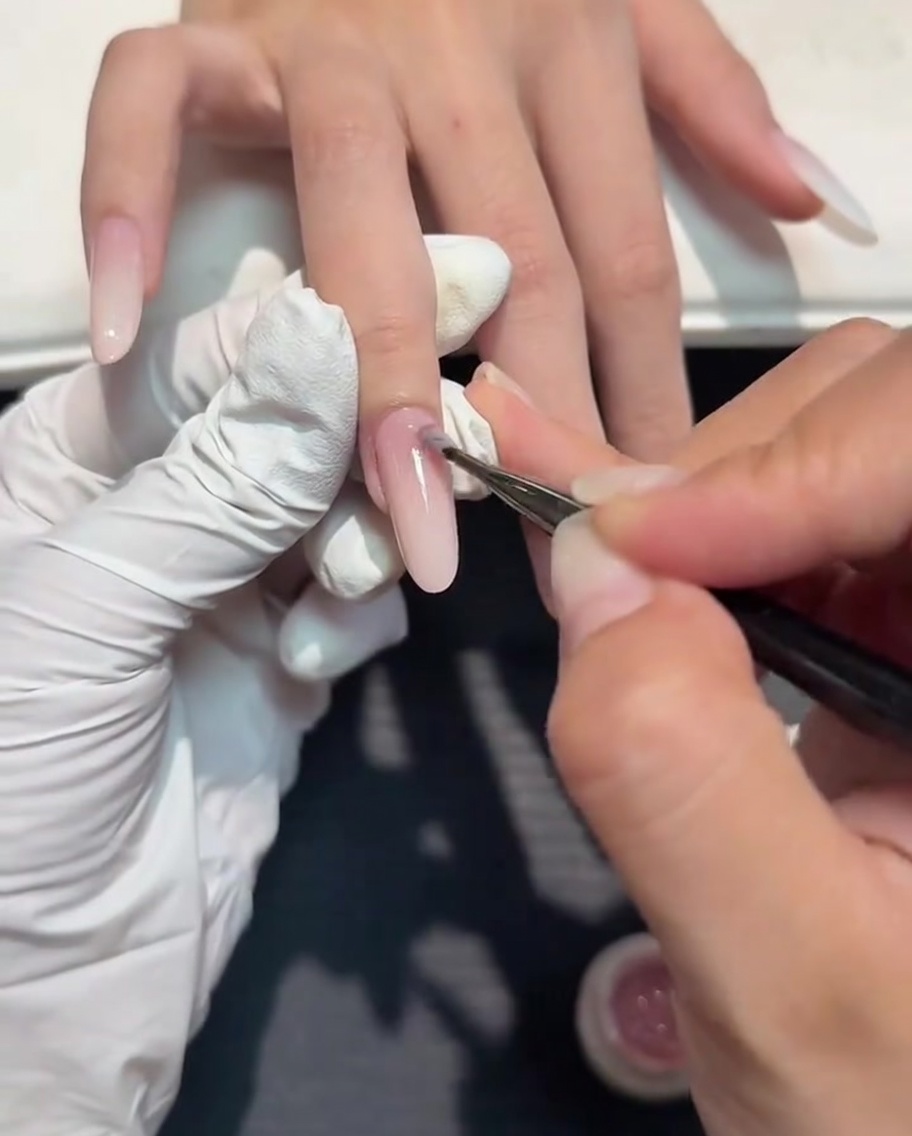
Apply a thin layer of nude gel over the entire nail, focusing on the area where the white meets the natural nail bed. This helps to blur the transition, creating a professional and seamless gradient effect.
Tip: Ensure the nude gel is applied smoothly to avoid creating new texture that could interfere with your gradient.