Gold Glitter
Foil French Gradient Nails — Beginner Step-by-Step Tutorial
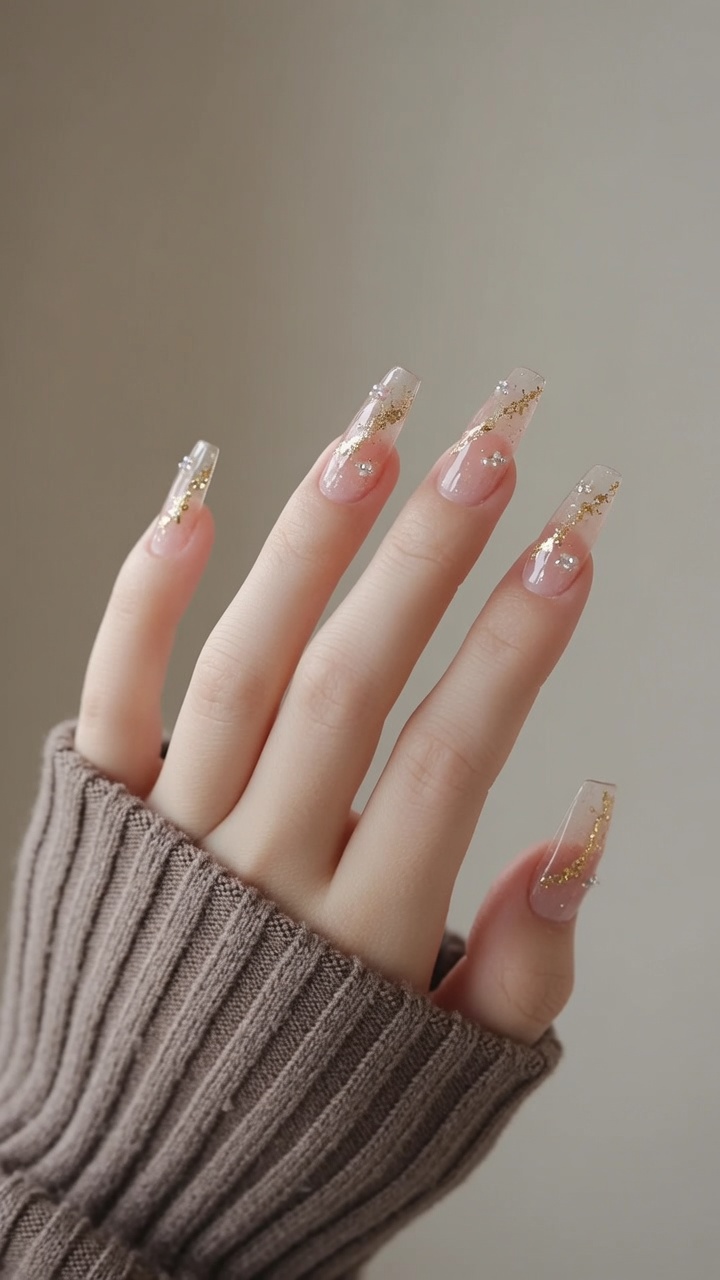
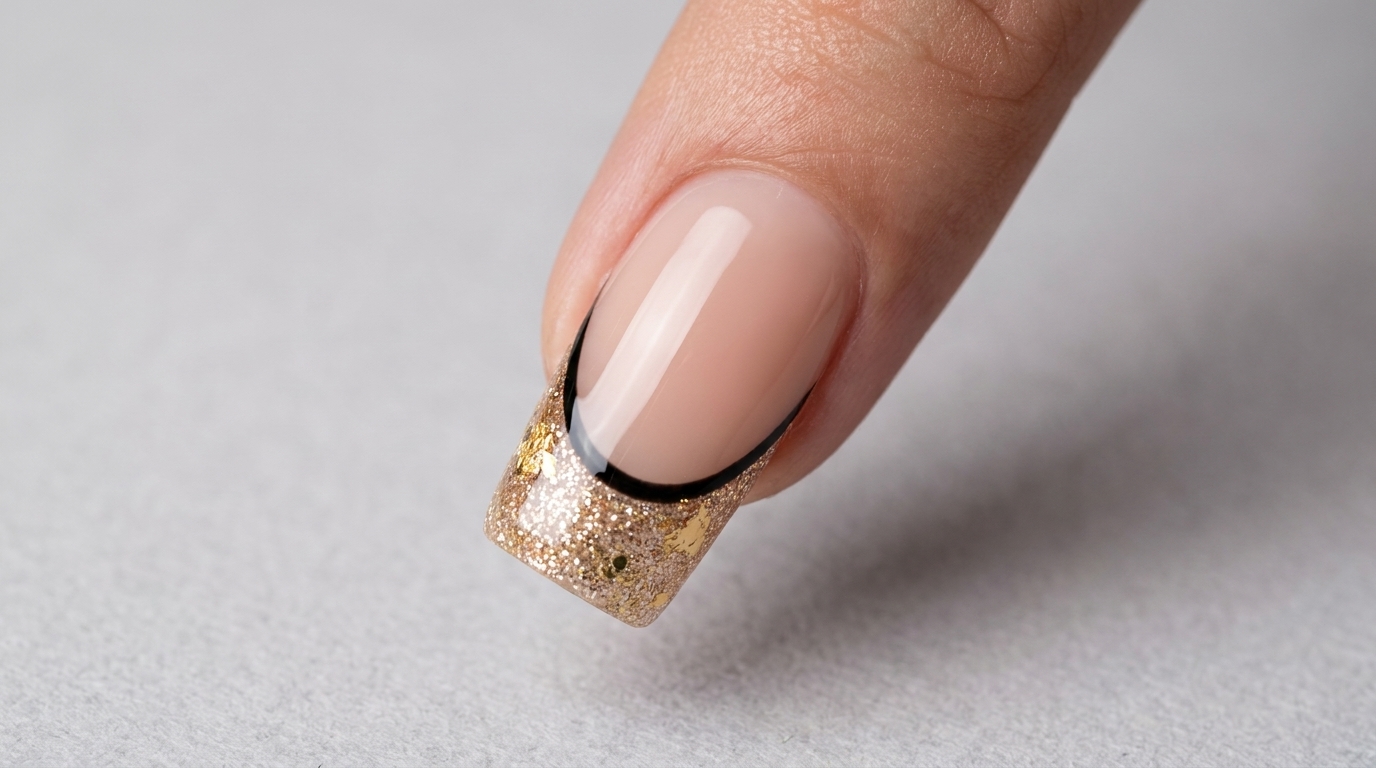
Create a stunning French gradient look at home using fine gold glitter, delicate gold foil flakes, and a crisp French outline sticker for an elegant finish.
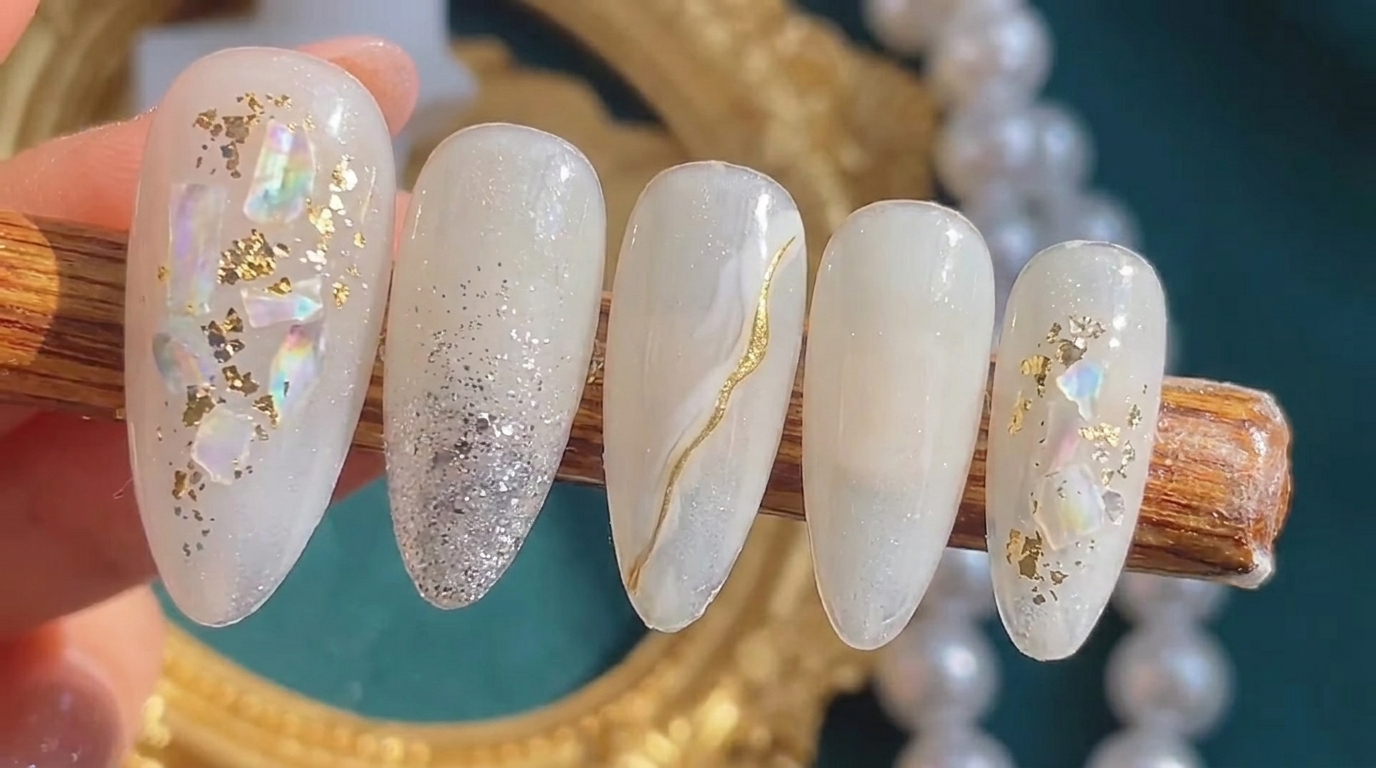
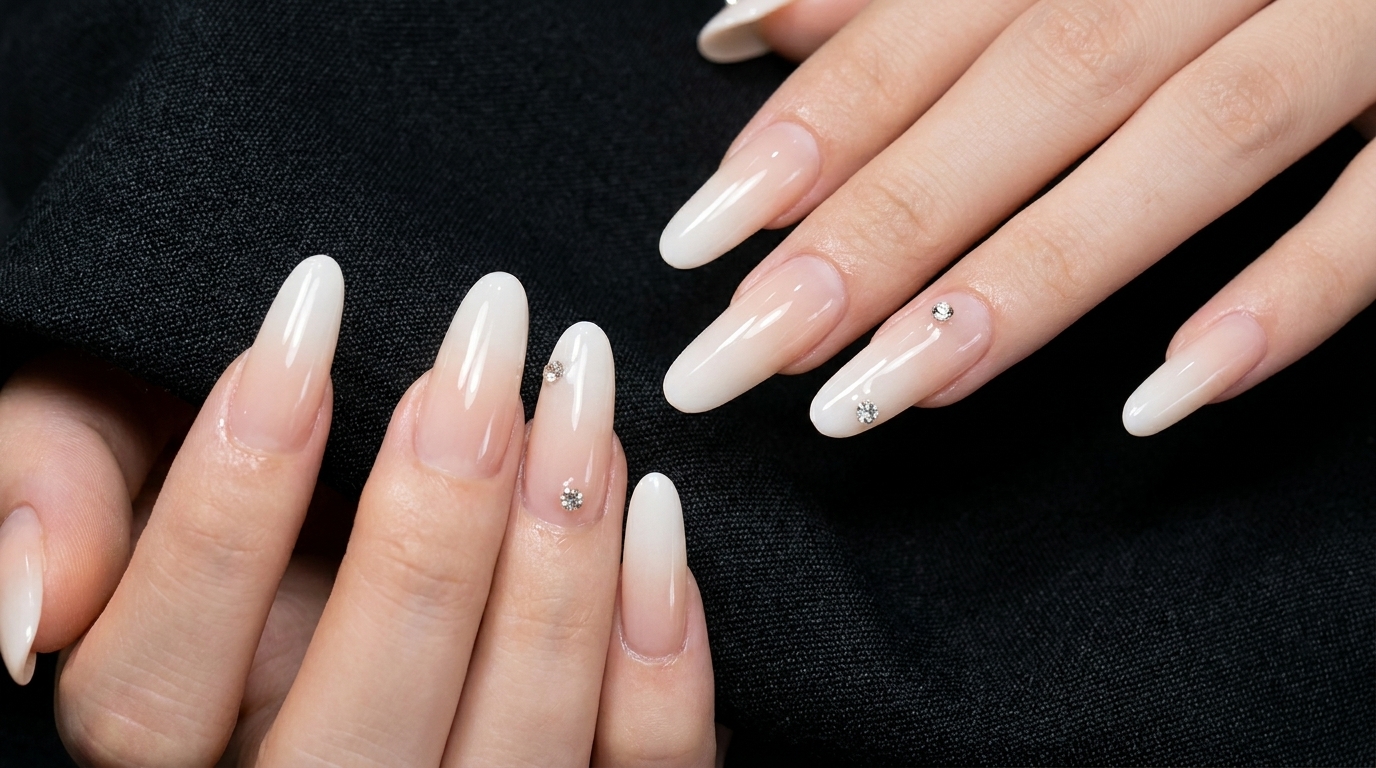
French manicures have evolved far beyond the classic white tip. This glamorous yet surprisingly simple look combines a soft nude base with a sparkling gold glitter gradient and luxurious gold foil accents. Using a nail sticker for the French curve ensures a perfect, crisp line every time, making this salon-quality design highly accessible even for beginners.
Steps
- 1Apply first layer of nude gel polish
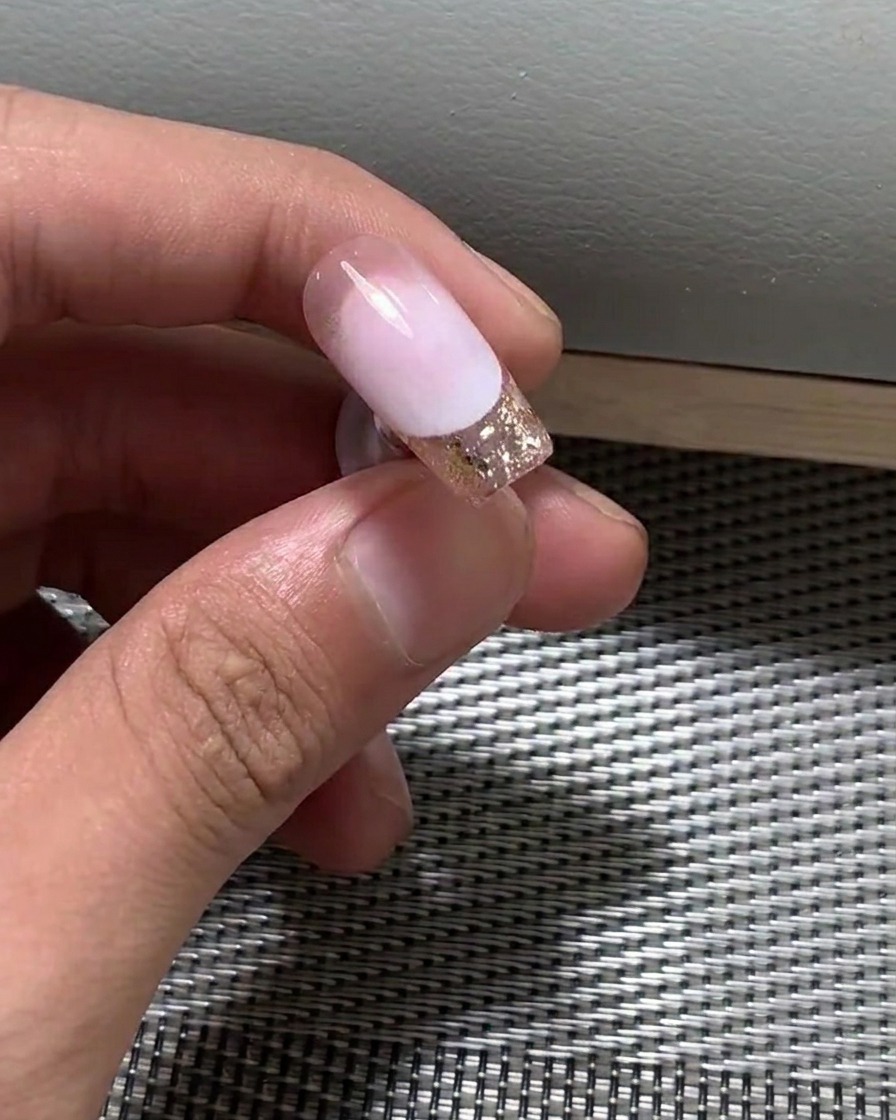
Apply an even, thin first layer of your chosen nude gel polish onto the nail. Ensure the coat is smooth and does not touch the skin around the cuticle area. This initial layer provides the foundation for the French style look.
Tip: Keep your layers thin to prevent bubbling and ensure proper curing. - 2Apply second layer of nude gel polish
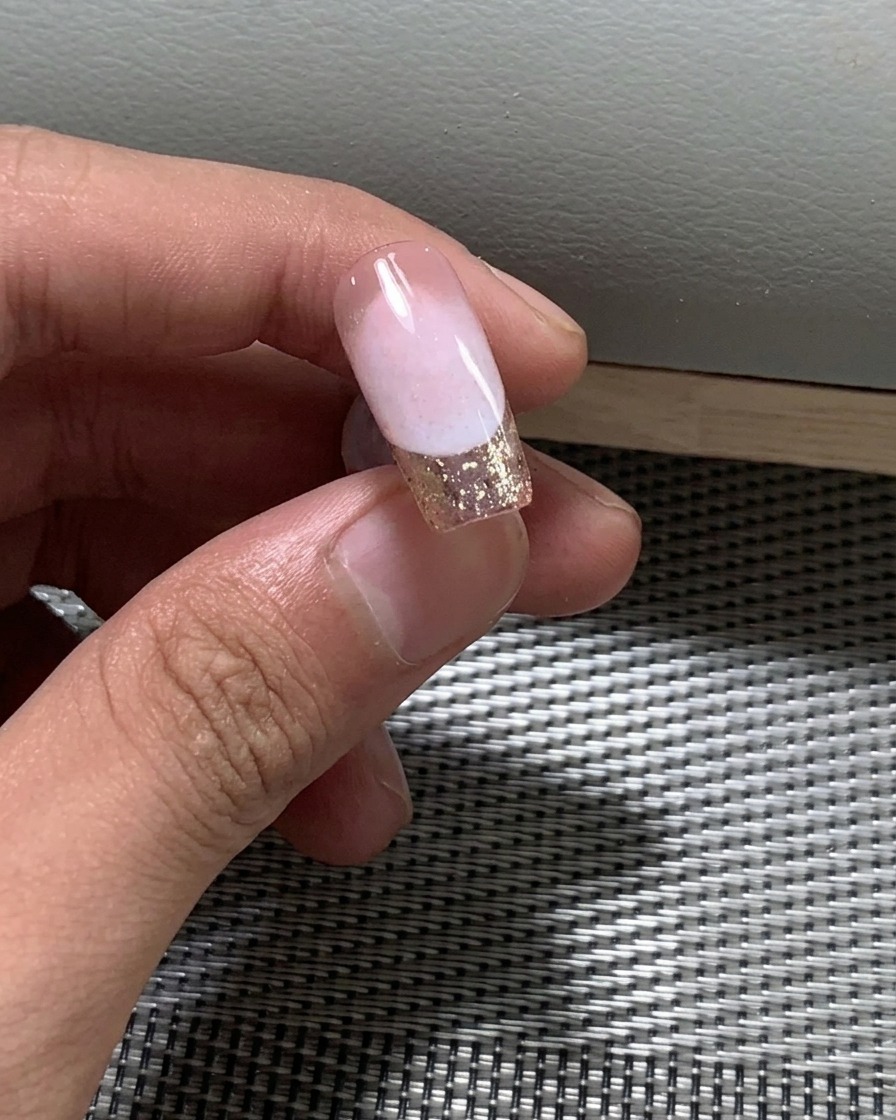
Apply the second layer of nude gel polish to achieve full opacity and a smooth finish. Ensure the polish is applied evenly across the entire surface of the nail. This layer adds depth and prepares the nail for the French style detailing.
Tip: Check the edges of the nail to ensure no polish has pooled before curing. - 3Cure the base layers
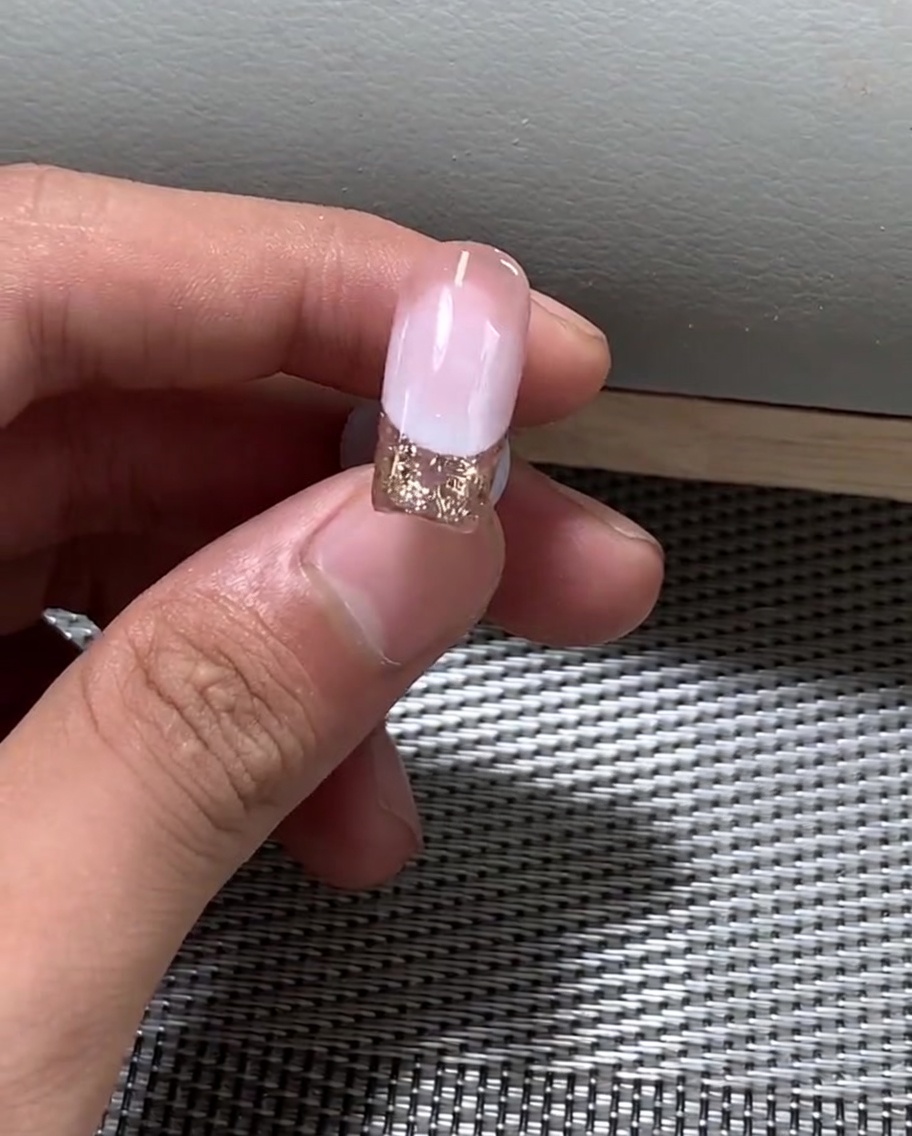
Place your hand under the UV or LED lamp to cure the nude gel polish layers. Follow the recommended curing time for your specific gel polish to ensure it sets completely and provides a durable base.
Tip: Ensure your fingers are positioned flat inside the lamp to get uniform light exposure on all nails. - 4Apply glitter to the nail tip
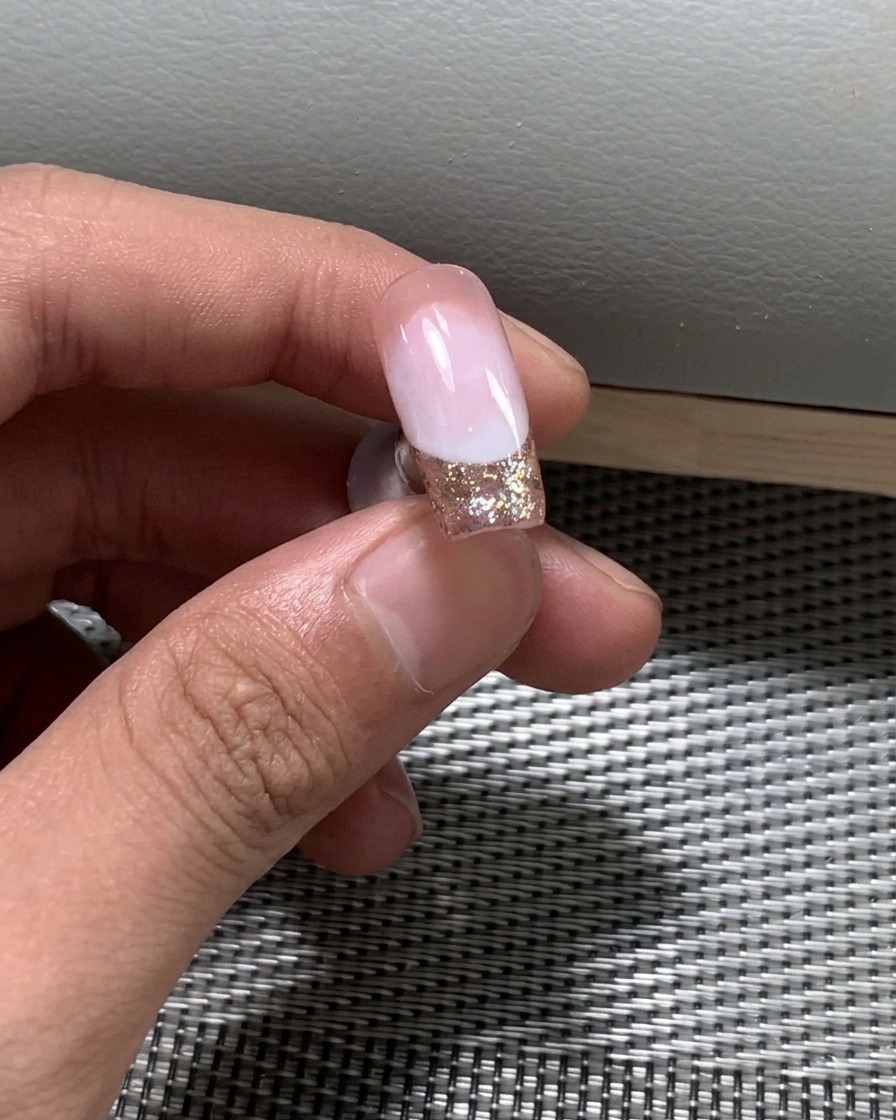
Carefully apply fine glitter polish to the tip of the nail. This will form the base of your French style tip, creating a sparkling and elegant finish.
Tip: Use a small brush for more control when applying glitter specifically to the tip area. - 5Create a glitter gradient
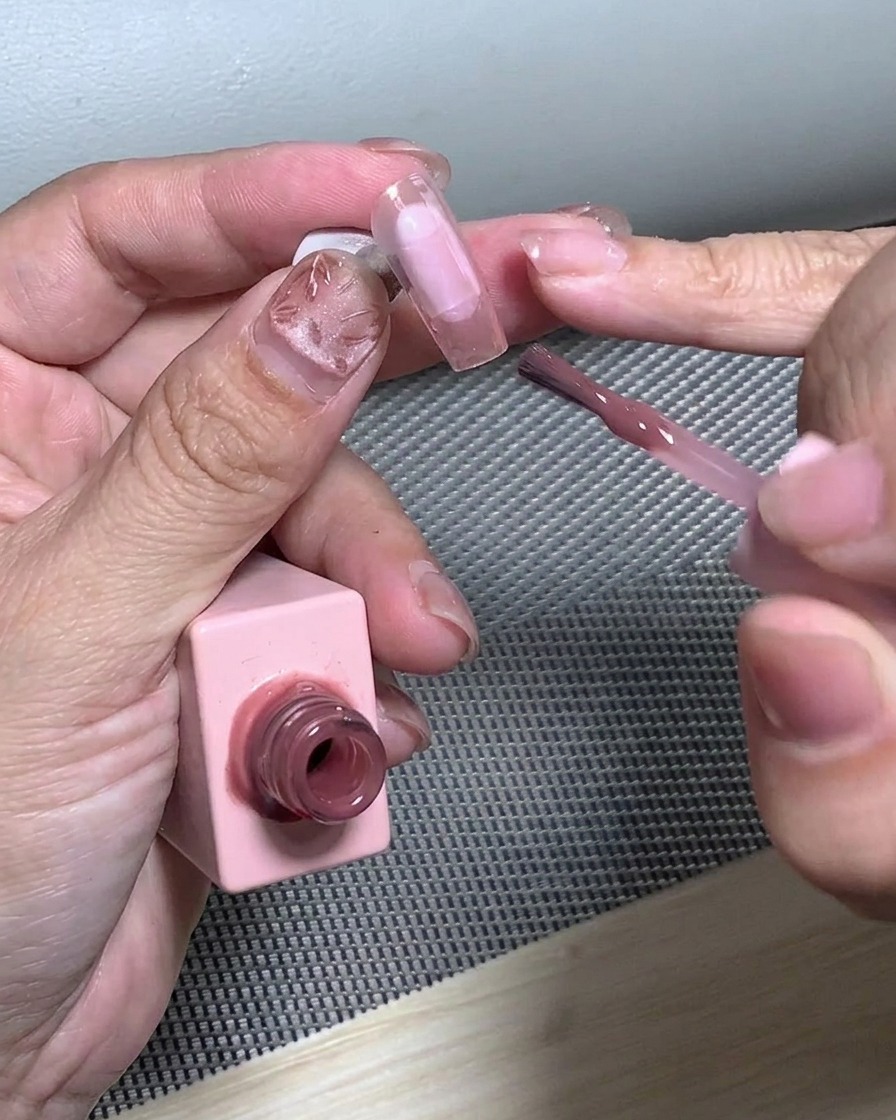
Using a clean nail brush, gently blend the glitter polish from the tip toward the center of the nail. This motion creates a soft gradient effect, ensuring the glitter transitions smoothly into the nude base.
Tip: Use light, dabbing motions with the brush to disperse the glitter without removing too much product. - 6Cure the glitter gradient
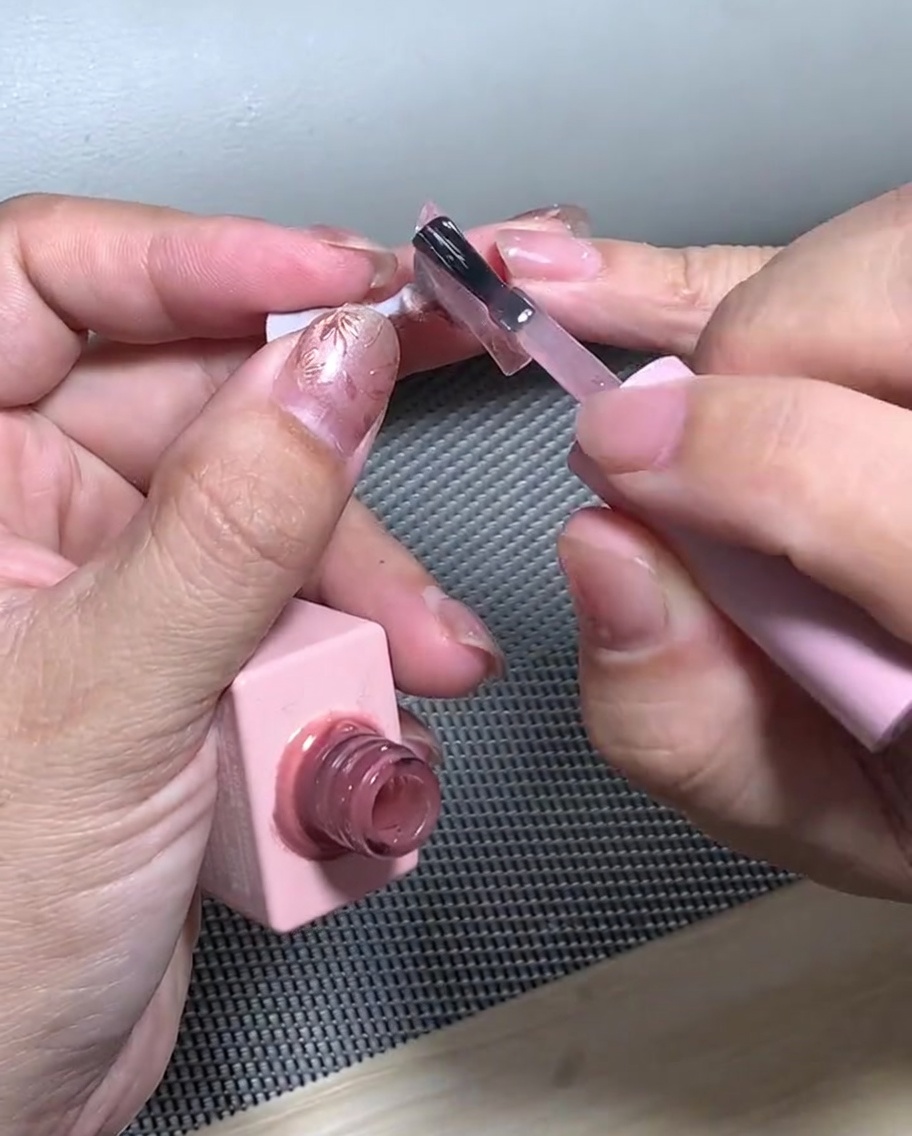
Once the glitter gradient is blended to your liking, place the nail under the UV or LED lamp to cure it. This locks the glitter in place, preventing it from smudging during the next steps of the manicure.
Tip: Ensure the gradient is fully cured before moving on to apply gold foil. - 7Apply gold foil
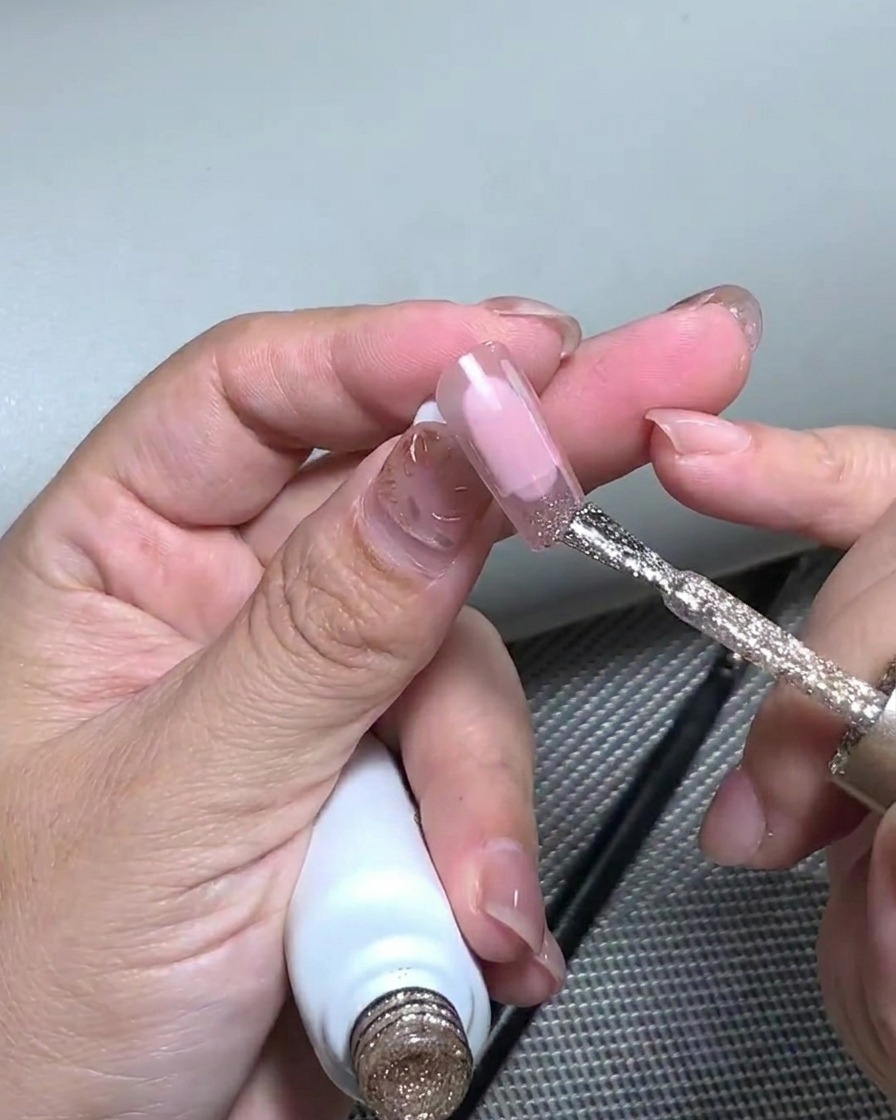
Using tweezers, carefully pick up small pieces of gold foil and place them onto the glitter-covered nail tip. This adds an elegant, textured detail to the French-inspired design.
Tip: Work in small sections to ensure the foil adheres properly to the tacky layer of the gel. - 8Press foil flat
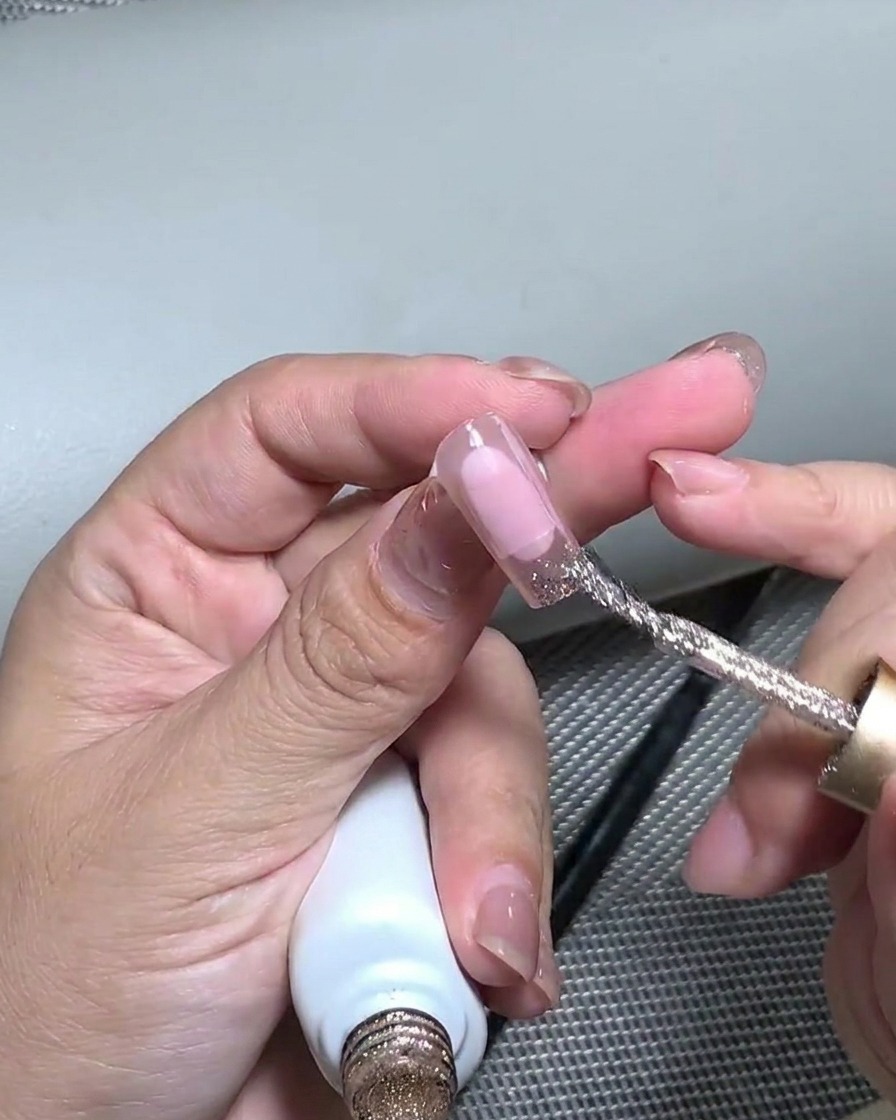
Using a silicone tool or the tip of a brush, gently press the gold foil pieces flat against the nail tip. This ensures the foil is securely embedded and lies smoothly before curing.
Tip: Pressing firmly helps eliminate air pockets and creates a seamless, gilded look. - 9Cure the gold foil
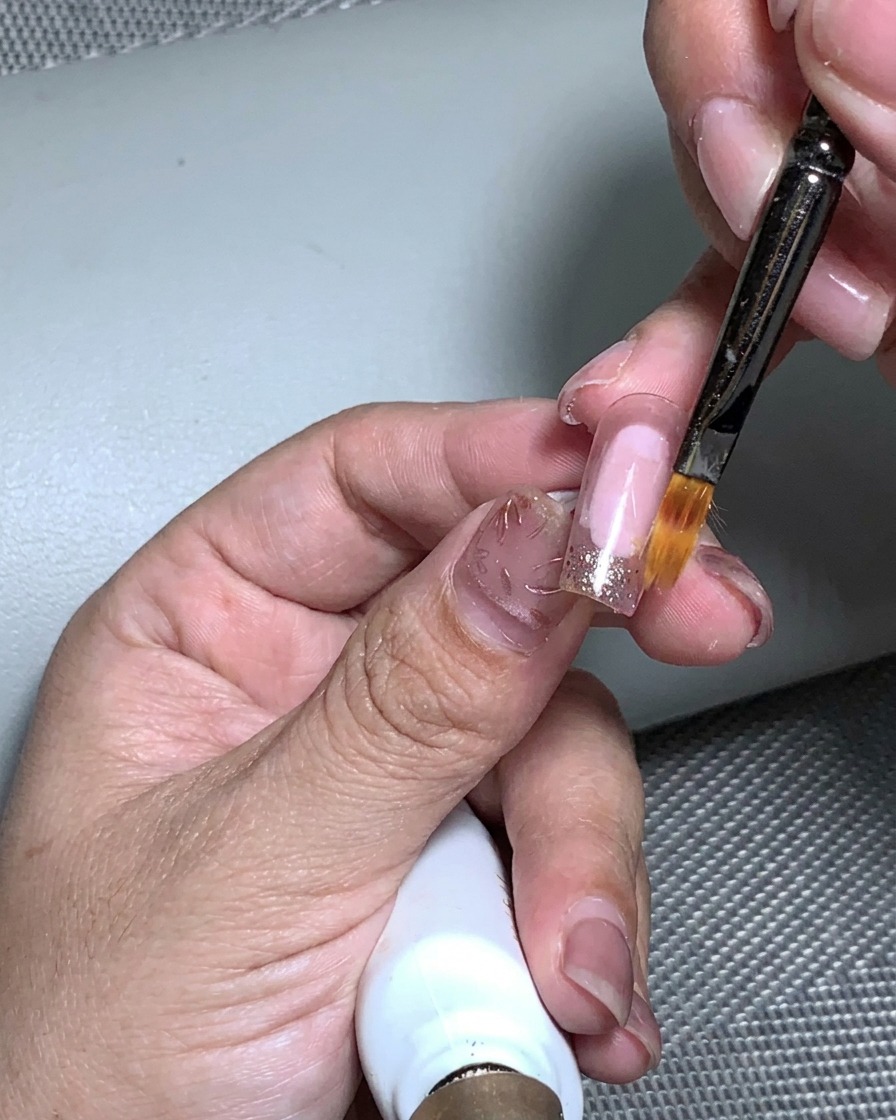
Place your nails under the UV/LED lamp and cure for the recommended time to set the gold foil securely onto the nail surface.
Tip: Ensure the nail is positioned directly under the light for an even cure. - 10Reinforce with structural gel
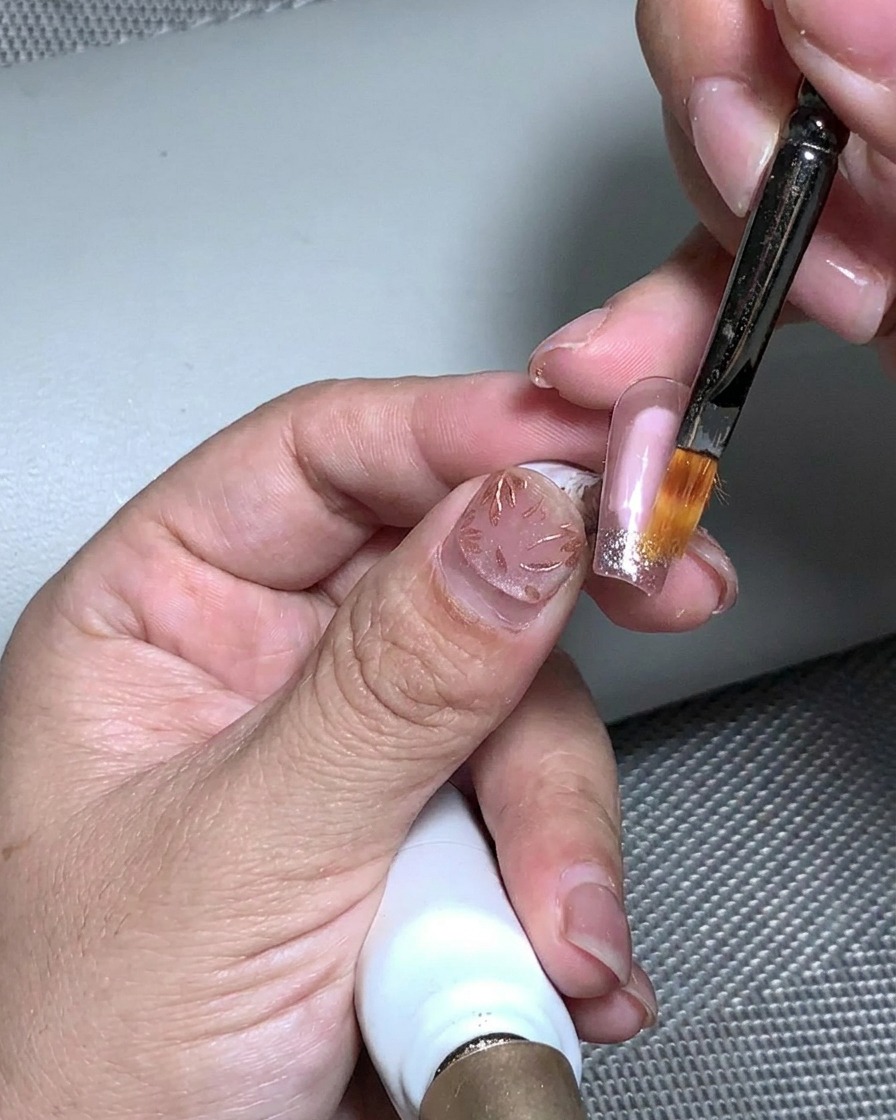
Apply a thin layer of structural gel over the entire nail, including the tip, to provide extra strength and protection for the nail art.
Tip: Structural gel acts as a base to smooth out any texture from the foil and glitter. - 11Cure the reinforcement layer
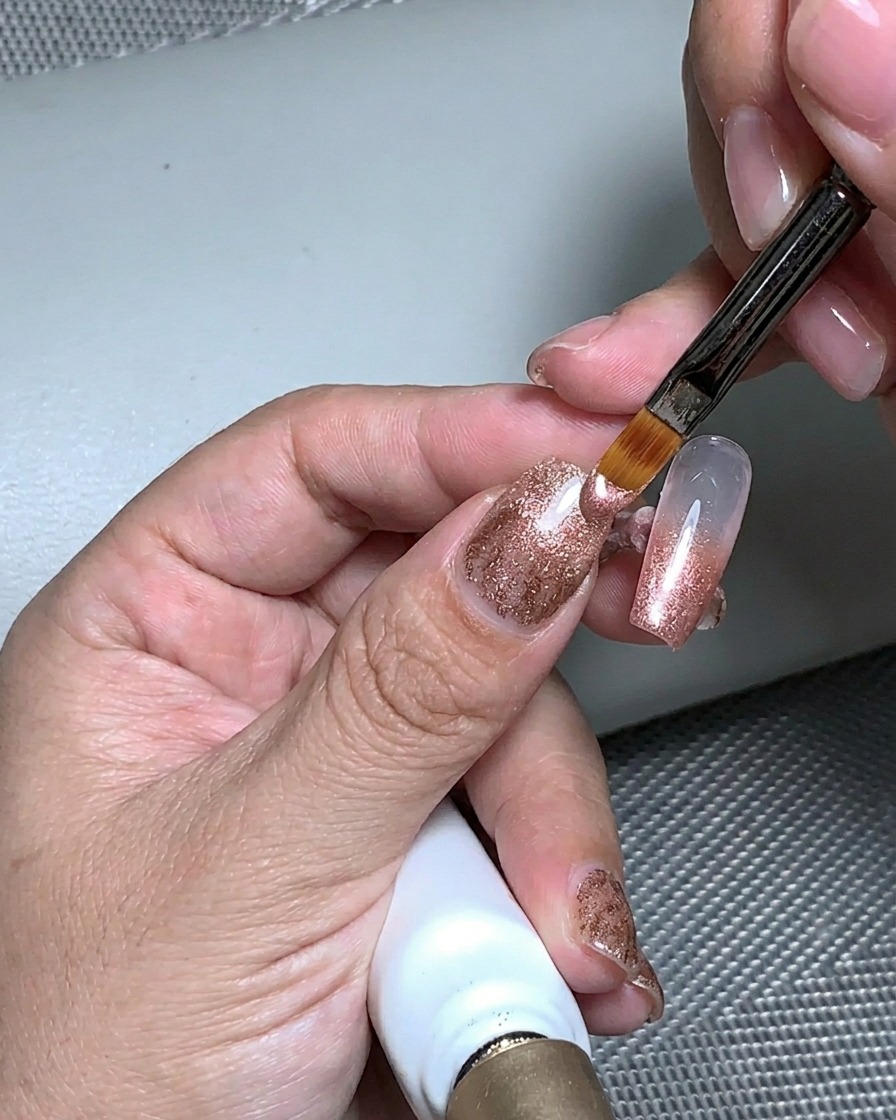
Place the nail under the UV/LED lamp to cure the structural gel, ensuring the reinforced layer is fully set and hardened.
Tip: A full cure ensures the nail remains durable and prevents chipping. - 12Buff the nail surface
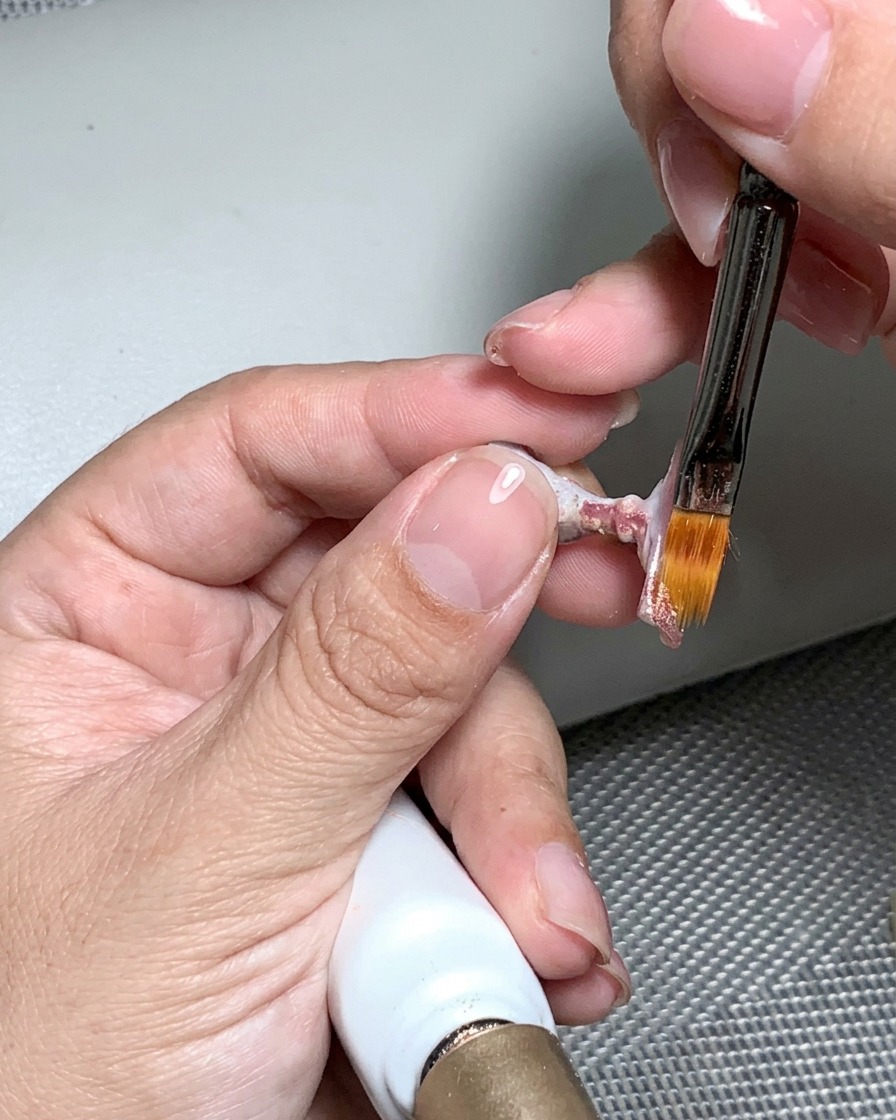
Use a nail file to gently buff the surface of the nail, smoothing out any unevenness caused by the glitter and gold foil for a perfectly flat finish.
Tip: Buff in light, circular motions to avoid damaging the underlying nail art. - 13Apply French nail sticker
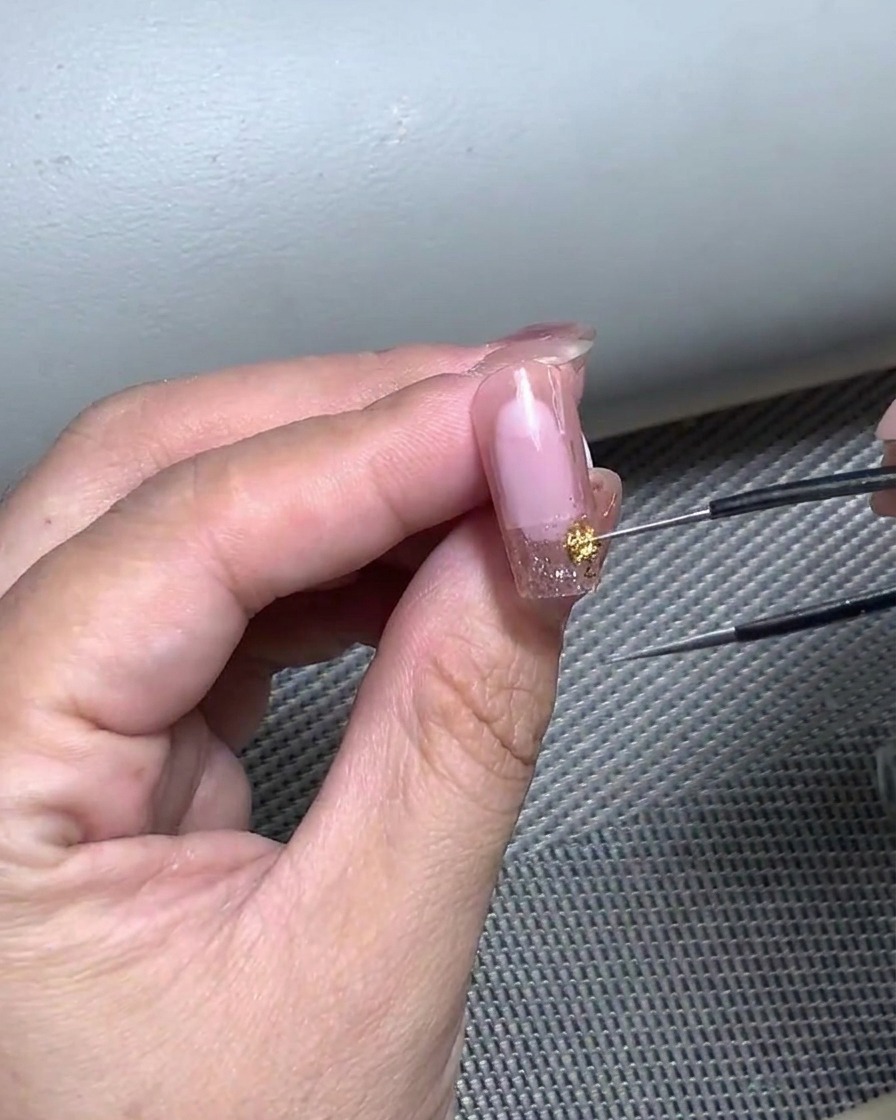
Using a pair of tweezers, carefully lift your chosen French tip sticker and place it onto the surface of the nail. Align the sticker precisely where you want the French line to begin, ensuring it is straight and centered.
Tip: If you struggle with placement, use the tweezers to lightly hover the sticker over the nail before committing to the final position. - 14Smooth the sticker
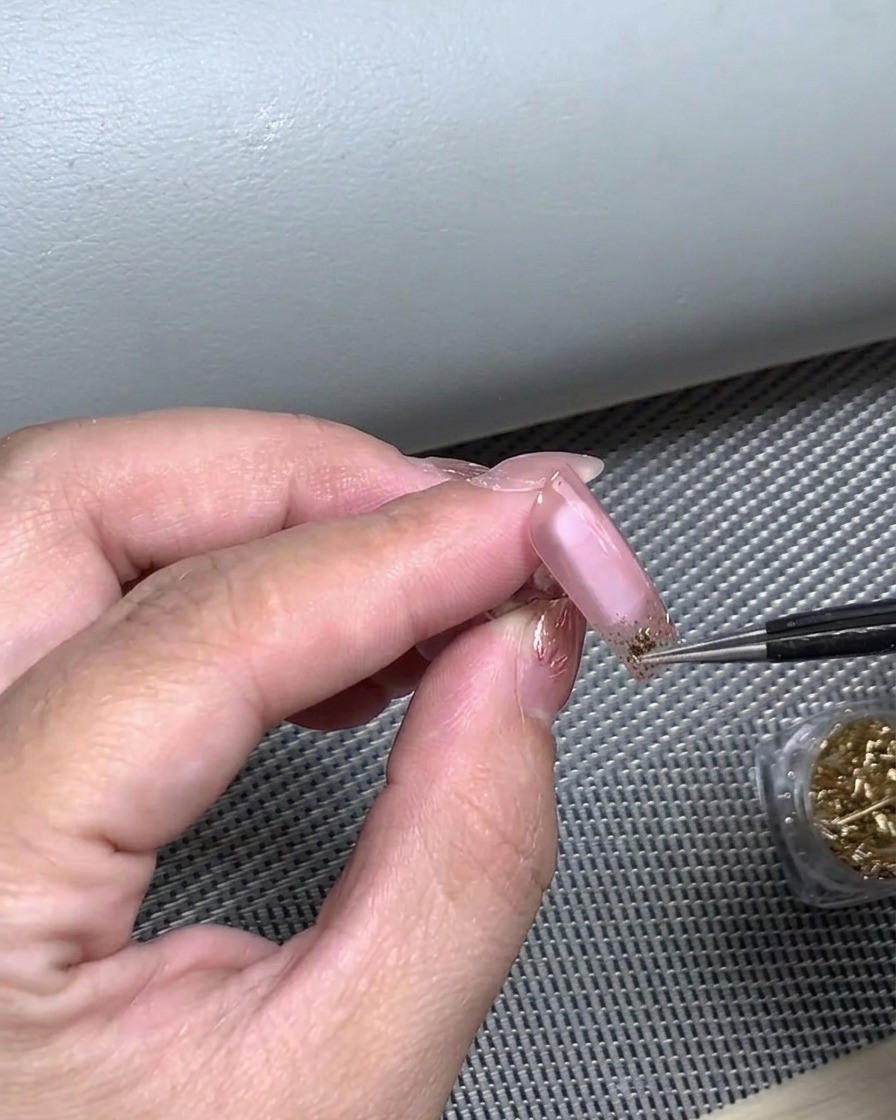
Once the sticker is positioned correctly, use your finger or a silicone tool to press it down firmly against the nail surface. Smooth from the center outward to remove any air bubbles or wrinkles, ensuring the edges are completely flush with the nail.
Tip: Ensuring the sticker is perfectly flat prevents gel from seeping underneath, which helps achieve a crisp, clean French line. - 15Create a gradient tip
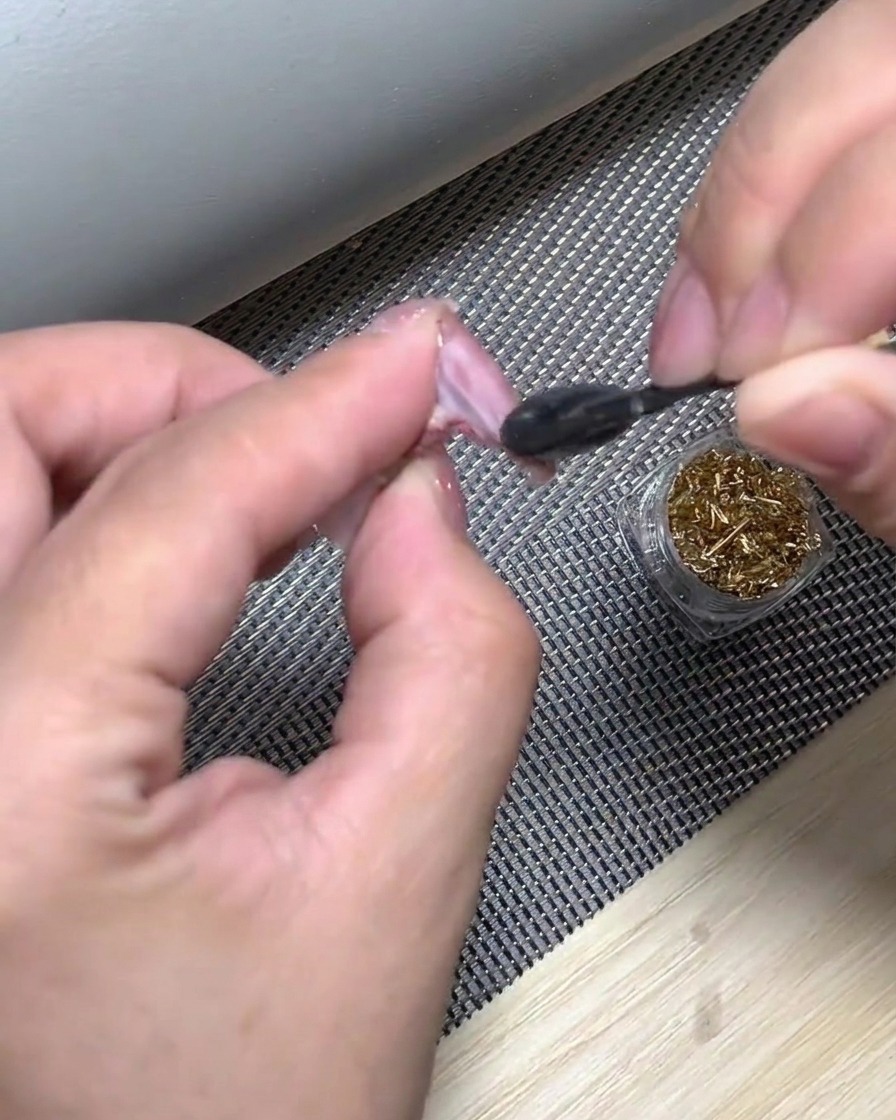
Apply a small amount of white, no-wipe gel polish to a makeup sponge. Gently dab the sponge onto the tip of the nail, focusing on the edge of the French sticker to create a soft, blurred gradient effect. Continue dabbing until you achieve the desired density and blend.
Tip: Dab lightly and build up the white color slowly; too much product at once can create a thick, uneven layer that is difficult to cure properly. - 16Cure the gradient
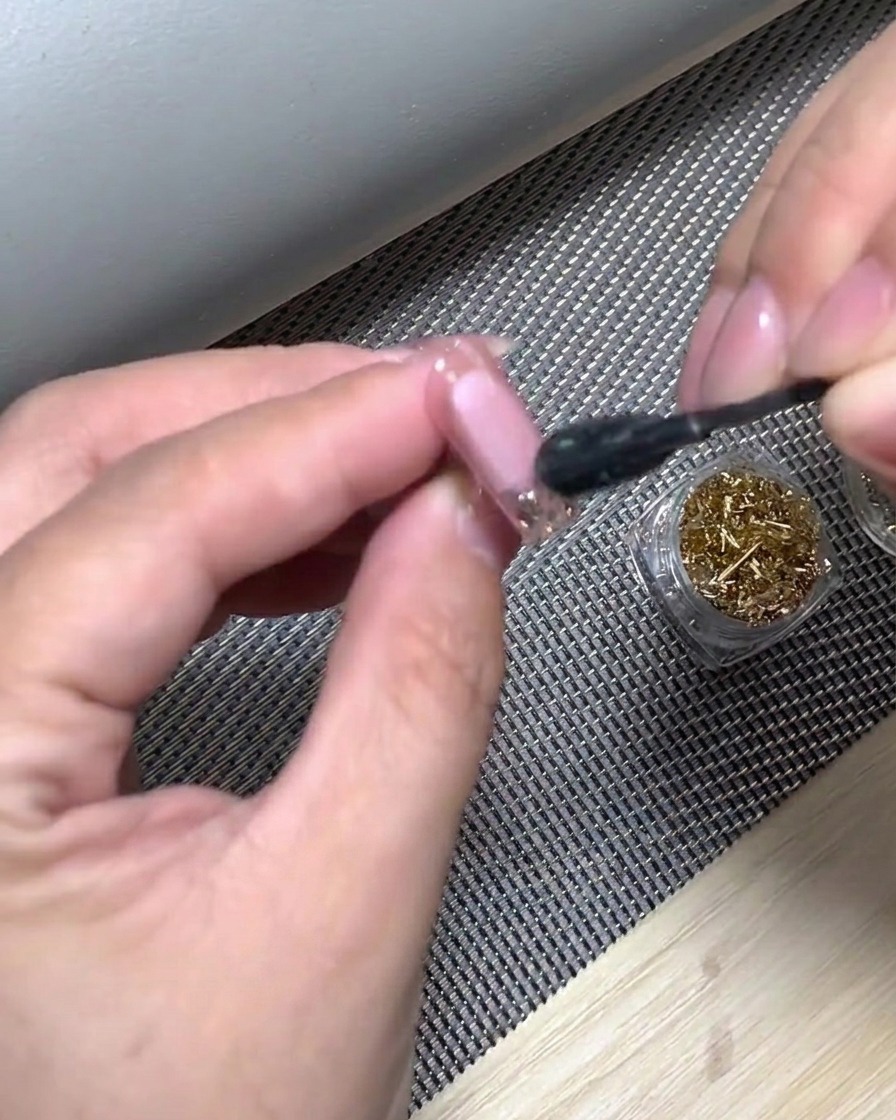
Once you are satisfied with the white gradient effect, place your hand under the UV or LED lamp. Cure for the manufacturers recommended time to ensure the white gel is fully set before proceeding to the final steps.
Tip: Ensure your hand is placed flat inside the lamp to get even light distribution across all nail tips. - 17Apply top coat
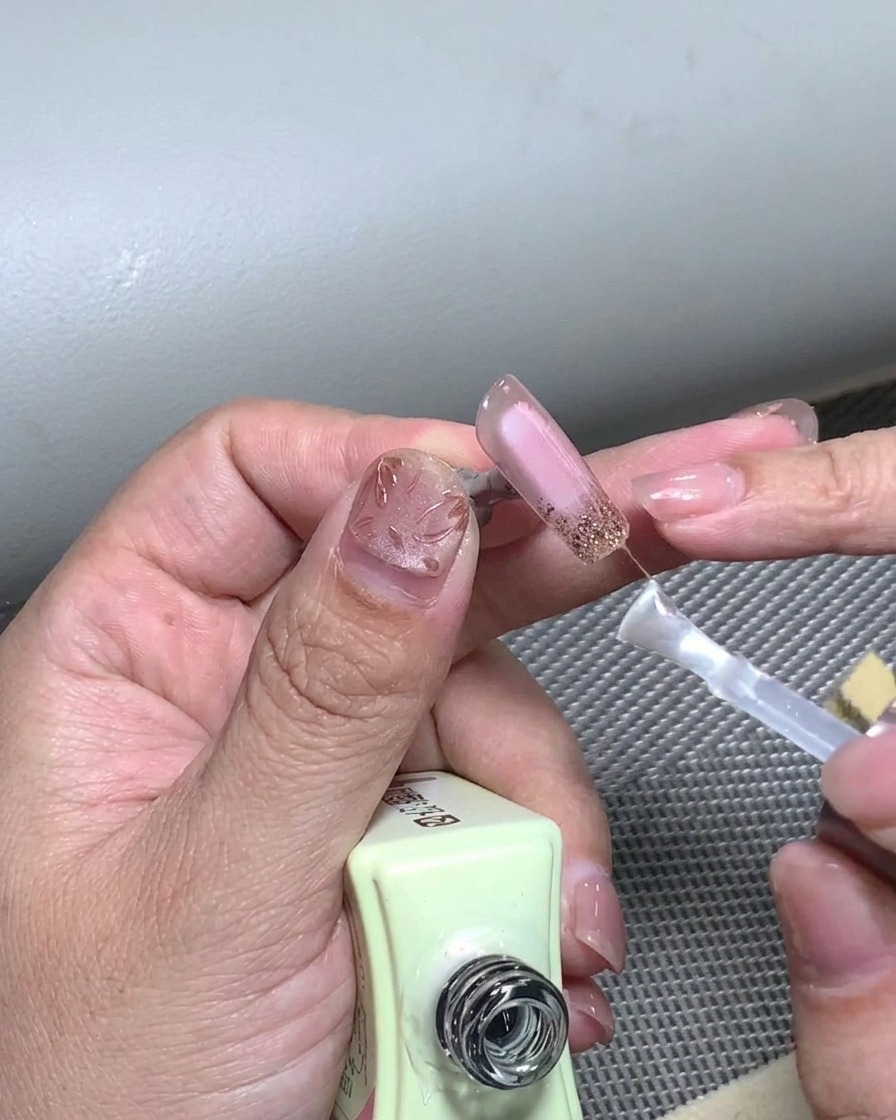
Apply a generous, even layer of top coat over the entire surface of the nail, ensuring you cover the French sticker and the gradient area. Cap the free edge to seal the design and provide extra durability and shine.
Tip: Applying a top coat seals in the nail art, protects against chipping, and levels out any texture from the stickers or glitter. - 18Final cure
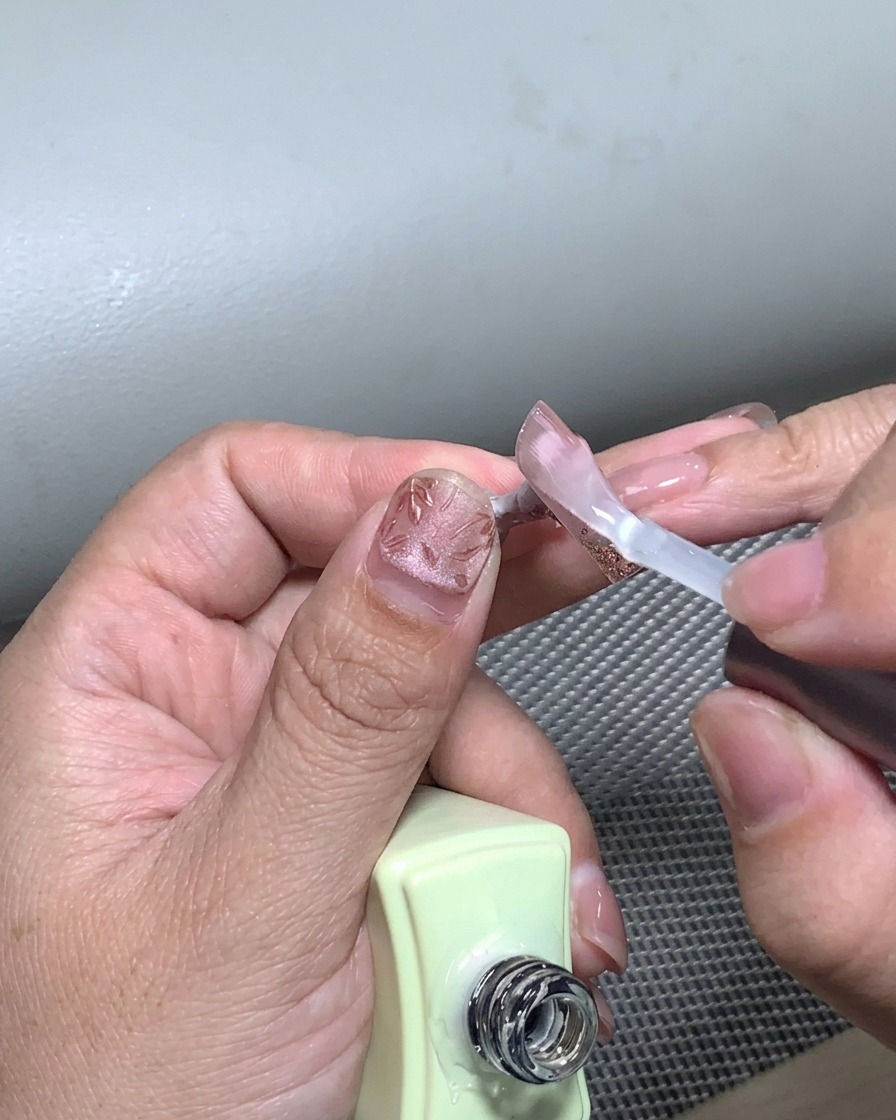
Place your hand back into the UV or LED lamp for a final cure. This will harden the top coat, providing a long-lasting, glossy finish to your completed French style manicure.
Tip: Do not skip the final cure time, as it is essential for the durability of the top coat and the overall longevity of your manicure.