Translucent Fairy Style Nail Art — Beginner Step-by-Step Tutorial
Create a dreamy, fairy-inspired manicure with this beginner-friendly tutorial. Learn how to combine translucent white gel, iridescent shells, gold foil, and silver glitter for an ethereal, elegant finish.
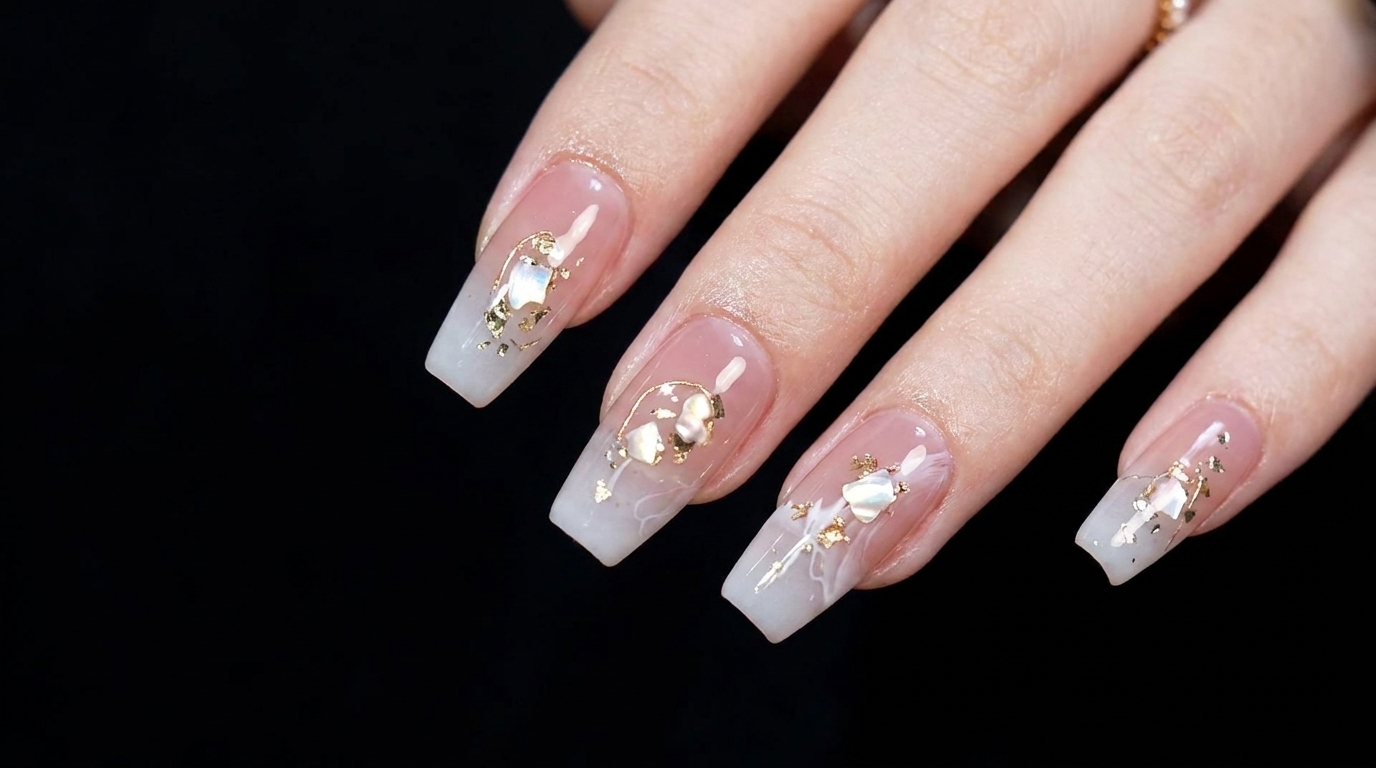
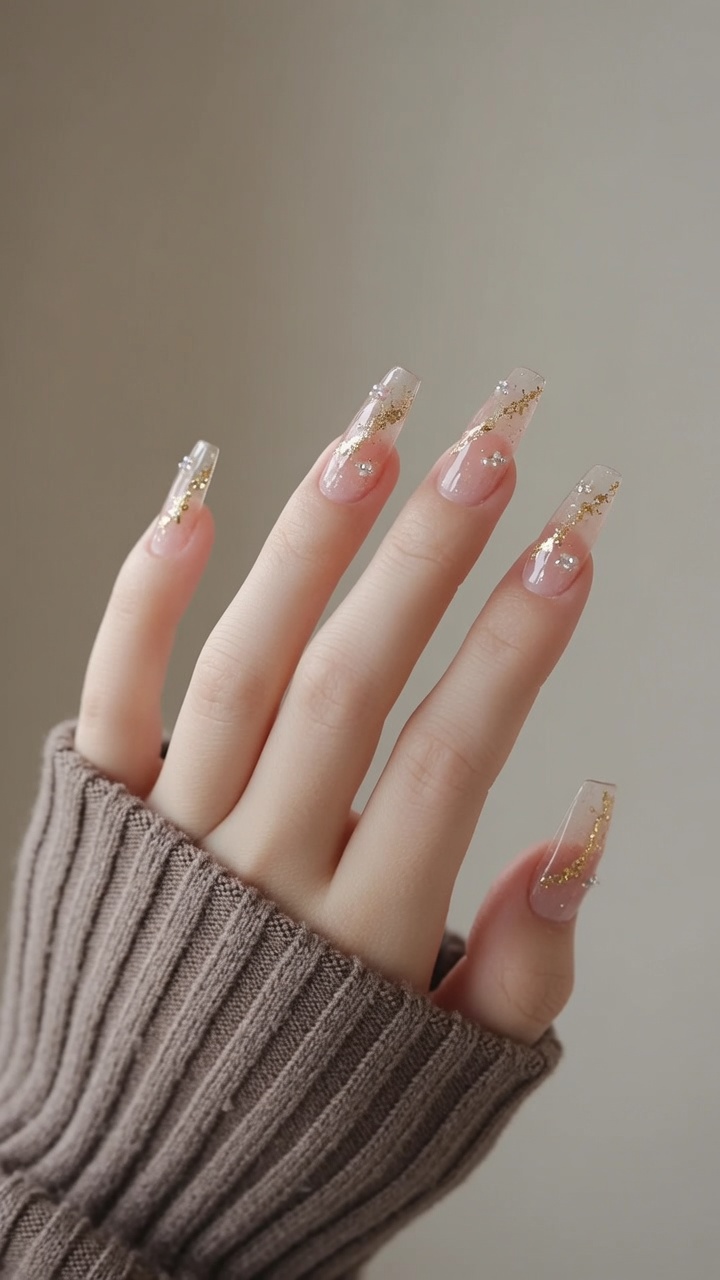
Fairy-core aesthetics have taken the nail world by storm, offering a delicate, magical vibe that is surprisingly easy to achieve. By mixing simple techniques like glitter gradients, hand-painted metallic swirls, and textured shell placements over a milky translucent base, you can craft a sophisticated multi-dimensional set. This tutorial breaks down each fingers unique design so even beginners can recreate this ethereal look at home.
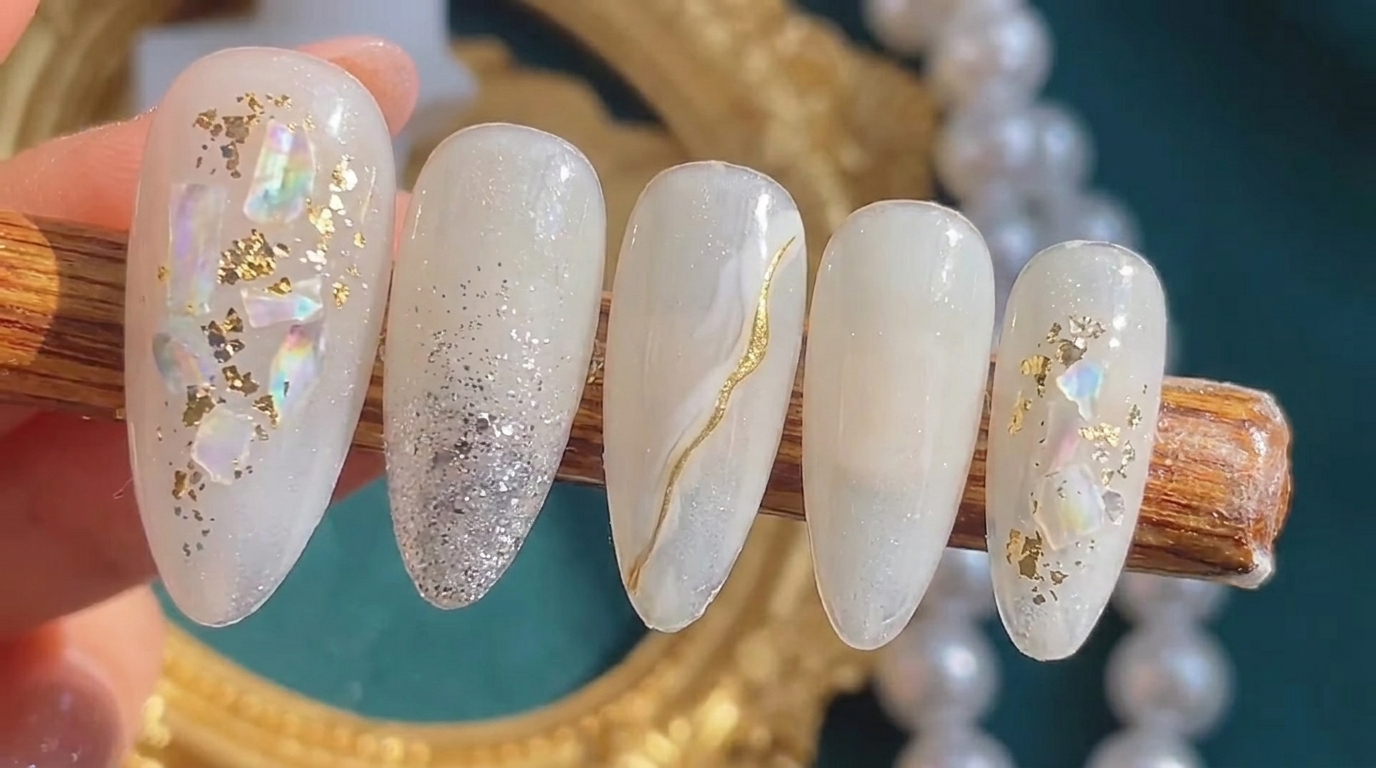
Steps
- 1Apply translucent white base coat
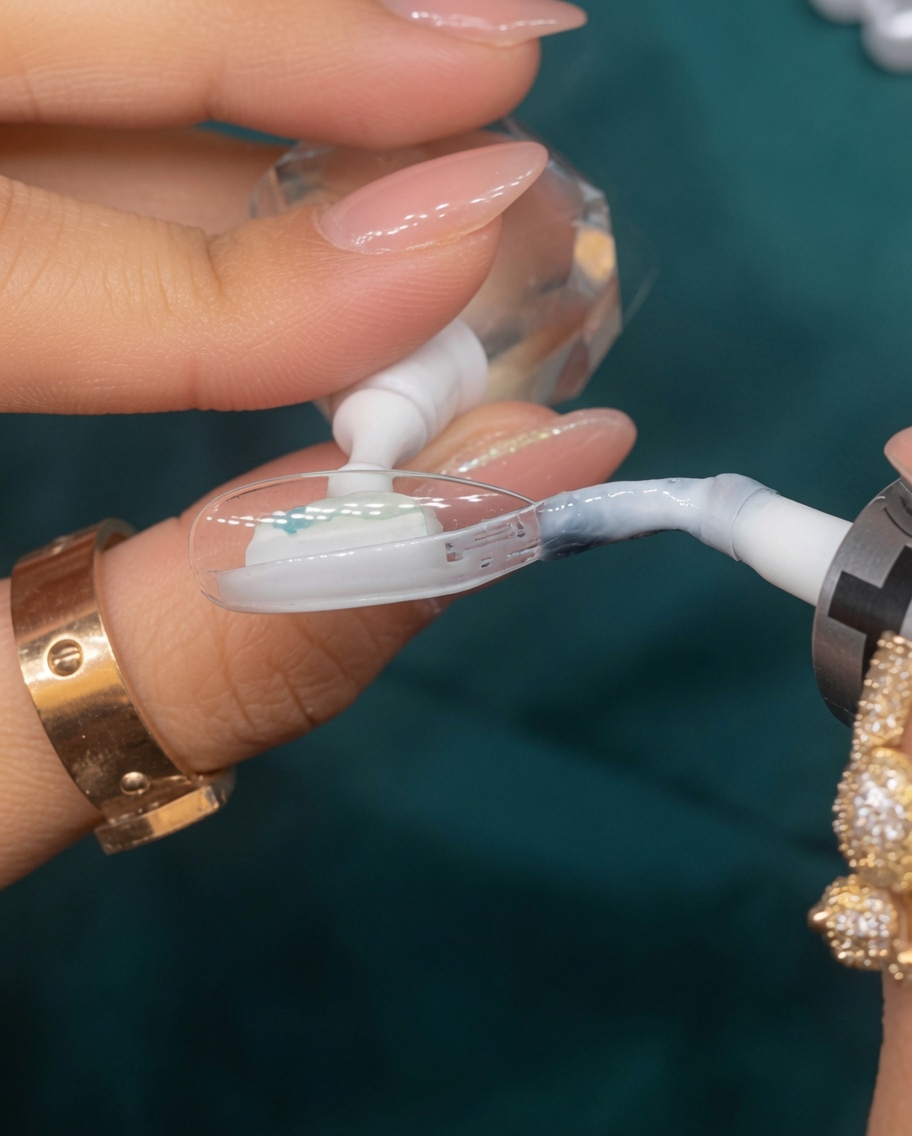
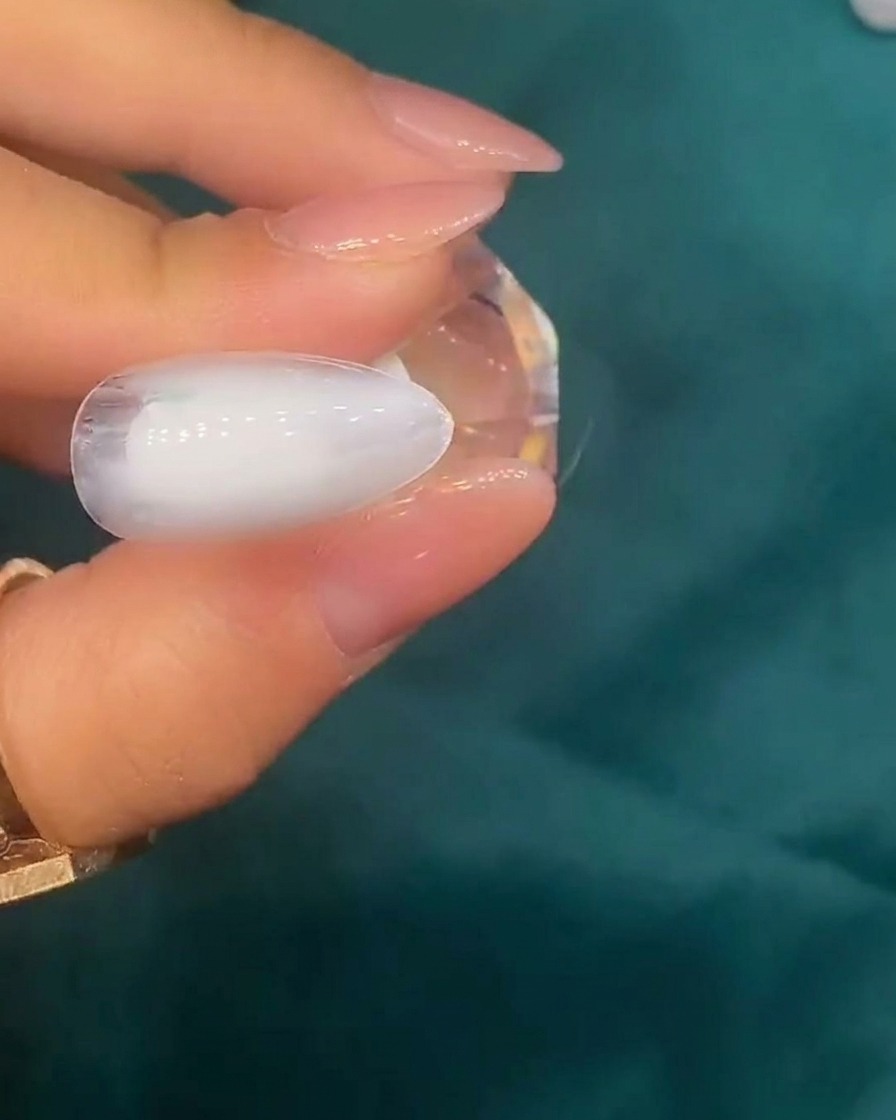
Apply a thin layer of translucent white gel base coat to the nail tip to create a clean, fairy-like foundation. Ensure the edges are coated evenly and cure under your UV or LED lamp.
Tip: Keep the layer thin to maintain the translucent, delicate effect. - 2Add iridescent shell pieces
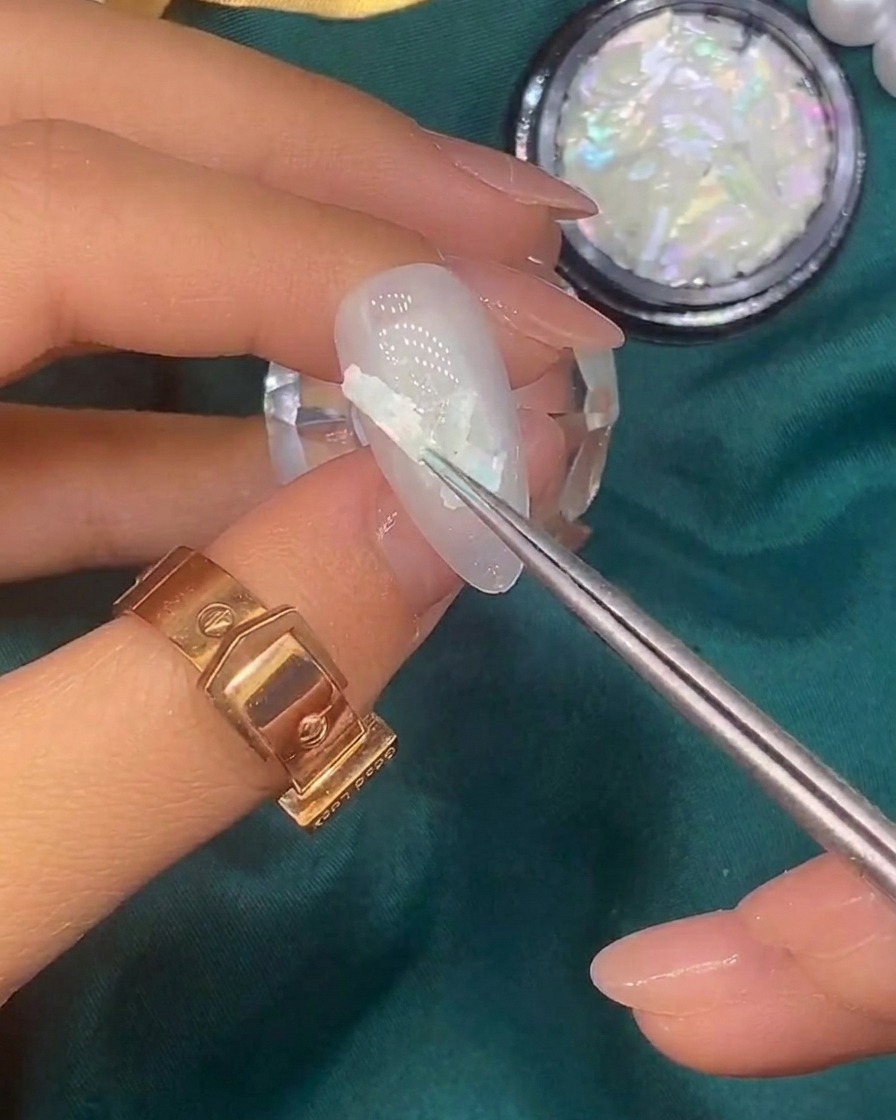
Using tweezers, carefully pick up iridescent shell pieces and place them onto the tacky surface of the white base coat. Arrange them to create a subtle, shimmering, fairy-like texture.
Tip: Use a dotting tool or your tweezers to press the edges of the shell pieces down so they sit flat. - 3Apply gold foil accents
Gently apply small gold foil flakes over the shell pieces using a small brush. These accents add a touch of luxury and sparkle to the design.
Tip: A little goes a long way; place the foil sparingly to maintain the minimalist fairy aesthetic. - 4Apply white base to the second nail
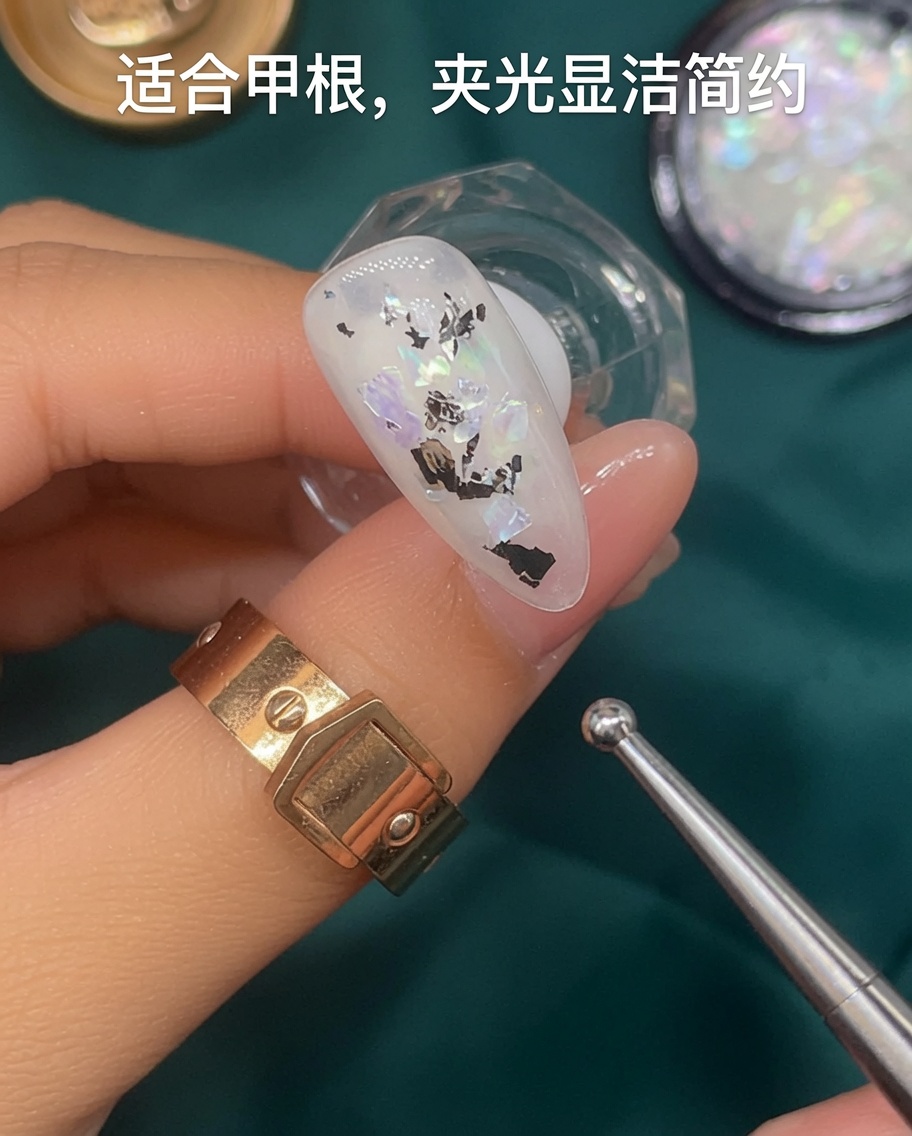
Apply a uniform layer of translucent white gel to the second nail. This provides a clean, simple look that balances the more decorative nails in the set.
Tip: Apply slowly to ensure a smooth, streak-free finish. - 5Apply base to the third nail
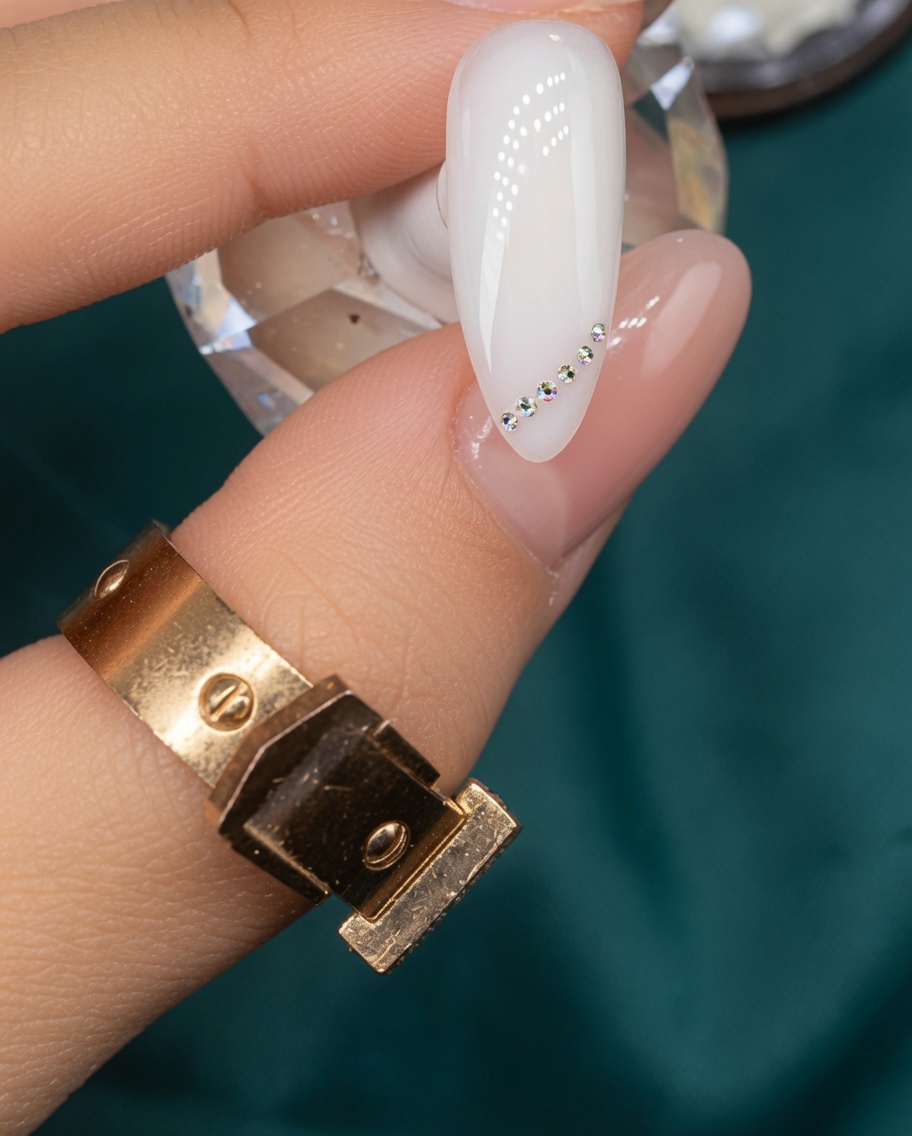
Apply the translucent white base coat to the third nail, creating the same consistent foundation as the other nails before adding the gradient design.
Tip: Ensure the base is even to allow the glitter to blend properly. - 6Create a silver glitter gradient
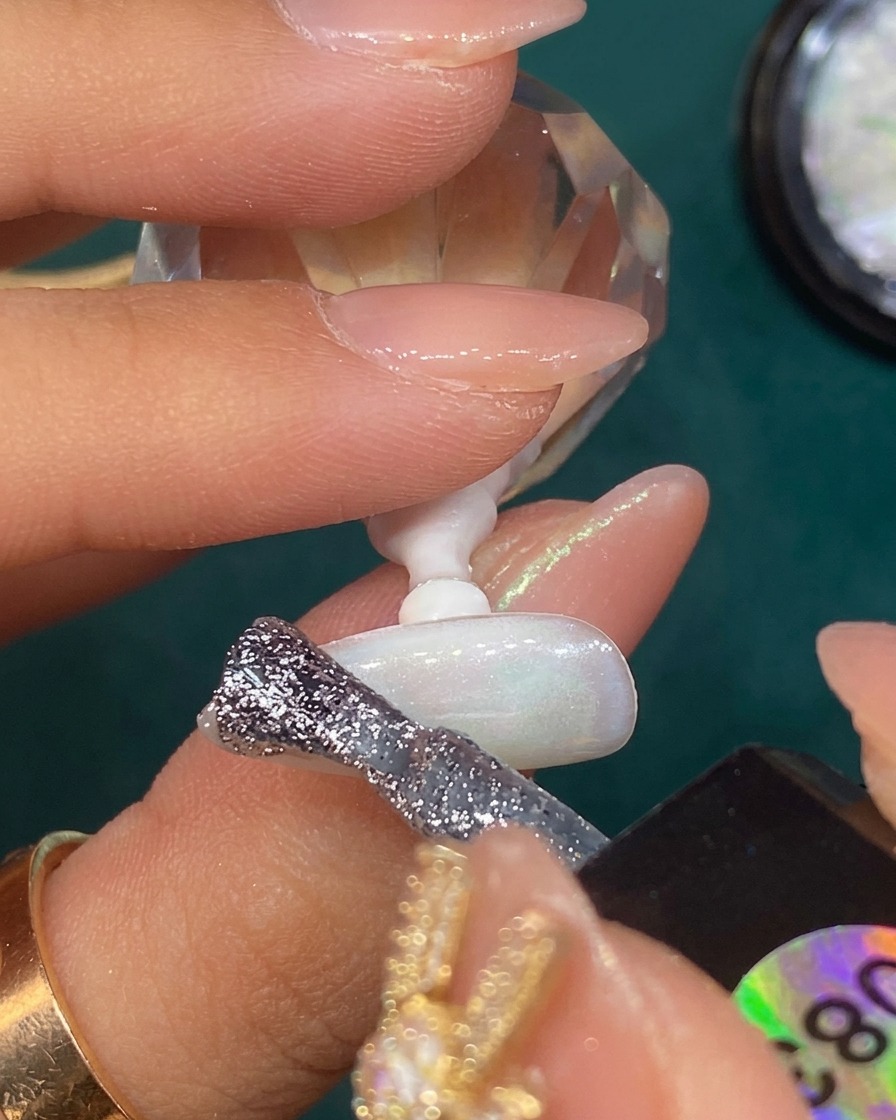
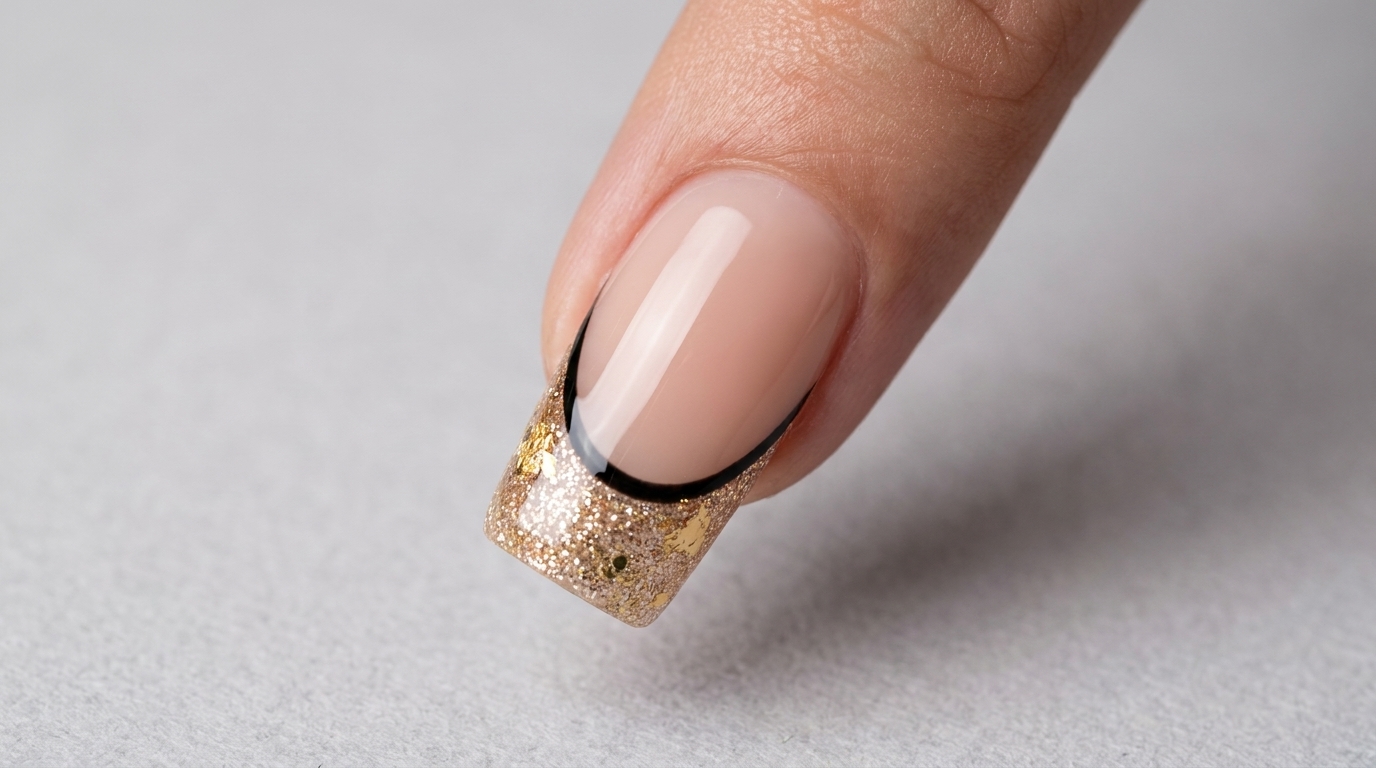
Apply silver glitter gel to the tip of the third nail and gently blend it upward toward the center to create a soft, fairy-like gradient effect.
Tip: Use a light hand when blending to keep the glitter concentrated at the tip. - 7Add silver foil accents
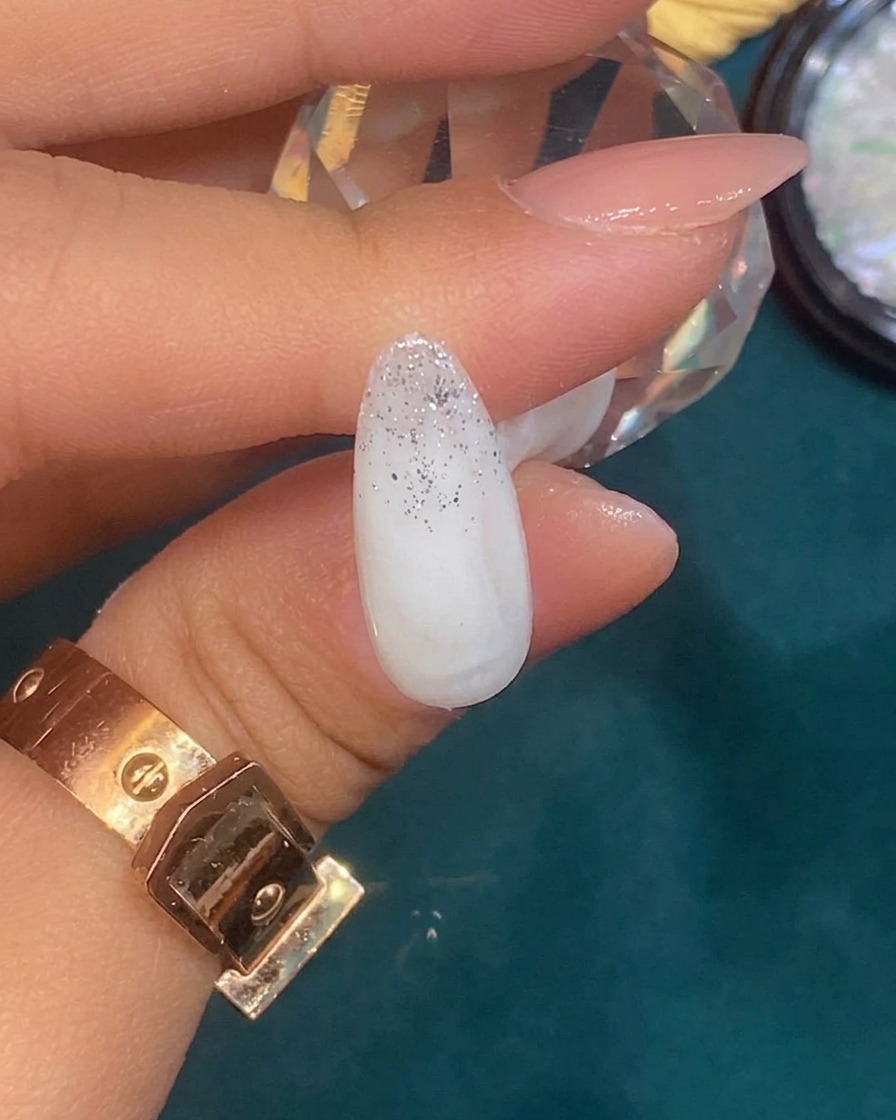
Carefully place small pieces of silver foil onto the gradient area of the third nail while the gel is still tacky. Use tweezers for precise placement to achieve a delicate, fairy-like sparkle that enhances the silver glitter effect.
Tip: Apply the foil while the gel is slightly uncured to ensure it adheres properly before the final top coat. - 8Apply translucent white base
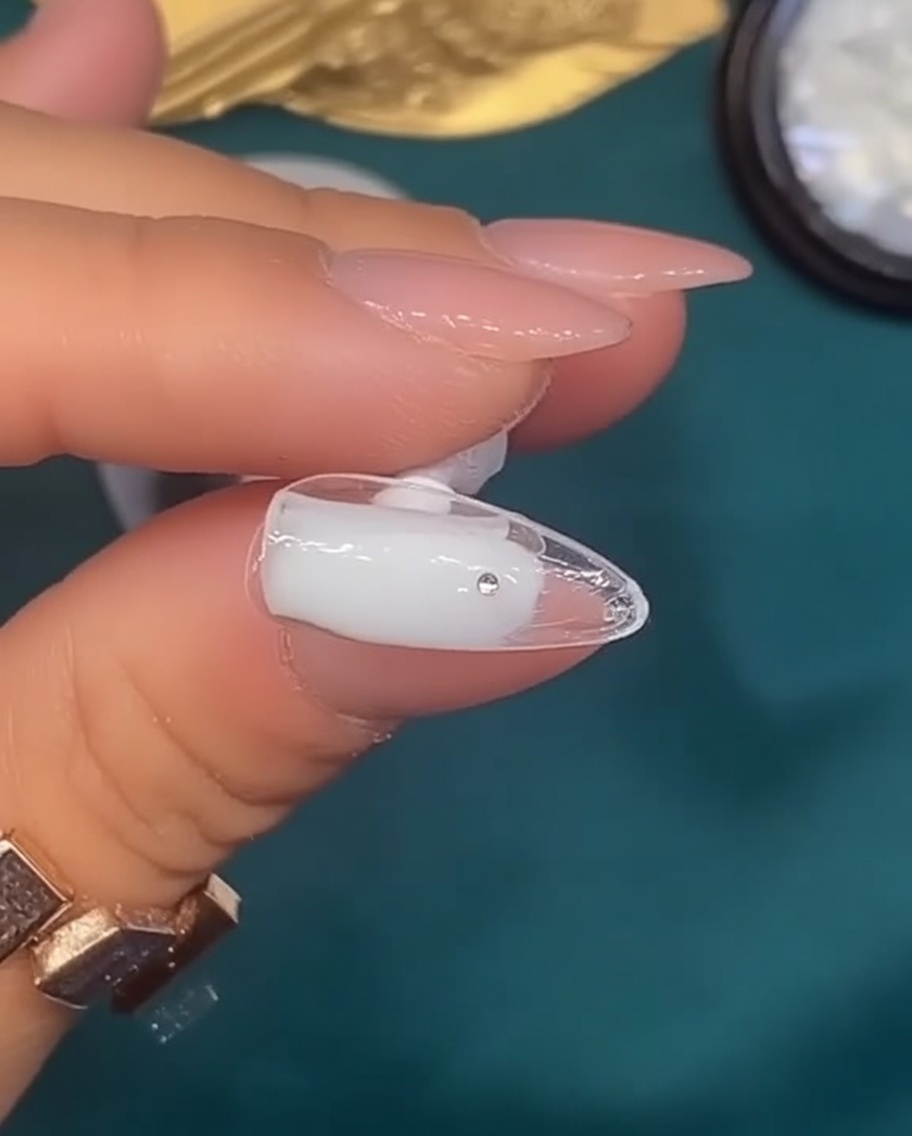
Apply a thin, even layer of translucent white gel polish to the fourth nail. This serves as the foundation for the upcoming blended design, creating a soft, milky look.
Tip: Ensure the layer is thin to maintain the translucent quality of the white gel. - 9Blend the gel effect
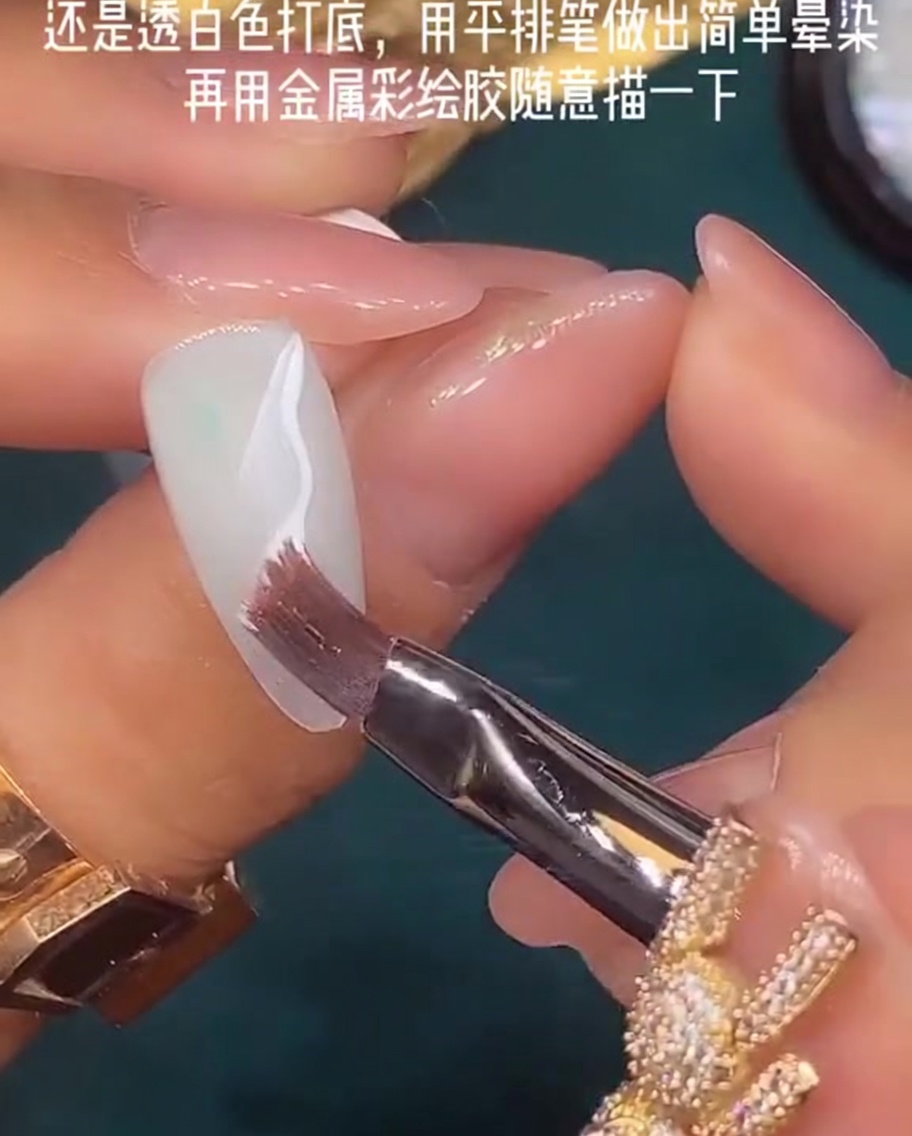
Using a flat brush, gently blend the white gel on the fourth nail to create a smooth, subtle transition. This technique helps achieve the soft, ethereal look characteristic of this design.
Tip: Use light, sweeping motions with your brush to avoid lifting the product while blending. - 10Add metallic swirl accents
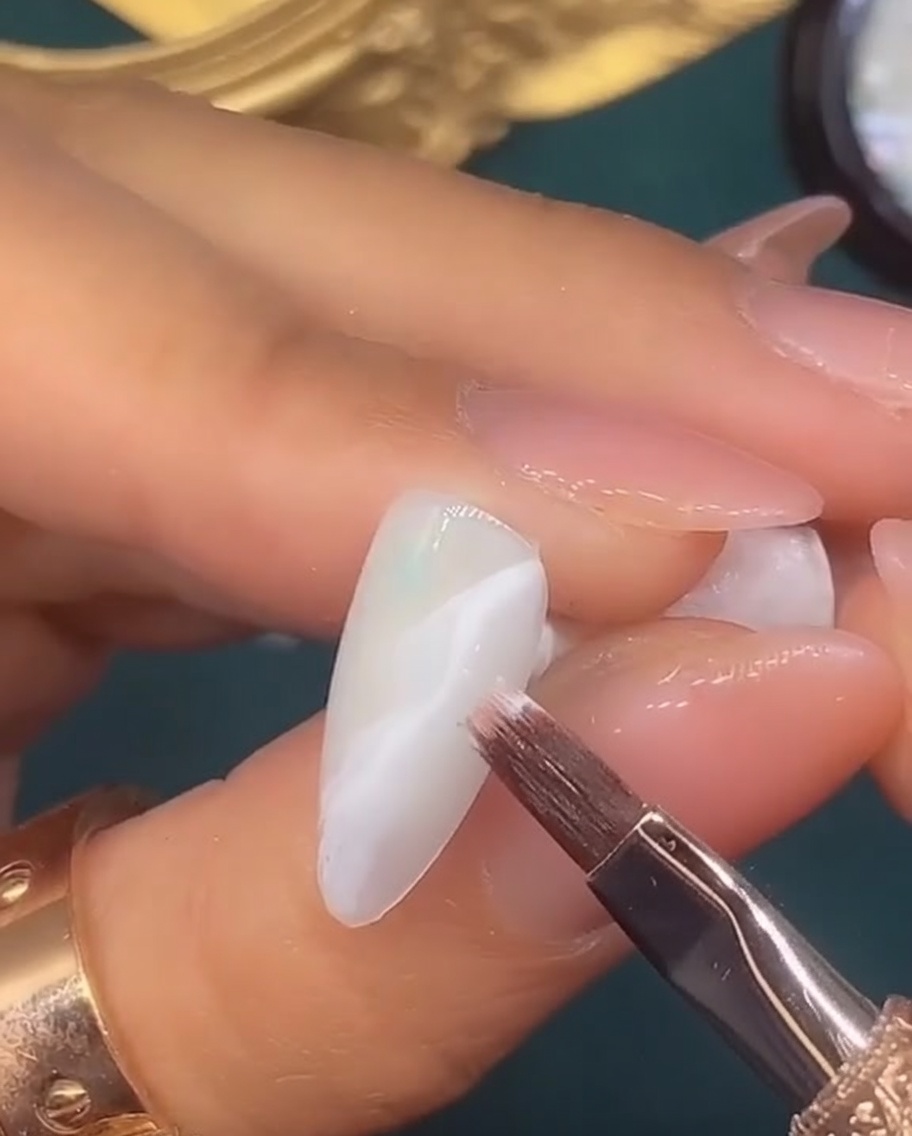
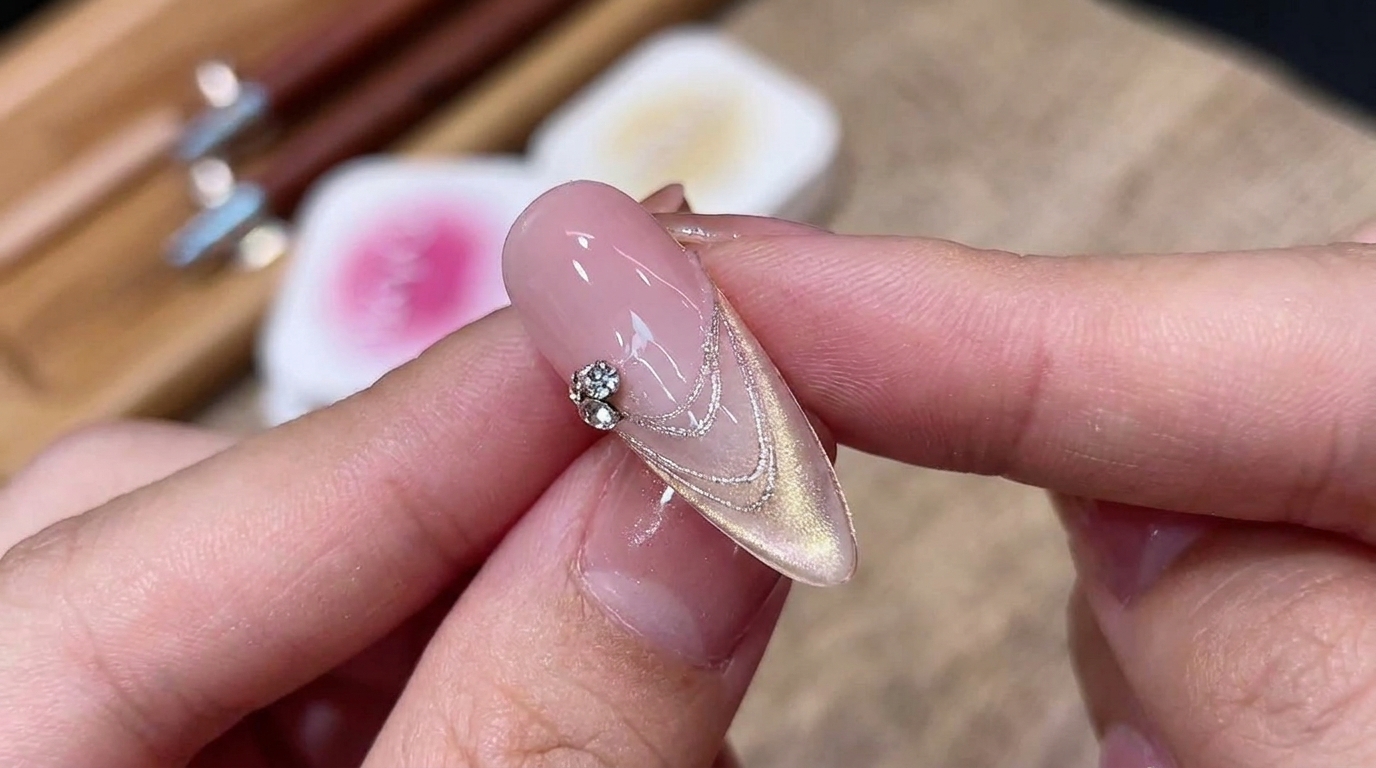
With a thin liner brush, pick up metallic colored gel and draw a delicate, freehand swirl accent onto the fourth nail. This adds a sophisticated, artistic touch to the blended background.
Tip: Keep your hand steady and use light pressure for a smooth, consistent line. - 11Apply base to the fifth nail
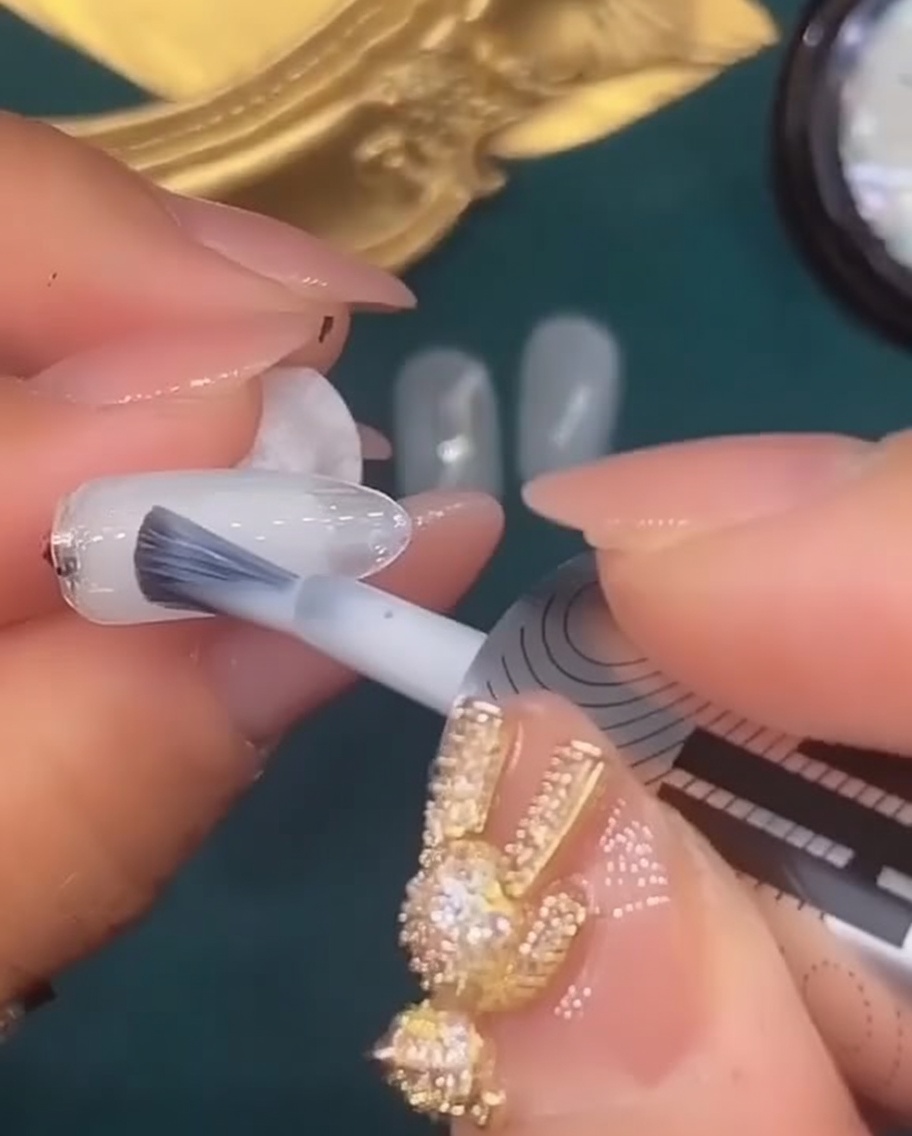
Apply a base coat of translucent white gel polish to the fifth nail, ensuring smooth and even coverage. This will prepare the nail for the final shell piece decoration.
Tip: Avoid touching the cuticles with the brush for a clean, professional application. - 12Decorate with shell pieces
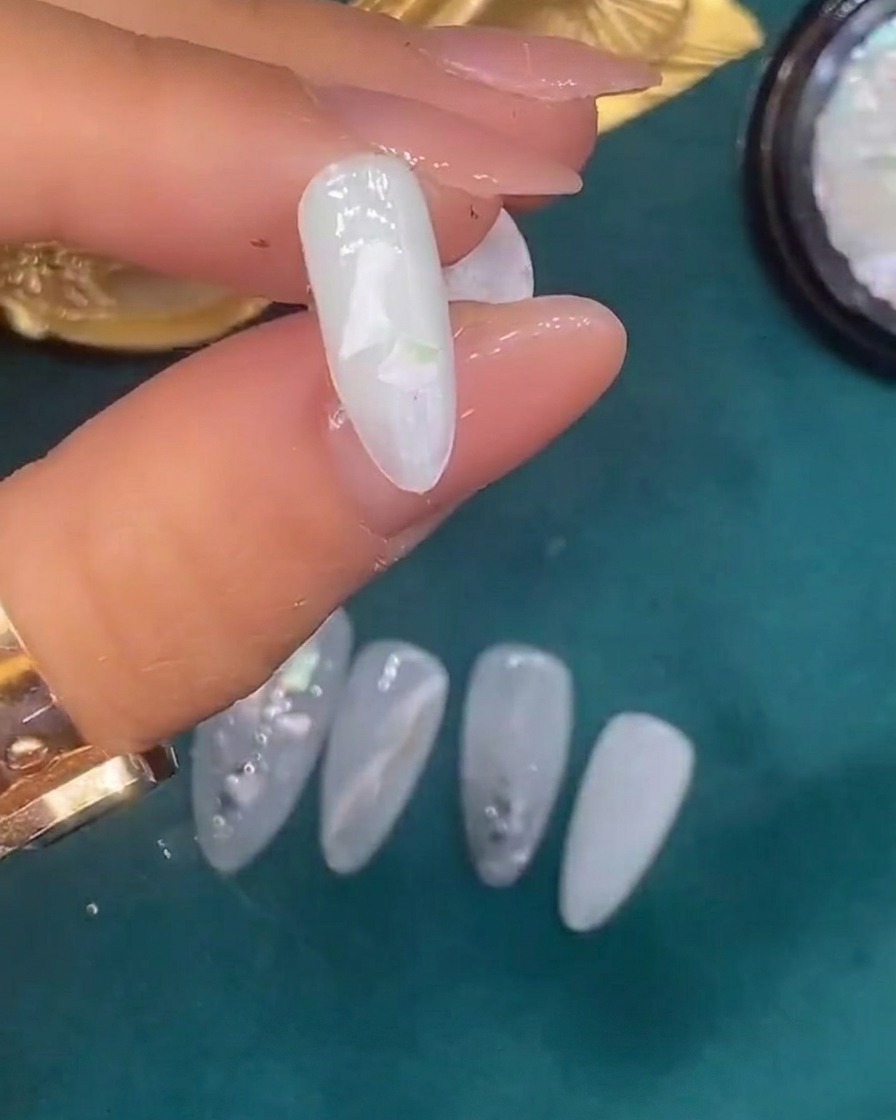
Using tweezers, carefully place small shell pieces onto the tacky surface of the fifth nail to mirror the design of the first nail. Arrange them to create a textured, fairy-like finish that ties the whole set together.
Tip: Press the shell pieces gently into the wet gel to ensure they are fully embedded and will stay in place after curing.