Gold Foil and Shell Jelly Nail Art — Elegant Layered Tutorial
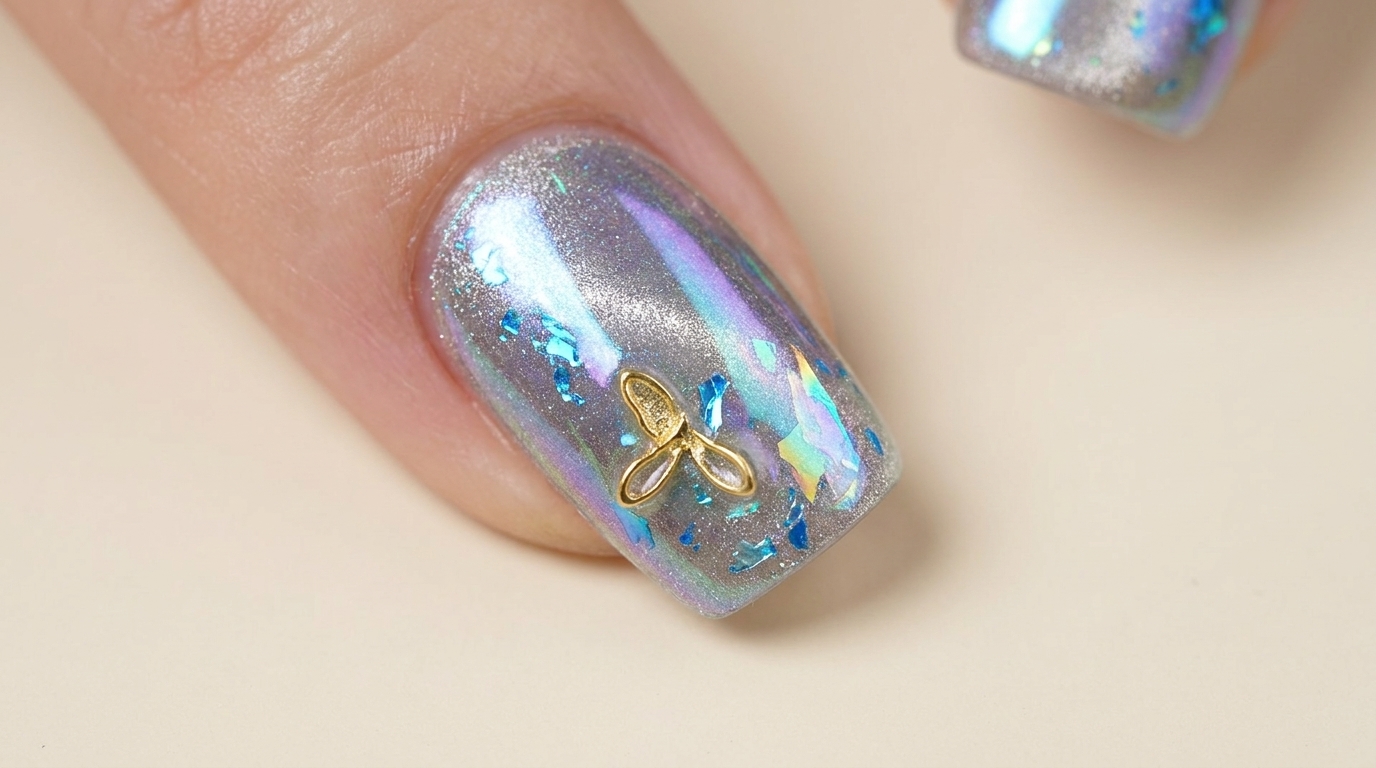
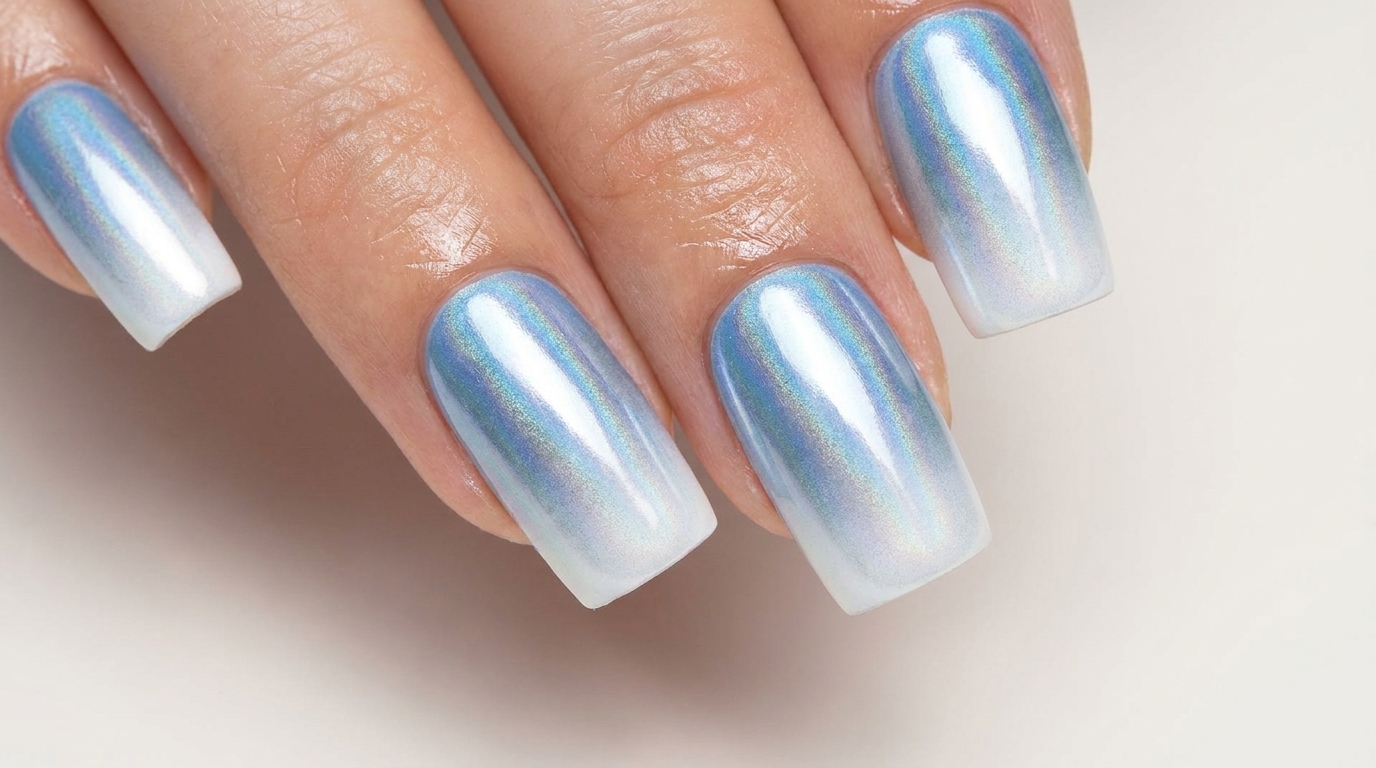
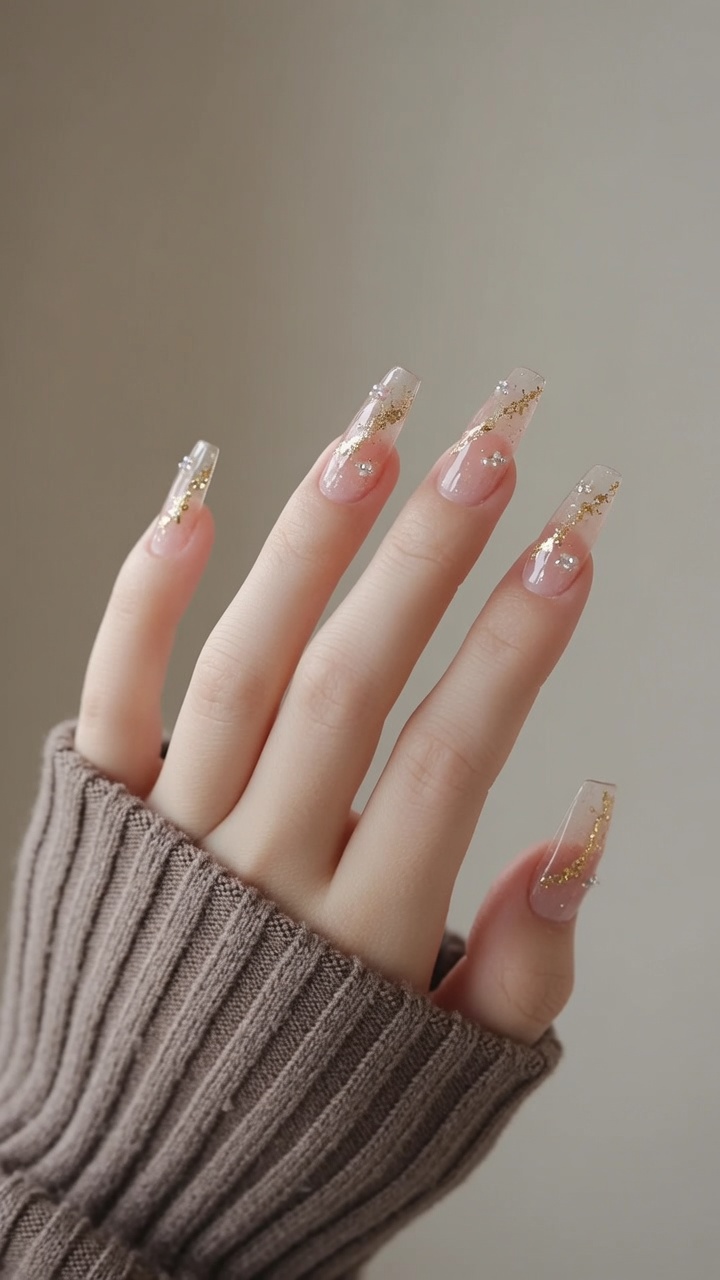
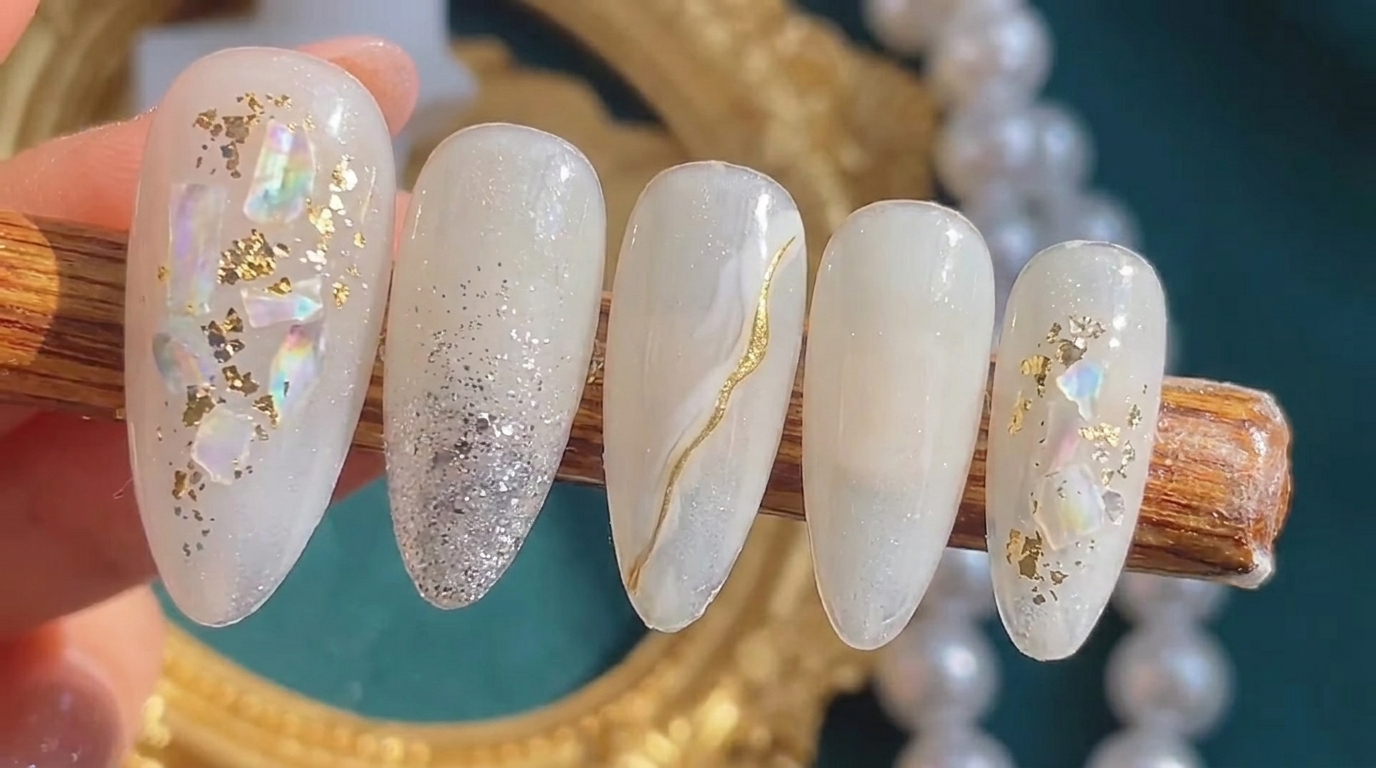
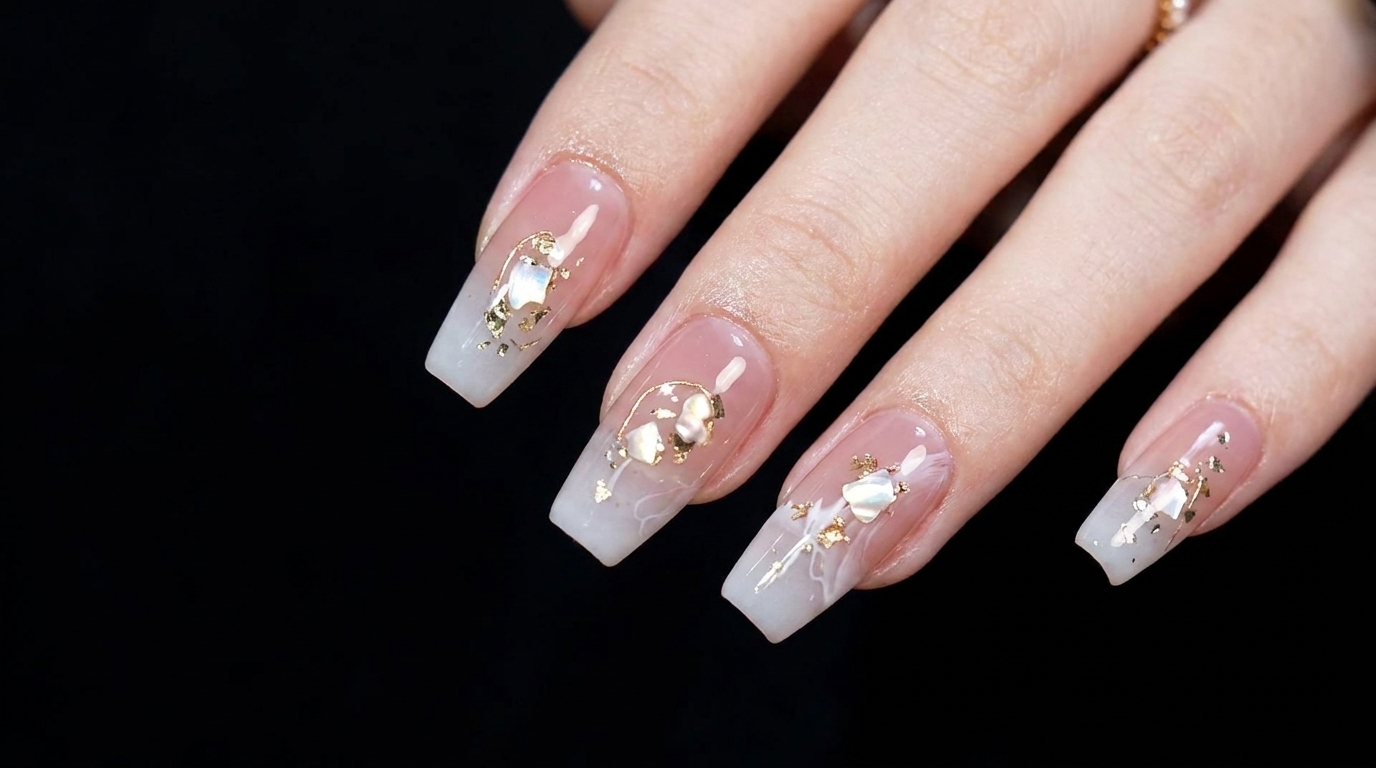
Elevate your manicure with this sophisticated jelly pink nail art, featuring delicate water wave details, gold foil, and iridescent shell pieces.
This ethereal nail look combines the trending jelly gradient technique with the intricate, textured beauty of embedded shells and gold leaf. It is the perfect design for those looking to add a touch of luxury and movement to their nails. By layering sheer tints with delicate white art, you can create a depth that feels like a reflection of light on water.
Steps
- 1Apply jelly pink base coat
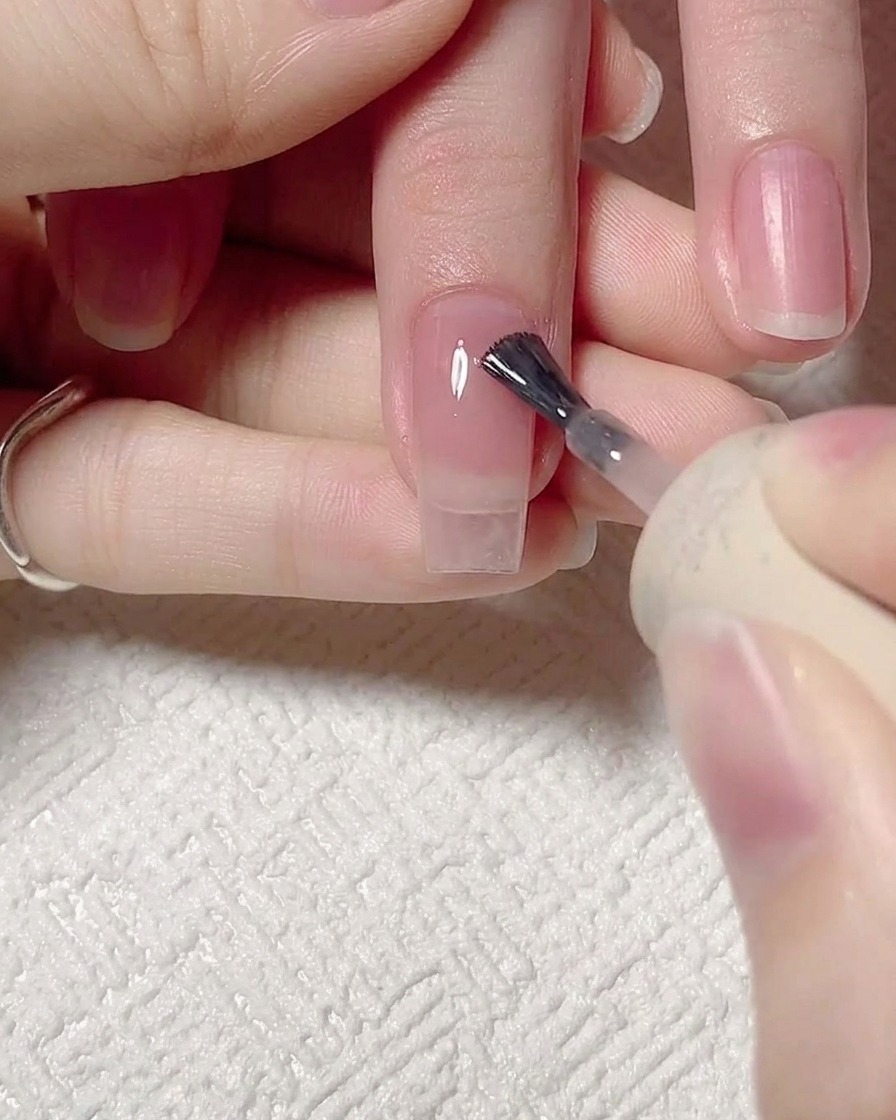
Begin by applying a thin layer of sheer jelly pink base coat to the entire nail plate. This acts as the foundation for your gradient design, providing a translucent tint that will enhance the final look. Ensure the application is smooth and even to avoid streaking.
Tip: Ensure the base coat is applied thinly to maintain the jelly-like transparency without creating bulky layers. - 2Create the initial gradient
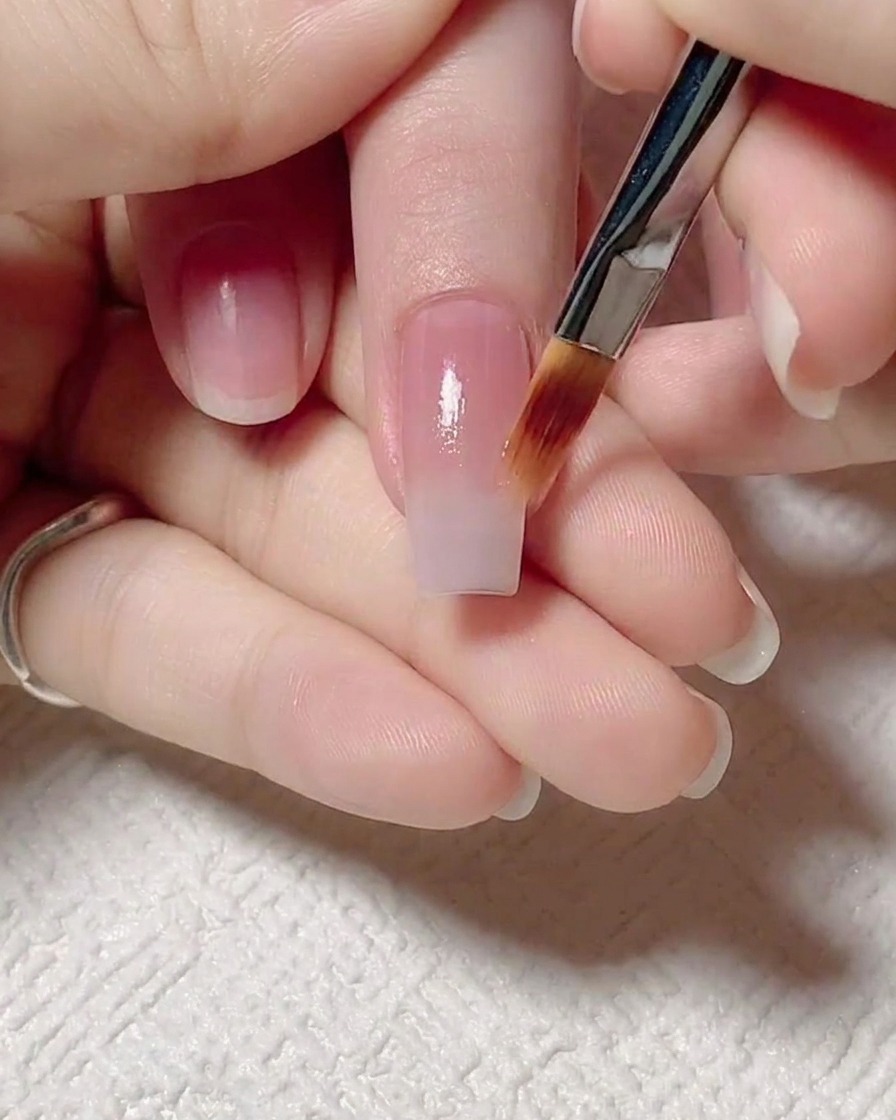
With the base coat still wet, use a flat nail brush to gently blend the pink polish upward toward the tip of the nail. This motion creates a soft, diffused gradient effect that transitions seamlessly from the cuticle to the free edge.
Tip: Keep your brush strokes light and steady to ensure the gradient remains soft and streak-free. - 3Apply jade-tinted pink gel
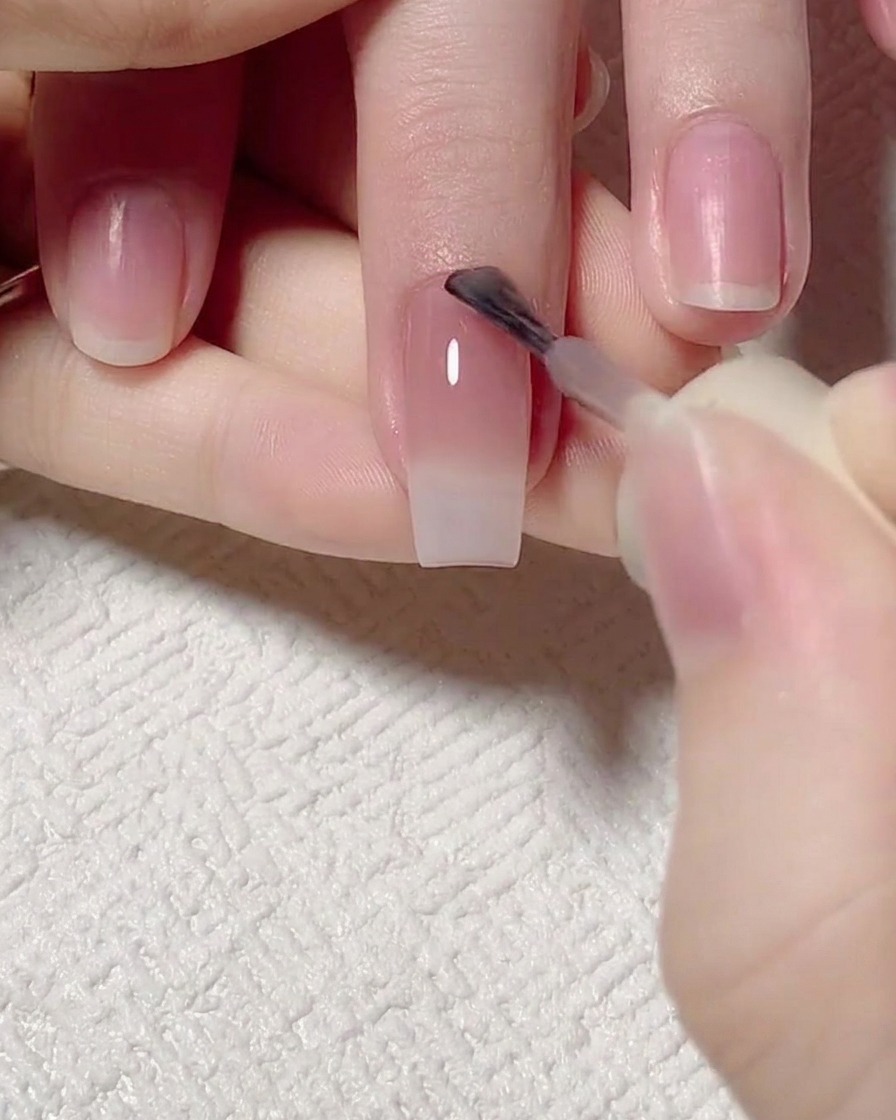
Apply a concentrated layer of jade-tinted pink gel specifically to the top half of the nail, near the cuticle area. This creates depth and adds the specific color dimension required for the gradient style.
Tip: Use a small amount of product to prevent pooling near the cuticle, which helps ensure a clean, professional finish. - 4Blend the jade gradient
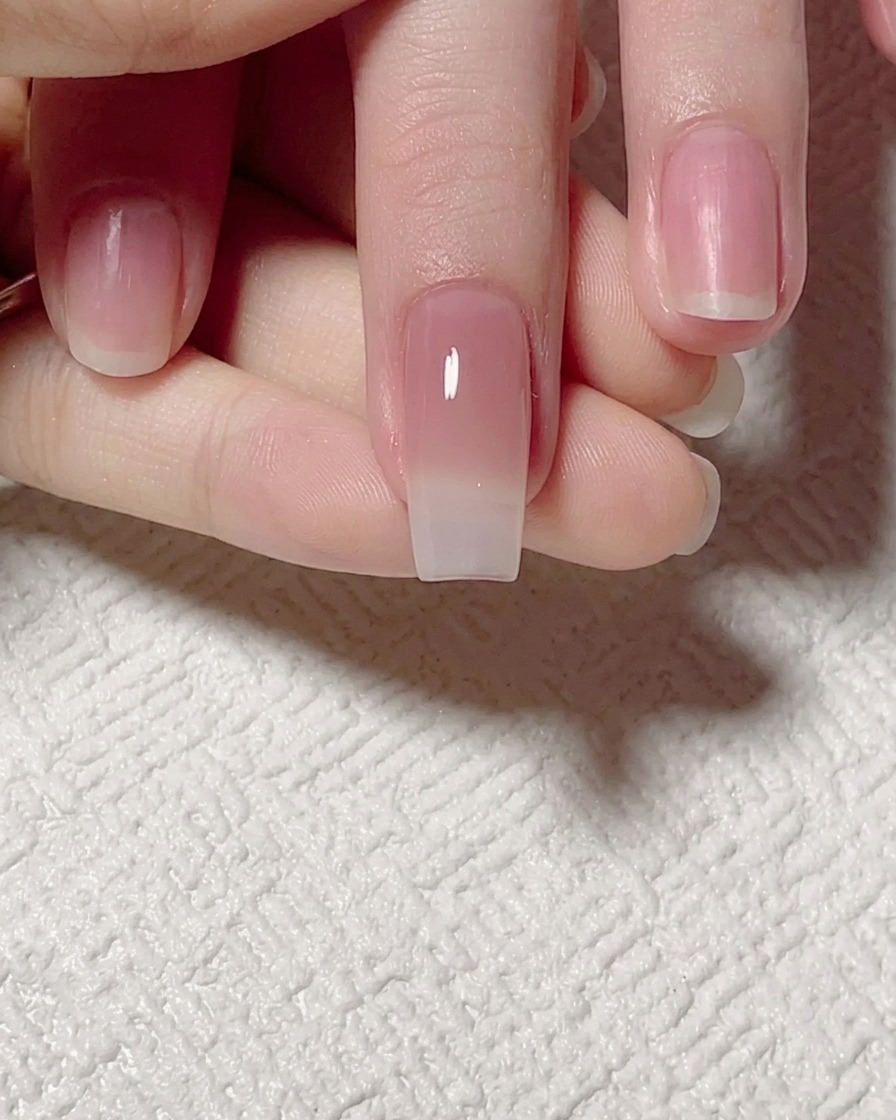
Using a flat brush, carefully blend the jade-tinted pink gel upward, continuing the gradient effect toward the tip of the nail. The goal is to integrate the new layer seamlessly with the existing base, maintaining the soft transition.
Tip: Wipe your brush clean frequently during the blending process to keep the gradient soft and prevent muddying the colors. - 5Paint the water wave
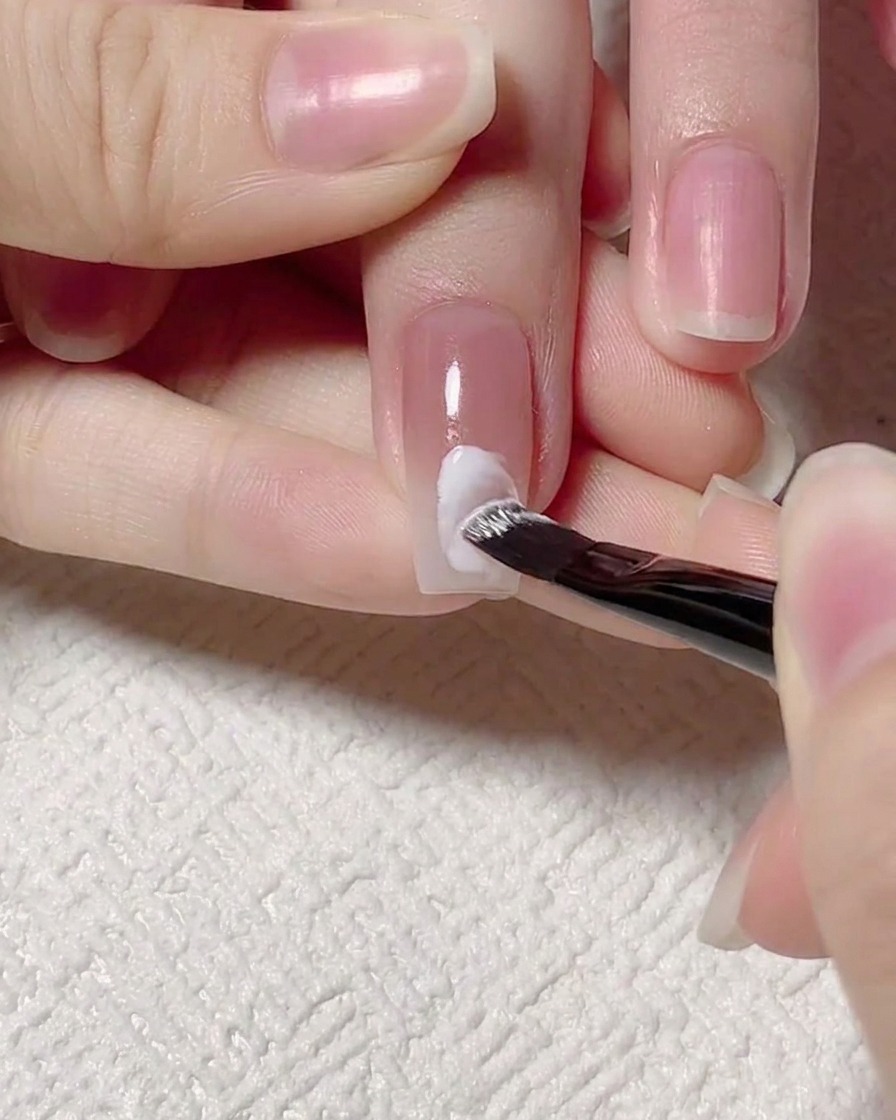
Using a detail brush and white gel, paint a delicate, flowing water wave line across the surface of the nail. This line should mimic the natural movement of water, curving gracefully to add texture and interest to the design.
Tip: Use a light touch with the detail brush to keep the lines thin and elegant, which makes diffusing them easier. - 6Diffuse the wave edges
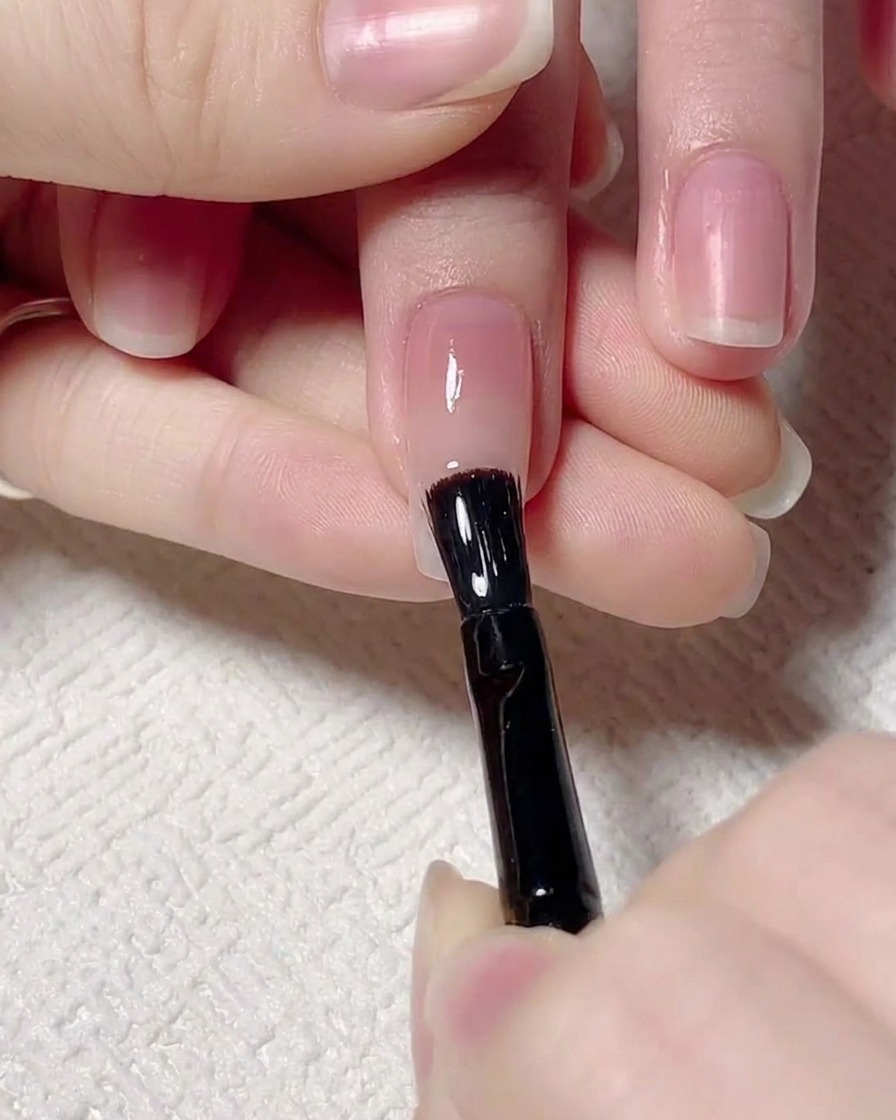
Using a clean, dry brush, gently pat or stroke over the edges of the white gel wave line. This step softens the edges, making the wave appear more natural and integrated into the background rather than sitting sharply on top of it.
Tip: A clean brush is essential here; if it picks up too much white gel, wipe it off before continuing to ensure the edges blur perfectly. - 7Add second water wave detail
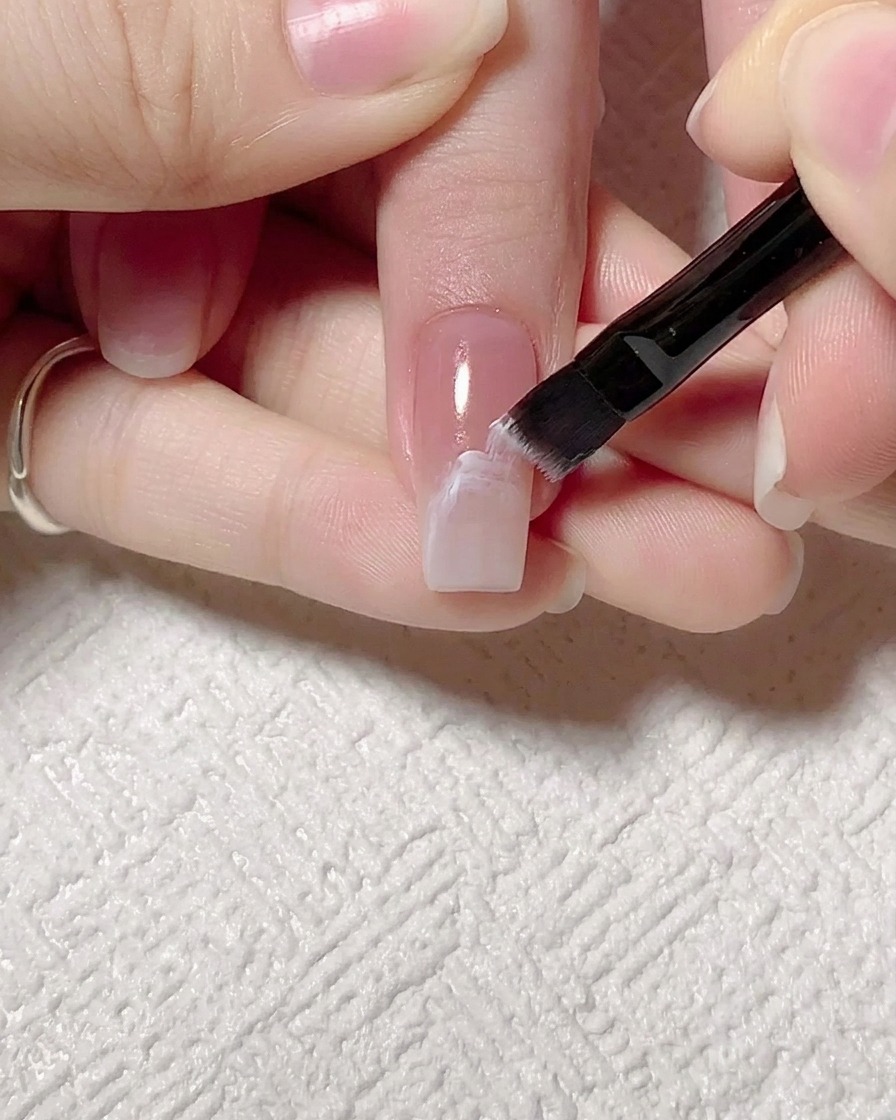
Using a fine liner brush and white sculpting gel, paint a second water wave line on the nail surface near the previous one to add intricate detail to the design. This helps build the wave effect across the nail.
Tip: Keep your brush strokes light to maintain the delicate appearance of the waves. - 8Soften wave edges
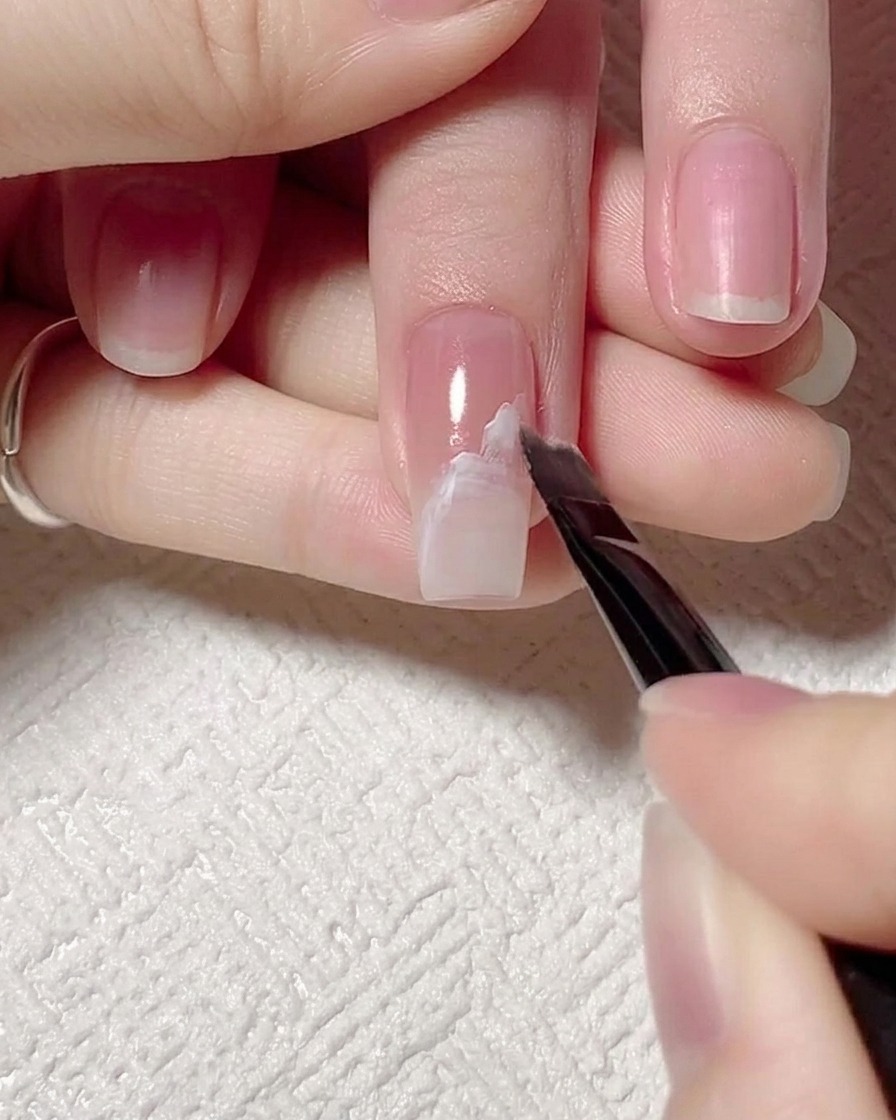
With a clean, slightly damp brush, gently tap or drag along the edges of the white wave line you just painted. This technique diffuses the edges, making the wave appear softer and more natural on the nail surface.
Tip: If the brush becomes too saturated with product, wipe it clean on a lint-free wipe before continuing to blend. - 9Place gold foil accents
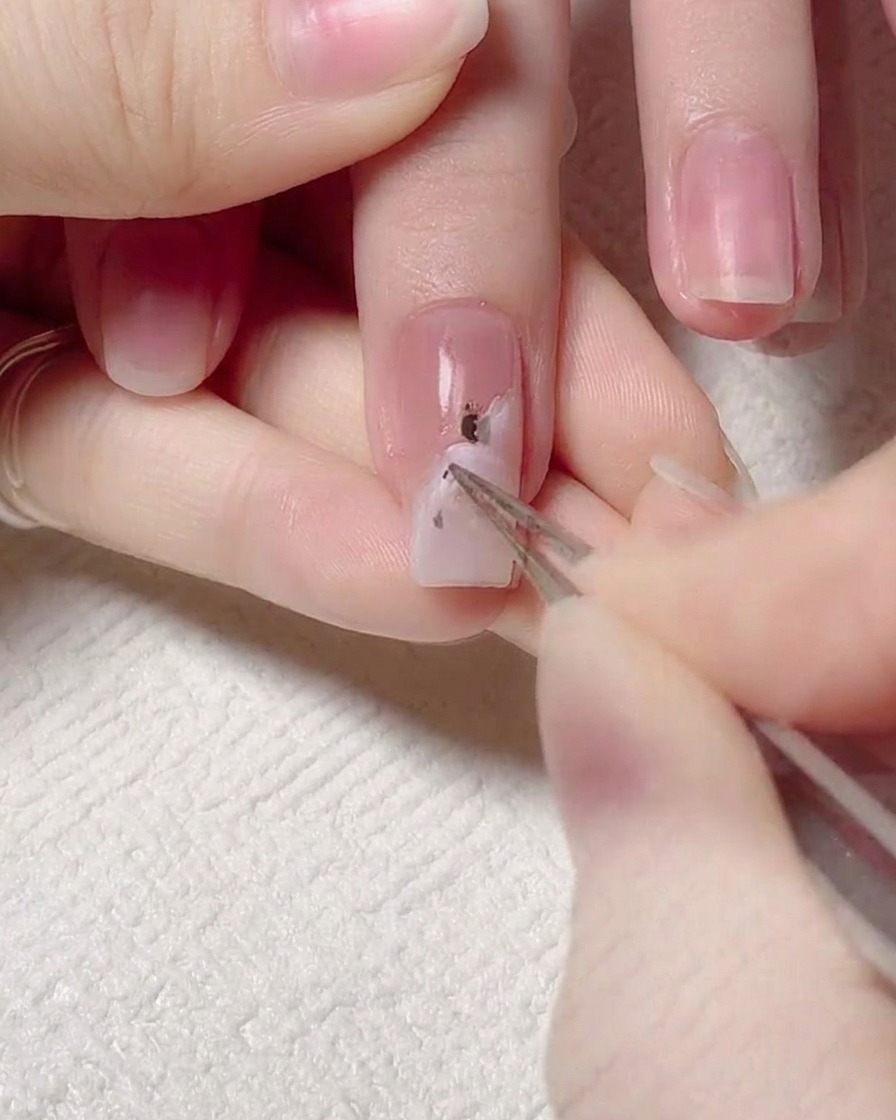
Using precision tweezers, carefully pick up small, delicate fragments of gold foil. Place them strategically onto the nail surface to add texture and a luxurious touch to the water wave design.
Tip: Work with very small pieces to avoid overcrowding the design. - 10Flatten gold foil
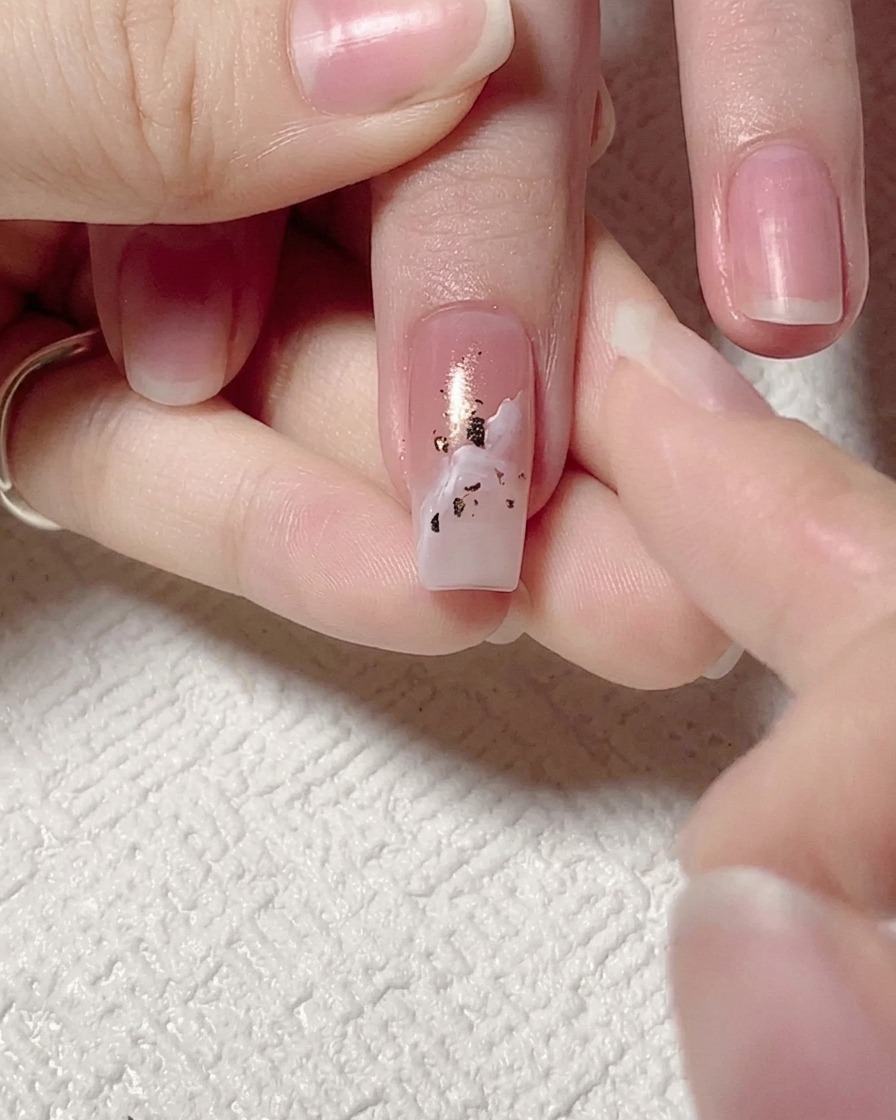
Using the side of your tweezers or a soft silicone tool, gently press down on the placed gold foil pieces. This ensures they are completely flat against the nail, preventing any raised edges that could snag or interfere with the top coat application.
Tip: Pressing them flat also helps the foil adhere better to the nail surface. - 11Seal with base gel
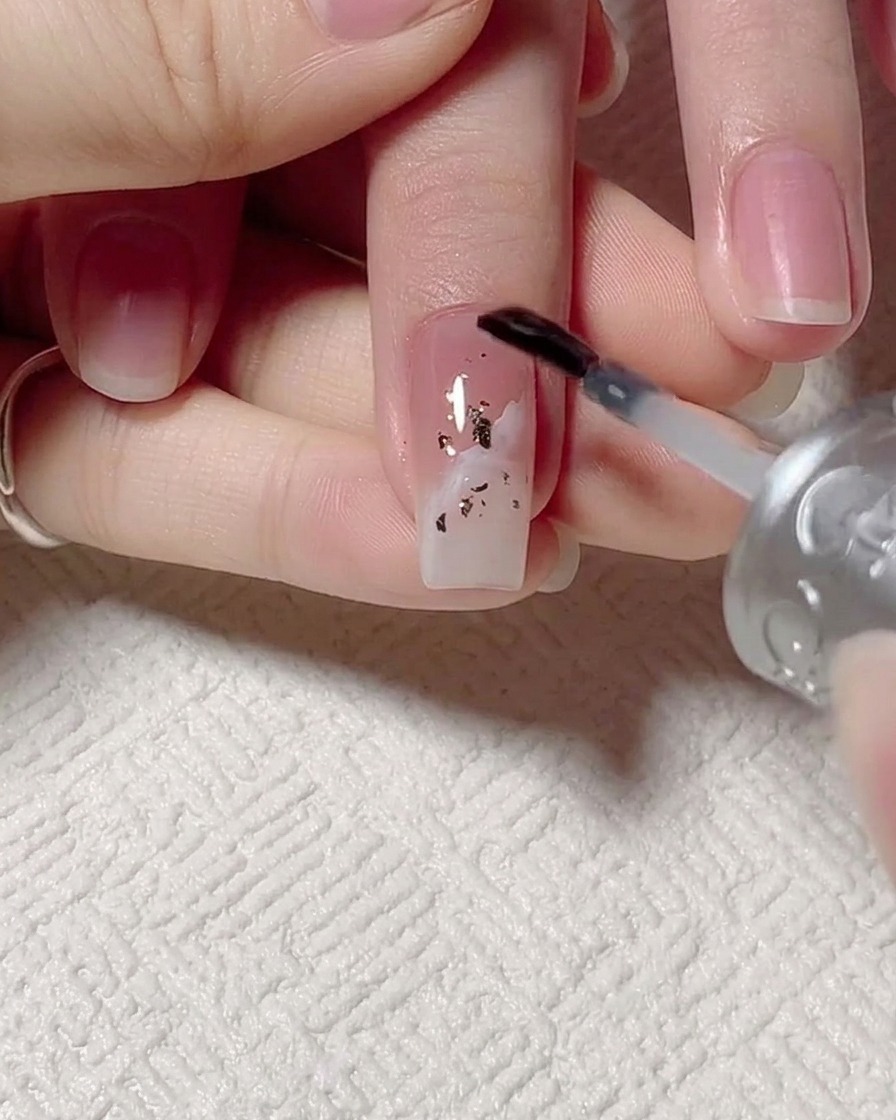
Apply a thin layer of clear base gel over the entire nail, including the areas with the gold foil. This step encapsulates the design elements, providing a smooth surface for the final top coat and reinforcing the nail art.
Tip: Ensure you cover all edges of the foil to prevent them from lifting. - 12Add shell texture
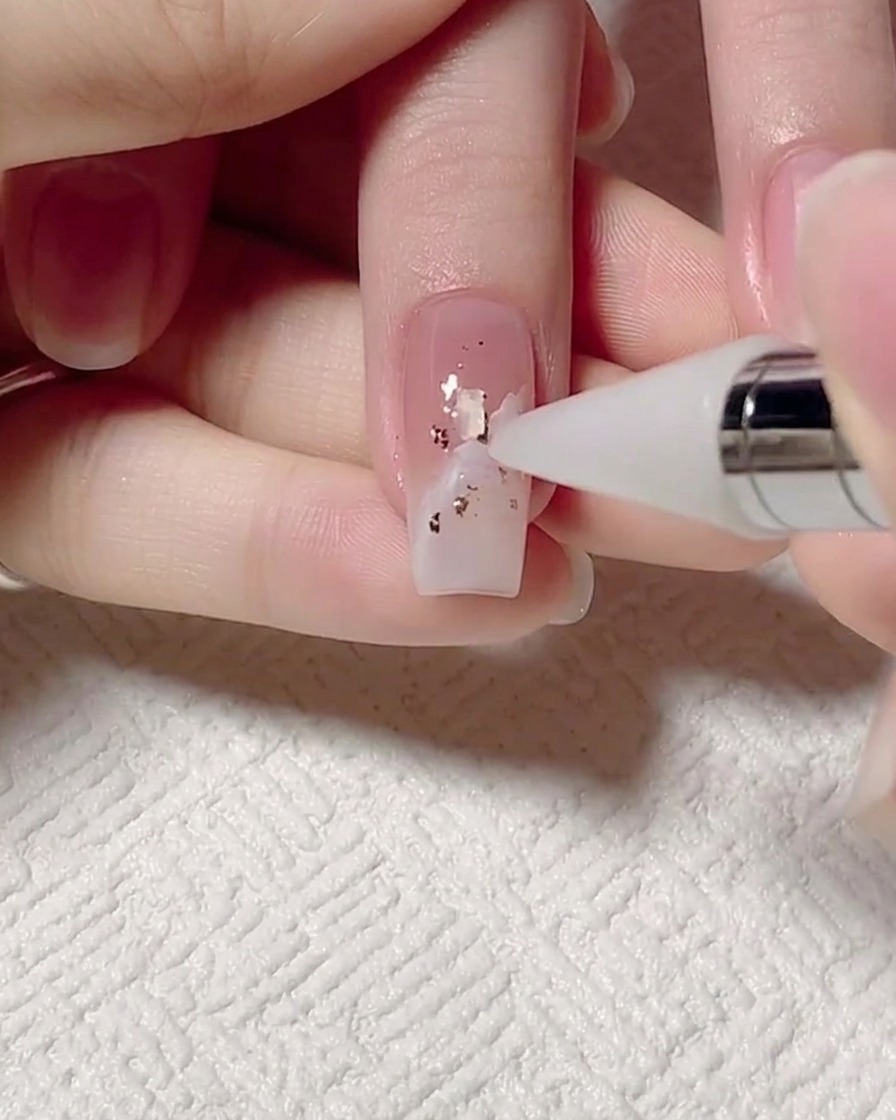
Using a dotting tool, carefully pick up ultra-thin pieces of iridescent shell and place them onto the nail. These pieces provide additional texture and an iridescent shimmer to the overall look.
Tip: The shell pieces are very thin, so handle them with care to avoid breaking them. - 13Apply and cure top coat
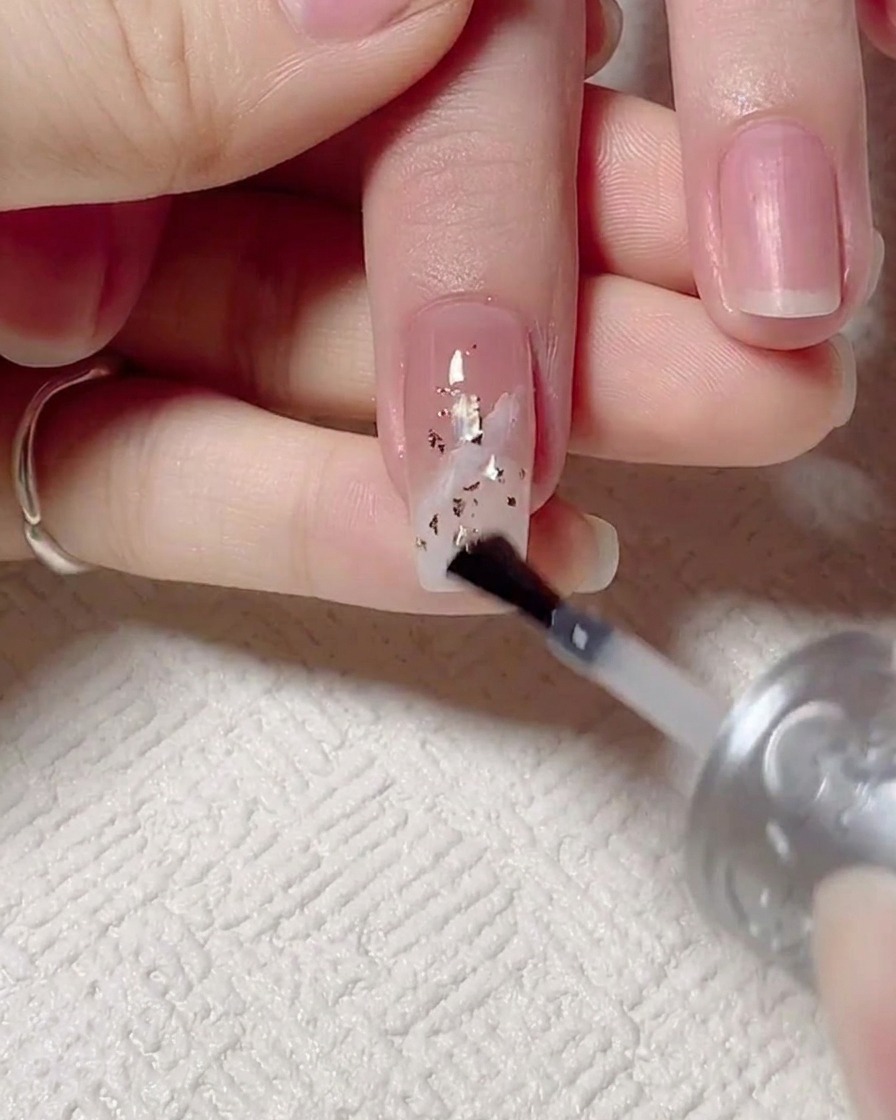
Apply a final layer of clear top coat over the entire nail design to seal the embellishments and provide a smooth, high-gloss finish. Be sure to cap the free edge to protect the nail art from chipping. Place the nail under a UV or LED lamp to cure until the surface is completely dry and set.
Tip: Apply the top coat generously enough to level out the texture of the foil and shell pieces for a perfectly smooth result.