Transparent Gradient Gold Foil Nail Art Tutorial
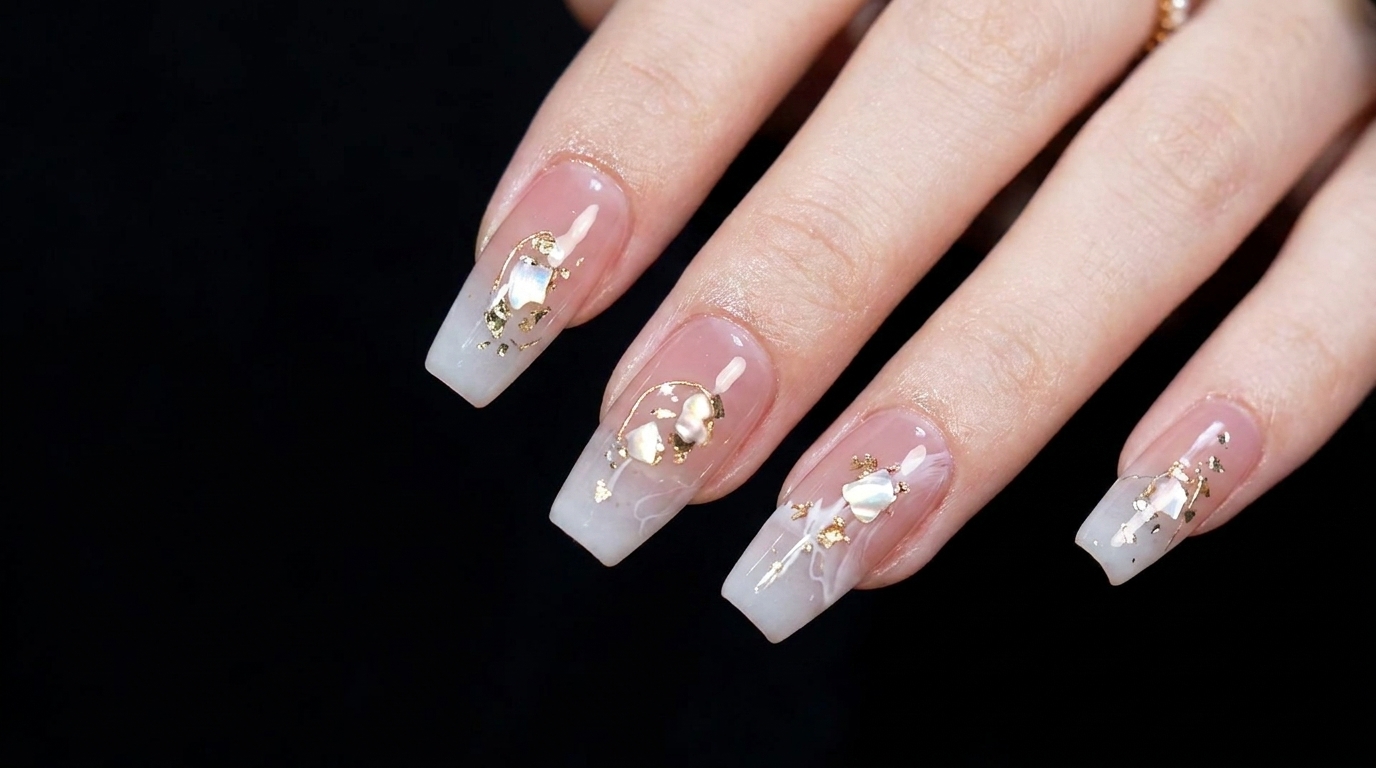
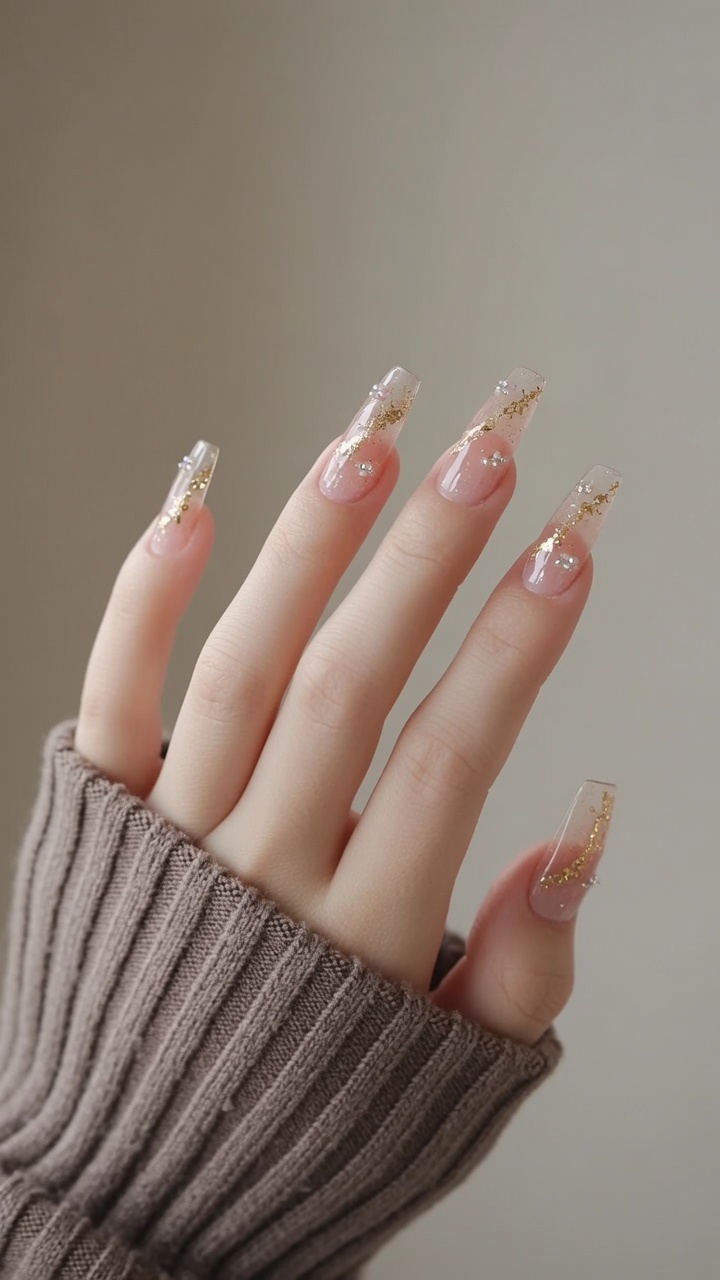
Create an elegant, glass-like manicure with our transparent gradient gold foil nail tutorial. This sophisticated look is perfect for any occasion.
This transparent gradient gold foil look combines a delicate pink base with the shimmering luxury of gold leaf. The clear finish creates a modern, glass-like aesthetic that is both trendy and timeless. Follow this step-by-step guide to master the technique for embedding foil and rhinestones for a high-end salon finish at home.
Steps
- 1Apply base coat
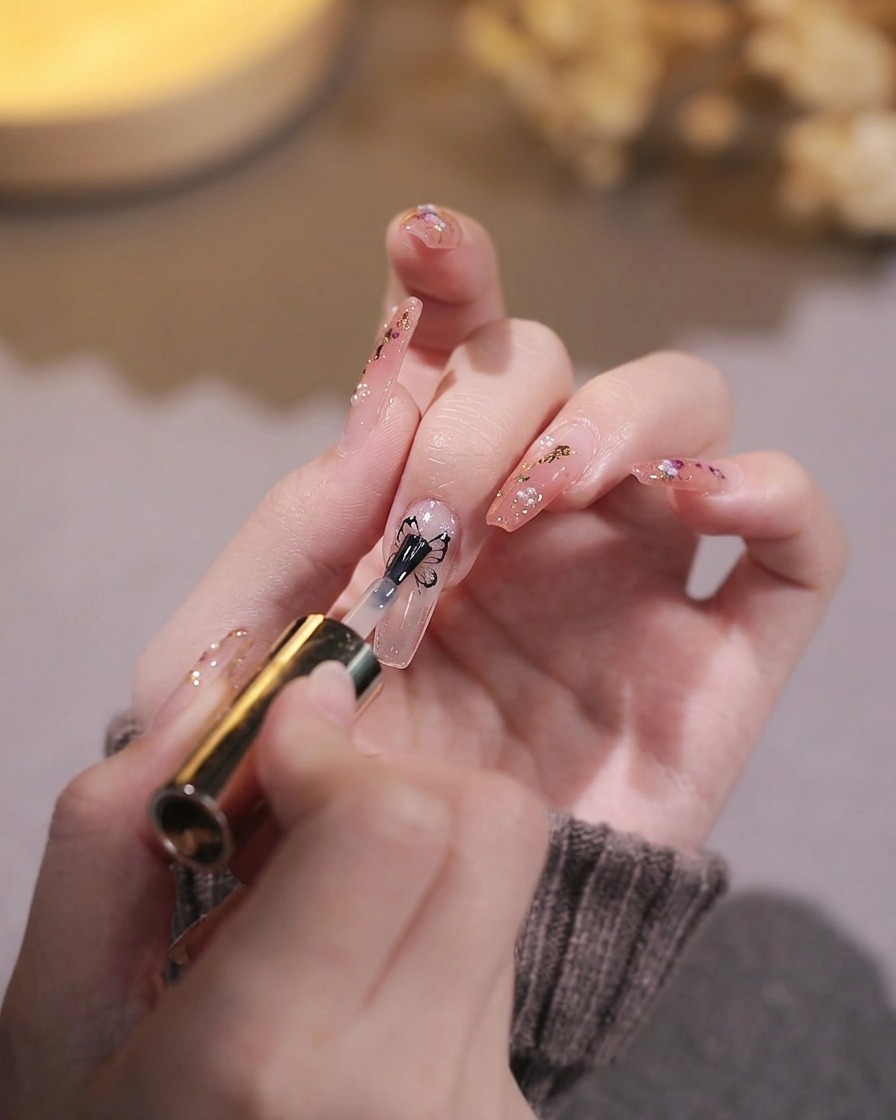
Apply a thin, even layer of gel base coat to the entire nail surface, ensuring you cap the free edge to prevent lifting. Be careful to avoid flooding the cuticle area, leaving a tiny gap between the gel and your skin. This creates a secure foundation for your nail art.
Tip: Applying a very thin layer helps prevent the gel from pooling at the cuticles, which is a major cause of premature lifting. - 2Cure the base coat
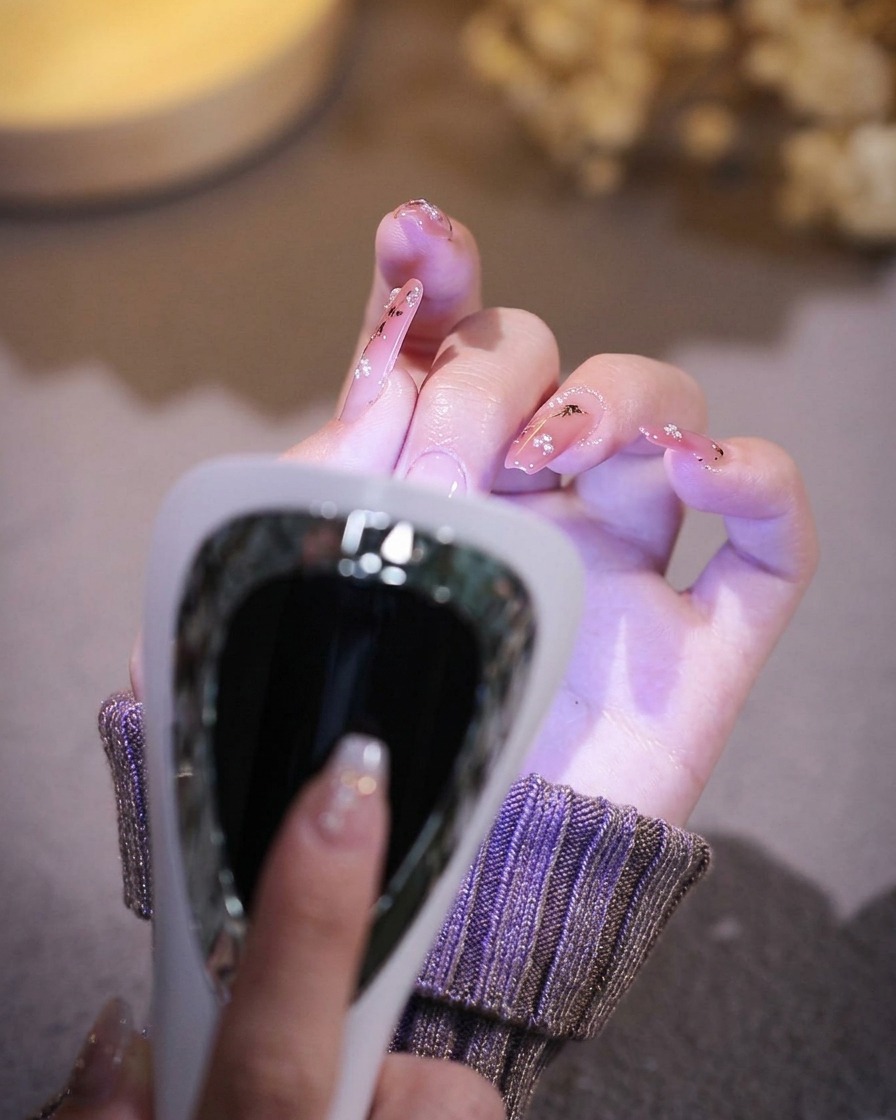
Place your hand inside the UV/LED lamp, ensuring your fingers are positioned to allow light to reach all surfaces of the nails. Cure for the manufacturer-recommended time, typically 30 to 60 seconds, until the gel is completely set and tack-free.
Tip: Keep your fingers flat and centered in the lamp to ensure an even cure across all nails, especially the thumbs. - 3Apply sheer pink gel
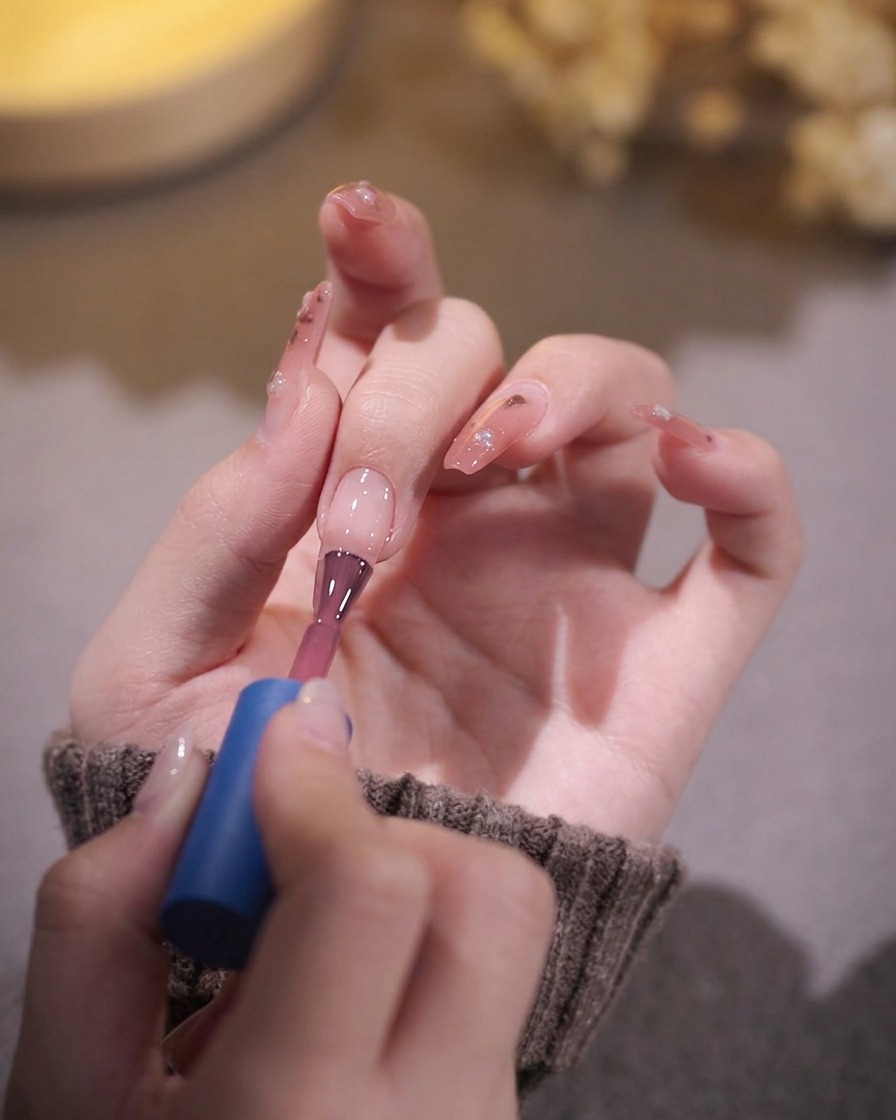
Apply a thin, uniform layer of sheer pink gel polish over the base coat, starting from the center and gently brushing toward the cuticle and free edge. Keep the layer thin to avoid streaks or bulkiness, maintaining the natural look of the nail.
Tip: Sheer colors are buildable, so dont worry about full opacity with this first coat; focus on achieving a smooth, even finish. - 4Refine application
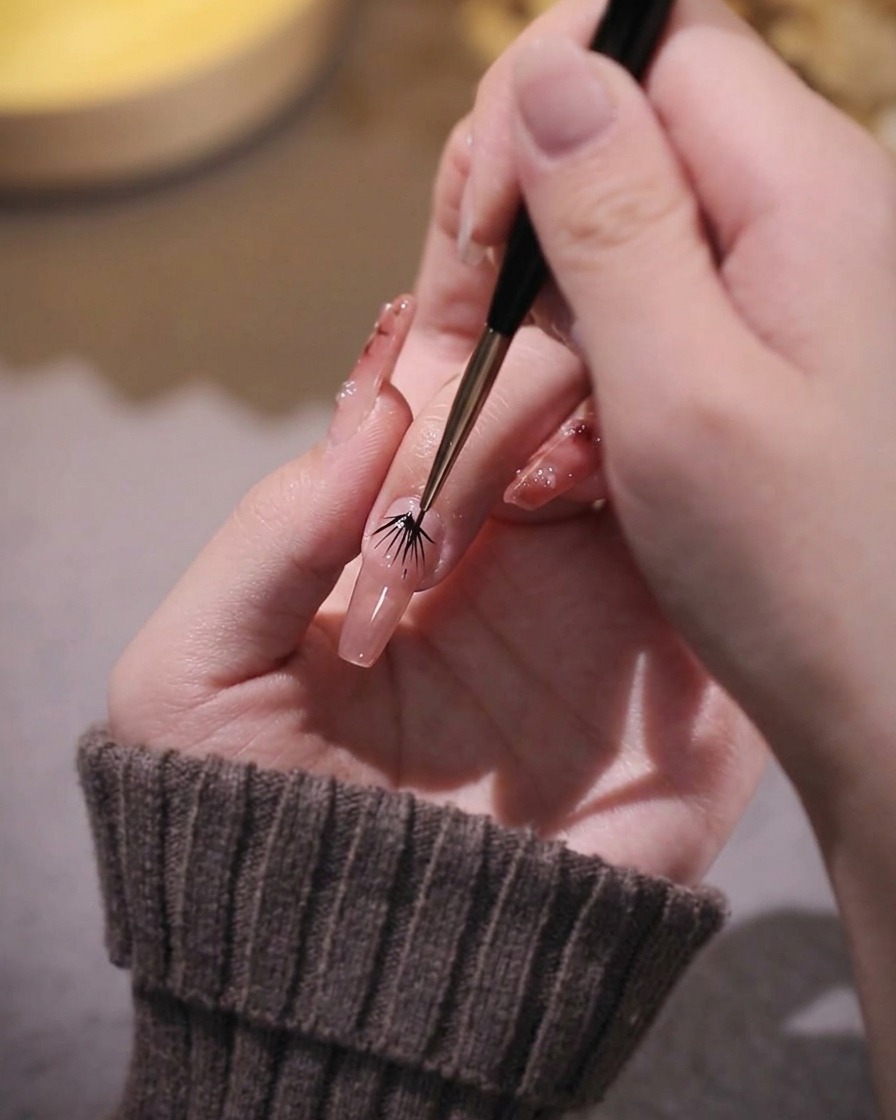
Using a fine-tipped liner brush, carefully trace along the cuticle line and side walls to clean up any excess gel and ensure a crisp, clean application. This step helps create a professional-looking finish by removing any uneven edges before you move to curing.
Tip: A steady hand and a fine liner brush are essential for getting close to the cuticle without touching the skin. - 5Cure the color layer
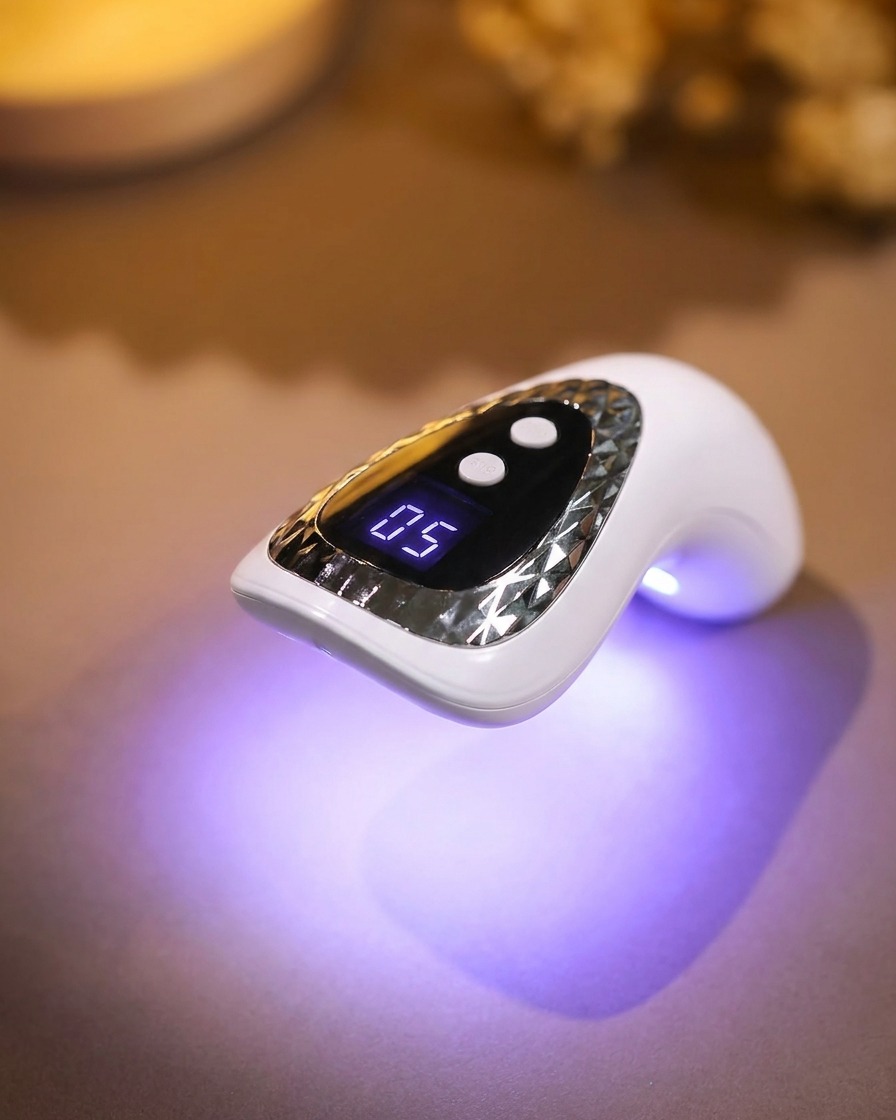
Place your hand under the UV/LED lamp to cure the first layer of sheer pink gel. Allow it to cure fully according to your gel polish instructions, ensuring the color is set and stable before proceeding to any additional layers or designs.
Tip: Ensure the gel is completely cured; a partially cured layer can cause the next coat to wrinkle or peel. - 6Apply second color coat
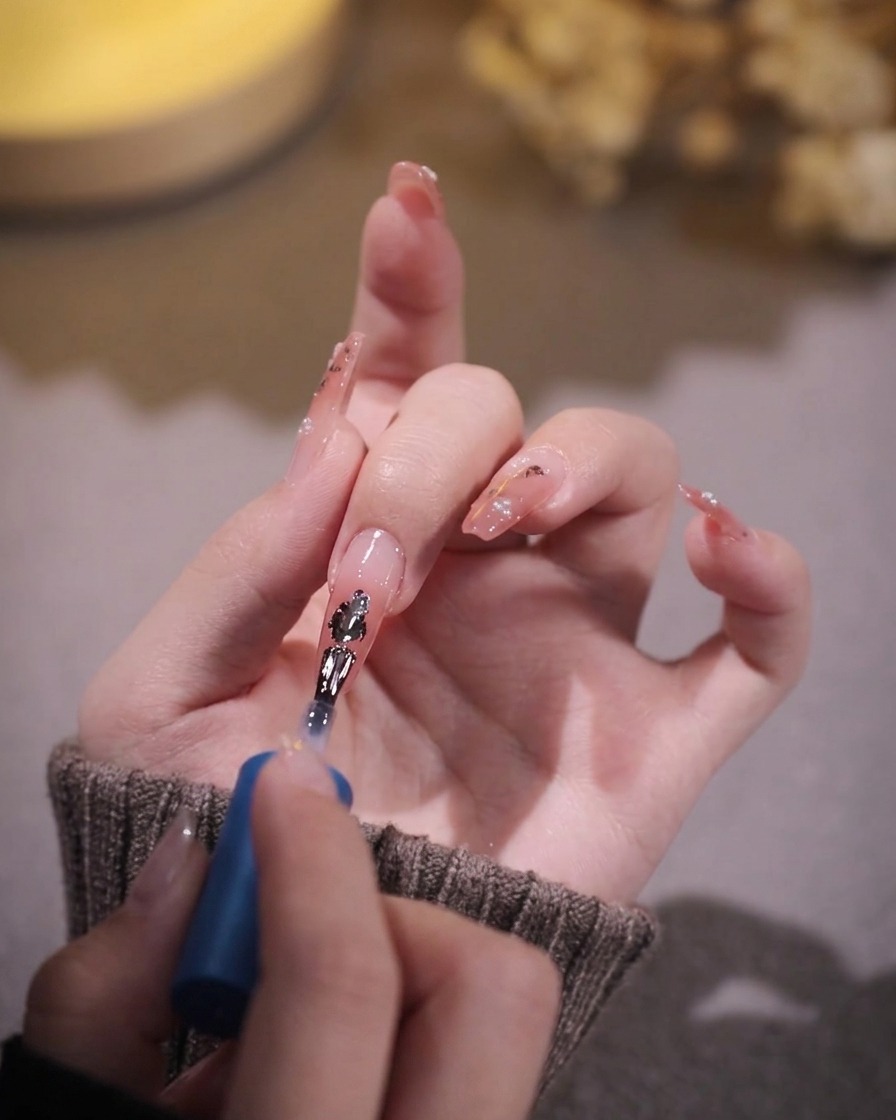
Apply a second thin layer of the sheer pink gel to intensify the color and create a more uniform, depth-filled appearance. By using two thin coats rather than one thick one, you avoid bubbles and uneven surfaces while building the desired level of color opacity.
Tip: Check the nail from different angles while applying this layer to ensure there are no bald spots or streaks. - 7Refine the second color coat
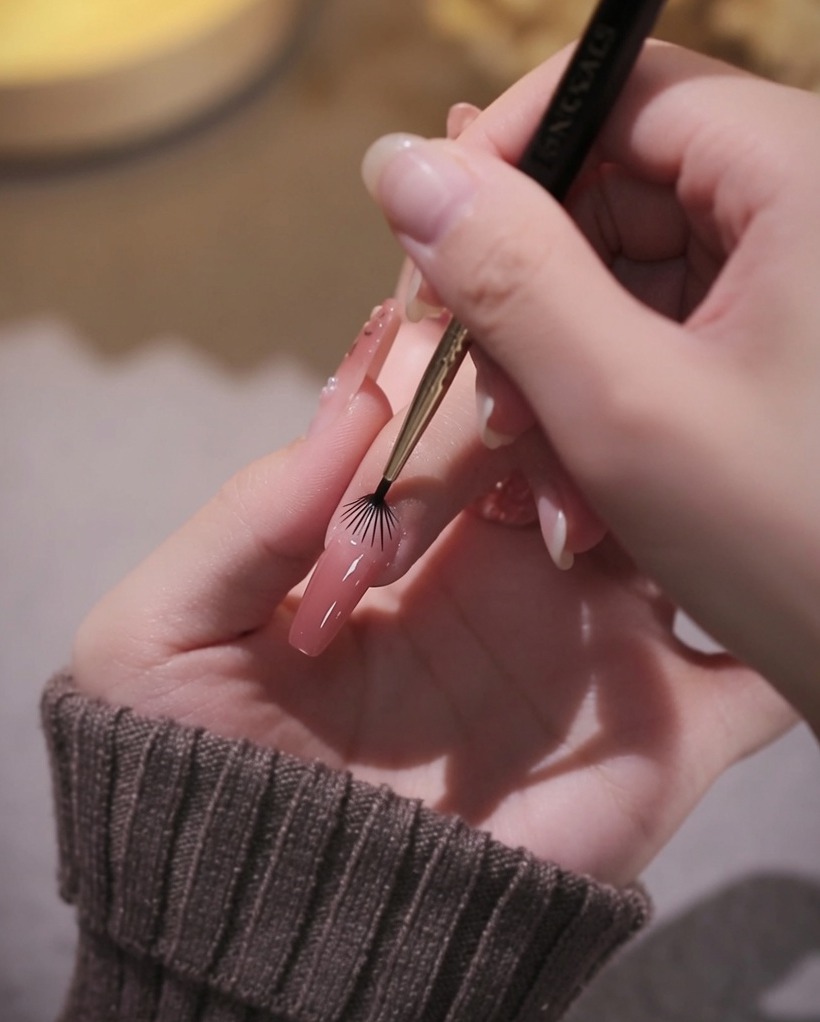
Using a fine liner brush, gently perfect the coverage of your second gel coat near the cuticles and side walls. This technique ensures a crisp, clean application and prevents gel from pooling on the skin. Keep your strokes light and precise for an even, professional finish.
Tip: A liner brush provides much more control than the standard bottle brush, especially for clean lines around the cuticle. - 8Cure the second layer
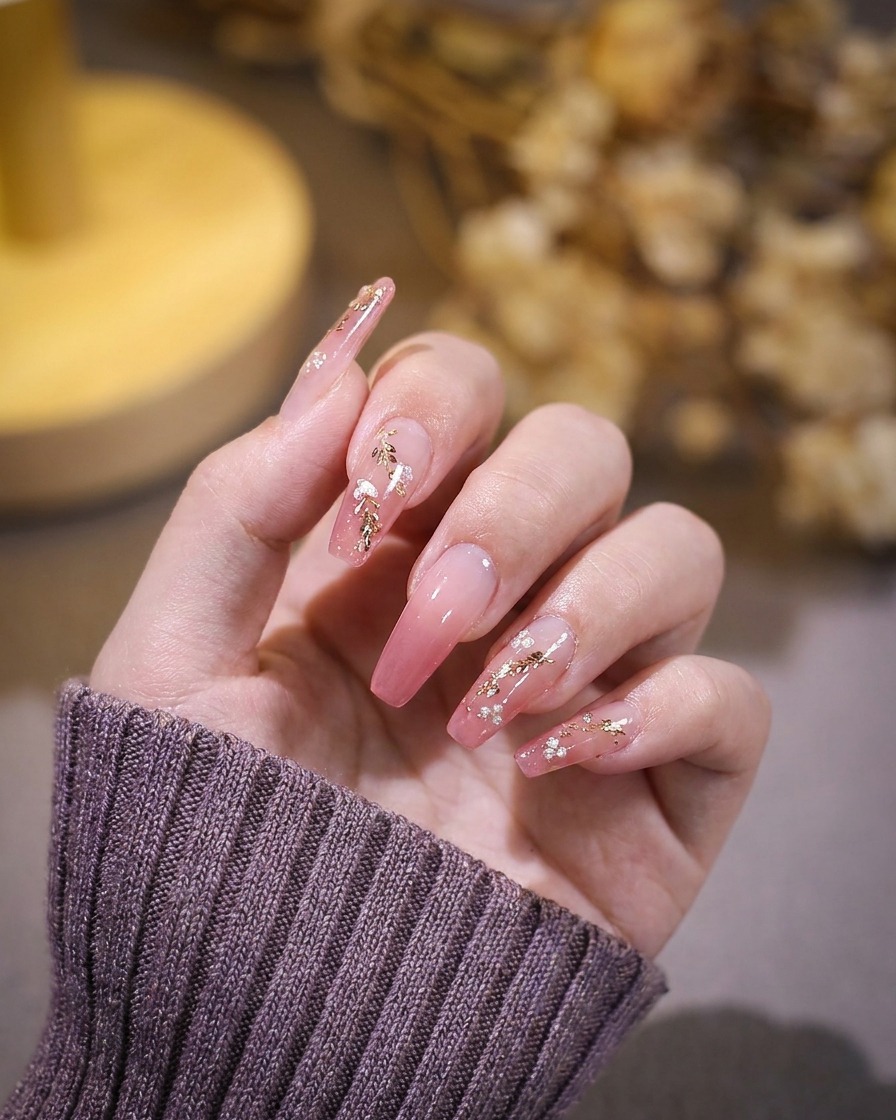
Place the nails under your LED or UV lamp to cure the second layer of pink gel color. Ensure your hand is positioned comfortably so all nails receive consistent light exposure for the full duration recommended by your gel polish manufacturer.
Tip: If using a small portable lamp, make sure to cure each finger or the whole hand based on the lamps specific light coverage area. - 9Apply gold foil flakes
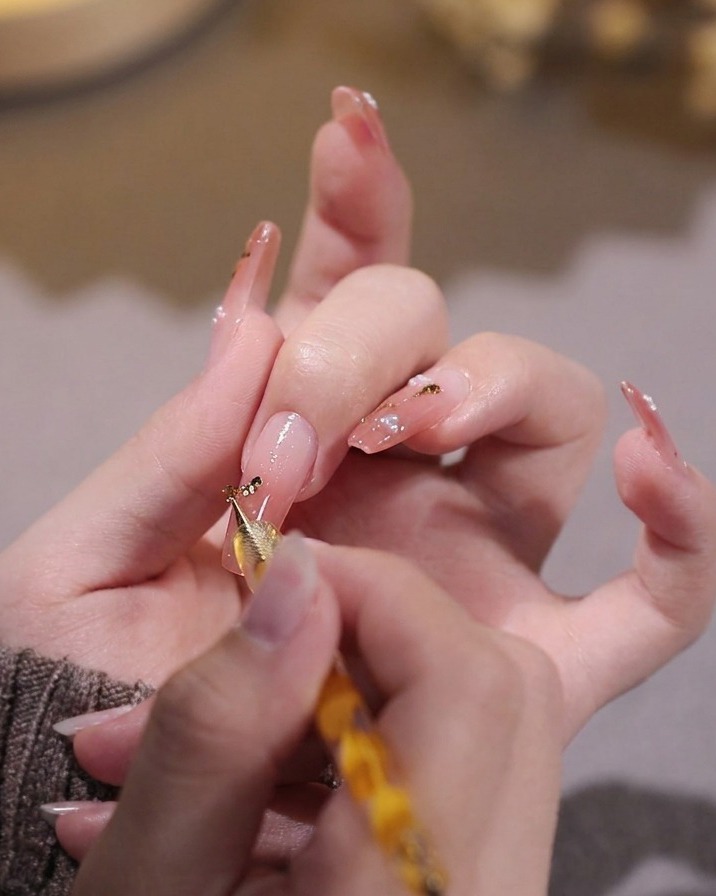
Using a dotting tool or tweezers, carefully pick up small pieces of gold foil and place them onto the nail surface. You can press them into the tacky layer of the cured gel or apply a thin layer of nail glue/base coat if the surface is already dry.
Tip: Start with smaller flakes and build up the density gradually to control the overall look. - 10Position gold foil
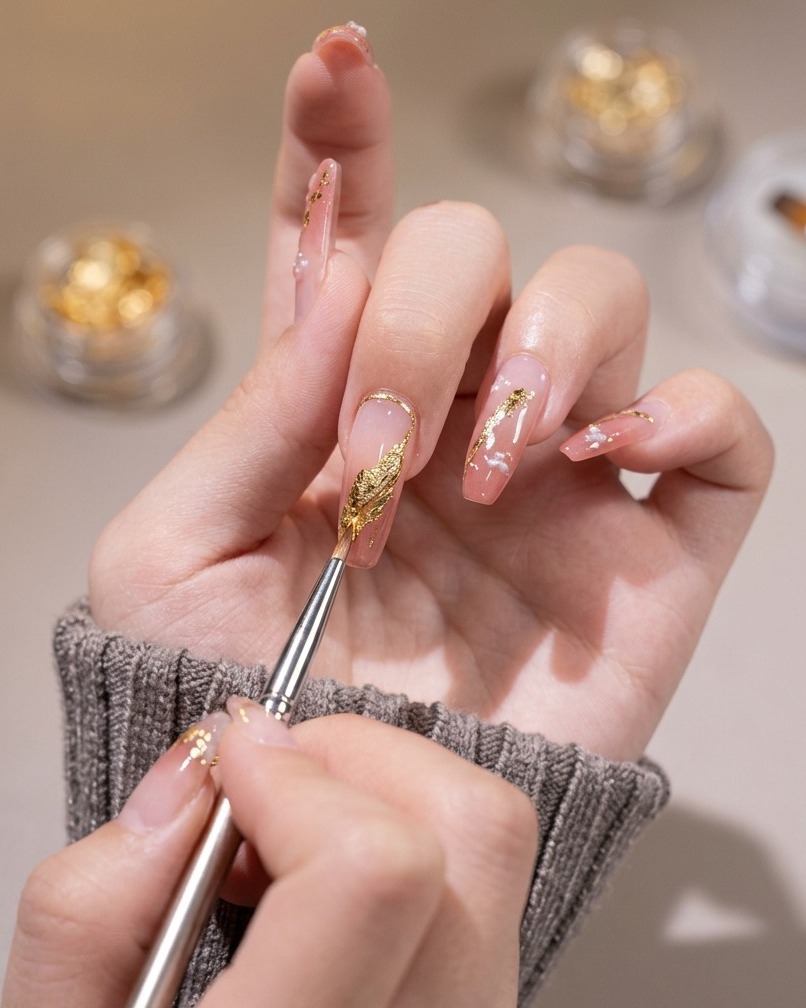
Use a clean, fine liner brush to tap and adjust the gold foil flakes into their final desired position on the nail. Gently press them down to ensure they lie flat against the nail surface, preventing any raised edges that could snag.
Tip: Lightly wetting the tip of your brush with a tiny amount of base coat can help the foil stick to the brush for easier placement. - 11Cure the gold foil
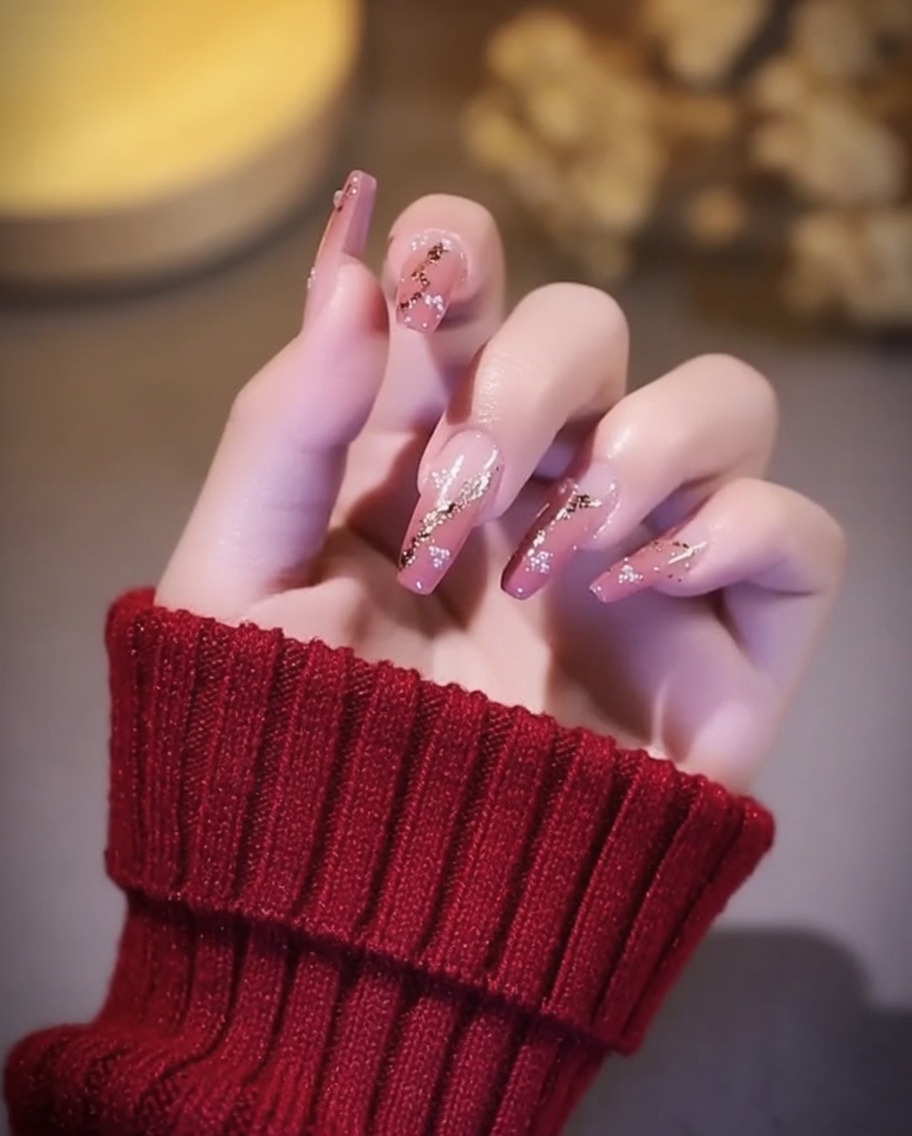
After placing the gold foil flakes exactly where you want them, place the nails back into the lamp to cure. This will lock the foil in place and prepare the surface for the final top coat application.
Tip: A brief 15-30 second flash cure can be sufficient to set decorative elements before applying a full top coat layer. - 12Add rhinestone accents
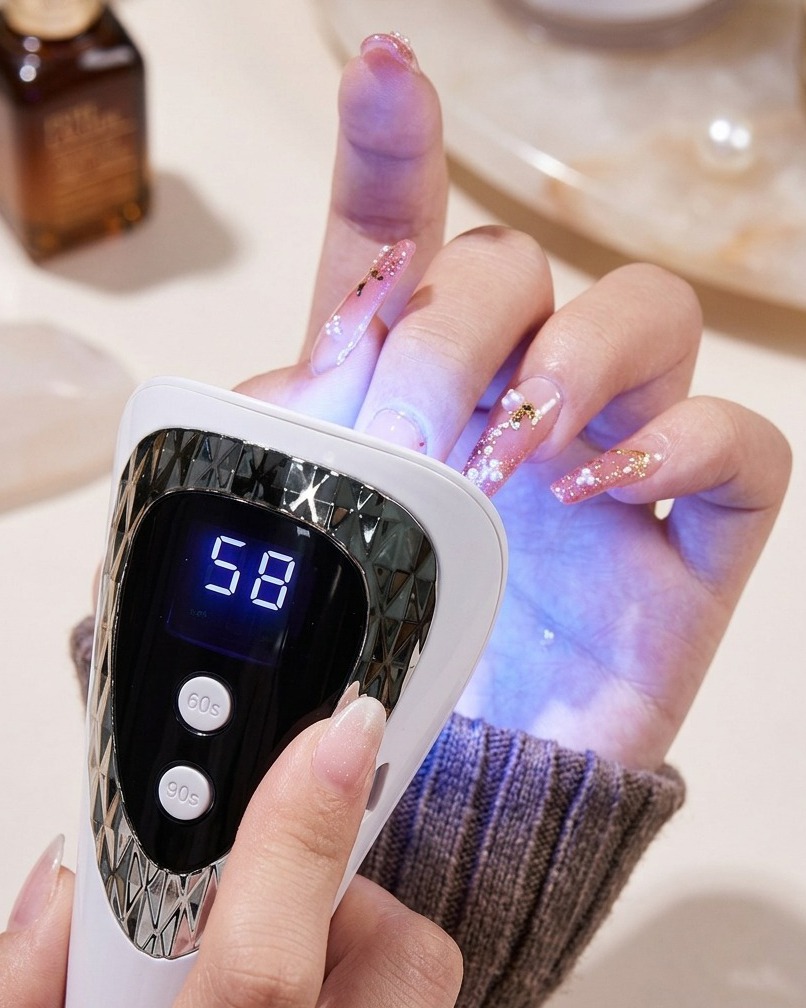
Pick up small, delicate rhinestones using a wax pencil or tweezers and place them over the gold foil designs. Use a liner brush with a tiny drop of clear top coat as adhesive to secure each stone precisely where desired.
Tip: Apply top coat around the base of the rhinestones after placing them to ensure they stay secure. - 13Cure the rhinestone application
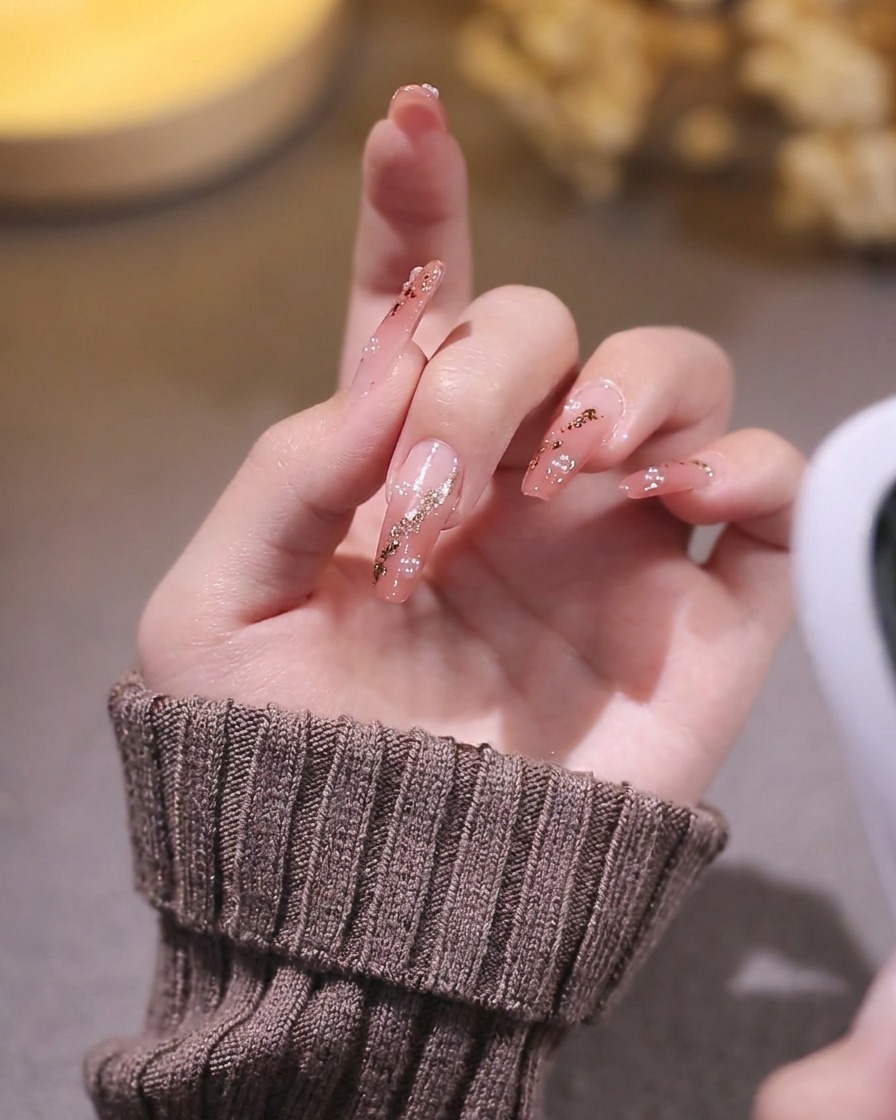
Place your hand inside the UV/LED lamp to cure the rhinestones and the adhesive. Ensure your fingers are positioned directly under the light source for an even cure. This ensures the embellishments are securely bonded to the nail surface for a long-lasting manicure.
Tip: If the rhinestones are large, you may want to pulse the lamp or cure for an extra 30 seconds to ensure the adhesive is fully set. - 14Apply glossy top coat
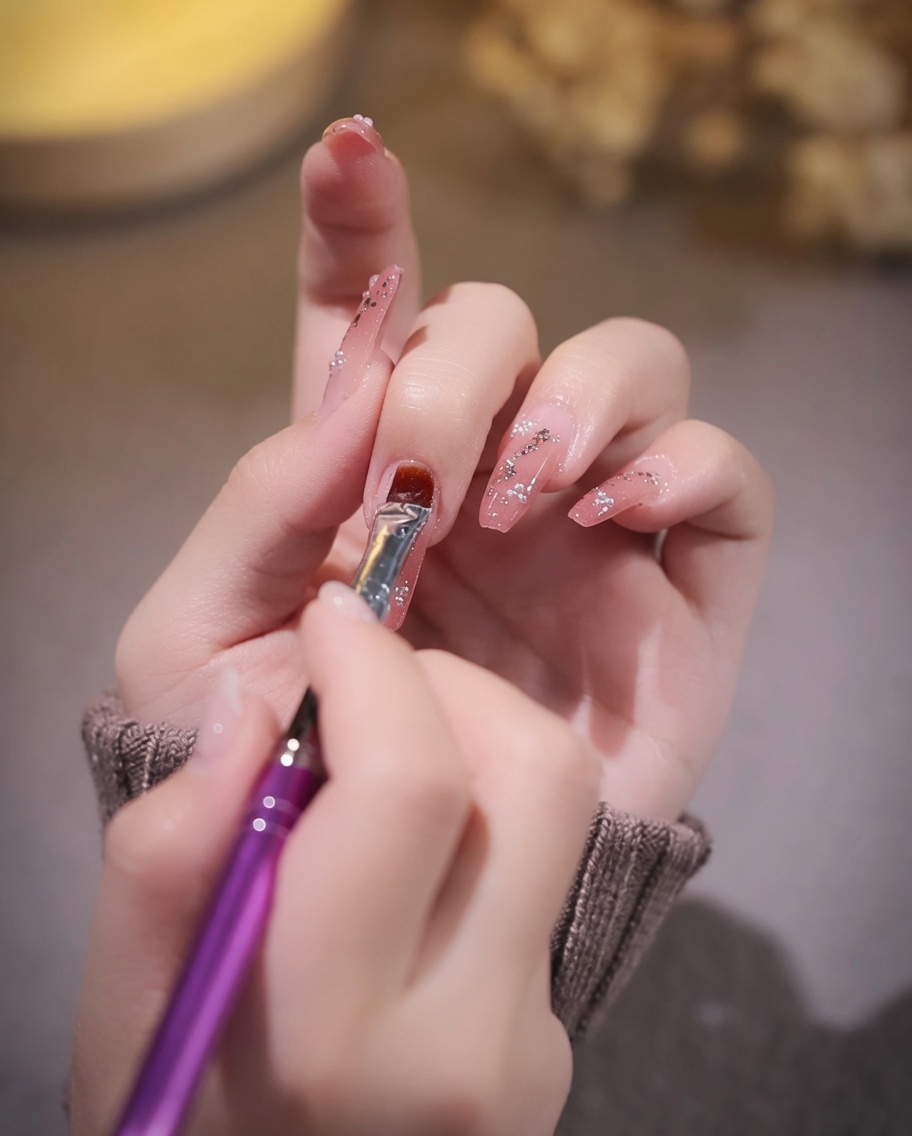
Apply a generous, even layer of glossy top coat over the entire nail to seal in the design and provide a high-shine finish. Ensure you cap the free edge completely to protect the nail art and prevent chipping. This final step locks everything in place and gives the manicure its polished, professional look.
Tip: Check for any gaps or missed spots on the edges to ensure a smooth, uniform shine across the whole surface. - 15Final cure
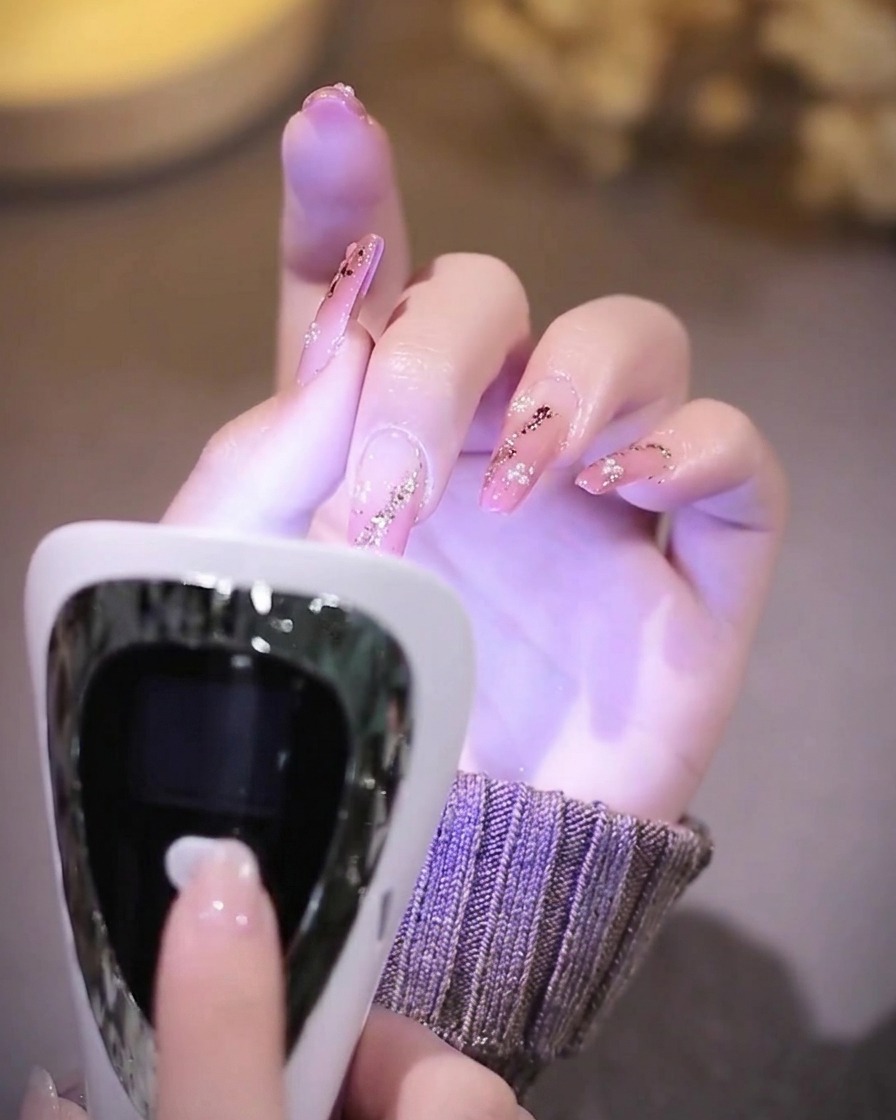
Place your nails under the UV or LED lamp for the final cure. Ensure your hand is positioned correctly to allow the light to fully reach every part of the nail, especially the sides and free edge, ensuring the top coat sets completely and becomes durable.
Tip: Keep your hand still during the entire curing process to prevent smudging or uneven setting of the top coat.