Gilded Illusion Moon Nude Nail Art Tutorial
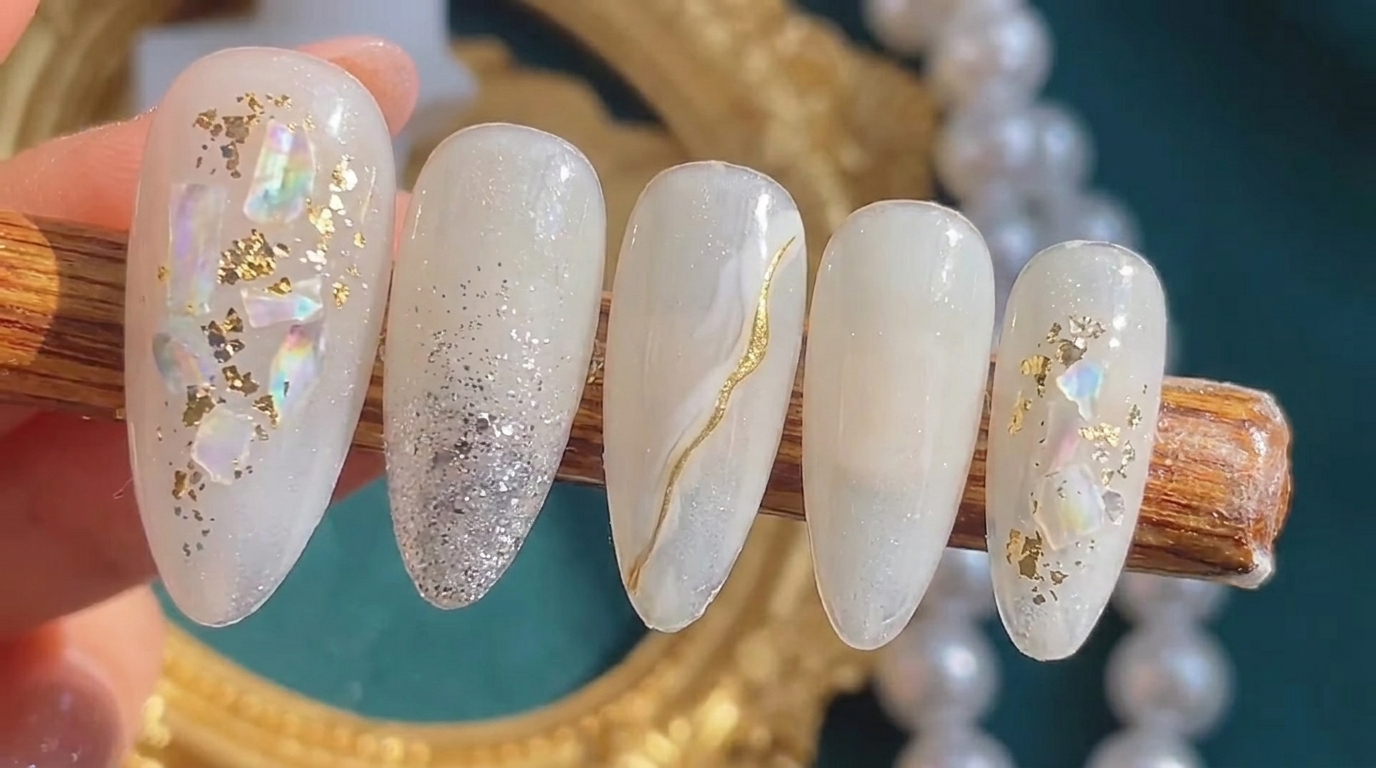
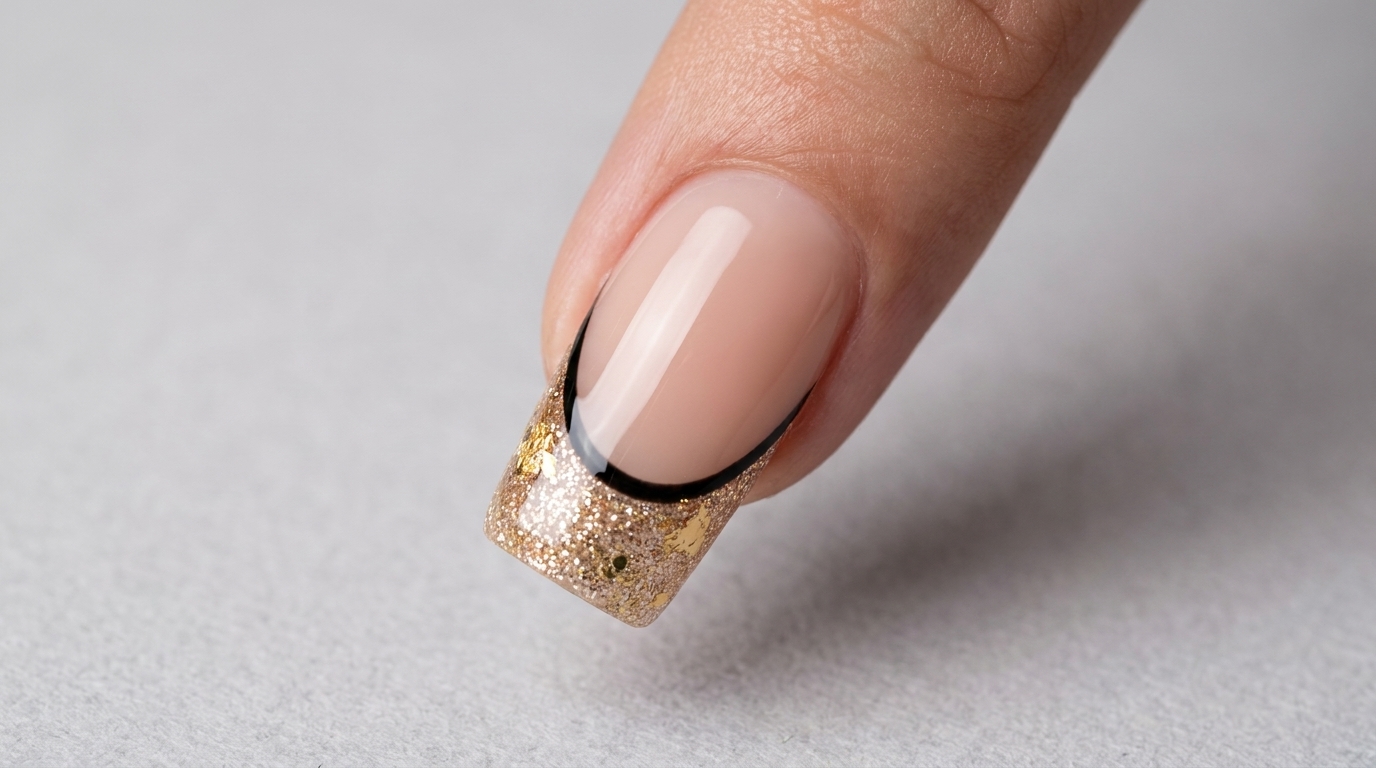
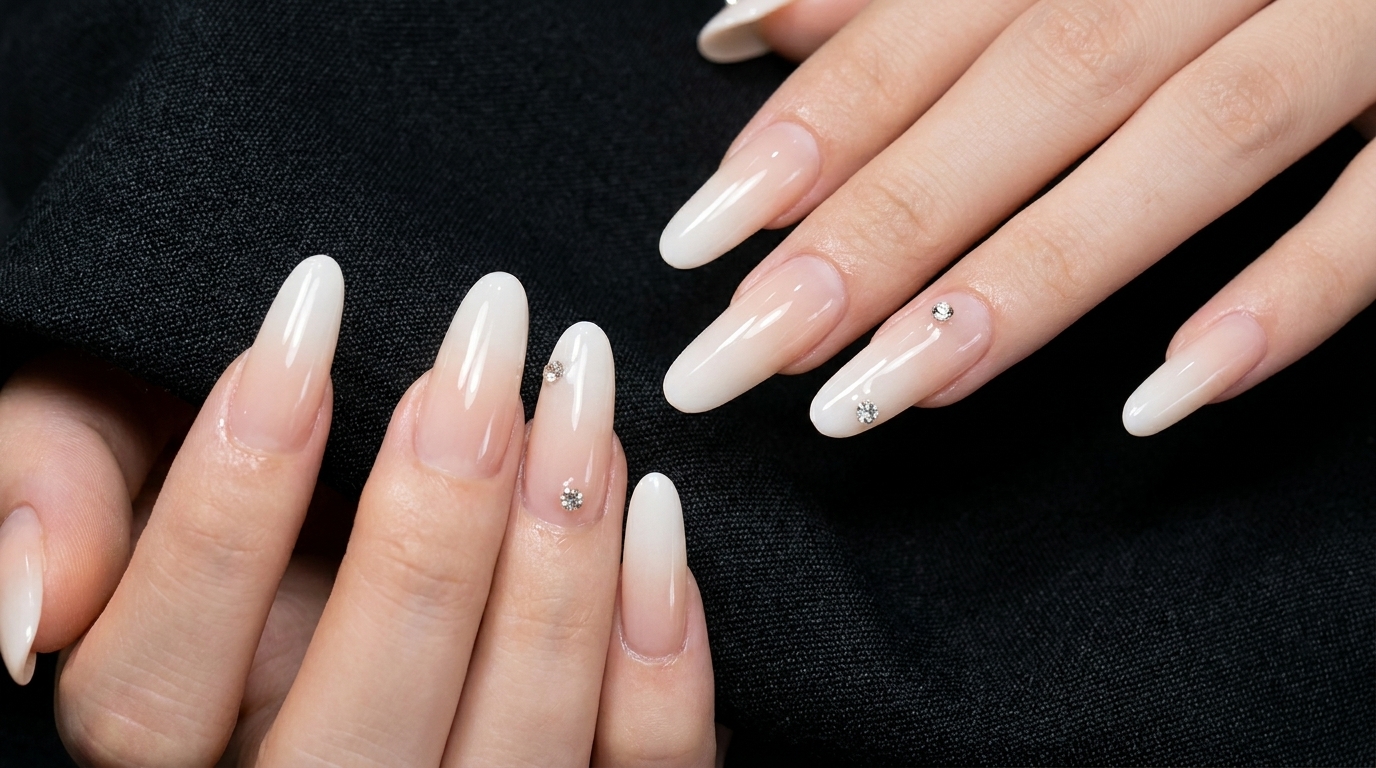
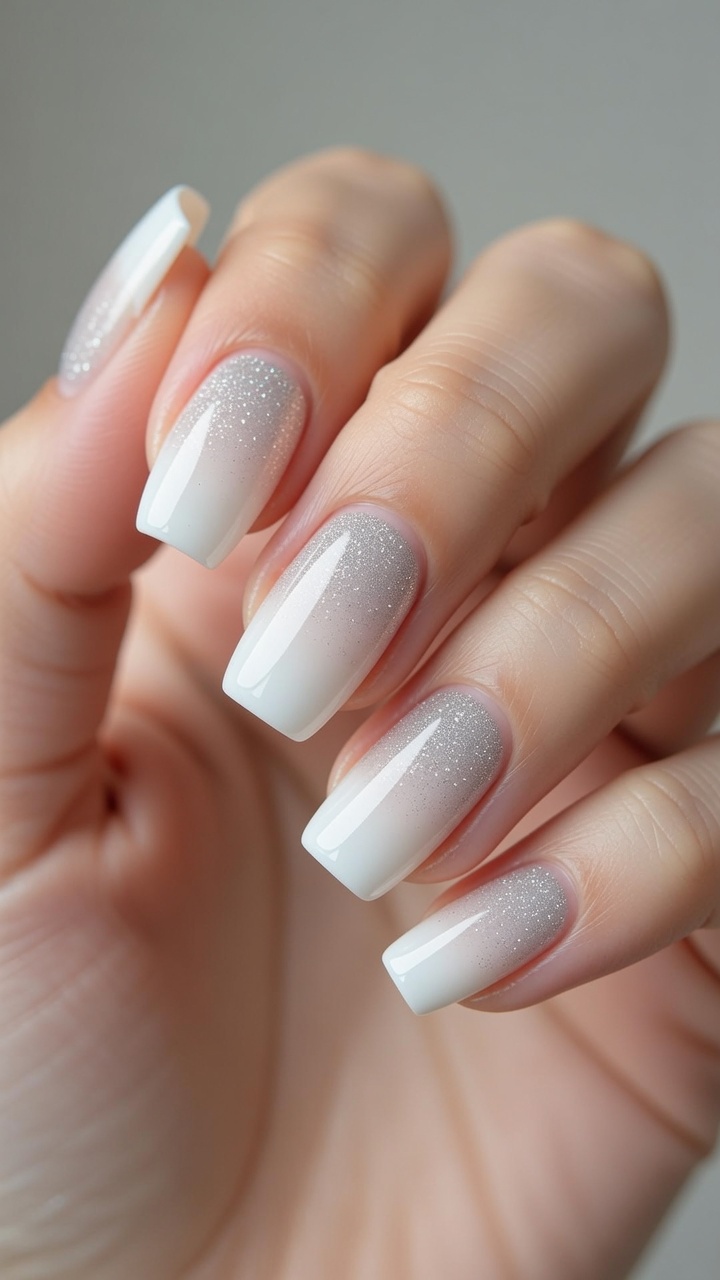
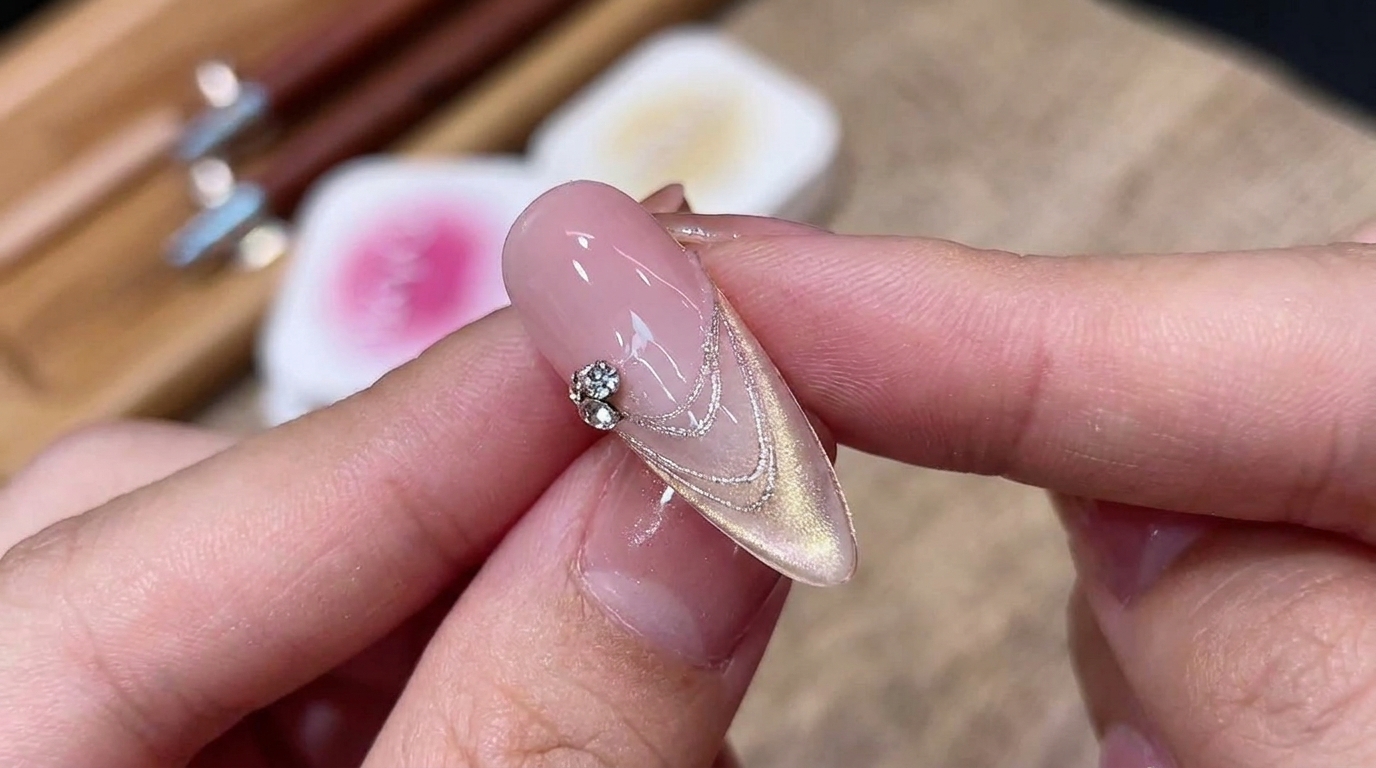
Discover the Gilded Illusion Moon nail design. This ethereal look combines misty blush ombres, gold magnetic cat-eye tips, and delicate silver spider gel lines.
The Gilded Illusion Moon design perfectly balances natural elegance with sophisticated detailing. By layering sheer nude tones with a misty blush effect and accenting the look with magnetic gold shimmer and intricate spider gel, you create a dimensional, ethereal finish. It is a versatile style that transitions effortlessly from everyday wear to formal evening events.
Steps
- 1Apply sheer nude base
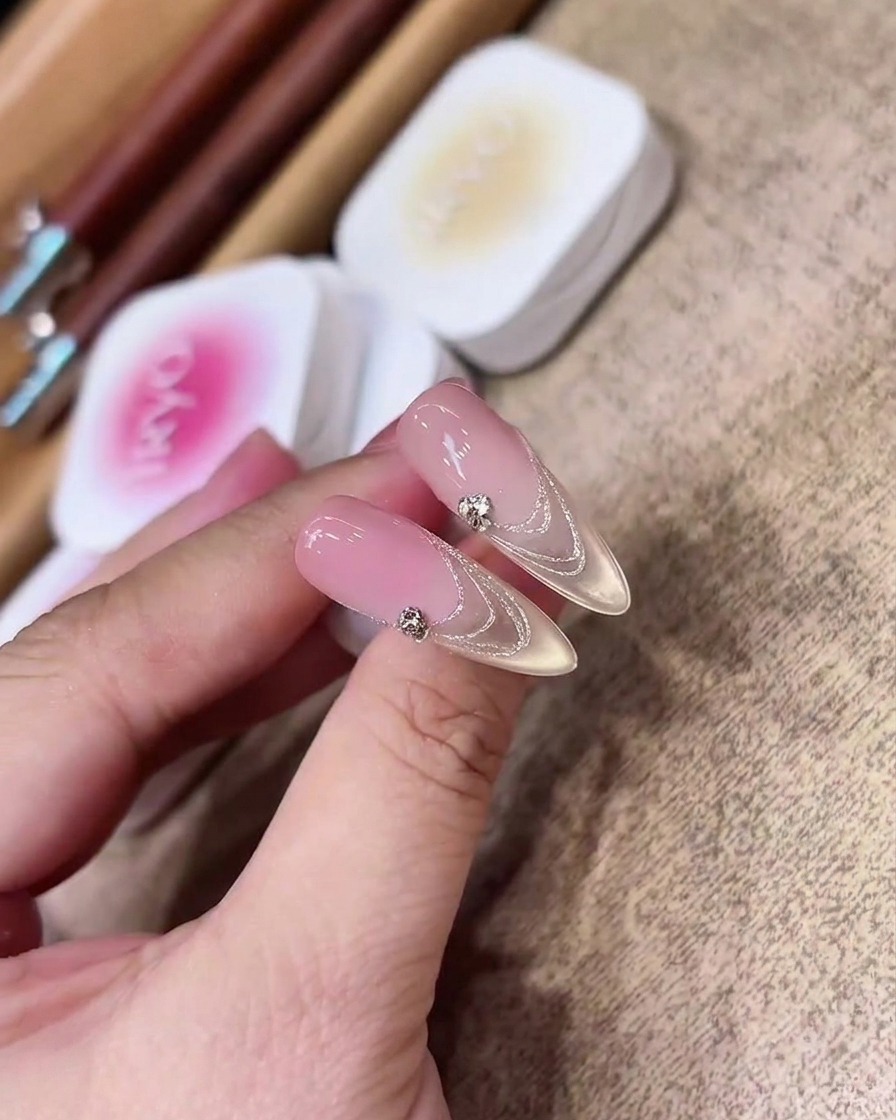
Apply a sheer pinkish-nude gel base over the prepared clear almond-shaped nail extension. Ensure the application is smooth and covers the surface evenly from cuticle to tip, then cure under a UV/LED lamp as per the product instructions.
Tip: Keep the layer thin to ensure a natural, sheer look that serves as the perfect foundation for the blush effect. - 2Load pigment powder
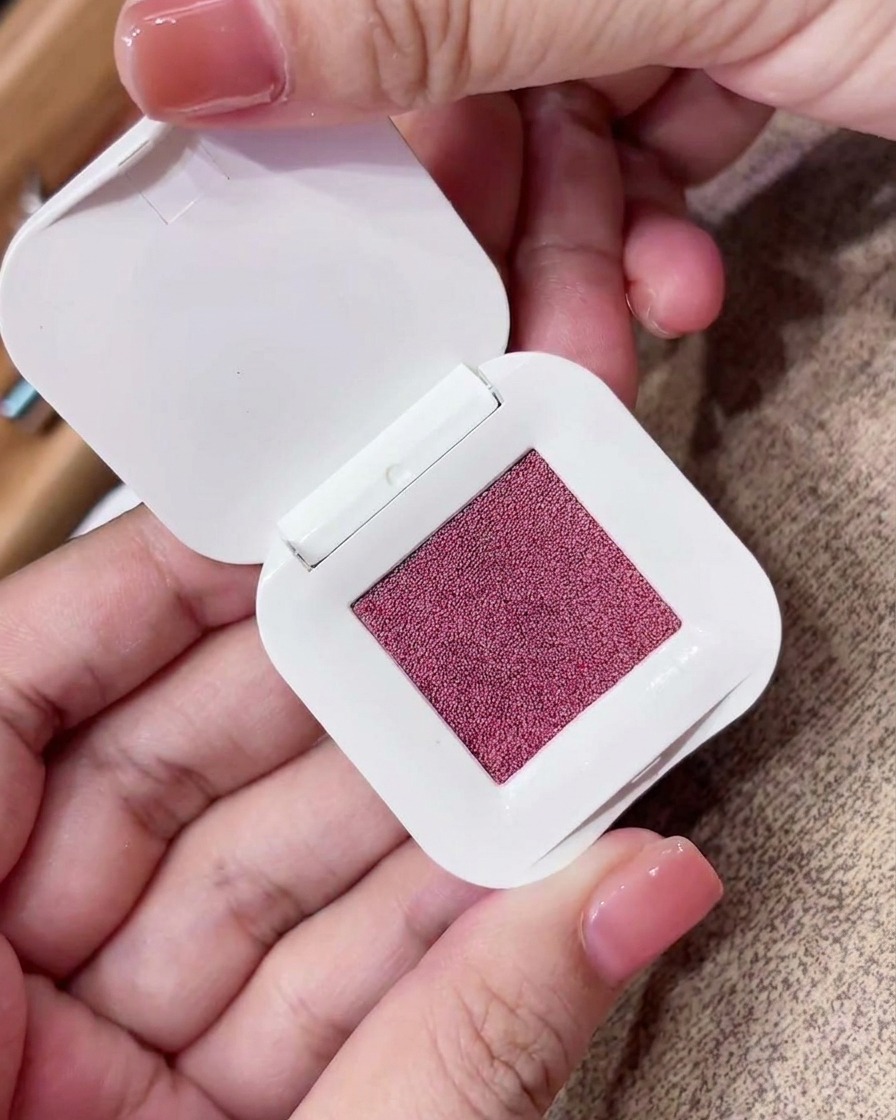
Take a small triangular makeup sponge and rub it firmly into your pinkish-purple pigment powder compact. Ensure the sponge is evenly coated with the fine powder to prepare it for the blush application.
Tip: Use a light hand when picking up the powder to avoid clumps and ensure a fine, misty application. - 3Create blush ombre
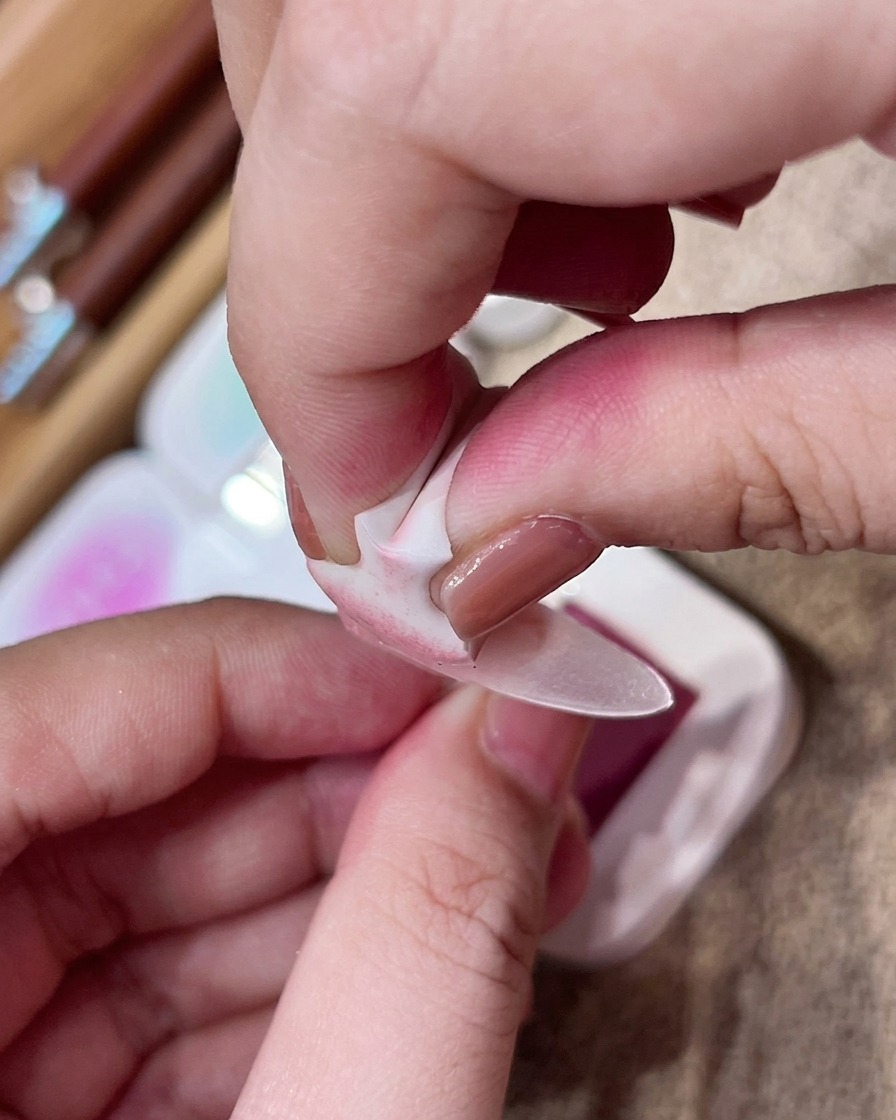
Using the powder-loaded sponge, gently tap onto the center of the frosted nail surface. Repeat this motion to build up a soft, misty blush ombre effect that transitions smoothly across the nail.
Tip: Layer the pigment gradually by tapping multiple times rather than one heavy application to achieve the perfect misty gradient. - 4Apply magnetic gold gel
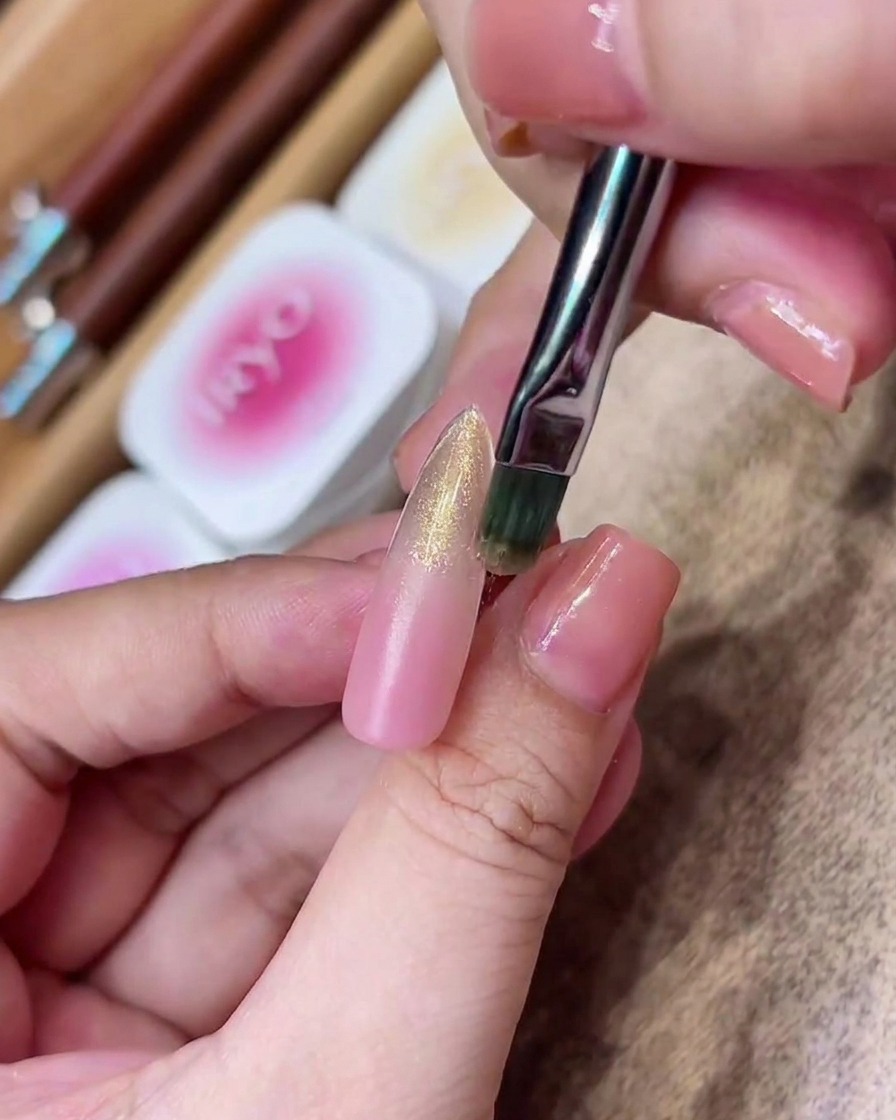
Apply a layer of sheer gold magnetic cat-eye gel starting from the middle of the nail and brushing towards the tip. Focus the product on the area where you want the primary golden shimmer to appear.
Tip: Work with a light touch so the magnetic particles remain fluid for easier manipulation in the next step. - 5Activate magnetic light
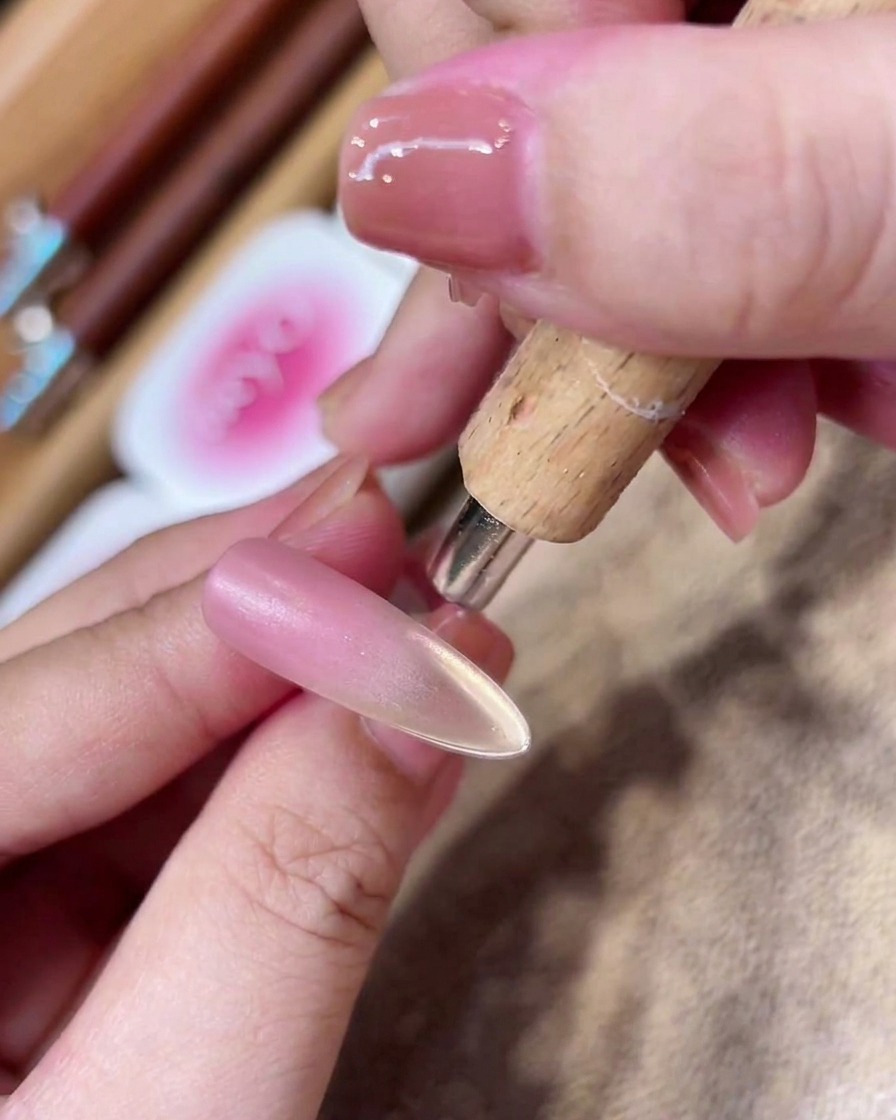
Hold your cylindrical magnet wand close to the tip of the nail without touching the wet gel. Use the magnet to pull the glitter particles forward, concentrating them into a sharp, luminous band of golden light.
Tip: Hold the magnet steady for a few seconds to ensure the magnetic particles settle firmly into the desired shape before curing. - 6Apply French guide
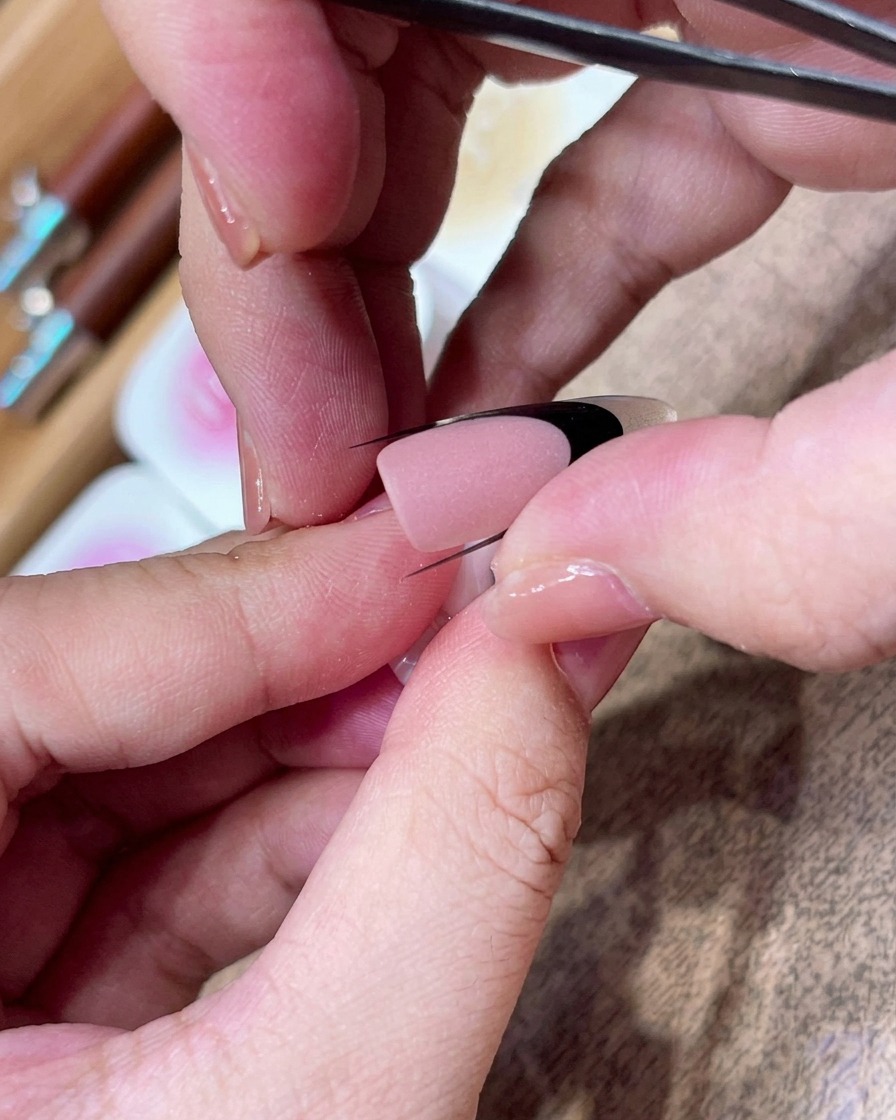
Using tweezers, lift a curved French tip sticker and place it diagonally across the middle of the nail. Press it down firmly against the matte surface to create a crisp boundary for the next layer of nail art.
Tip: Ensure the sticker is pressed down completely, especially at the edges, to prevent any polish from bleeding underneath. - 7Create a soft white French curve
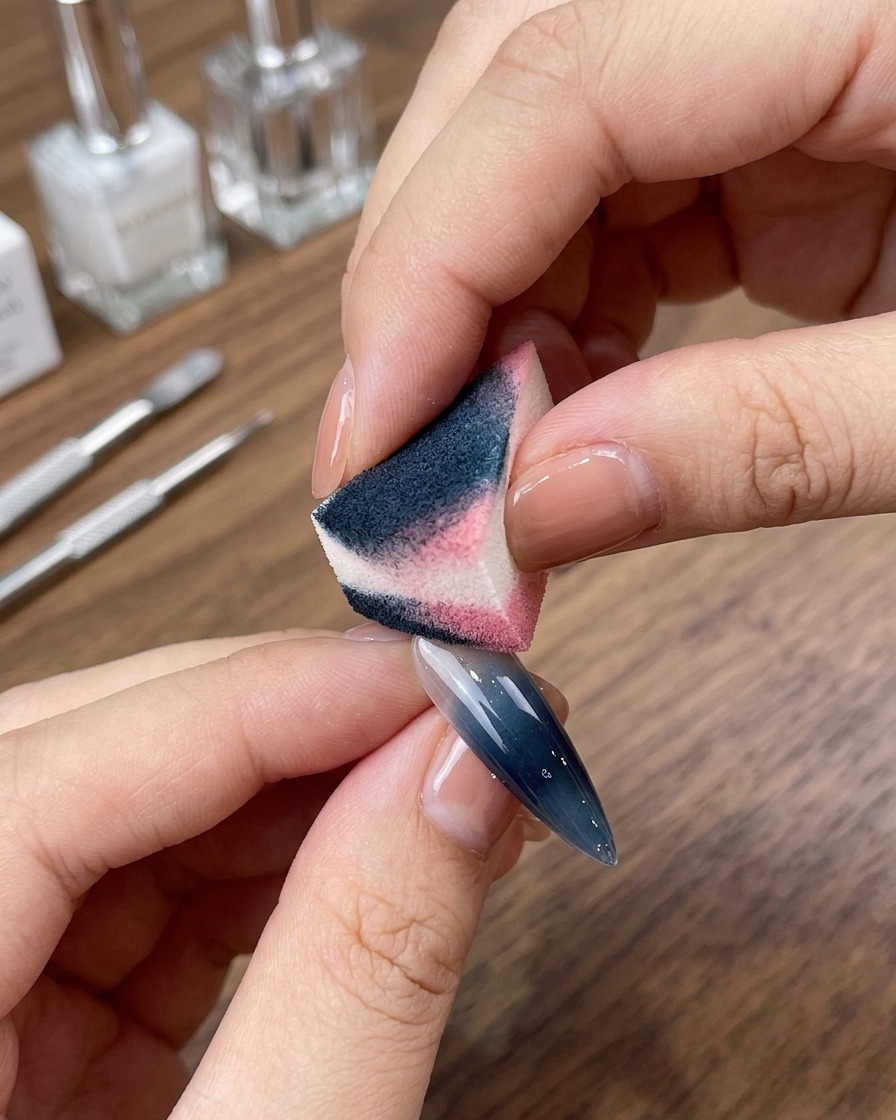
Using a makeup sponge, gently tap white pigment along the edge of the French tip sticker. This creates a soft, diffused ombre effect along the smile line for a delicate French manicure appearance. Ensure the application is even for a professional finish.
Tip: Use a light, dabbing motion with the sponge to avoid harsh lines and achieve a smooth gradient. - 8Prepare the spider gel
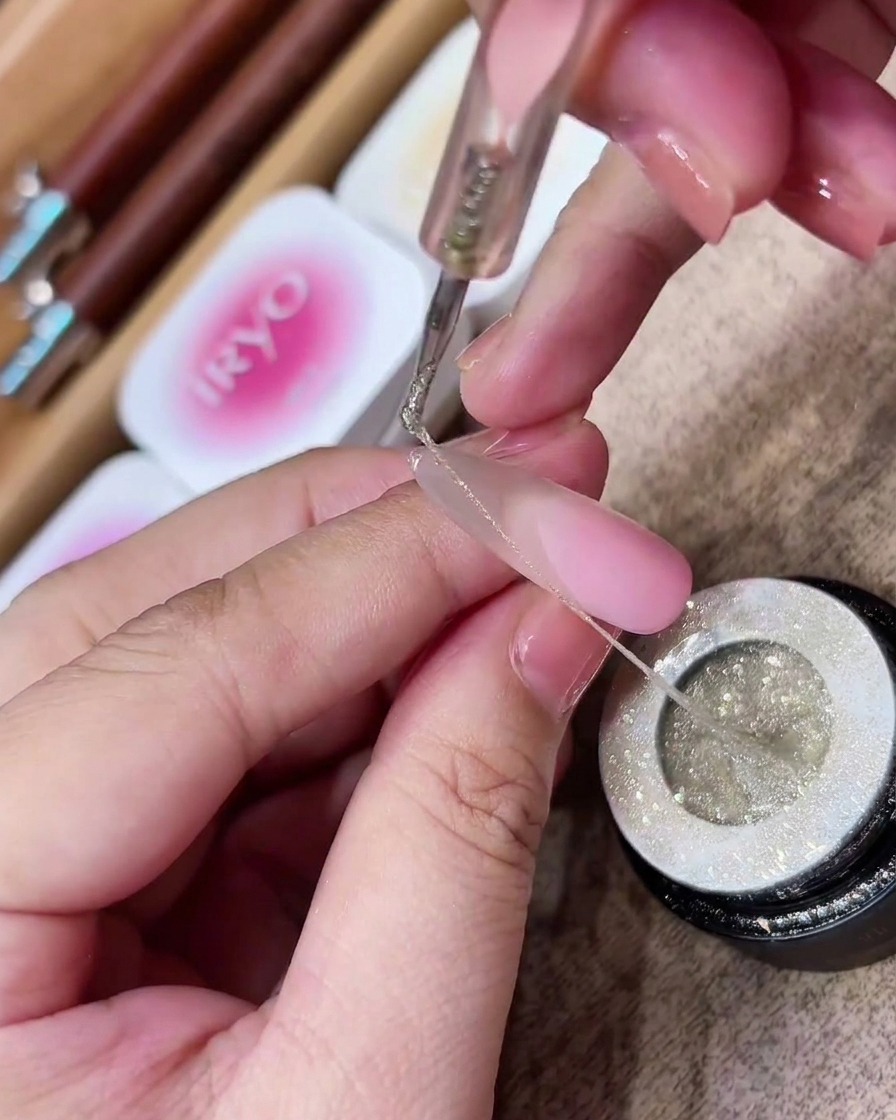
Dip your dotting tool or a fine brush into the highly reflective silver spider gel to pick up a small amount of product. Lift the tool slowly to create a long, thin, and continuous string of gel. This string is what you will use to create the intricate, delicate lines across your nail.
Tip: Work slowly when lifting the tool to maintain a consistent, thin strand of gel without it breaking. - 9Apply spider gel details
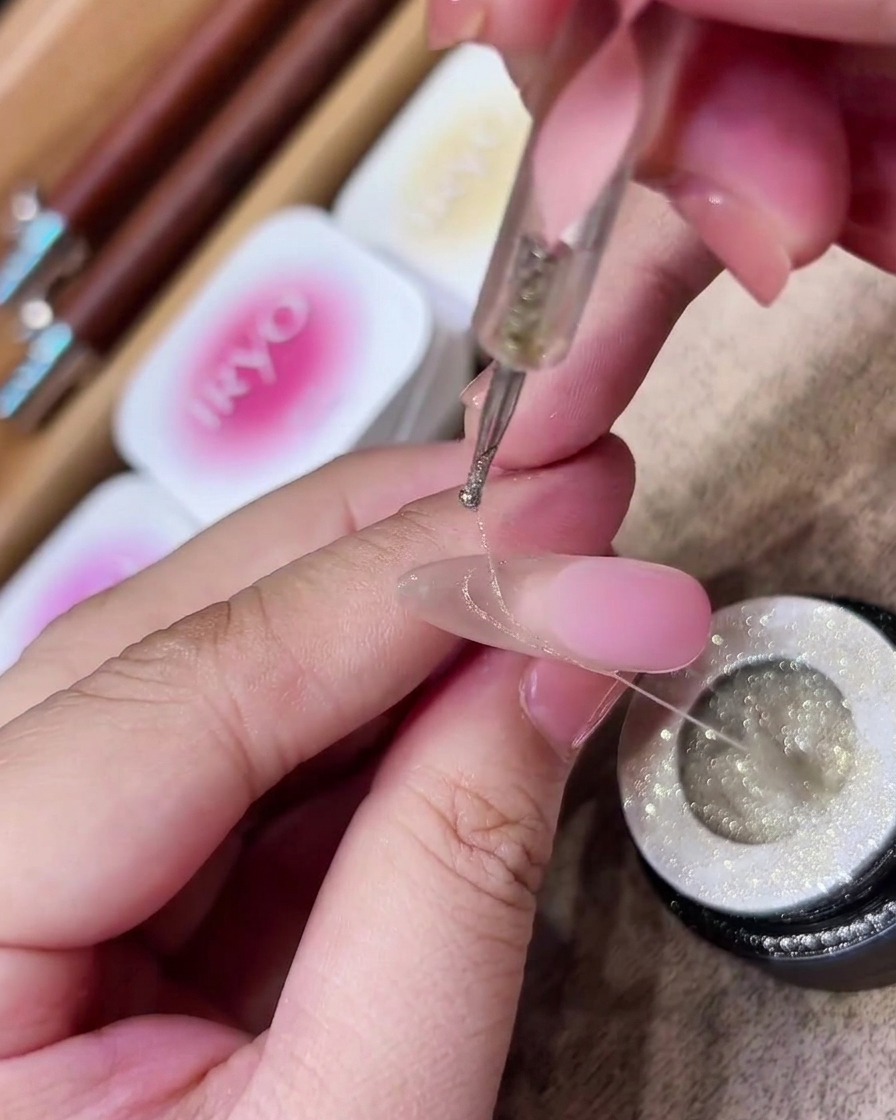
Carefully drape the stretched strand of silver spider gel across the nail surface, maneuvering your hand to create elegant, sweeping curves. Allow the gel to naturally land on the nail to form delicate, thread-like designs. These reflective lines add a sophisticated shimmer to the overall look.
Tip: Keep your hand steady and let the gravity and viscosity of the gel guide the placement of the lines. - 10Attach rhinestone accents
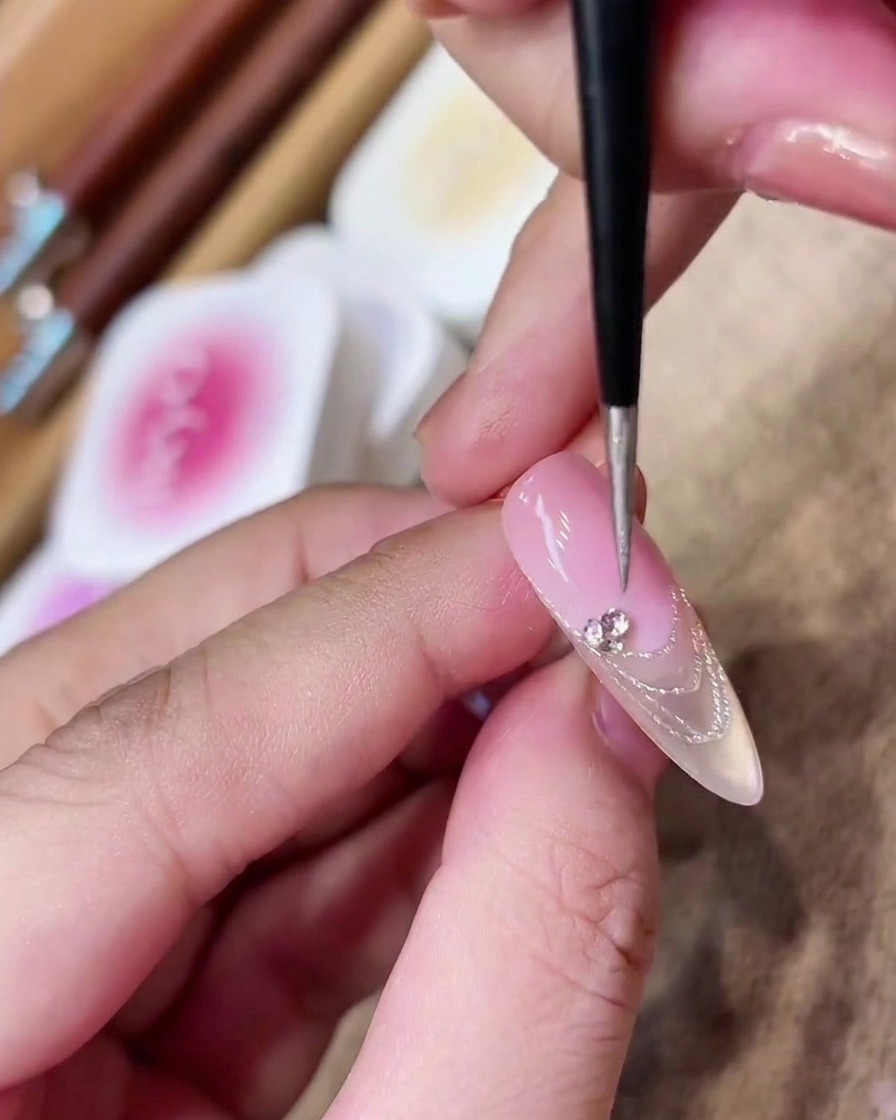
Using a fine detailing brush, pick up a small cluster of rhinestones and place them securely onto the curved white French line. Position the cluster carefully to act as a focal point, enhancing the elegance of the design. Cure to lock the stones in place.
Tip: Use a tiny amount of clear builder gel or rhinestone glue under the stones to ensure they stay firmly attached to the nail surface.