Glitter Gradient French Manicure — Elegant Gel Nail Tutorial
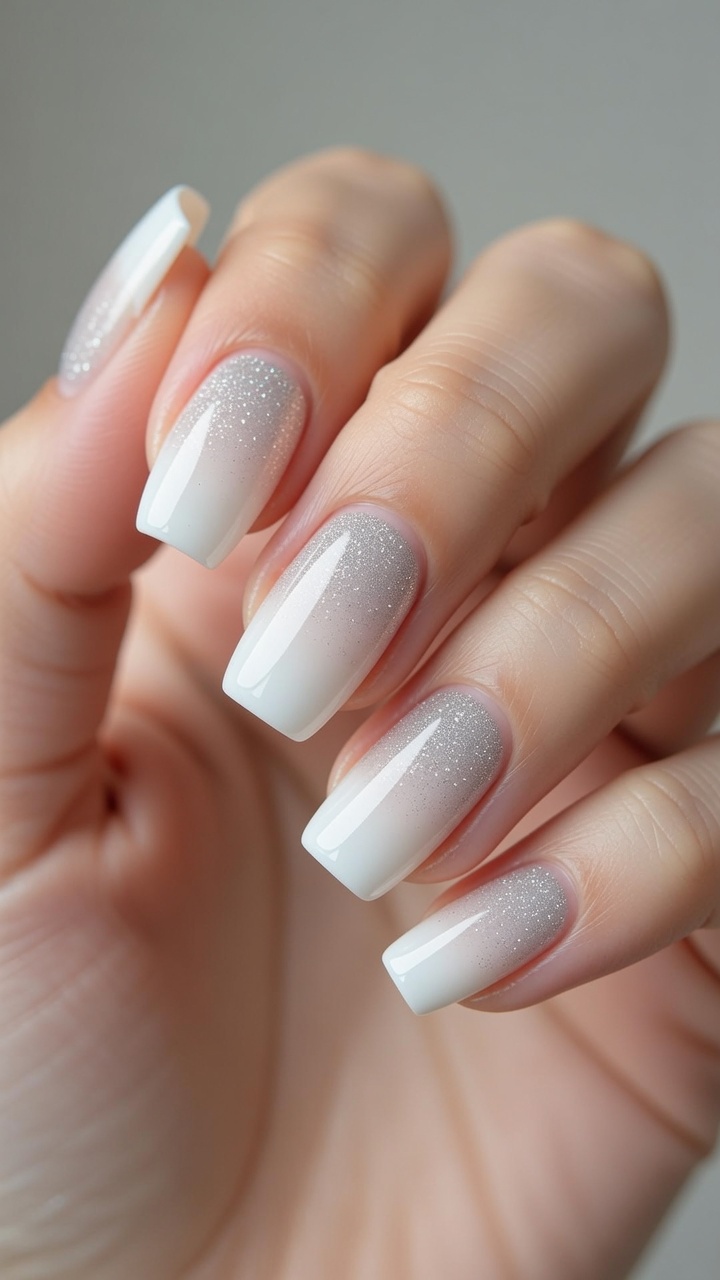
Create a sophisticated glitter-to-white French gradient with this easy gel nail tutorial. Perfect for a high-gloss, refined look.
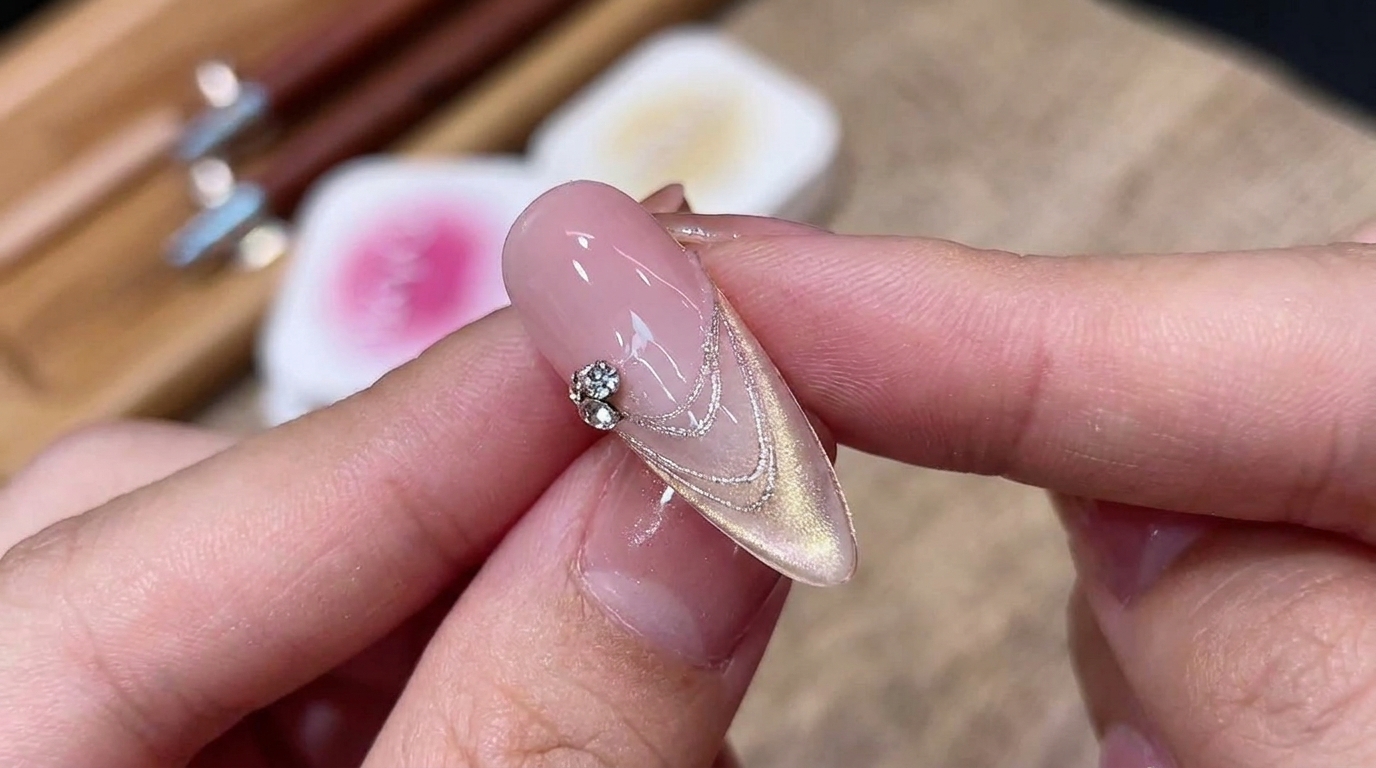
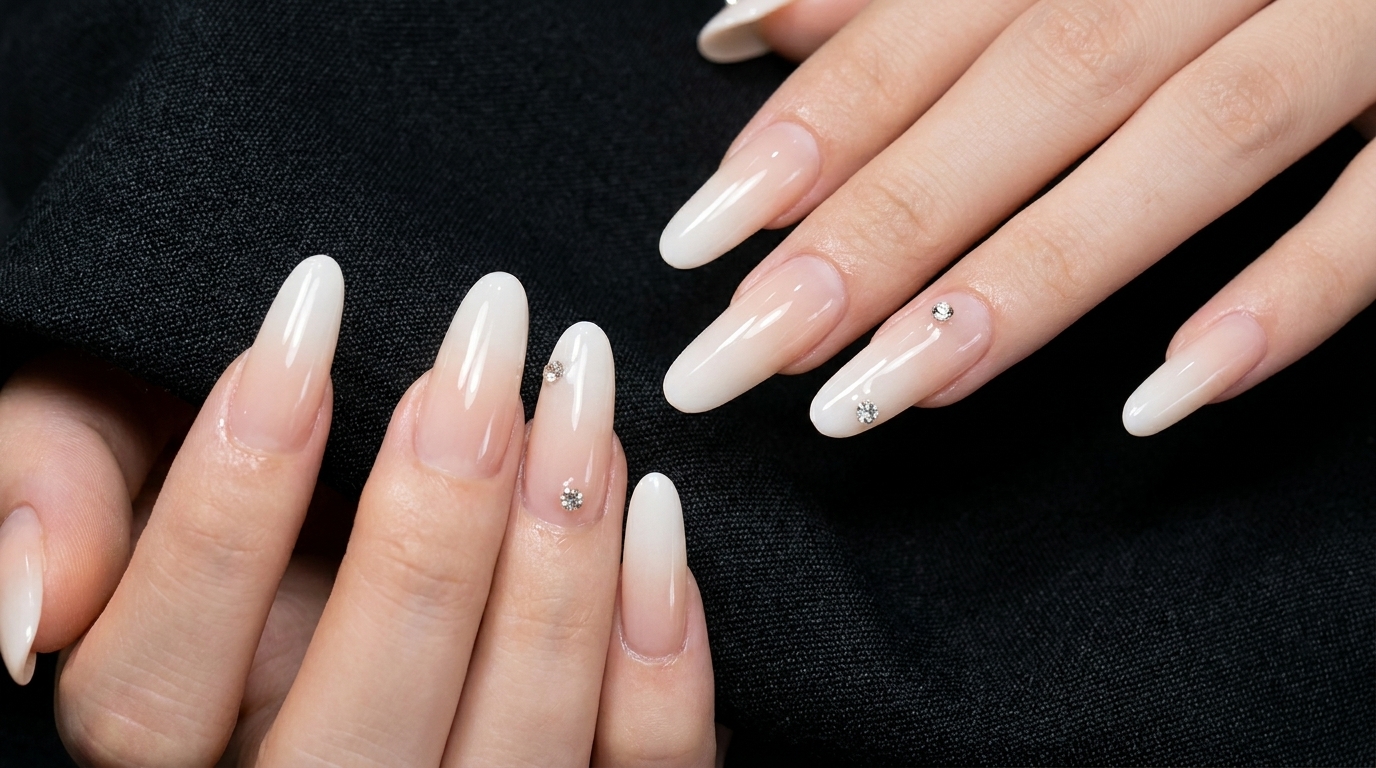
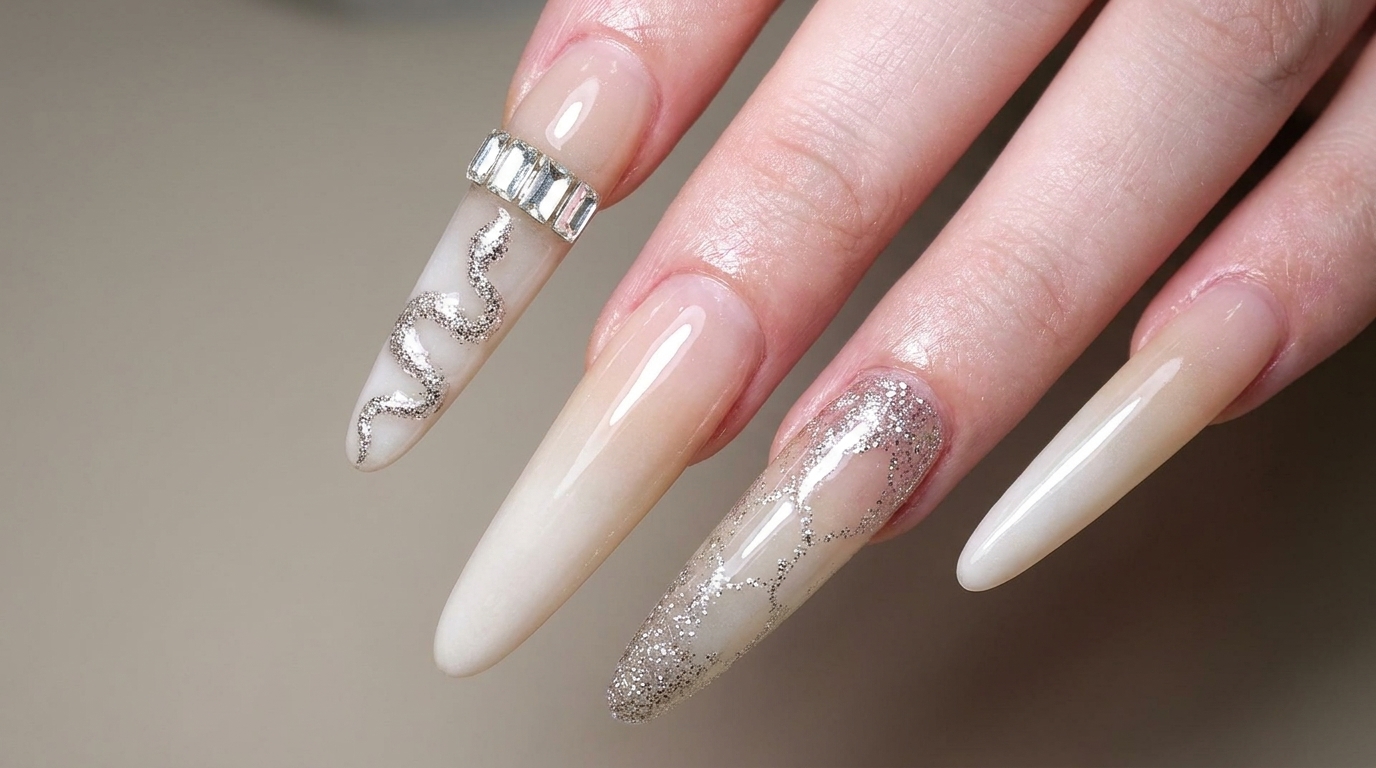
The glitter gradient French manicure offers a modern twist on a timeless classic. By blending a fine silver glitter base with a crisp, milky white tip, you achieve a multidimensional finish that works for both professional settings and special occasions. This technique uses simple dabbing and blending methods to ensure a seamless transition that looks professionally polished.
Steps
- 1Prepare glitter mixture
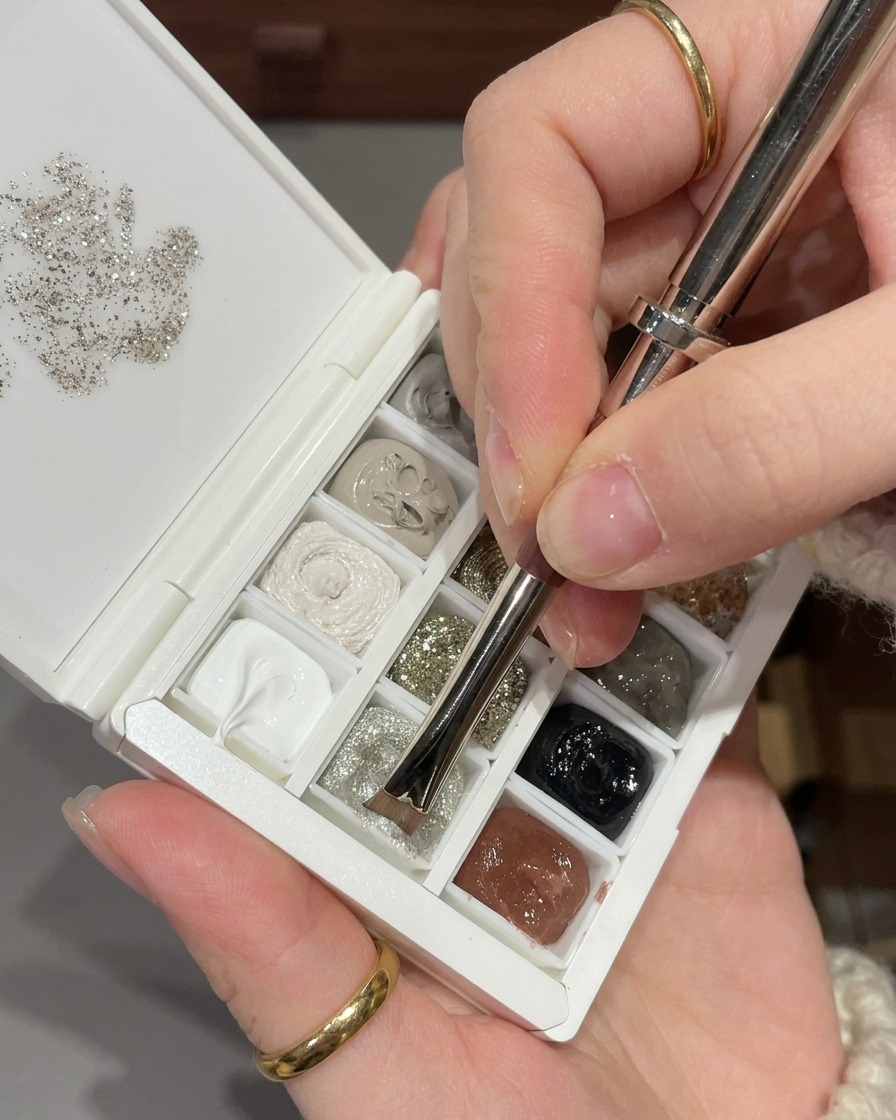
Using a nail art brush, carefully scoop a small amount of fine silver glitter gel from your palette. Ensure you have an even amount on the brush bristles to maintain consistent application.
Tip: Work with a small amount of product at a time to prevent creating a mess on your palette. - 2Mix glitter and sequins
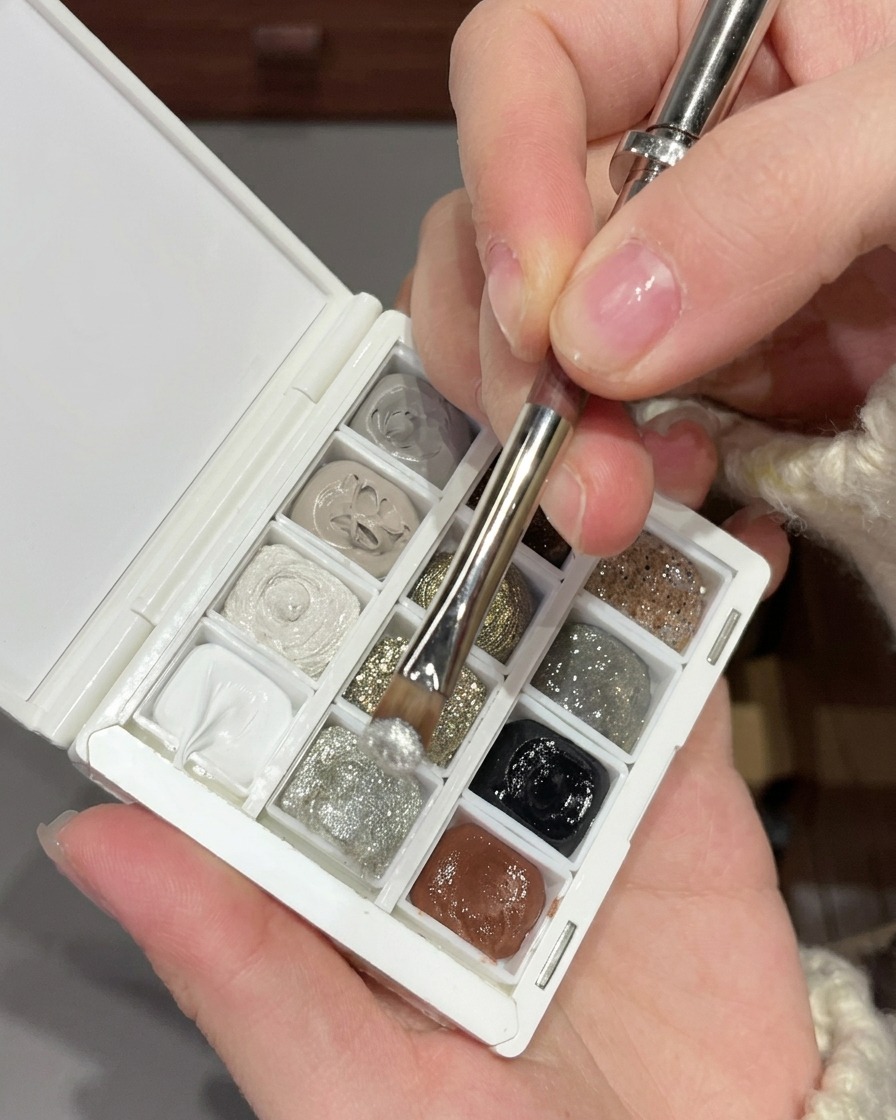
Take the silver glitter gel on your brush and blend it into the silver sequins located on your palette. Use a gentle stirring motion to ensure the sequins are evenly distributed throughout the glitter gel.
Tip: Mixing the two textures creates a more dimensional and reflective finish on the nail. - 3Apply glitter mixture
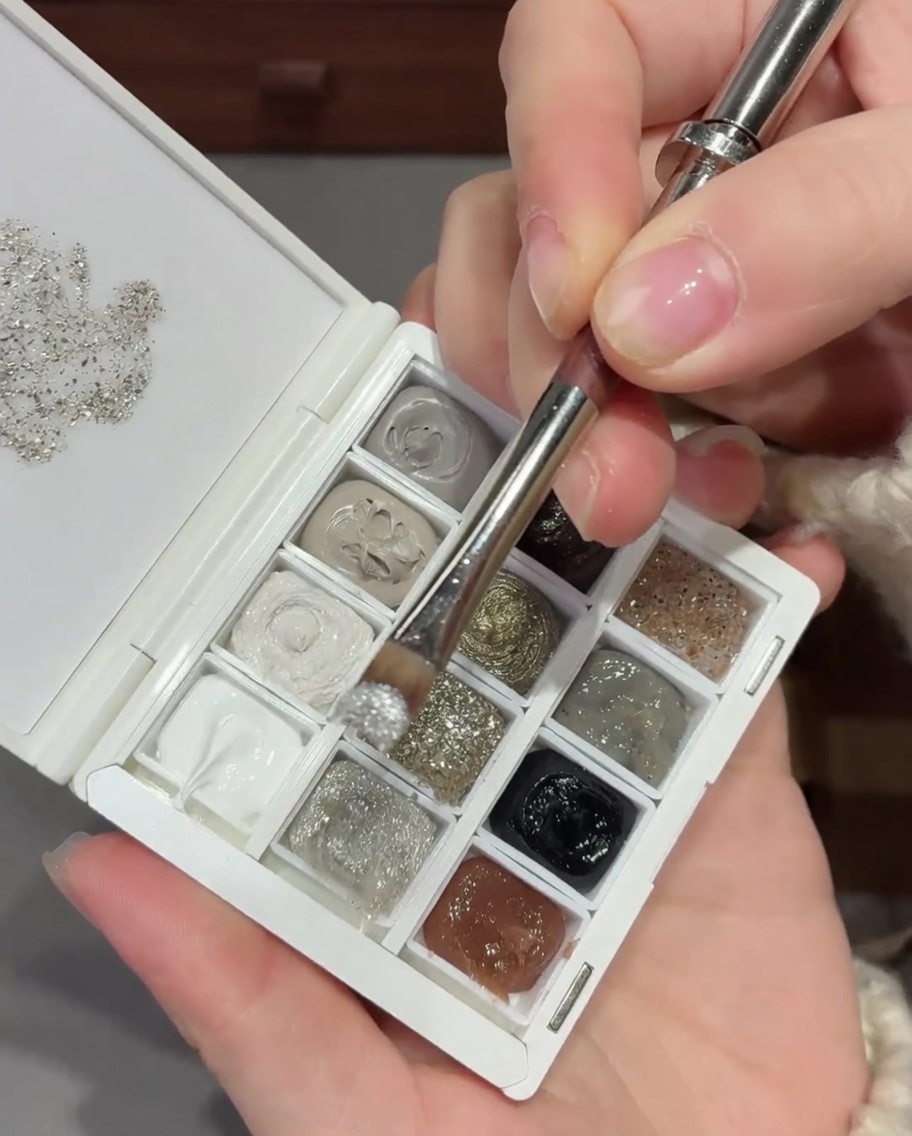
Using your brush, apply the mixed glitter and sequin blend onto the nail. Start the application near the cuticle area and gently pull the product forward toward the tip to begin the gradient.
Tip: Use light, dabbing motions to distribute the sequins evenly without dragging them too far toward the tip. - 4Blend the glitter gradient
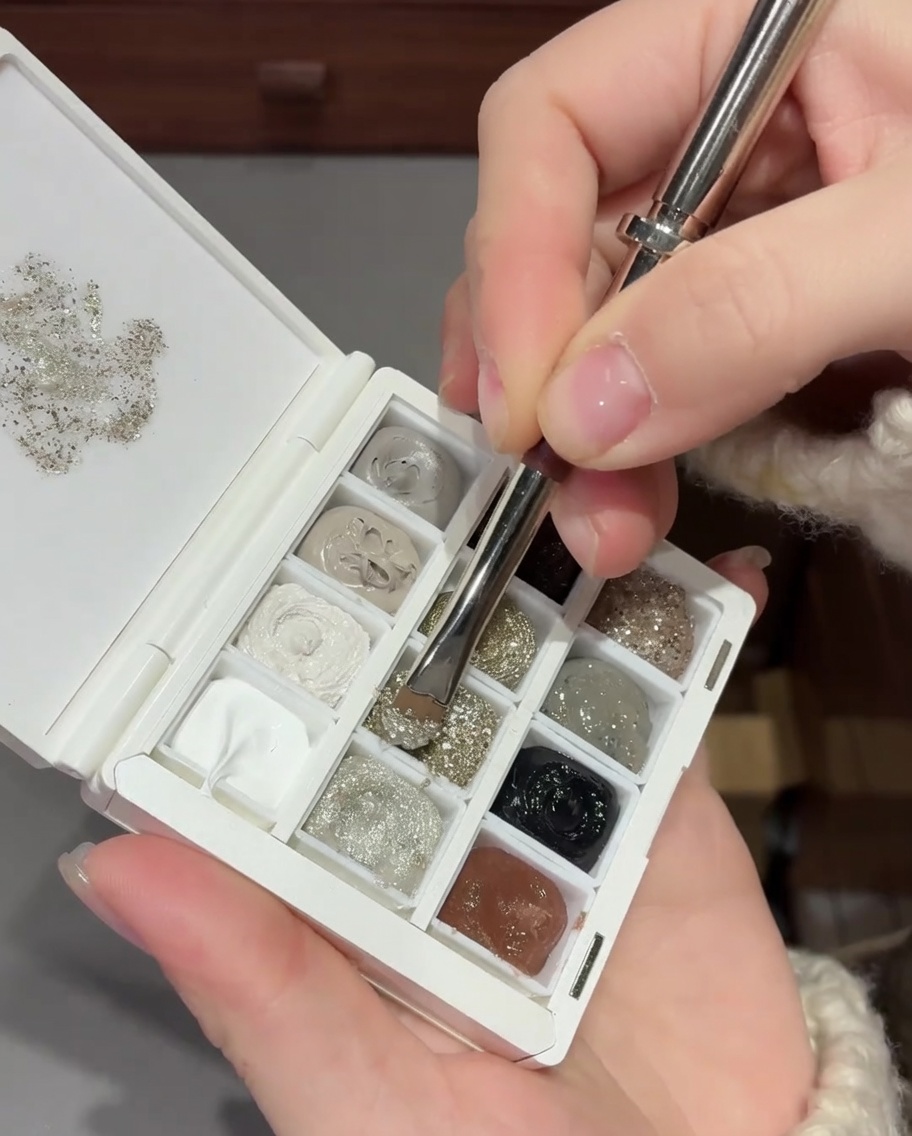
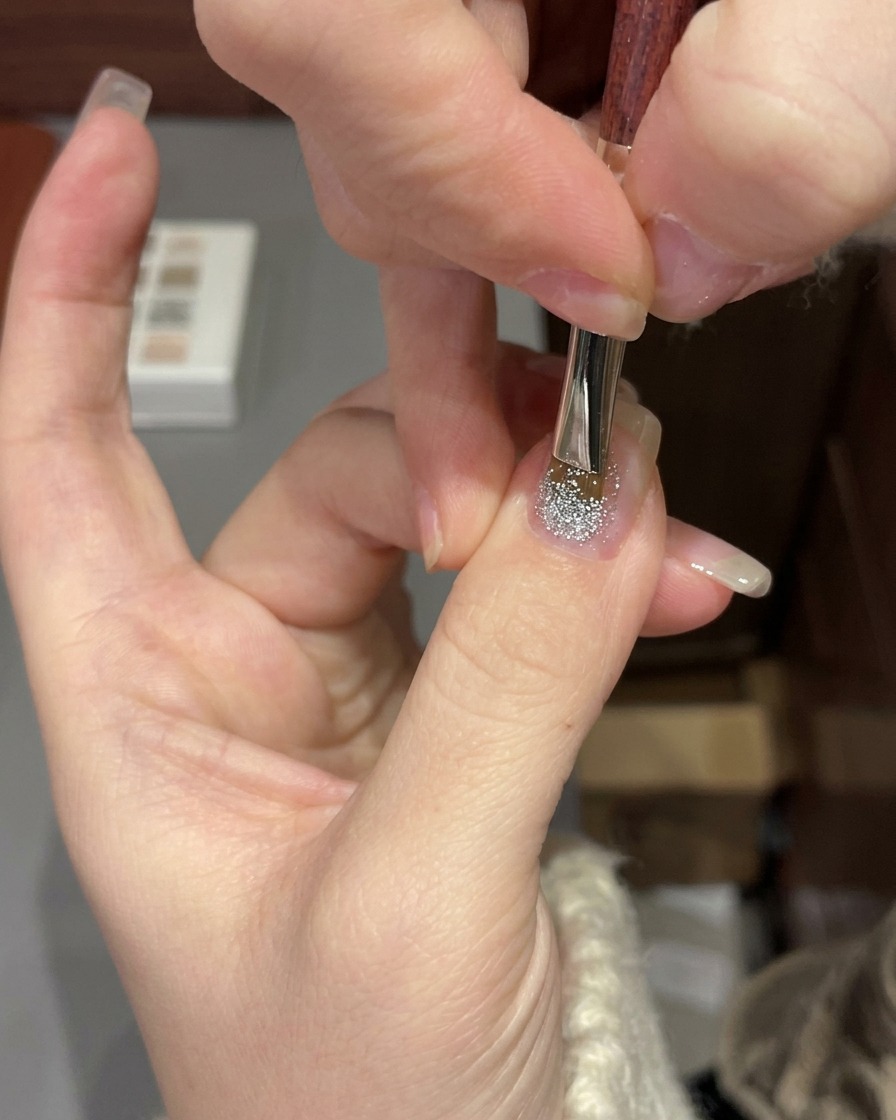
Continue using your brush to blend the glitter mixture from the cuticle toward the middle of the nail. Use light strokes to fade the glitter density, ensuring a smooth transition into the clear nail space.
Tip: Feather the edges of the glitter to create a soft, seamless gradient look. - 5Cure the glitter
Once the glitter gradient is blended to your satisfaction, place your hand into the UV or LED lamp. Cure the gel for the full recommended time to ensure the glitter is completely set.
Tip: Keep your fingers flat inside the lamp to ensure even light exposure across the entire nail surface. - 6Apply builder gel
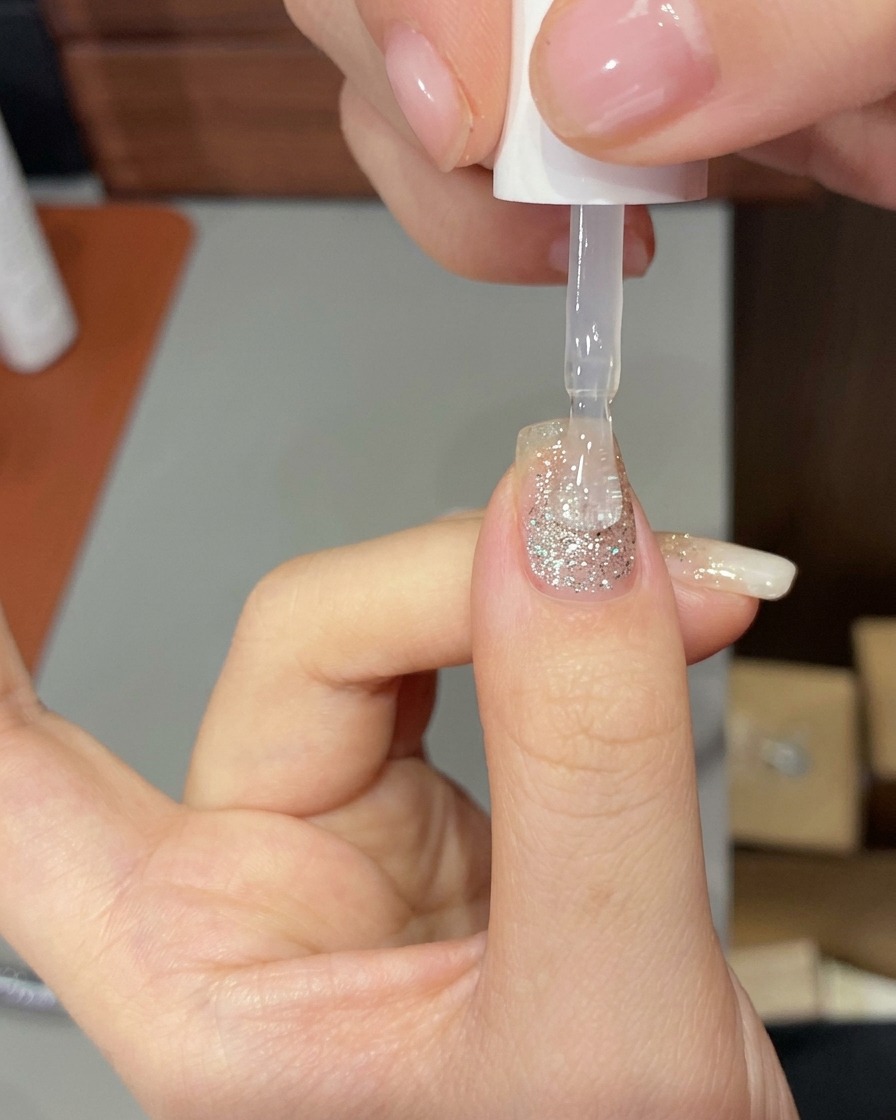
Apply a thin layer of builder gel over the entire nail surface. This will encapsulate the glitter, smooth out any texture from the sequins, and provide a strong base for the next steps.
Tip: Ensure you cap the free edge with the builder gel to prevent chipping. - 7Cure the builder gel
Place the hand firmly under the UV/LED lamp to ensure the builder gel is fully cured. Ensure that all fingers are positioned correctly to receive even light exposure. Follow the manufacturers recommended curing time to guarantee the gel sets properly and provides a durable, smooth base for the next step.
Tip: Keep your hand still throughout the curing process to prevent any shifting of the gel, which could lead to an uneven surface. - 8Clean the nail surface
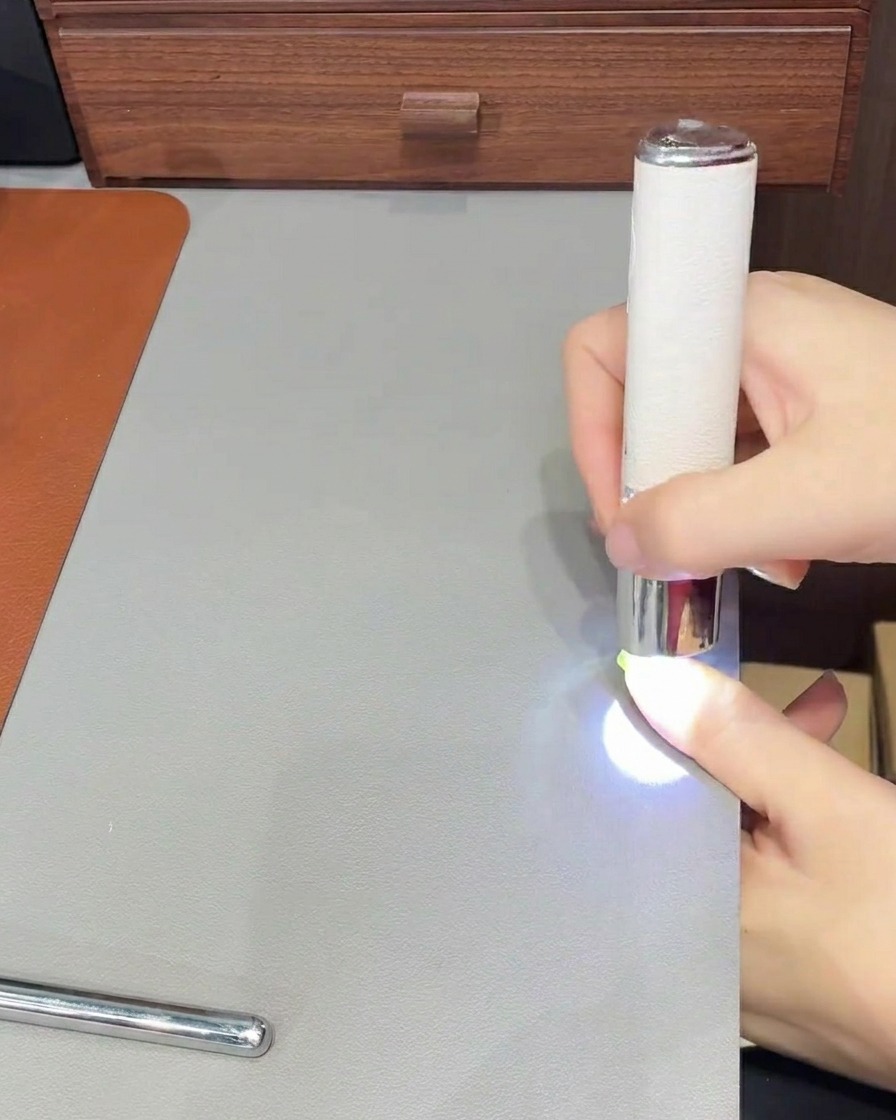
After curing, the gel may have a sticky inhibition layer on the surface. Use a lint-free wipe soaked in a nail cleanser or isopropyl alcohol to thoroughly wipe this layer away. This leaves a clean, smooth, and non-tacky finish ready for the next application.
Tip: Use a fresh section of the lint-free wipe for each nail to avoid spreading the sticky residue back onto the surface. - 9Prepare sponge with white gel
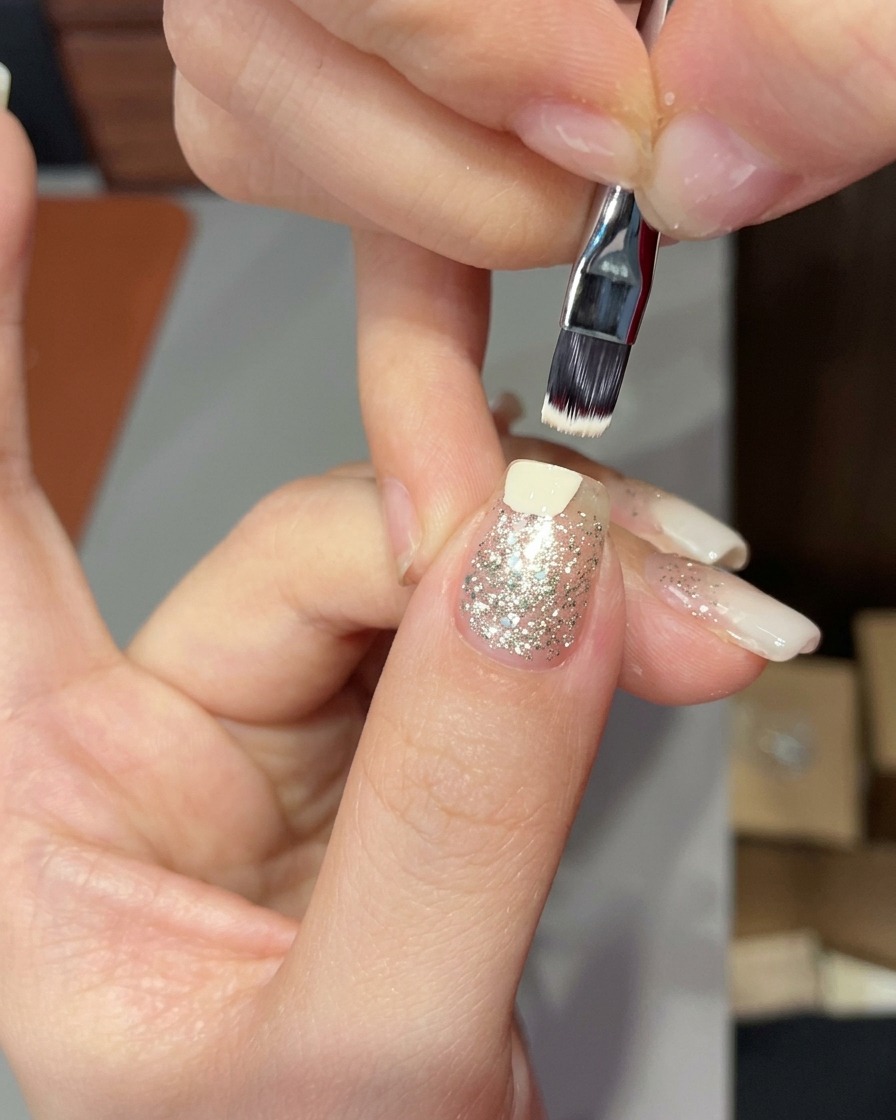
Apply a small amount of milky white gel directly onto the edge or tip of a makeup sponge. This method allows for a controlled, soft application, which is essential for creating a natural-looking gradient French tip.
Tip: Do not overload the sponge with too much gel; a thin, even coat works best to prevent a thick or chunky finish. - 10Create white gradient tip
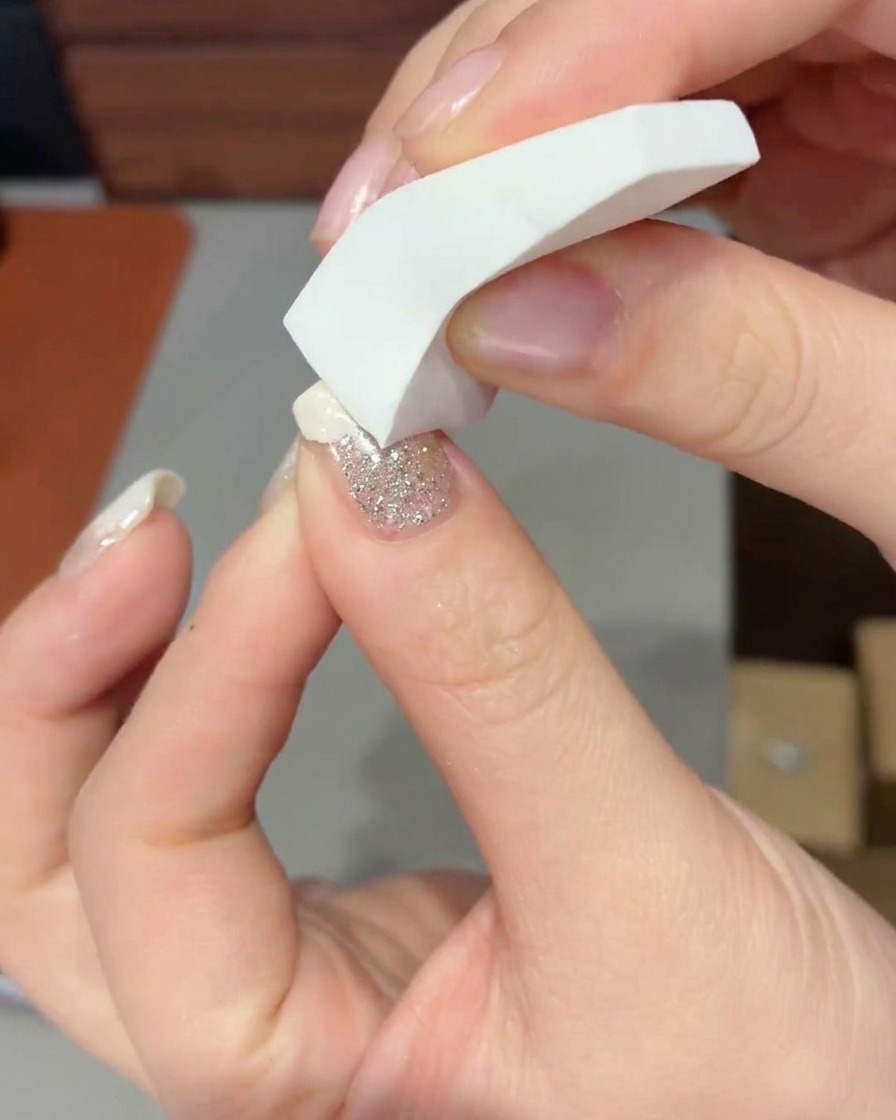
Gently dab the loaded makeup sponge onto the free edge of the nail. Use light, repeated tapping motions to build the color, focusing on creating a seamless gradient that fades towards the center of the nail, mimicking a soft French manicure look.
Tip: Use lighter pressure as you move the sponge toward the center of the nail to ensure the white color fades out gradually. - 11Cure the gradient tip
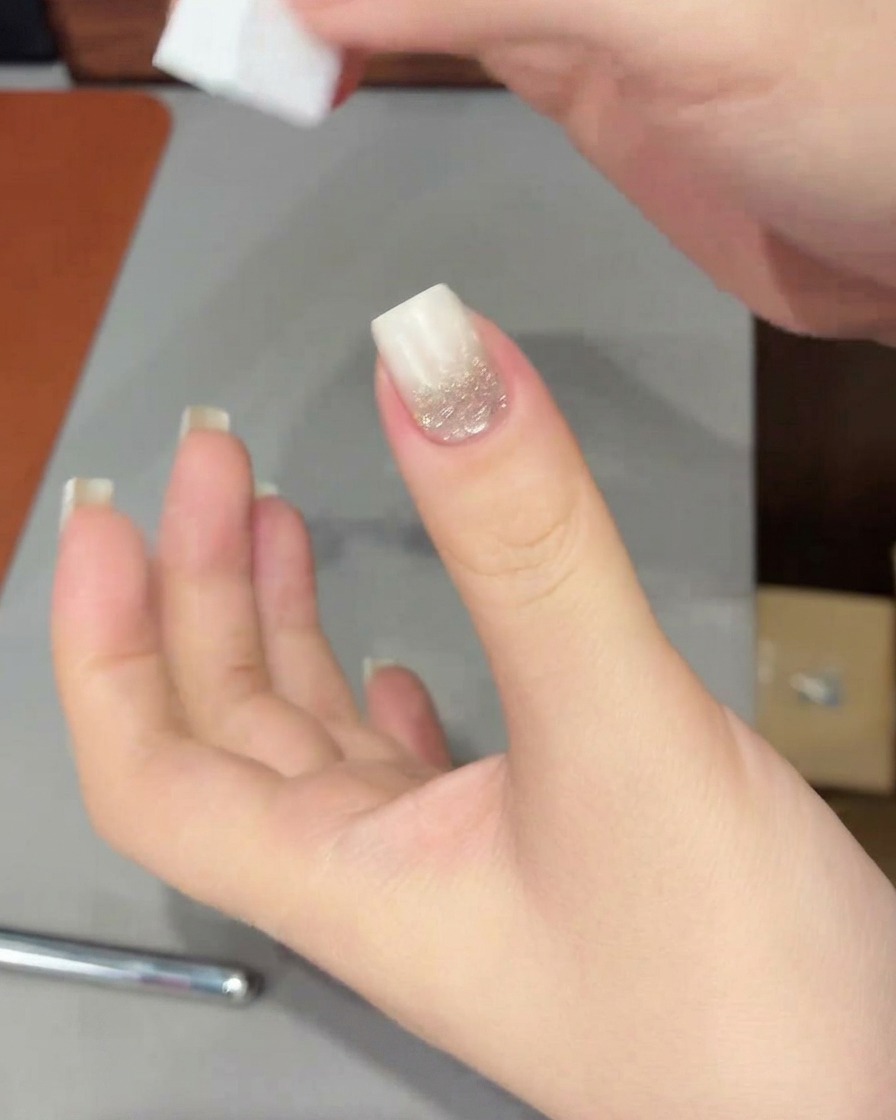
Once you are satisfied with the gradient effect, place the nail under the UV/LED lamp to cure the milky white gel. This will lock in the soft French design and ensure the gradient remains in place before applying the final top coat.
Tip: Ensure the entire tip is well-exposed to the lamps light to fully cure the white gel layer. - 12Apply leveling base layer
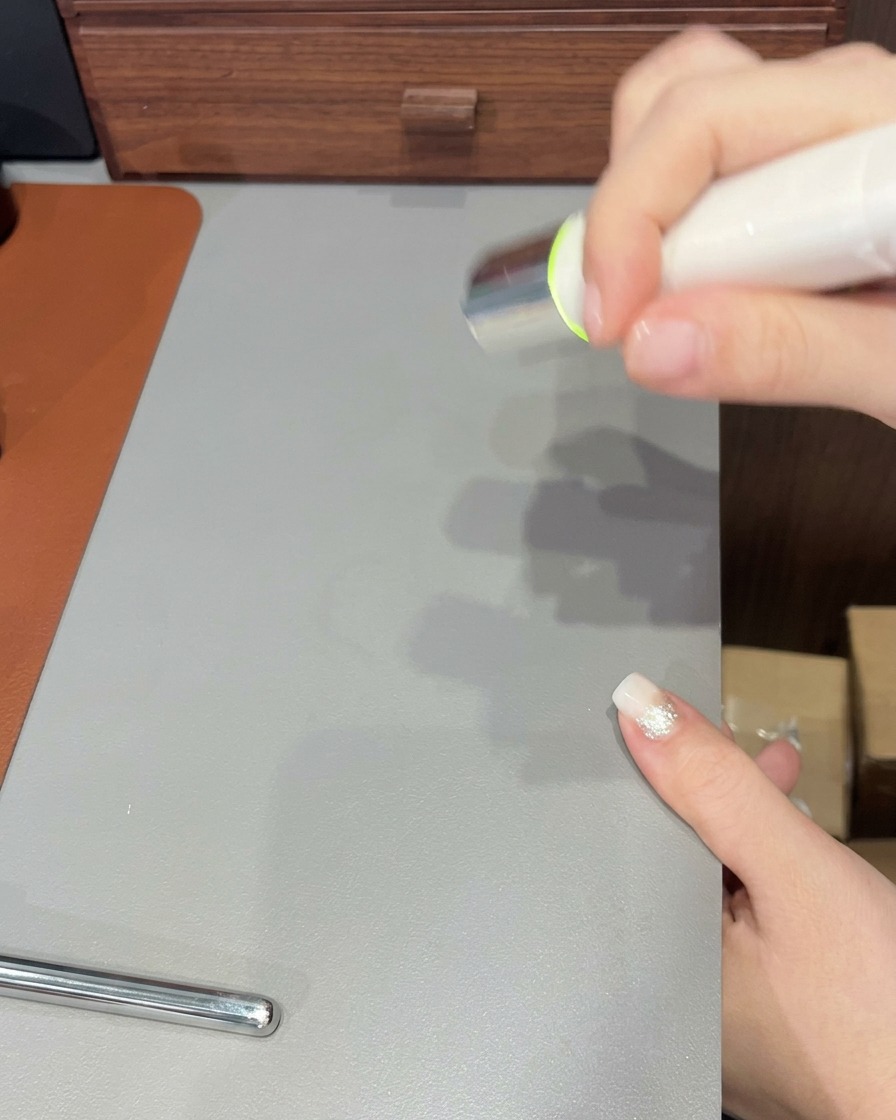
Apply a final layer of base gel (or top coat) over the entire nail surface to encapsulate the design and add a protective layer. Ensure you cap the free edge of the nail to prevent chipping and enhance the longevity of your manicure.
Tip: Applying this final layer smoothly will level out the texture created by the sponge, providing a high-gloss, professional finish. - 13Apply top coat
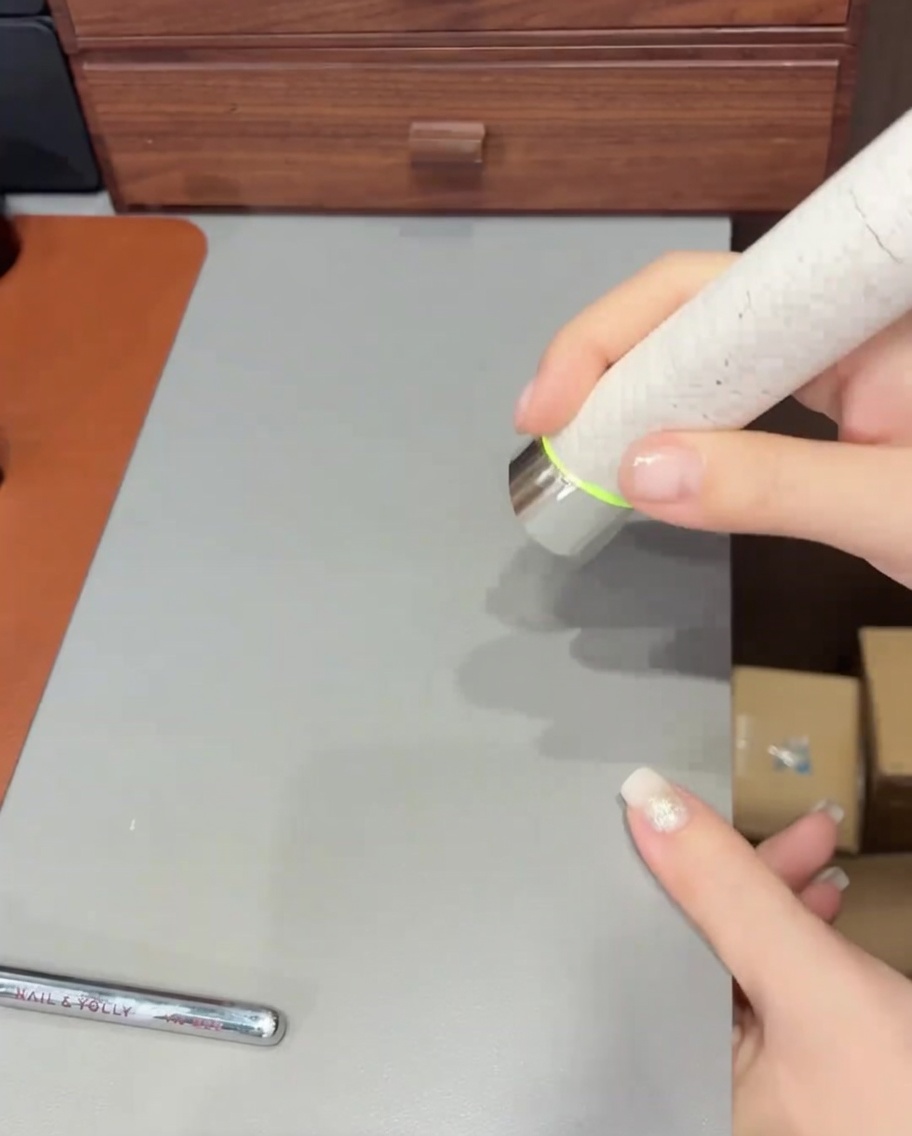
Apply a generous layer of top coat over the entire nail surface, ensuring you cap the free edge to protect the design and provide a high-gloss, durable finish. This step seals in the glitter and milky white gradient, providing a smooth and long-lasting result.
Tip: Be sure to cap the free edge of the nail to prevent the top coat from peeling and to keep your nail art protected for longer. - 14Cure the final top coat
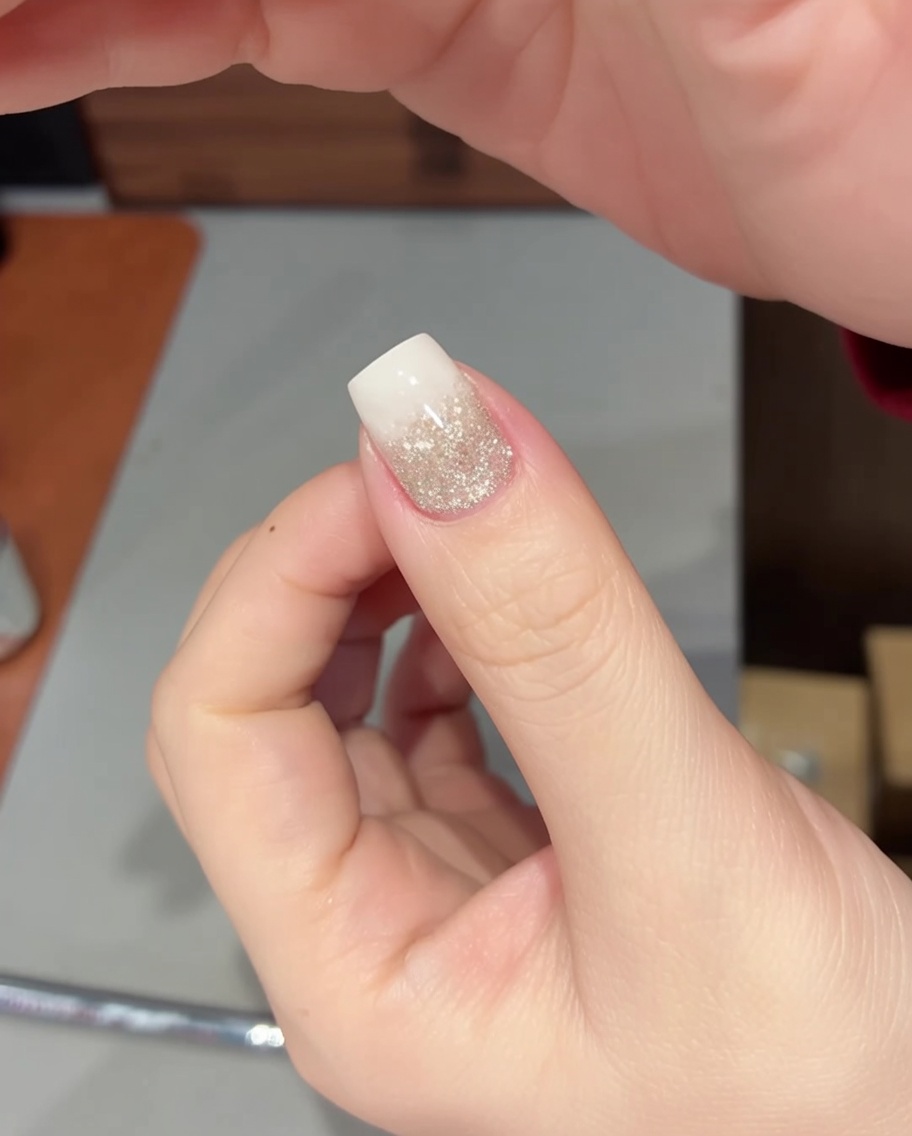
Place your hand under the UV/LED lamp to fully cure the top coat. This final curing process hardens the finish, ensuring your manicure is dry, smudge-proof, and glossy.
Tip: Ensure your fingers are positioned comfortably and directly under the light source for an even, complete cure.