Nude to Milky White Gradient Press-On Extensions Tutorial
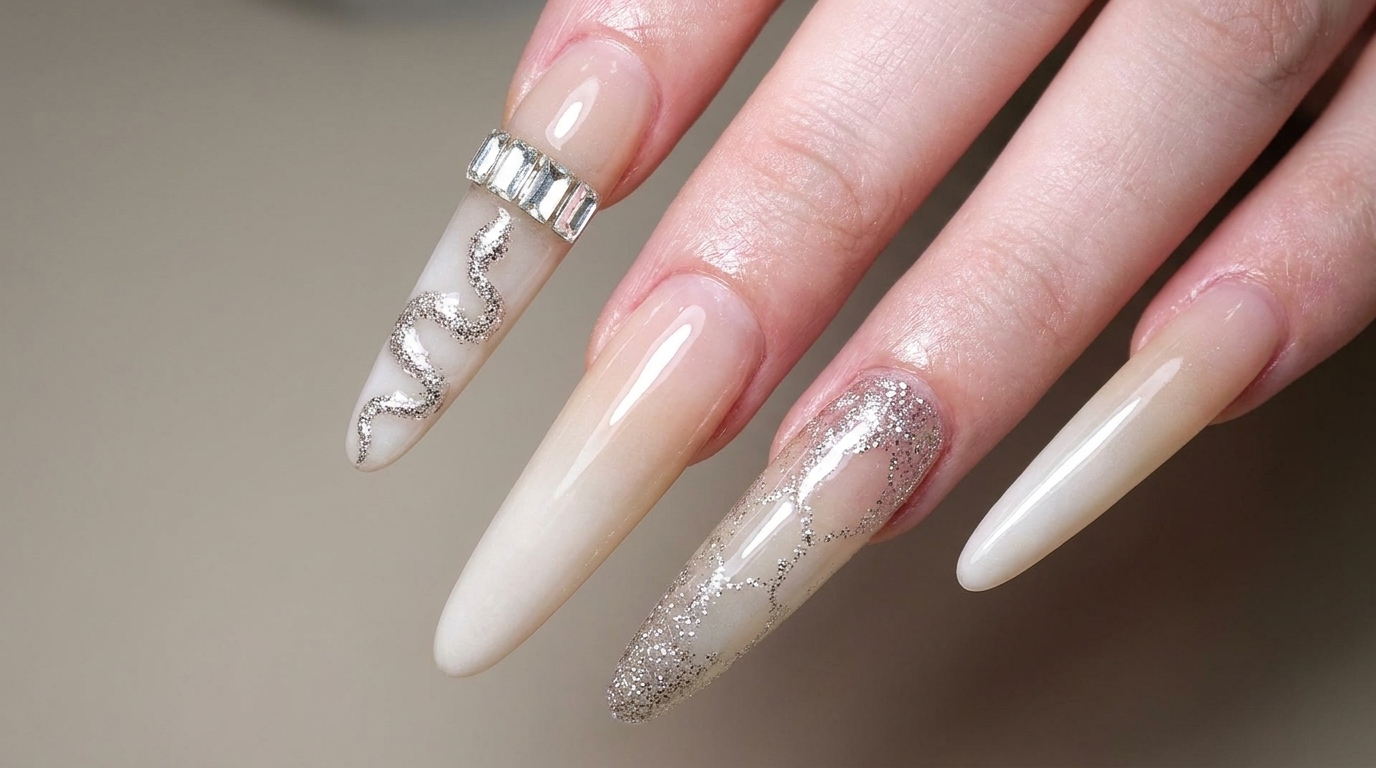
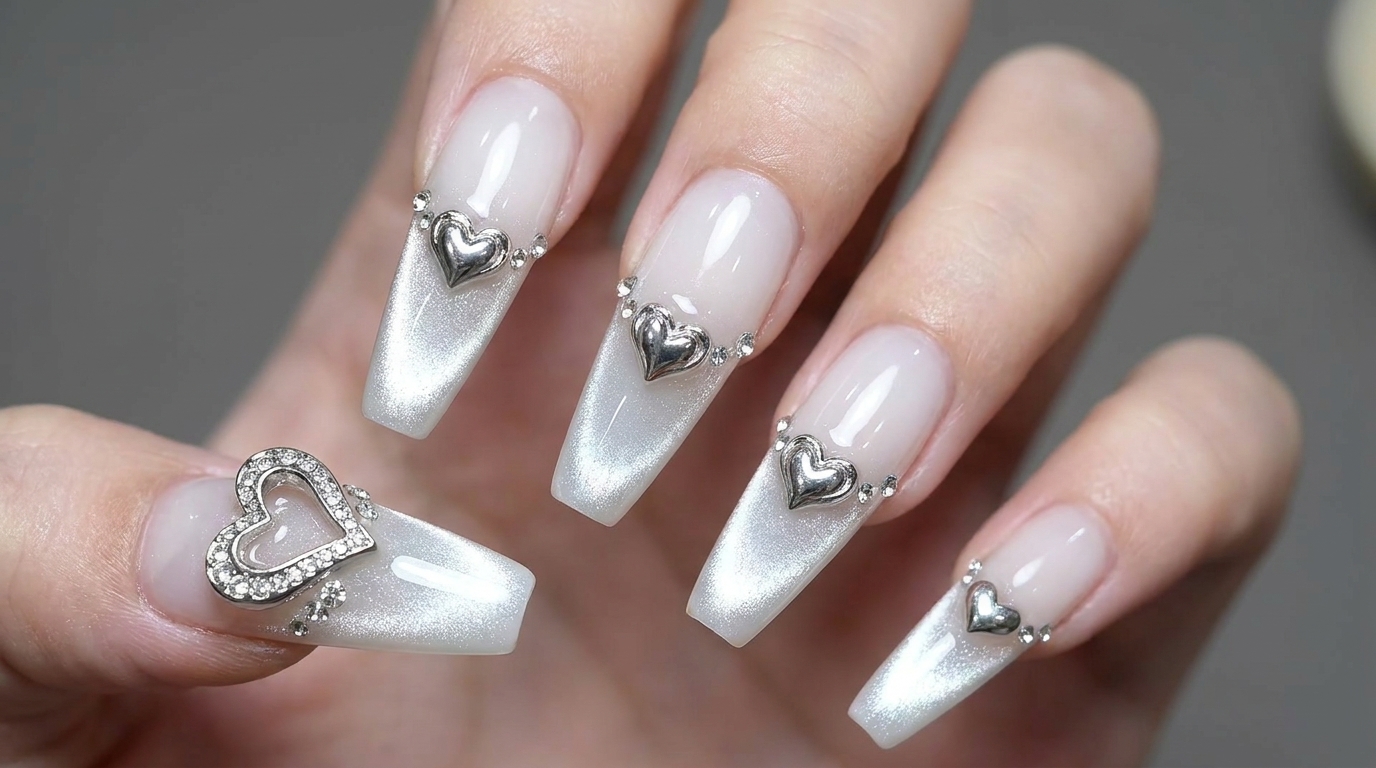
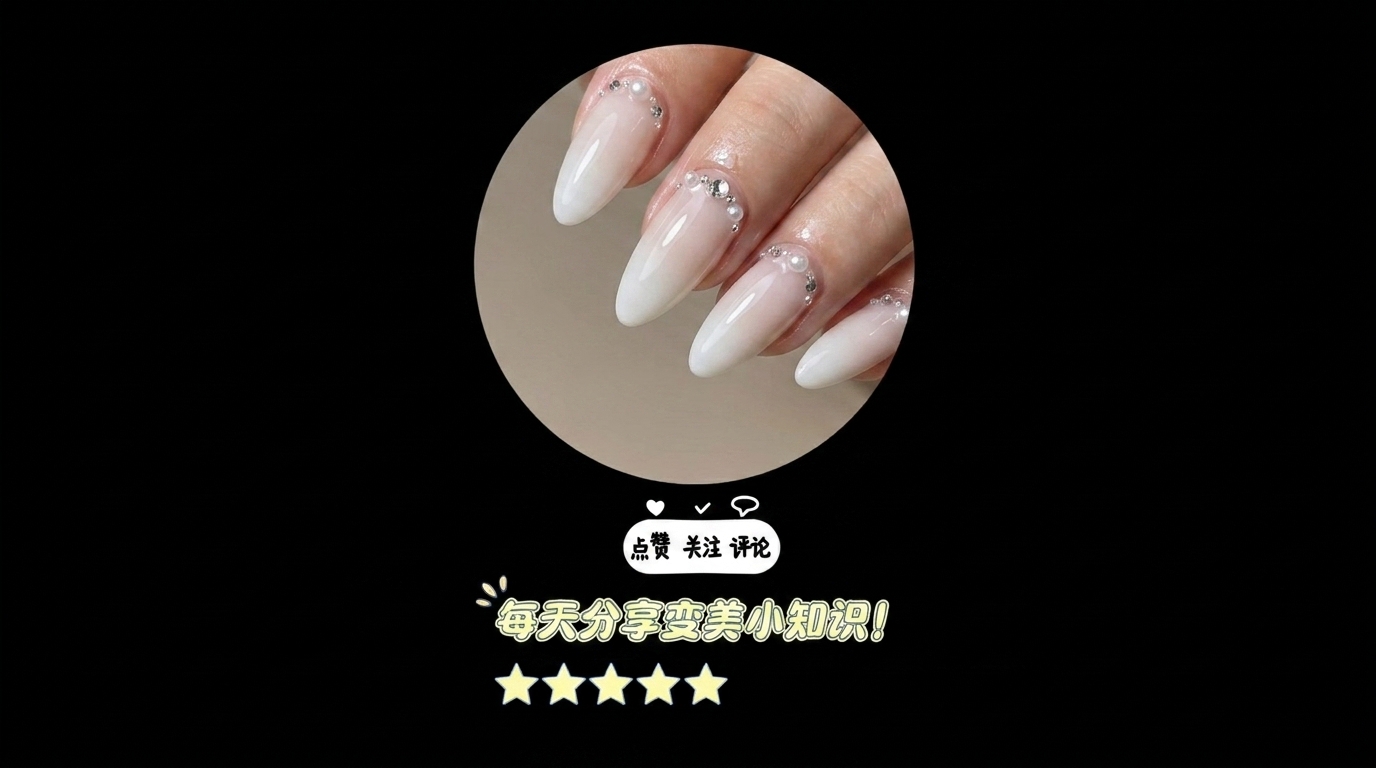
Achieve a seamless nude to milky white gradient nail design using full coverage press on extensions and beautiful clear rhinestone accents.
This elegant nail design features a seamless transition from a sheer nude base to a soft, milky white tip, elevated by a horizontal row of shimmering rhinestones. This technique is perfect for those seeking a high-end salon finish with the convenience and durability of full-coverage press-on extensions. Follow this step-by-step guide to achieve a clean, professional-grade gradient look at home.
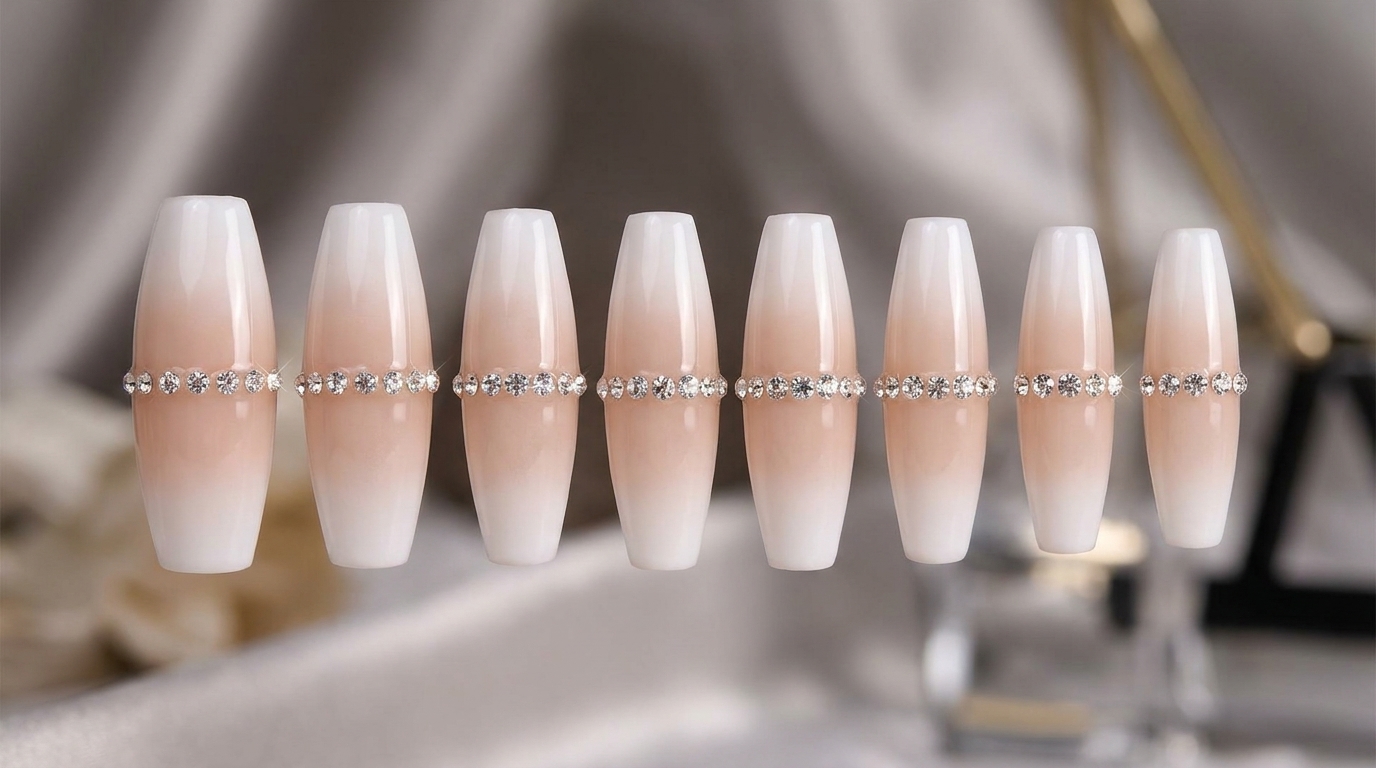
Steps
- 1Prep natural nail surface
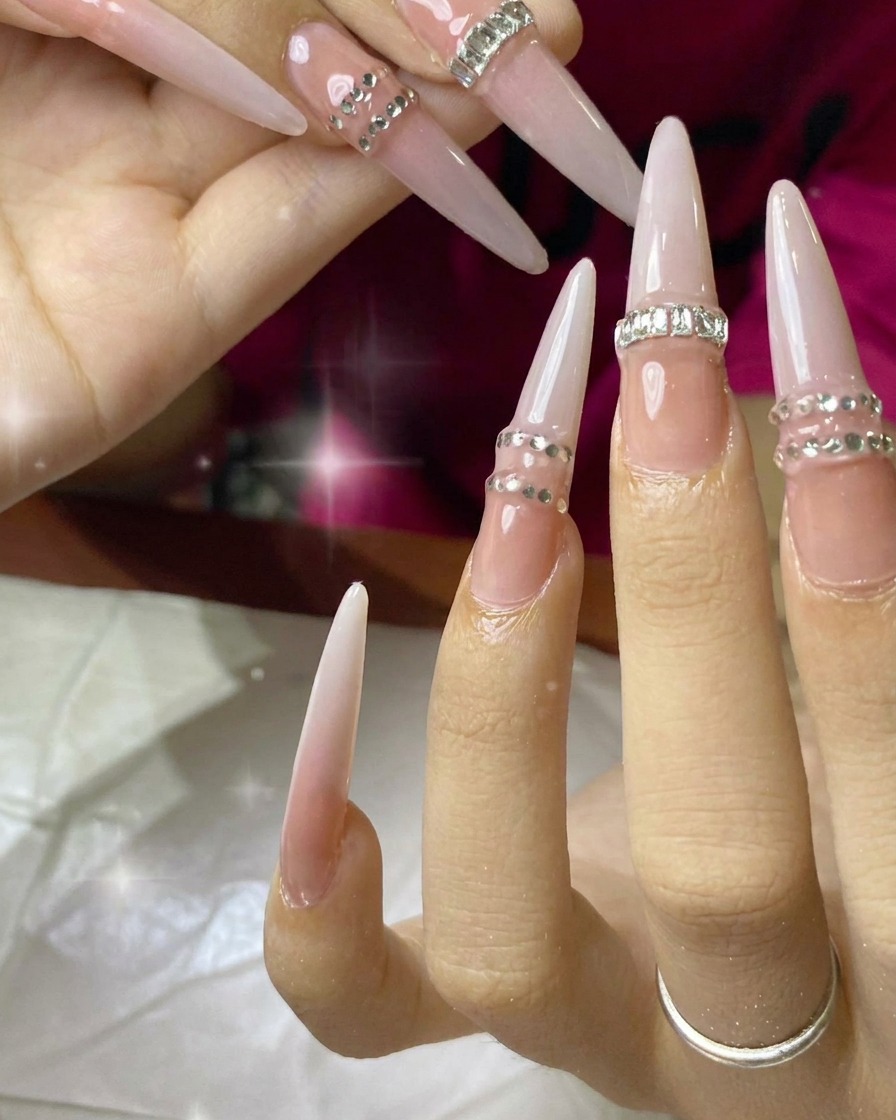
Gently file the surface of your natural nails to remove shine and create a rough texture. This is a critical step for ensuring that the adhesive bonds securely to the nail plate for long-lasting wear.
Tip: Do not over-file; just a light buff is enough to create a surface for the glue. - 2Apply adhesive to extension
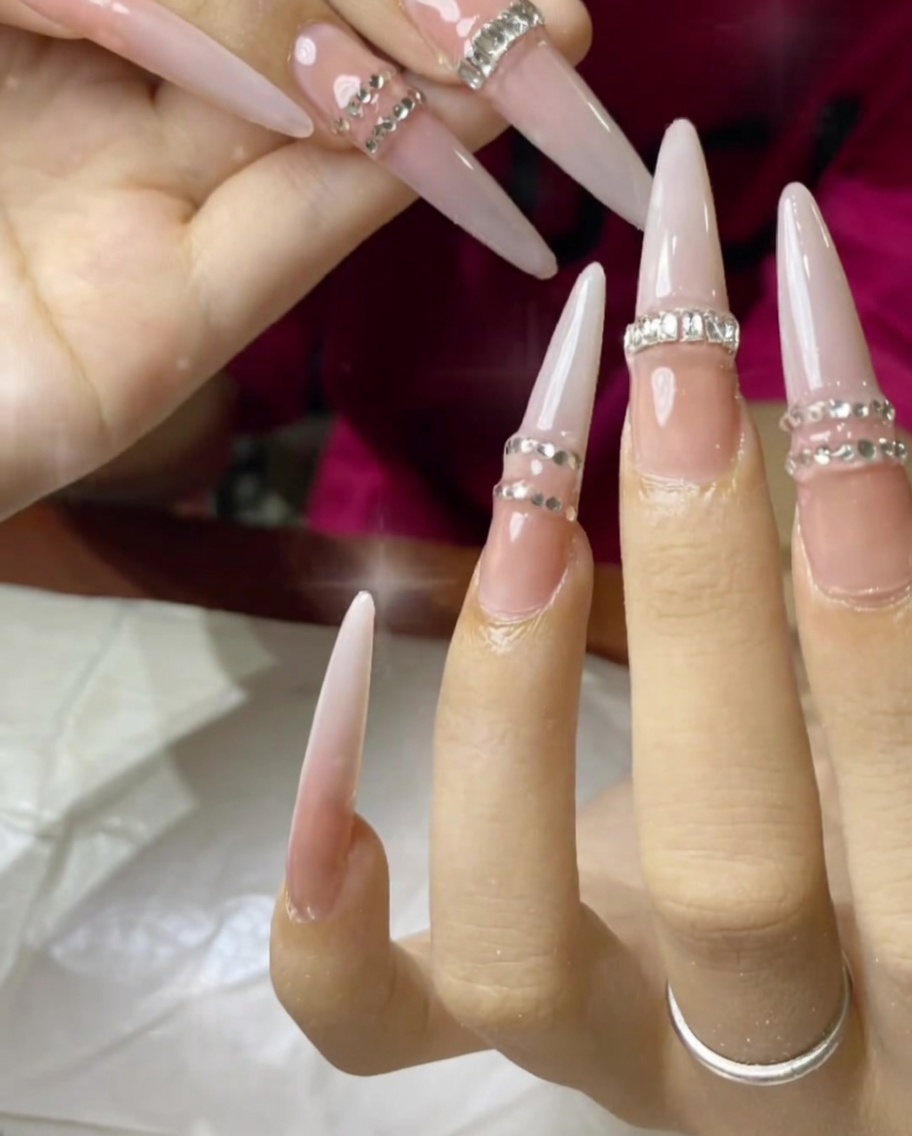
Apply an even, controlled layer of nail glue or adhesive to the underside of the press-on extension. Focus on the area that will contact your natural nail, being careful to avoid excess glue that could flood your cuticle.
Tip: Use enough glue to coat the contact area, but avoid excess that may spill over onto your skin. - 3Position and cure extension
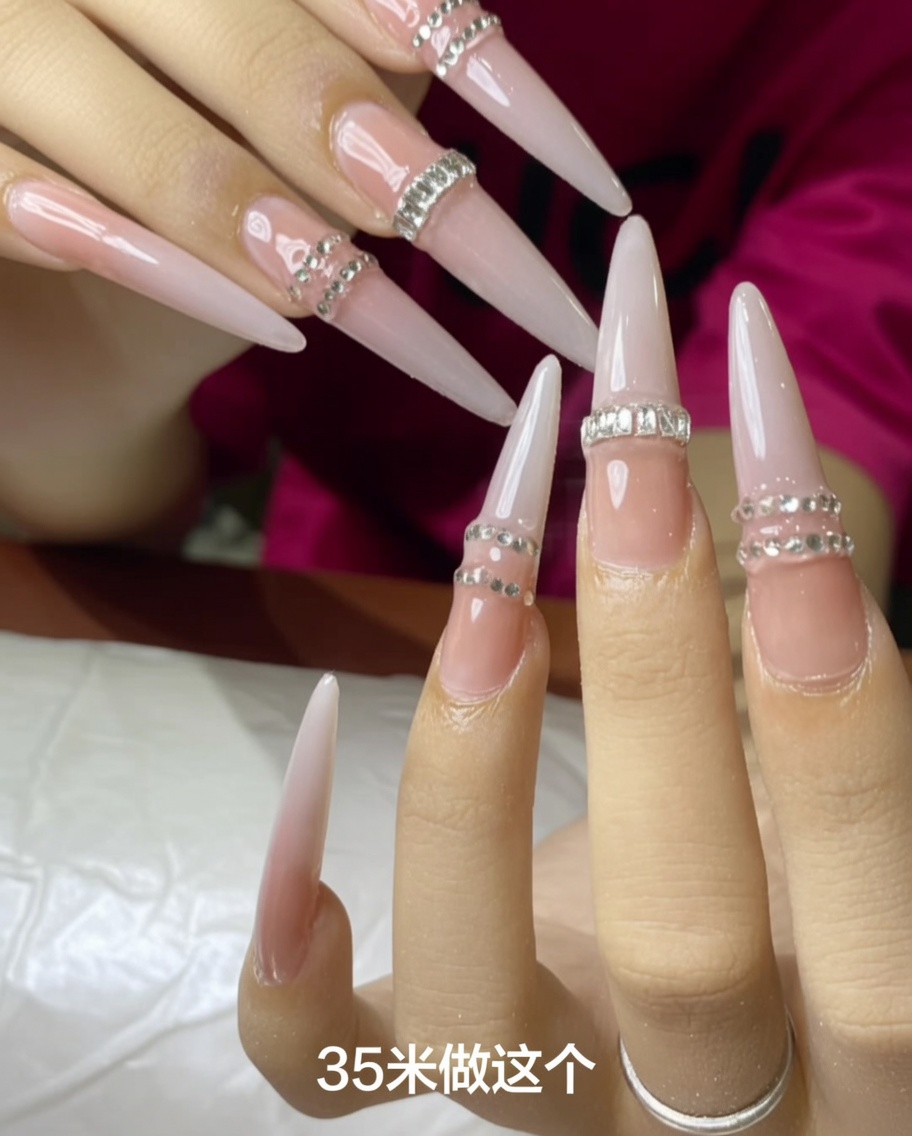
Align the extension with your cuticle and press down firmly to eliminate air pockets. Maintain steady pressure while curing under a UV or LED lamp to ensure the tip is set perfectly in place.
Tip: Hold the extension steady to prevent shifting while the glue cures. - 4Apply rhinestones
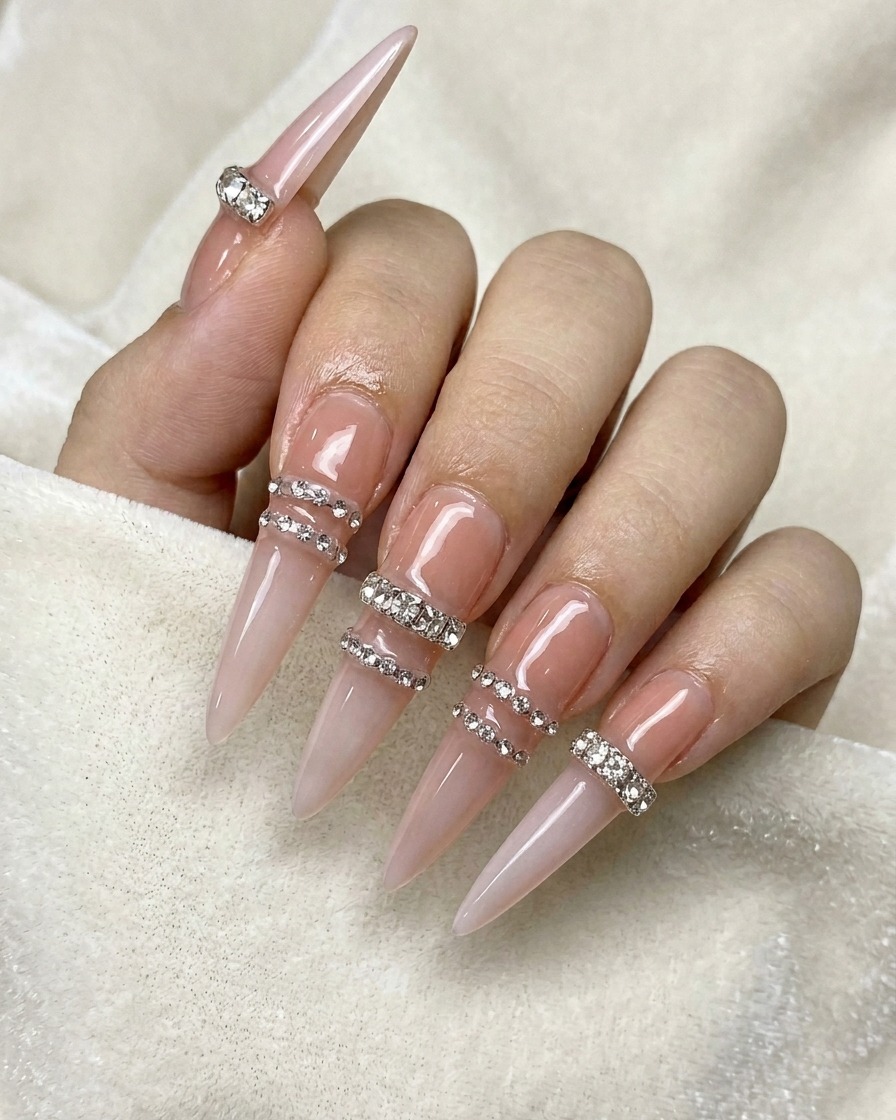
Use a wax pencil to pick up small rhinestones and place them in the desired pattern on the nail surface. The rhinestones are placed in a horizontal band to create a decorative detail.
Tip: Use a steady hand and place the rhinestones while the adhesive is still tacky. - 5Set rhinestones
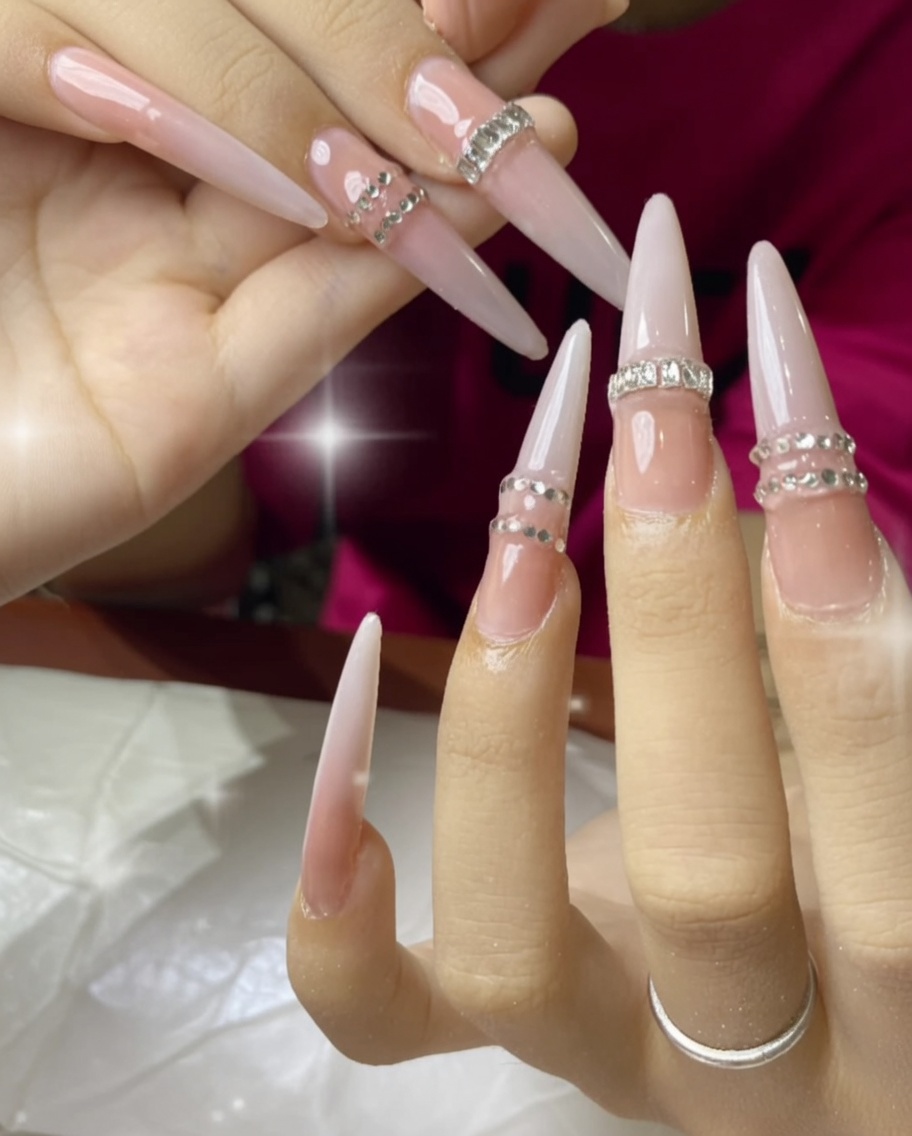
Using a wax-tipped dotting tool, carefully place small rhinestones in a straight horizontal line across the nail. Secure them with a drop of rhinestone-specific glue or clear builder gel, then cure under the lamp to lock the gems firmly.
Tip: Ensure the hand is positioned correctly under the lamp to cure all fingers evenly. - 6Repeat for next nail
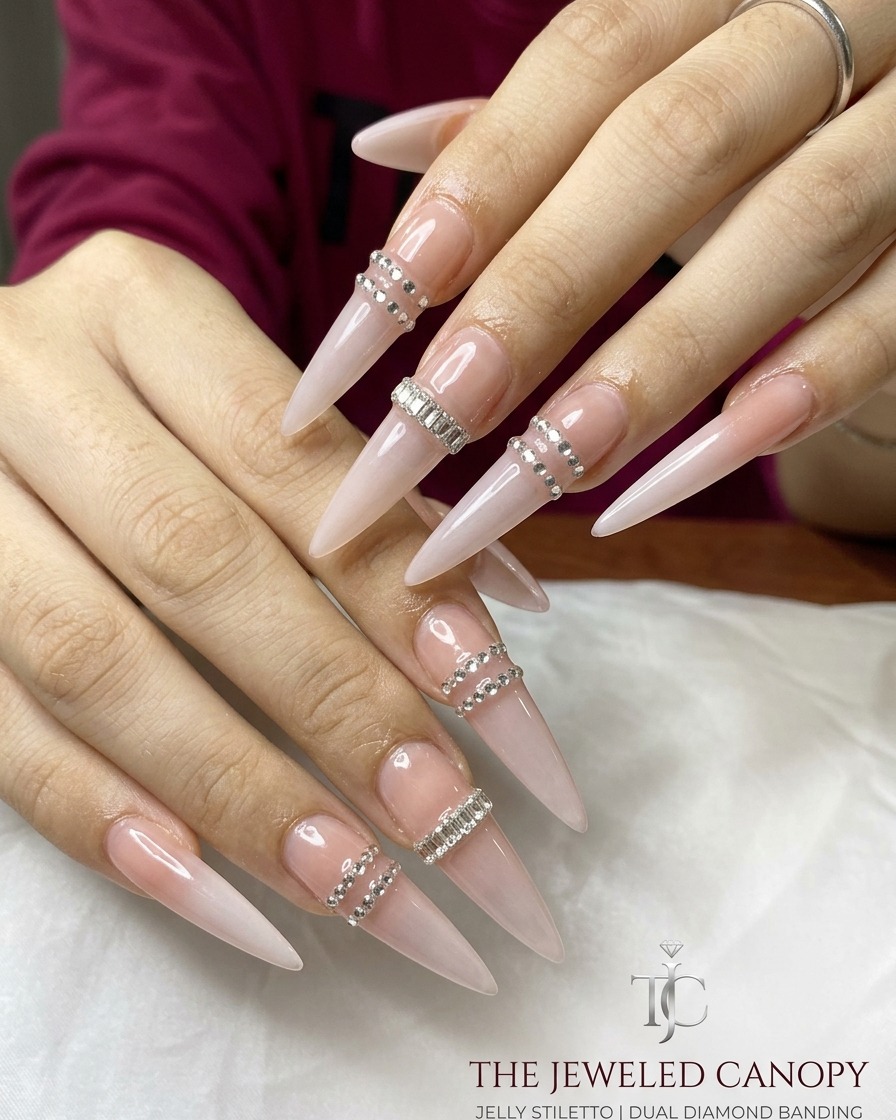
Continue the process by preparing the next natural nail and applying the press-on extension. Ensure consistent placement and curing for a uniform look across all fingers.
Tip: Maintaining a consistent workflow helps you achieve a professional and tidy set of nails. - 7Place and cure rhinestones
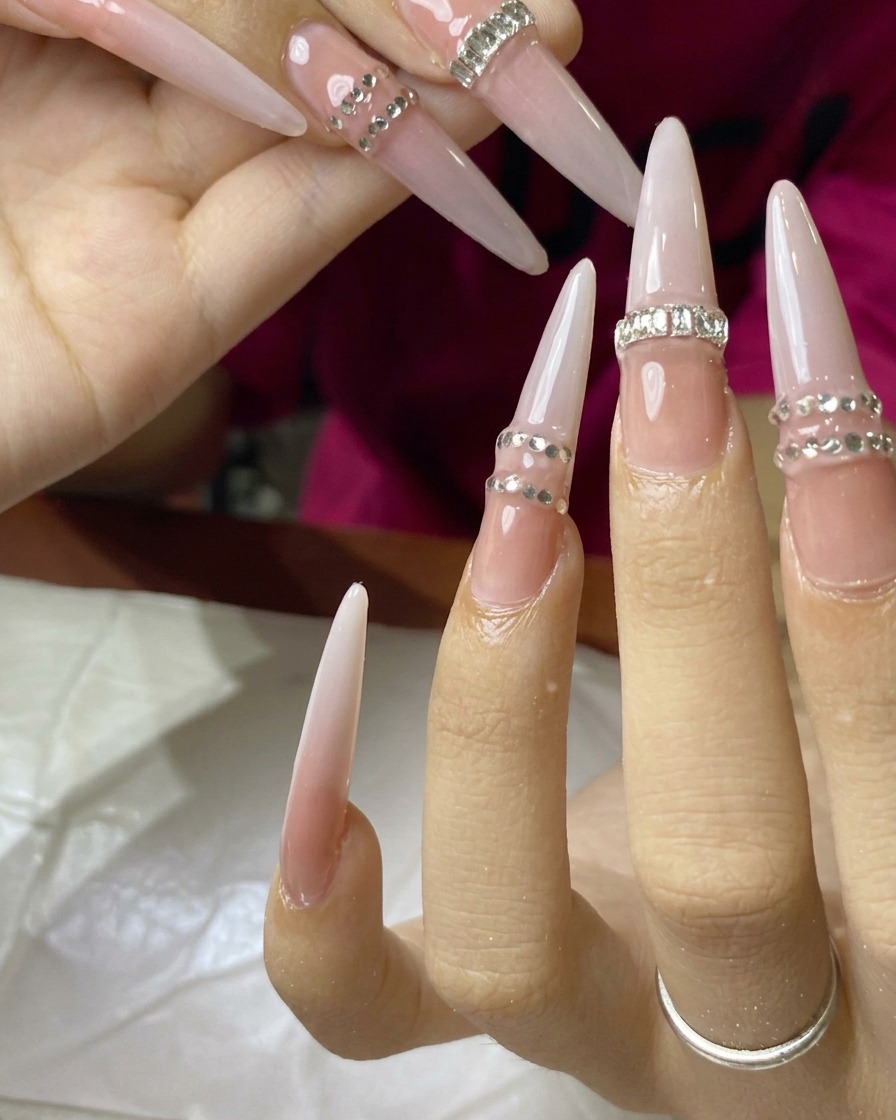
Carefully place the smallest rhinestones in a line across the nail to mimic the bead-style look. Secure them with a drop of rhinestone glue or clear gel. Ensure they are straight and aligned, then cure under the lamp to set the gems firmly in place.
Tip: Use a wax-tipped dotting tool to pick up and place the tiny rhinestones with precision. - 8Apply press-on extension
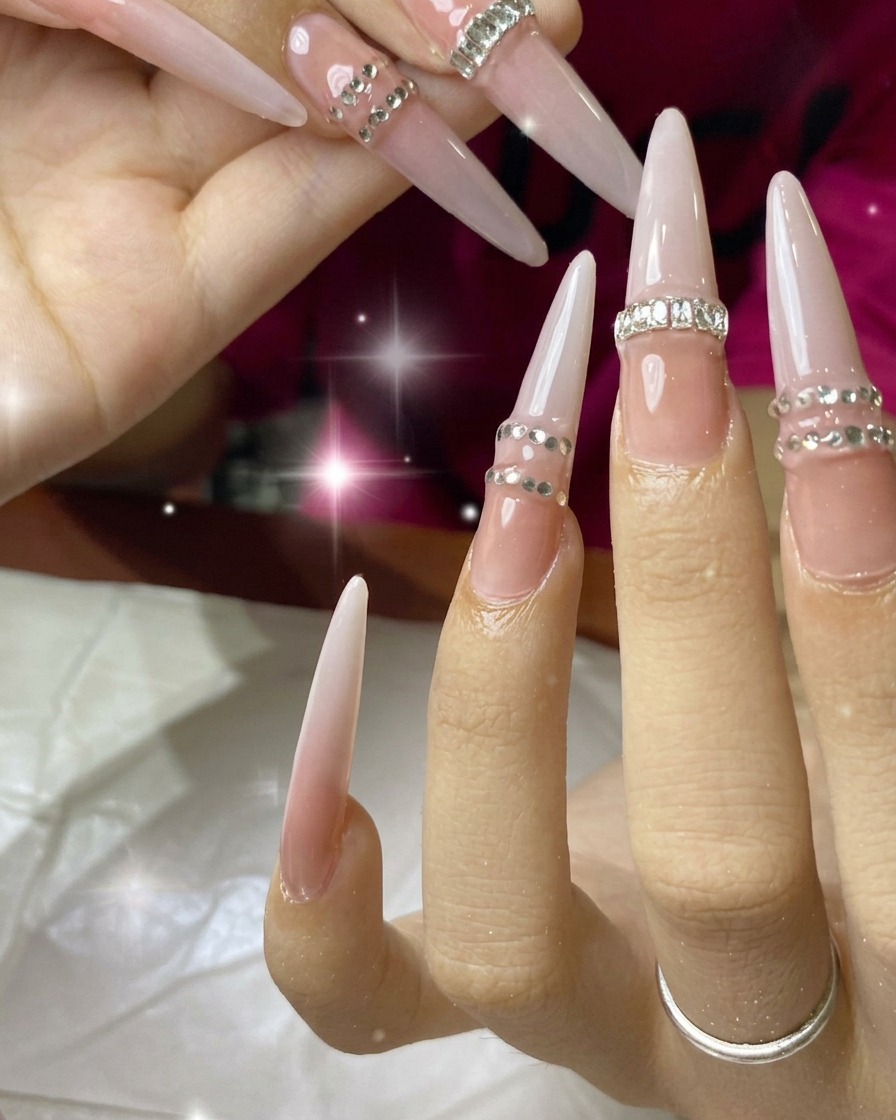
Apply a layer of adhesive or clear gel to the press-on extension tip. Press it firmly onto the ring finger nail, aligning it carefully with the cuticle. Hold it in place while curing under the lamp to ensure a secure, long-lasting bond.
Tip: Apply pressure starting from the cuticle and moving toward the free edge to push out any air bubbles. - 9Final cure
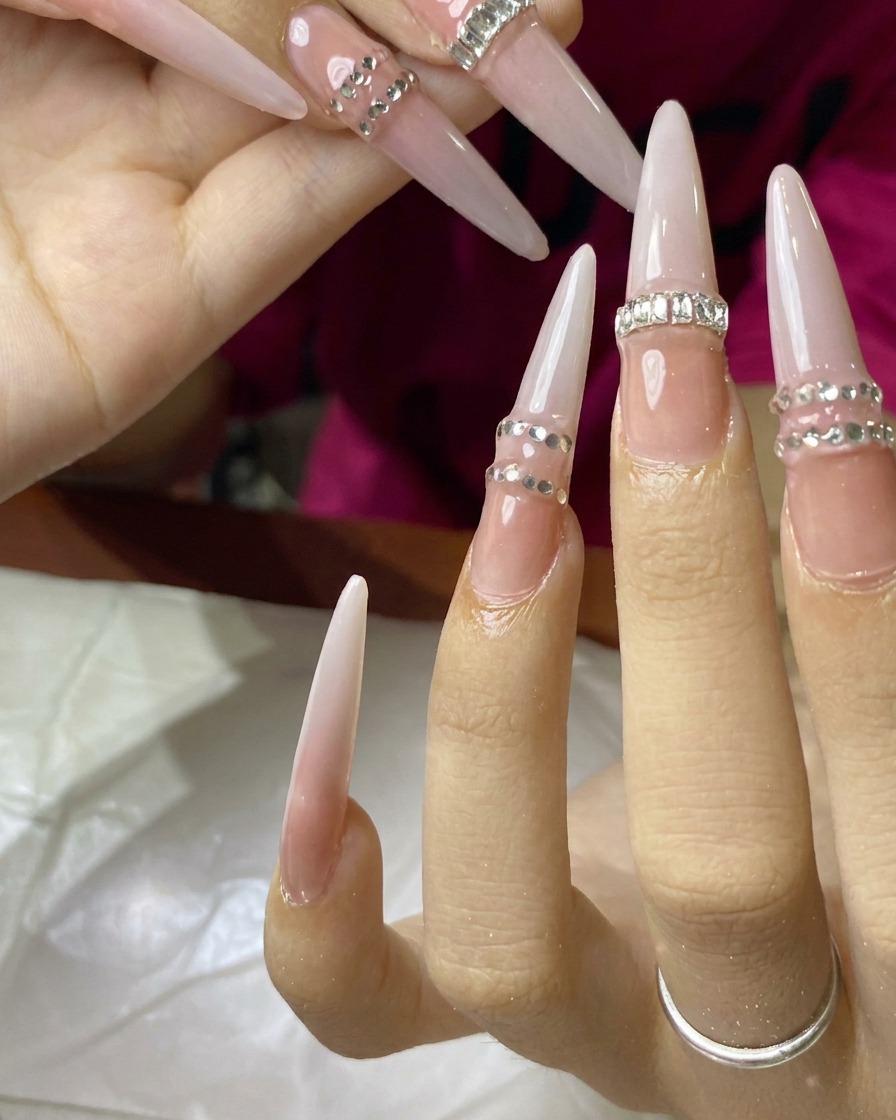
Place the hand completely under the UV or LED lamp for a full curing cycle. This ensures that the base adhesive and the extensions themselves are fully set and hardened for durability.
Tip: Keep your fingers flat and centered in the lamp to ensure all extensions cure evenly. - 10Apply nude gel base
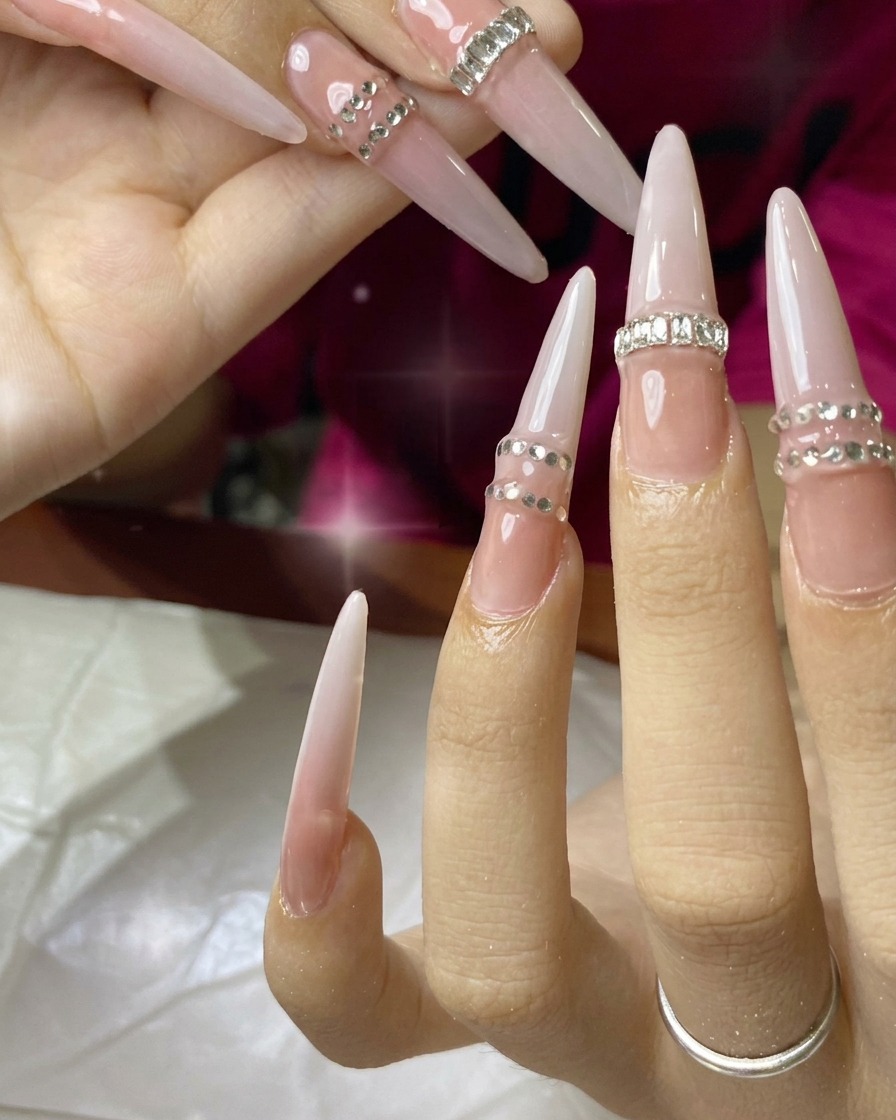
Apply a thin, even coat of nude gel polish over the entire extension. Remember to cap the free edge to prevent chipping, then cure according to the gel polish manufacturers timing instructions.
Tip: Apply two thin coats instead of one thick coat for a smoother, more opaque finish. - 11Create the gradient
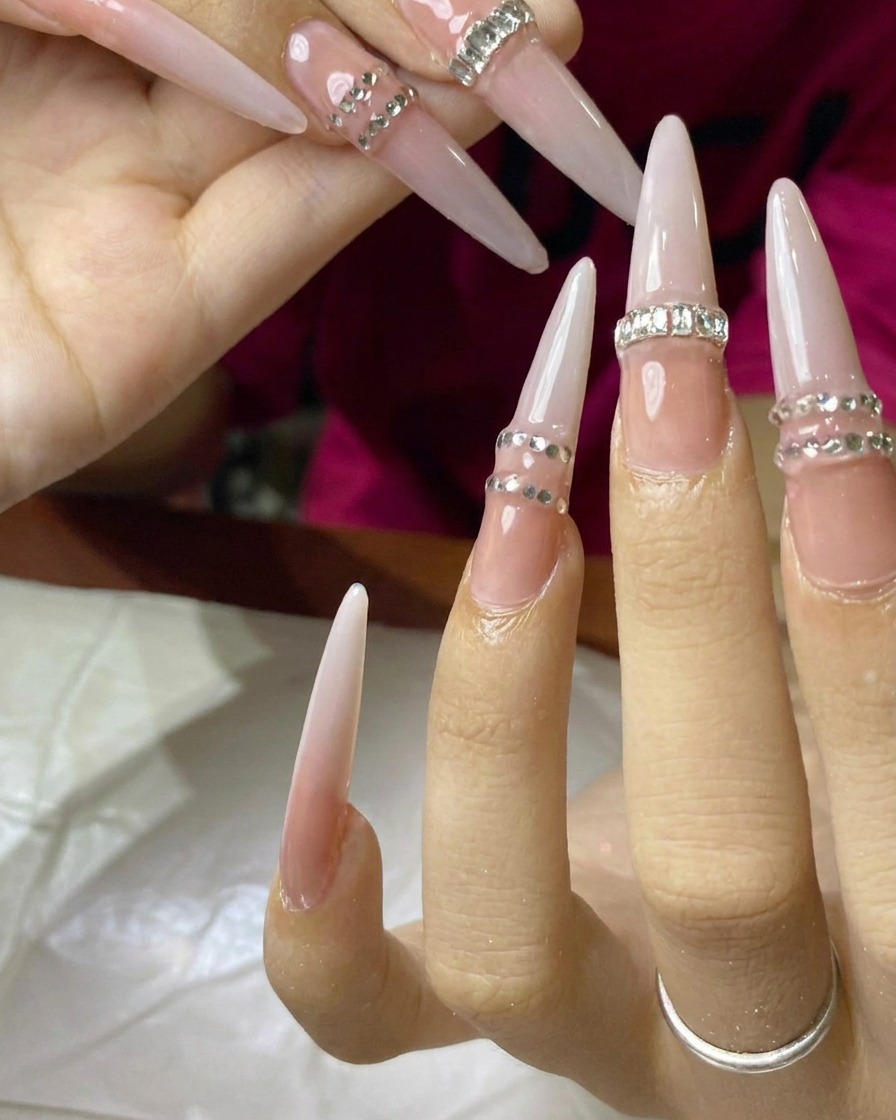
Apply milky white gel polish to the tip of the nail. Using a clean brush, gently blend the white polish toward the center of the nail, pulling it into the nude base to establish a smooth, soft ombre transition.
Tip: Lightly dab the brush at the transition point to soften the line between the nude and white colors. - 12Refine the blend
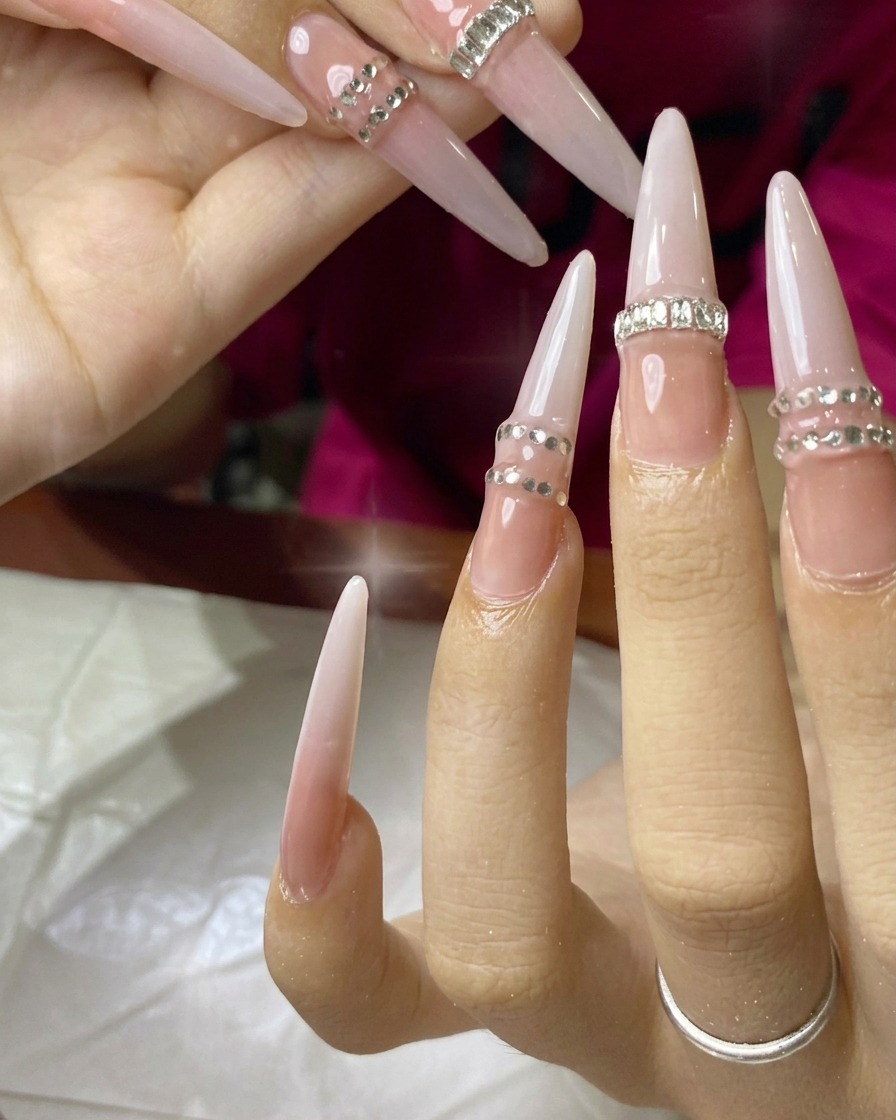
Using a clean, dry detail brush, softly tap and blend the transition area between the nude and milky white colors. This removes any harsh lines and perfects the ombre gradient effect across the nail.
Tip: Wipe your brush frequently on a lint-free wipe while blending to keep it clean and prevent color contamination. - 13Deepen the gradient opacity
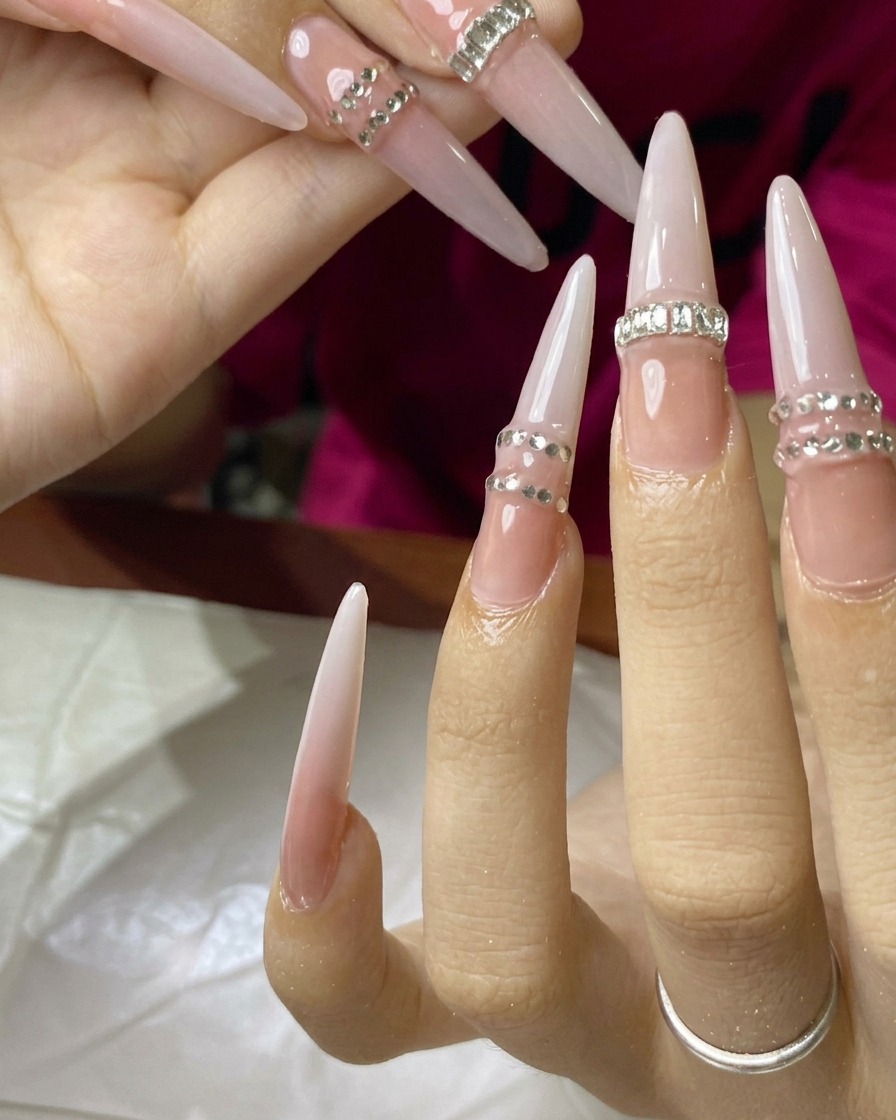
Apply a second thin layer of milky white gel to the tip and re-blend into the nude base. Keeping the layers thin ensures a smooth, non-bulky finish while building the desired intensity of the white gradient.
Tip: Keep the layer thin to avoid bulk; if you need more opacity, it is better to do three thin coats than one thick, uneven one.