Milk White Ombre Nails
Rhinestone Embellishments — Step-by-Step Guide
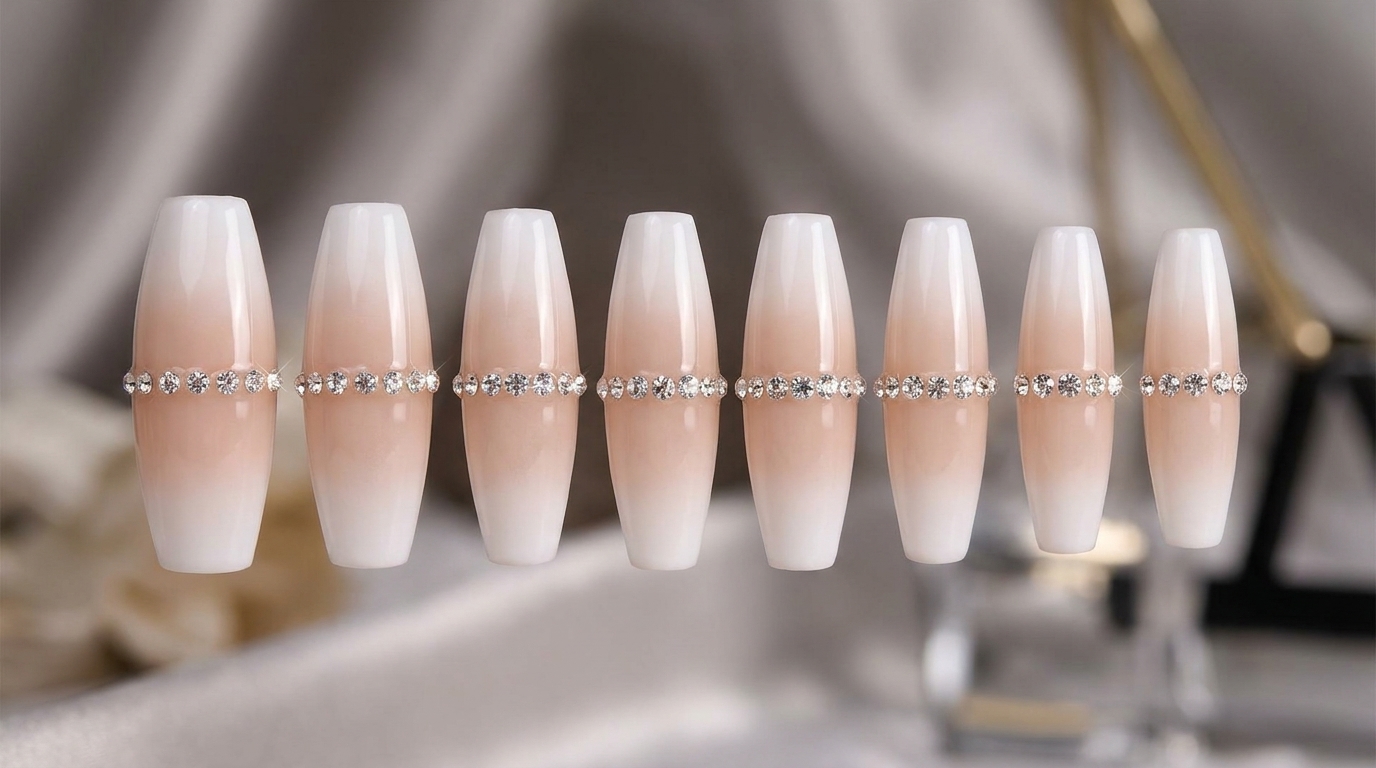
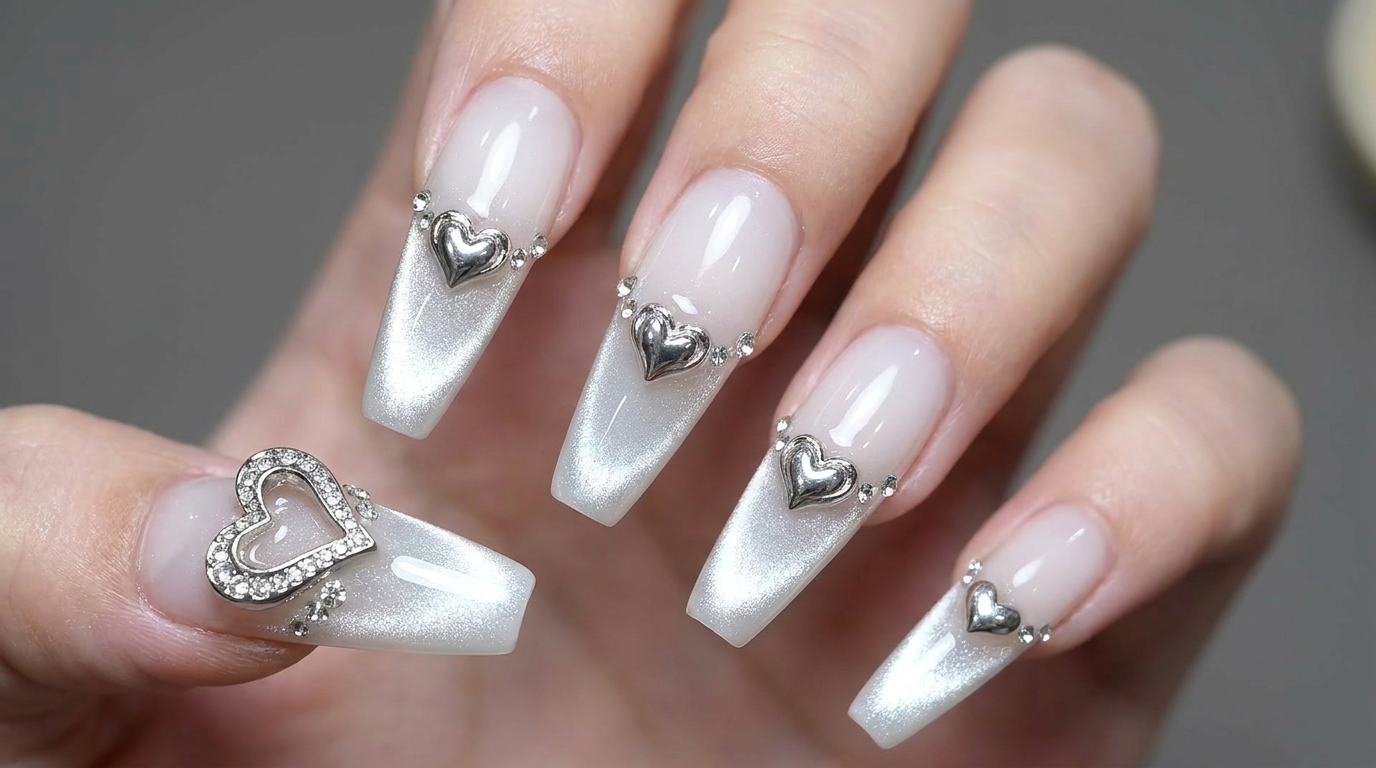
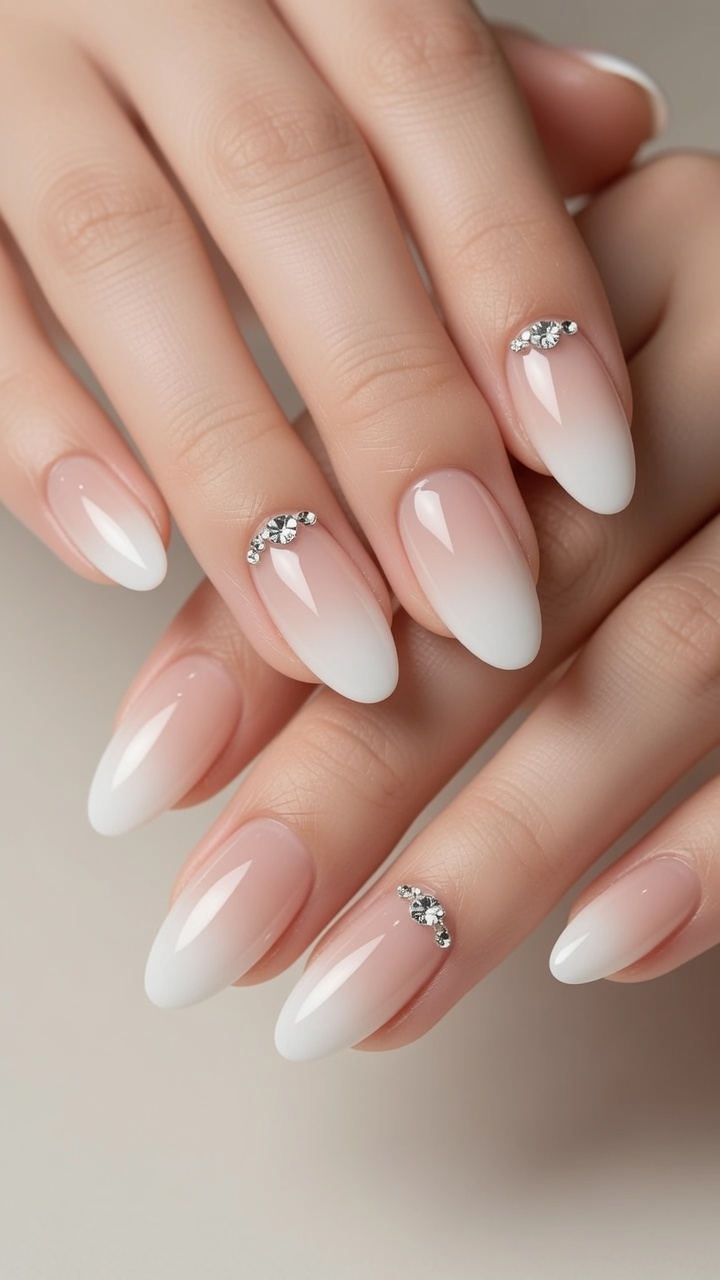
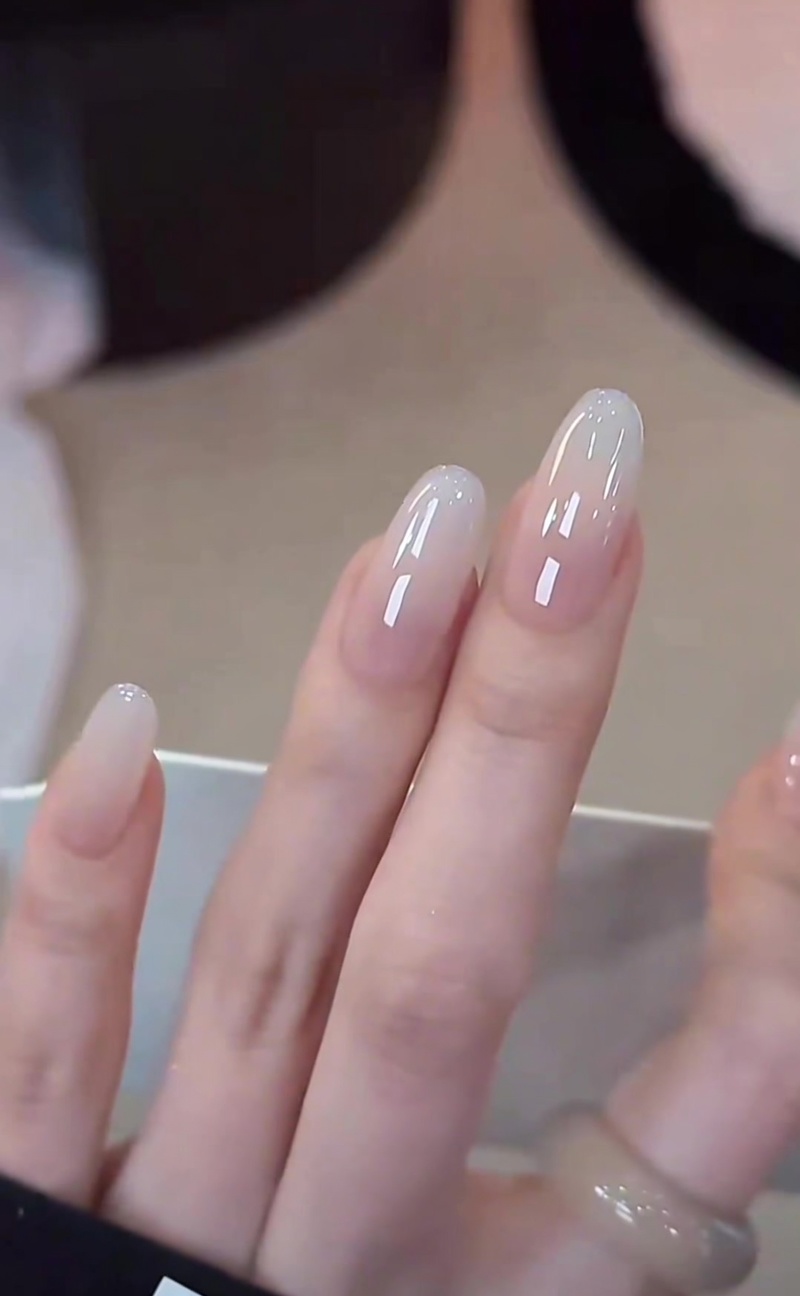
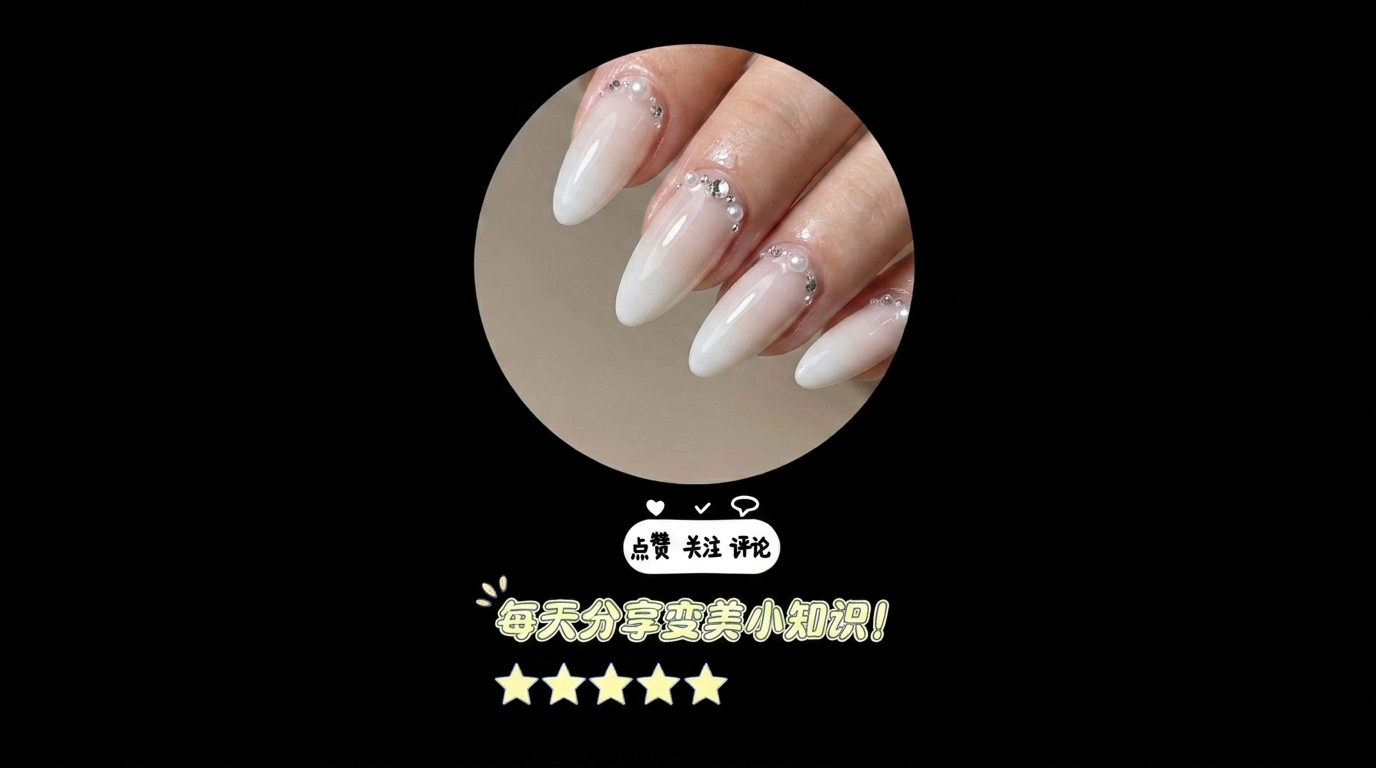
Elevate your manicure with this elegant milk white ombre design. This tutorial shows you how to achieve a seamless gradient and add delicate rhinestone accents.
The milk white ombre look offers a sophisticated and timeless aesthetic that perfectly complements any occasion. By combining a soft, hazy gradient with the luxurious touch of rhinestones and pearls, you can transform your fingertips into a refined work of art. This style is surprisingly achievable at home with the right technique and attention to detail.
Steps
- 1Prep and shape the nail surface
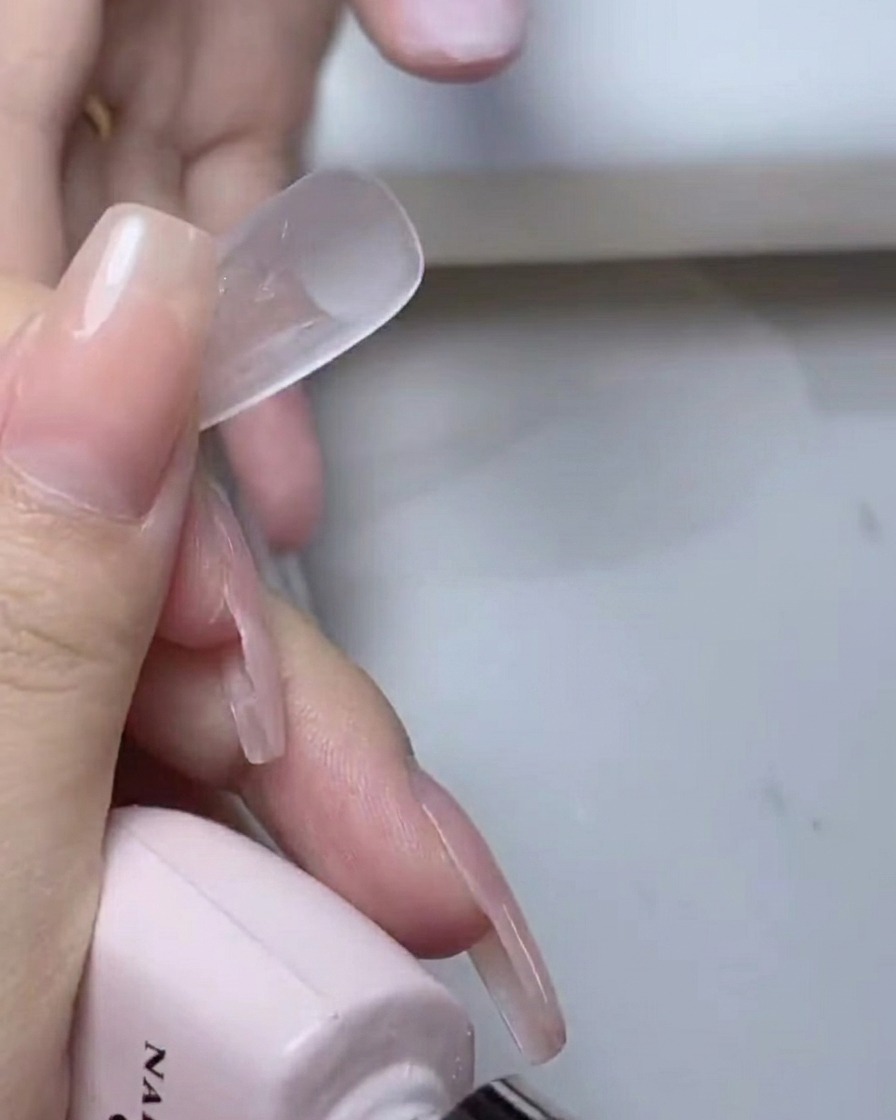
Using an electric file with a suitable bit, gently prep and refine the surface of the nail extension. This step ensures the surface is smooth and uniform, creating the perfect foundation for subsequent layers. Work carefully around the cuticle area to ensure a seamless blend.
Tip: Keep the electric file moving constantly to avoid heat buildup and prevent over-filing the natural nail or extension. - 2Apply gel base coat
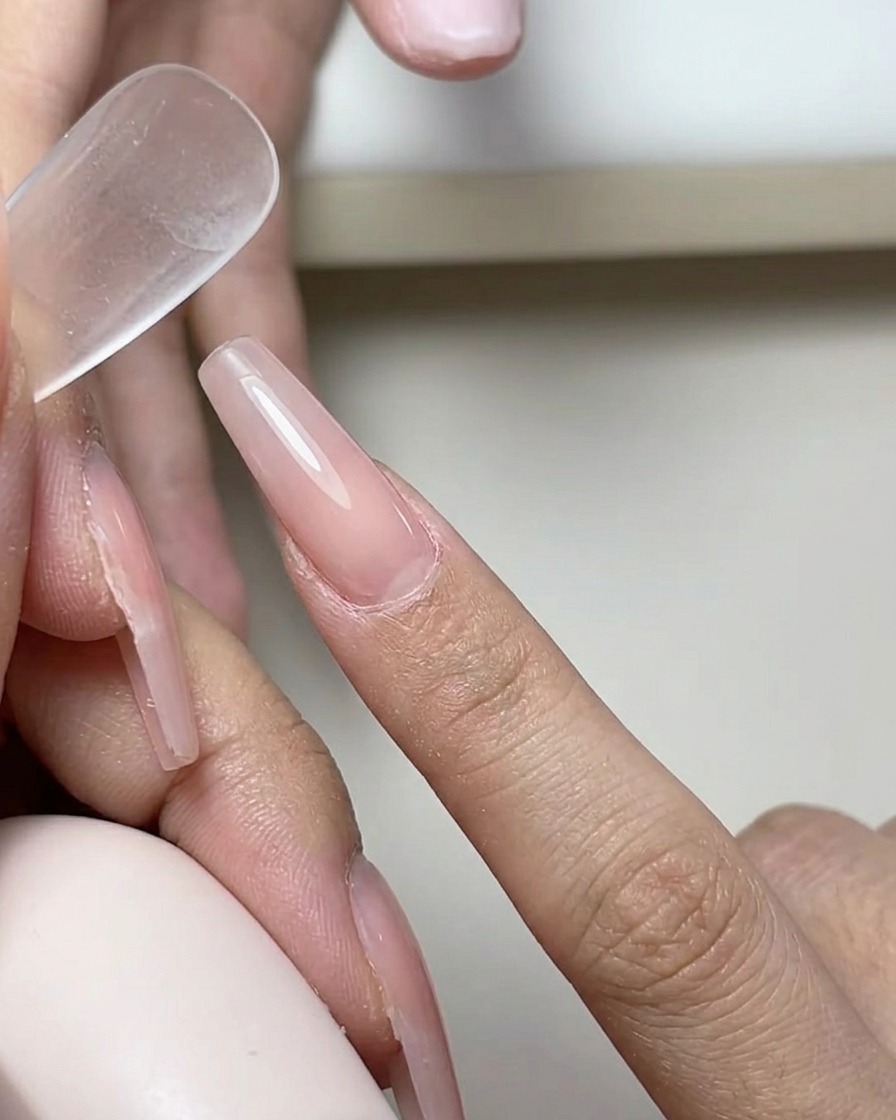
Apply a thin, uniform layer of clear gel base coat to the entire nail plate. Ensure you cap the free edge to enhance durability and prevent lifting. Avoid getting product on the surrounding skin or cuticles.
Tip: Applying base coat in thin, controlled layers prevents pooling and ensures a stronger bond for the color gel. - 3Cure the base coat
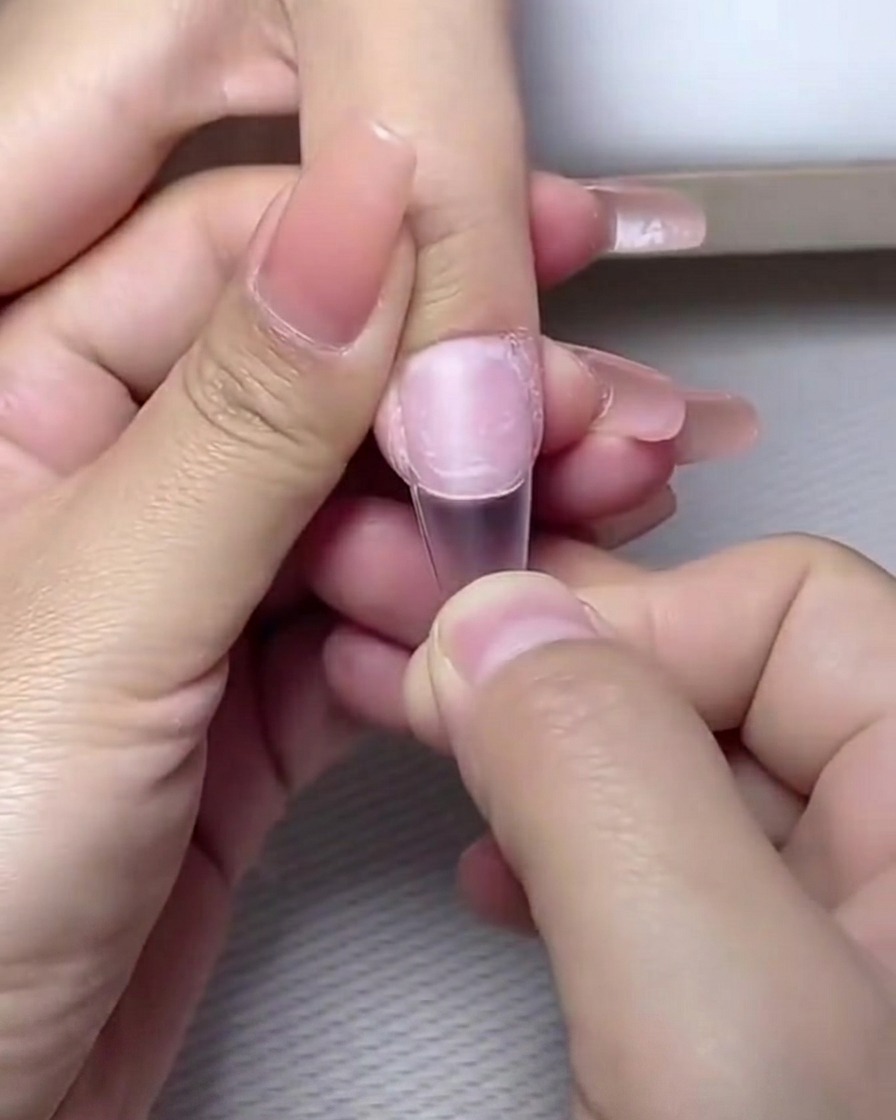
Place your fingers under the UV/LED lamp to cure the base coat. Follow the manufacturers instructions for the appropriate curing time to ensure the gel is fully set and ready for color application.
Tip: Ensure your hand is positioned correctly inside the lamp for even light exposure across all fingers. - 4Smooth the base layer
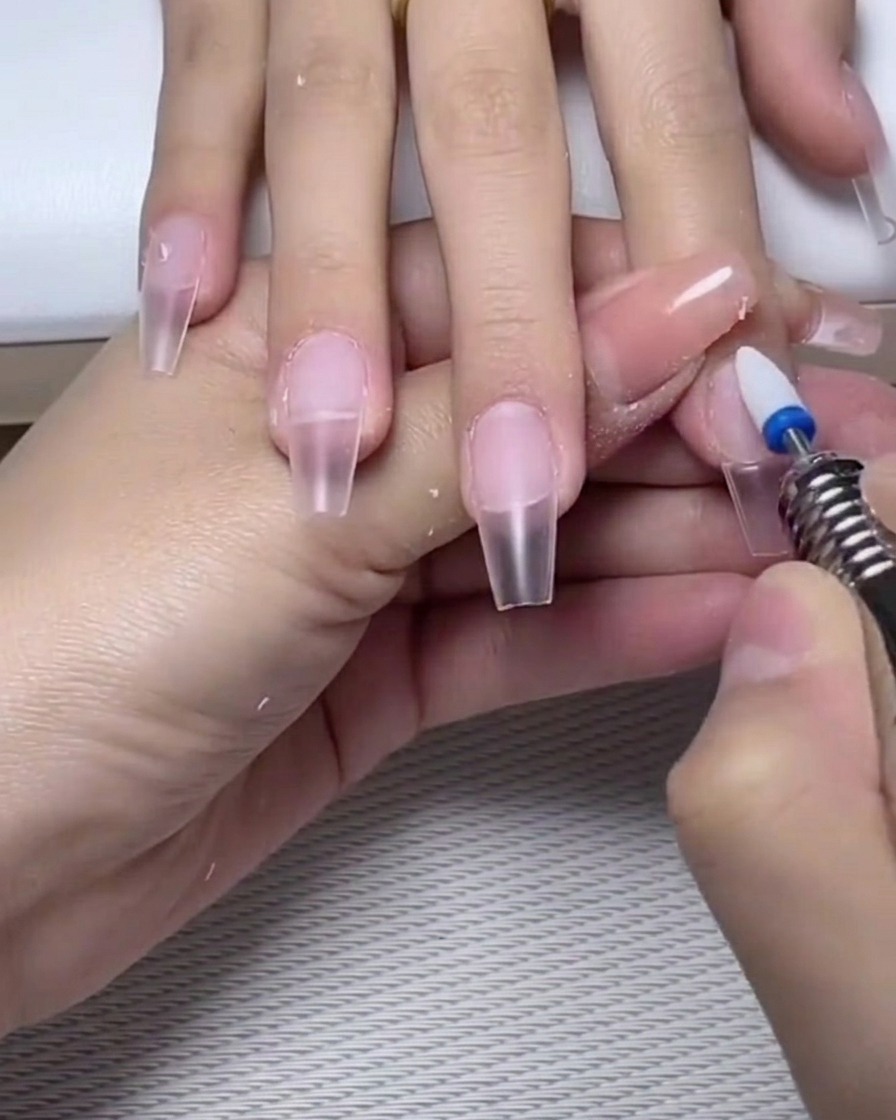
Once the base coat is cured, use a fine-grit file or buffer to gently smooth out any imperfections on the surface. This creates a perfectly flat, even base, which is crucial for achieving a clean, professional gradient look.
Tip: Use a light touch to avoid removing too much of the base layer; the goal is simply to level the surface. - 5Apply milk white gel
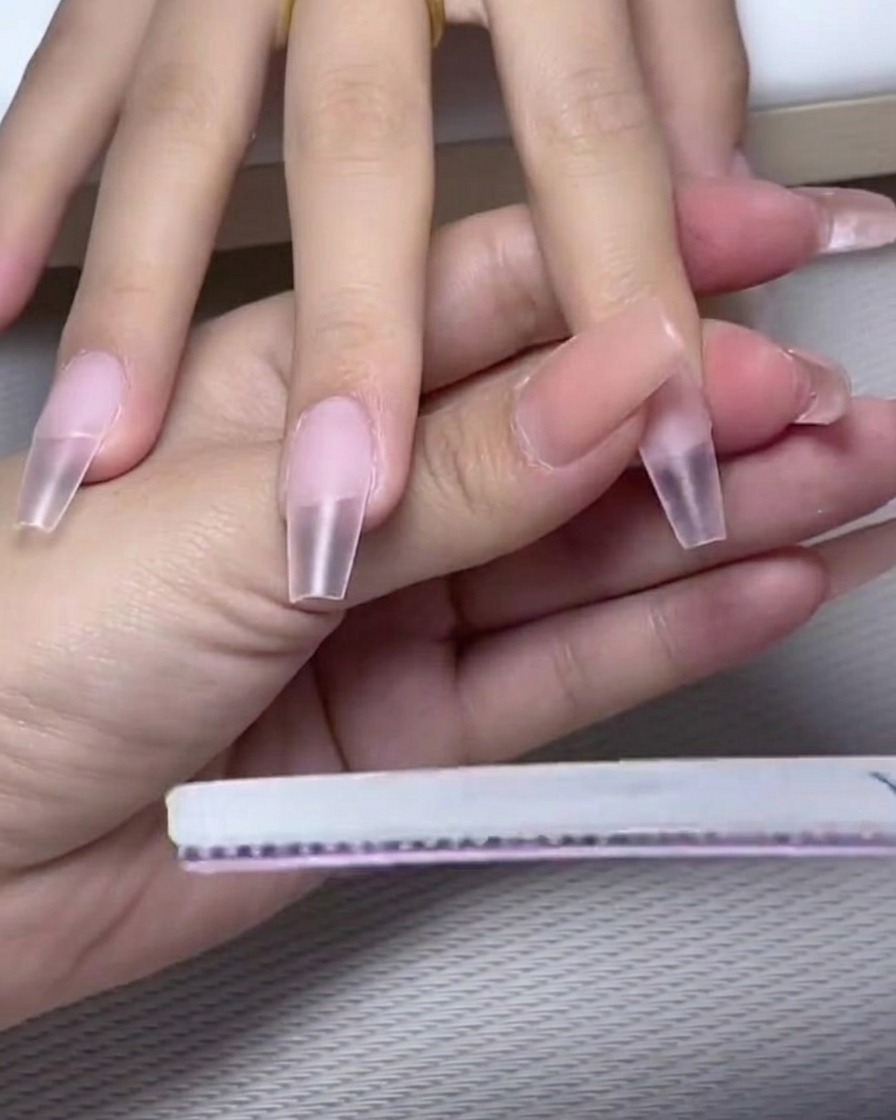
Carefully apply the milk white gel polish to the distal (tip) half of the nail. You do not need to worry about a perfect edge at this stage, as you will be blending this color toward the root in the next step.
Tip: Use a moderate amount of gel; too much can make the subsequent blending process more difficult. - 6Blend for ombre effect
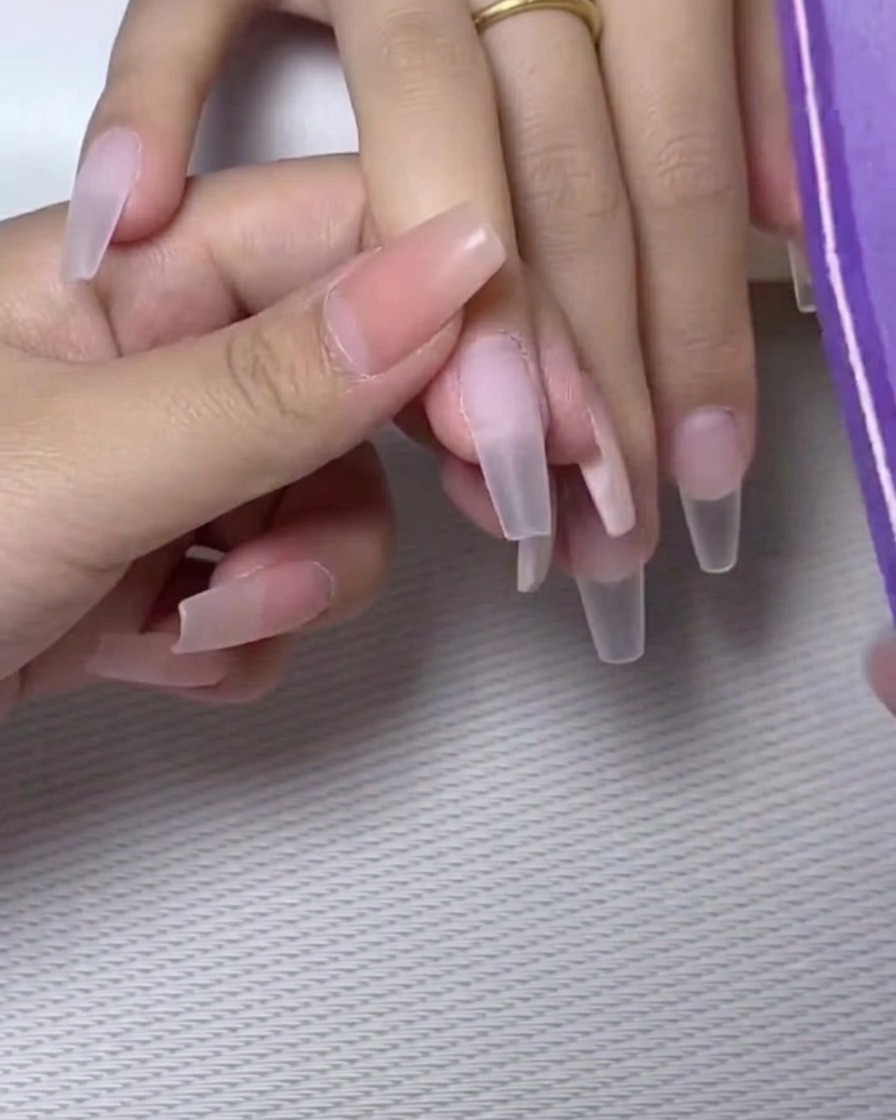
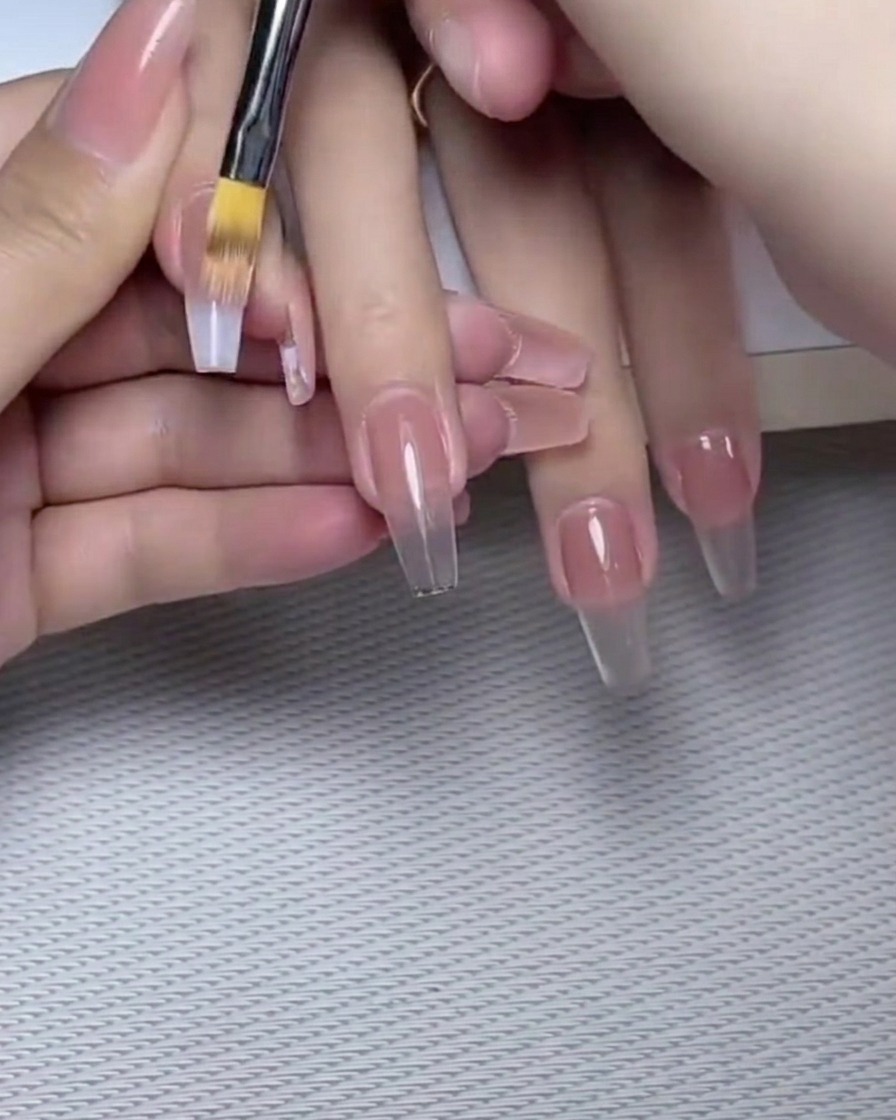
Using a clean sponge brush, gently dab and sweep the milk white gel toward the cuticle area. Use light, soft strokes to create a smooth, seamless transition between the white tip and the natural nail base. Repeat this process until you achieve the desired gradient intensity.
Tip: Work with a light hand to keep the transition natural and soft, rather than abrupt. - 7Intensify the milk white gradient
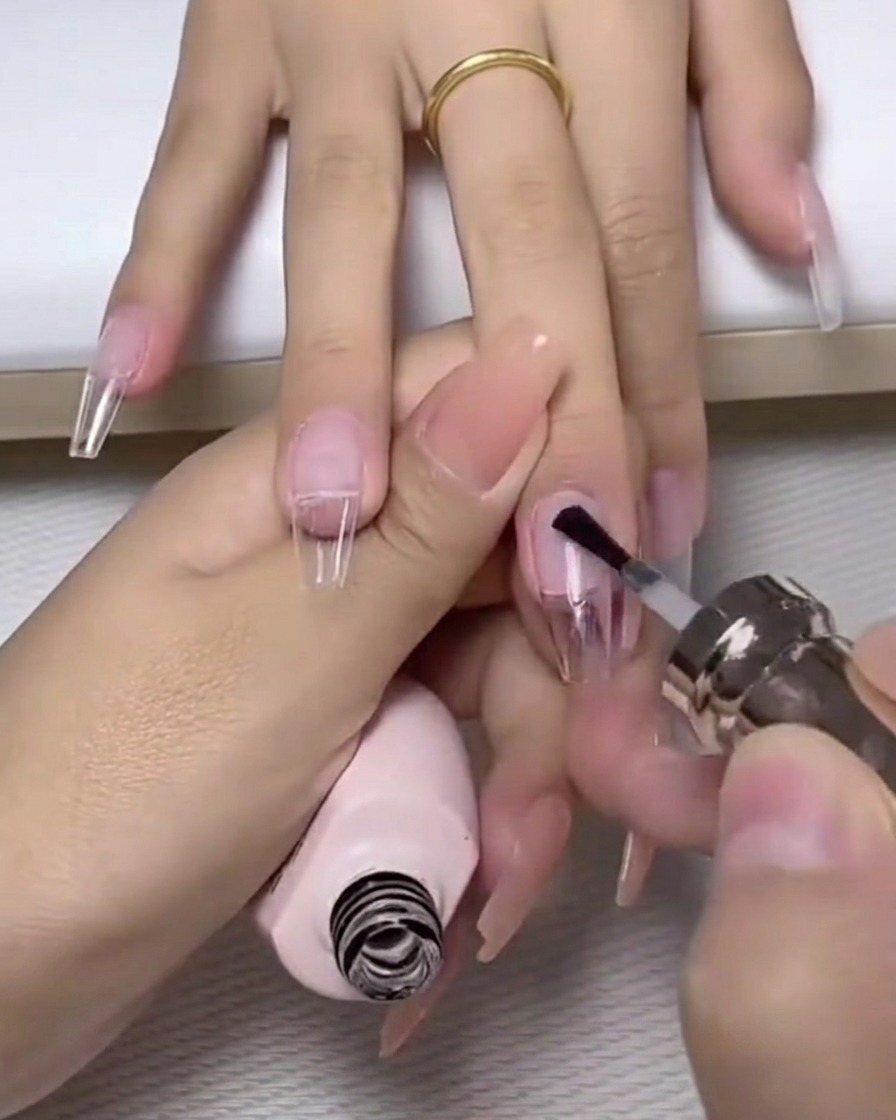
Apply a second, thinner layer of milk white gel, focusing on the tip area to build opacity and deepen the gradient effect. Use a light touch to avoid removing the previous layer, then cure under the UV lamp.
Tip: Building the gradient in thin layers prevents the gel from becoming too thick or bulky at the tip. - 8Apply nail glue for embellishments
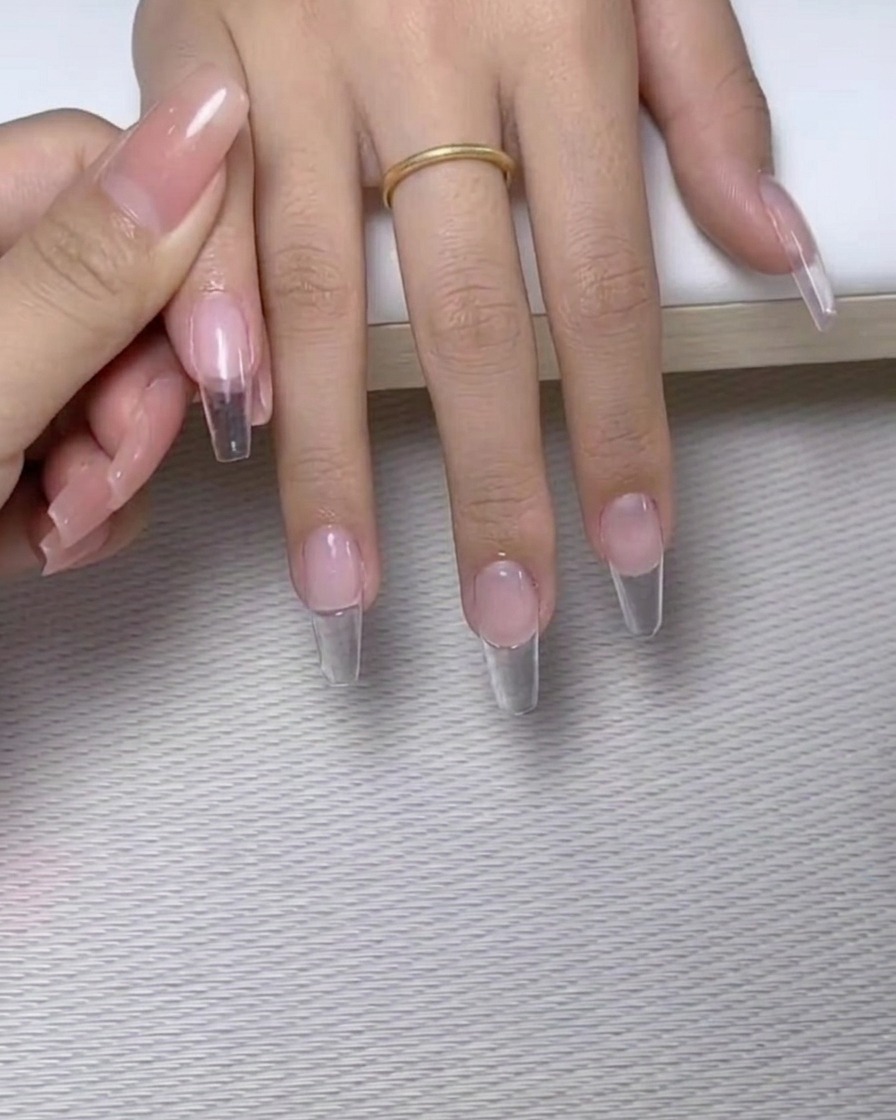
Using a fine-tip brush, apply small dots of specialized nail glue onto the nail bed in the desired arrangement for your rhinestones and pearls. Work on one nail at a time to prevent the glue from drying before the stones are placed.
Tip: Less is more; applying too much glue can cause it to overflow and cloud the finish of your stones. - 9Place rhinestones and pearls
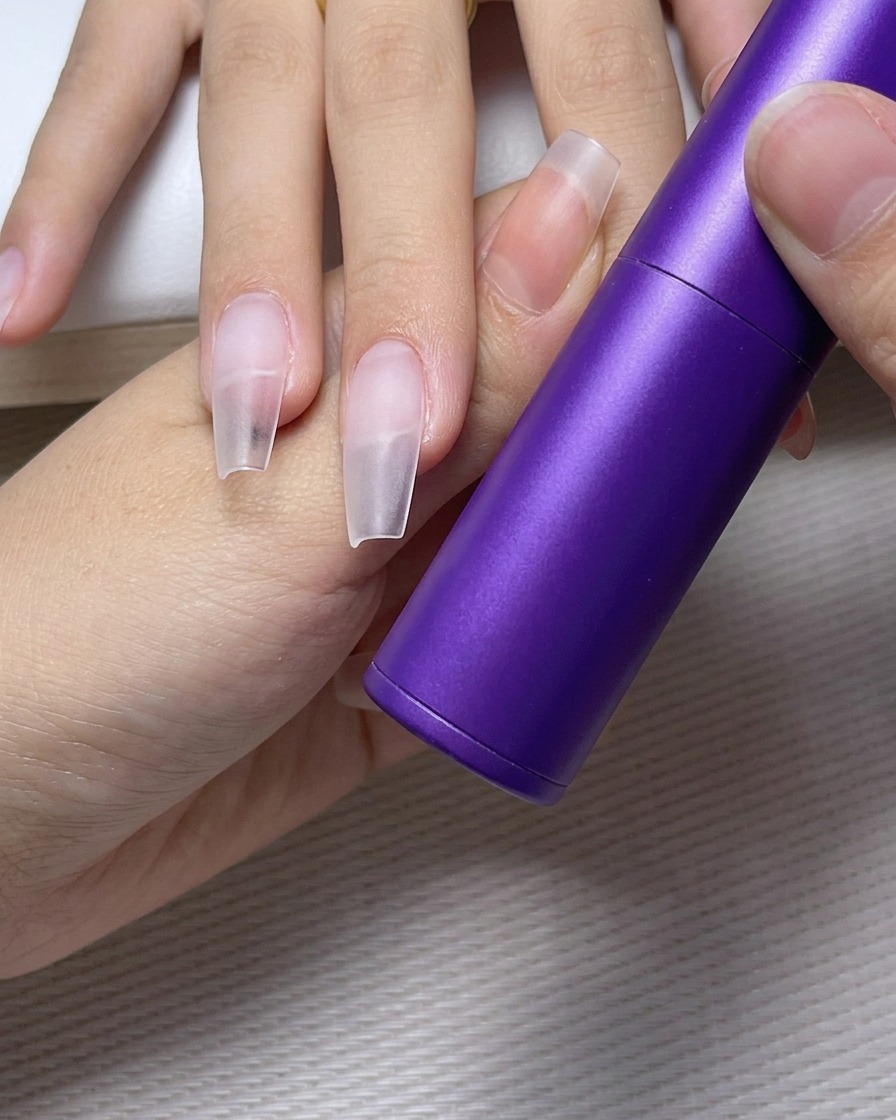
Using tweezers, carefully pick up each rhinestone or pearl and press it into the dots of glue you previously applied. Adjust their positioning quickly while the glue is still tacky, then allow them to set.
Tip: Hold the tweezers at a shallow angle to easily pick up the stones without them flipping over. - 10Seal with top coat
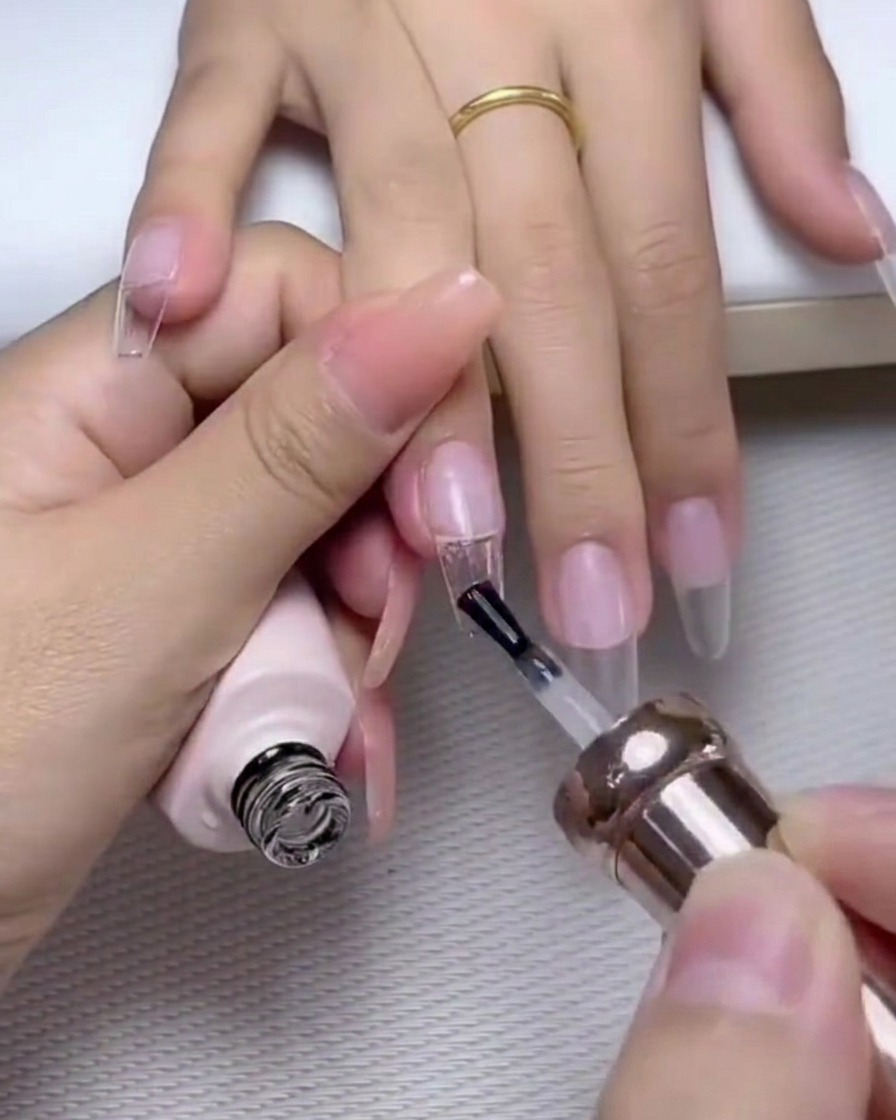
Apply a layer of glossy top coat over the entire nail surface, ensuring you cover the rhinestones and pearls to lock them in place. Be careful not to let the top coat pool around the edges of the stones, which can dull their shine.
Tip: Check for any gaps or missing coverage around the edges of your embellishments to ensure a long-lasting hold. - 11Reinforce rhinestone placement
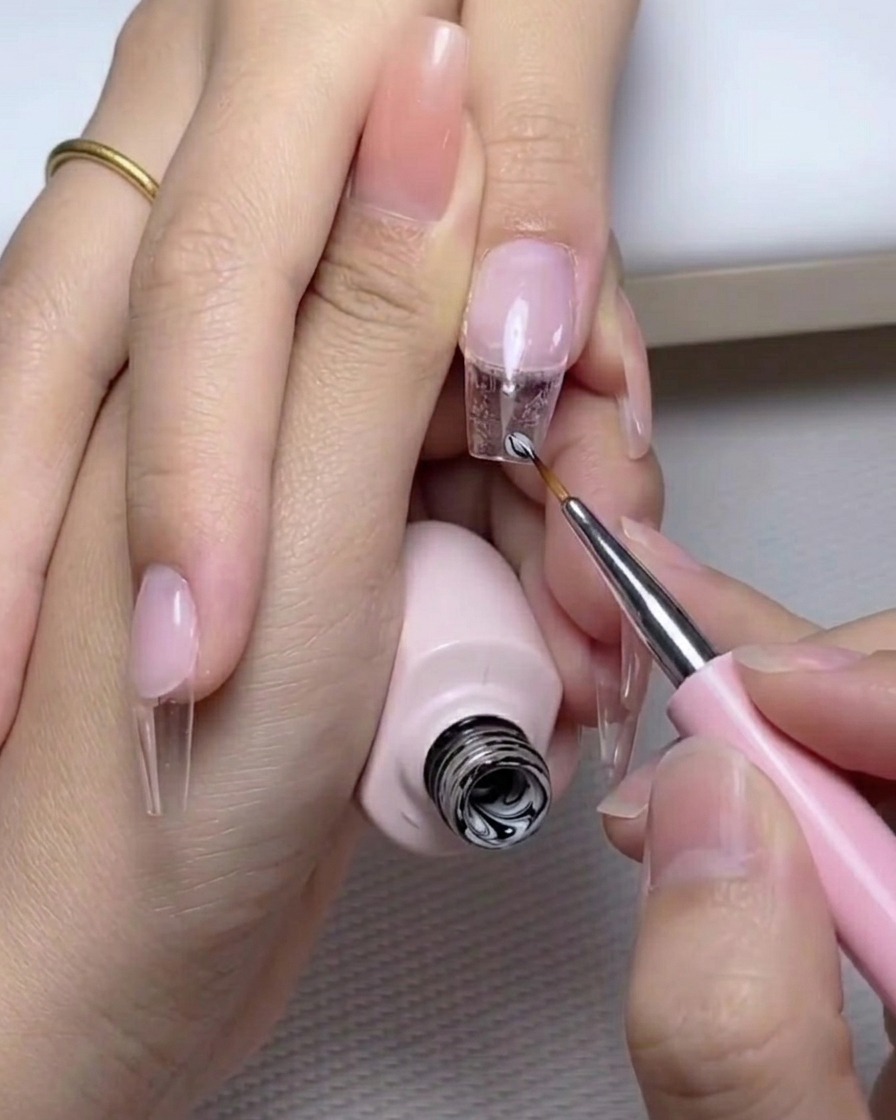
For added durability, use a thin brush to apply a tiny amount of extra top coat specifically around the base of each rhinestone. This seals the connection point between the stone and the nail surface, preventing premature snagging.
Tip: Avoid covering the top facets of the rhinestones with too much product, as this can diminish their brilliance. - 12Cure final top coat
Place your hand into the UV/LED lamp and cure the final top coat layer for the full recommended time. This step hardens the finish, secures your design, and provides a durable, high-gloss shine.
Tip: Keep your hand flat inside the lamp for an even cure across all fingers.