Hailey Bieber Glazed Donut Pearl Powder Nails — Step-by-Step Tutorial
Achieve the iconic Hailey Bieber glazed donut manicure at home with this step-by-step pearl powder and chrome nail tutorial.
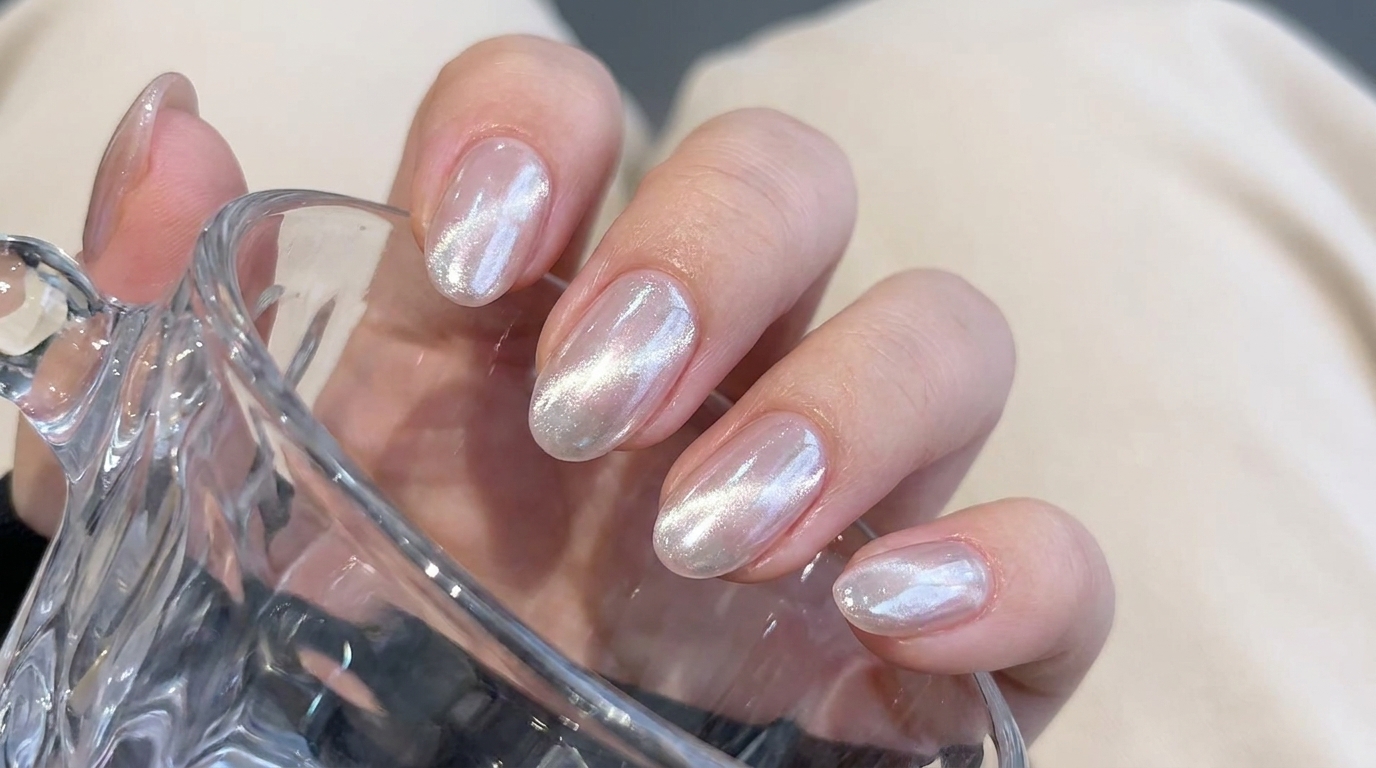
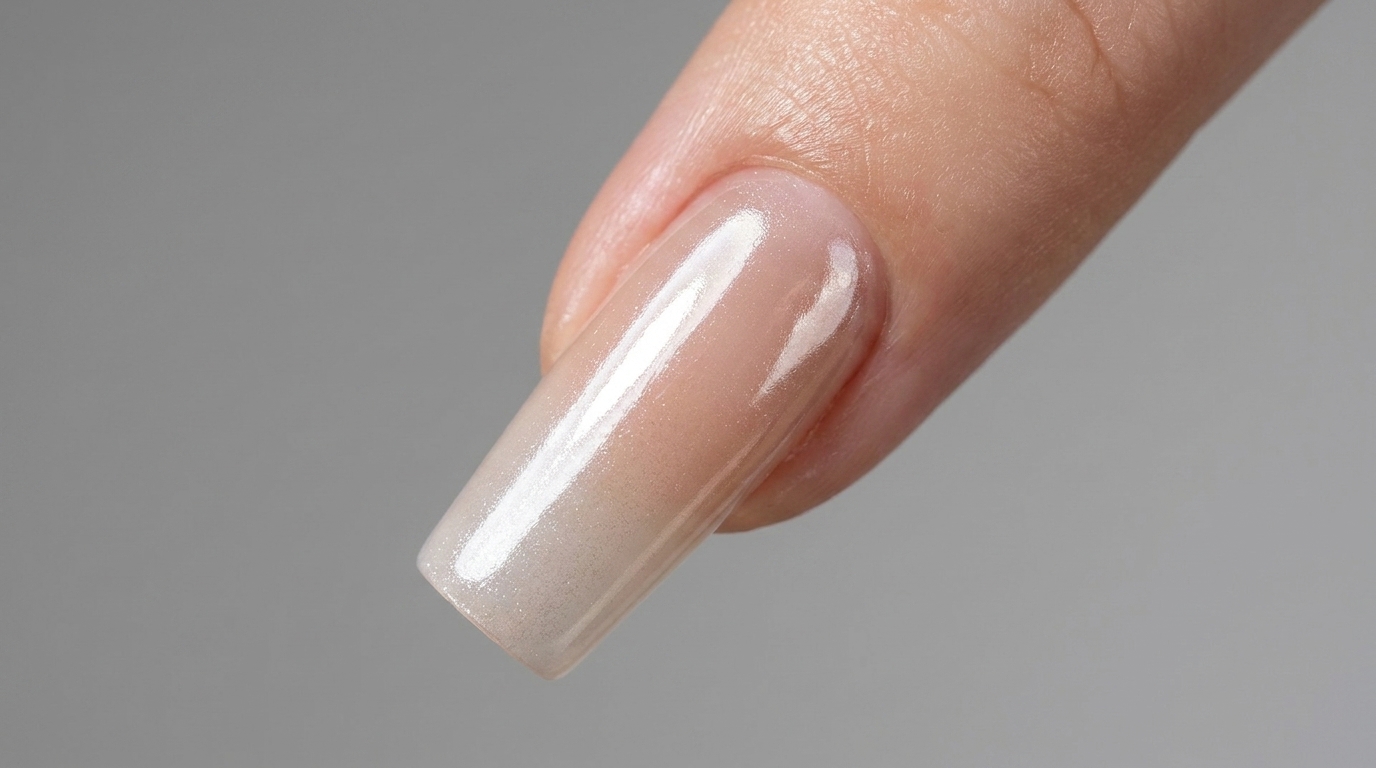
The glazed donut manicure popularized by Hailey Bieber has taken the nail world by storm, offering a chic, ethereal finish that catches the light from every angle. This look combines a subtle translucent base with a high-shine chrome pearl shimmer to create that signature iridescent glow. Whether you are prepping for a special occasion or just love a polished, minimalist aesthetic, this technique is surprisingly approachable with the right steps.
Steps
- 1Apply Nude Base Coat
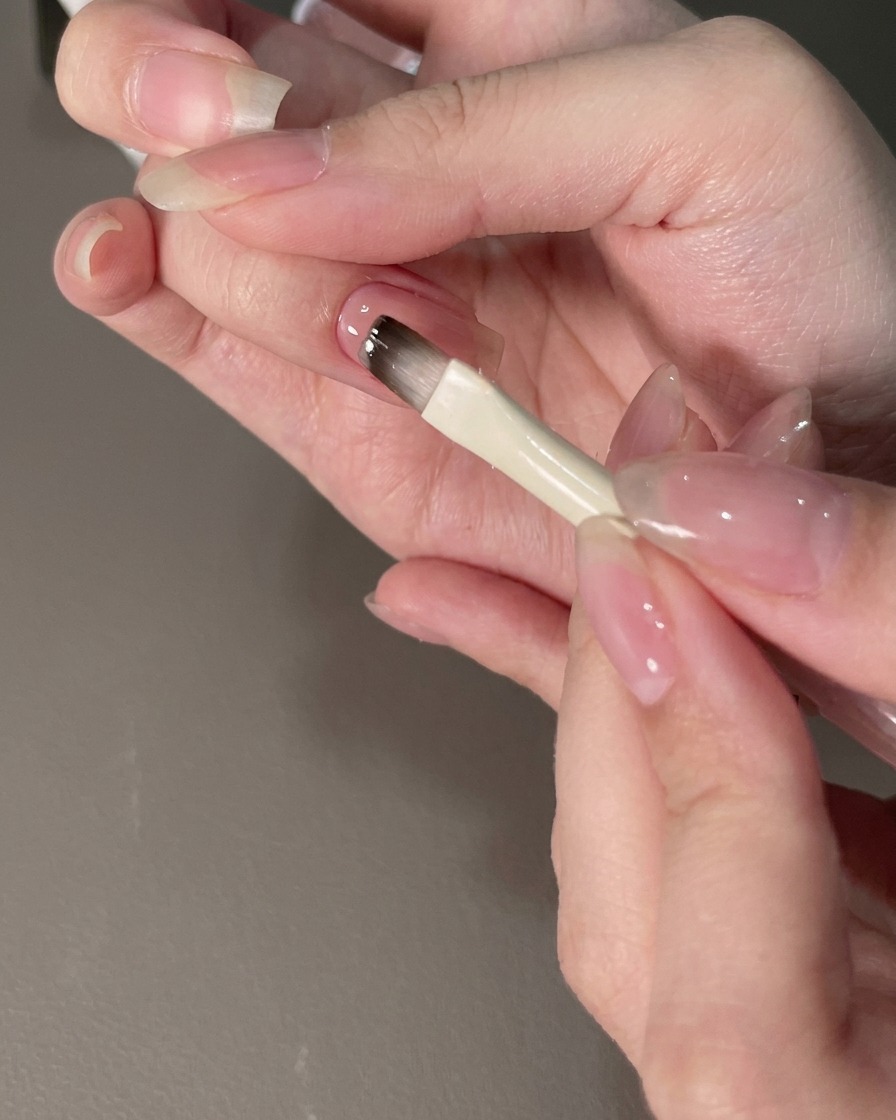
Apply a smooth nude base coat onto the right hand nail plate using a fine brush to ensure an even foundation for the subsequent layers.
Tip: Ensure the application is thin and even to avoid pooling around the cuticles. - 2Cure Nude Base Coat
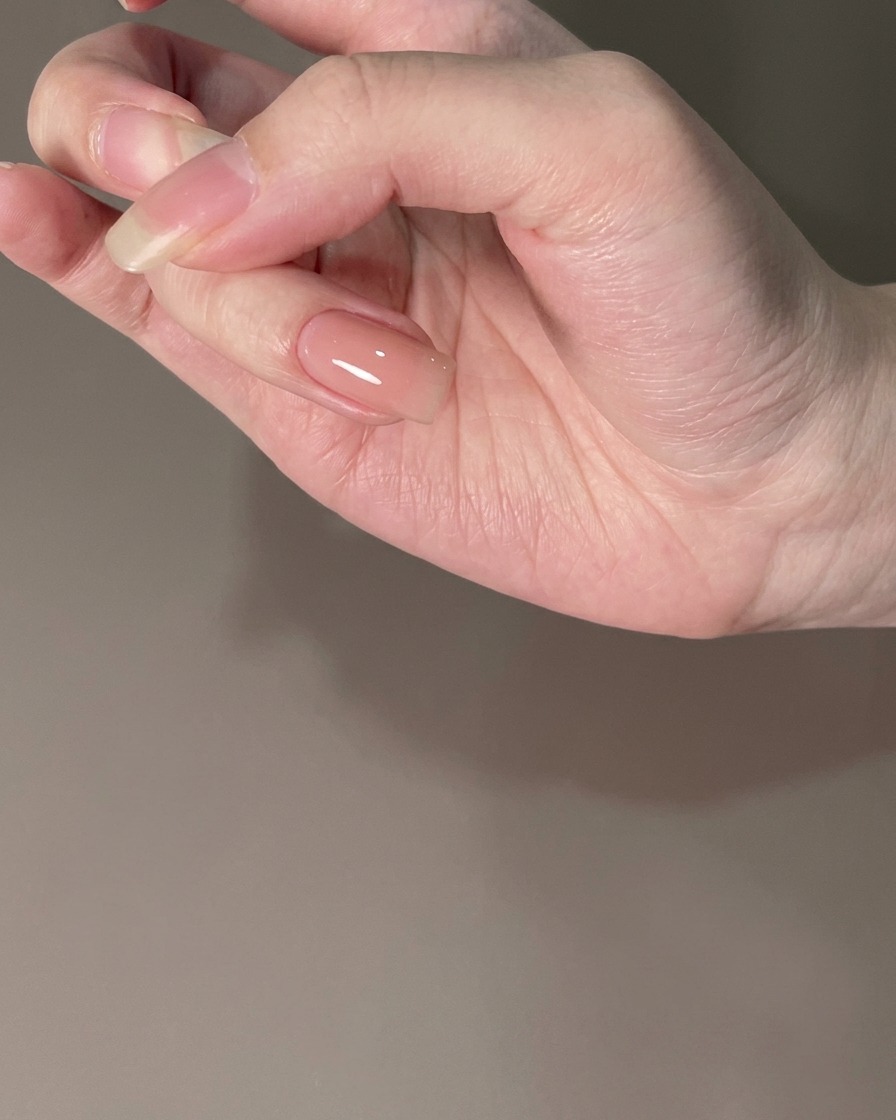
Place the finger under the UV or LED lamp to completely cure the nude base coat before moving on to the next design step.
Tip: Make sure the hand is placed evenly under the light source for a uniform cure. - 3Pick Up Milky White Padding Gel
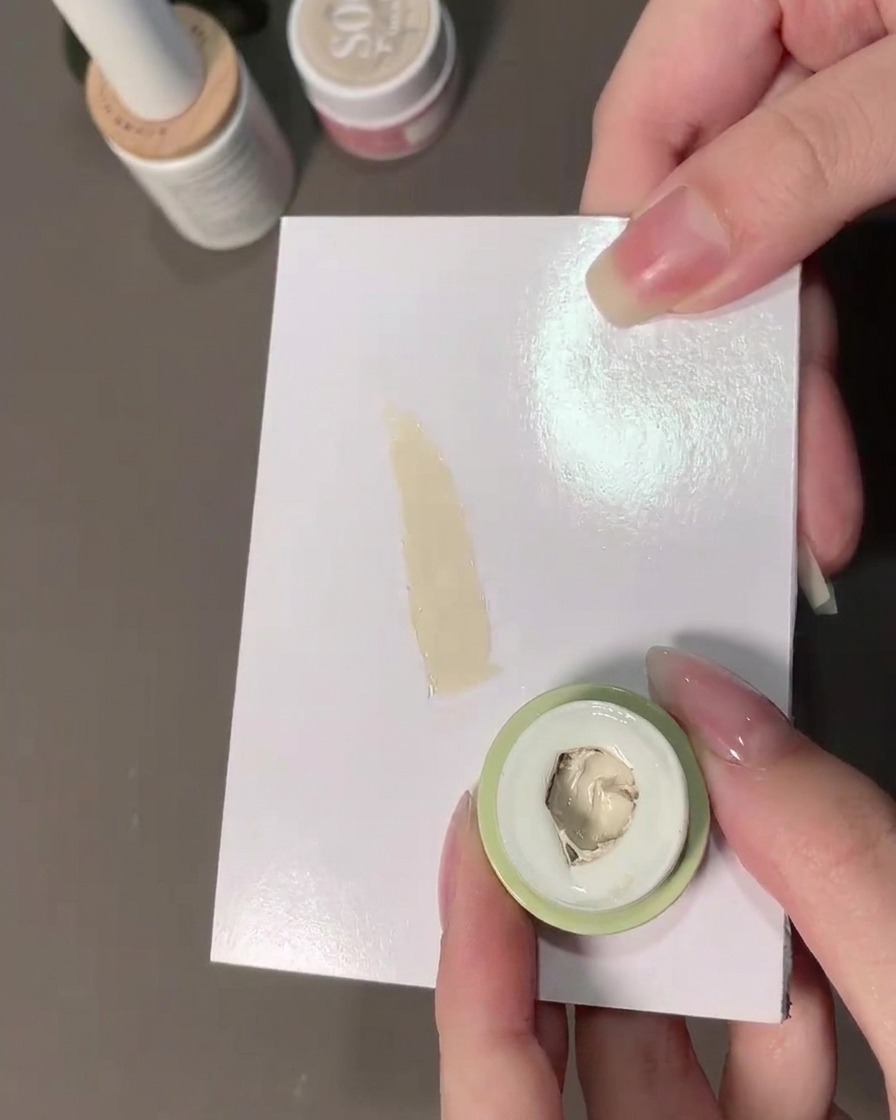
Pick up a small amount of milky white padding gel using a sponge applicator or specialized tool to prepare for creating the gradient.
Tip: Use a minimal amount of gel on the applicator to maintain control over the gradient density. - 4Create Gradient Effect
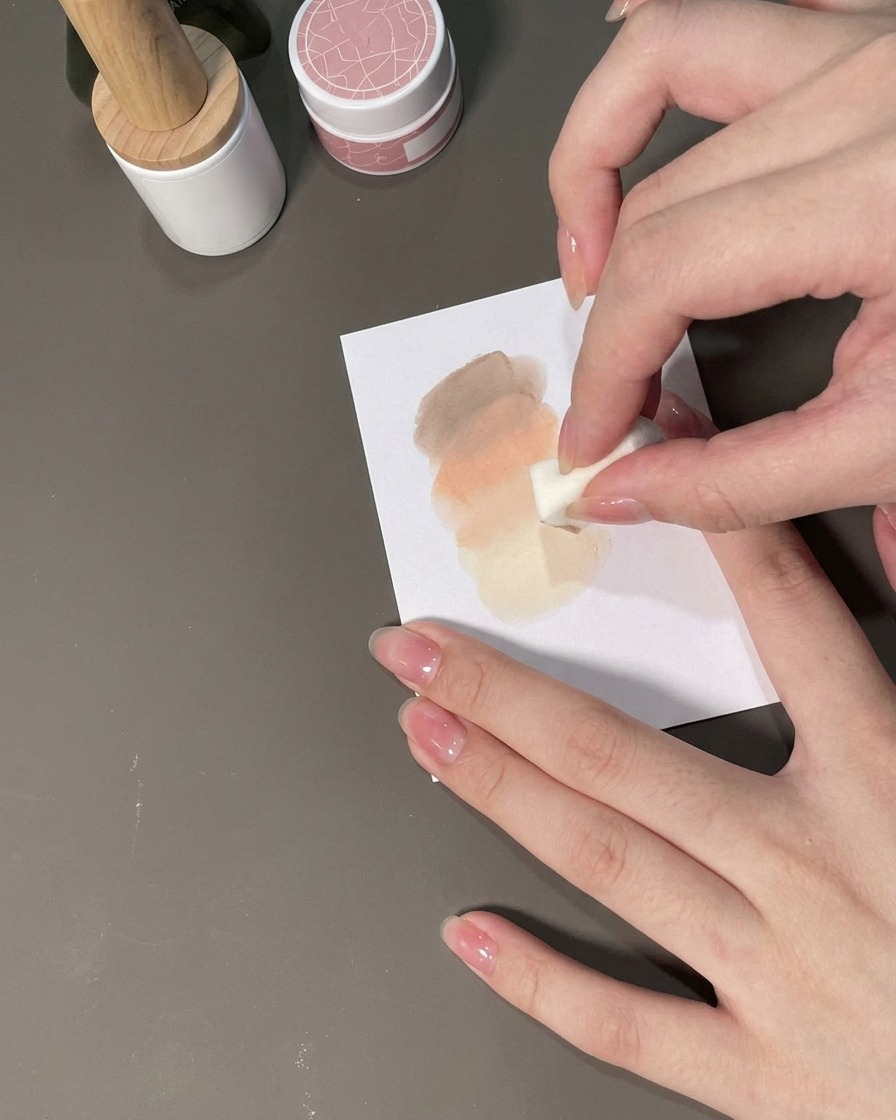
Gently pat the milky white padding gel onto the upper third of the nail surface to establish a natural gradient transition.
Tip: Light tapping motions create a softer, more seamless fade than dragging the product. - 5Cure Gradient Layer
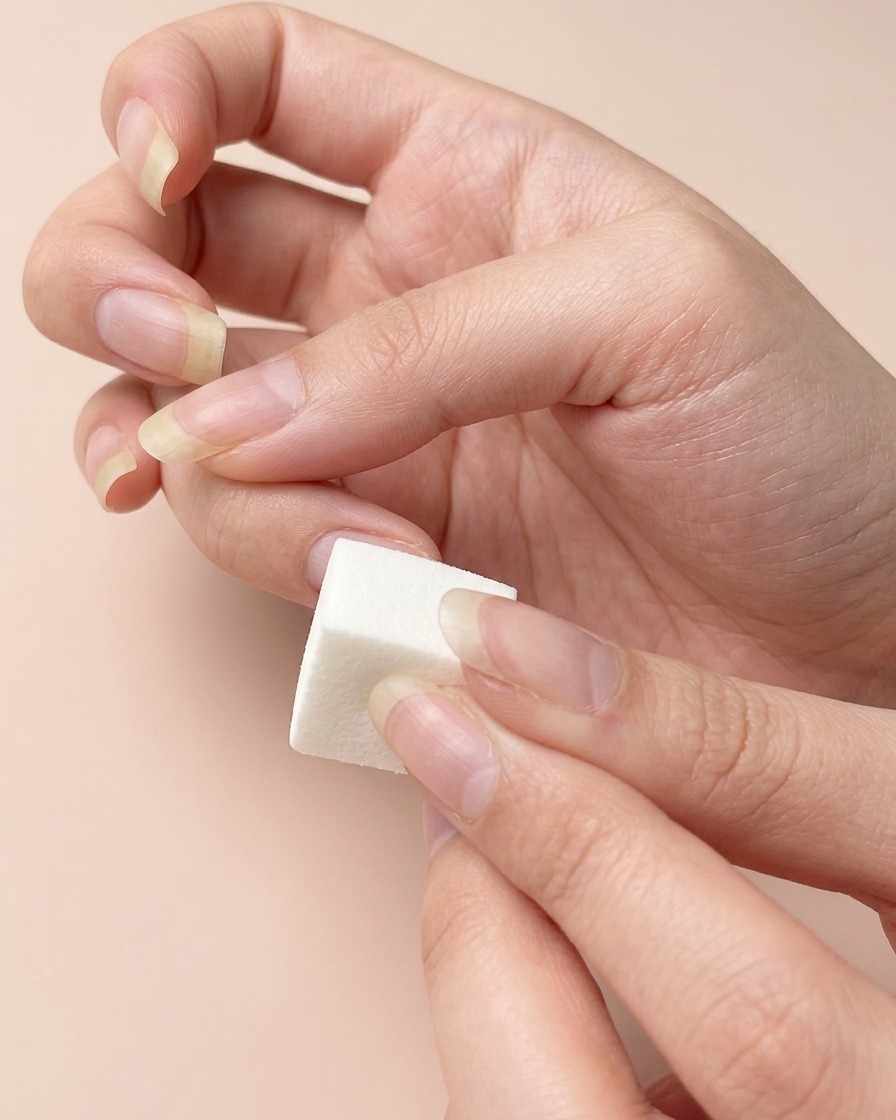
Place the hand under the UV or LED lamp to cure the newly created milky white gradient layer.
Tip: Ensure proper curing time to set the gradient texture before applying any top coats. - 6Apply Functional Top Coat
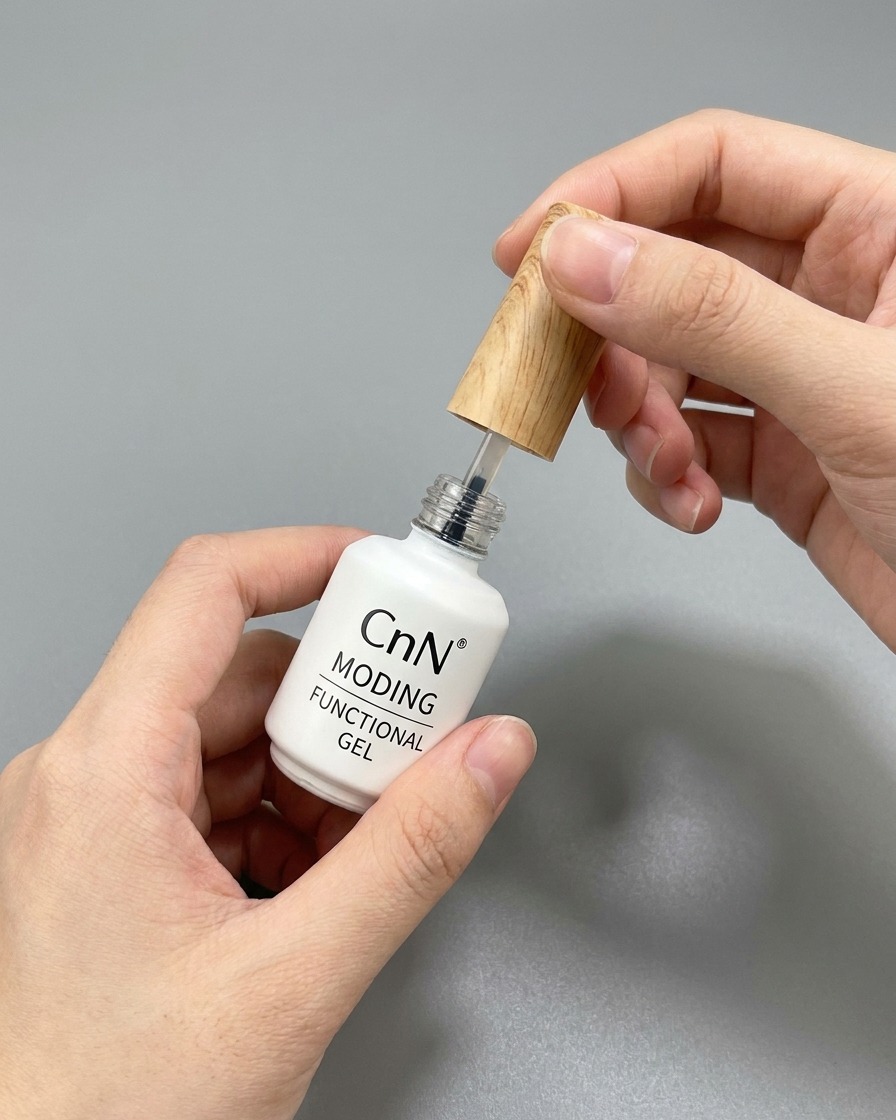
Apply a thick layer of functional top coat gel over the nail to create a smooth, particle-free surface before rubbing chrome powder.
Tip: A smooth and thick top coat layer is essential for achieving a flawless mirror-like chrome powder finish. - 7Smooth out padding gel particles
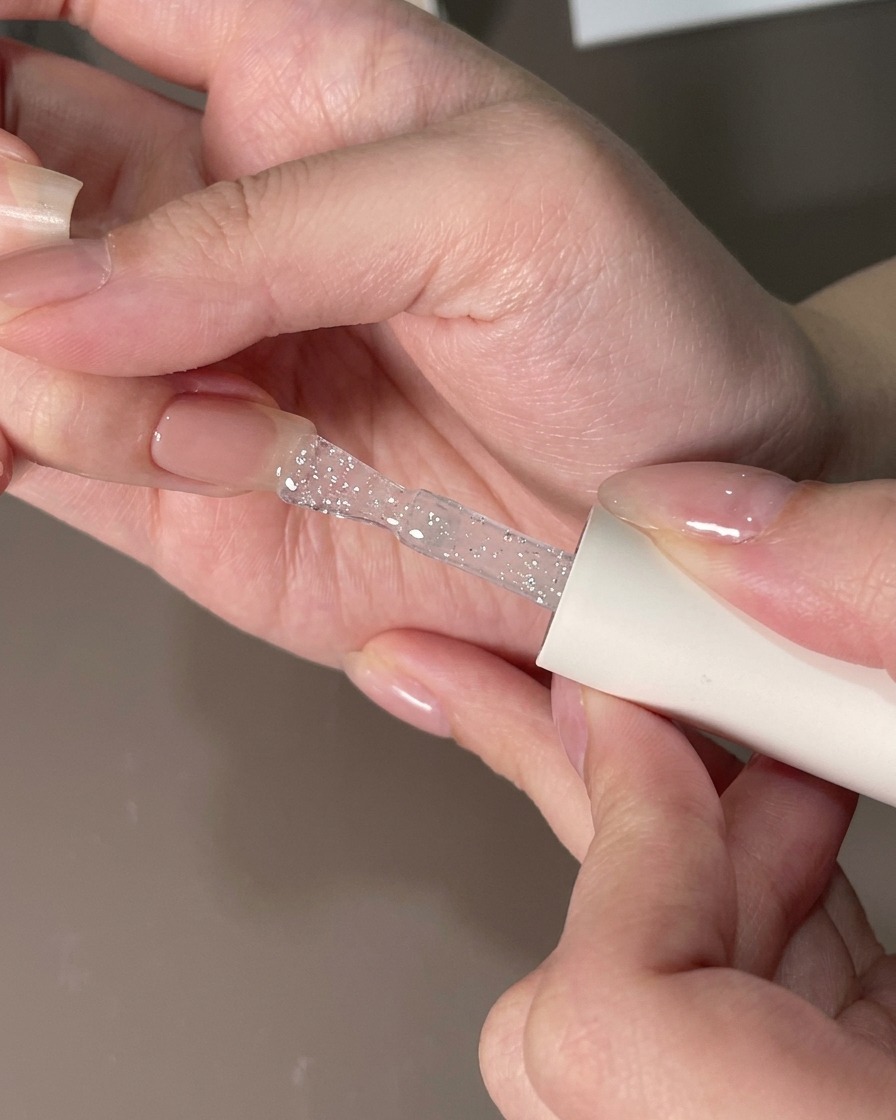
Take the flat brush and apply a thick layer of top coat to smooth out any particles created by the padding gel before rubbing the powder. Cure under the lamp afterward.
Tip: Ensure a smooth, particle-free surface for the best results when rubbing chrome powder. - 8Cure the smoothing layer
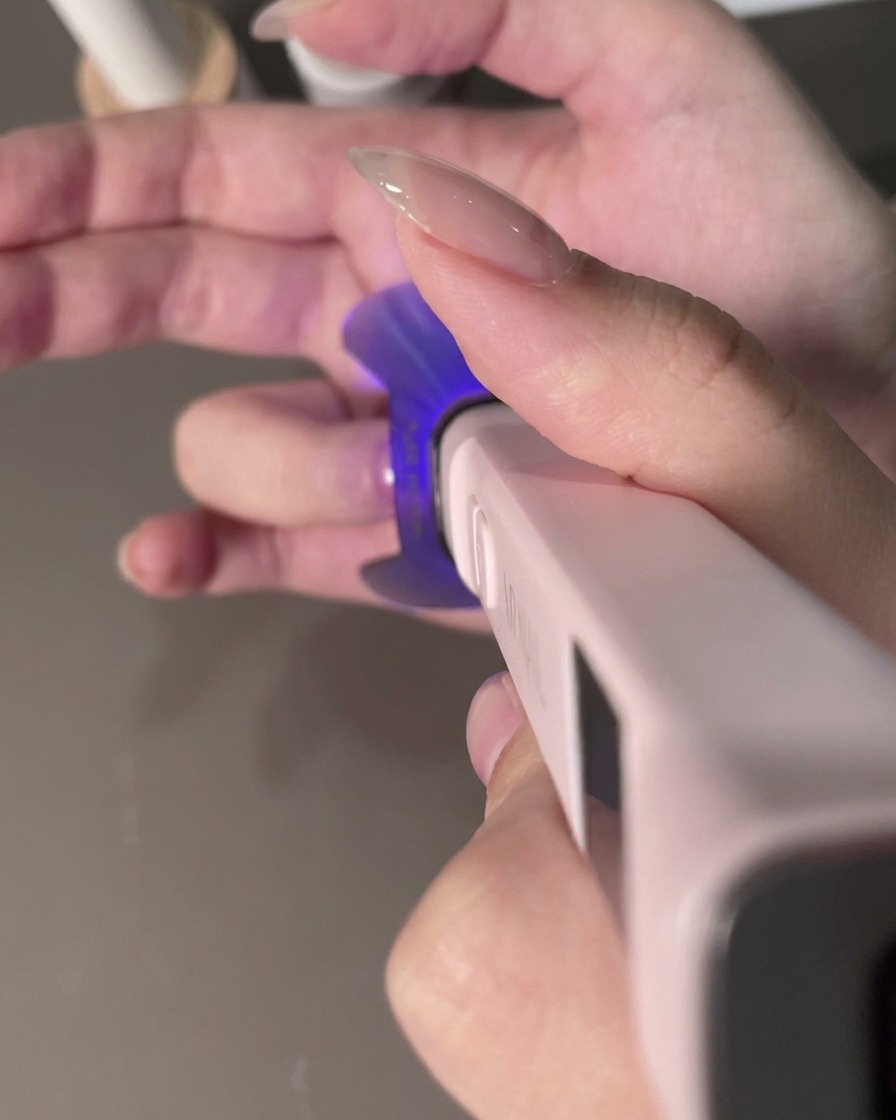
Place the nail under the UV/LED lamp to cure the smoothing top layer completely, creating a particle-free surface.
Tip: Ensure proper hand placement under the light source for an even cure. - 9Apply chrome pearl powder
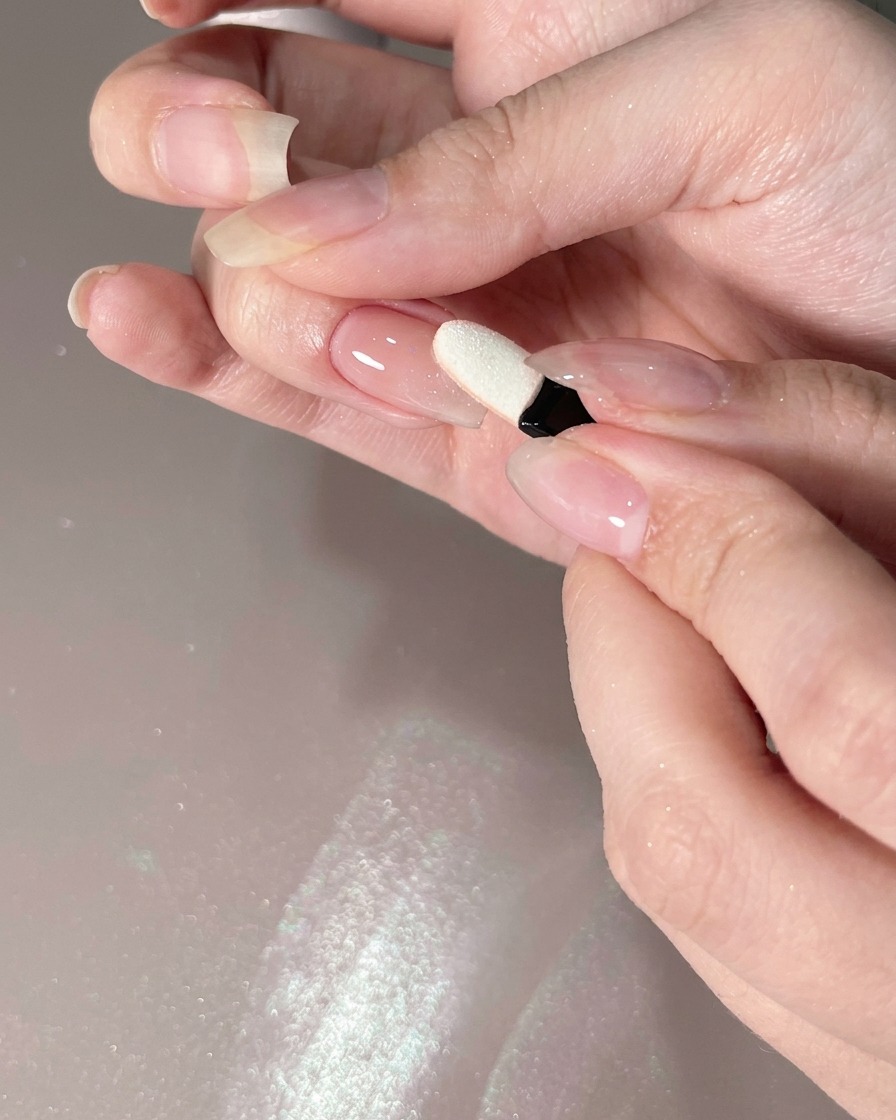
Take a sponge applicator tool and gently rub chrome pearl powder onto the front half of the nail to create a gradient sheen.
Tip: Apply a light dusting of powder for a smooth, reflective finish. - 10File and shape the nail sides
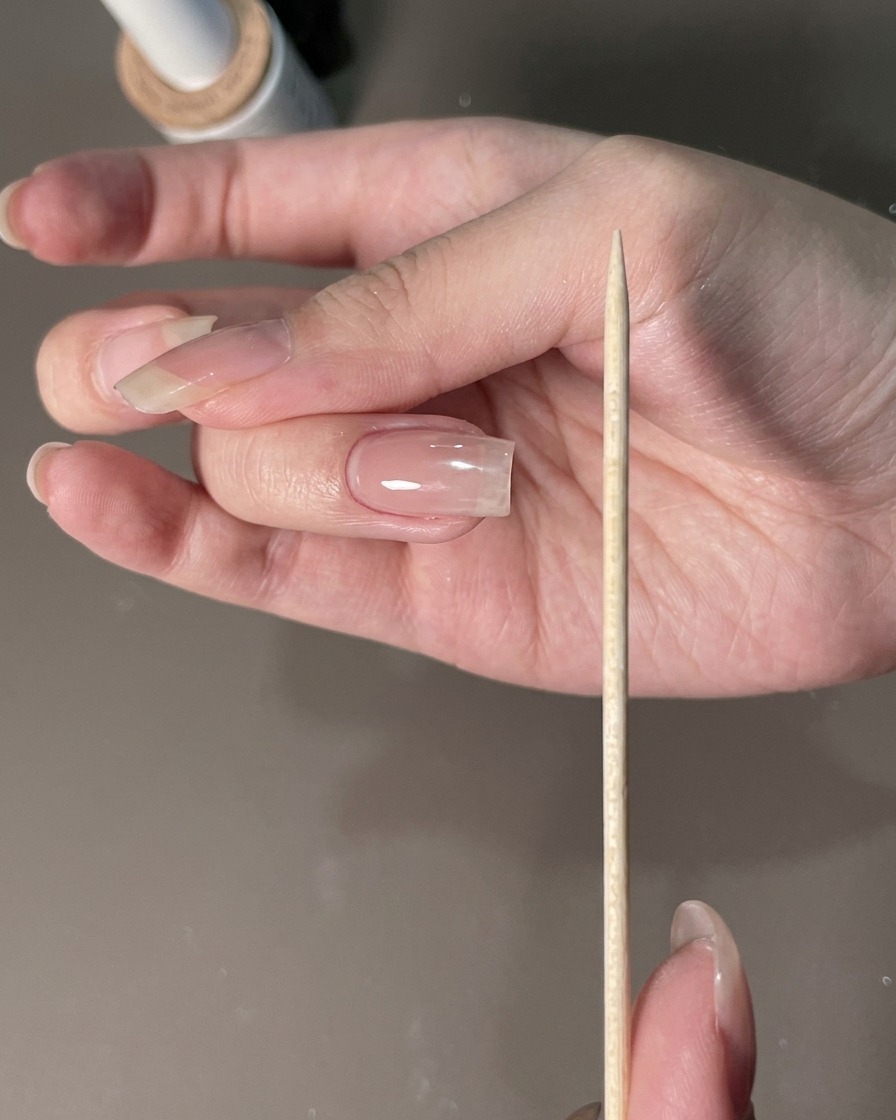
Use a nail file to carefully shape the three sides of the nail to refine the overall contour and clean up any edges.
Tip: Keep the file parallel to the nail edge for a crisp shape. - 11Apply 3-free top coat sealant
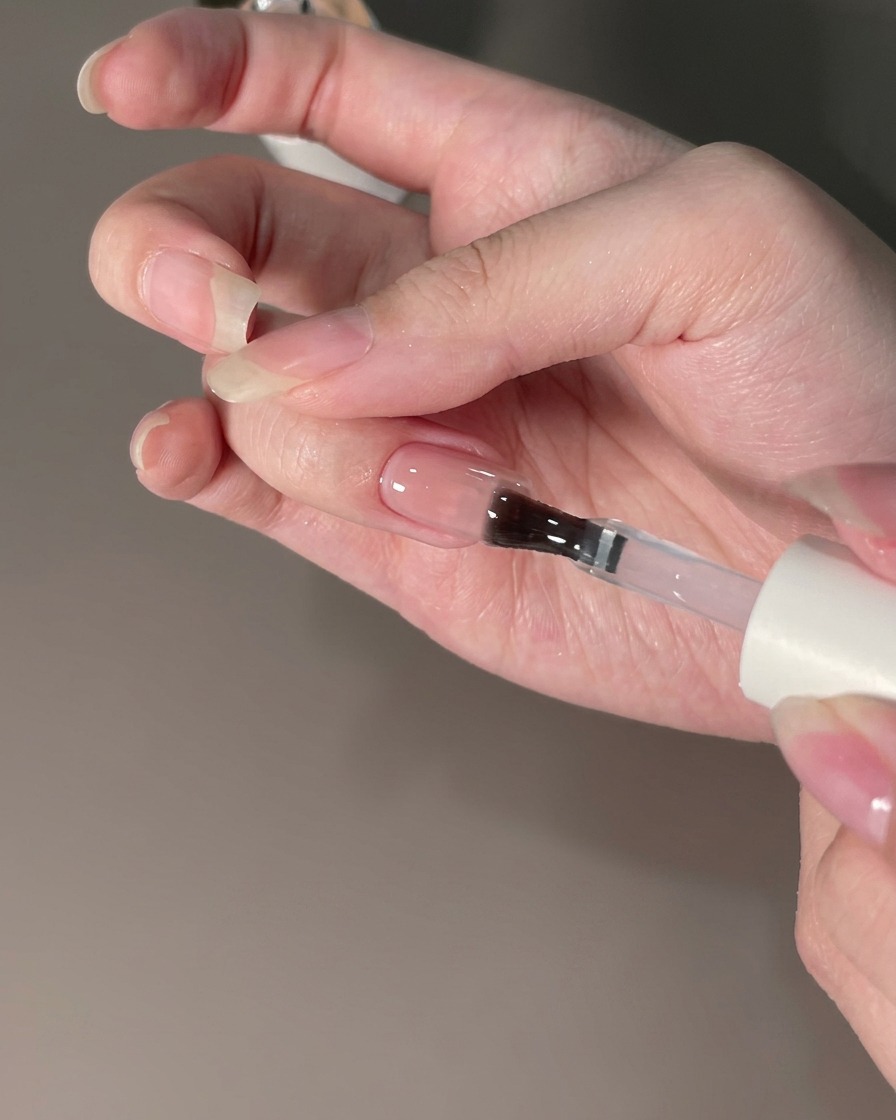
Apply the 3-free top coat over the powder-rubbed nail to securely encapsulate the powder without melting it, keeping it equally bright.
Tip: The 3-free top coat safely encapsulates chrome powder without causing it to melt. - 12Cure final sealing layer
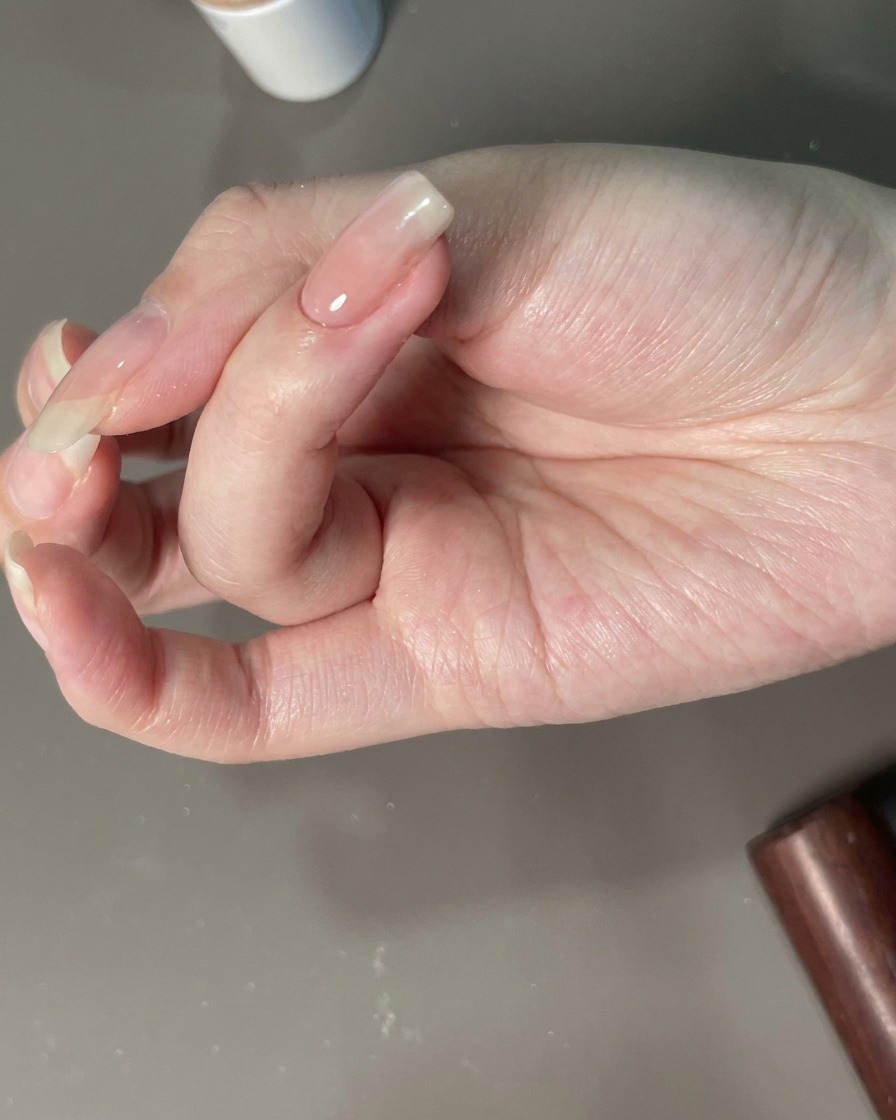
Place the hand under the UV/LED lamp to cure the final sealing top layer, ensuring a bright, long-lasting finish.
Tip: Full cure time ensures maximum shine and durability.