Soft Jelly Two-Tone Gradient Aurora Bear Nails — Step-by-Step Tutorial
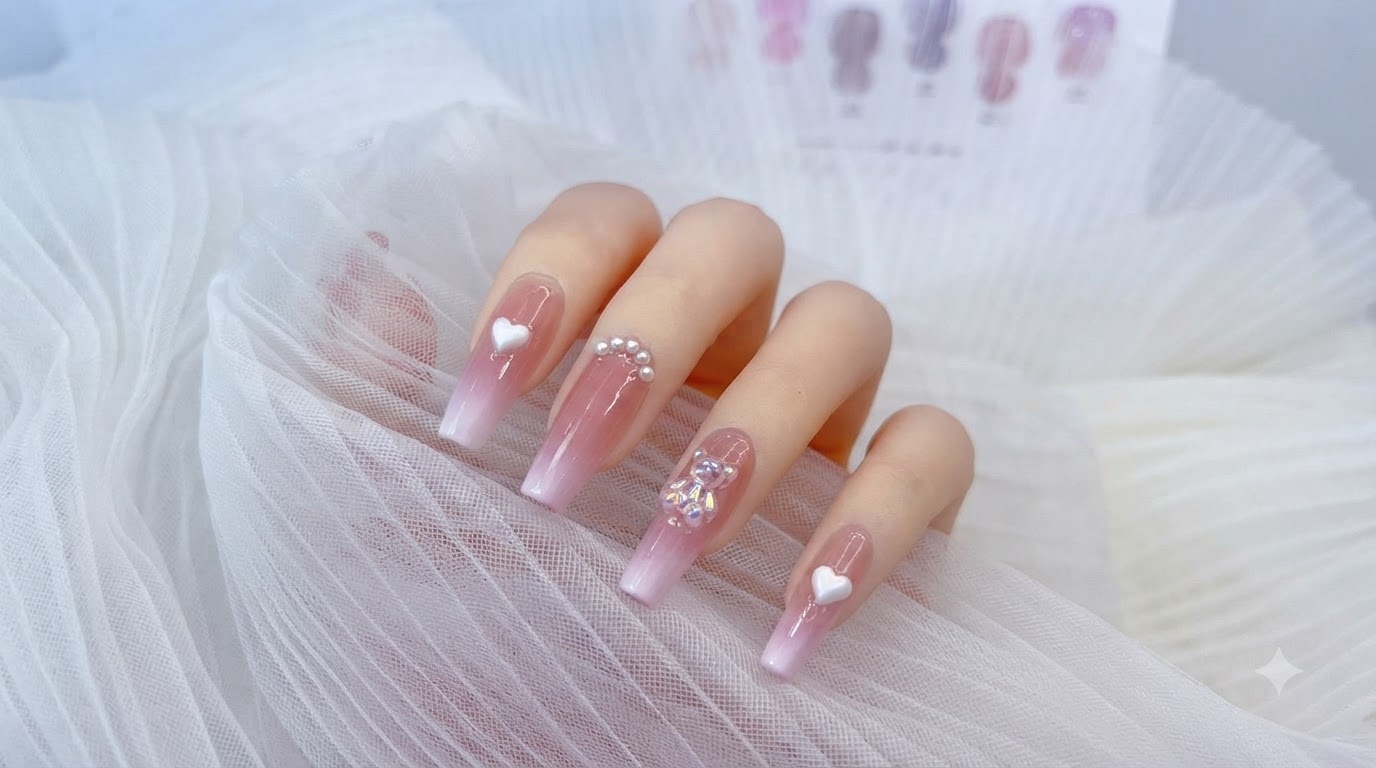
Create dreamy jelly nude and milky white gradient nails adorned with 3D aurora bears, white hearts, and pearls for a sweet, tender manicure look.
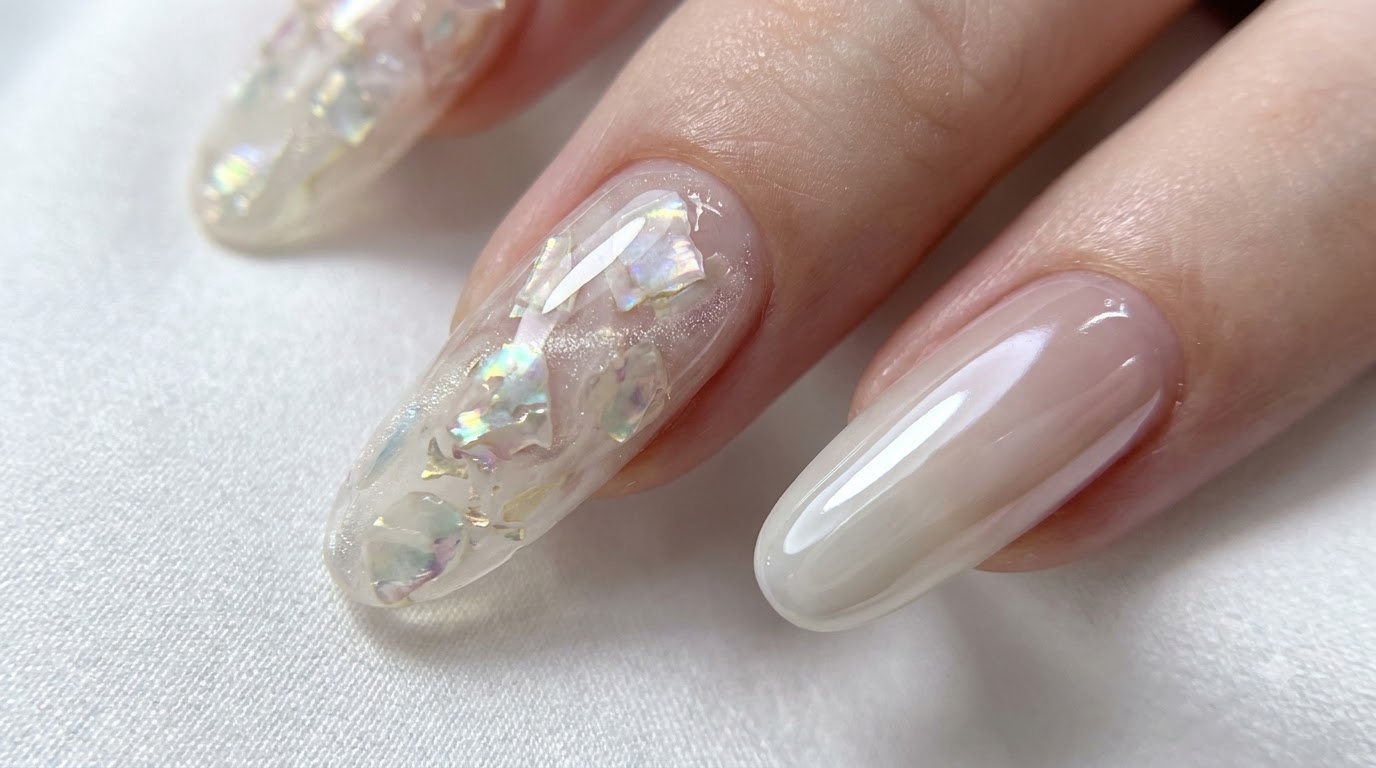
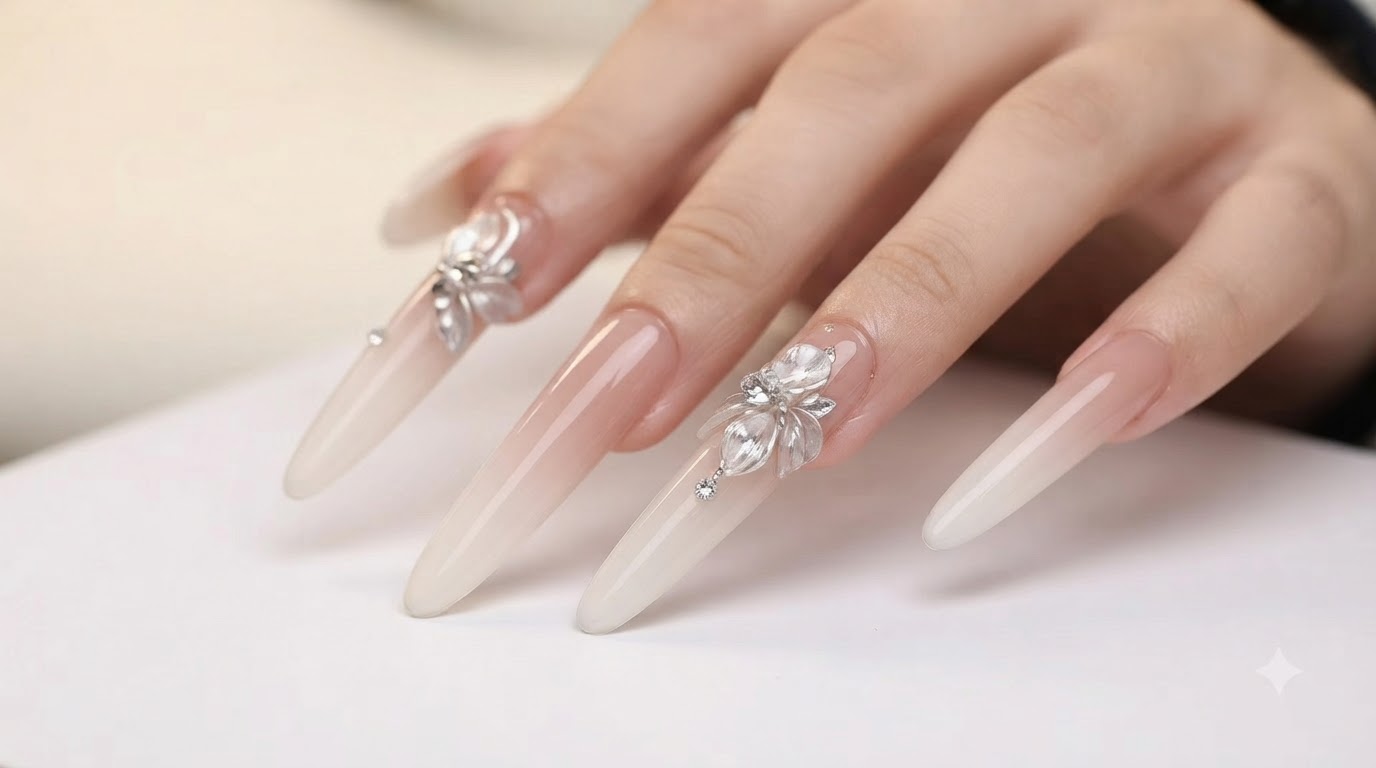
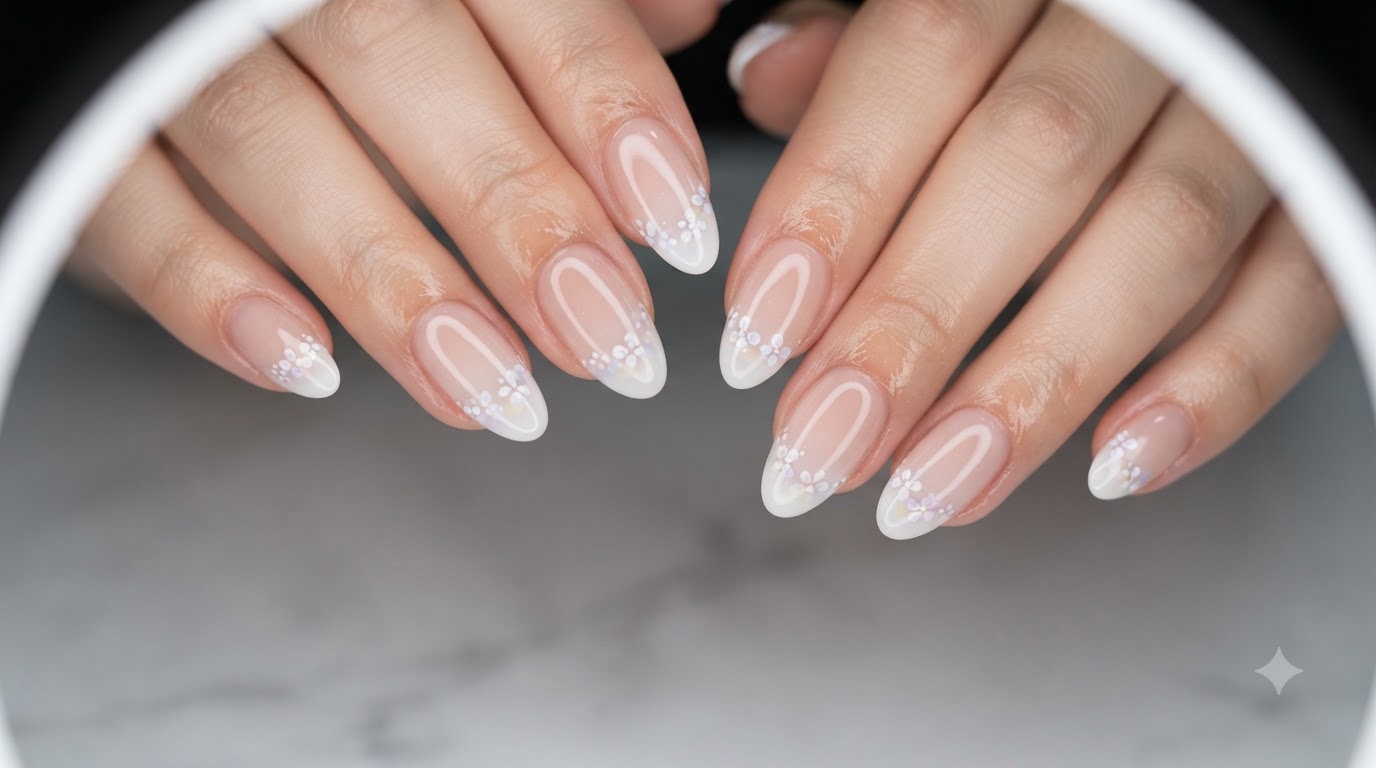
Jelly gradient nails paired with playful 3D charms capture the ultimate sweet and tender aesthetic. This look combines a skin-whitening warm nude pink base with a seamless milky white ombre transition, elevated by sparkling laser aurora bears and delicate pearl accents.
Steps
- 1Apply second coat of nude pink gel
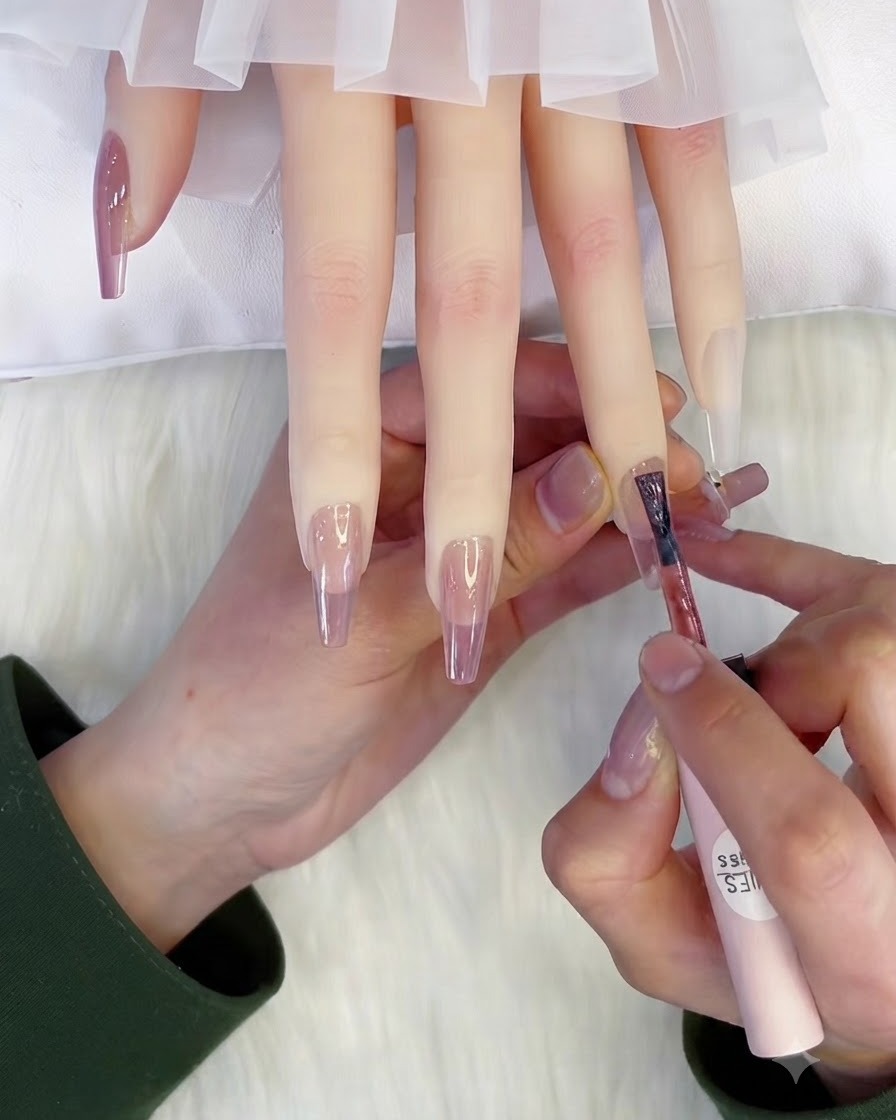
Apply a second layer of the warm jelly nude pink gel to deepen the saturation and ensure a smooth, uniform finish across the nail surface. This builds the jelly translucent effect and enhances the flattering skin-whitening tone.
Tip: Apply the second coat evenly to avoid streaks or uneven pooling at the cuticles. - 2Apply milky white to the nail tip
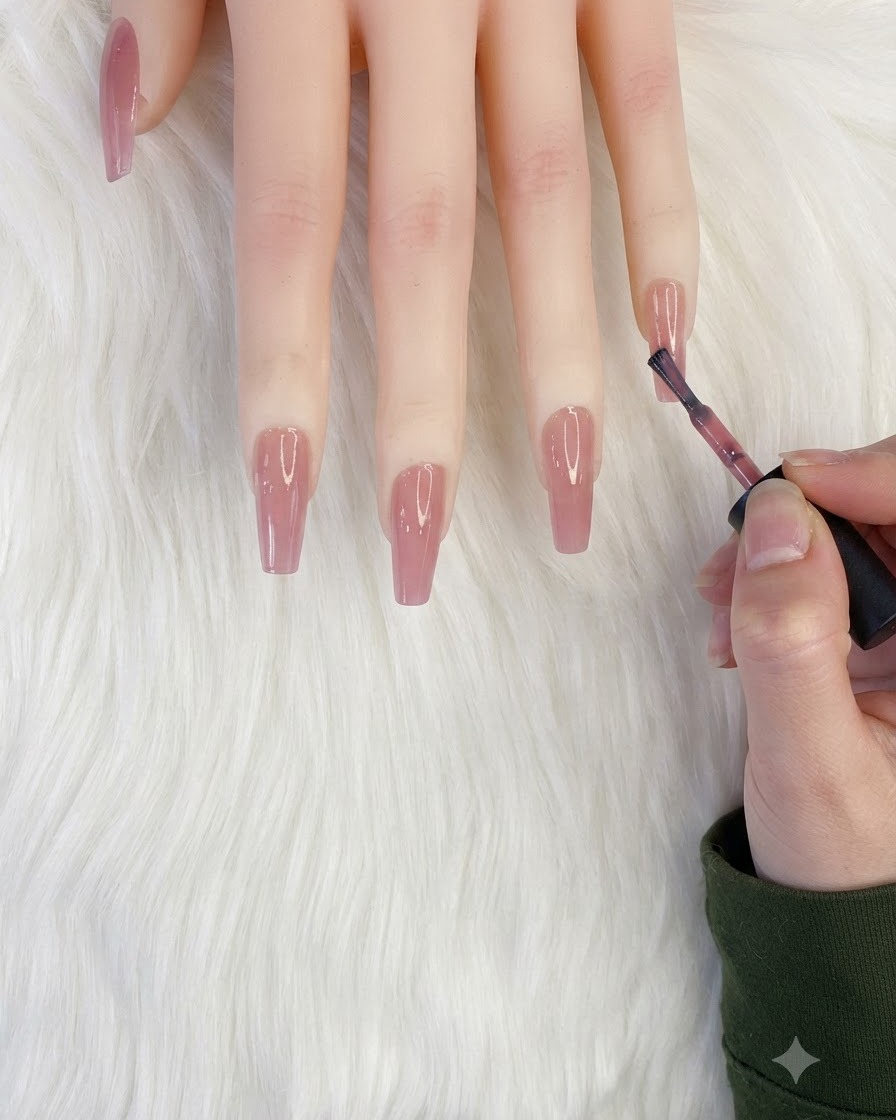
Take the milky white gel polish and apply it onto the inner third of the nail tip to prepare for creating the gradient effect. Keep the application concentrated near the tip area.
Tip: A small amount of product goes a long way when creating an ombre transition. - 3Blend the gradient ombre
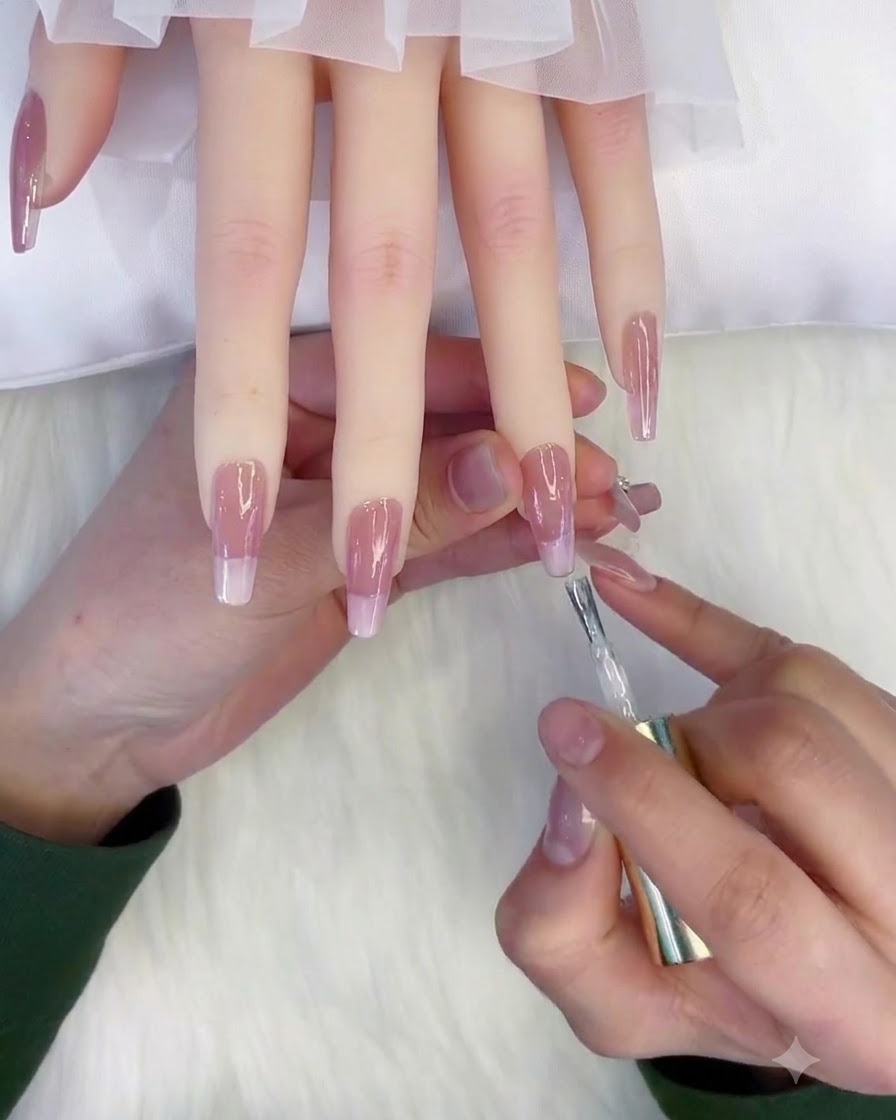
Using a gradient blending brush, gently sweep and blur the boundary where the milky white polish meets the nude base to create a soft, seamless ombre effect. The milky white paired with the ice translucent tone creates a delicate look.
Tip: Keep your brush strokes light and feathery to avoid harsh lines in the gradient transition. - 4Apply adhesive gel to ring finger
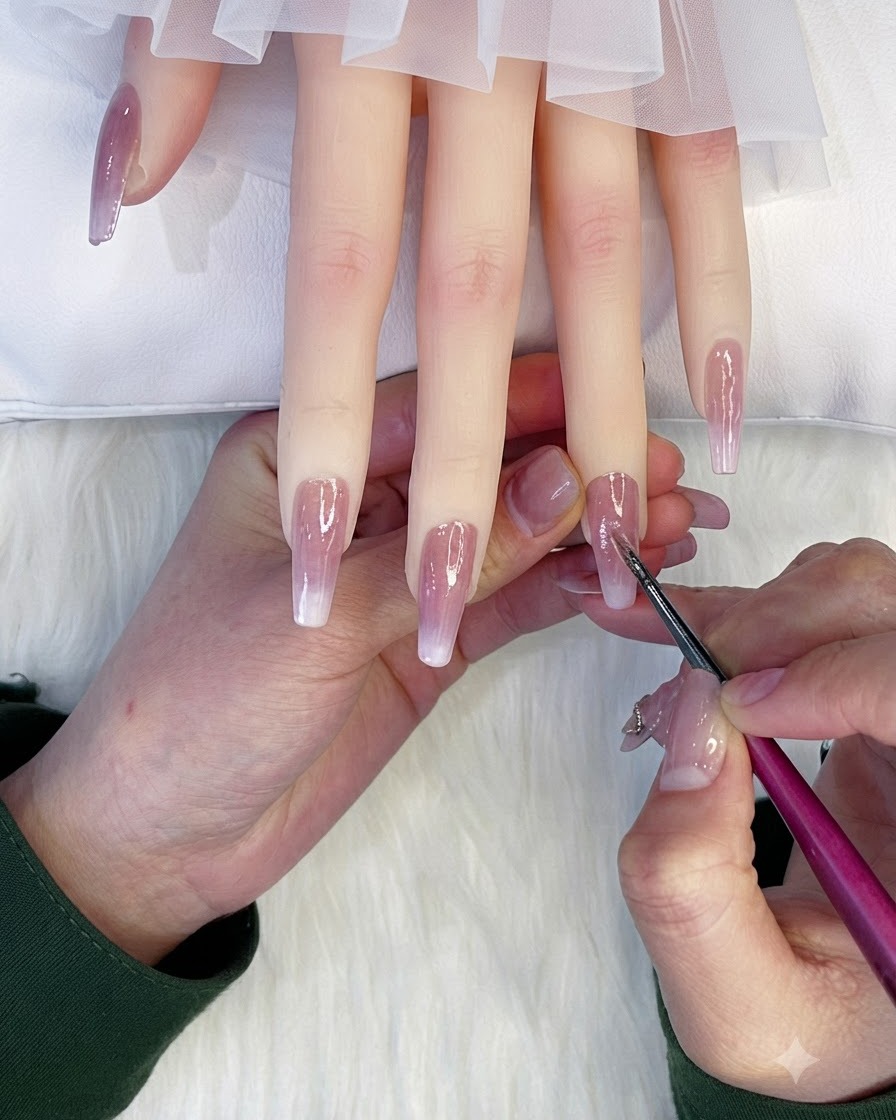
Apply a layer of solid strong adhesive gel onto the ring finger nail plate where the 3D charm will be placed. This heavy-duty glue ensures that decorative embellishments stay securely attached.
Tip: Ensure the adhesive gel is placed precisely where the charm will sit without spilling onto surrounding skin. - 5Attach the aurora bear charm
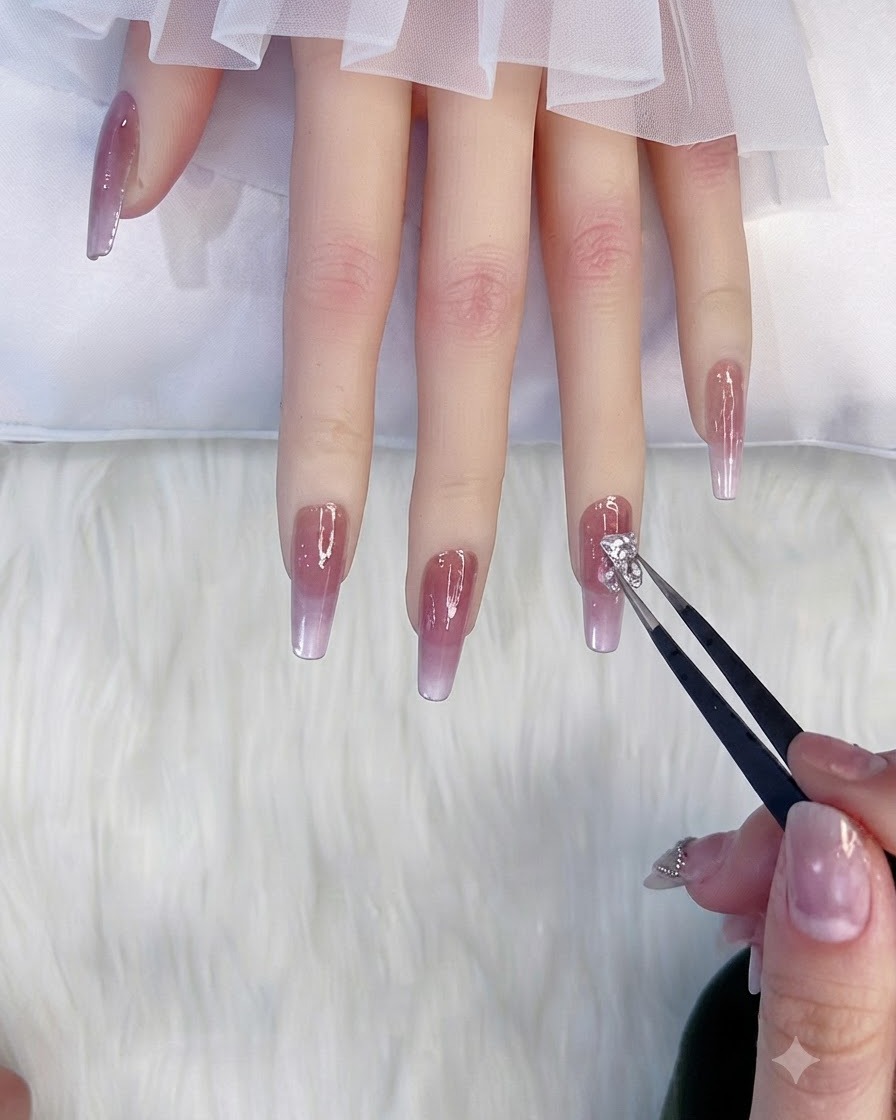
Using a pair of precision tweezers, carefully pick up and place a cute laser aurora little bear charm onto the adhesive gel on the ring finger. Press it down gently to anchor it in place.
Tip: Hold the charm firmly with tweezers until it settles securely into the strong adhesive gel. - 6Apply adhesive to index and pinky fingers
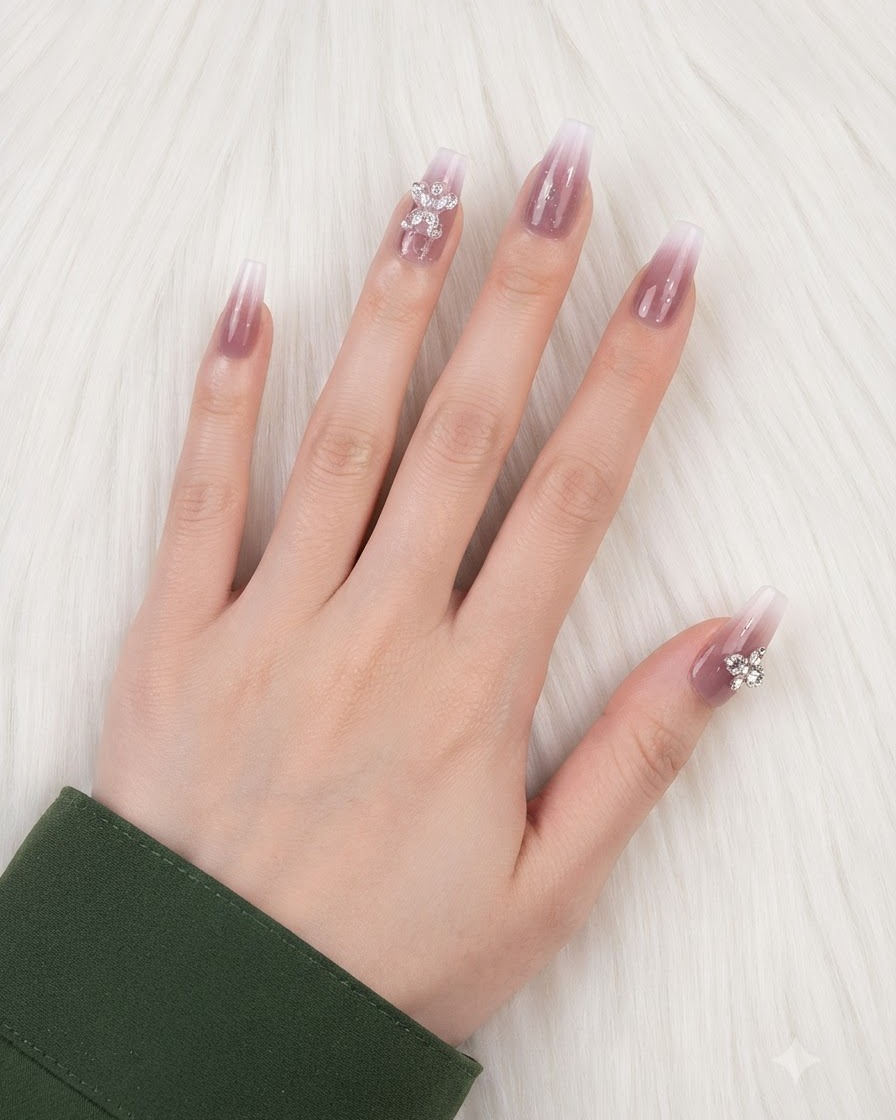
Apply strong adhesive gel onto the index and little fingers to prepare for placing subsequent nail decorations, such as white heart accents. This sets up the placement zone for the charms.
Tip: Double-check the placement zones on each finger before curing to ensure a balanced final layout. - 7Place heart decorations
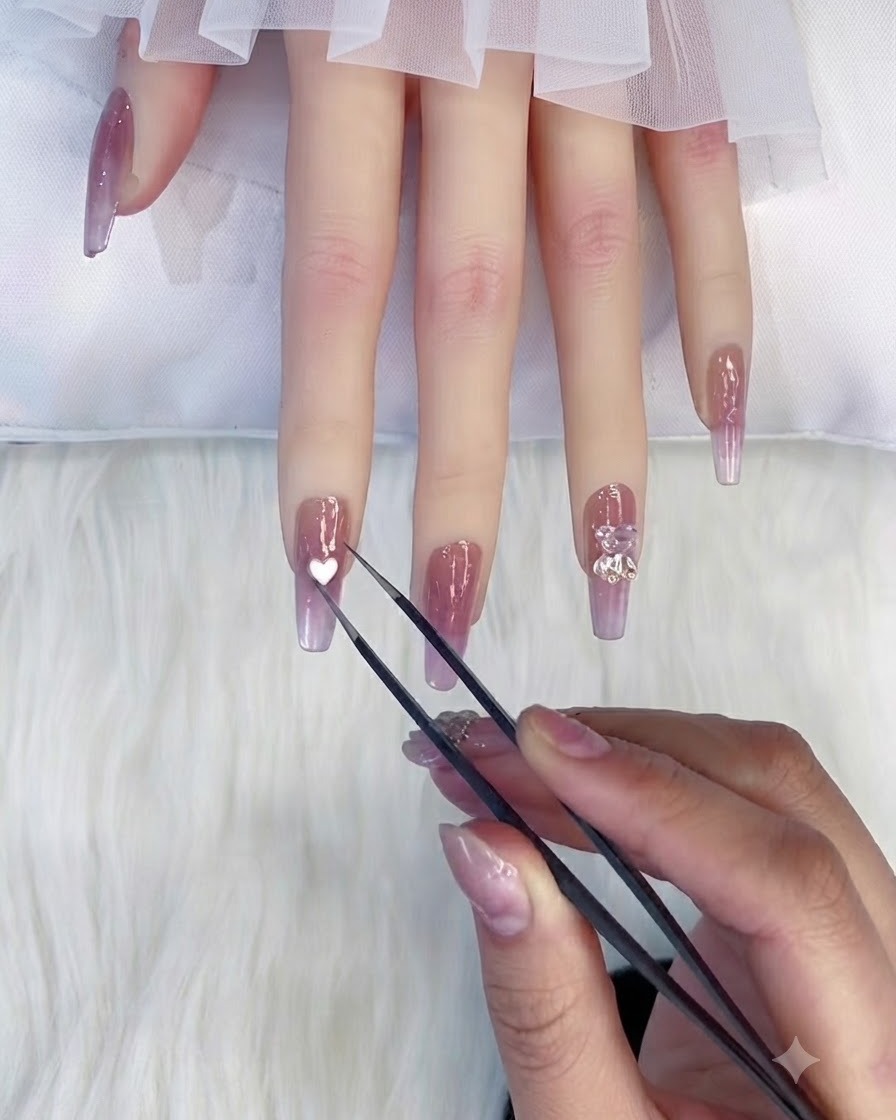
Using precision tweezers, carefully pick up white heart-shaped decorations and place them onto the tacky base of the index and little fingers. Press down gently to ensure they adhere securely to the gel surface before sealing.
Tip: Hold the tweezers at a slight angle to give yourself a clear view of where the decoration lands on the nail. - 8Apply accessory gel on middle finger
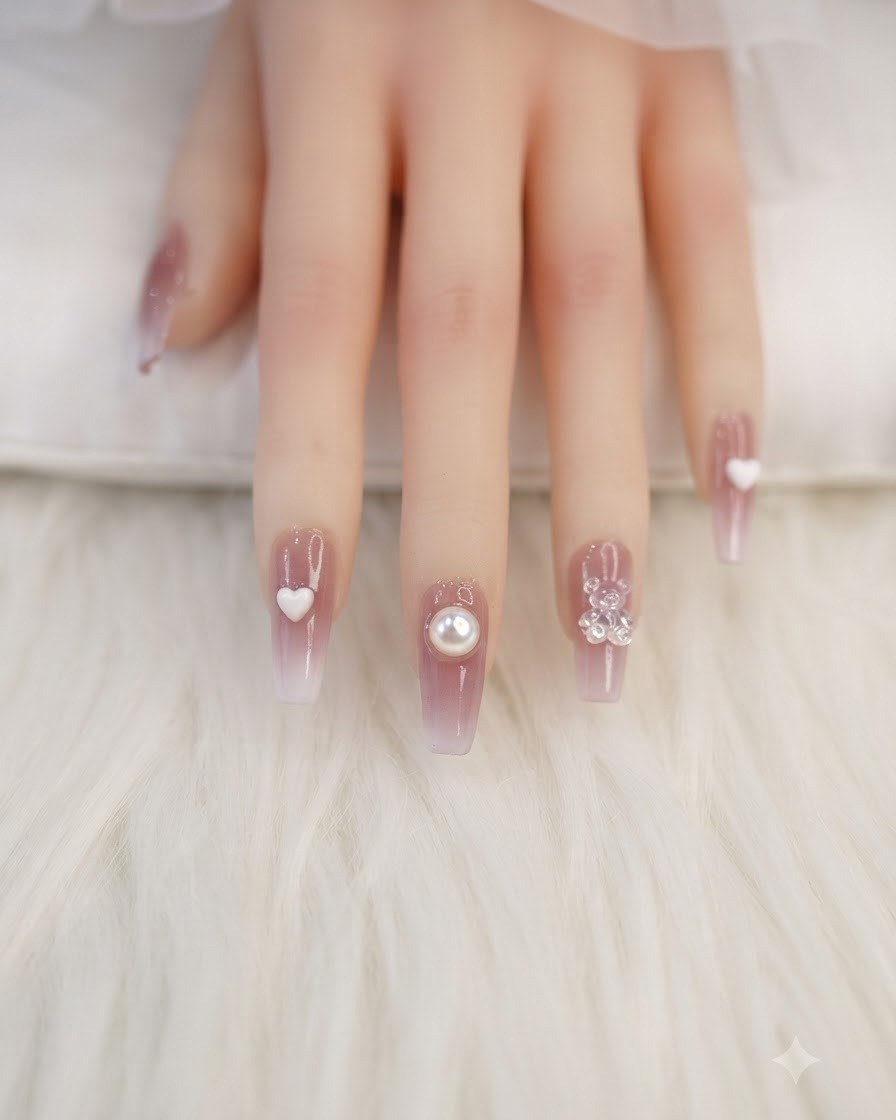
Apply a precise drop of strong accessory adhesive gel onto the surface of the middle finger nail where the pearl embellishments will be placed. Ensure the gel layer is thick enough to anchor the decorations securely.
Tip: Do not use too much gel to prevent it from spilling over the sides when the pearls are pressed in. - 9Arrange pearl decorations
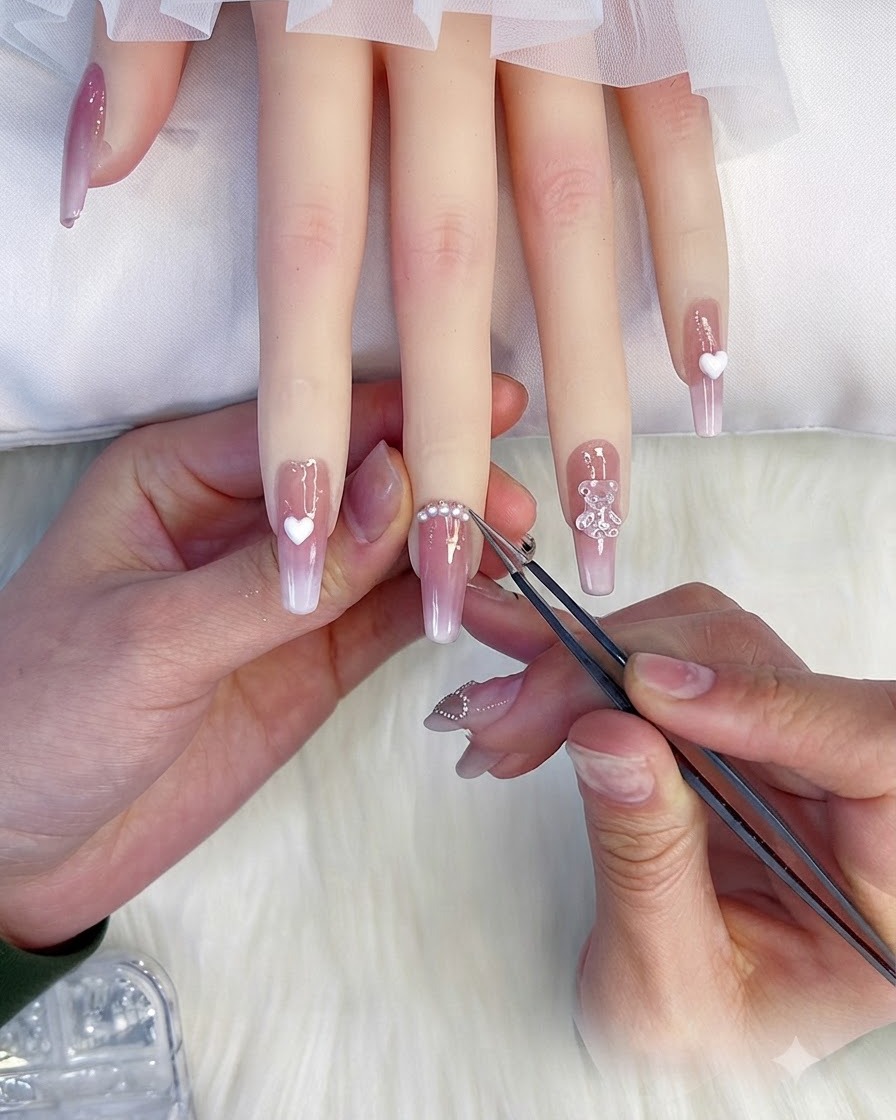
Using tweezers, carefully pick up flat-bottomed pearl decorations and arrange them in a neat arched row along the adhesive on the middle finger nail plate. Press them gently into place to create a balanced layout.
Tip: Keep the spacing even between each pearl to maintain a clean and professional look. - 10Seal and outline decorations
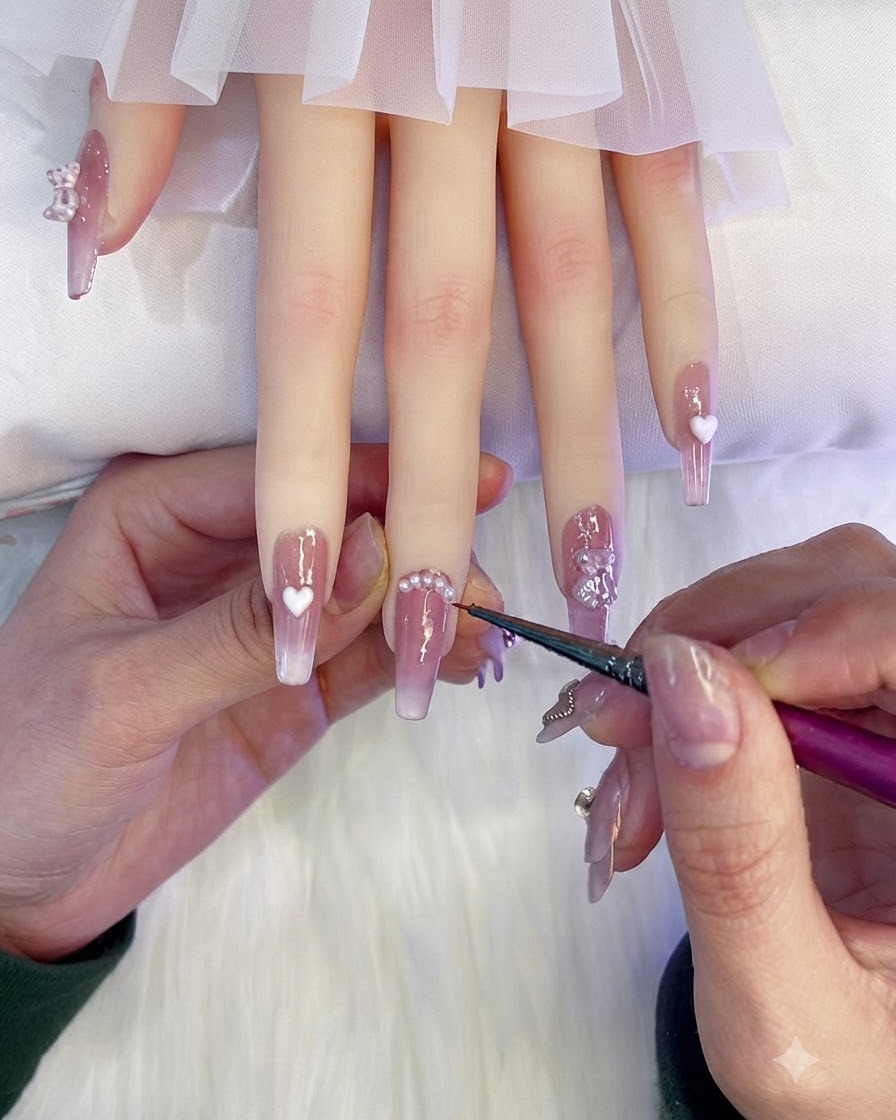
Dip a fine liner brush into clear sealing glue and meticulously outline around the base of every decorative piece and charm. This locking step prevents hair or clothing from catching on the edges and ensures long-lasting wear.
Tip: Make sure to cover any exposed gaps between the gems and the nail surface to lock them in completely. - 11Apply crystal-coated top layer
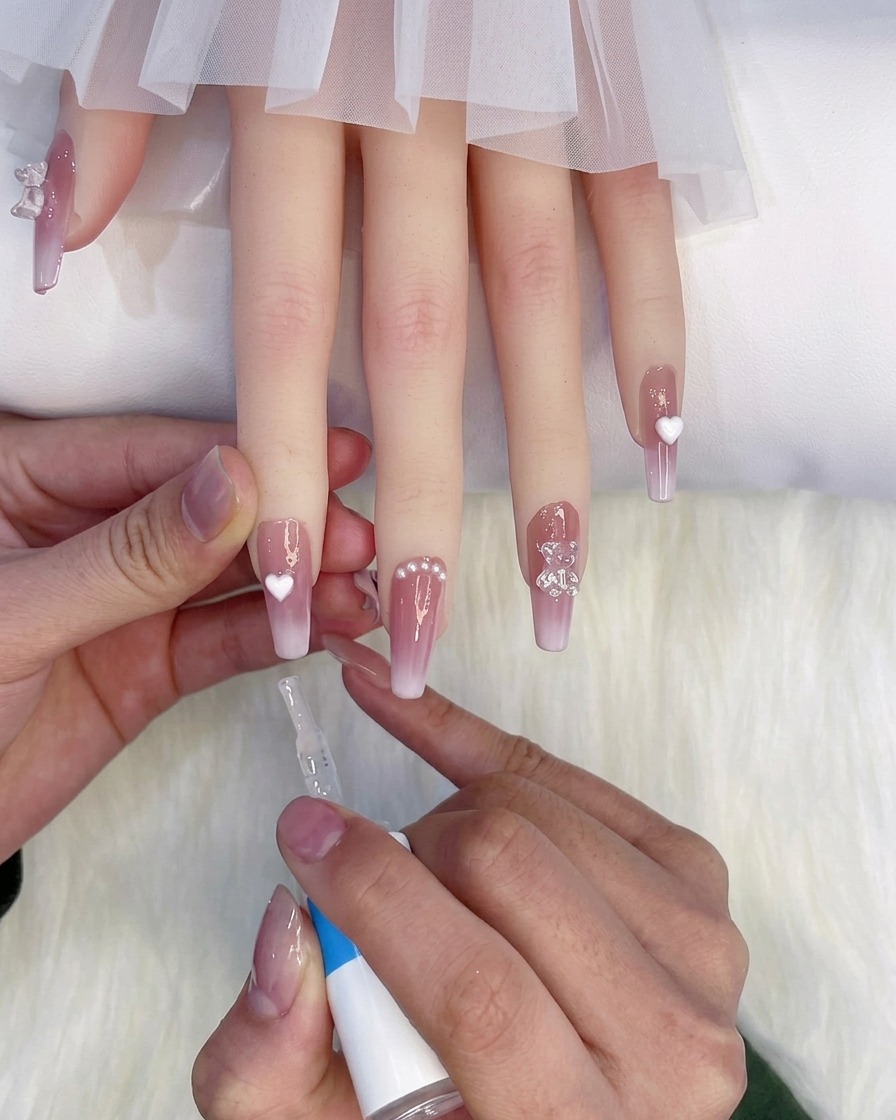
Apply a final crystal-coated top layer evenly across all nails, taking care to encapsulate the entire surface and seal the outer edges of the nail art. Cure under the UV or LED lamp to finish the manicure with a brilliant, protected shine.
Tip: Capping the free edge with top coat is crucial to prevent chipping and lifting at the tips.