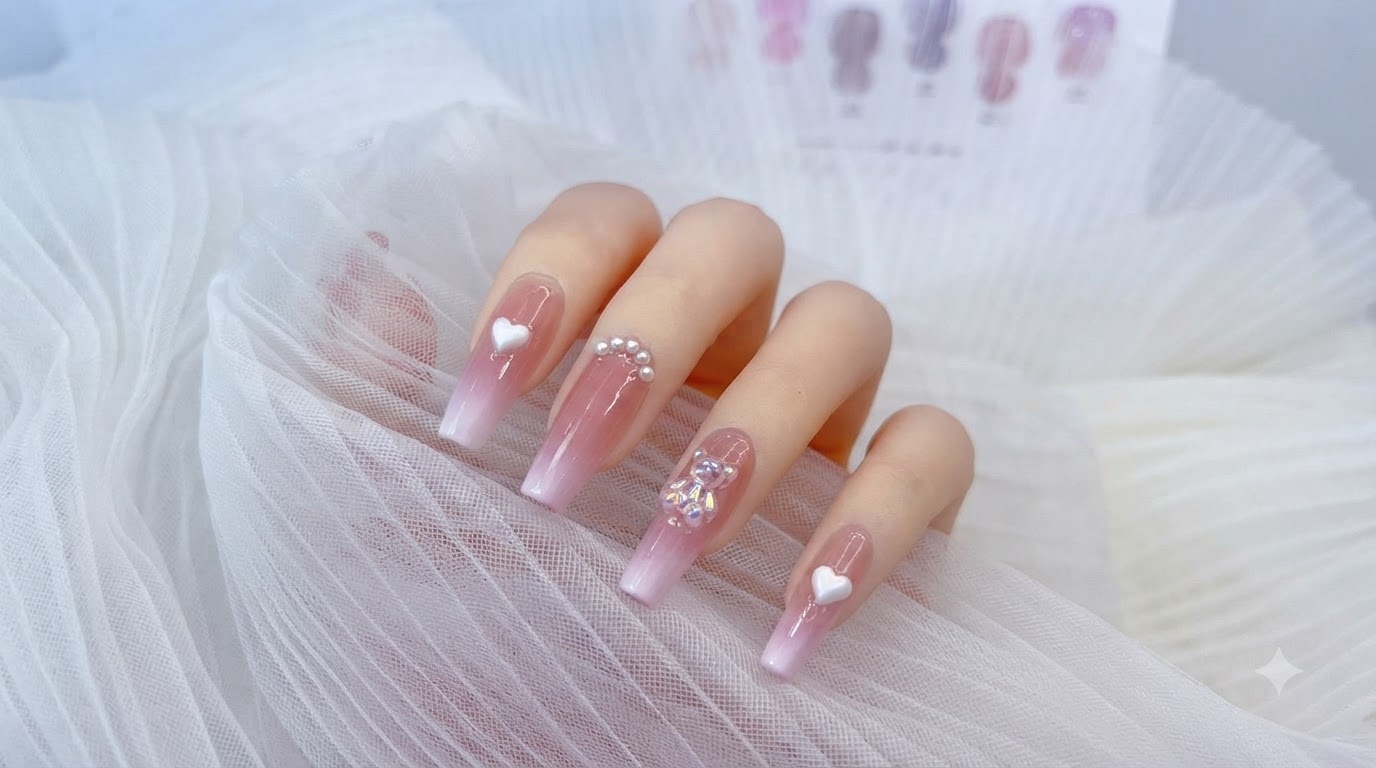
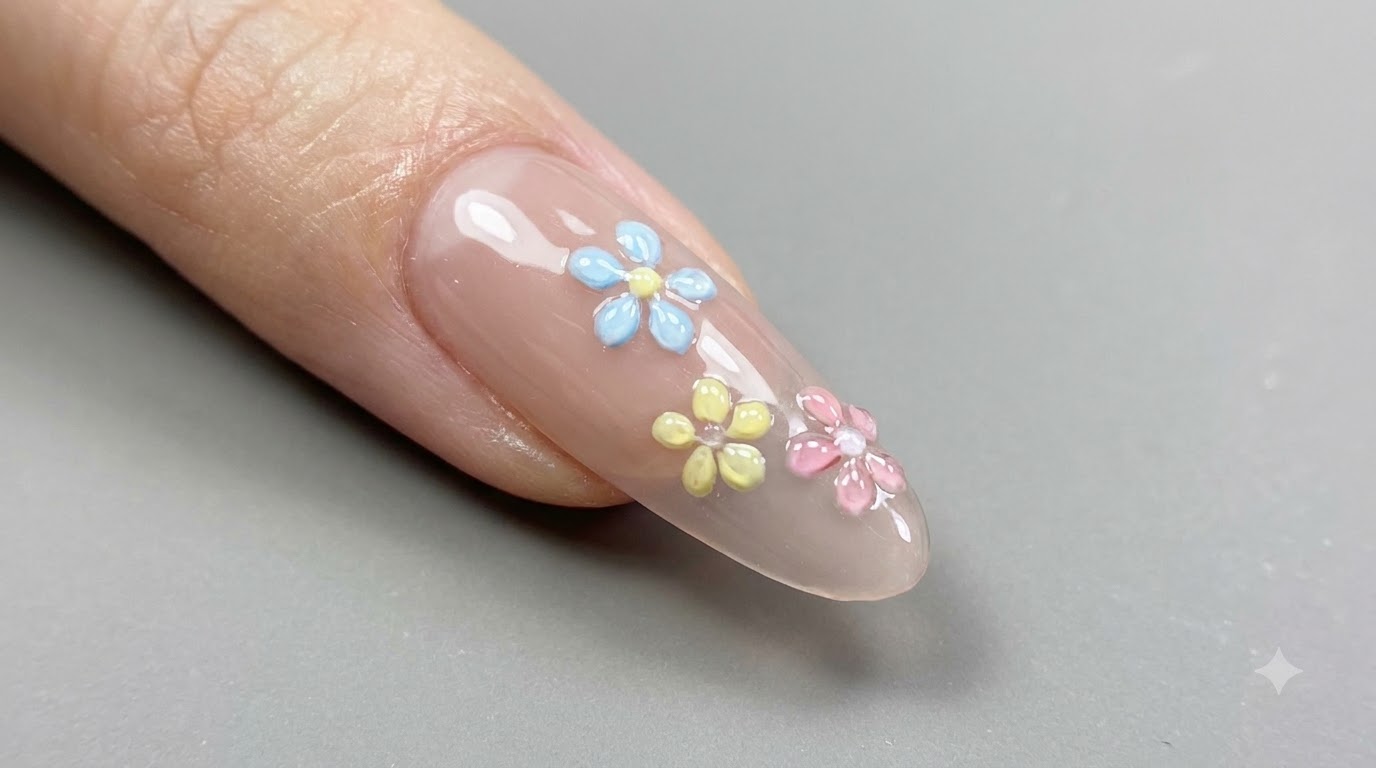
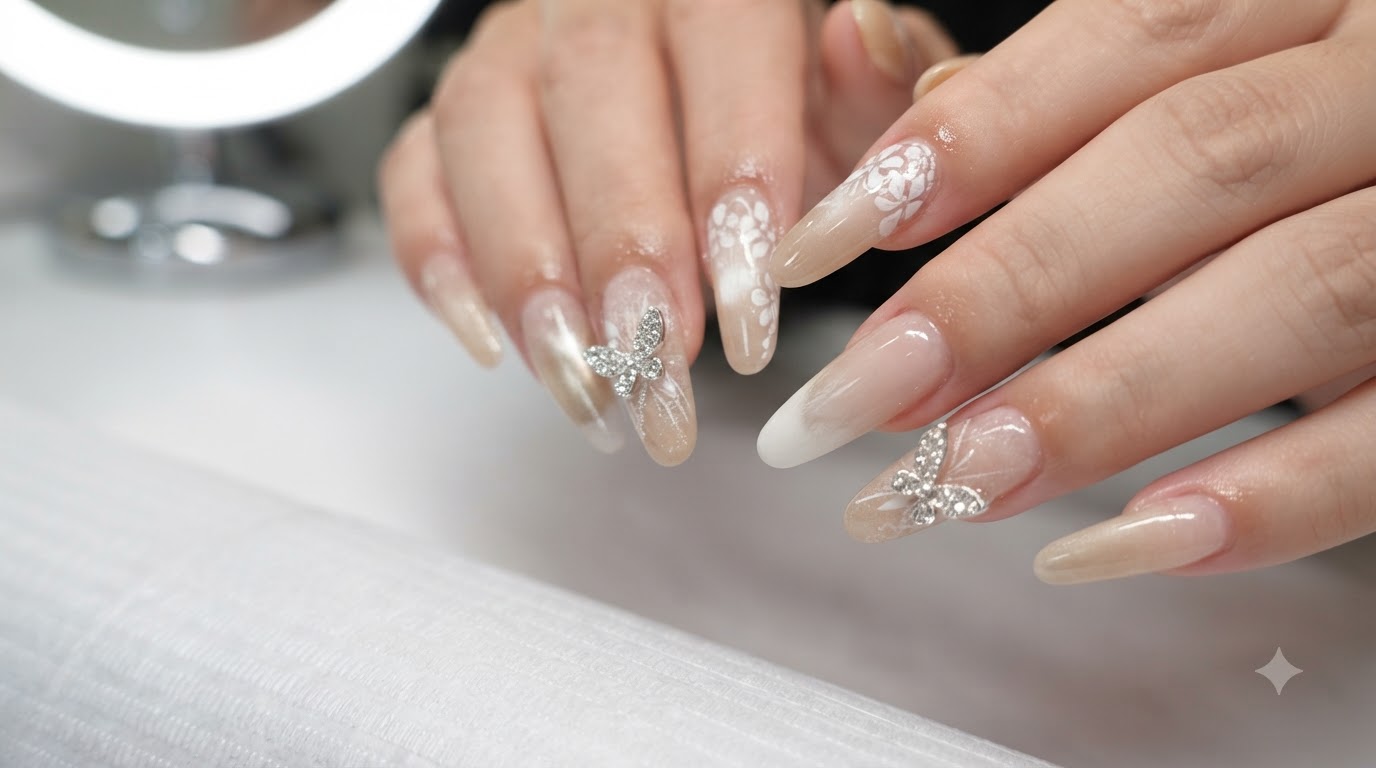
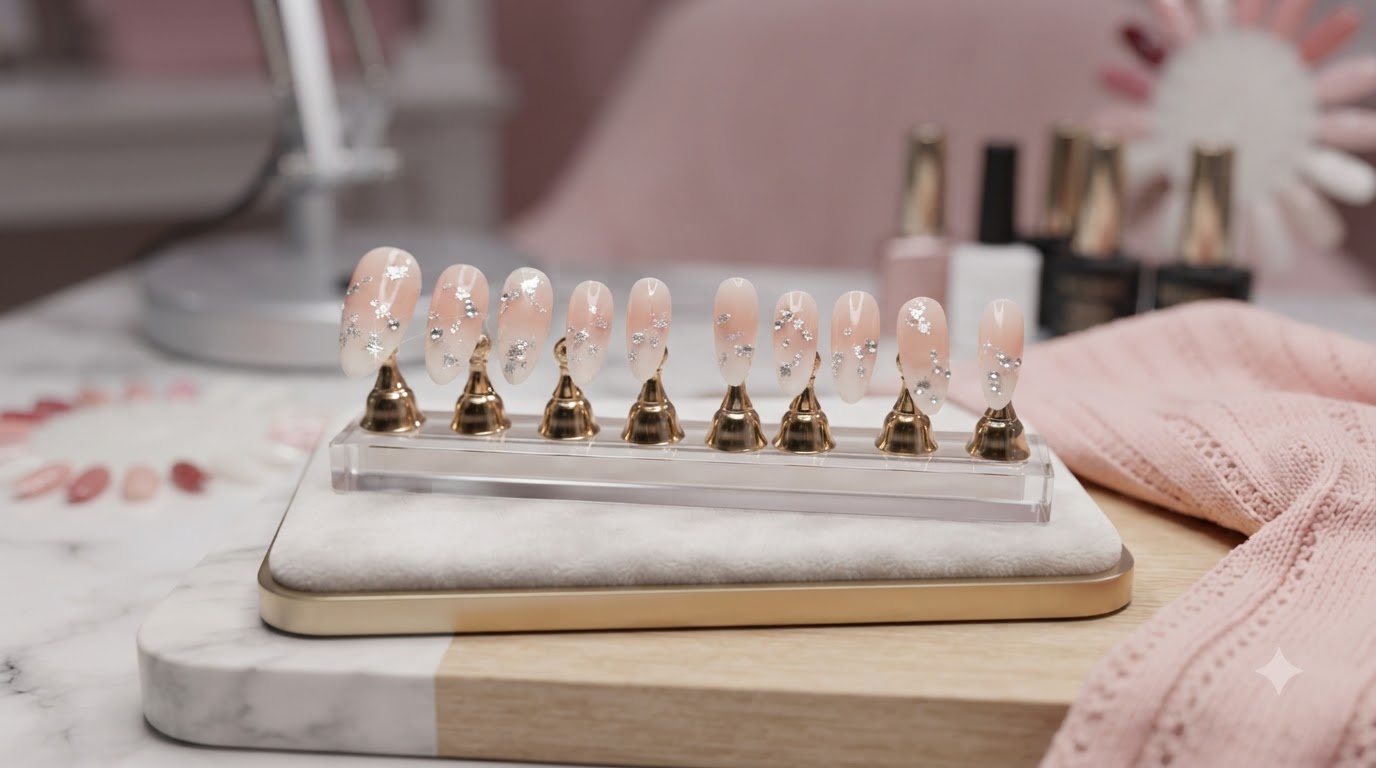
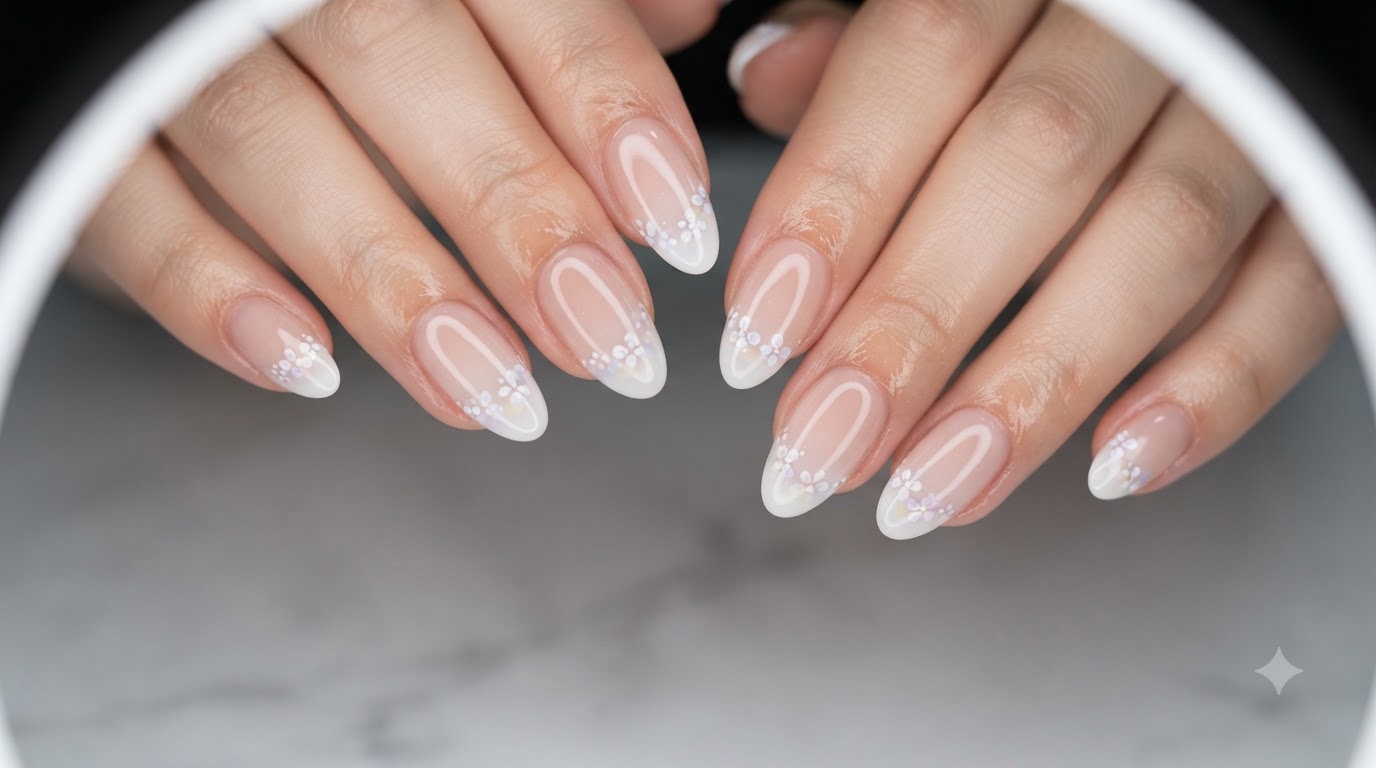
Nude Gradient Floral Art
Downward Nail Correction — Step-by-Step Tutorial
Create atmospheric little floral art on downward-corrected almond nails with a soft nude base, delicate white gradient, and hand-painted petals.
Atmospheric floral nail art paired with downward nail correction offers both structural balance and ethereal beauty. This detailed tutorial guides you through shaping, gradient sponging, and delicate fine-line petal detailing for a pristine finish.
Steps
- 1Apply builder gel to the nail preparation area
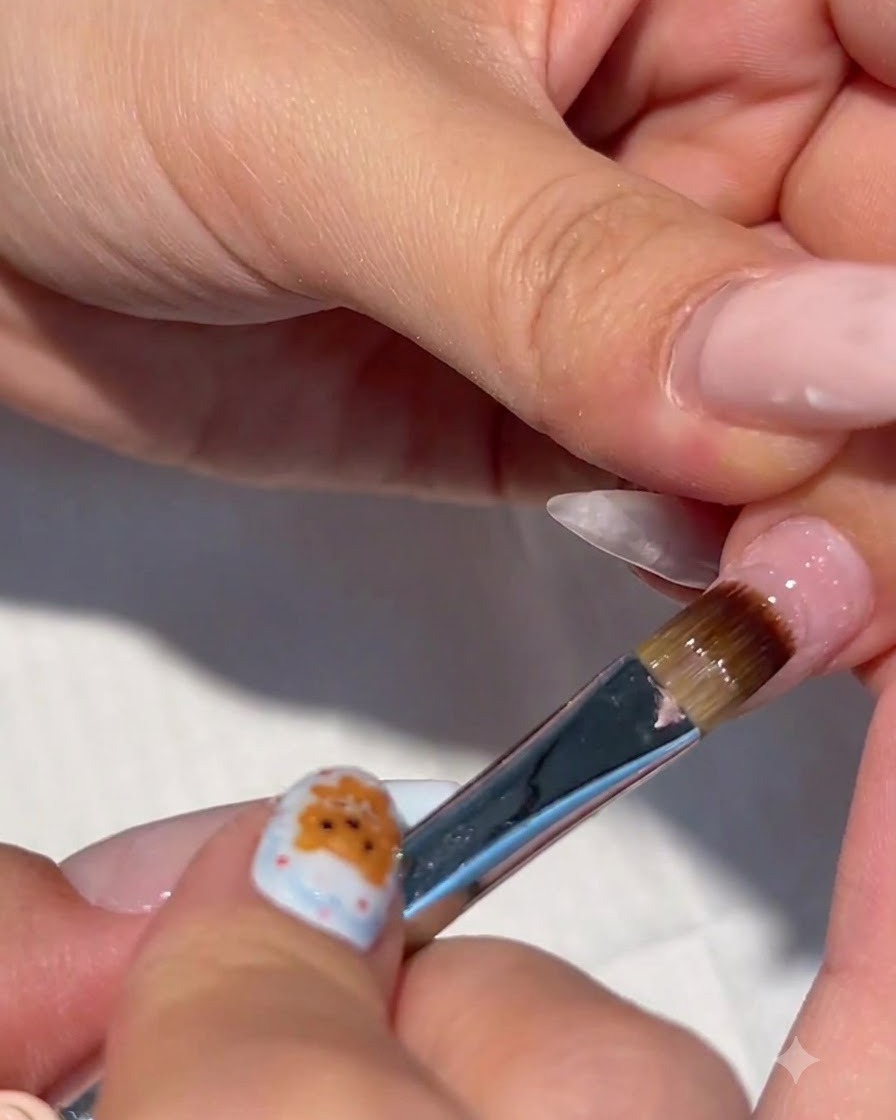
Using a detailed nail brush, carefully apply builder gel onto the prepped nail area to build a strong foundation. Work gently to coat the surface evenly without flooding the surrounding skin.
Tip: Keep your brush strokes smooth and controlled to avoid uneven thickness in the gel layer. - 2Perform downward nail correction with a nail form
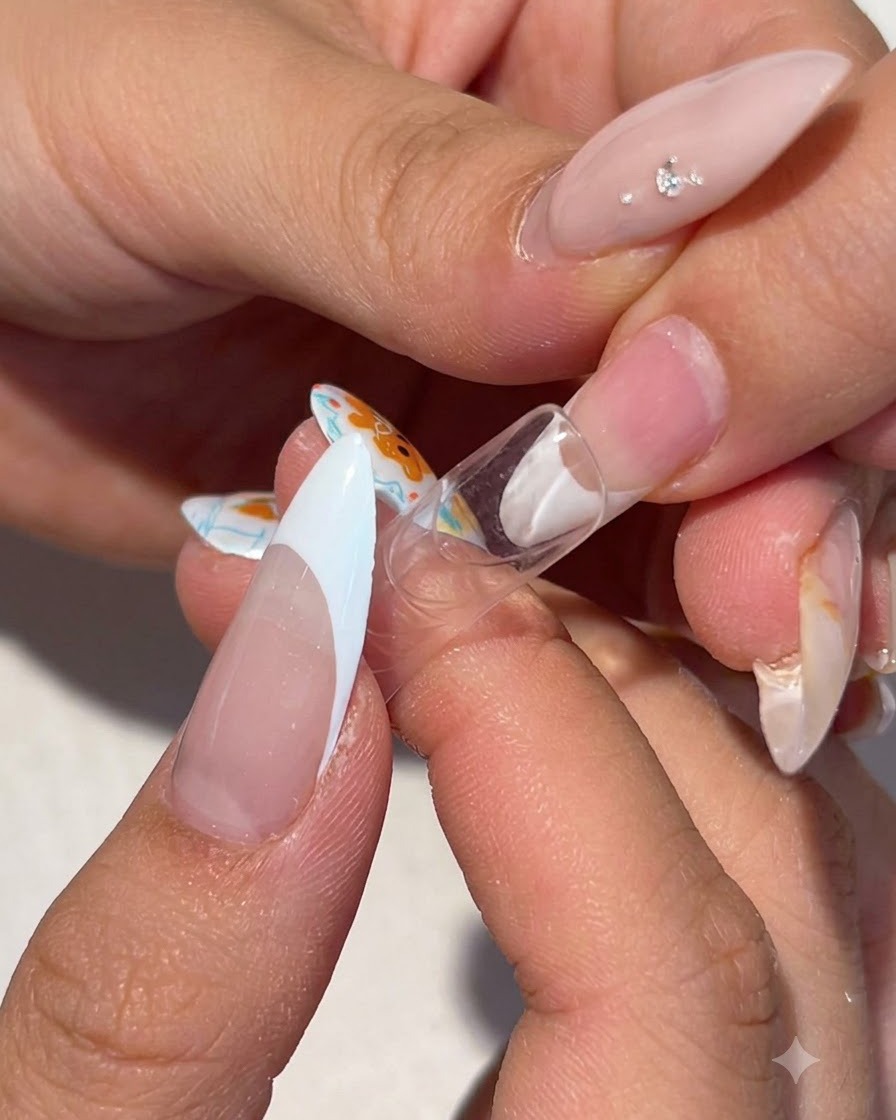
Position a clear nail form underneath the free edge to support downward correction and shaping of the nail structure. Ensure the form is aligned correctly to guide the extension angle.
Tip: Check the alignment from multiple angles before proceeding to ensure the correction follows the natural axis. - 3Cure the corrected nail structure
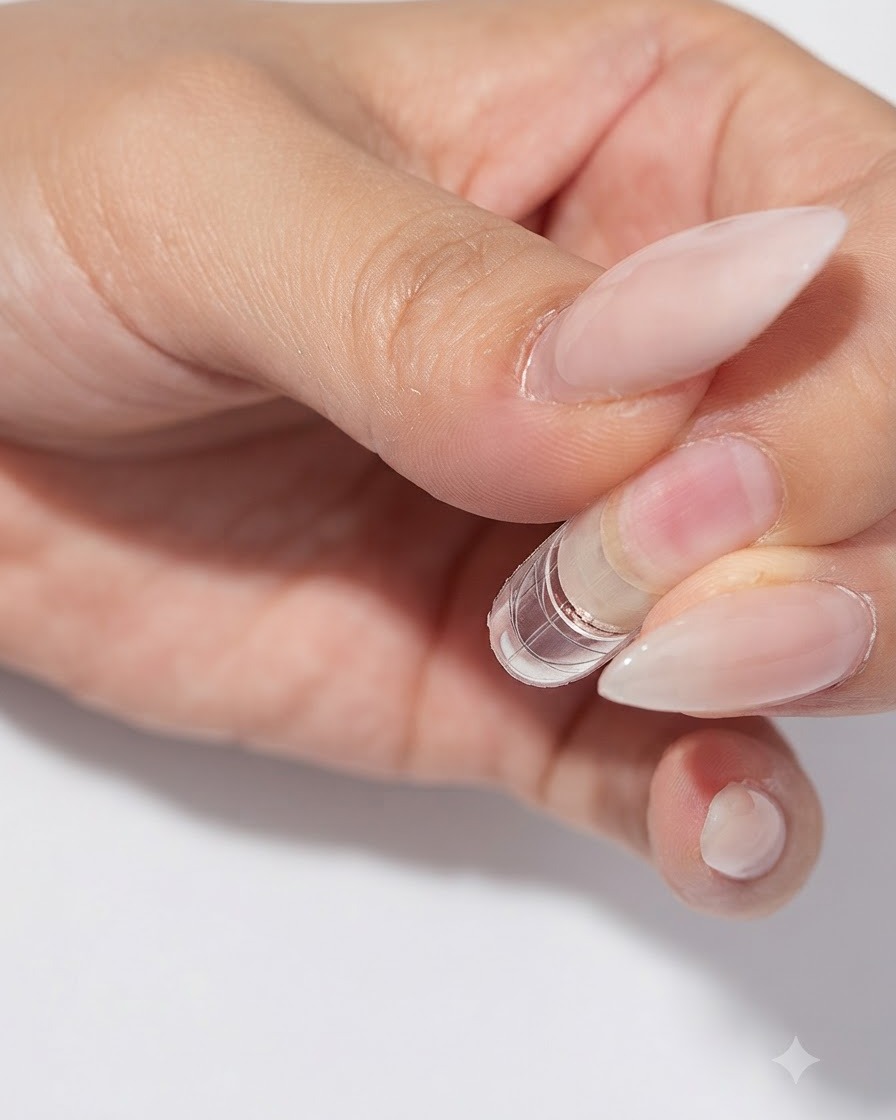
Place the finger under a portable UV/LED mini lamp to flash-cure and set the newly corrected nail structure. Hold the finger steady to maintain the desired shape during curing.
Tip: Use a mini handheld lamp for quick initial setting so the form and shape do not shift. - 4Remove the nail form
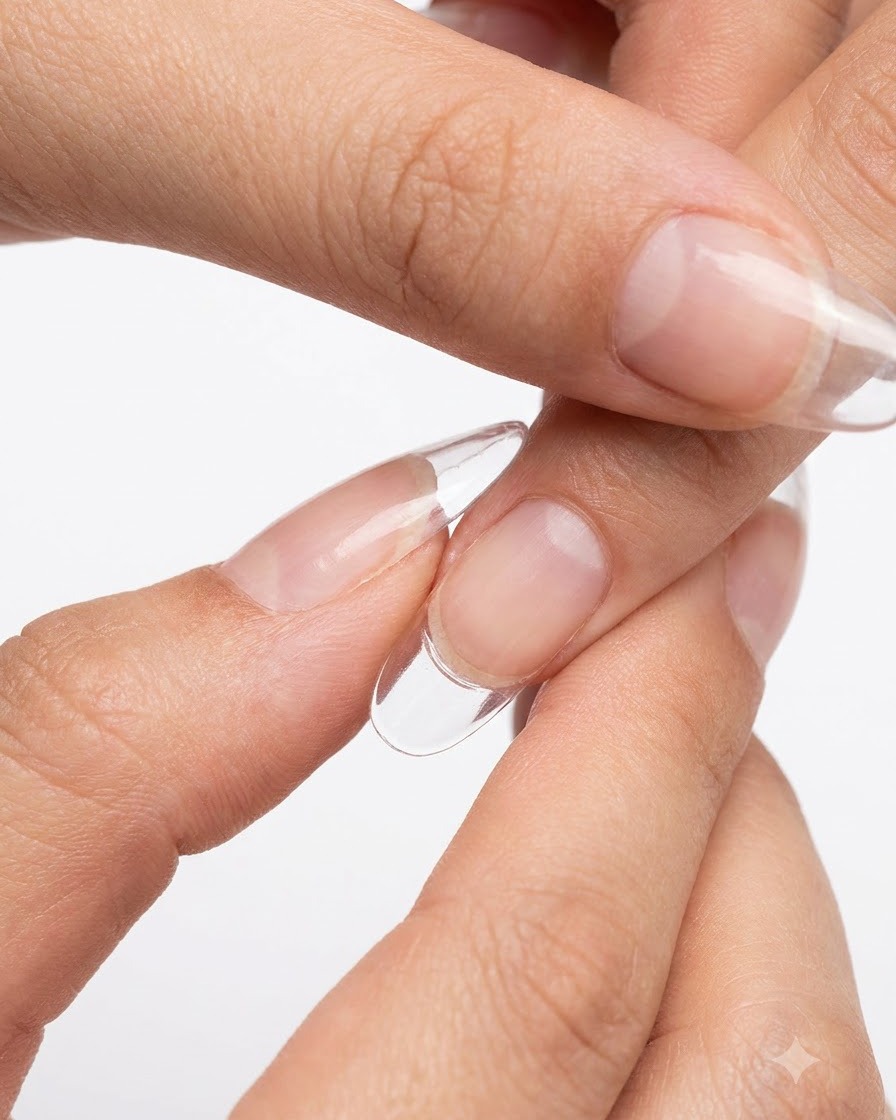
Gently peel and remove the nail form from the newly extended and corrected nail structure. Pull the form away carefully to avoid disturbing the newly cured gel extension.
Tip: If the form sticks slightly, gently loosen the edges before pulling it away from the cured gel. - 5Apply colored builder gel base coat
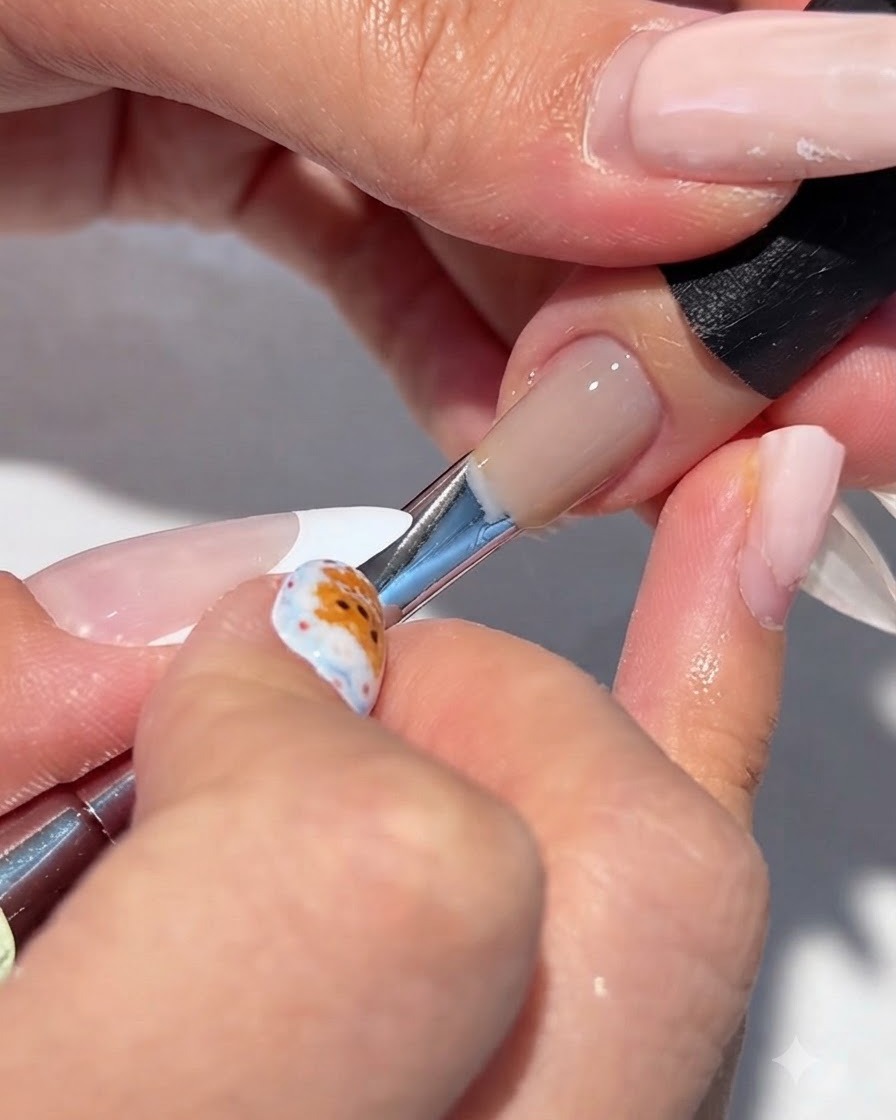
Apply a layer of colored builder gel onto the nail plate to serve as a solid base coat layer. Ensure the coverage reaches the cuticle area evenly without pooling.
Tip: Apply a thin first layer to ensure proper adhesion and prevent shrinkage during curing. - 6Smooth and refine the builder gel layer
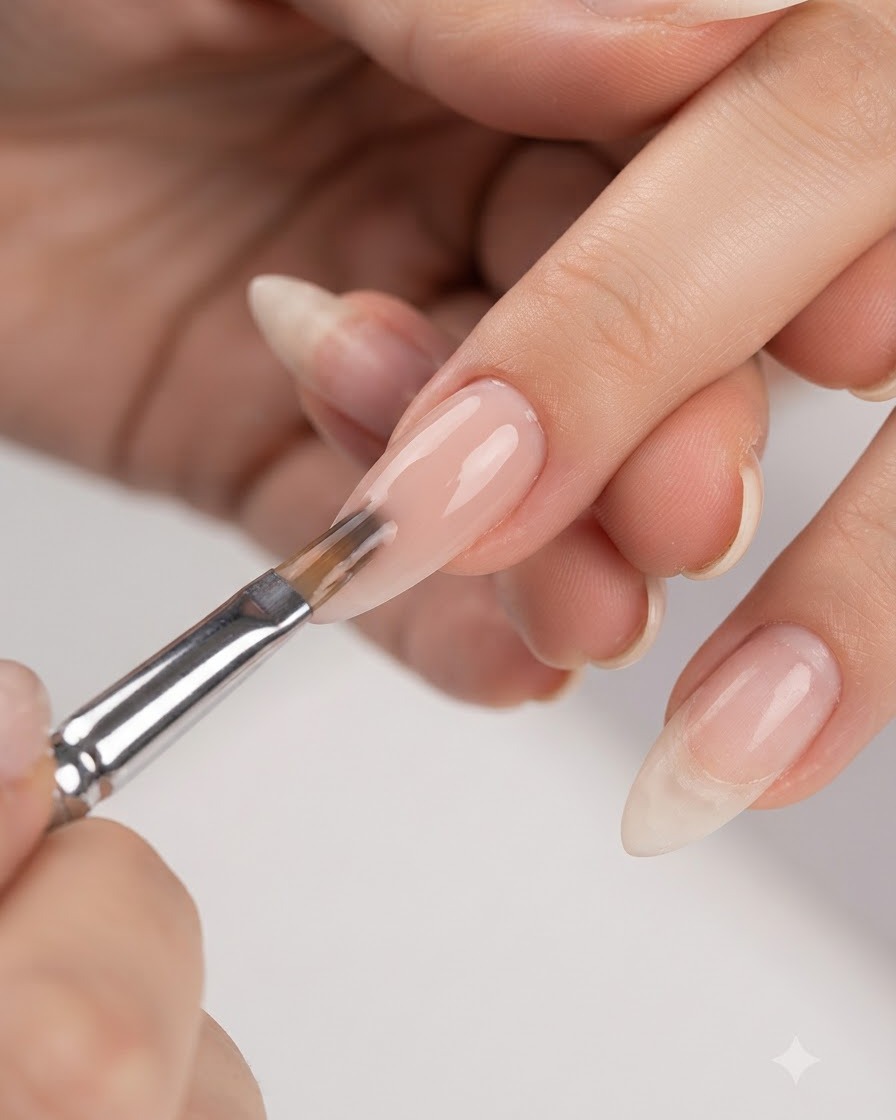
Use a fine brush to smooth and refine the colored builder gel layer across the entire nail surface. Self-leveling techniques help create an even apex and a flawless finish.
Tip: Lightly float the brush over the gel surface to smooth out any ridges or uneven spots. - 7Spot-cure the gel
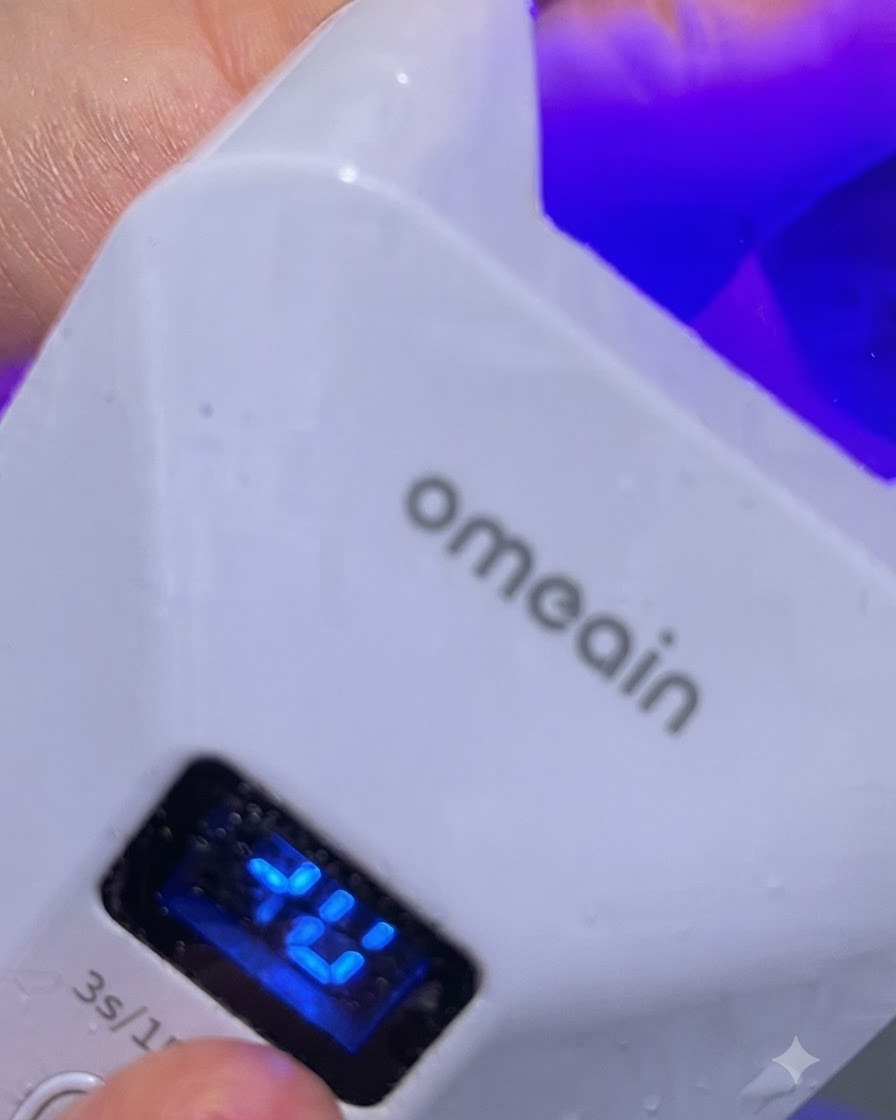
Briefly spot-cure the gel under the UV or LED lamp to set the product partially and prevent excessive heat generation or shifting before full curing. Keep exposure short just to lock in place.
Tip: A quick initial cure prevents the gel from sliding or pooling into the cuticles. - 8Create a white gradient effect
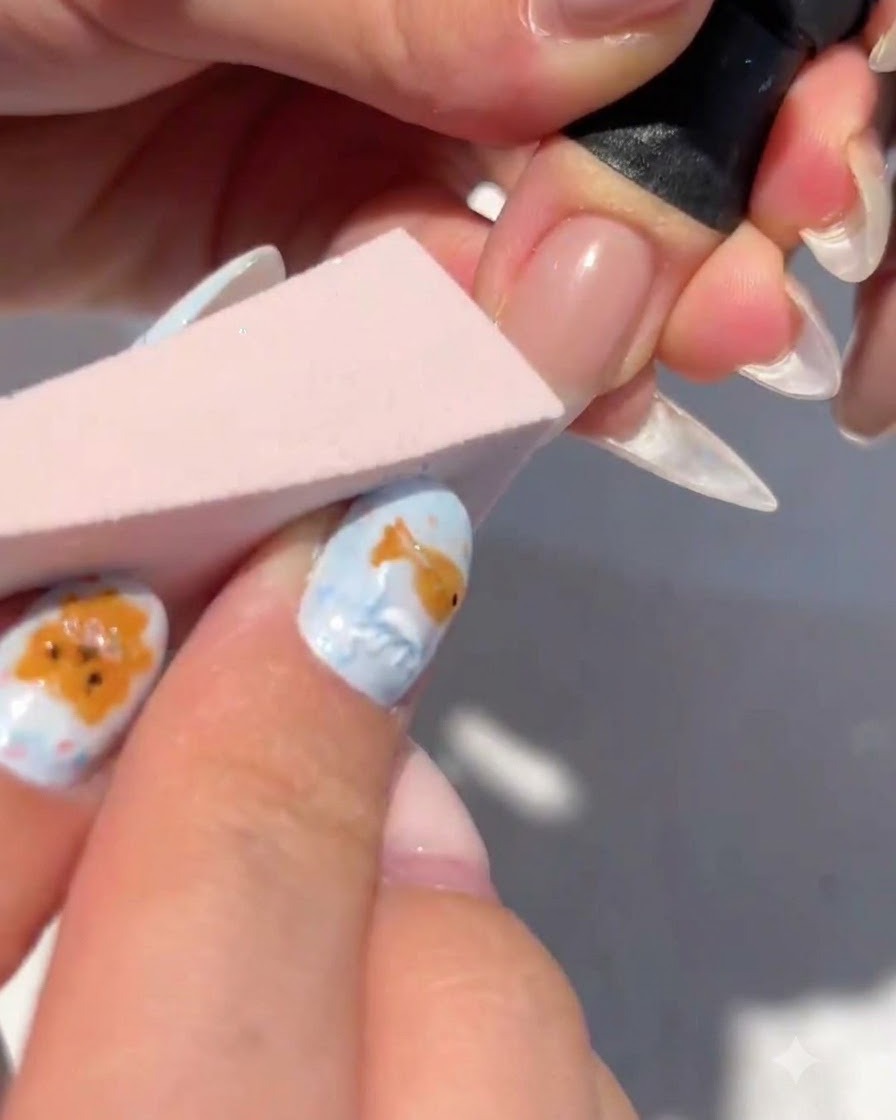
Use a makeup sponge dabbed with white gel to gently dab and create a soft white gradient effect on the nail tip. Build up the opacity gradually for a smooth transition.
Tip: Dab lightly with a clean sponge to avoid harsh lines and ensure a seamless ombré fade. - 9Draw small white flower outlines
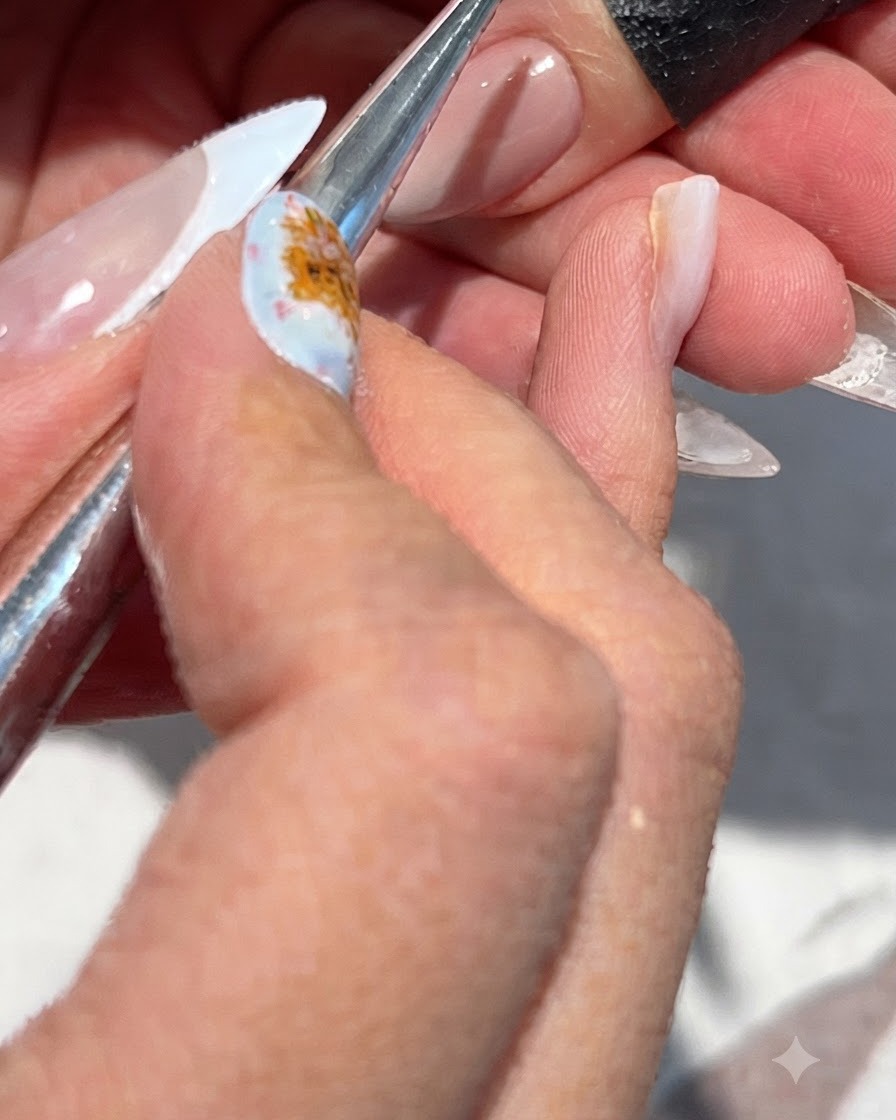
Use a fine liner brush to draw casual, small white flower outlines on the nail surface. Keep strokes light and relaxed for an artistic, atmospheric floral style.
Tip: Keep your hand steady and use only the very tip of the fine brush for delicate petals. - 10Apply color blooming and shading
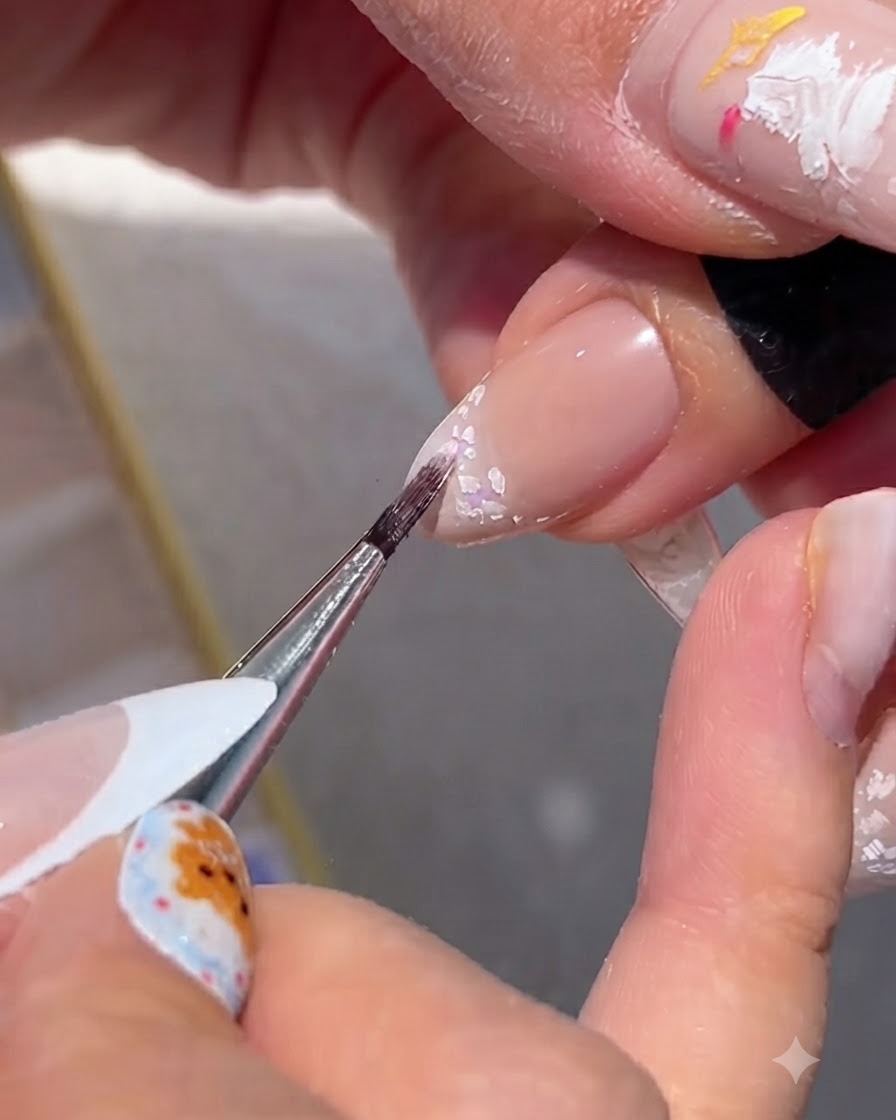
Apply colored gel to selectively bleed and shade parts of the previously painted flowers. Allow the colors to blend softly into the petals for depth and dimension.
Tip: Use a minimal amount of color gel so it blooms naturally without flooding the design. - 11Add iridescent shimmer flakes
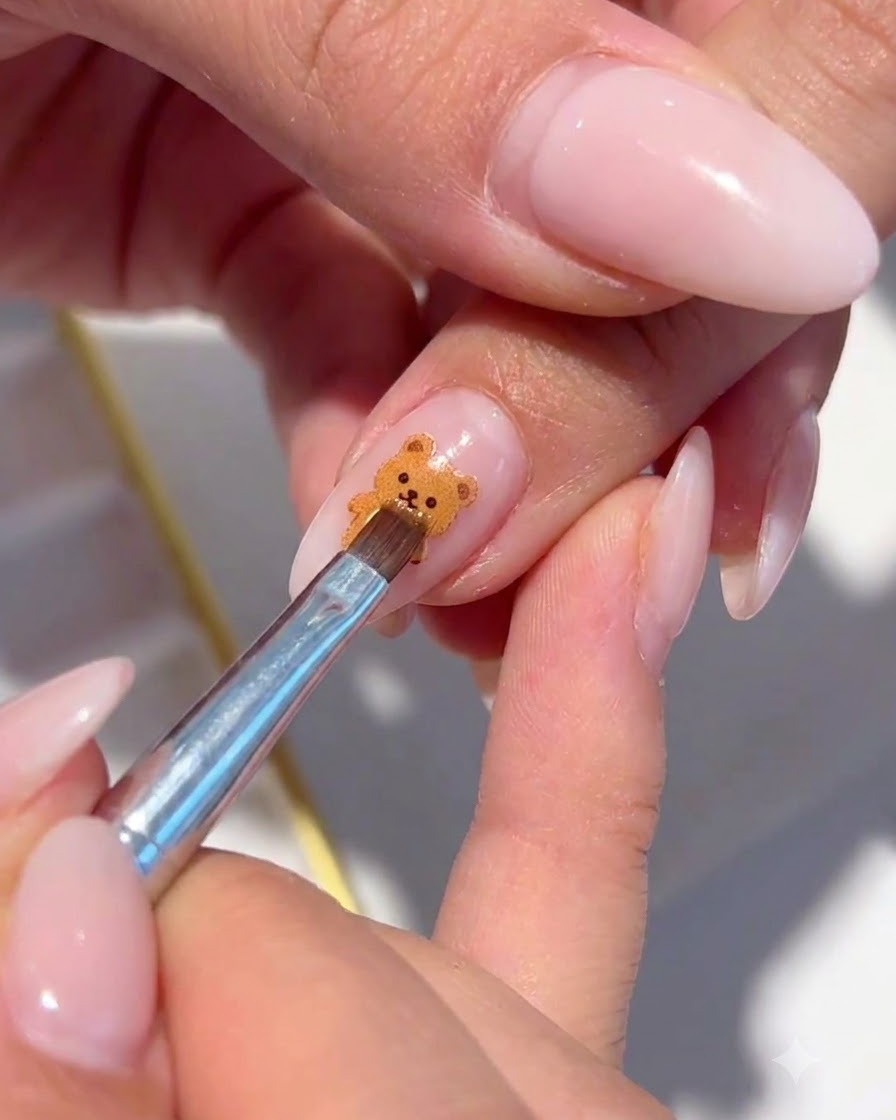
Apply iridescent shimmer glitter flakes around the floral design using a fine brush to enhance the atmospheric look. Position the flakes carefully to catch the light.
Tip: Place glitter sparingly to accent rather than overwhelm the hand-painted flowers. - 12Apply top coat and cure
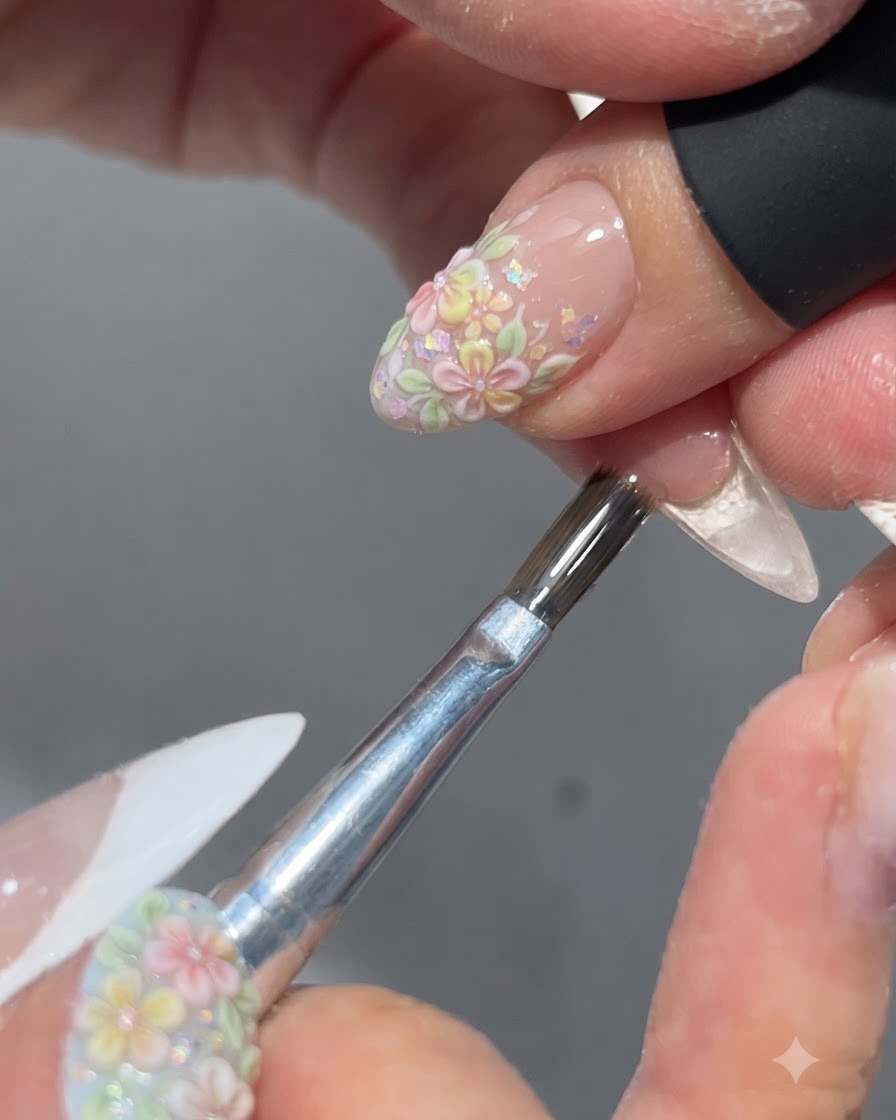
Apply a clear top coat gel over the entire nail design to seal and protect the art, ensuring you cap the free edge. Cure completely under the UV or LED lamp.
Tip: Capping the free edge with top coat prevents chipping and prolongs the life of the nail art. - 13Paint white flower petals
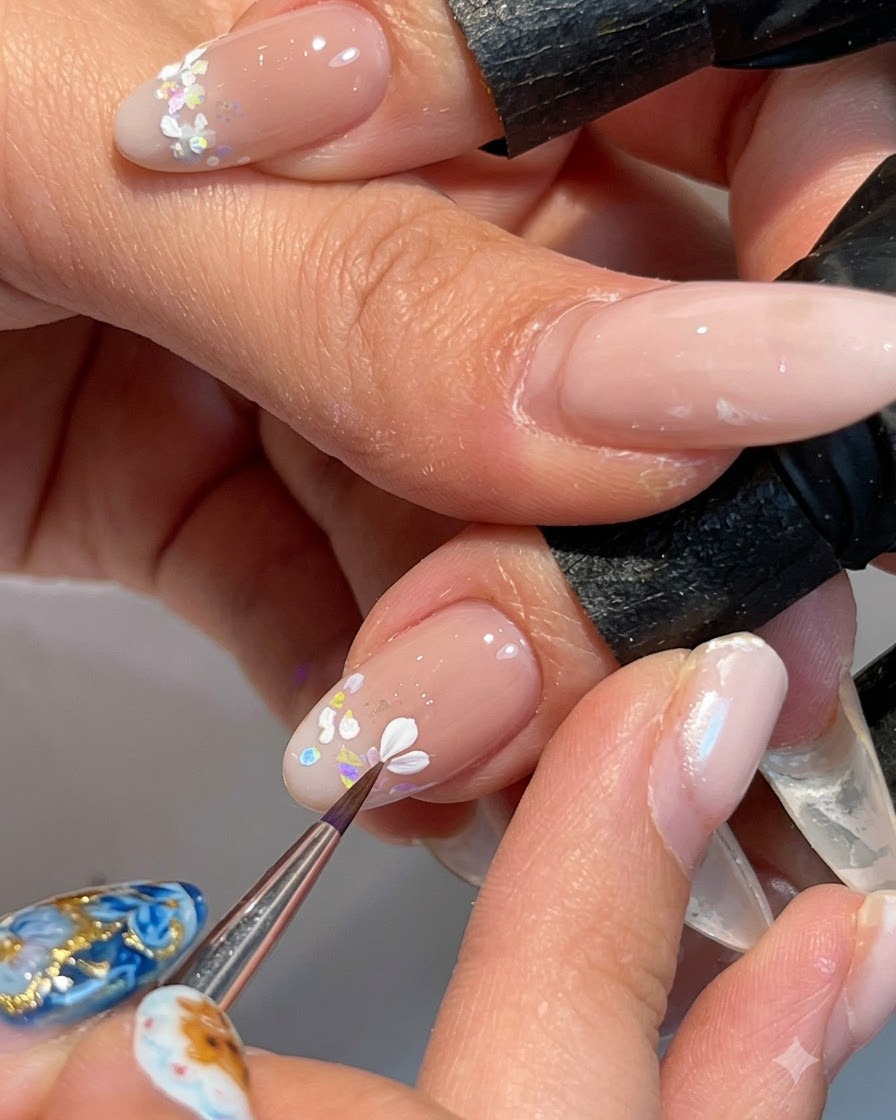
Using a fine detail brush and wipe-free white color gel, carefully paint crisp individual flower petals over the cured nail surface around the previous accents. Position the petals outward to form delicate floral shapes, keeping the strokes neat and well-defined.
Tip: Wipe the fine brush clean between strokes to keep the white edges sharp and prevent the gel from pooling. - 14Refine floral centers and details
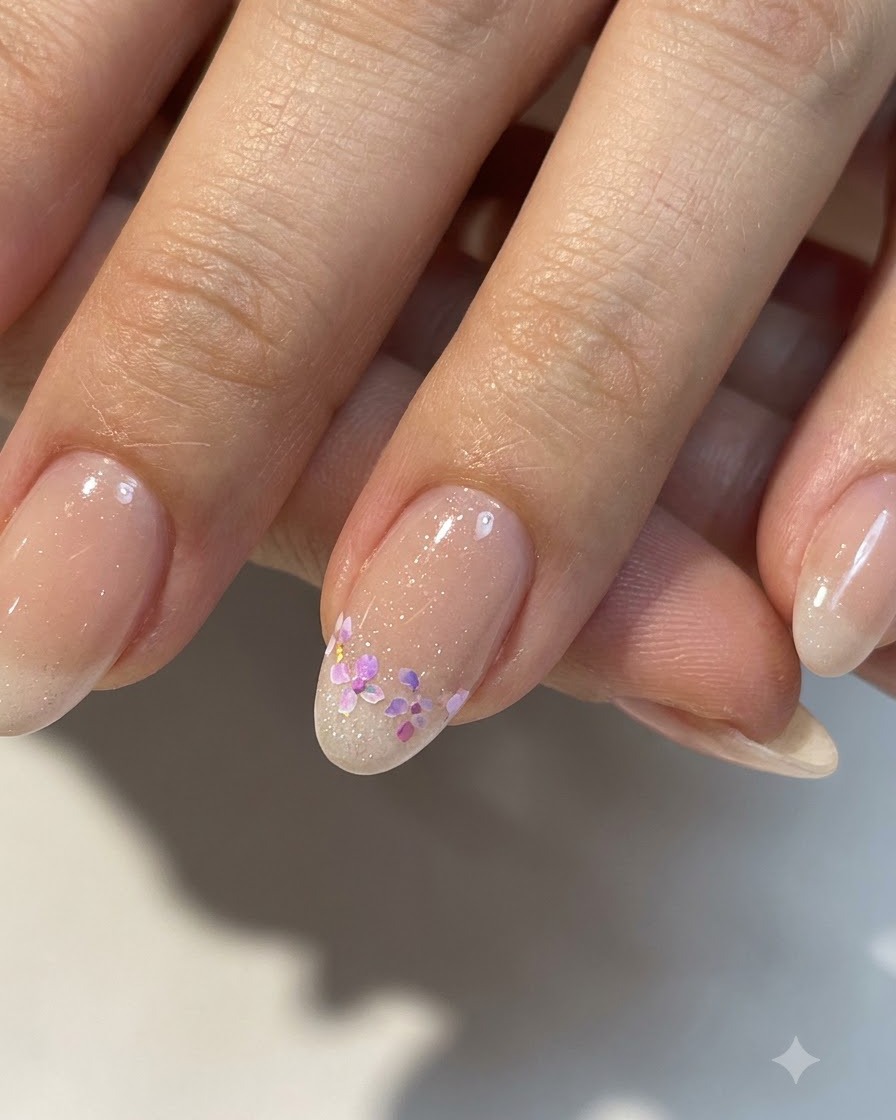
Carefully refine the artwork by adding subtle details, accent dots, or highlights to the centers of the painted flowers. Ensure the composition looks balanced and airy across the nail surface before proceeding to final curing.
Tip: Keep the touches minimal to preserve the delicate, atmospheric feel of the floral design.