Silver Chrome to White Gradient Press-on Nails — Step-by-Step Tutorial
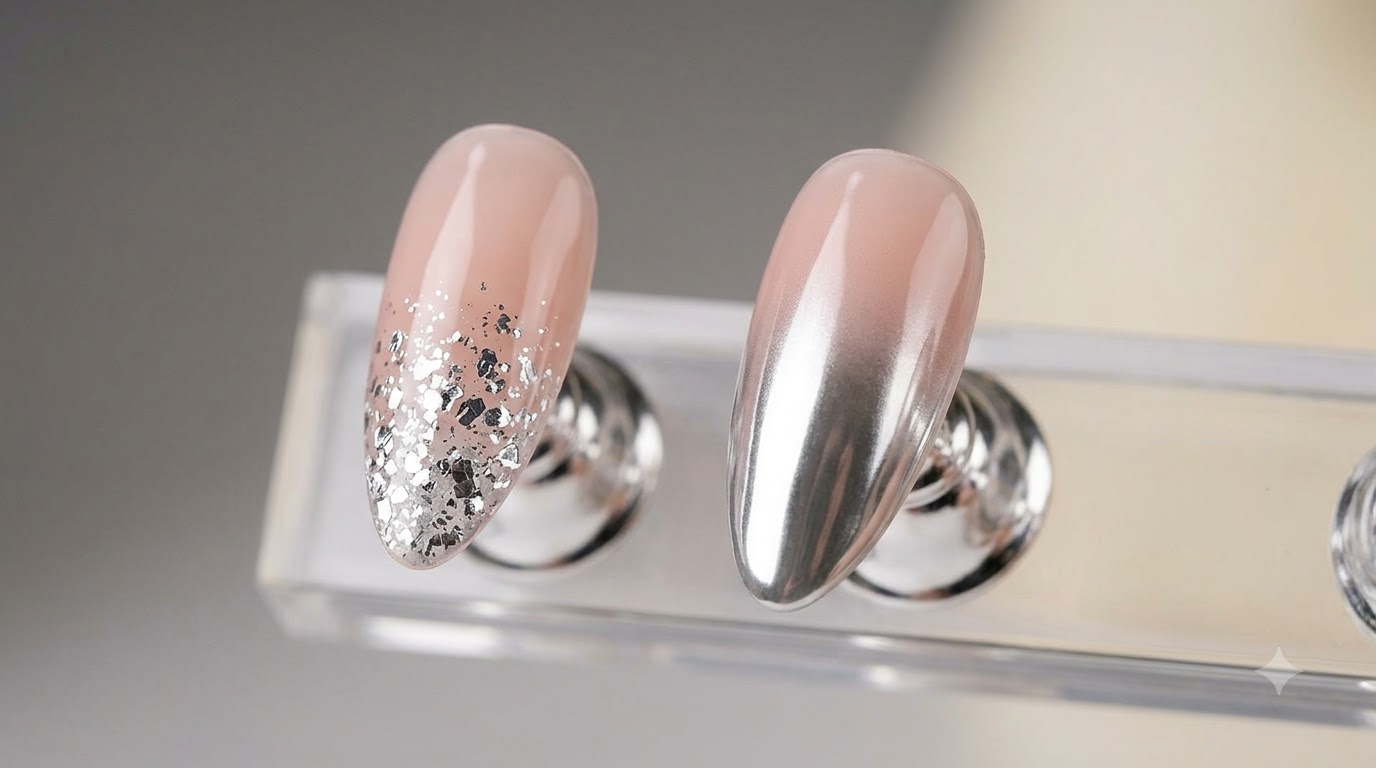
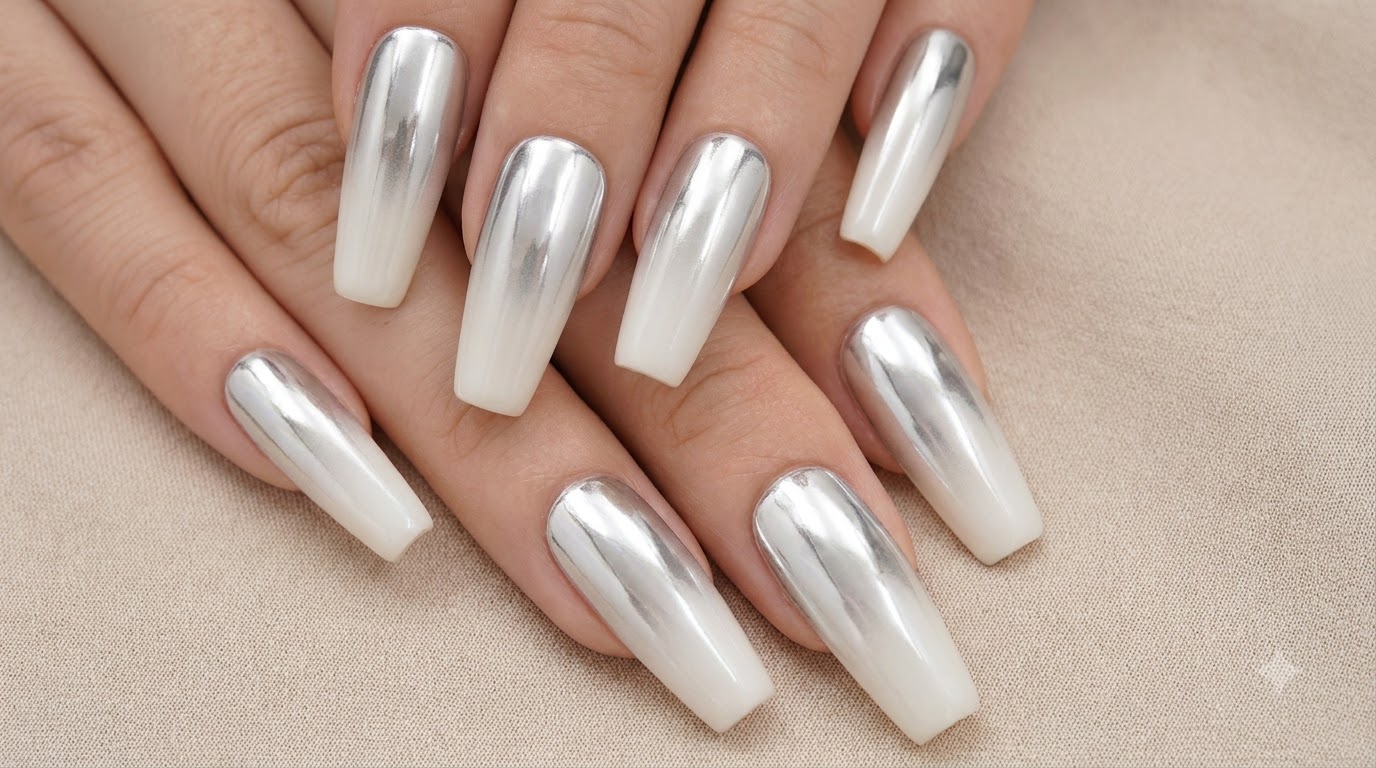
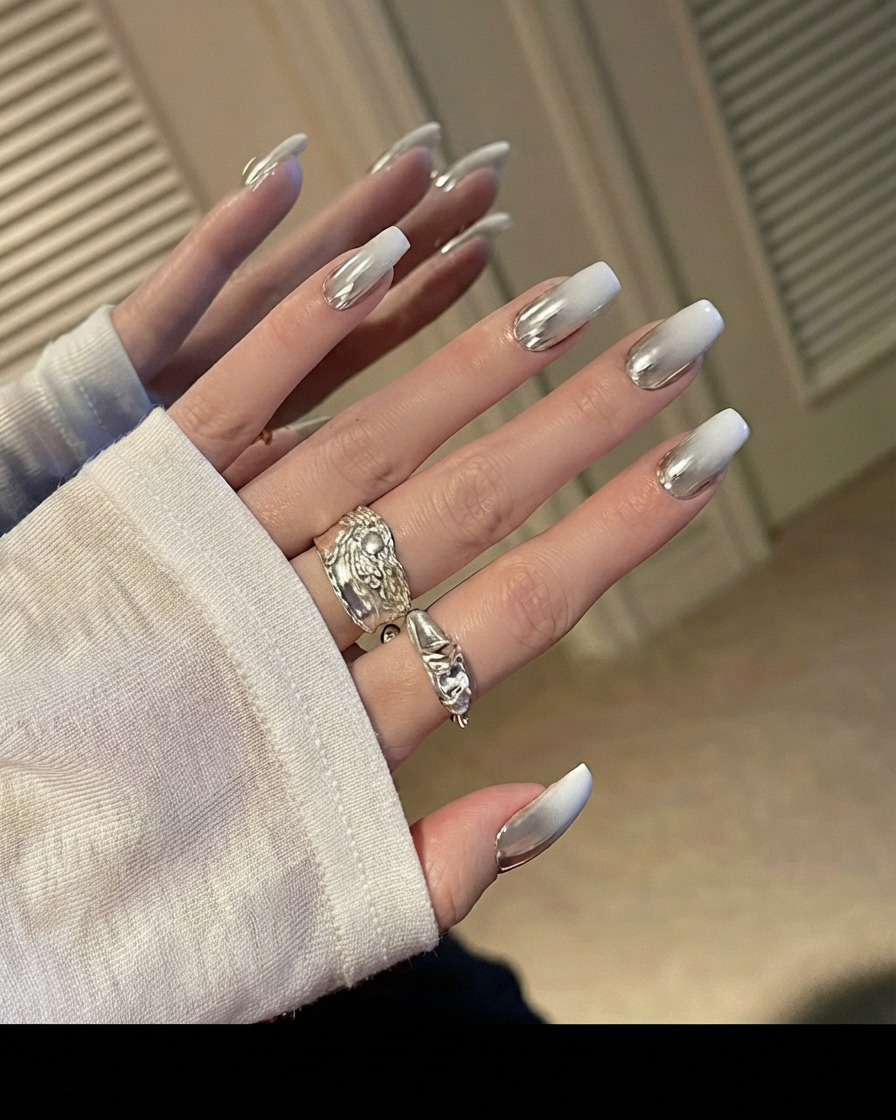
Create stunning futuristic nails with this silver chrome to milky white gradient look using a magic mirror powder and sponge technique.
Chrome and gradient nails have taken the beauty world by storm, combining high-shine metallic mirror finishes with soft, seamless color fades. This tutorial walks you through achieving a striking silver chrome base that transitions gracefully into a creamy white tip. It is a surprisingly simple yet high-impact design that looks like it came straight from a luxury salon.
Steps
- 1Apply Special Non-Wipe Top Coat
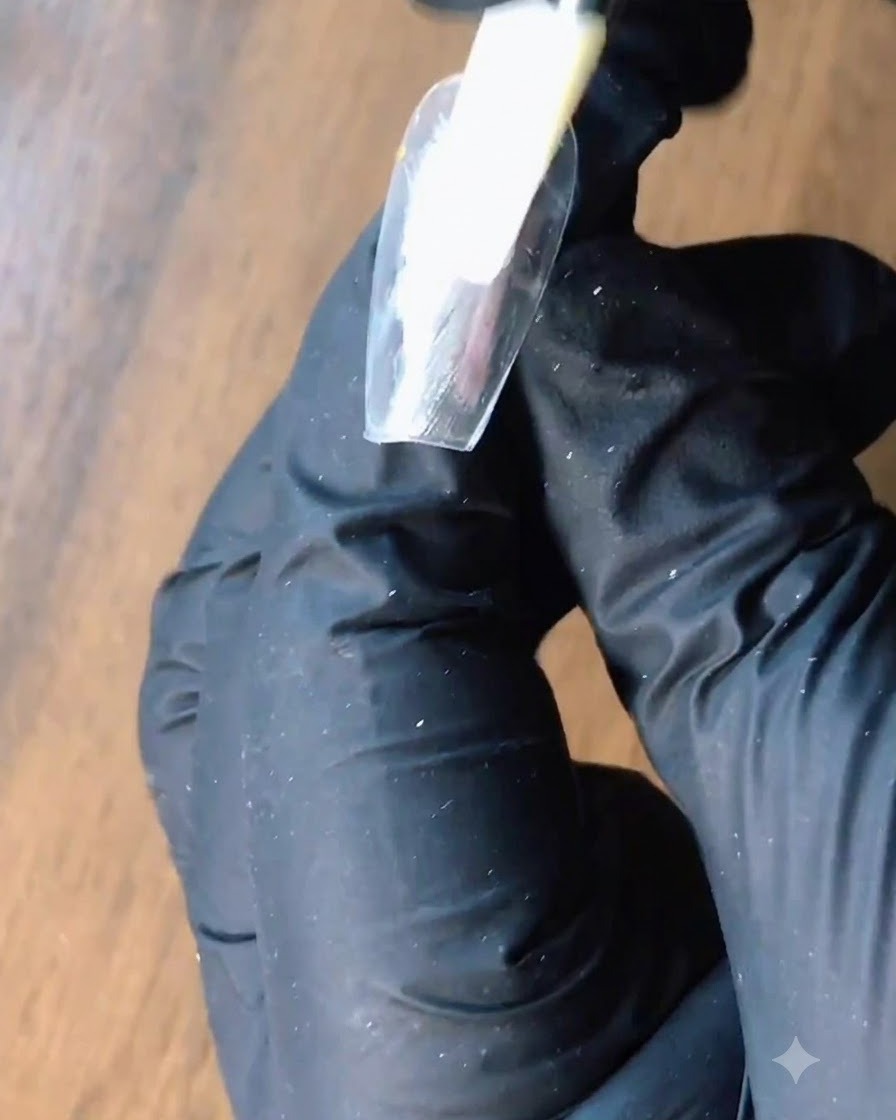
Apply a special non-wipe top coat over the base gel using your gel brush to prepare the surface for rubbing the magic mirror powdercite: 1. Make sure the top coat is applied evenly for a smooth chrome applicationcite: 1.
Tip: Make sure the top coat is applied evenly for a smooth chrome application. - 2Rub on Silver Chrome Powder
Take your chosen magic mirror powder color—silver in this case—and use a small eyeshadow sponge applicator to rub it onto the nail plate.
Tip: A small eyeshadow sponge applicator helps pick up and distribute the powder evenly. - 3Press Silver Powder Firmly
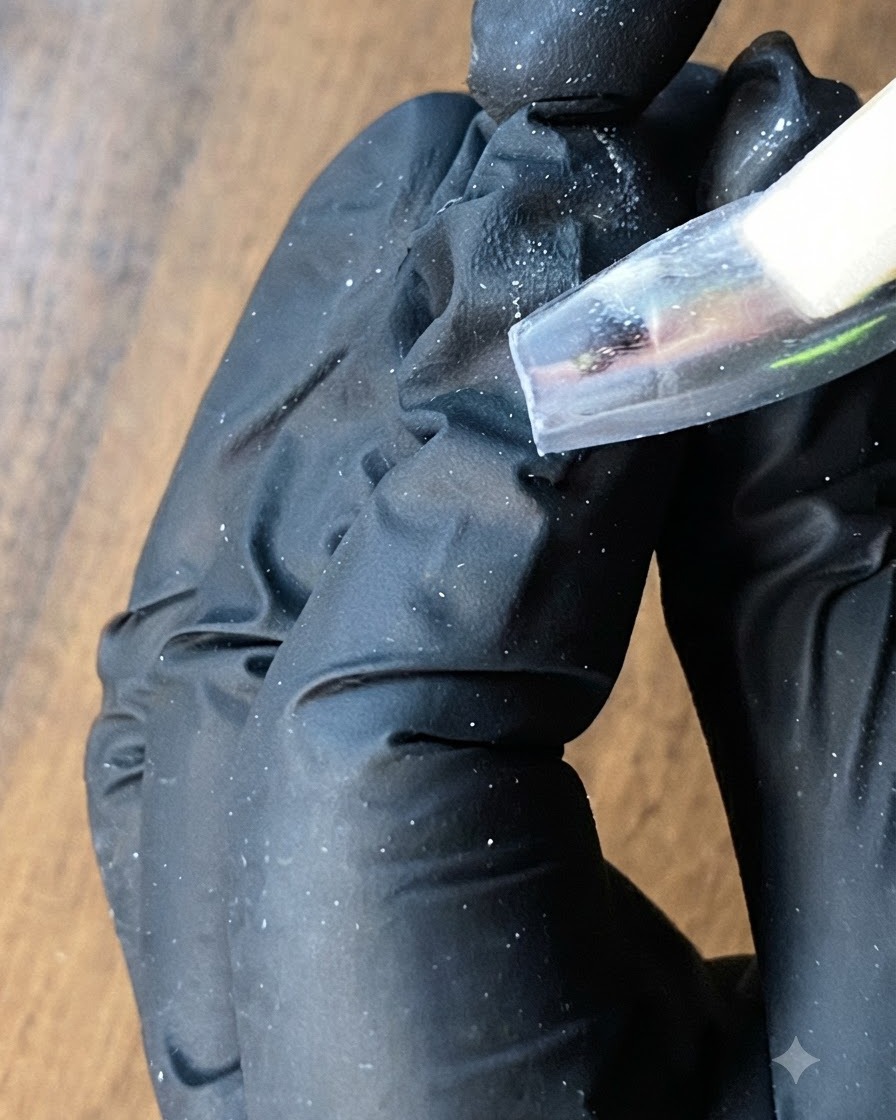
Take your chosen magic mirror powder color—silver in this case—and use a small eyeshadow sponge applicator to rub it onto the nail plate, pressing firmly to achieve a smooth, reflective mirror finishcite: 1. Pressing firmly ensures the pigment particles bond tightly for maximum reflectivitycite: 1.
Tip: Pressing firmly ensures the pigment particles bond tightly for maximum reflectivity. - 4Sweep Excess and Buff Edges
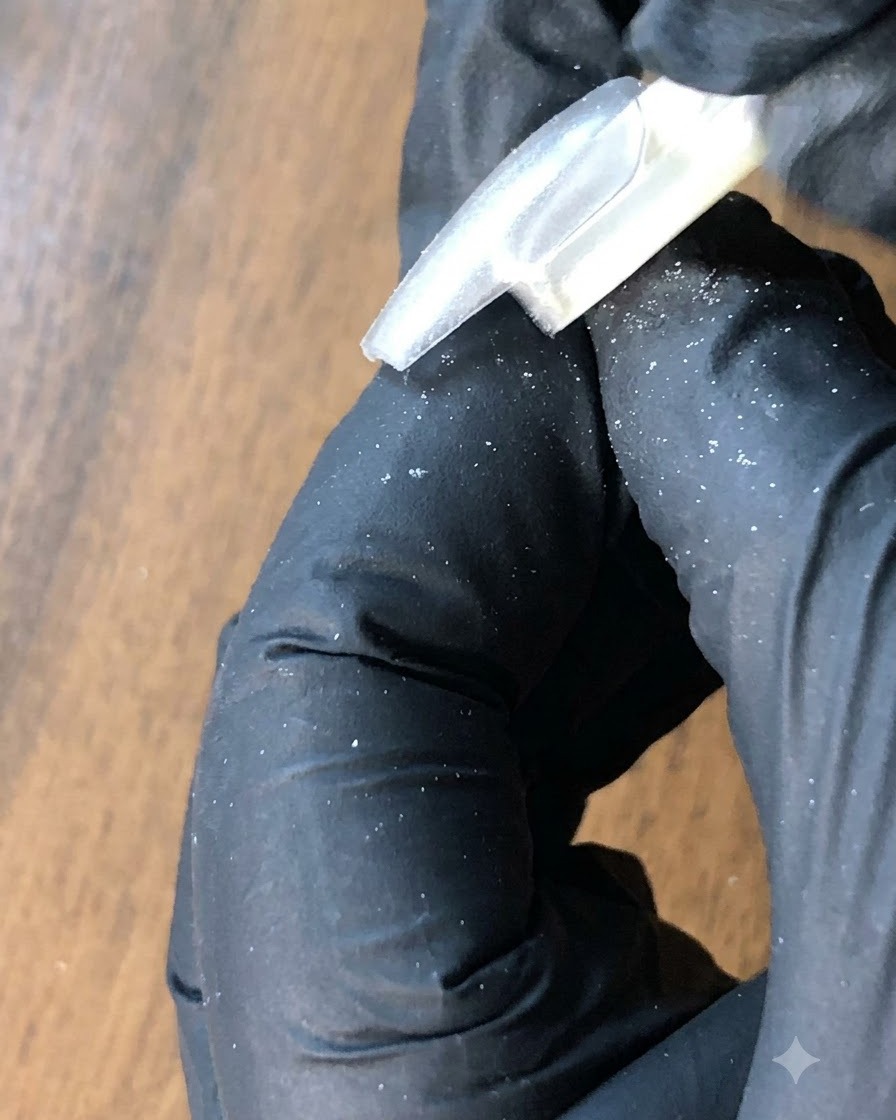
Use a clean dust brush to sweep away any excess floating chrome powder from the nail surface, then buff the three edges.
Tip: Buffing the edges helps prevent chipping and premature lifting of the chrome layer. - 5Apply Reinforcement Gel
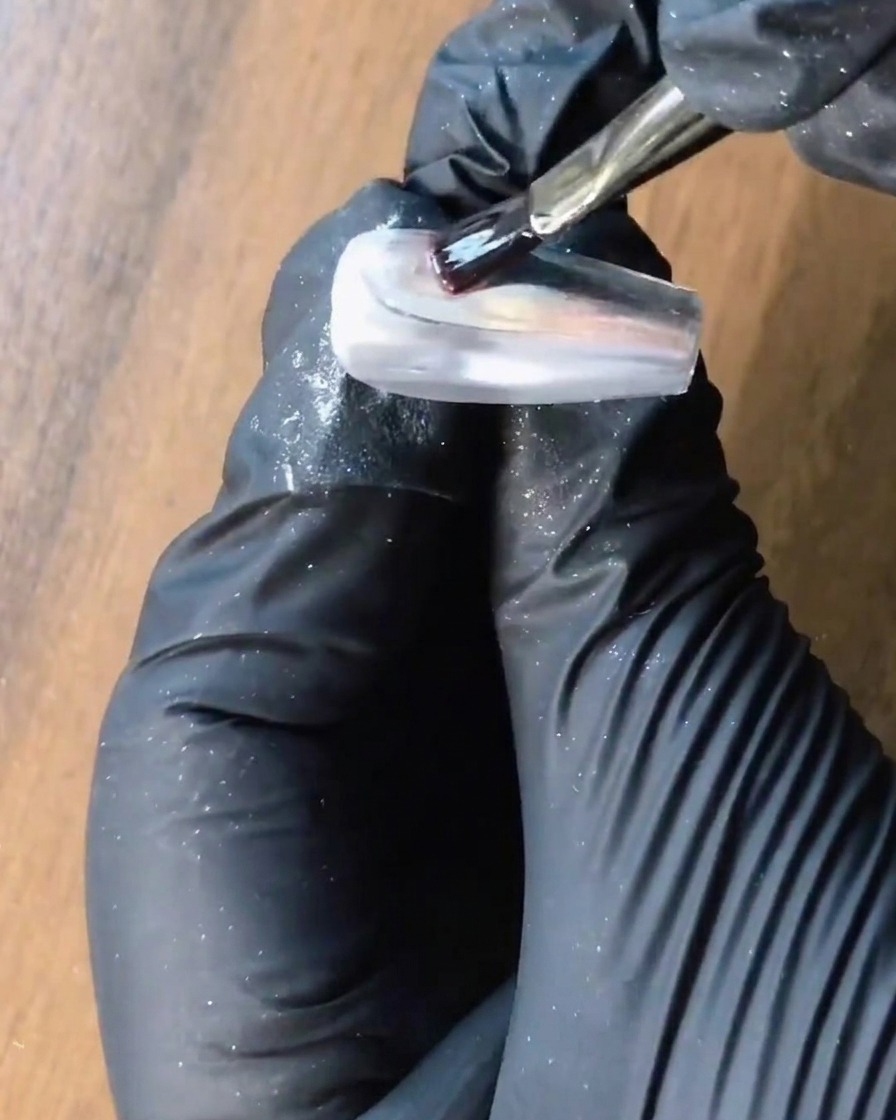
Apply a layer of clear reinforcement gel over the entire silver nail to encapsulate and lock in the magic mirror powder.
Tip: Encapsulating the powder prevents it from wearing off or dulling over time. - 6Wipe Sticky Layer
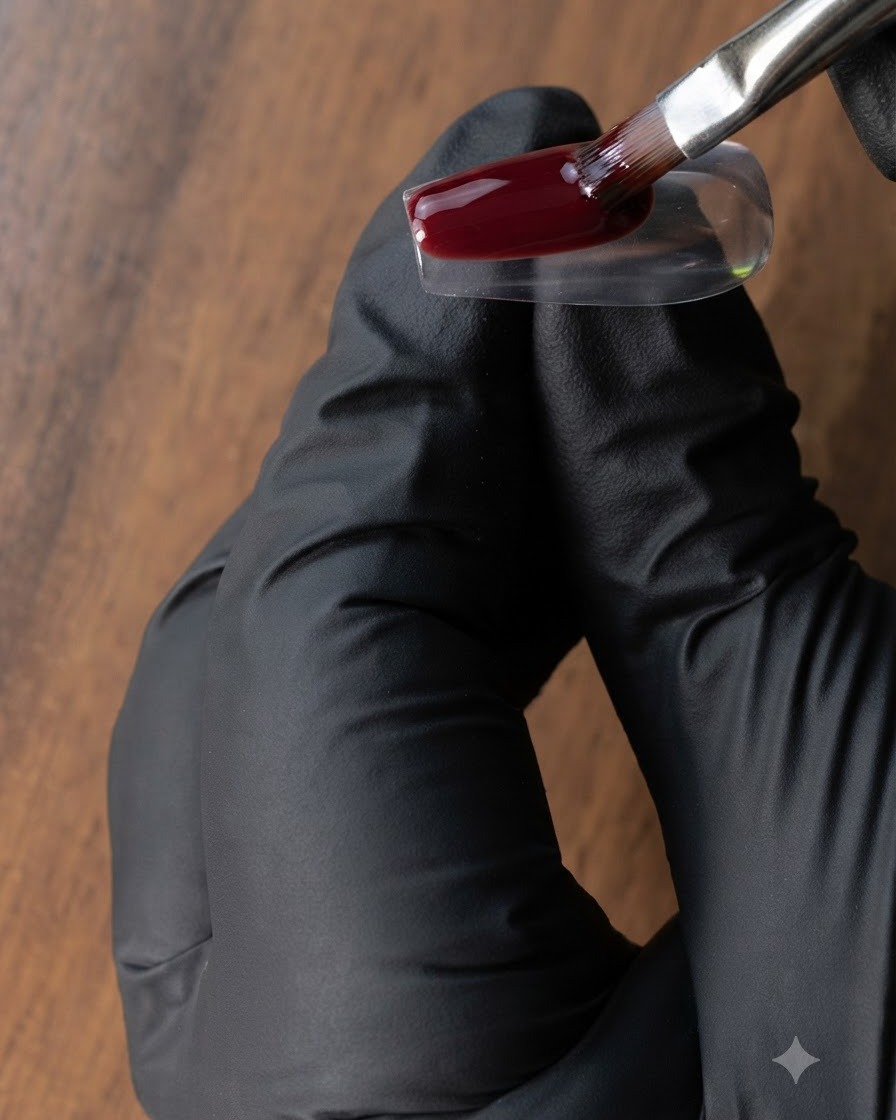
After curing the reinforcement gel under your lamp, wipe off the sticky floating gel layer from the nail surface.
Tip: Use a lint-free wipe with cleanser to completely remove the inhibition layer. - 7Prepare White Gel on Palette
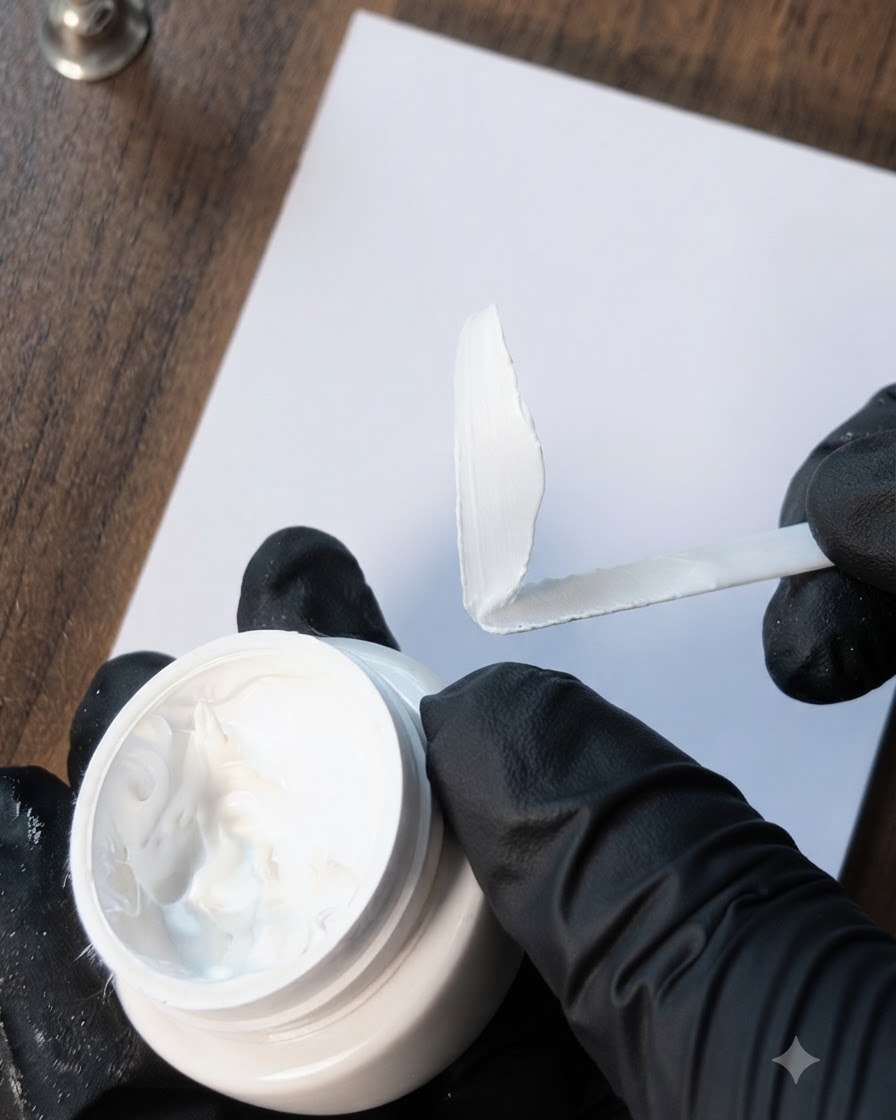
Take some white painting gel or tapping gel and pat it evenly onto a mixing palette using a small sponge to prepare for creating the gradient effectcite: 1. Make sure to dab the gel evenly onto the palette so the sponge picks up a smooth, consistent layer without heavy globscite: 1.
Tip: Make sure to dab the gel evenly onto the palette so the sponge picks up a smooth, consistent layer without heavy globs. - 8Apply First Layer of White Gradient
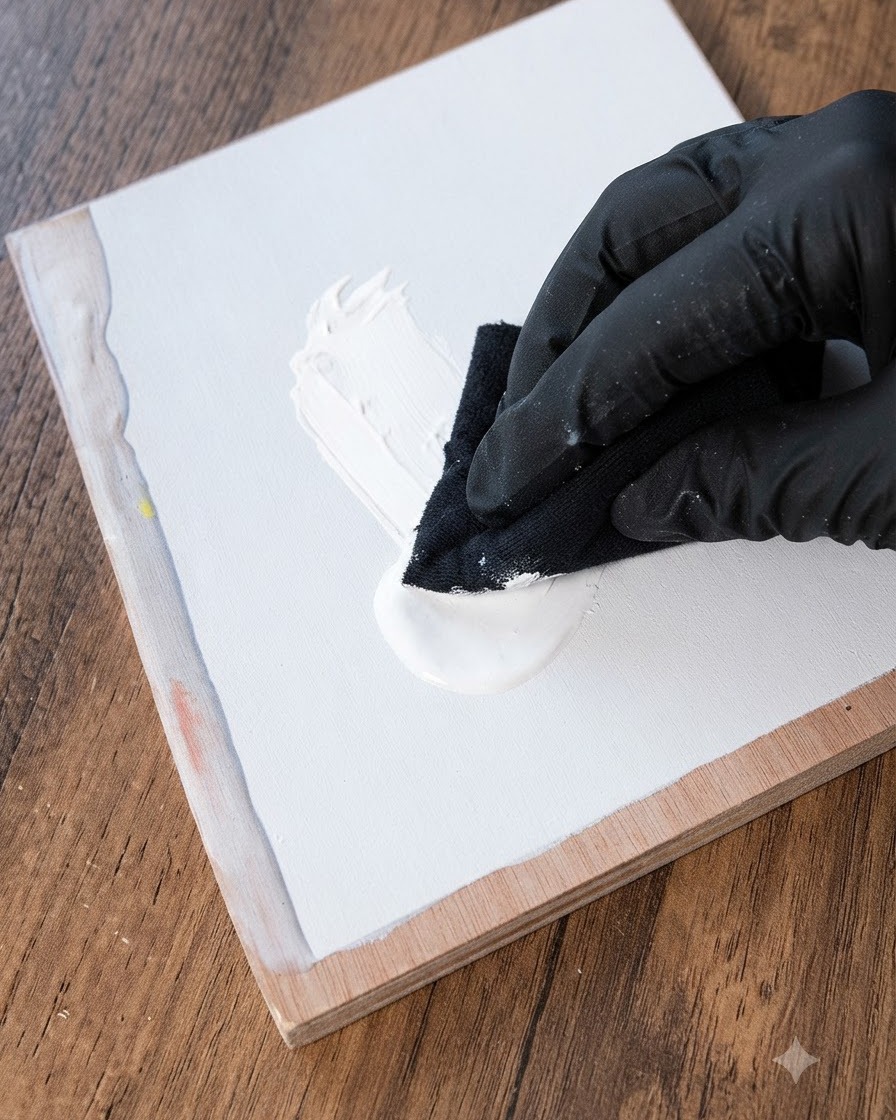
Use a sponge with white gel to gently pat out a gradient effect starting from the tip of the silver chrome nailcite: 1. Light, gentle tapping motions create a soft, seamless fade rather than a harsh linecite: 1.
Tip: Light, gentle tapping motions create a soft, seamless fade rather than a harsh line. - 9Add second layer for saturation
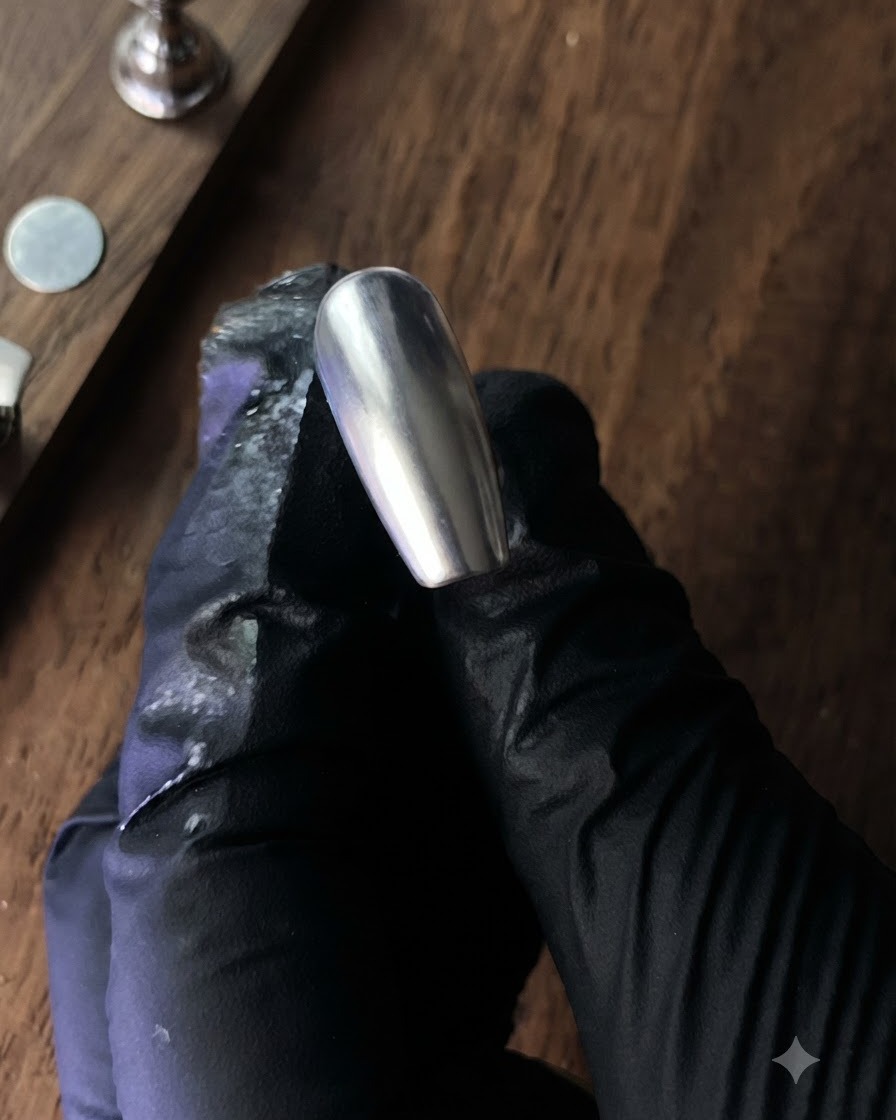
After curing the first layer under the lamp, inspect the color intensity. If you feel the color saturation isnt high enough, add another layer of white gel using the sponge over the nail tip to make it pop.
Tip: Cure each layer individually before adding the next to keep the gradient crisp and prevent the layers from muddying together. - 10Finish with top coat
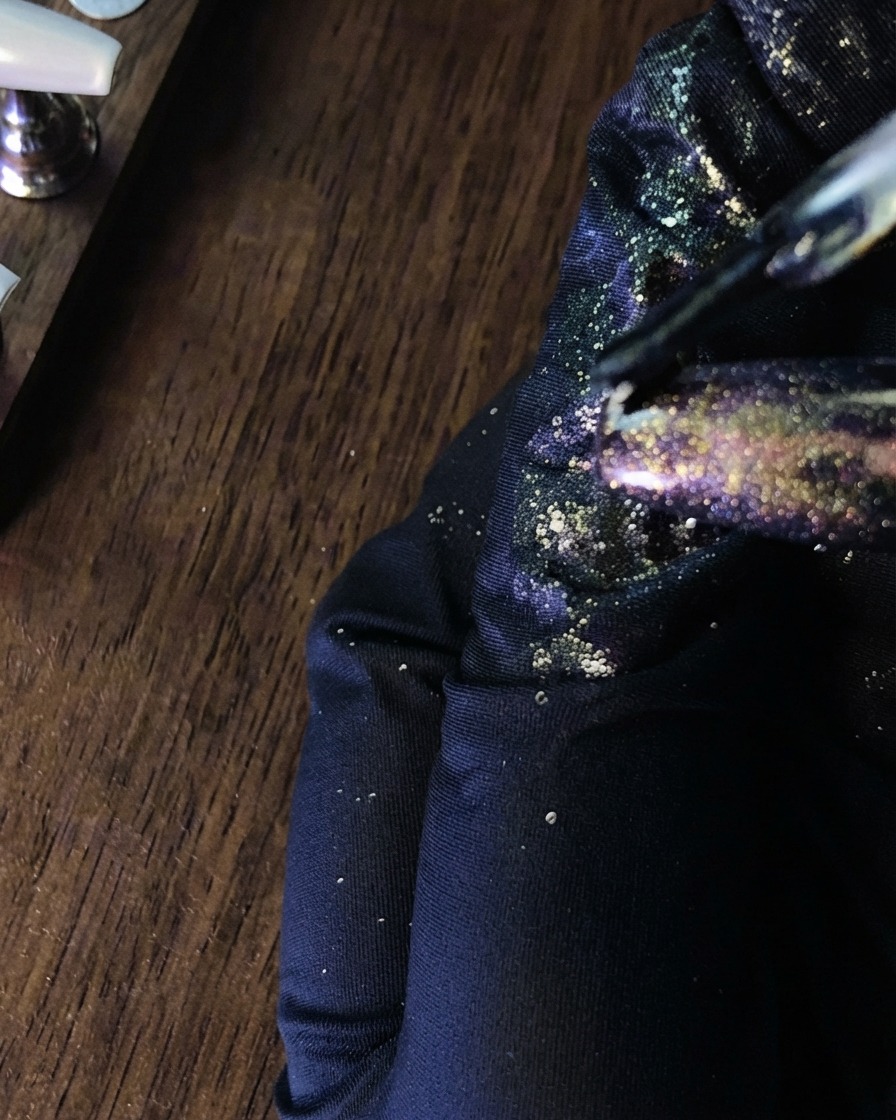
Finish the design by applying a final clear glossy top coat over the entire nail to seal the white gradient and silver chrome effect, then cure under the lamp.
Tip: Cap the free edge carefully with the top coat to prevent chipping and ensure long-lasting wear.