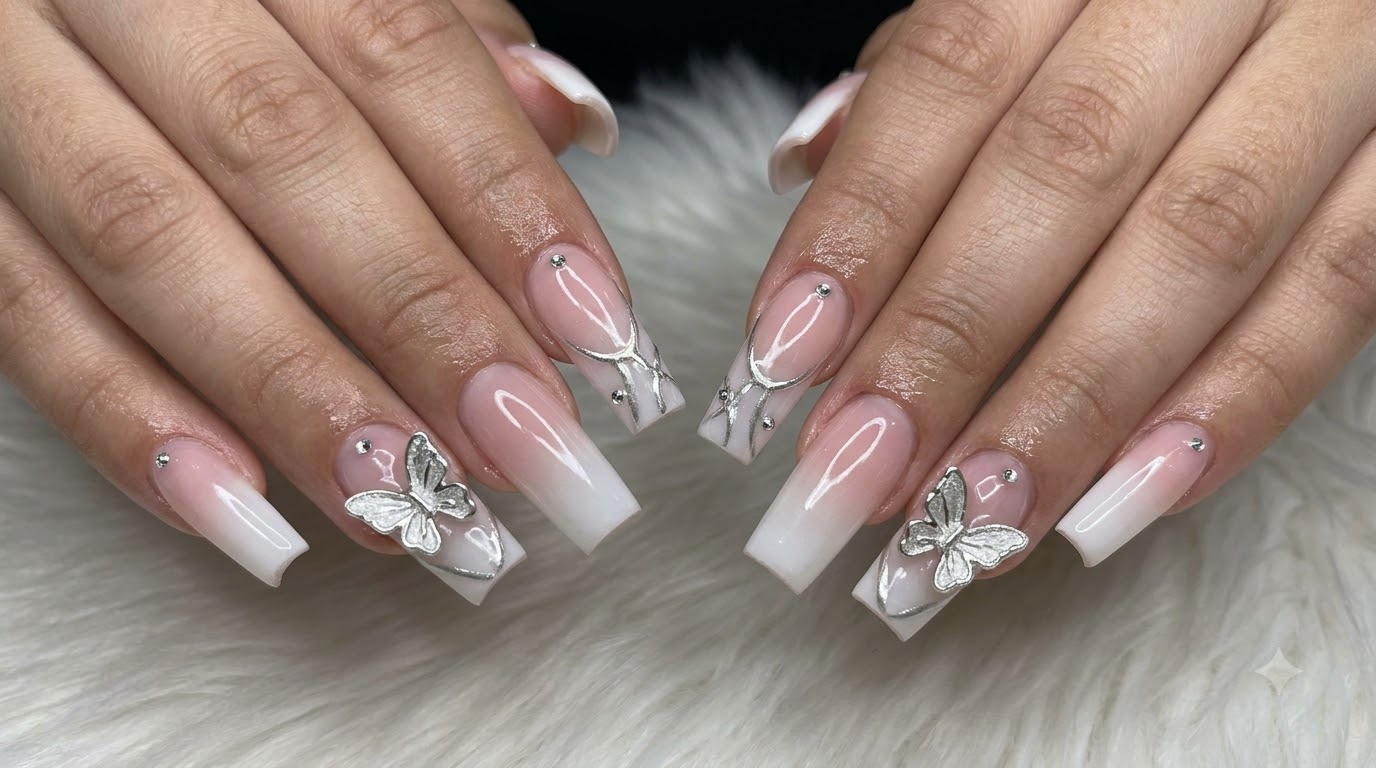
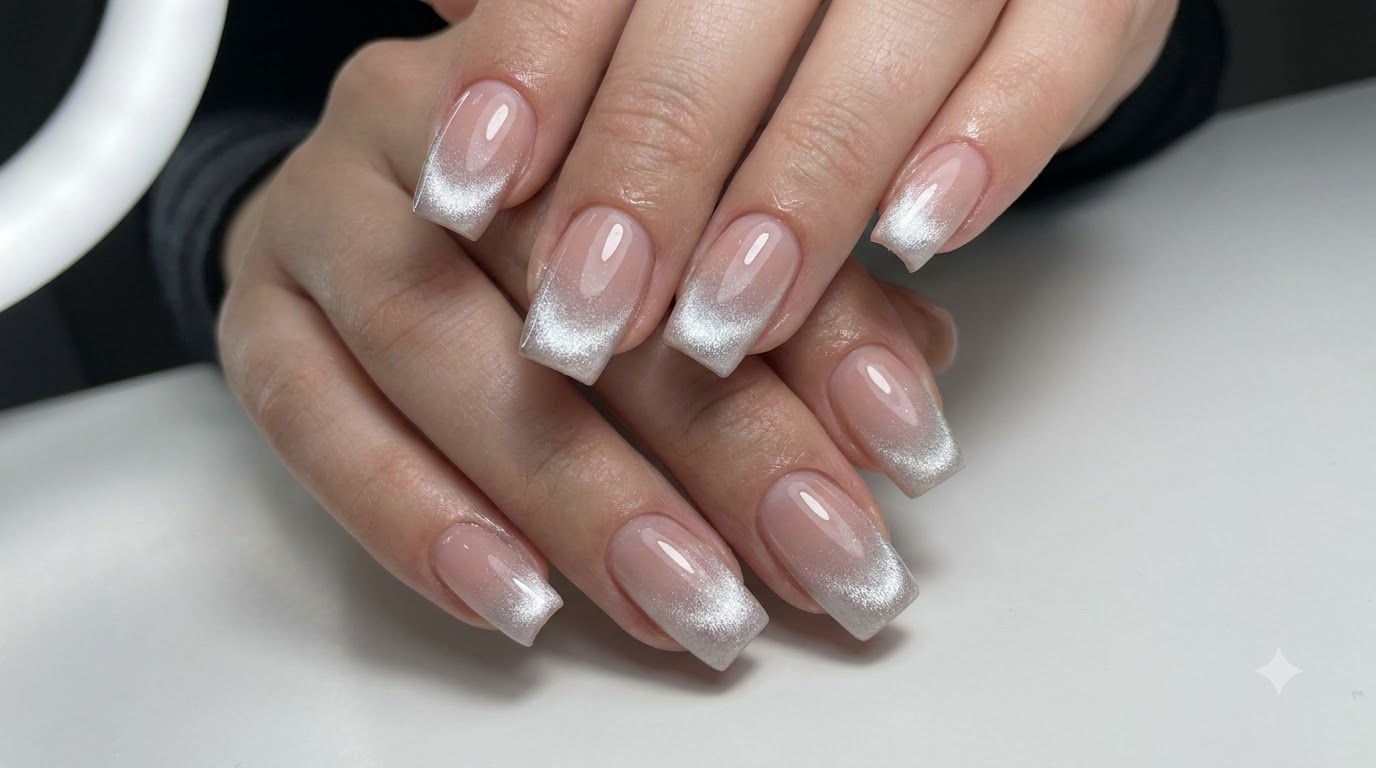
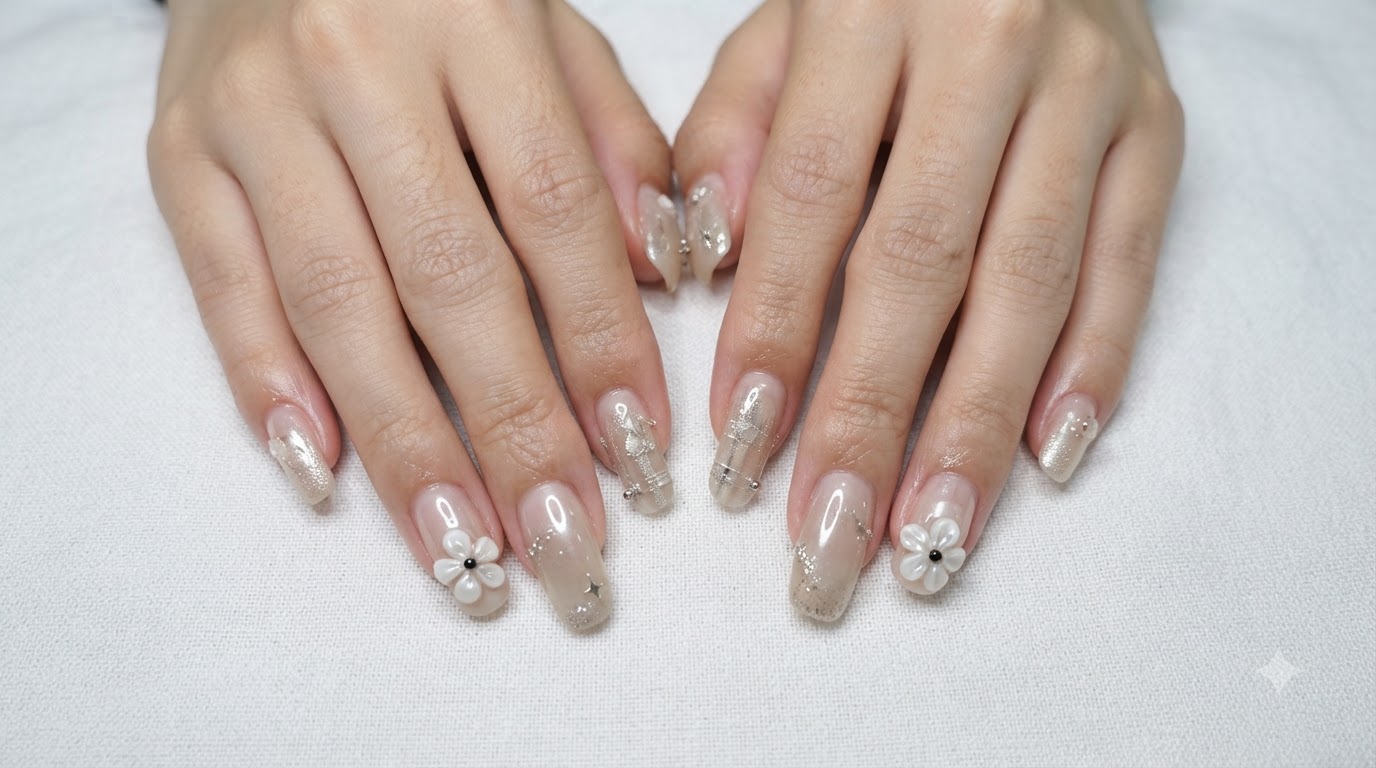
Nude and Milky White Gradient
Fairy Glitter Nail Art Tutorial
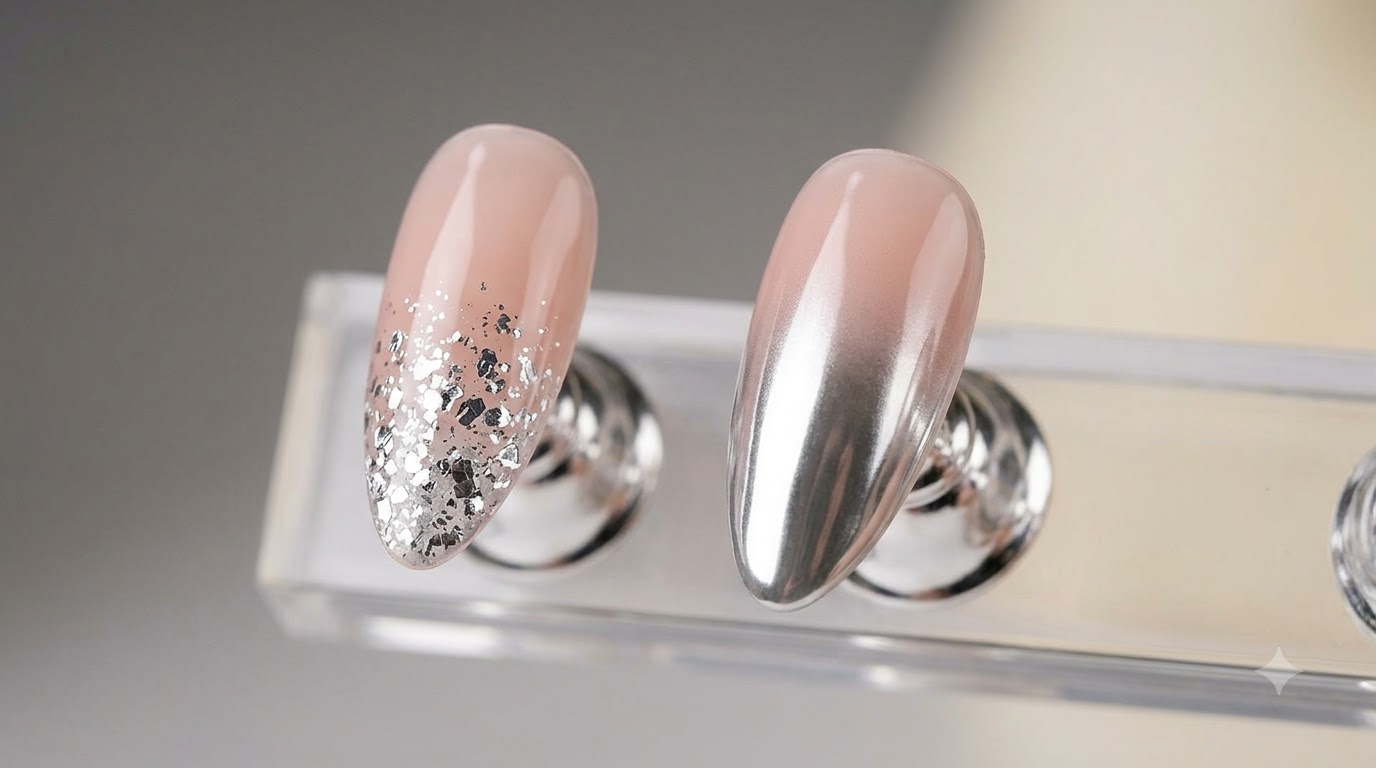
Achieve elegant almond-shaped nails featuring a seamless nude to milky white gradient, delicate fairy glitter, and rhinestone accents using second-use nail tips.
Discover how to effortlessly elevate your manicure with this sophisticated nude and milky white gradient look. Enhanced with shimmering fairy glitter and delicate rhinestone details near the cuticles, this style offers a salon-quality finish that makes hands look naturally fairer and more refined.
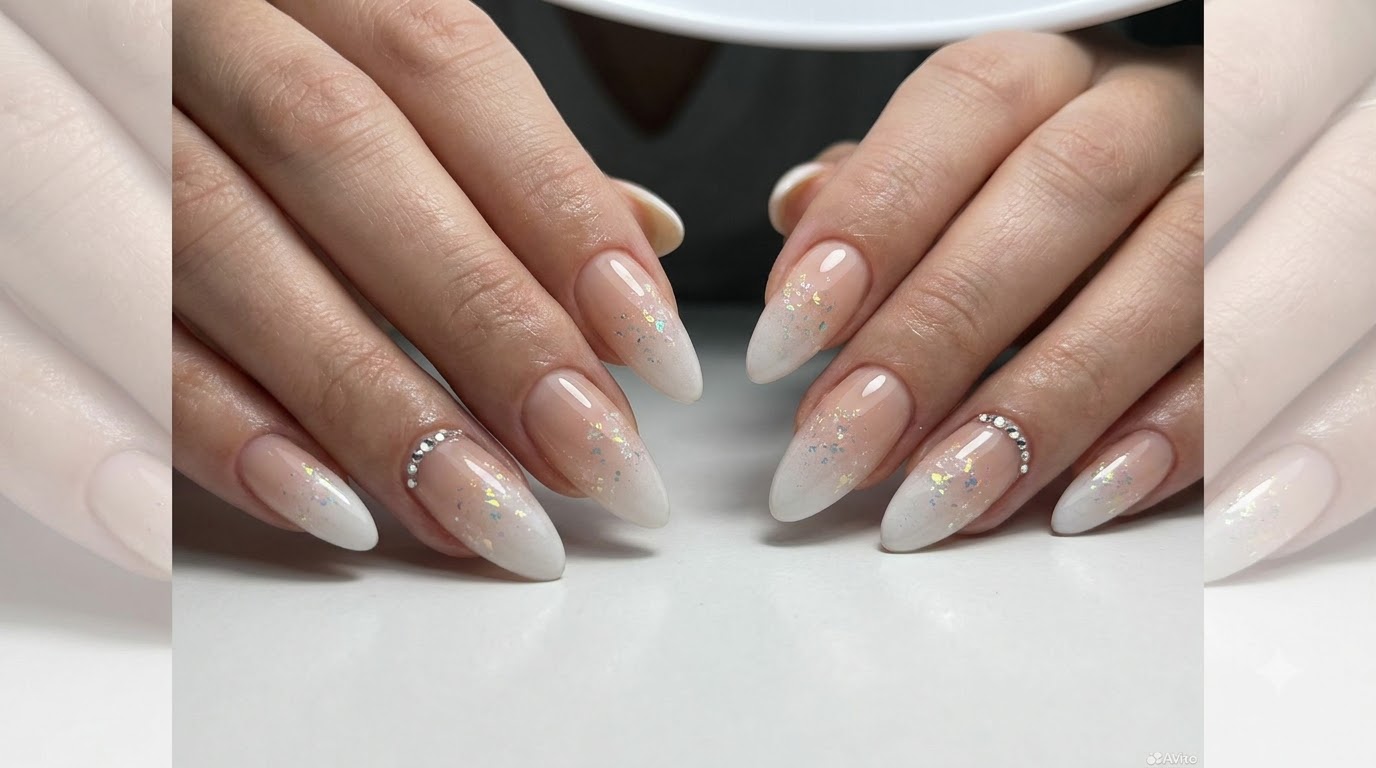
Steps
- 1Apply Base Adhesive Layer
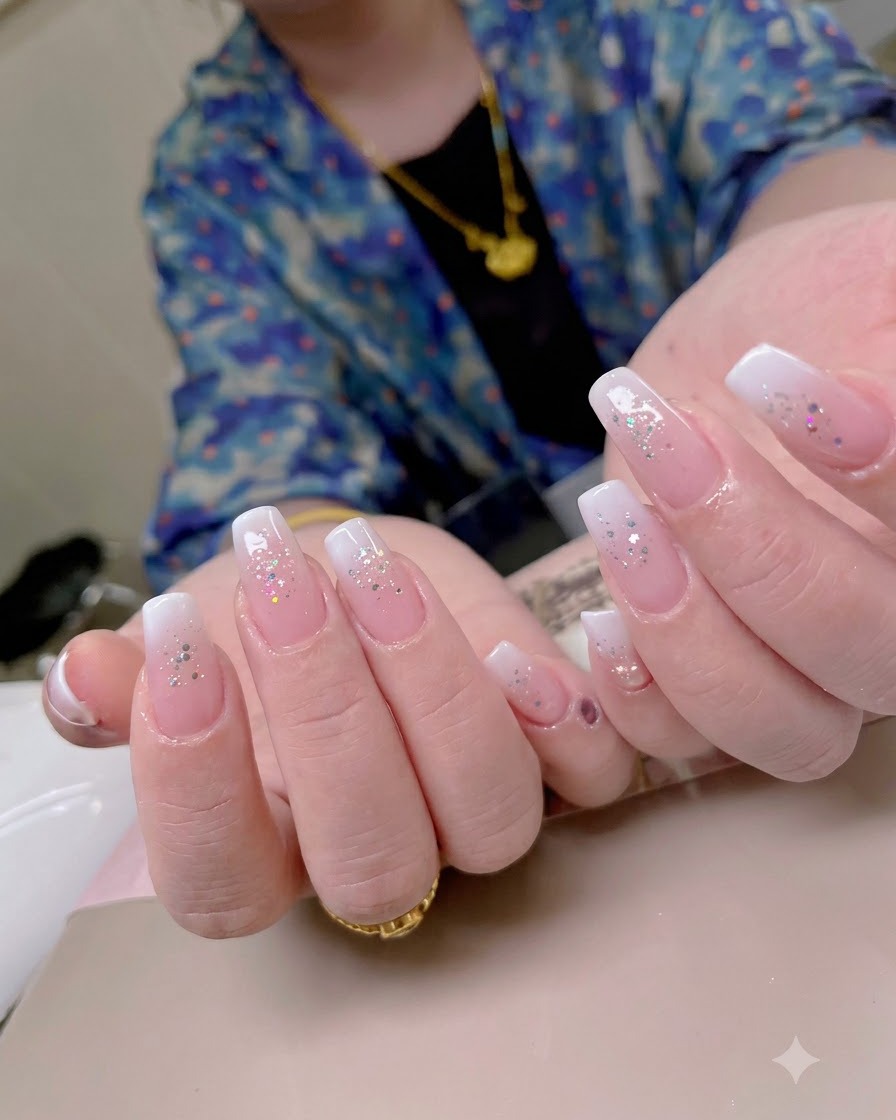
Prepare the natural nails by cleaning and dehydrating the surface, then apply a thin layer of base adhesive onto each nail to create a strong, secure bond for your gradient nail tips.
Tip: Make sure the natural nail surface is clean and dehydrated before applying the base layer for maximum longevity. - 2Place and Secure Gradient Tips
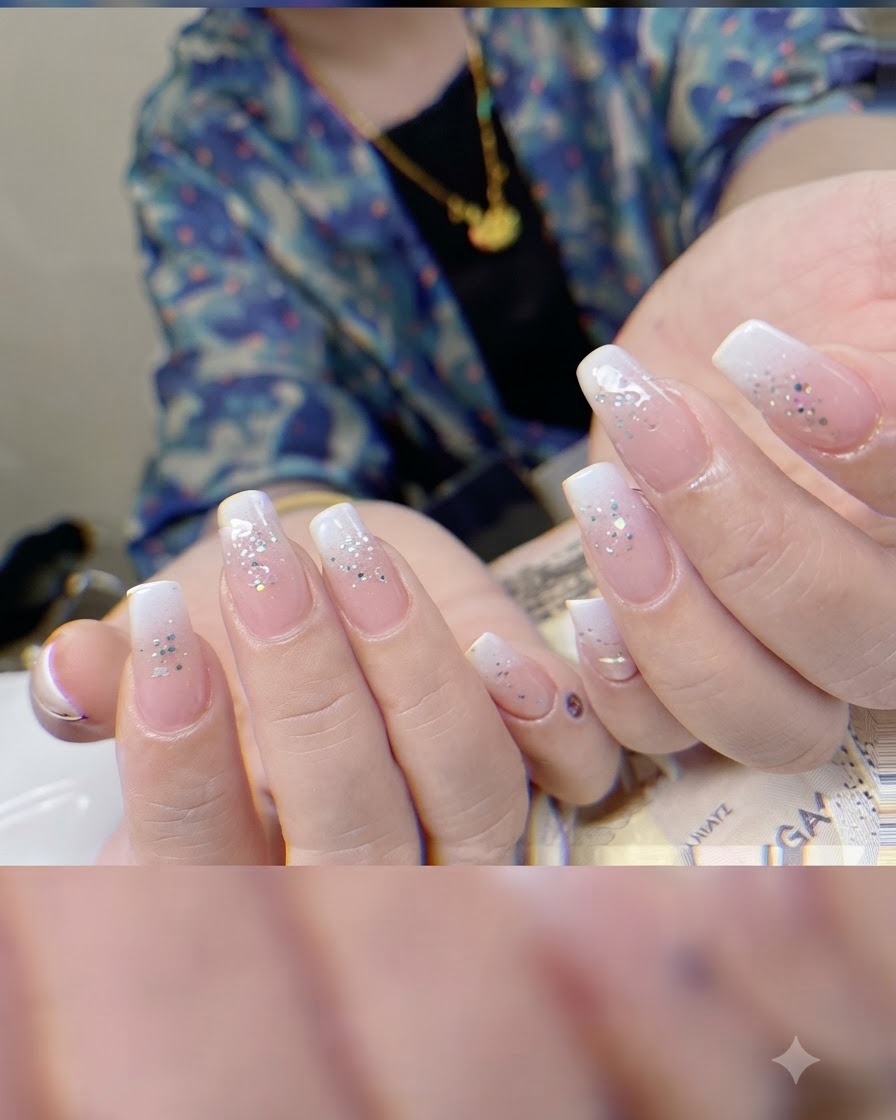
Carefully place each second-use nude and milky white gradient nail tip onto the corresponding finger, pressing down gently to remove air bubbles and ensure correct alignment.
Tip: Align the base of the artificial tip closely with your cuticle line for a seamless, natural look. - 3Apply Glossy Top Coat
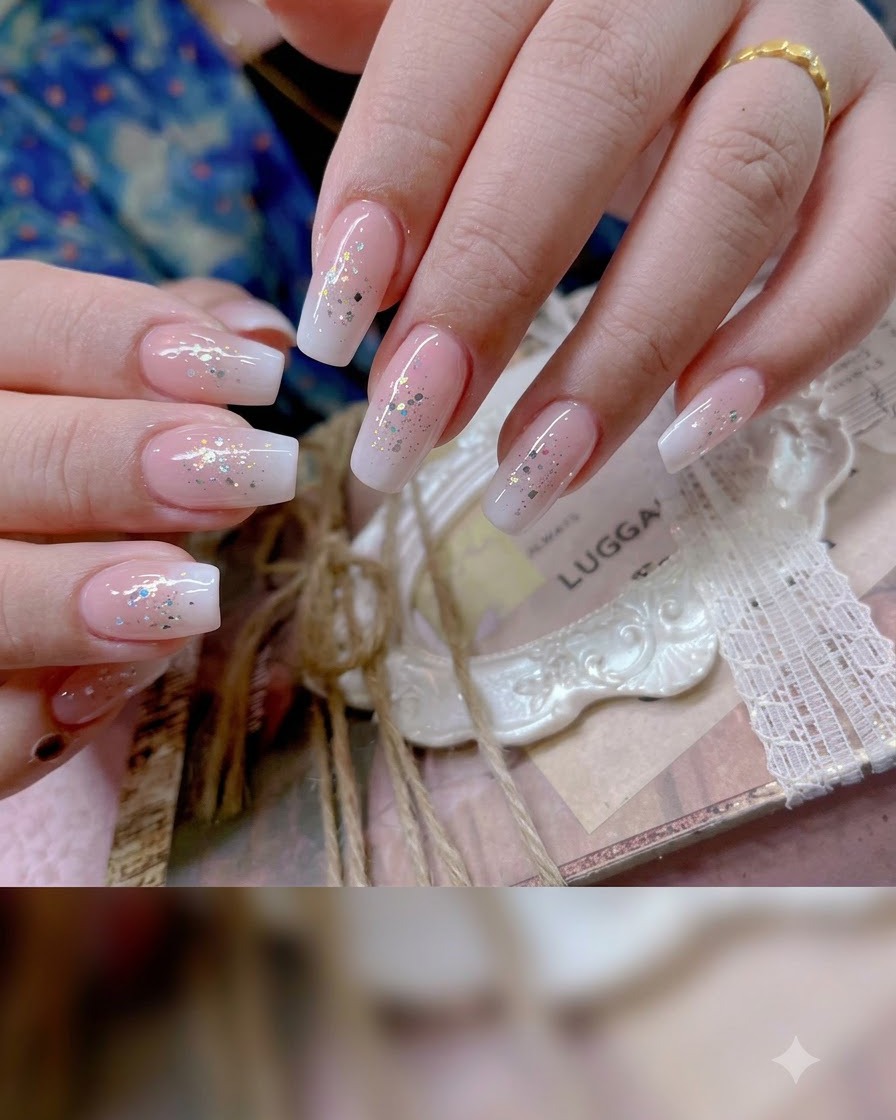
Brush an even coat of glossy top coat over the entire surface of the gradient nail tips to seal the design, lock in the fairy glitter flakes, and achieve a brilliant, protective shine.
Tip: Cap the free edge of the nail with top coat to prevent chipping and peeling. - 4Cure the Top Coat
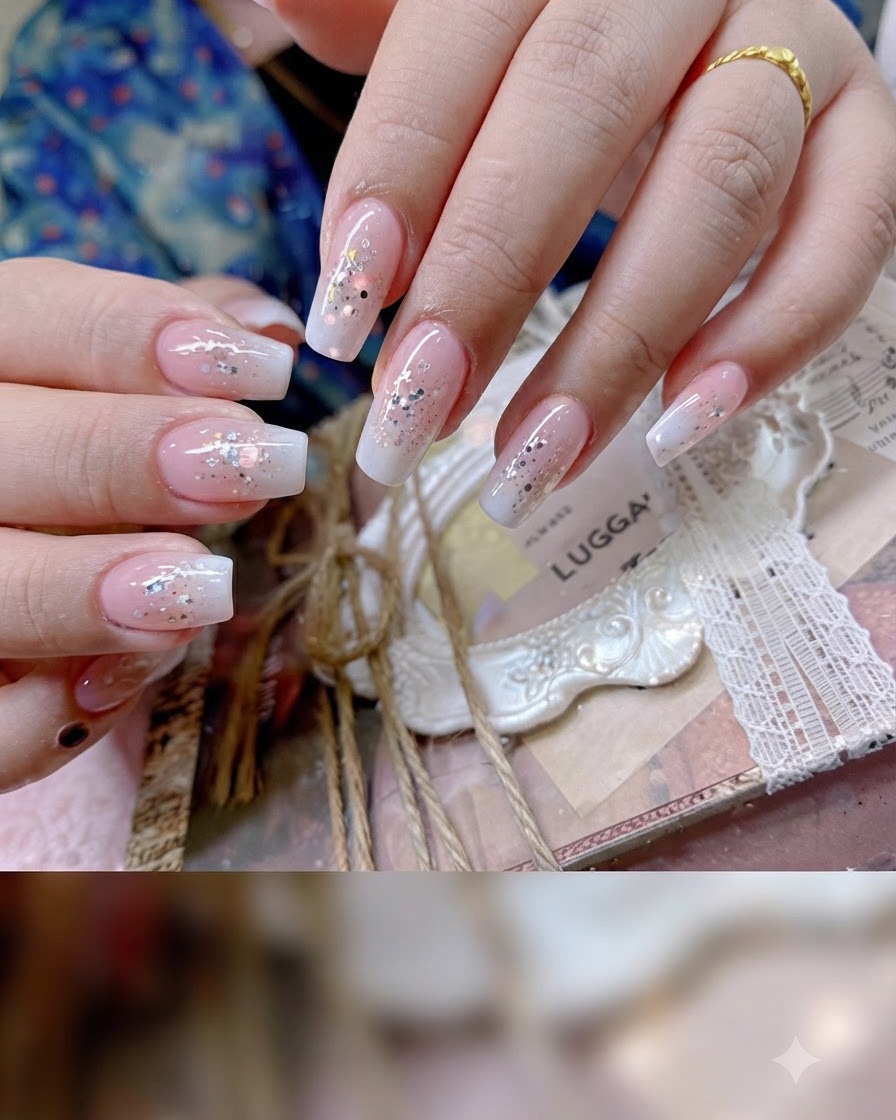
Place your hands inside the UV or LED lamp to fully cure the final top coat layer. Proper curing ensures a long-lasting, high-gloss shine and locks in the nail tips and fairy glitter embellishments.
Tip: Keep your hands flat inside the lamp to ensure even light exposure across every nail surface. - 5Wipe the Sticky Inhibition Layer
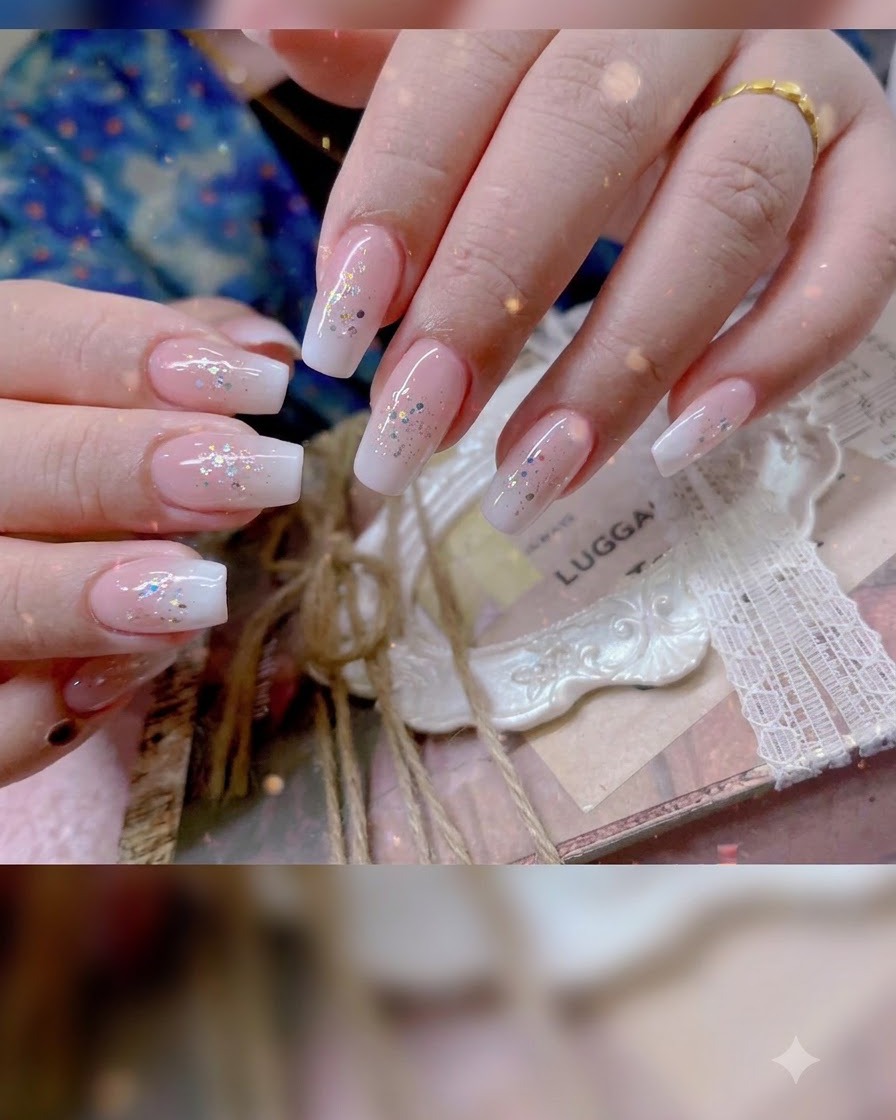
Take a lint-free wipe saturated with cleanser and gently wipe away the sticky inhibition layer remaining on the cured nail surface to eliminate uncured residue and unveil a high-gloss finish.
Tip: Make sure your cleanser is fully dry or use a fresh wipe per hand to avoid dulling the glossy finish.