Milky White Ombre Nails
Champagne Gold Rhinestones — Step-by-Step Tutorial
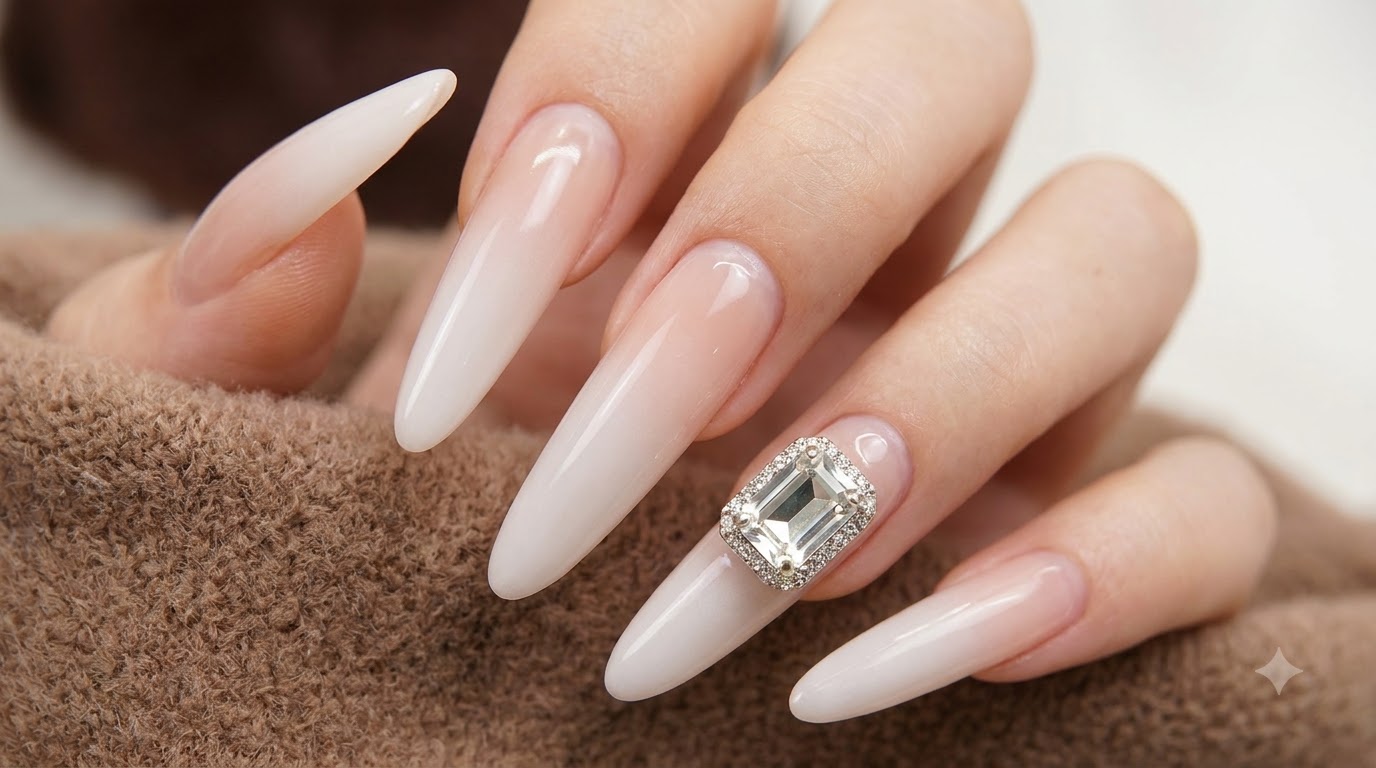
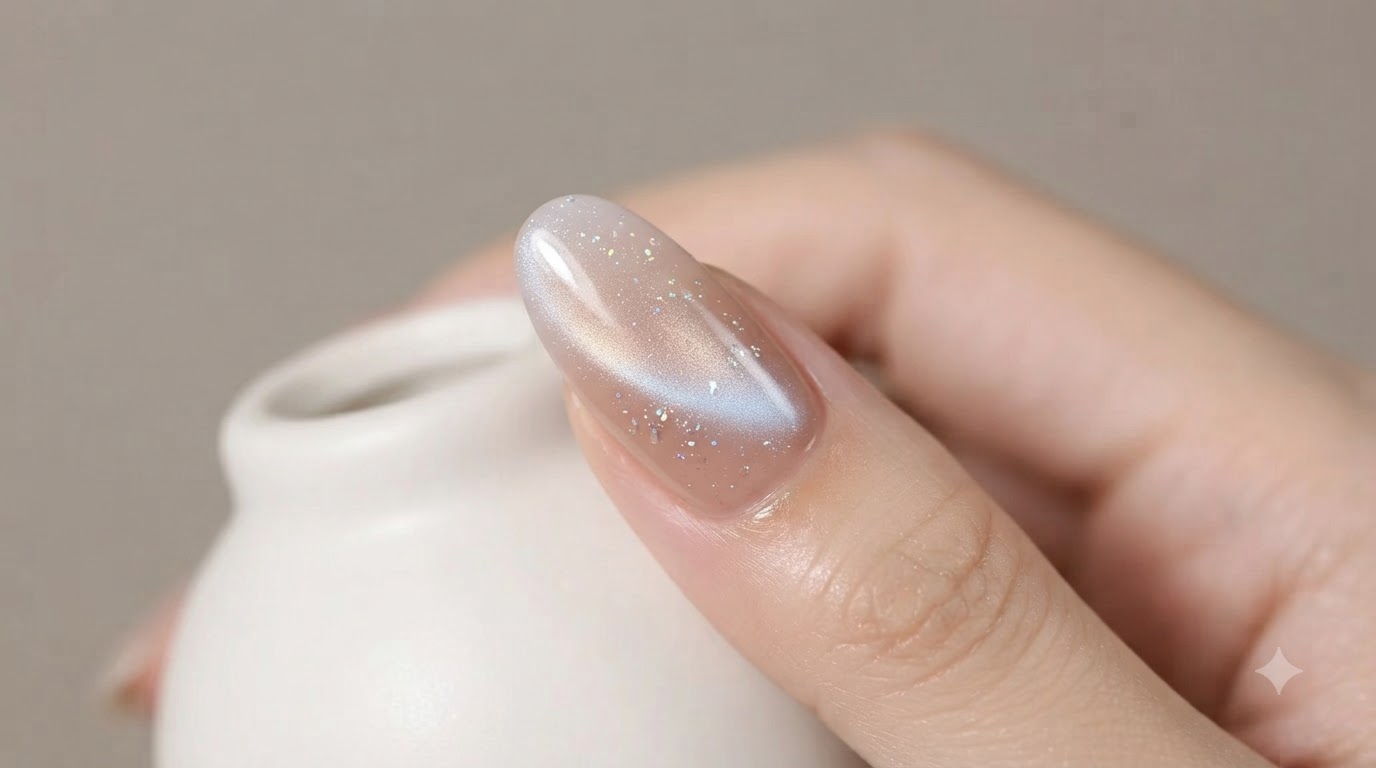
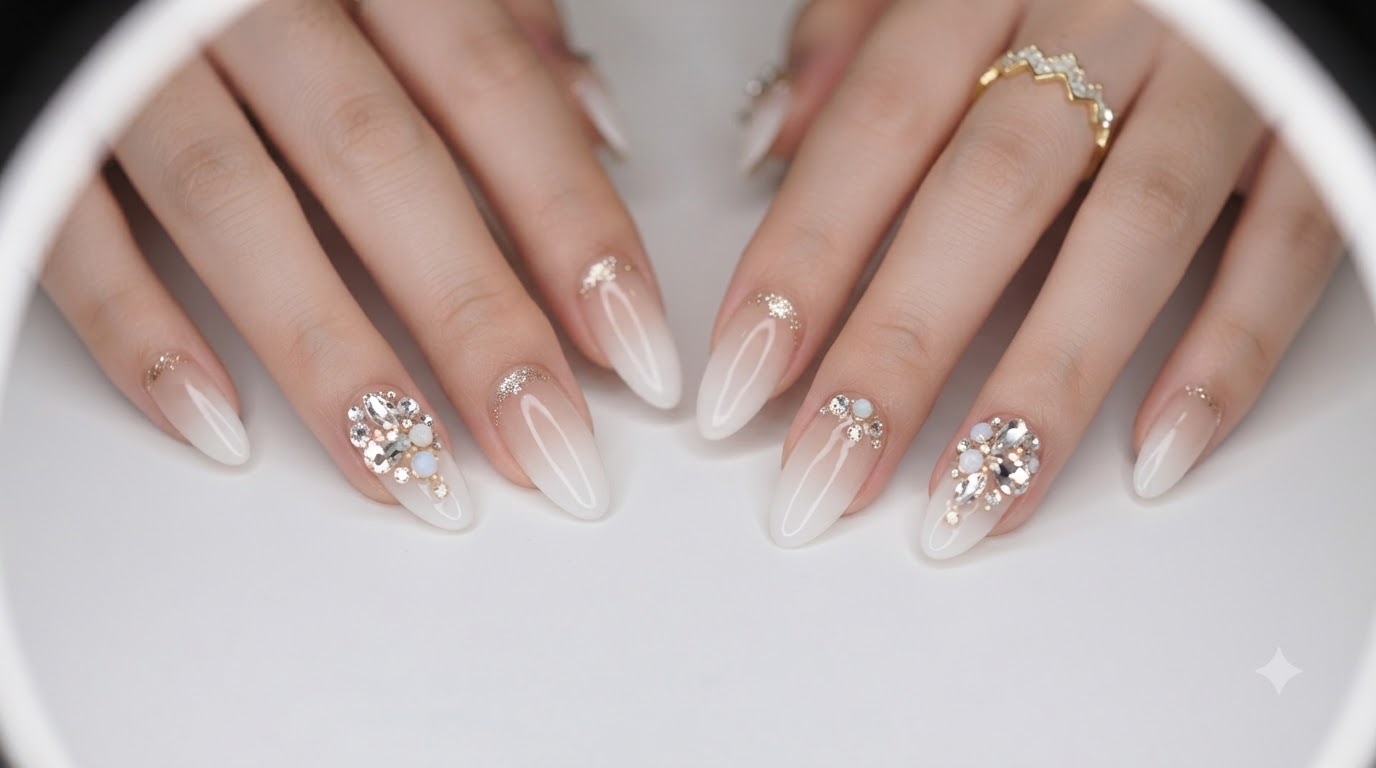
Master this luxury milky white ombre nail look featuring champagne gold glitter and stunning rhinestone embellishments over a sheer cool nude base.
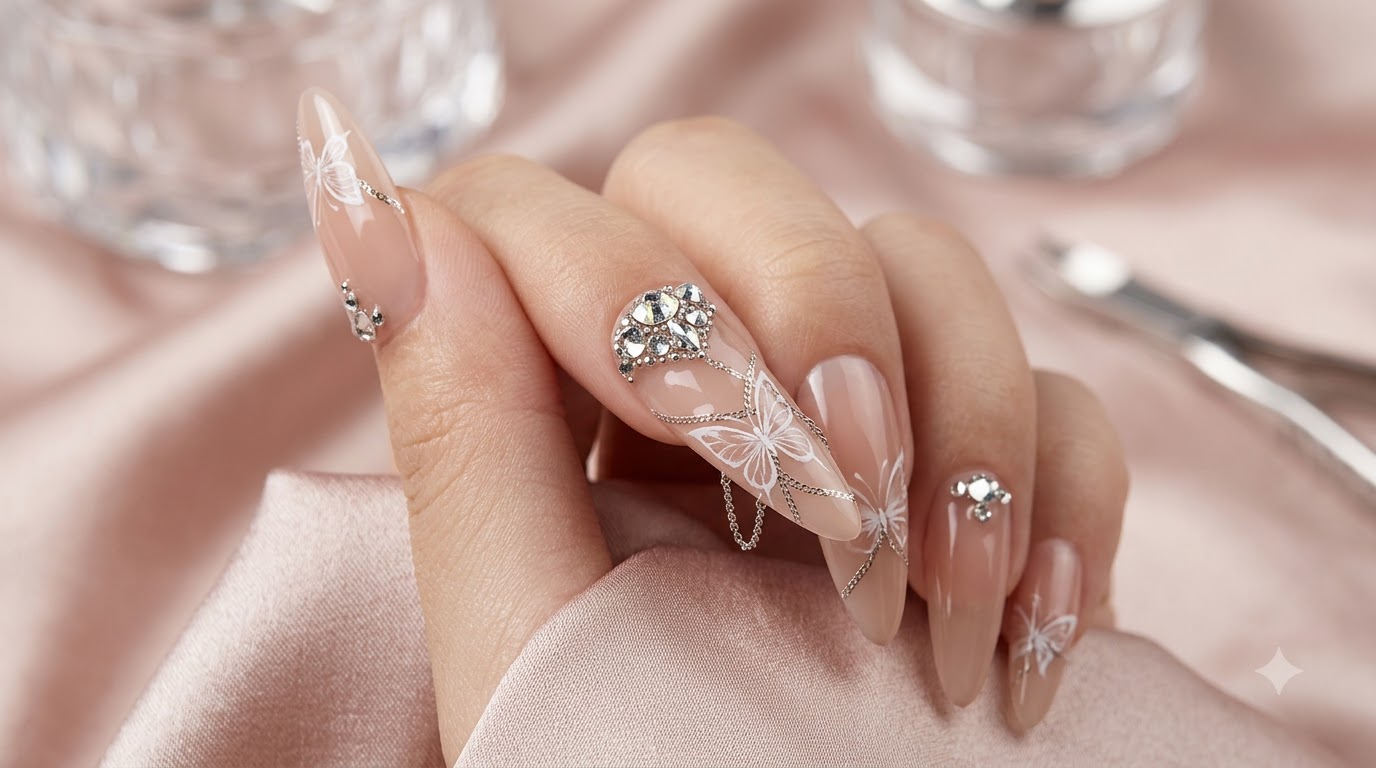
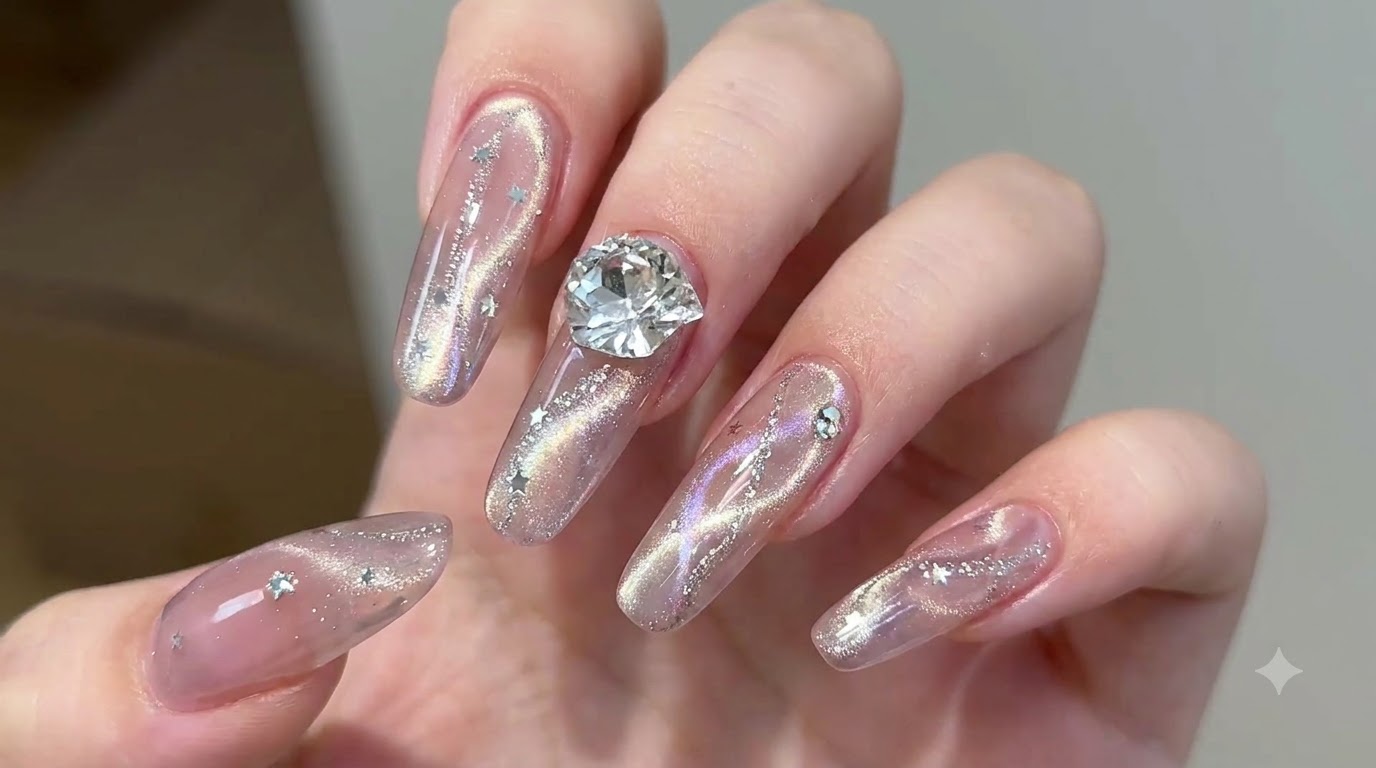
This luxury nail design combines a gentle, cool nude base with an exquisite milky white gradient that beautifully brightens the hands. The addition of champagne gold glitter perfectly complements the rhinestone and pearl embellishments, elevating the look to pure elegance. Finishing with a large centerpiece crystal creates a breathtaking focal point that is truly mesmerizing and perfect for special occasions.
Steps
- 1Apply cool nude base gel
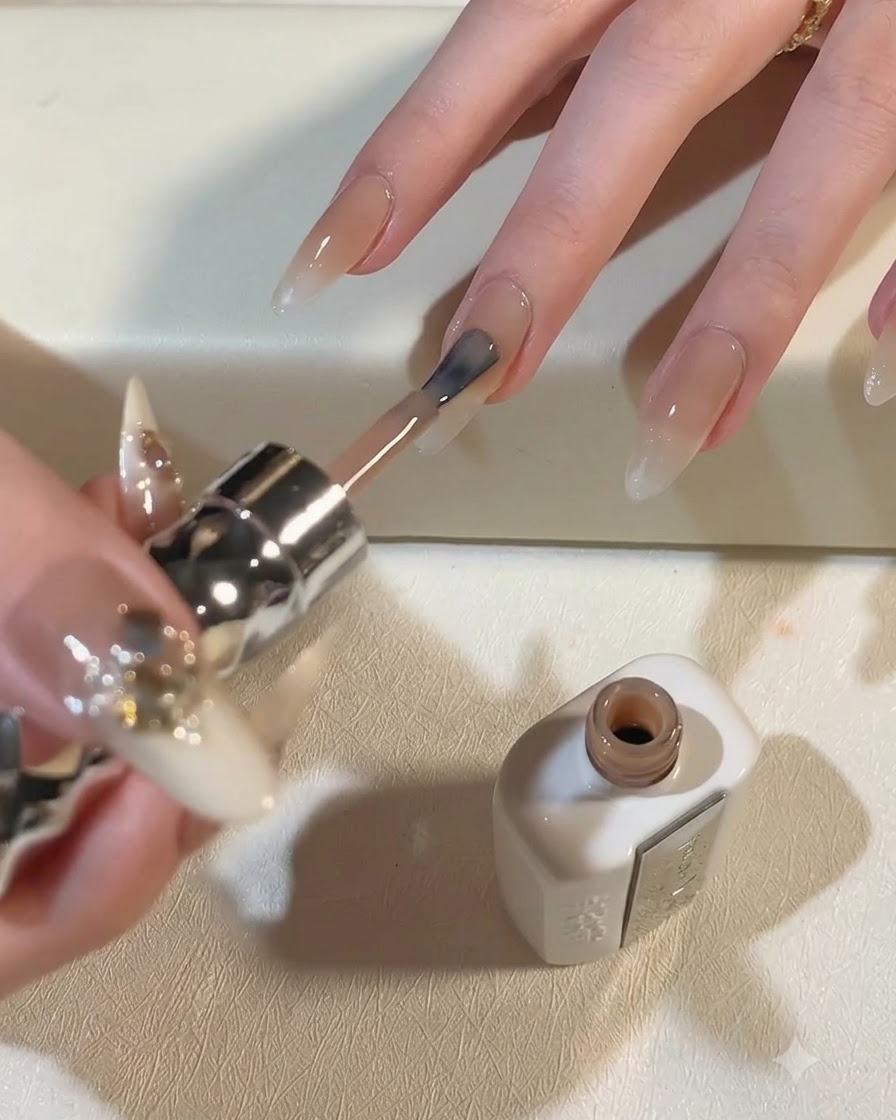
Using a nail brush, evenly apply a semi-sheer cool nude base gel onto the natural nail plate. This provides a super gentle and natural nude color foundation for the gradient nail look. Ensure the coat is smooth and covers the nail evenly before proceeding.
Tip: Apply in thin, controlled strokes to prevent pooling around the cuticles and ensure a natural finish. - 2Refine the nude base coat
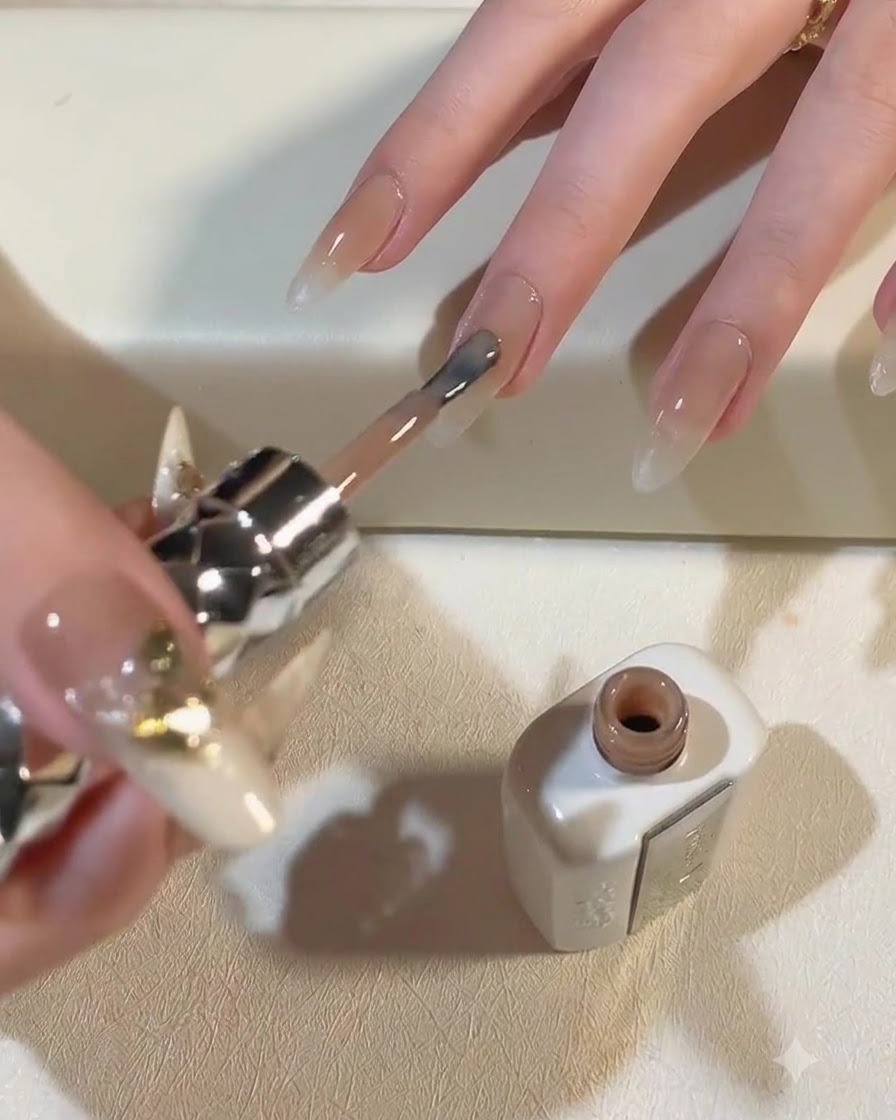
Take a fine detailing brush to smooth out and refine the applied nude base coat across the nail plate. This step ensures an even, gentle nude finish without any streaks or uneven product accumulation. Work carefully around the edges for a clean application.
Tip: Lightly feather the product with the fine brush to achieve a seamless and streak-free surface. - 3Apply milky white ombre gradient
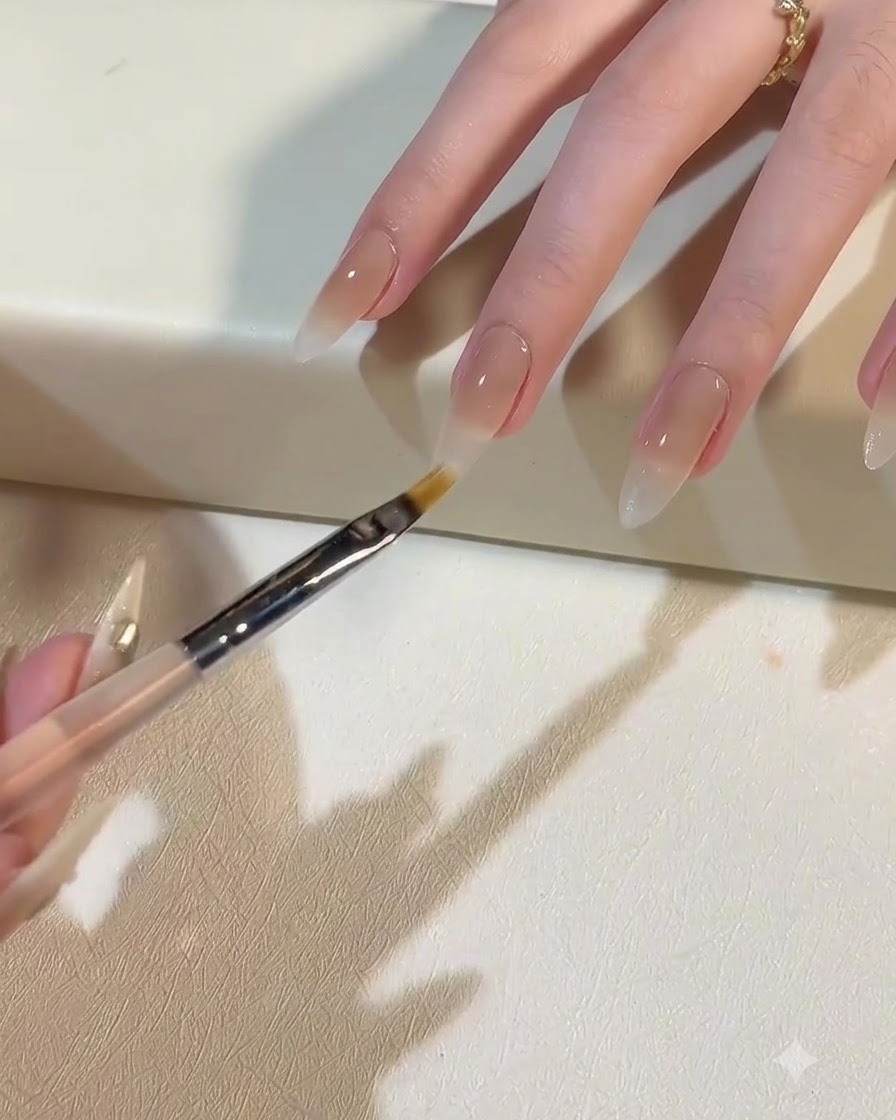
Apply a milky white gel, such as Moonlight Daydream No. 07, to the upper portion of the nail to create an ombre gradient that fades down toward the cuticle. This exquisite milky white shade is specifically formulated to keep your hands looking bright and fresh without clashing with your skin tone.
Tip: Concentrate more product near the tip and feather it downward to create a natural transition. - 4Blend the gradient edge
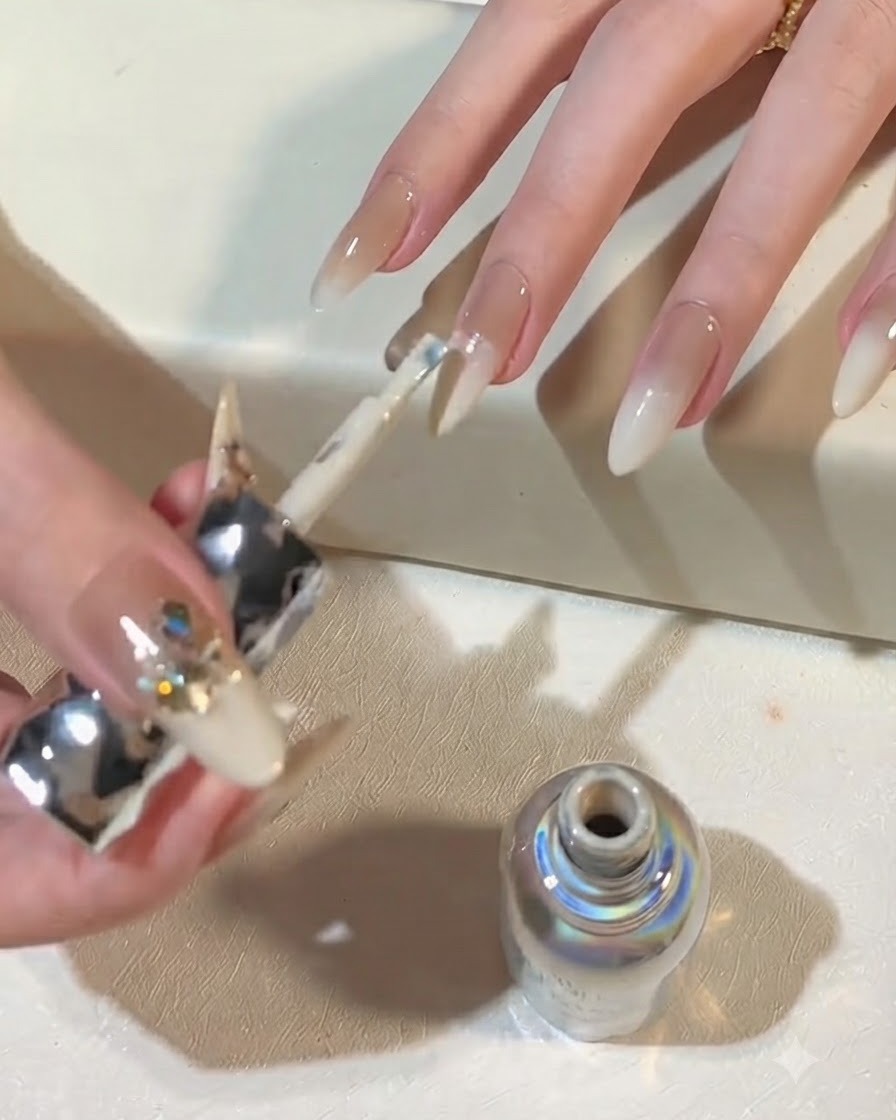
Using a clean flat brush, gently blend and feather the edge where the milky white meets the nude base. This creates a smooth, seamless ombre transition across the nail surface. Take your time to soften any harsh lines between the two colors.
Tip: Keep the flat brush lightly wiped so it diffuses the pigment rather than removing it completely. - 5Add champagne gold glitter accent
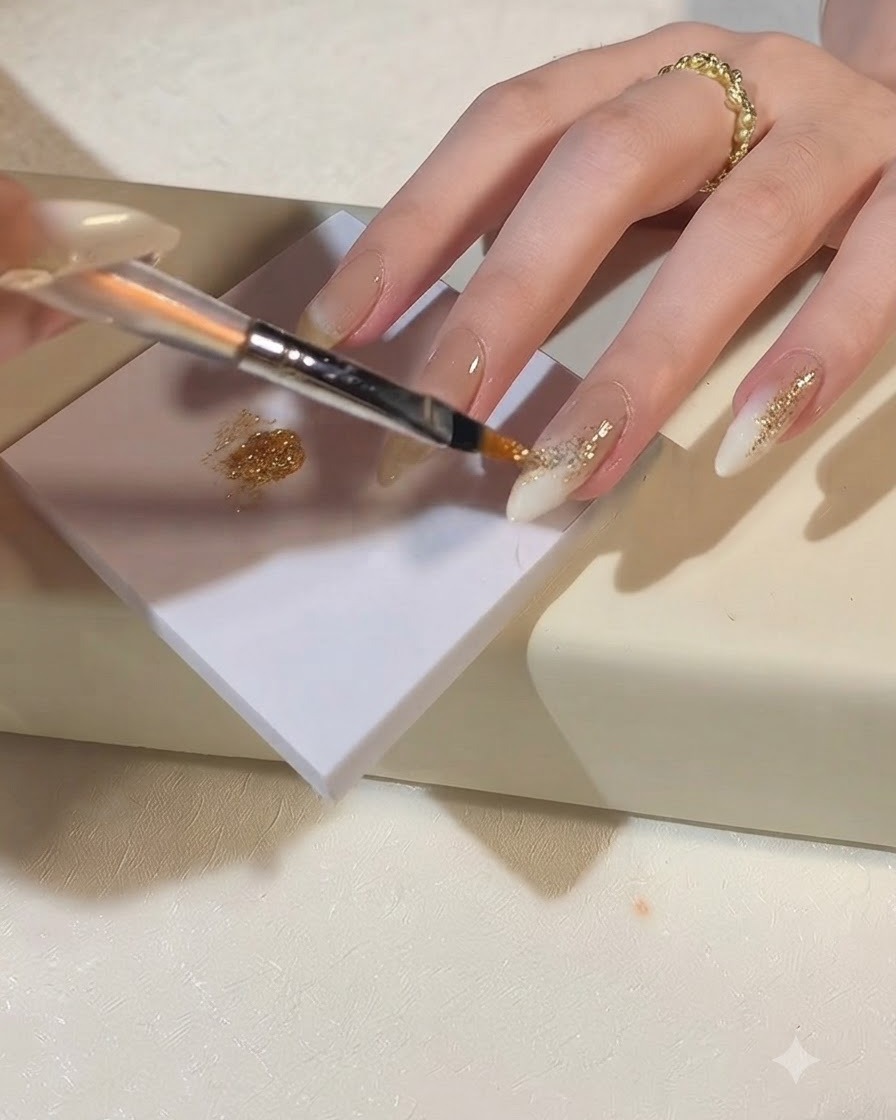
Dab champagne gold glitter onto the desired accent area on the nail base. Brush the edges outward to diffuse the sparkle and make the accented zone even more radiant and eye-catching. This adds a luxurious dimension to the design.
Tip: Dabbing with a fine brush or sponge tool helps distribute the glitter particles evenly without clumping. - 6Apply rhinestones and pearls
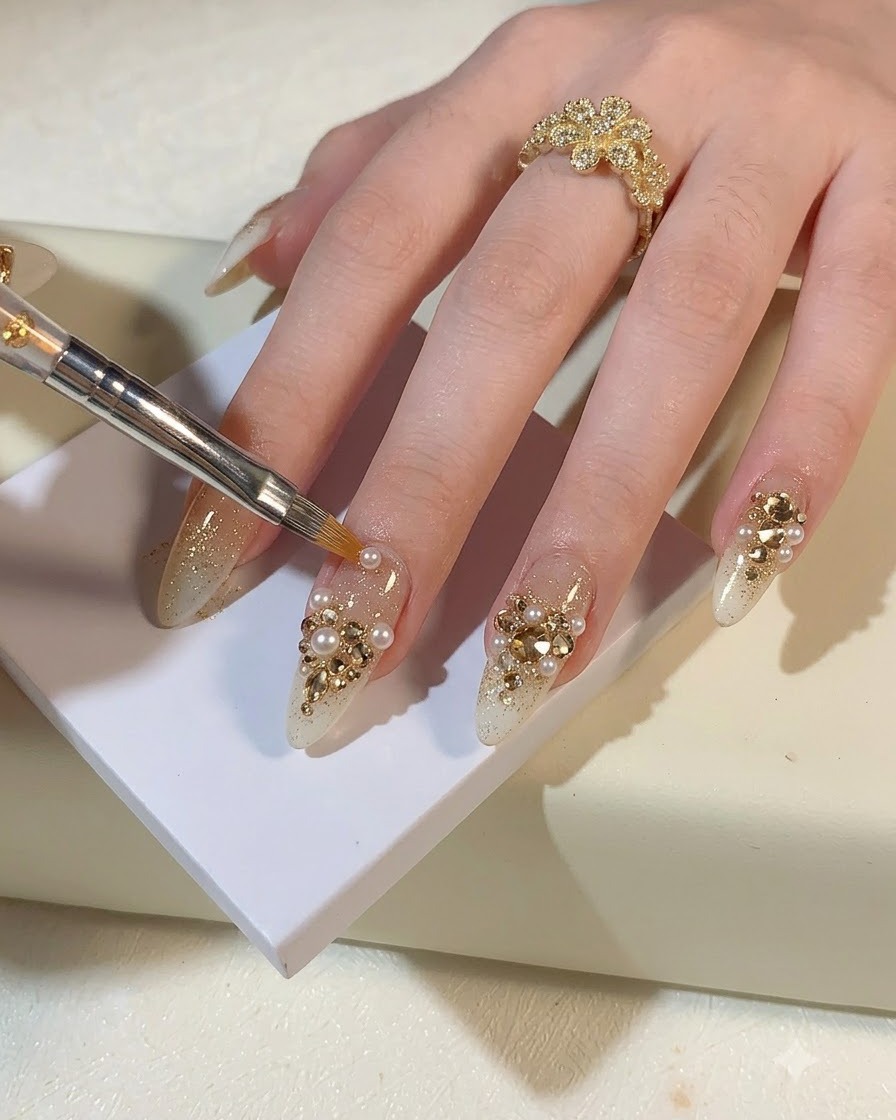
Using tweezers or a pickup tool, carefully pick up and place champagne gold rhinestones and small pearls directly onto the glitter-accented areas. Arrange them artistically, culminating with a large crystal on top to finish off the luxurious embellishment. This creates a stunning thousand-dollar luxury effect.
Tip: Apply a small bead of rhinestone glue or thick gel to secure each gem firmly before curing. - 7Place the large crystal centerpiece
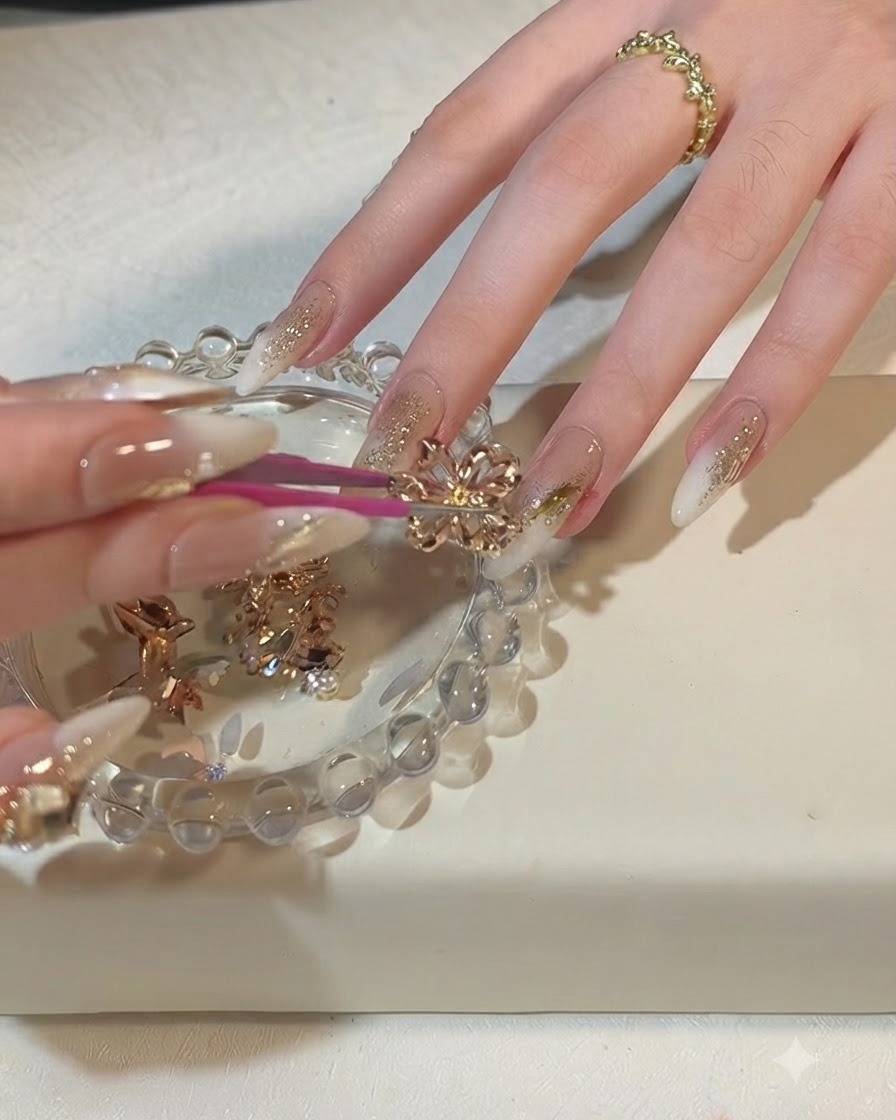
Using precision tweezers, carefully pick up a large crystal centerpiece gemstone and place it onto the pre-applied jewelry gel or acrylic base on the nail plate. Press down gently to secure it firmly within the gel bed. This grand crystal serves as the stunning focal point that elevates the entire luxury rhinestone nail design.
Tip: Position the large crystal so its base sits flush against the nail surface and surrounding smaller stones, preventing it from catching or snagging on clothing.