Purple Aurora Butterfly Nail Art — Dreamy Encapsulated Opal
Chrome Tutorial
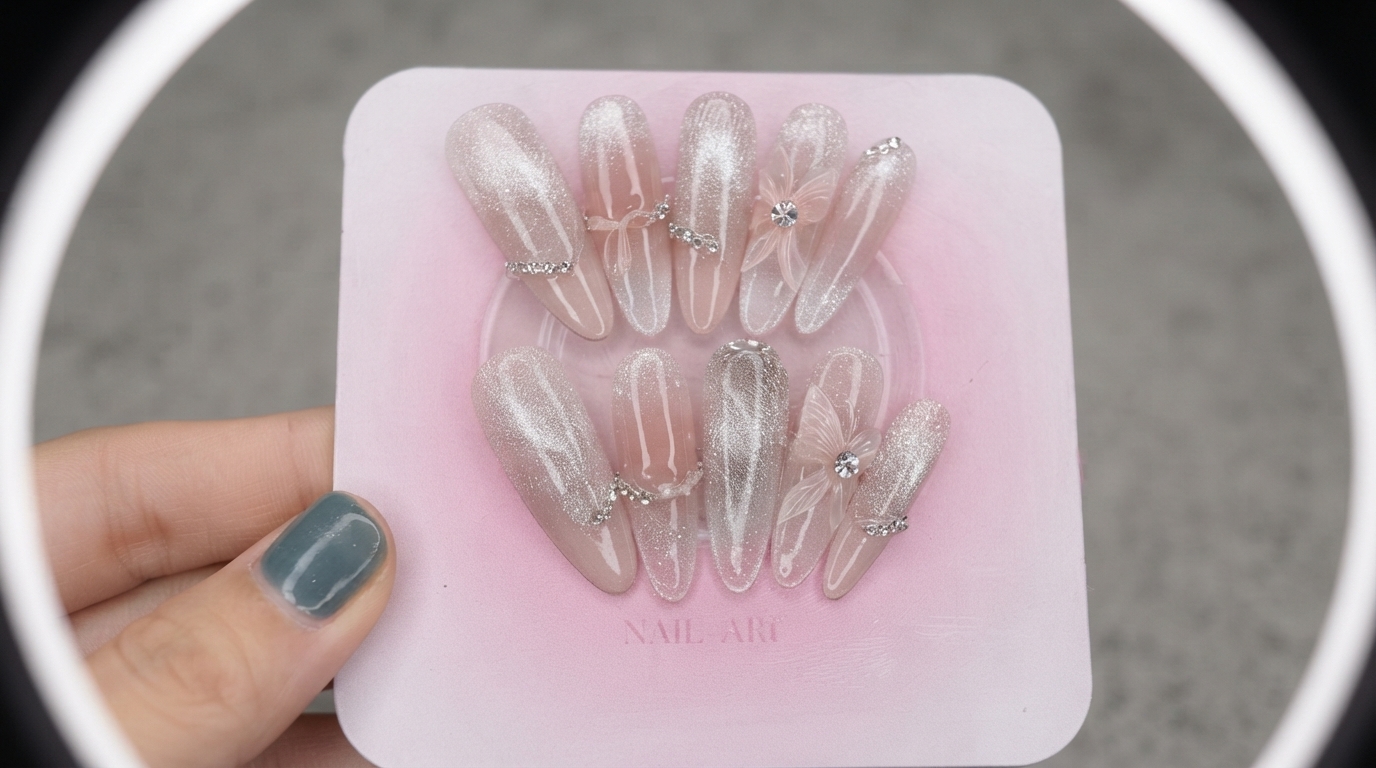
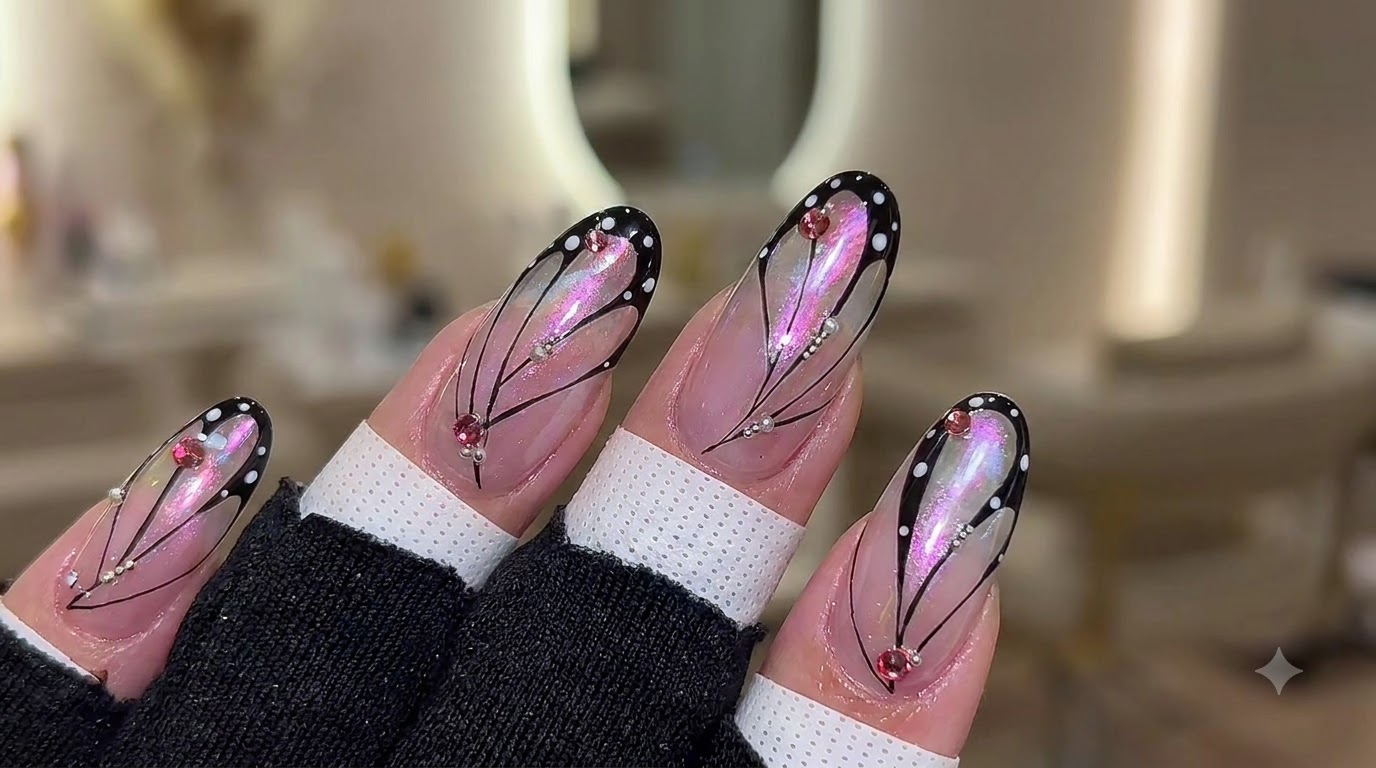
Create a mesmerizing fairy-core look with encapsulated pink-purple opal, shimmering aurora chrome powder, and delicate hand-painted butterfly wings.
Step into a whimsical fantasy world with this stunning purple aurora butterfly nail art design. Combining translucent nude bases, shimmering multi-dimensional aurora powders, and sparkling rhinestones with precise hand-painted black wing outlines, this tutorial guides you through creating a high-end salon masterpiece right at home.
Steps
- 1Seal edge line with clay gel
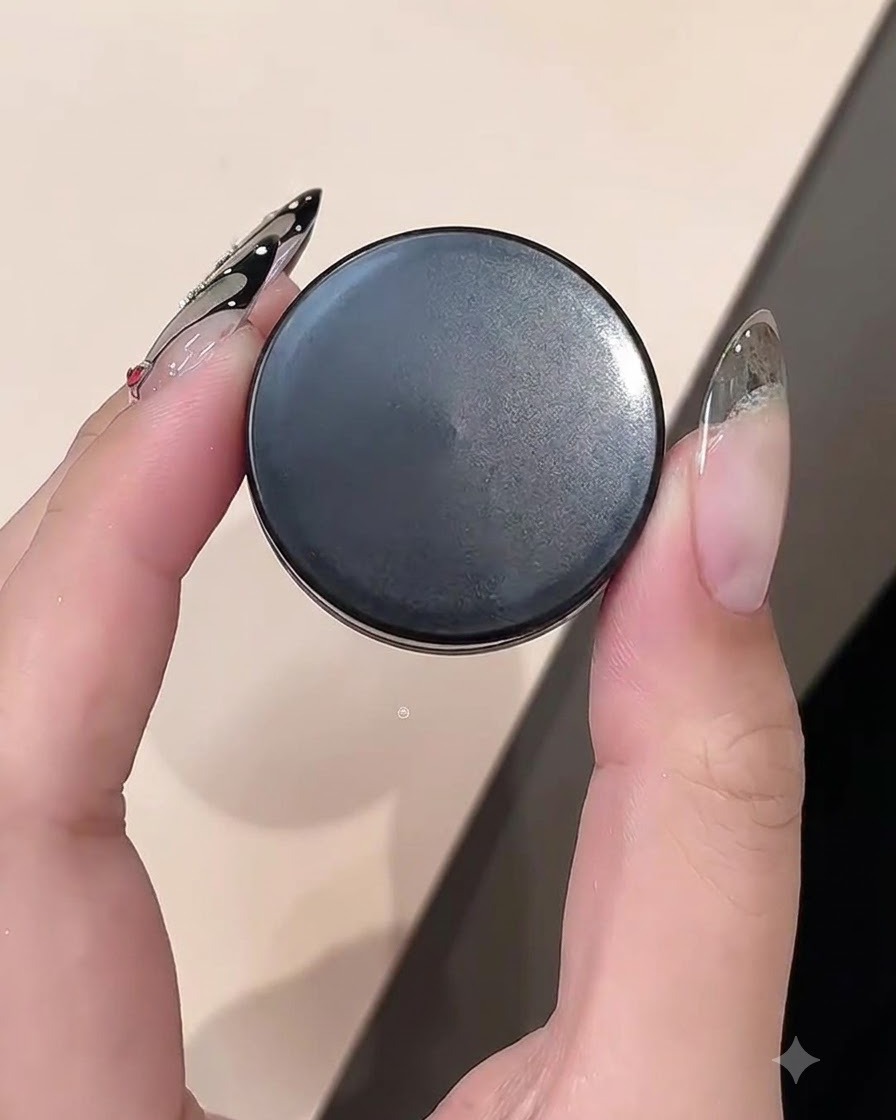
Apply clay gel 03 along the perimeter to seal and smooth out the edge line on the nail. This creates a clean barrier and prepares the structure for subsequent layers.
Tip: Ensure the clay gel layer is applied evenly around the edges to prevent any lifting later. - 2Apply nude color gel
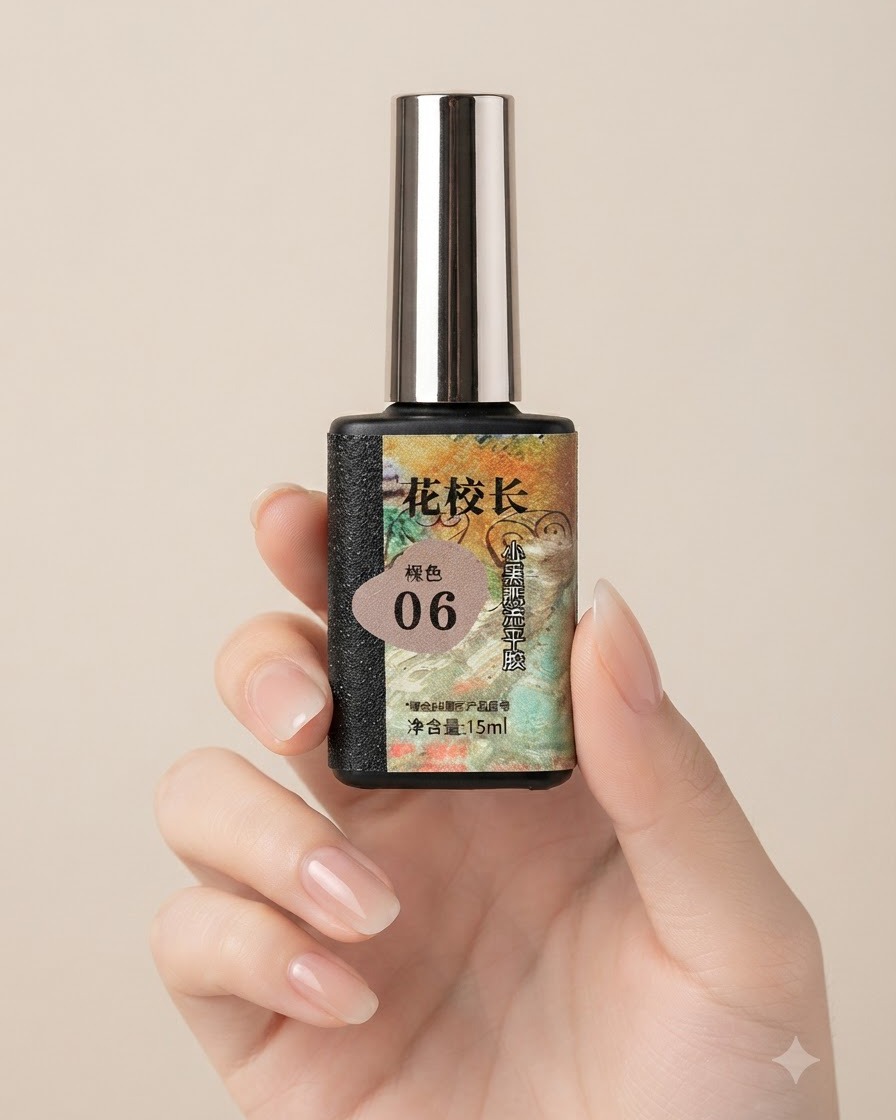
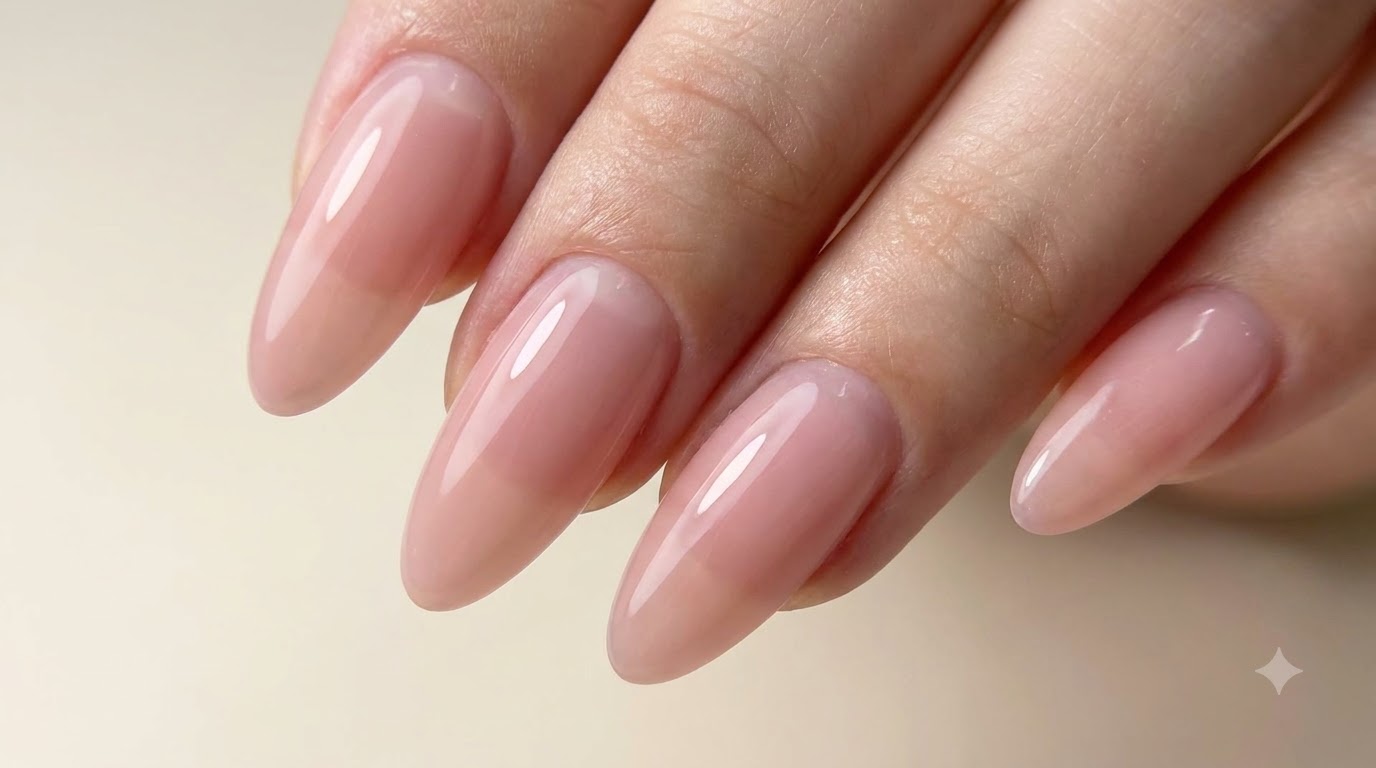
Apply a thin layer of flower principal nude color gel shade 06 evenly across the nail plate to establish the base color. Ensure smooth coverage from the cuticle to the free edge without pooling. Cure under the lamp according to the product guidelines.
Tip: Keep the color layer thin to prevent wrinkling or uneven curing under the lamp. - 3Apply reflective opal pieces
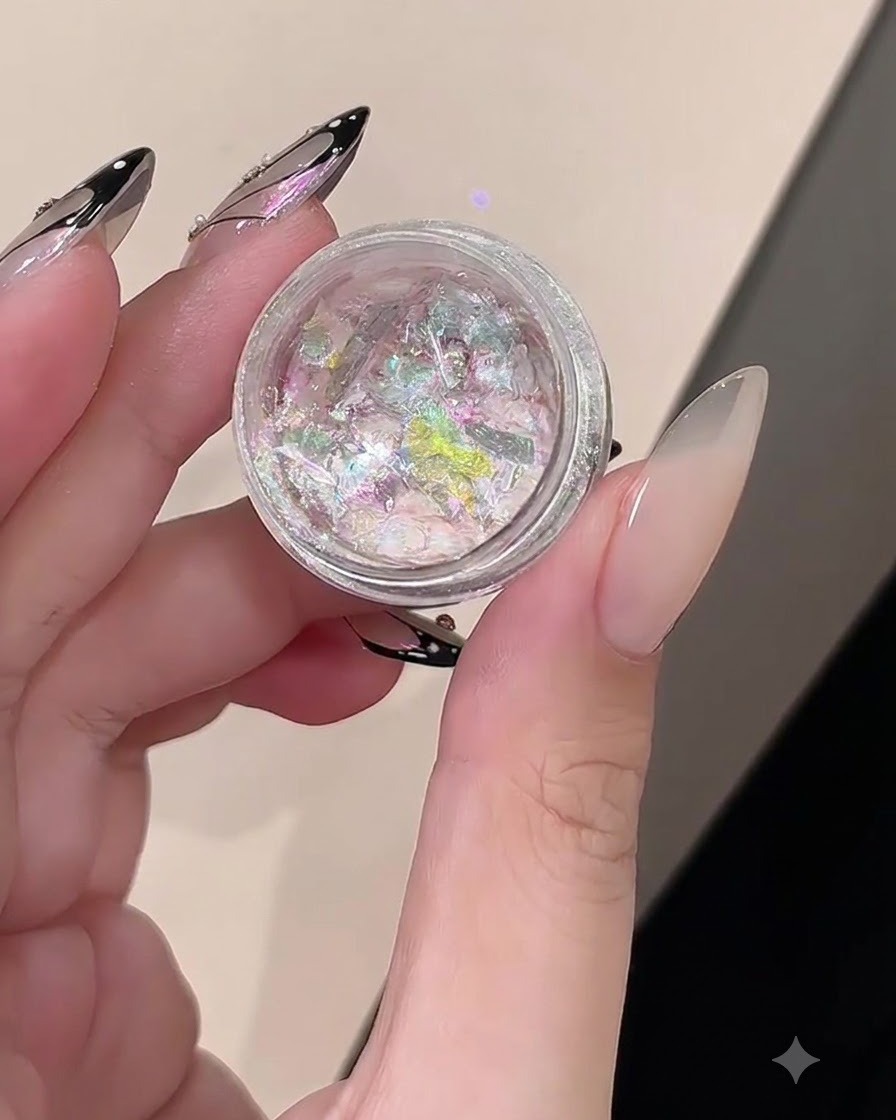
Take an opal piece with a pinkish-purple reflection and place it onto the nail using the floating gel layer. Gently press down on the piece with your fingertip to secure it firmly in place before proceeding.
Tip: Gently press the opal pieces into the uncured floating gel to ensure they lay flat and dont snag. - 4Encapsulate opal piece with builder gel
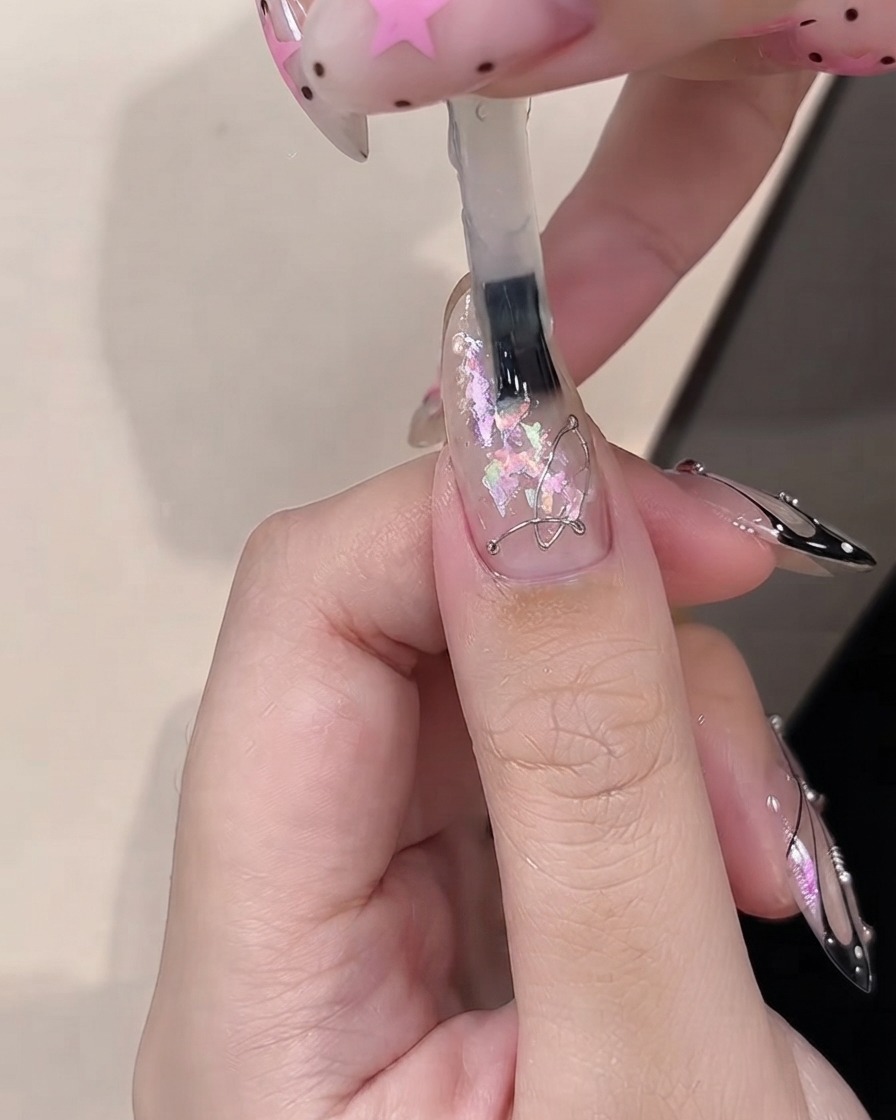
Apply a layer of builder gel over the placed opal piece to level the surface and fully encapsulate it. This secures the embellishment and creates a smooth structure over the nail. Cure under the lamp to set the gel.
Tip: Ensure the edges of the opal piece are completely covered by the builder gel to prevent snagging or lifting. - 5Wipe away floating gel
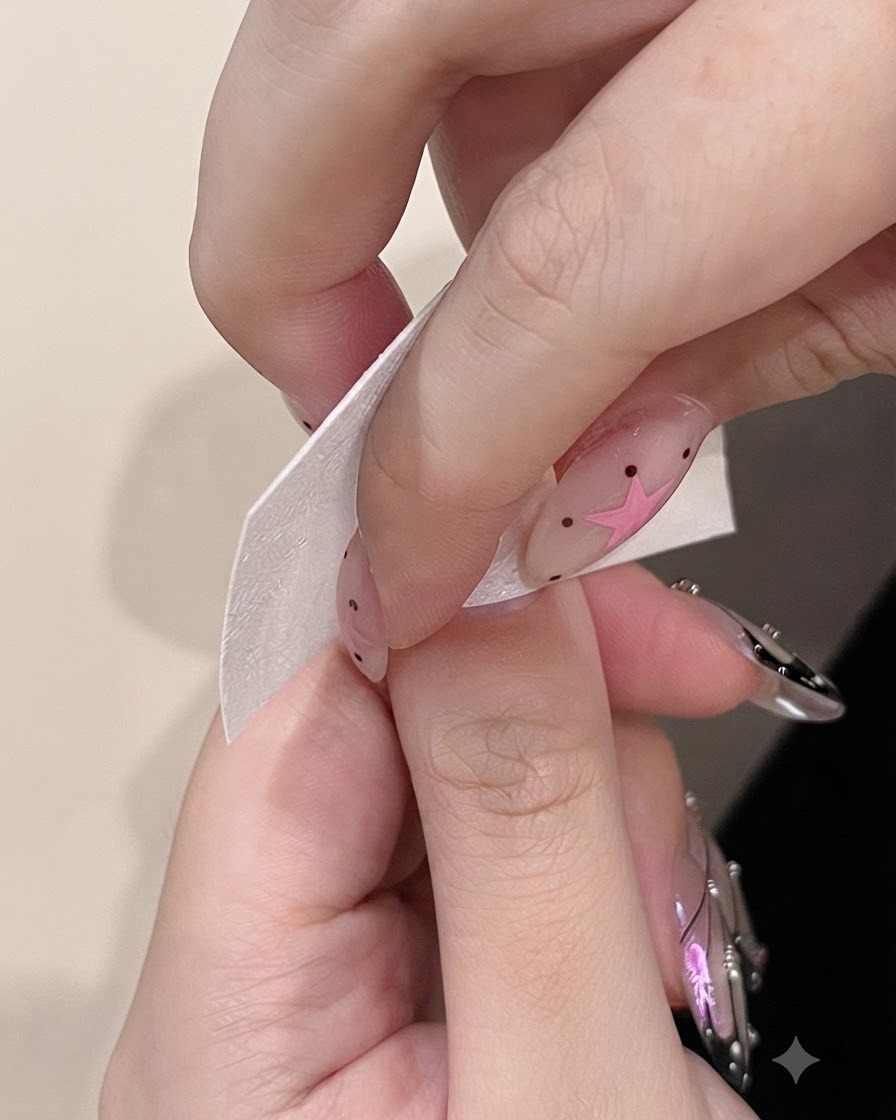
Use a lint-free cleansing wipe to thoroughly clean and remove the sticky floating gel layer from the nail surface. This prep step ensures the subsequent top coat adheres cleanly and makes any rubbed powder appear brighter.
Tip: Wipe firmly but gently to clear all residue without disturbing the underlying encapsulated design. - 6Mix aurora powders
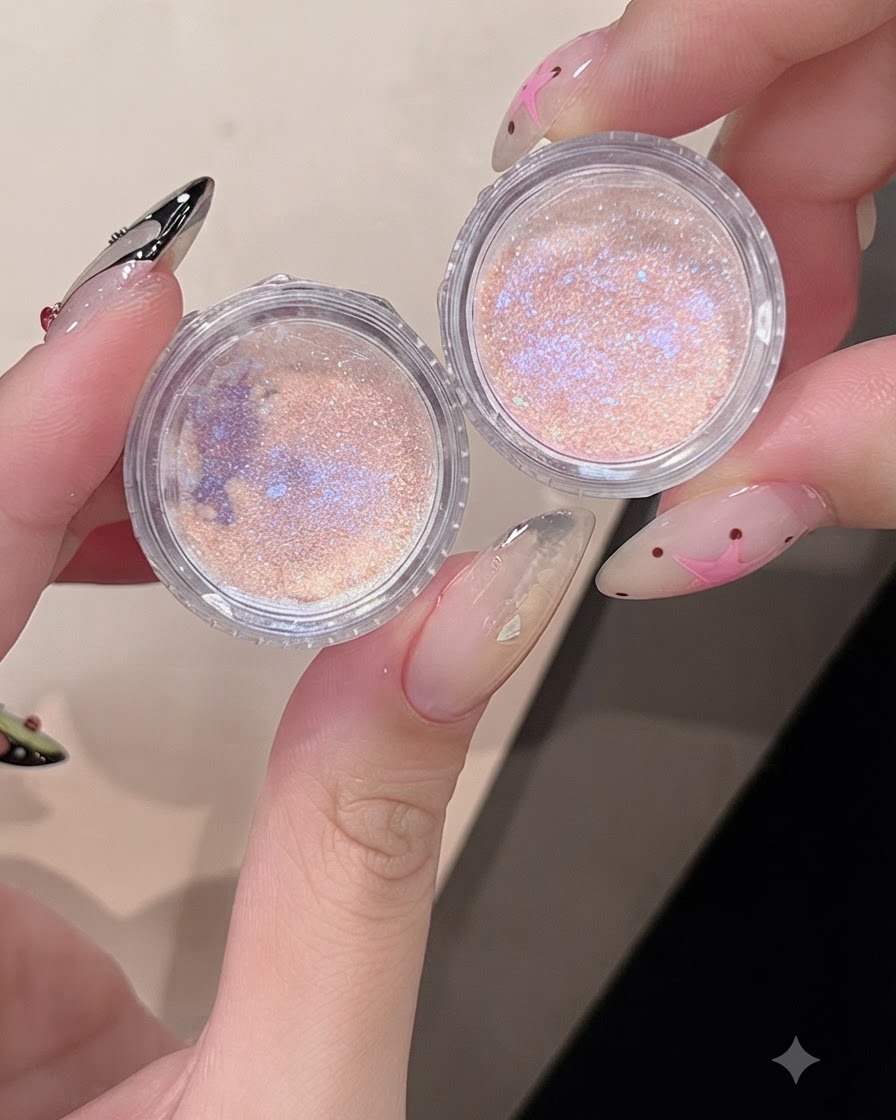
Combine a mix of pinkish-orange and purple reflective aurora powders together on your palette or mixing surface. Blending these two shades will help you achieve the dreamy, multi-dimensional look described in the narration.
Tip: Thoroughly blend the powders together so the gradient application looks seamless and even. - 7Rub on aurora powder gradient
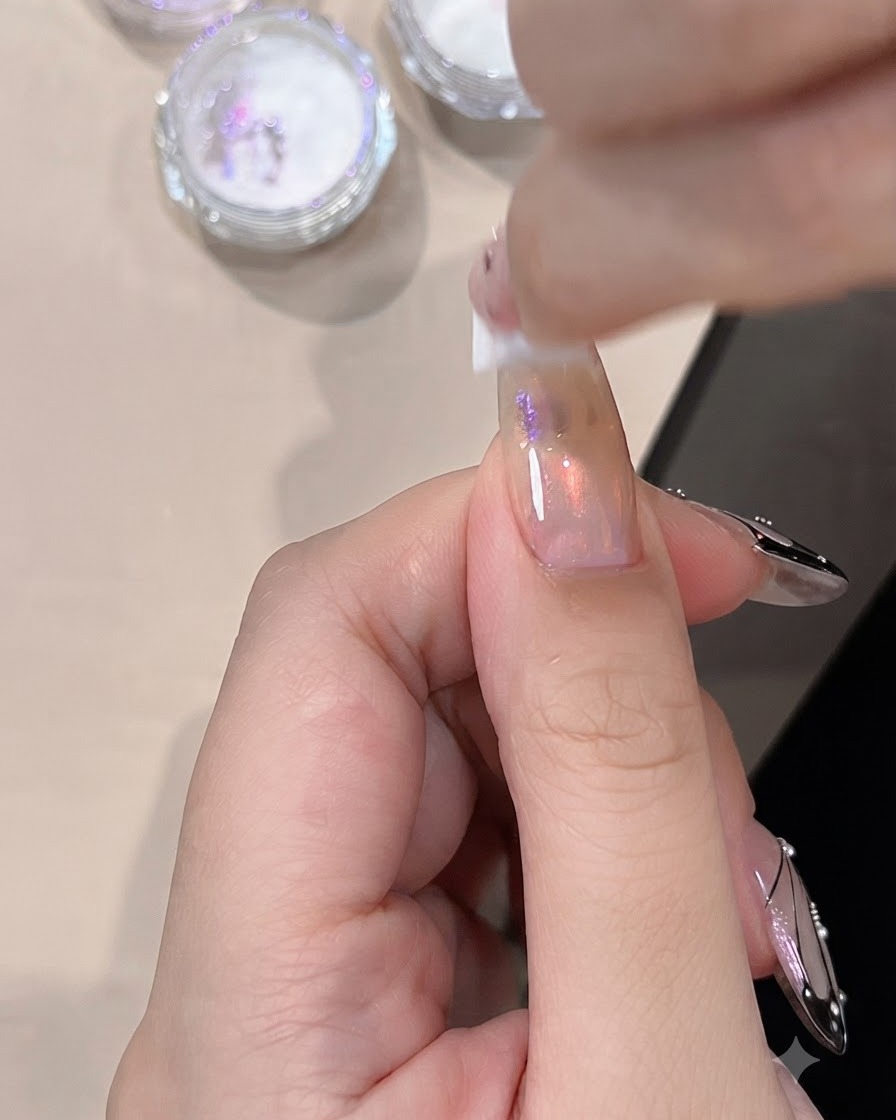
Dip a sponge applicator into your blended aurora powders and gently rub it onto the nail surface. Buff the powder across the nail to build a smooth, dreamy gradient effect with pinkish-orange and purple reflections.
Tip: Wipe away any uncured floating gel before applying the powder so the reflective finish appears much brighter. - 8File the nail edges
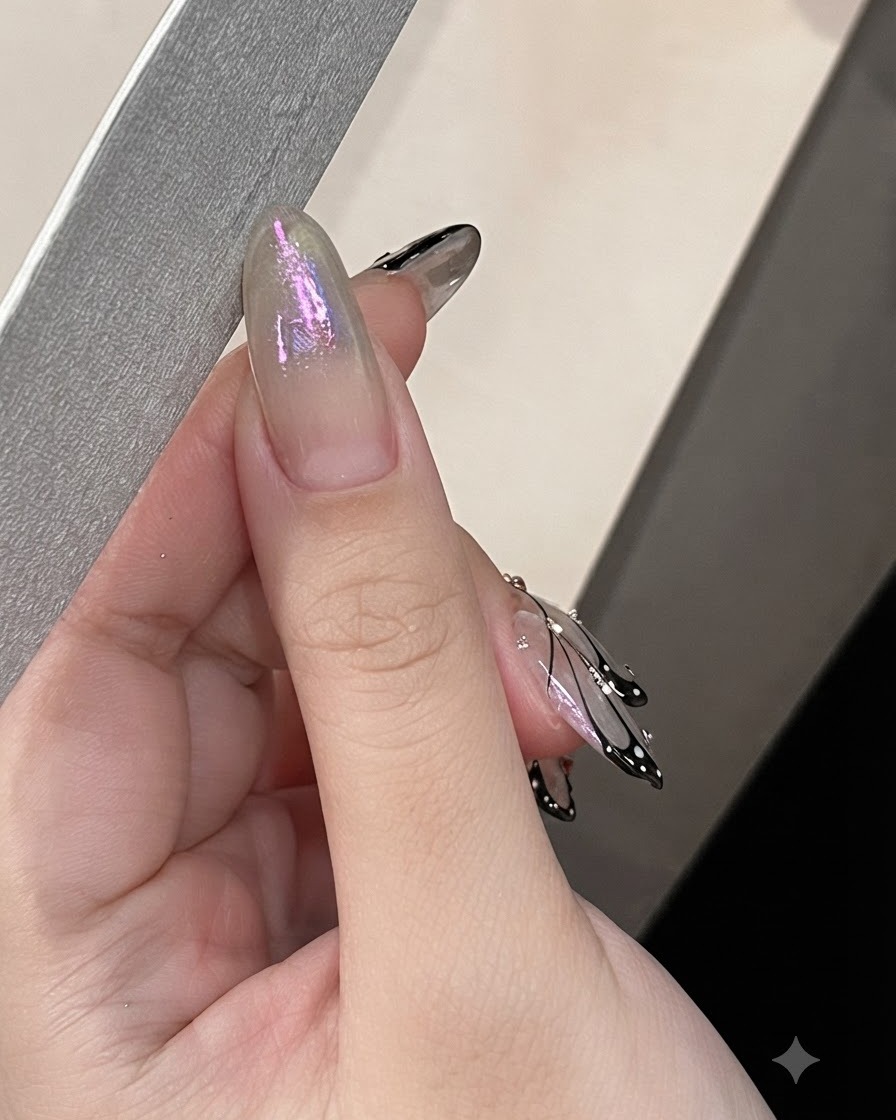
Take a nail file and carefully file the three sides of the nail. This cleaning step removes excess product buildup around the edges and helps prevent peeling or lifting later on.
Tip: Be gentle when filing around the edges to avoid damaging the surrounding encapsulated layers. - 9Encapsulate powder with builder gel
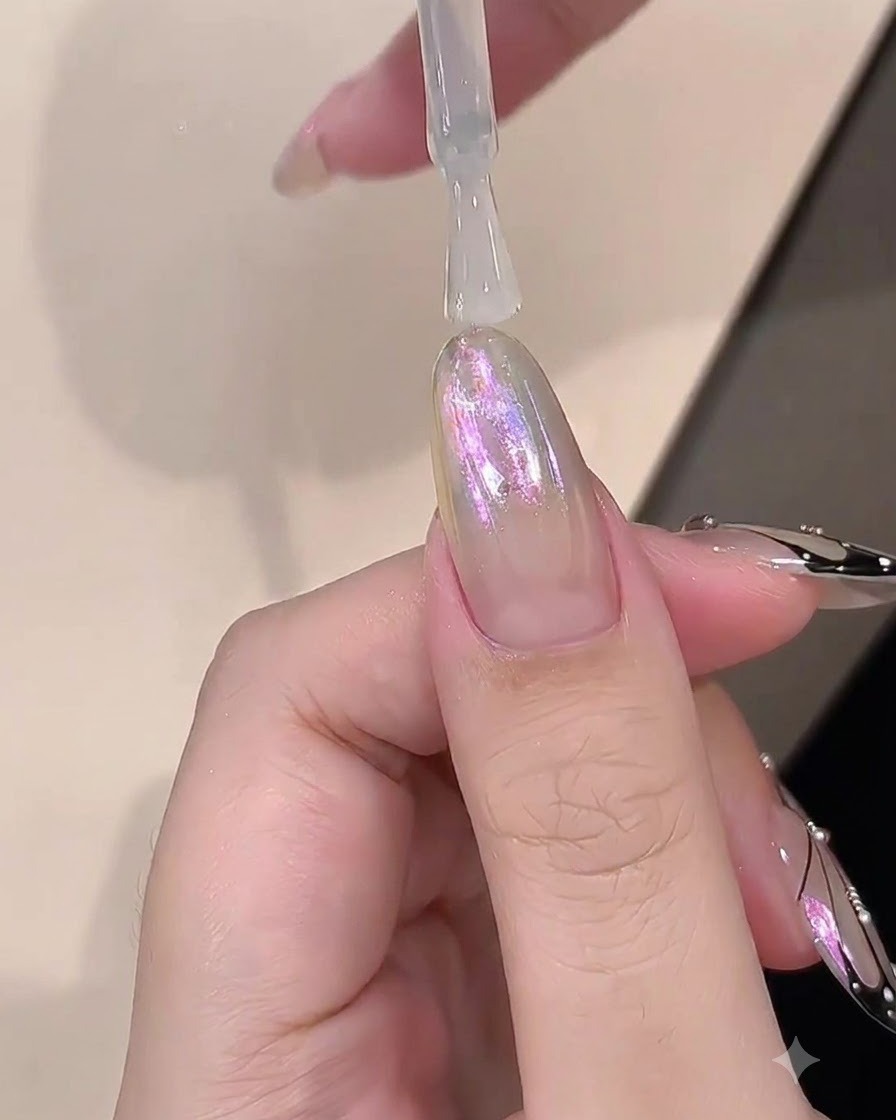
Apply a layer of builder gel over the nail to fully encapsulate the rubbed powder layer and seal in the design. Cure the nail under your UV or LED lamp to harden the protection layer completely.
Tip: Make sure the builder gel completely covers the powder edges to lock in the chrome finish and prevent chipping. - 10Draw initial butterfly lines
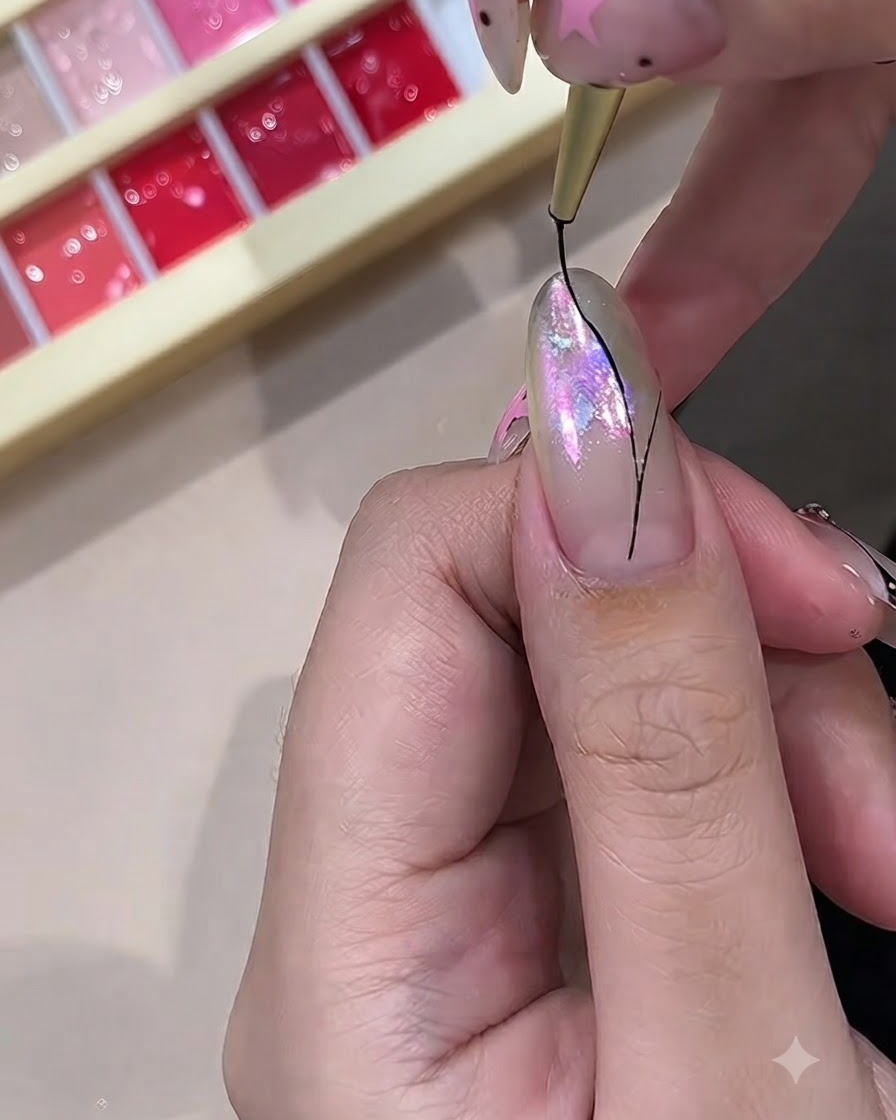
Using a fine liner brush dipped in black gel, carefully draw the initial foundational lines for the butterfly wing pattern over the iridescent background. Map out the main structural veins of the wings starting from the center and extending outwards.
Tip: Keep your hand steady and use a very light touch to ensure the lines remain thin and crisp. - 11Connect the wing structure
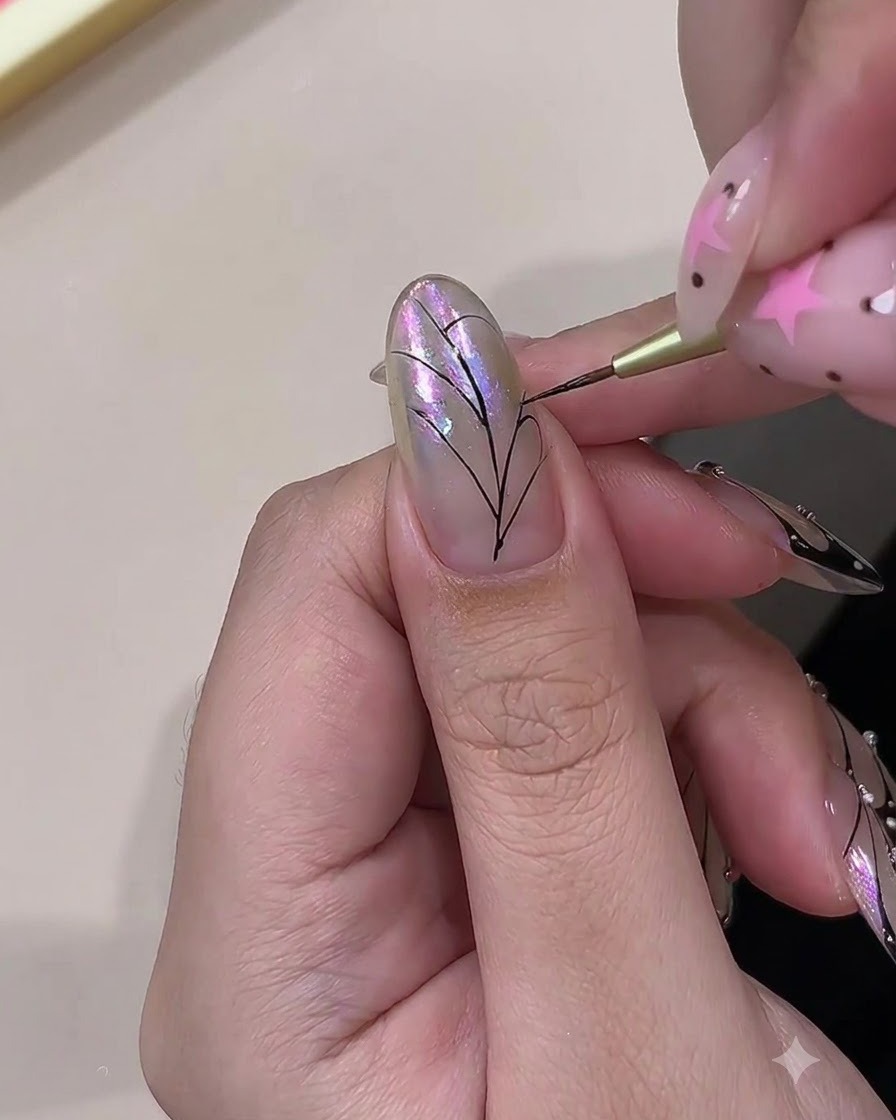
Continue with the fine liner brush to draw delicate, curved lines connecting the initial straight veins. This step shapes the distinctive cellular sections characteristic of butterfly wings, bringing the intricate pattern to life.
Tip: Visualize the curves before painting to maintain symmetry and a natural flow across the wing design. - 12Fill in the wing edges
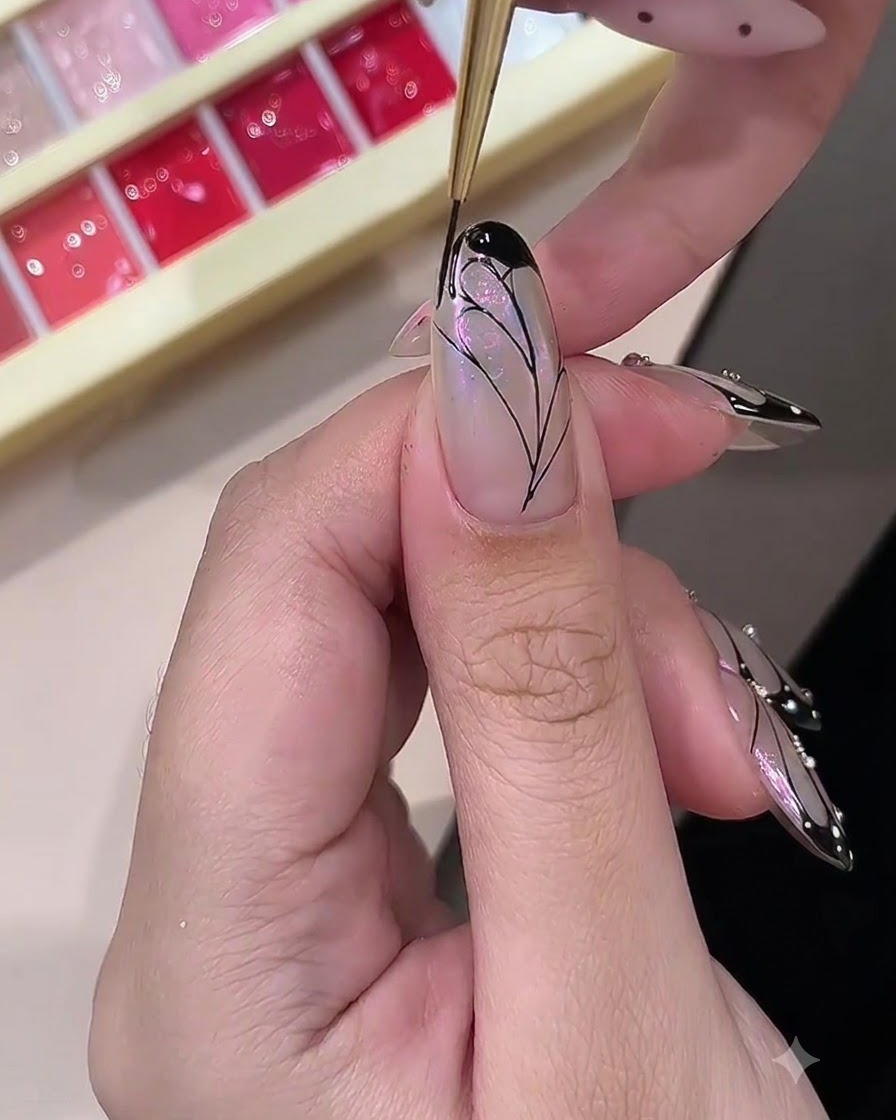
Use the fine brush to carefully fill in the outer sections and borders of the butterfly wings with black gel. Ensuring these edges are bold and fully opaque will create a striking contrast against the delicate aurora background.
Tip: Apply the black gel in thin, even layers to prevent pooling and ensure a complete cure under the lamp. - 13Add white dot details
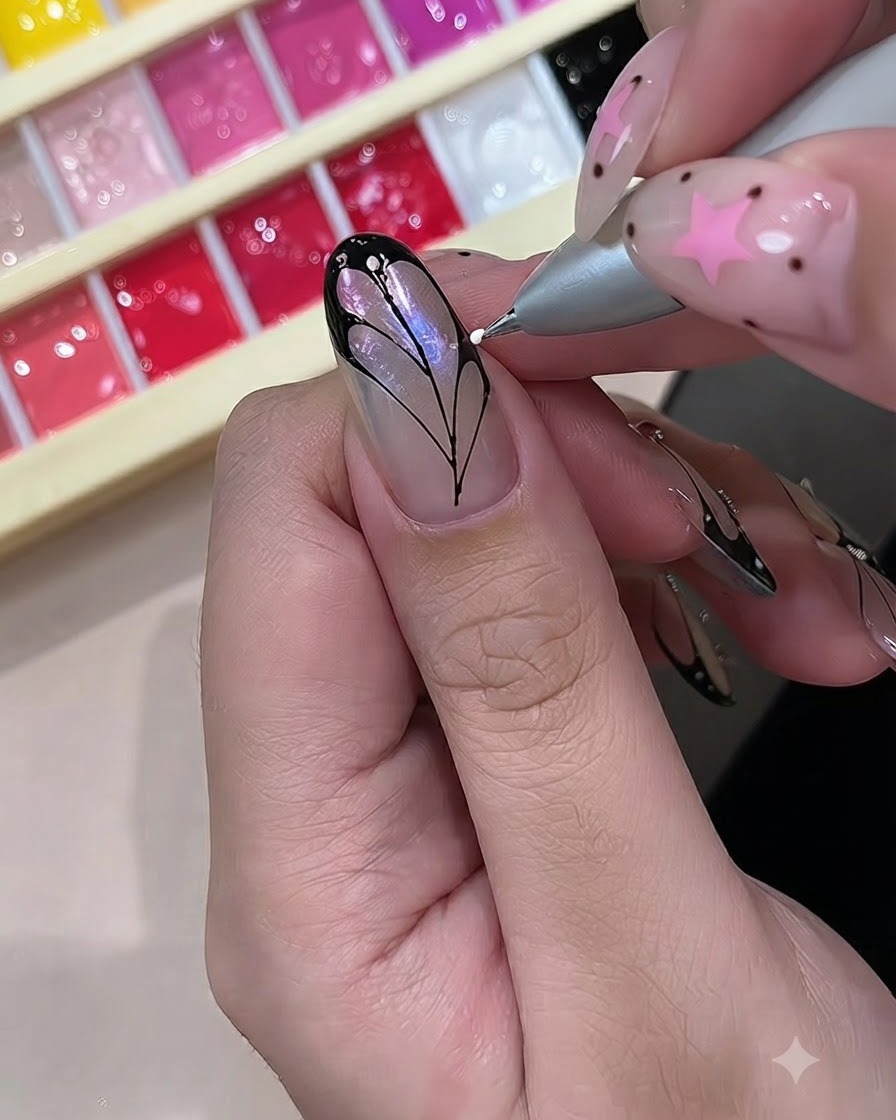
Take a dotting pen dipped in white gel polish and apply dots of various sizes along the thick black edges of the butterfly wings. This adds a realistic, delicate touch and brightens the overall wing design.
Tip: You can easily vary the size of the dots by adjusting the amount of pressure you apply with the dotting tool. - 14Apply top coat
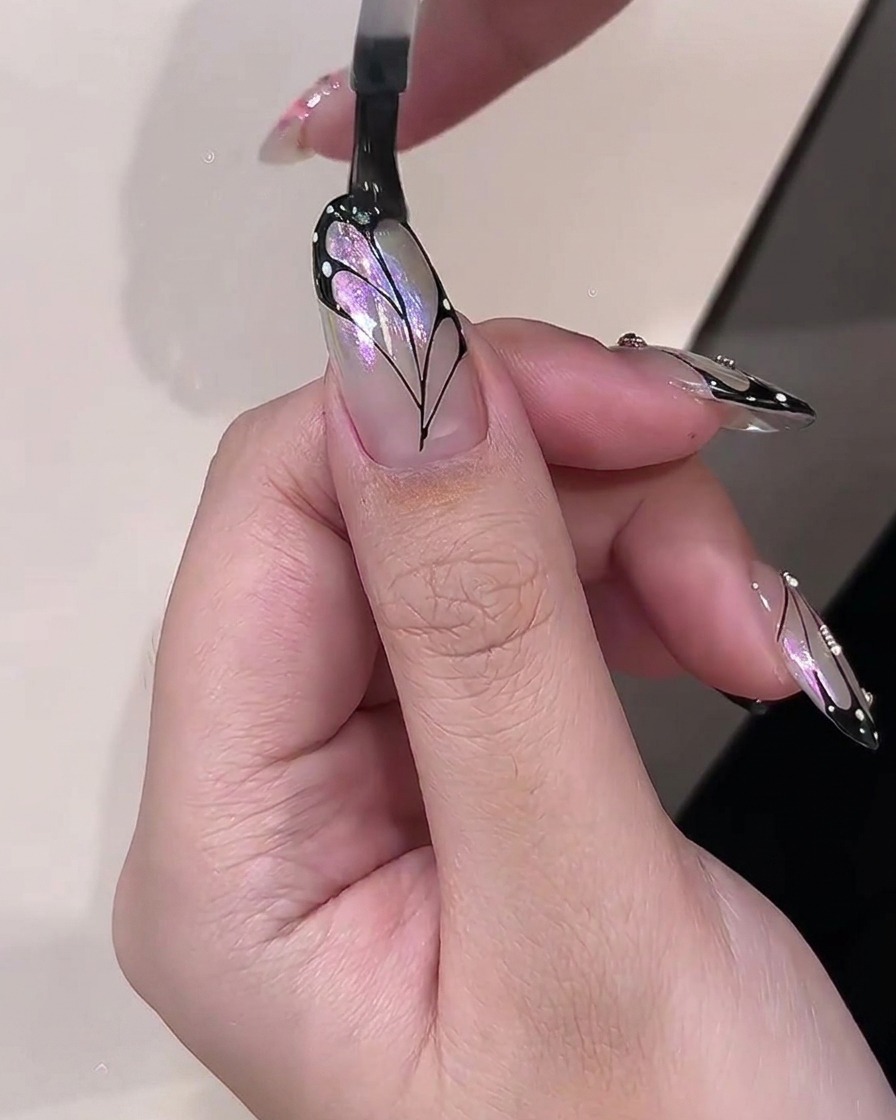
Seal the entire butterfly wing design with a generous layer of clear top coat. This protects your intricate hand-painted nail art, creates a smooth surface over any gel texture, and provides a brilliant glossy finish.
Tip: Float the top coat over the nail rather than dragging the brush to avoid smearing the delicate gel details underneath. - 15Attach rhinestones and steel beads
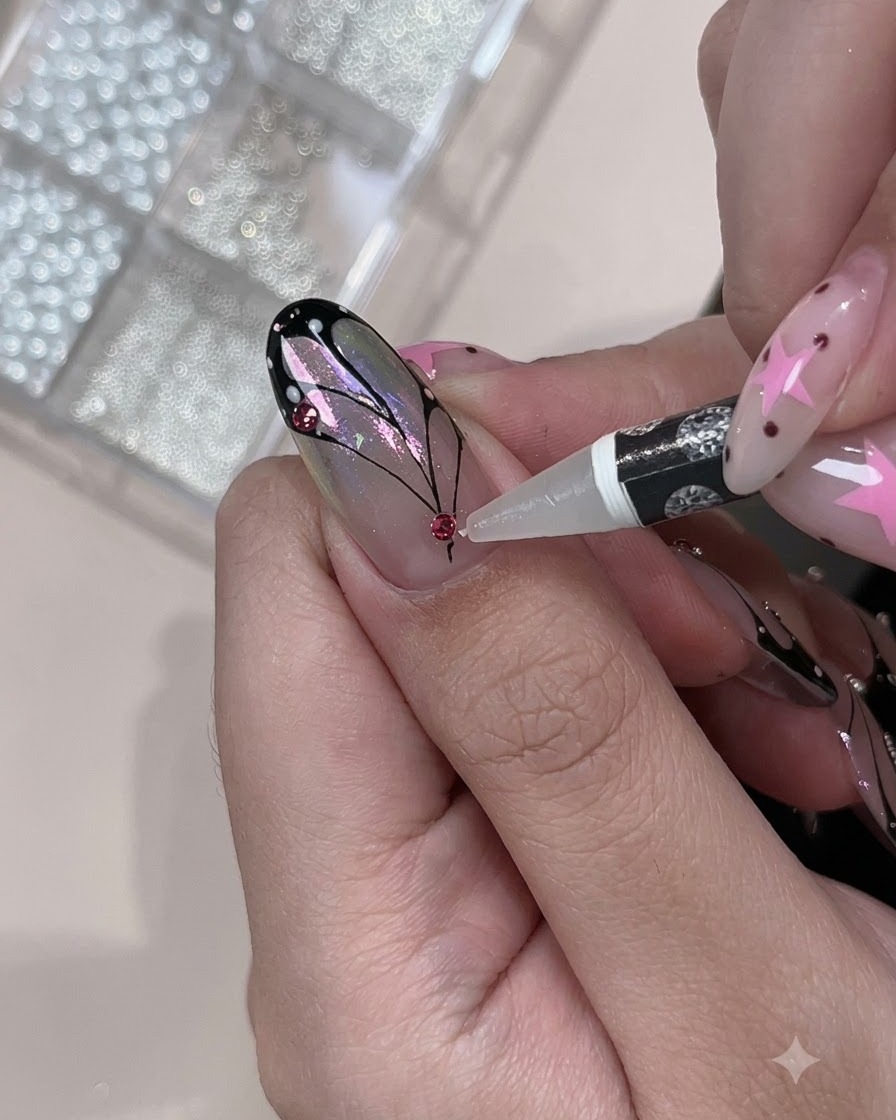
Apply a small amount of nail glue or gel adhesive near the base of the nail. Carefully place small rose-red rhinestones and steel beads into the adhesive to create a refined decorative accent, then cure under the lamp to secure them permanently.
Tip: Use a wax pencil or fine pickup tool to place small rhinestones and beads accurately without messing up the surrounding gel.