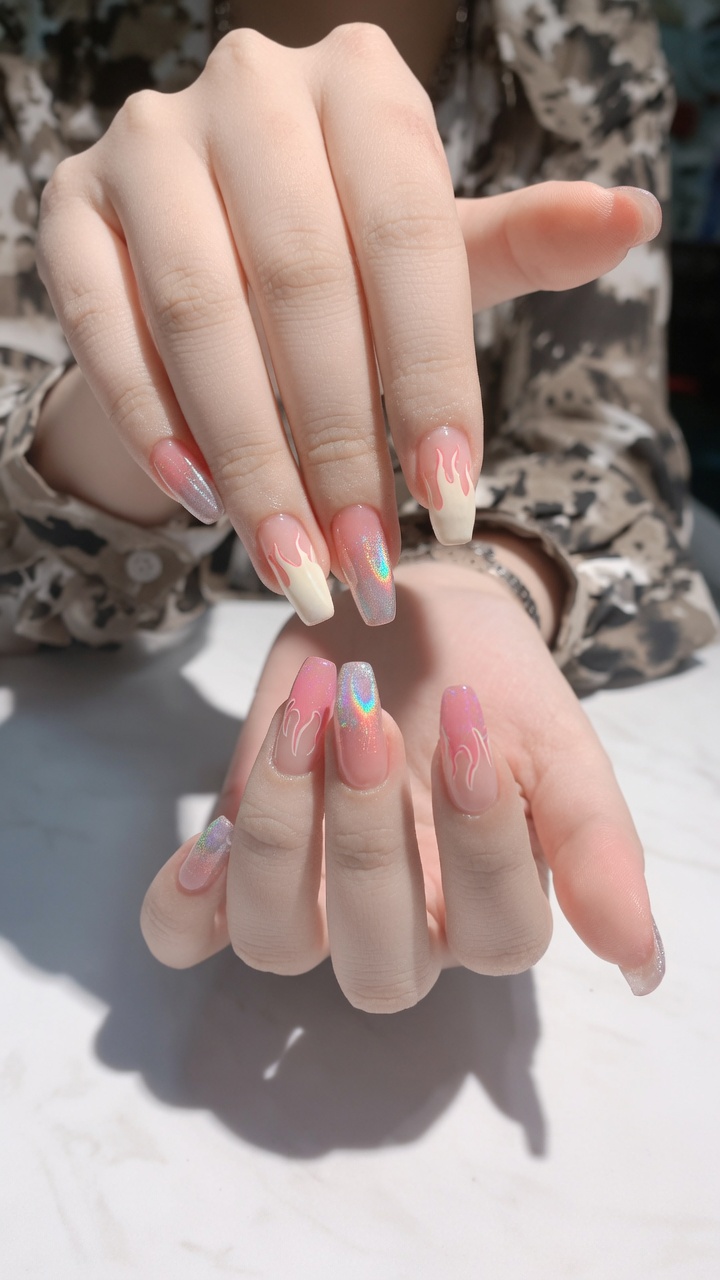
Iridescent Flame Design Gel Nail Tutorial
Elevate your manicure with this chic iridescent flame design. Learn how to combine powder pigments and precise liner work for a sophisticated, trendy finish.
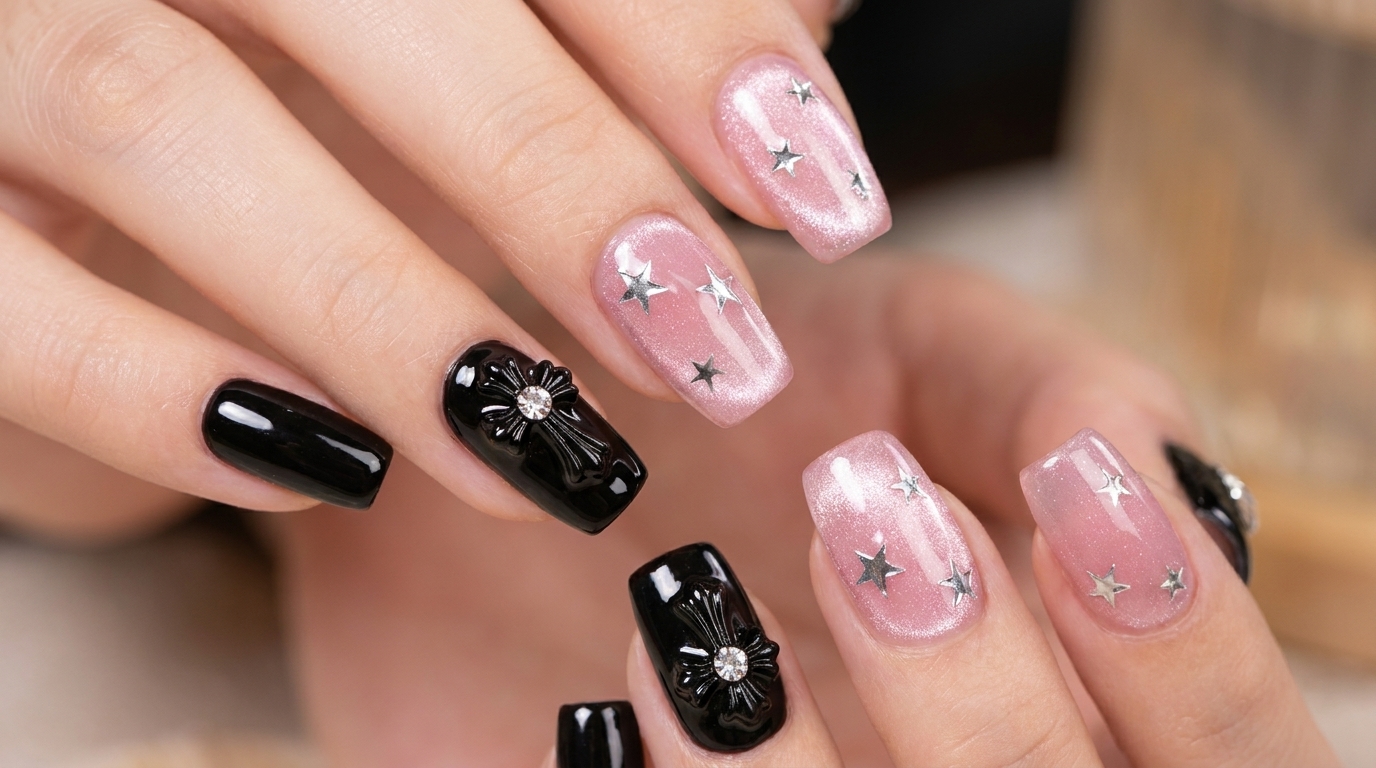
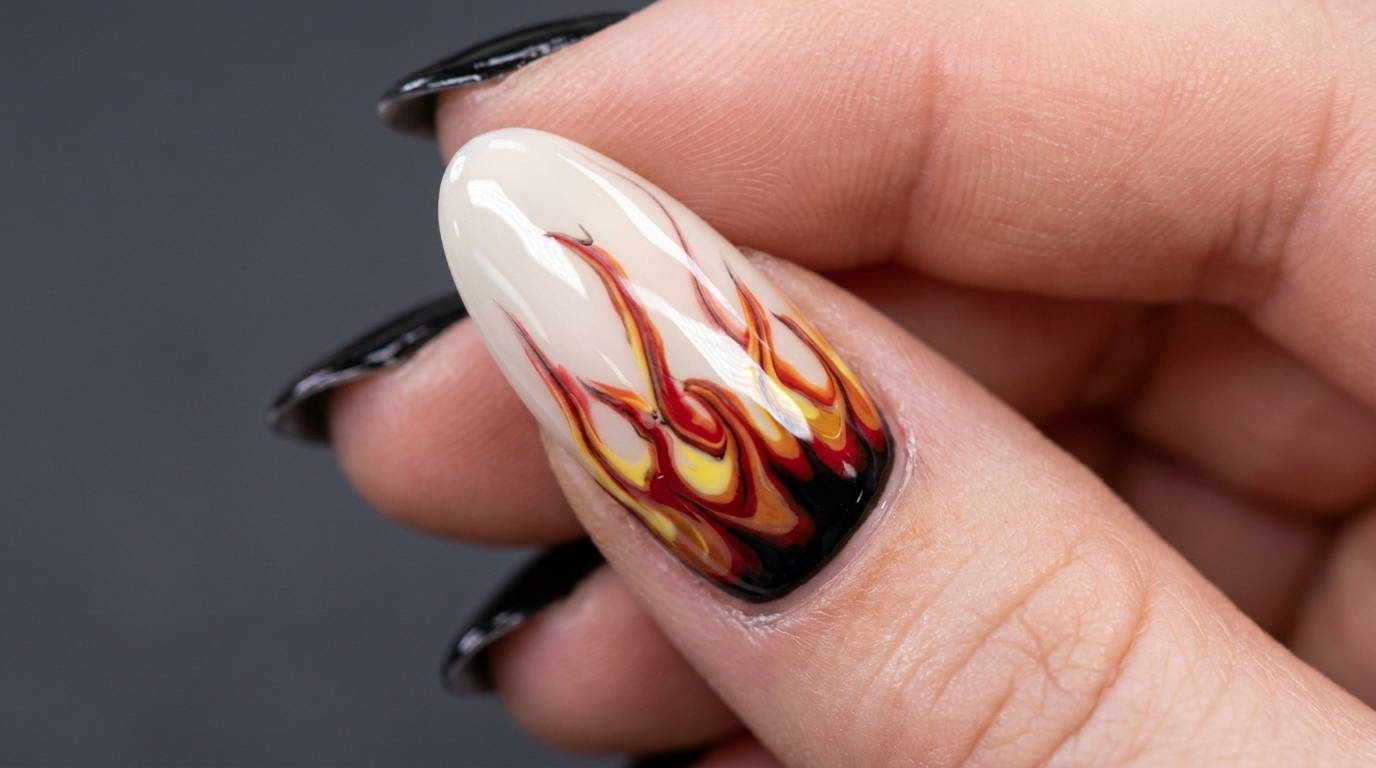
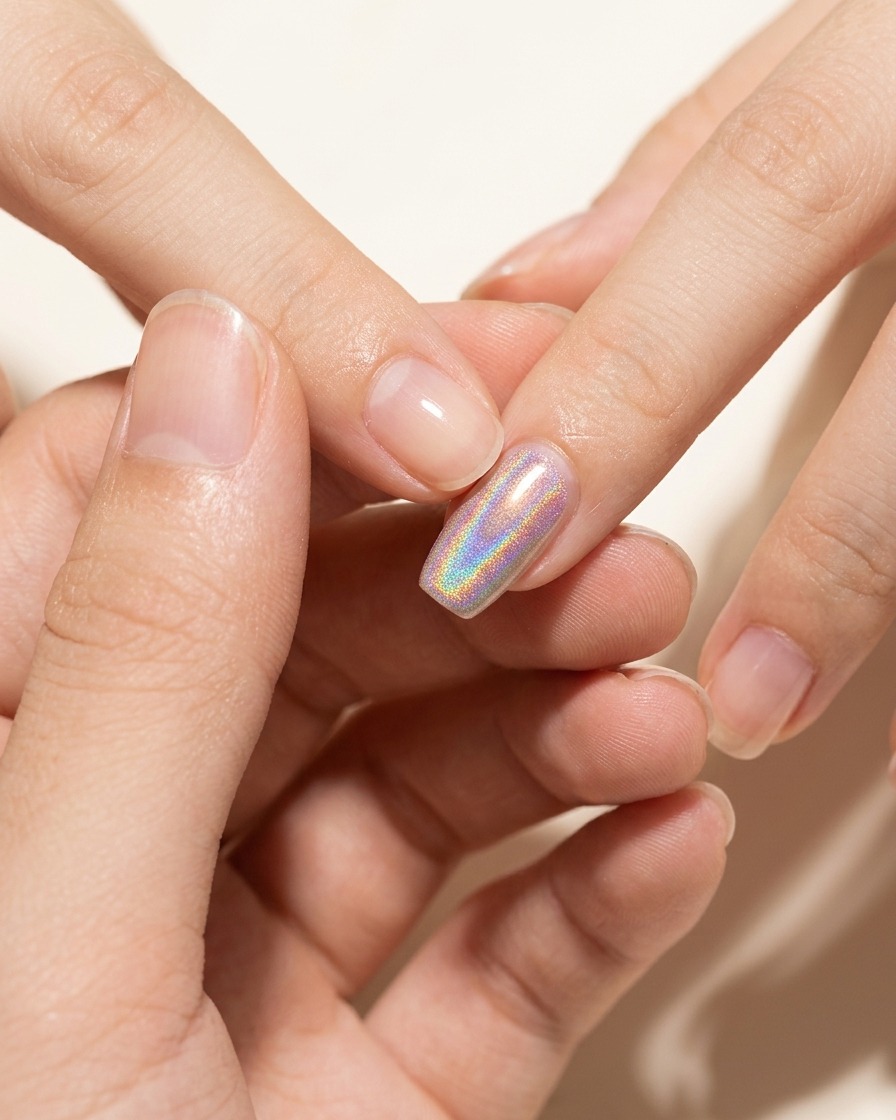
This unique nail design masterfully blends soft, nude-pink tones with the striking edge of cream-peach flames and a subtle iridescent shimmer. Perfect for those who love a mix of elegance and artistry, this look uses a clever reverse-painting technique to ensure your flames look sharp and defined. Follow this guide to achieve a professional salon-quality set at home.
Steps
- 1Remove old gel polish
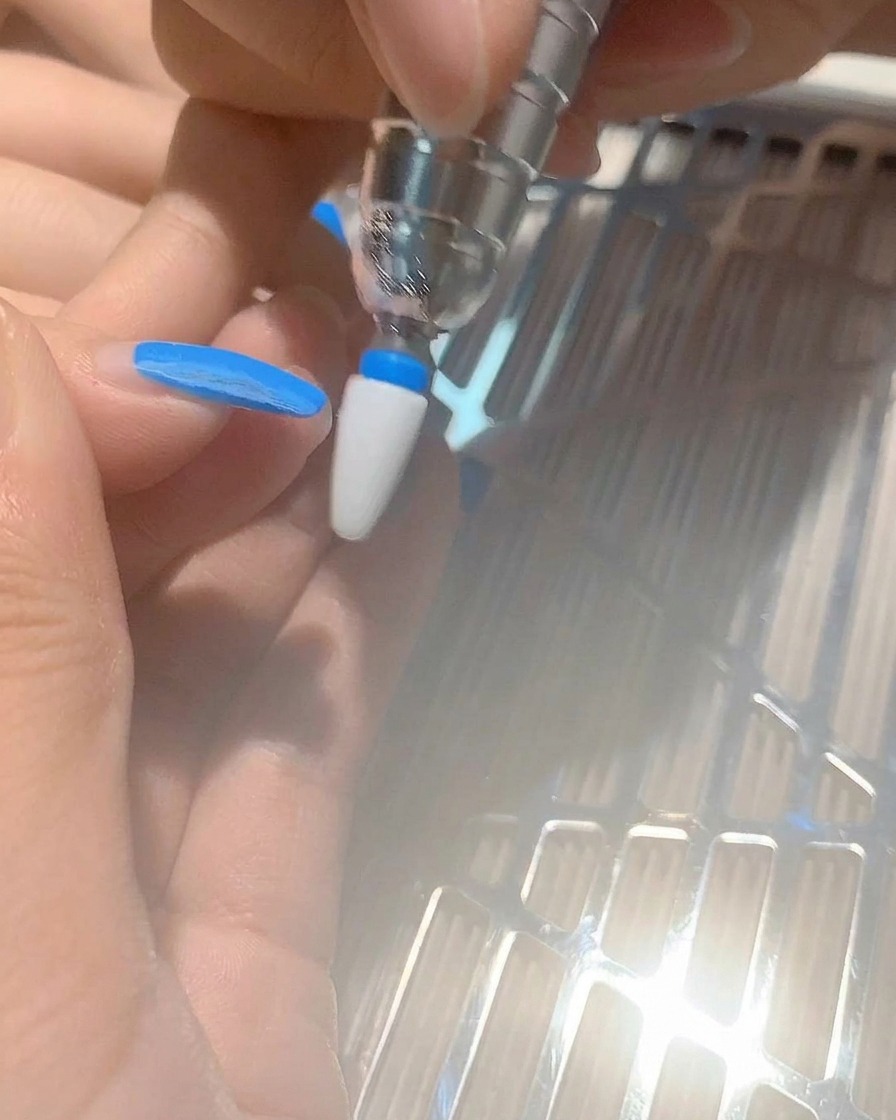
Using a nail drill with an appropriate bit, carefully remove the old gel polish from the nail plate. Ensure the vacuum intake remains clear of debris to maintain a clean workspace. Work gently to avoid damaging the natural nail underneath.
Tip: Keep the drill moving constantly to prevent heat buildup on the nail plate. - 2Refine the nail shape
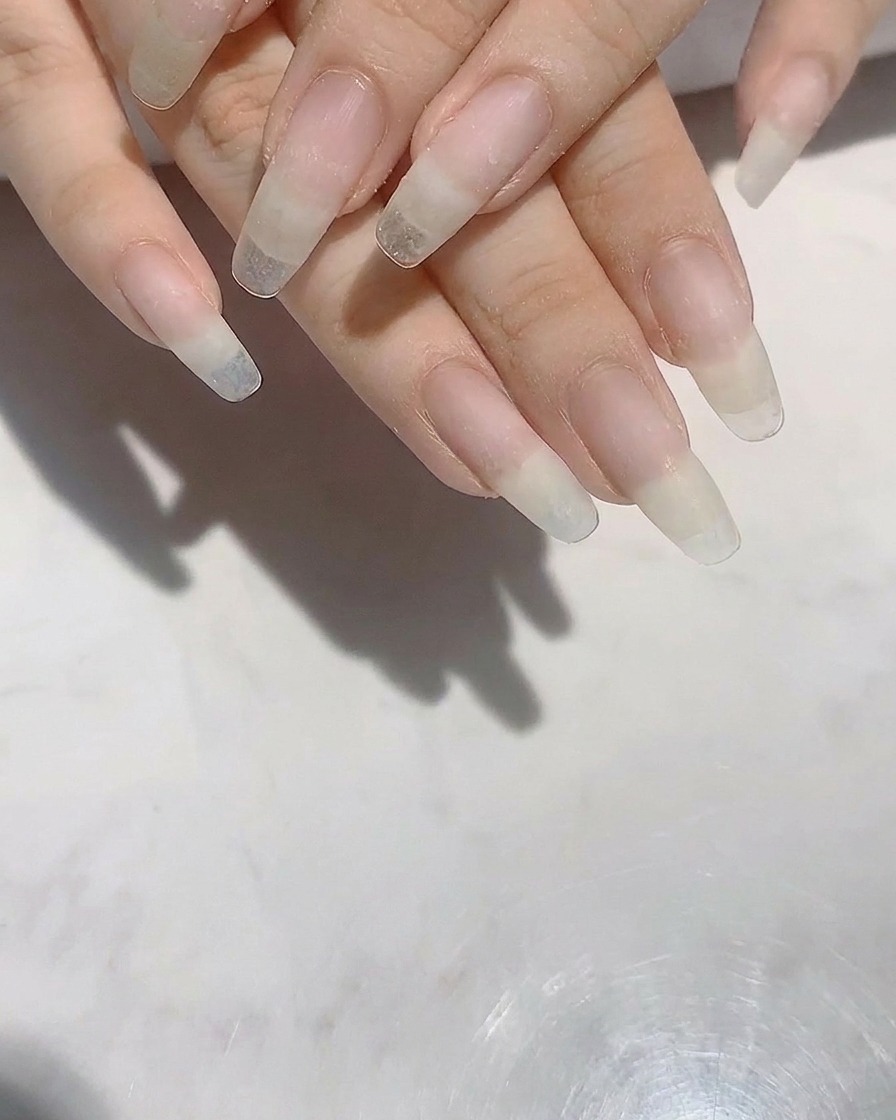
After removing the bulk of the old product, use a nail file to refine and shape the free edge of the nails. Ensure all nails have a consistent shape and length according to the clients preference, creating a smooth surface for the new application.
Tip: Always file in one direction to maintain the integrity of the natural nail edge. - 3Apply nude-pink base layer
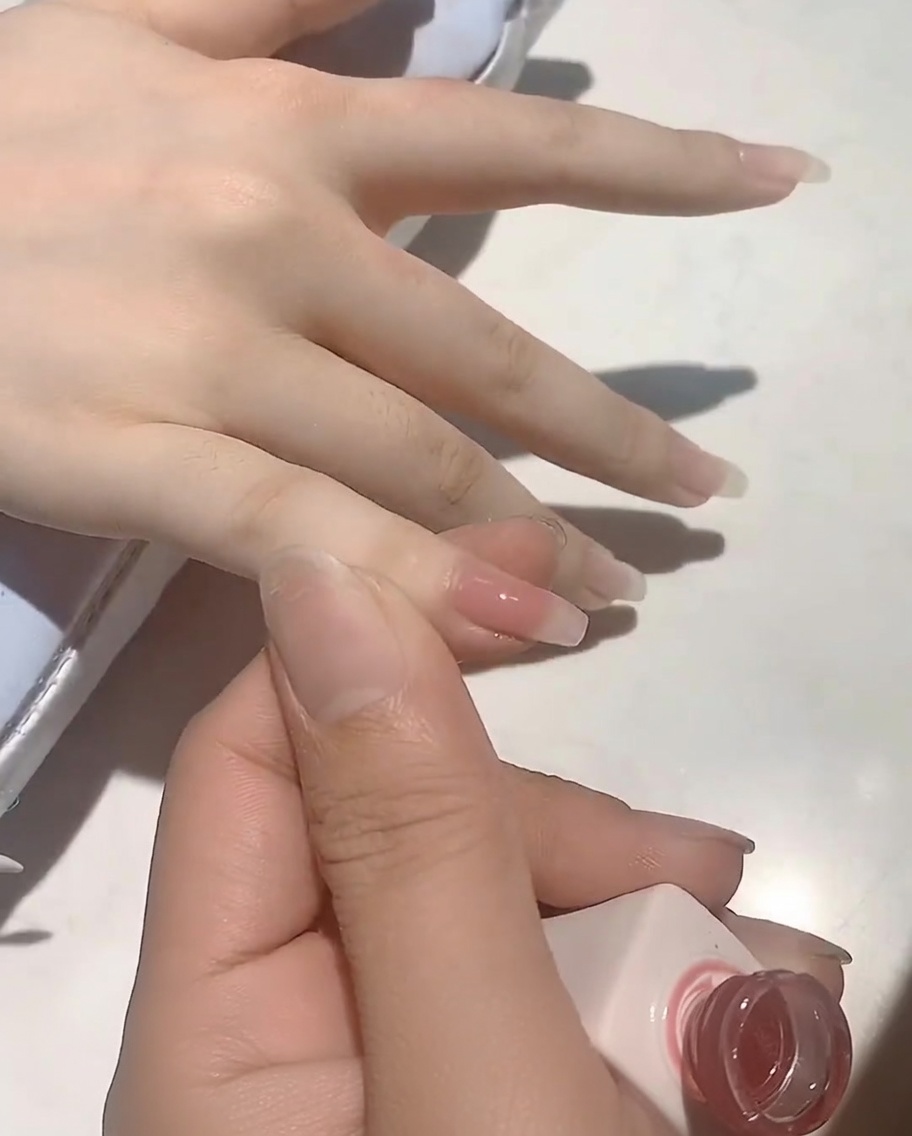
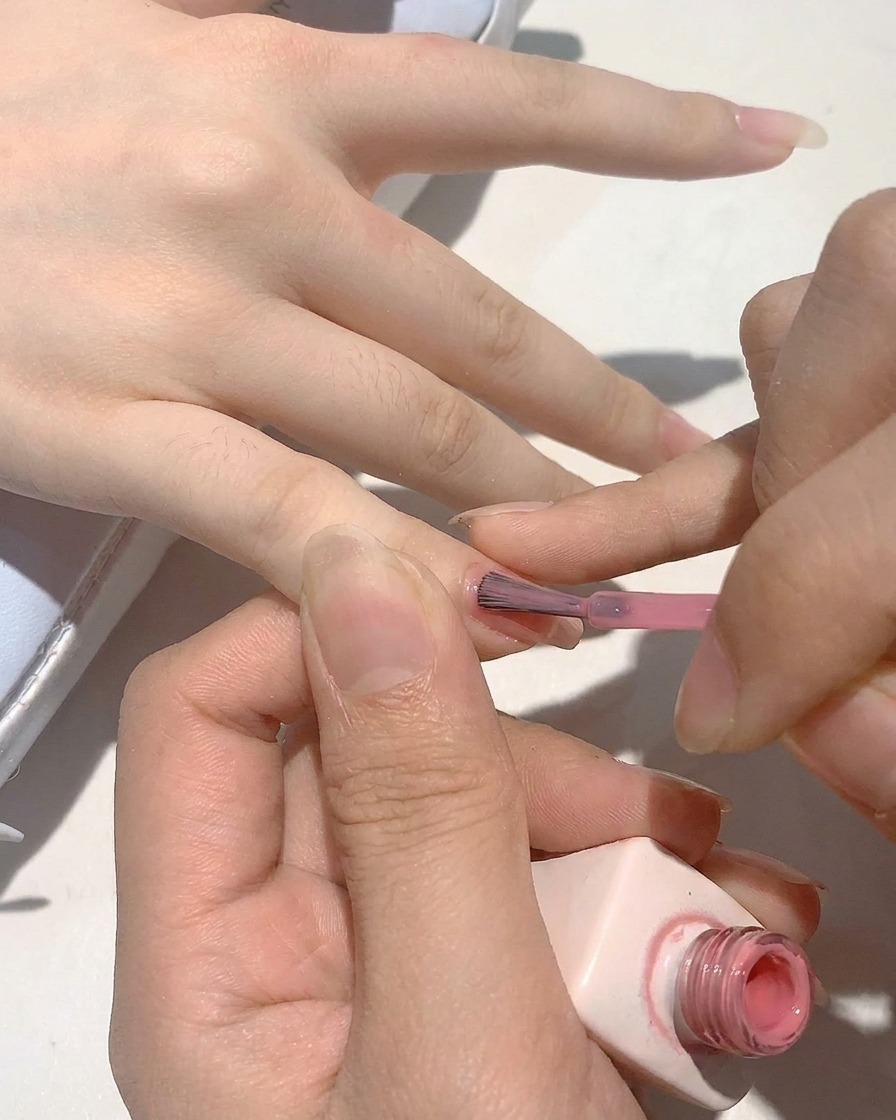
Apply a thin, even layer of the nude-pink gel base to the prepared nail. Ensure you cover the surface thoroughly without flooding the cuticles. This base layer provides the foundational color for the design.
Tip: Applying thin layers helps prevent pooling and ensures a more even cure. - 4Cure the base layer
Place the hand into the UV or LED lamp and cure the nude-pink base layer fully. Ensure all fingers are positioned correctly under the light to guarantee a complete and even cure.
Tip: Follow the manufacturers instructions for the specific gel product to determine the exact curing time. - 5Apply no-wipe top coat
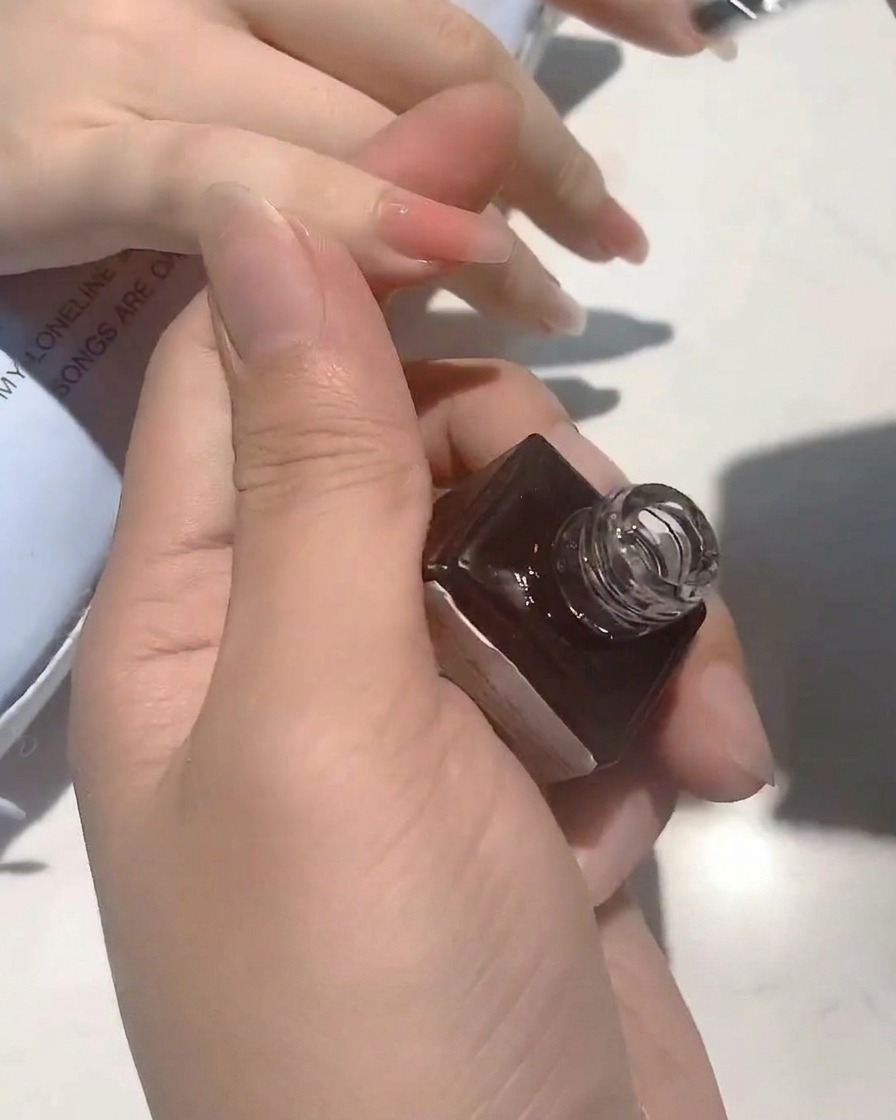
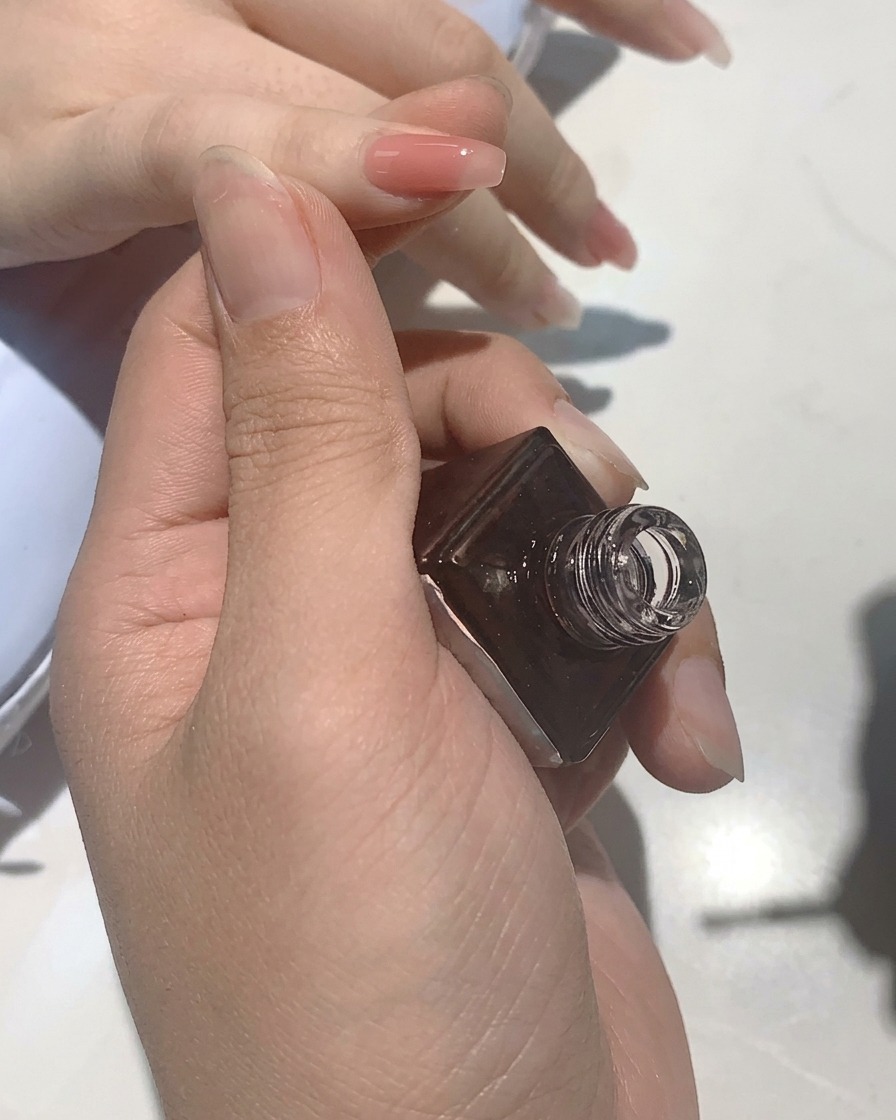
Apply a layer of no-wipe top coat over the cured nude base layer. This will provide a smooth, glossy surface ready for the next design step.
Tip: Capping the free edge with the top coat helps increase the longevity of the manicure. - 6Cure the top coat
Cure the top coat under your UV or LED lamp for exactly 25 seconds. This specific cure time ensures the surface is perfectly prepared for the subsequent application of iridescent powder.
Tip: Ensure the lamp is functioning correctly to achieve an even cure across all fingers. - 7Apply iridescent powder

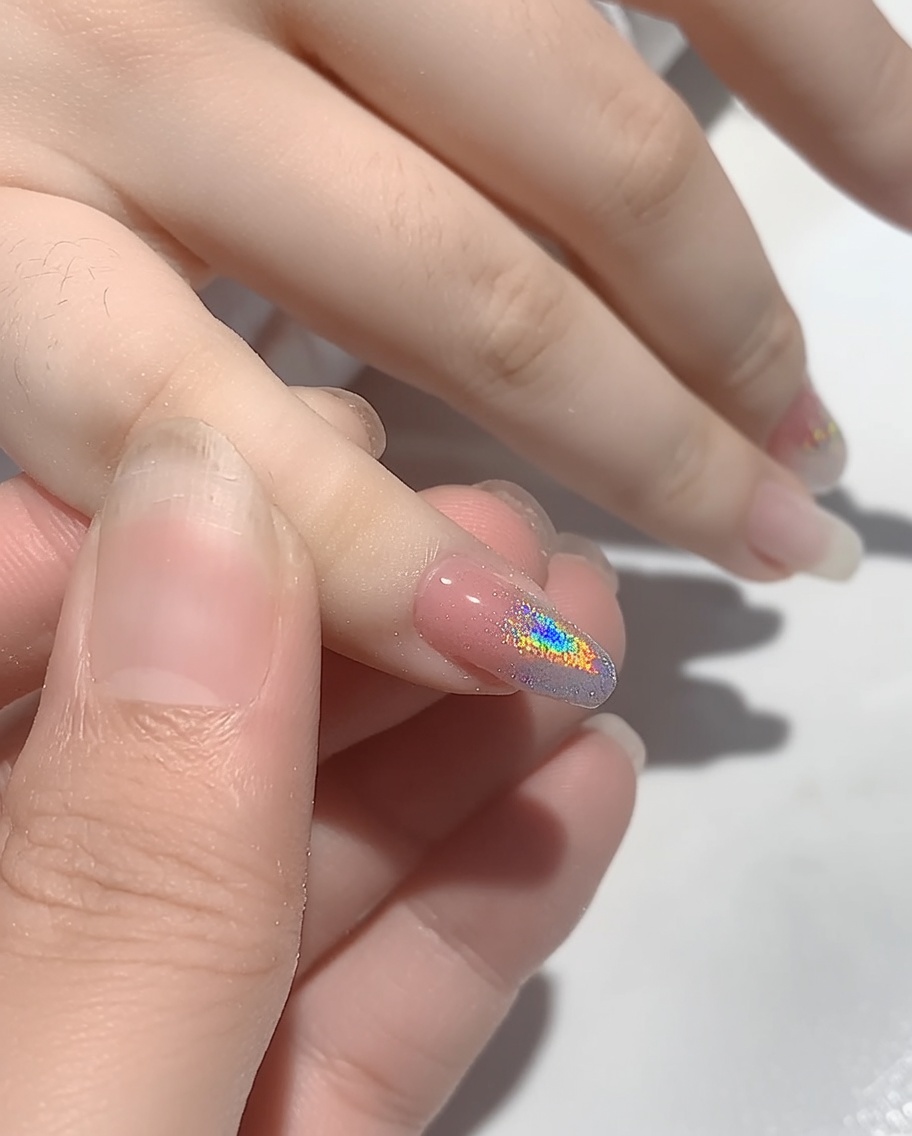
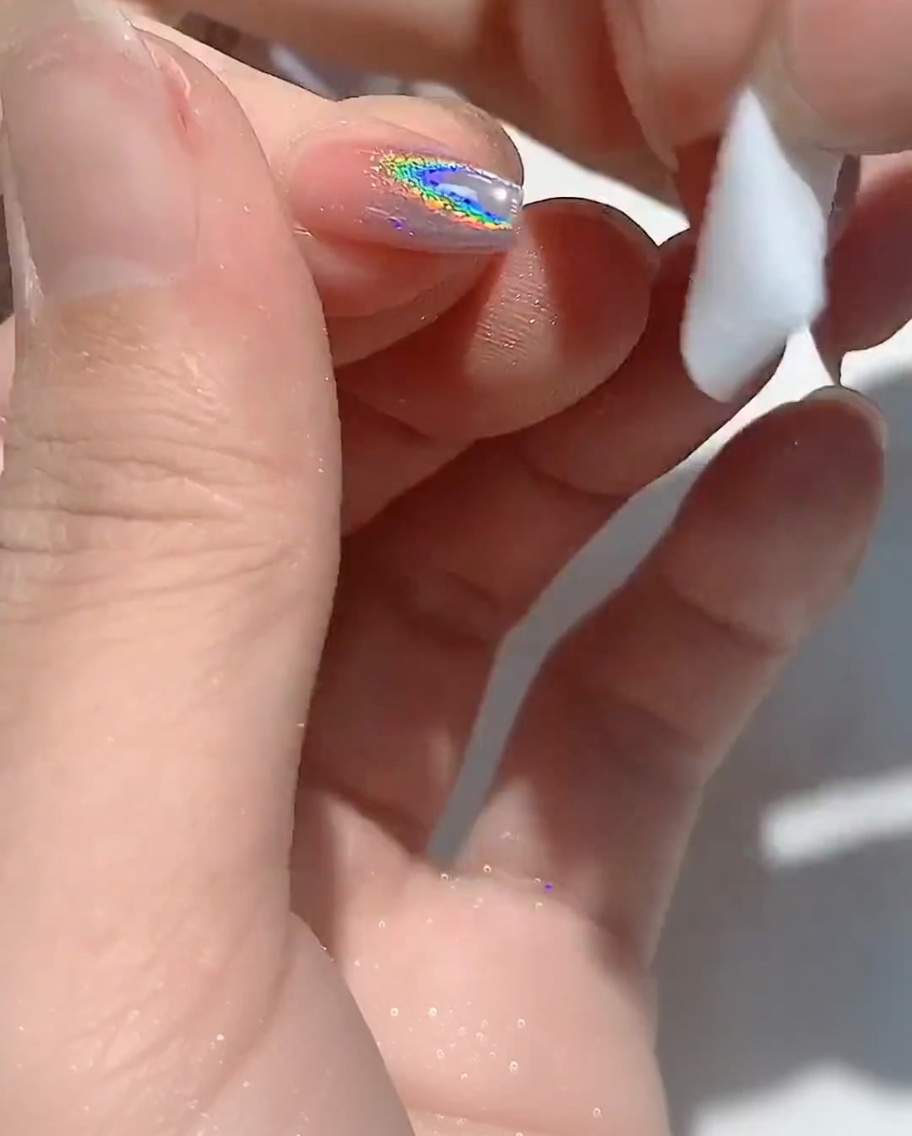
Using a small applicator or sponge, gently pat the iridescent powder onto the top half of the nail over the cured base coat. Ensure an even distribution for a consistent shimmer effect. After application, use a soft brush to remove any loose powder from the nail surface before sealing.
Tip: A little powder goes a long way; start with a small amount and build it up to achieve the desired intensity. - 8Cure the powder layer
Place the hand under the UV/LED lamp to cure the iridescent powder application. Follow the specific curing time recommended by the product manufacturer to ensure the powder is properly set and locked into the gel layer.
Tip: Keep the fingers flat inside the lamp to ensure the light reaches all areas of the nail surface evenly. - 9Remove excess powder
Using a soft, clean dust brush, gently sweep away any loose or excess iridescent powder from the nail and surrounding skin. A clean surface is essential for ensuring that the subsequent strengthening base layer adheres perfectly without trapping debris.
Tip: Use a light touch to avoid disrupting the powder that has already bonded to the nail. - 10Clean the nail tip
Use a lint-free cotton pad soaked in isopropyl alcohol to thoroughly wipe the tip of the nail. This removes any final microscopic residue or dust, ensuring a clean, tacky-free surface for the final sealing step.
Tip: Focus on cleaning the free edge and the underside of the tip to prevent any contaminants from affecting the final top coat application. - 11Apply strengthening rubber base
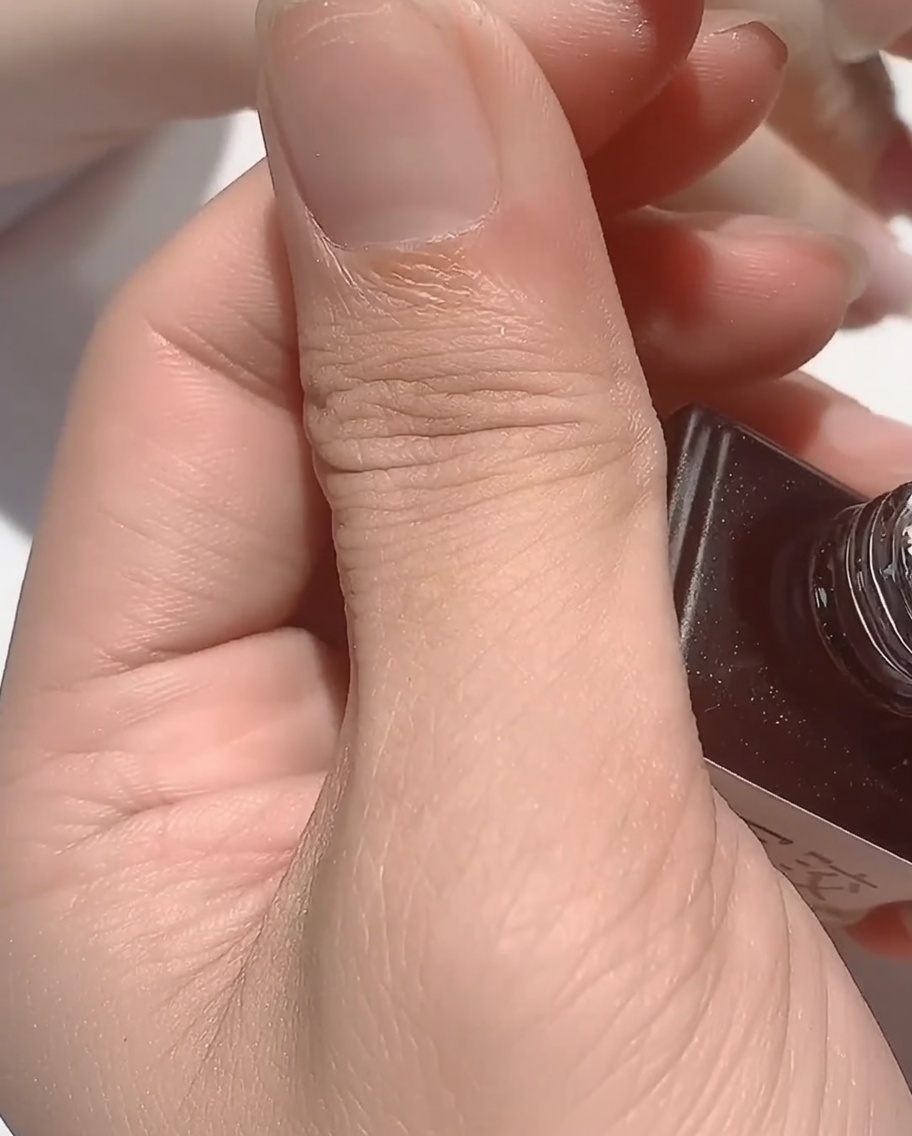
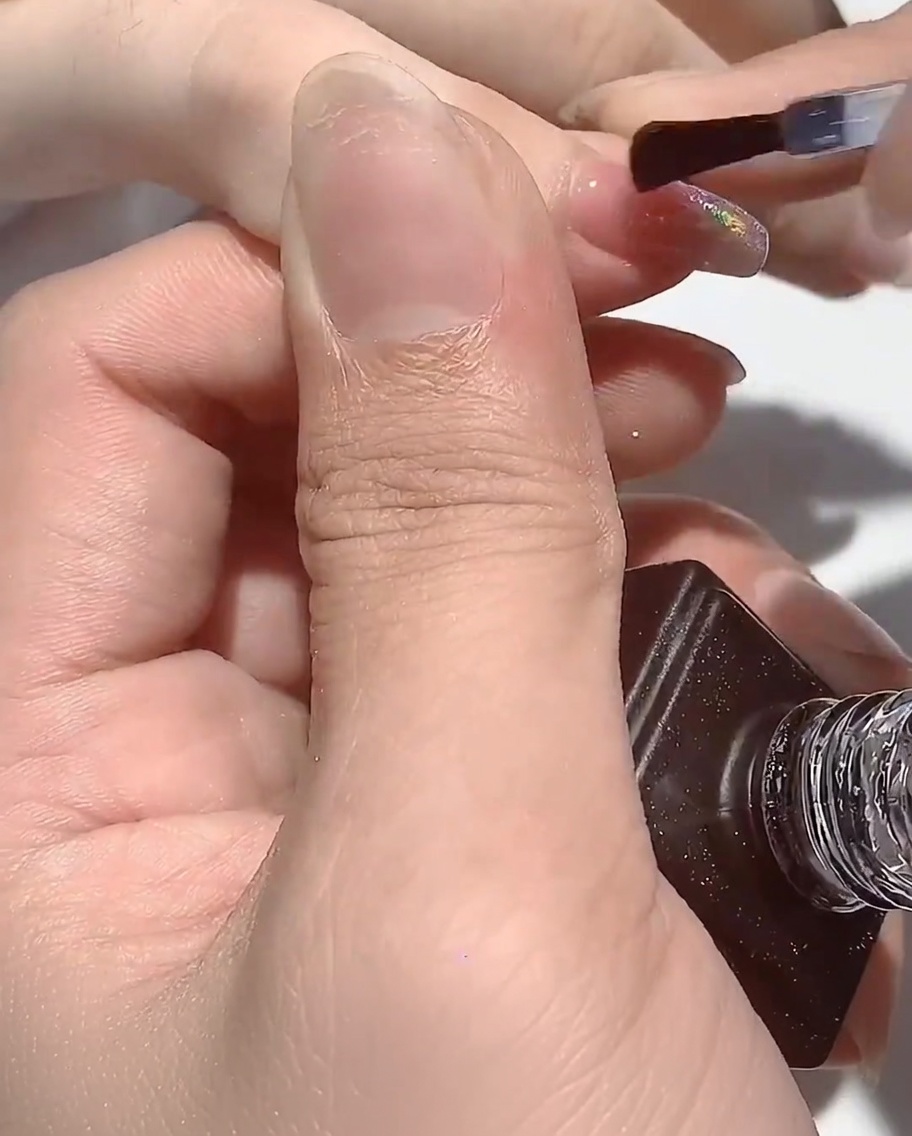
Apply a layer of strengthening rubber base over the entire nail, covering the powder-dusted area. This product acts as a protective seal, adding strength and durability to the nail while providing a smooth, glossy foundation.
Tip: Ensure you cap the free edge with the rubber base to provide extra protection against chipping. - 12Cure the rubber base
Place the nail under the UV/LED lamp for a full 60 seconds to cure the strengthening rubber base. This curing time is critical for the product to fully polymerize and provide the intended durability and shine.
Tip: If you notice a burning sensation during curing, remove the hand from the lamp for a few seconds before continuing the cycle. - 13Mix custom gel color
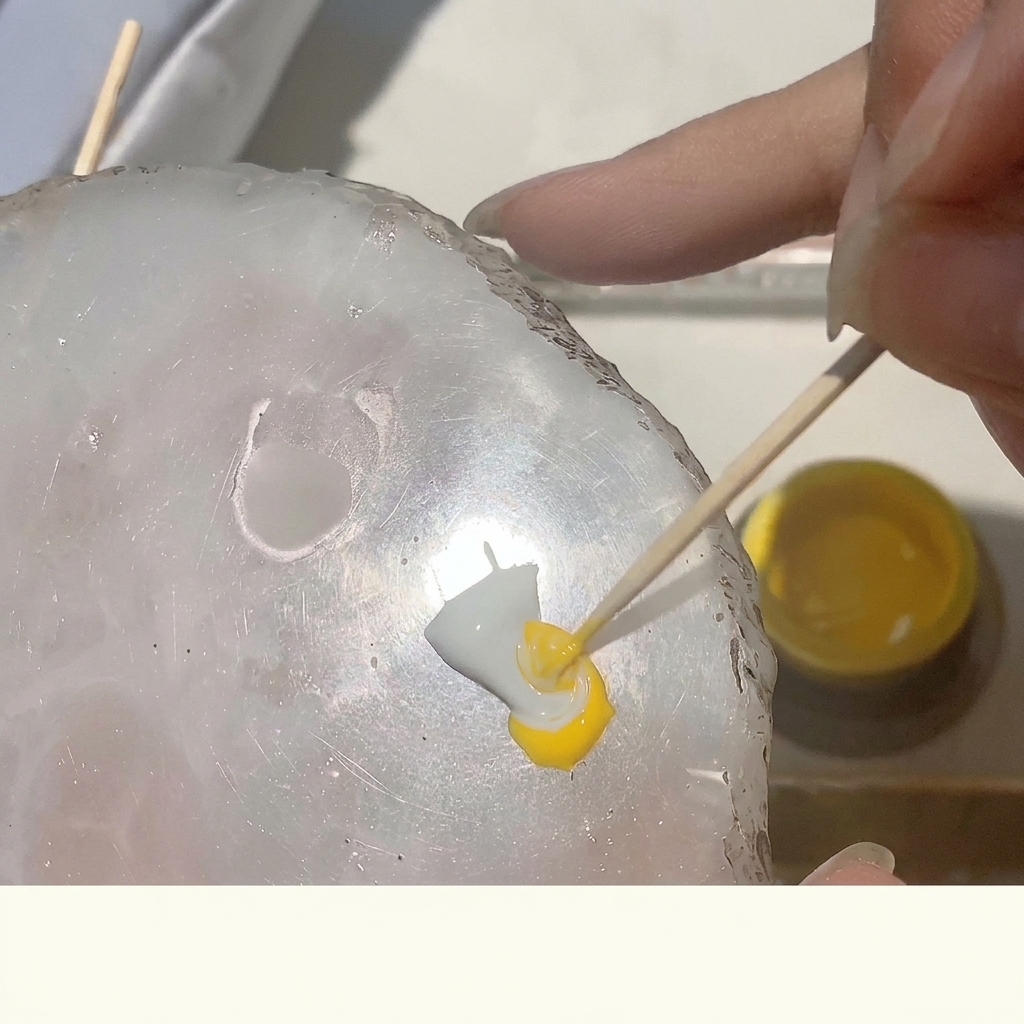
On a clean palette, take a small amount of white and yellow gel. Using a wooden stick, blend the two colors together thoroughly until you achieve a consistent, light yellow shade.
Tip: Mix only what you need for the design to avoid wasting product. - 14Adjust the color tone
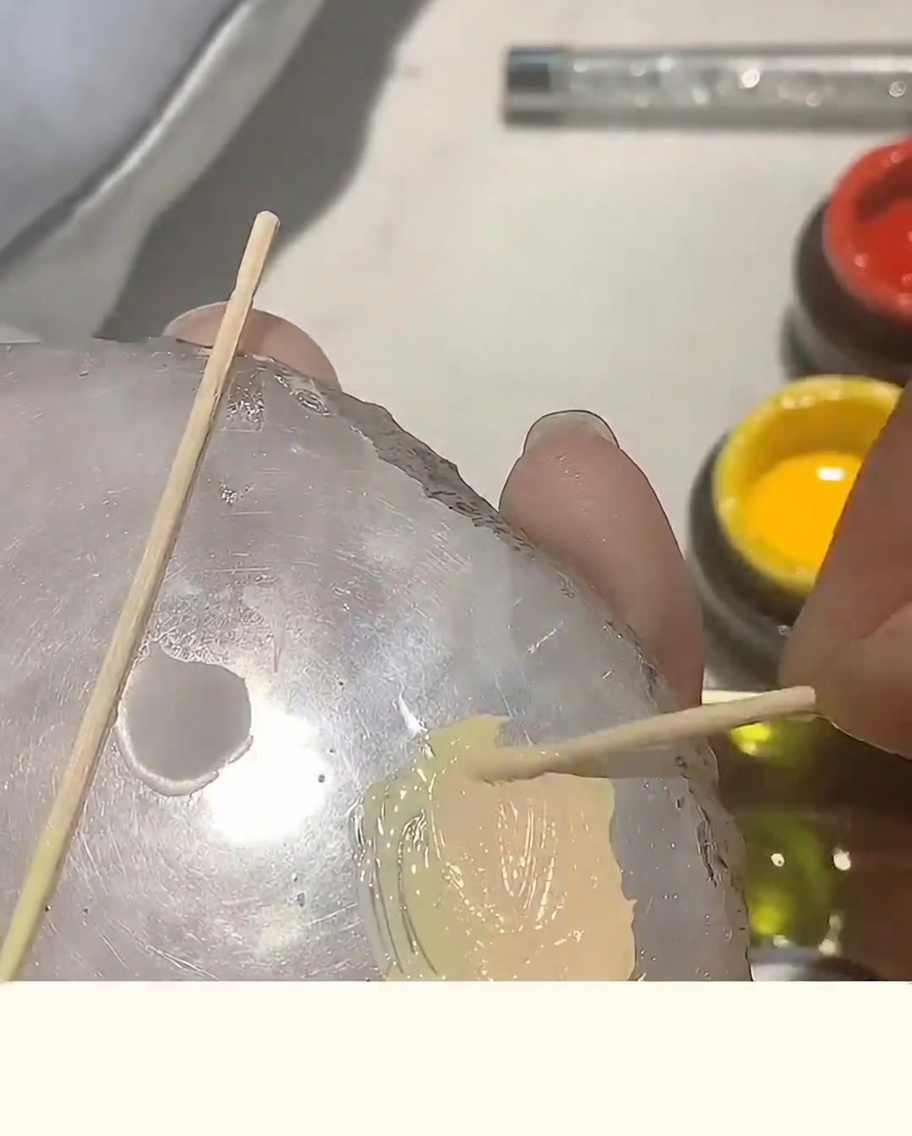
Add a very small touch of red gel polish to your yellow mixture. Carefully incorporate the color to adjust the hue toward your desired peach-toned cream.
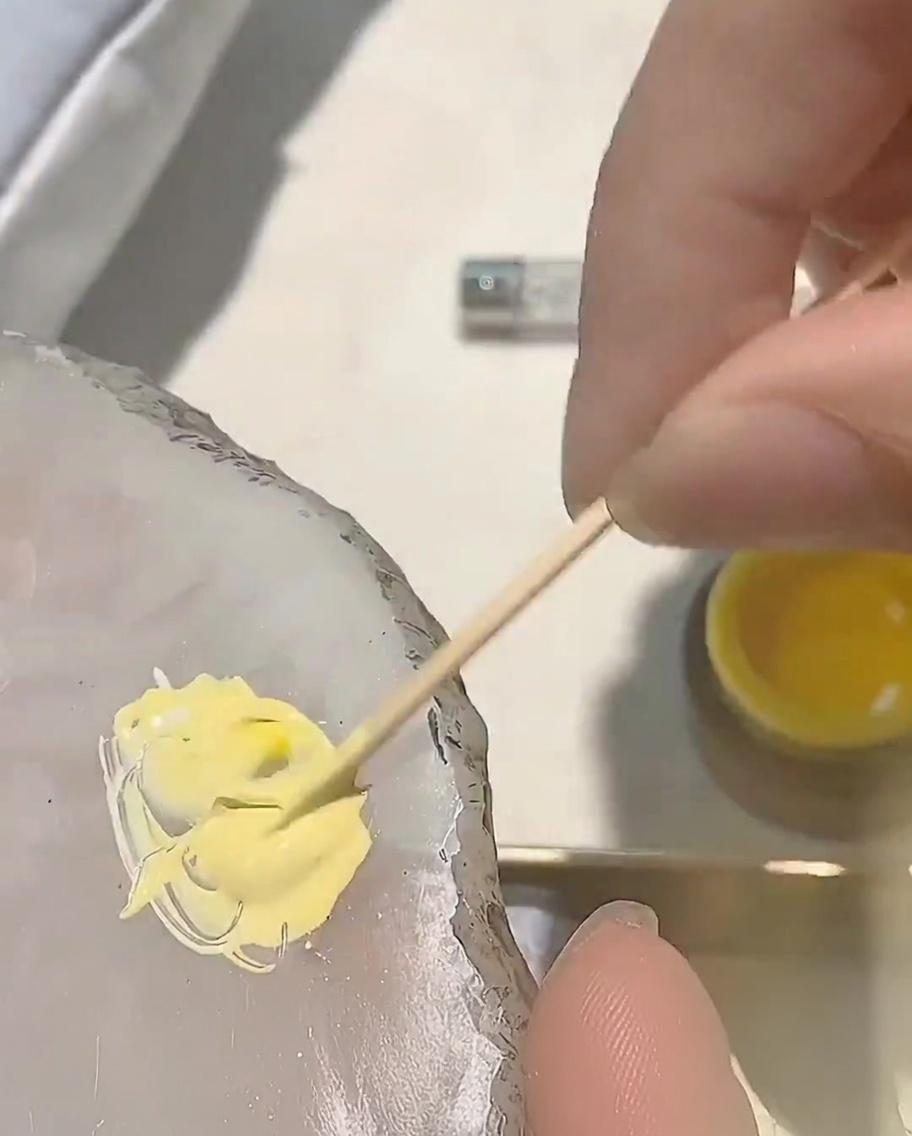
Tip: Add red in tiny increments—a little goes a long way when tinting yellow gel. - 15Finalize the peach gel mixture
Continue stirring the red, yellow, and white gels together until you have a smooth, uniform peach-toned cream color. Ensure there are no streaks of unblended pigment.
Tip: Stir slowly to avoid creating air bubbles in your gel polish. - 16Outline the flame design
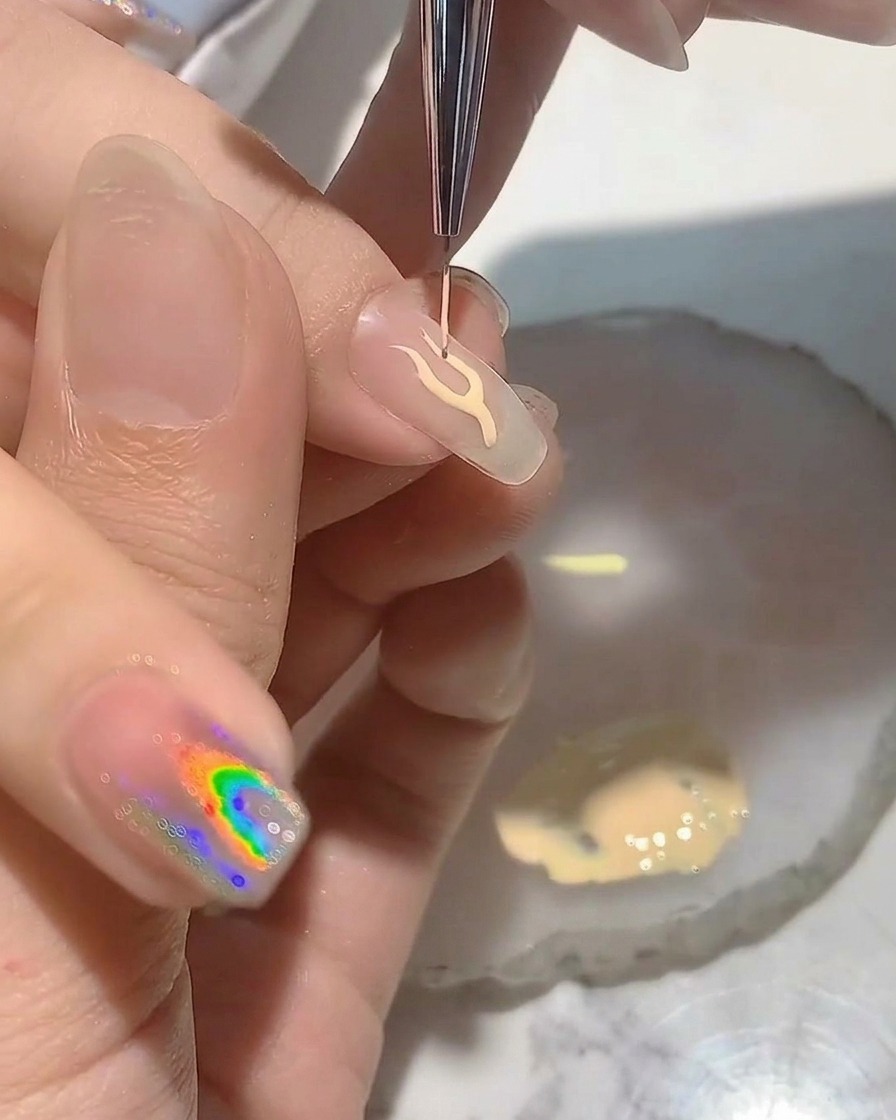
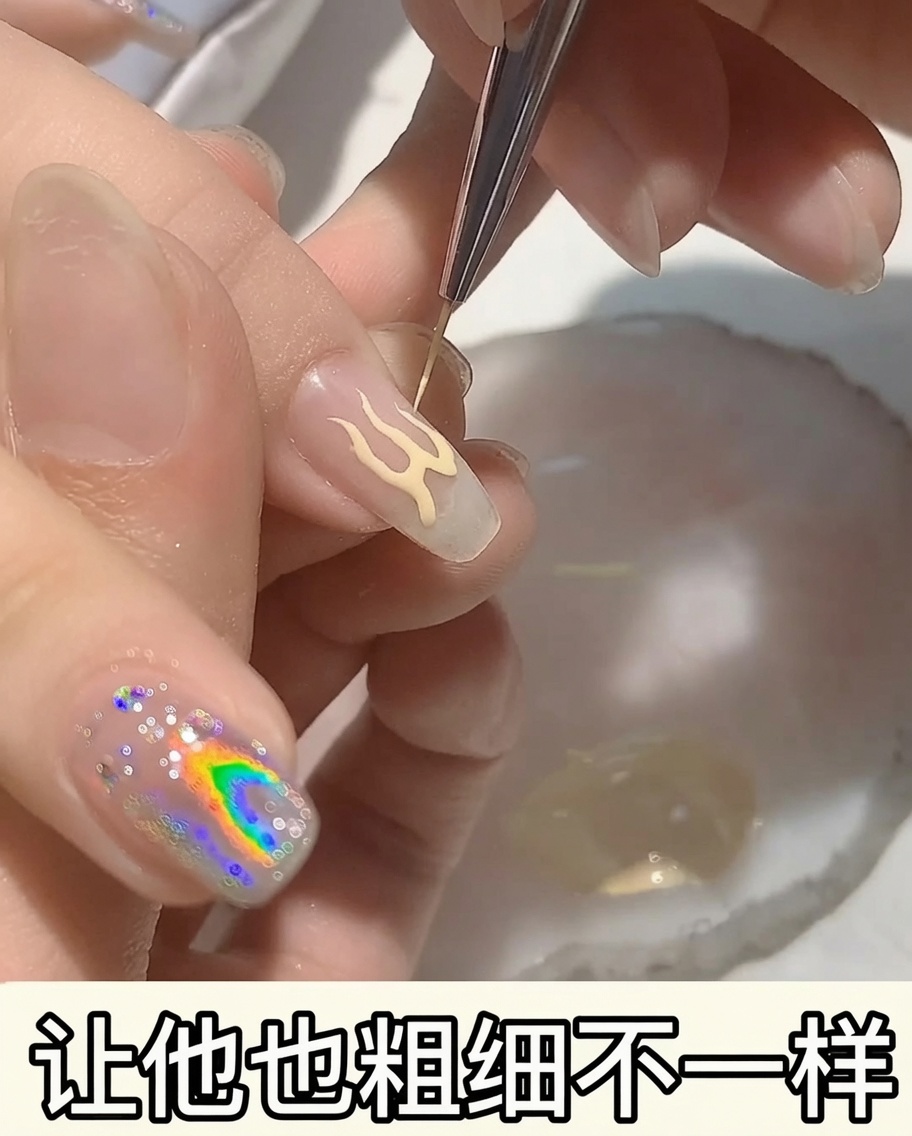
Using a fine liner brush, carefully draw the S-shaped outline of your flame design onto the nail. Start with thin lines to map out the shape accurately.
Tip: Maintain a light touch with the liner brush to achieve smooth, precise curves. - 17Define the flame edges
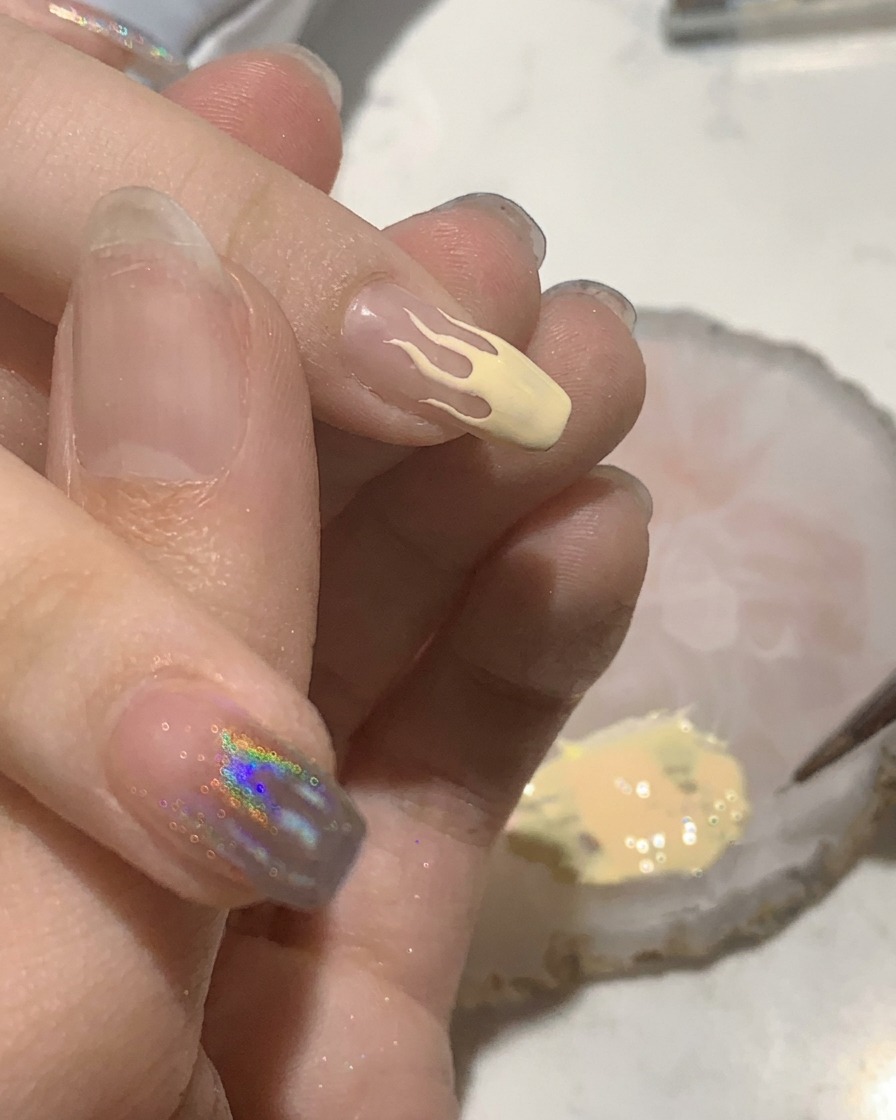
Once the outline is placed, use the liner brush to add more peach-toned gel and thicken the edges of the flame design. This creates dimension and makes the flames look more stylized.
Tip: Vary the thickness of the lines to make the flame design look more organic and dynamic. - 18Fill in the flame art
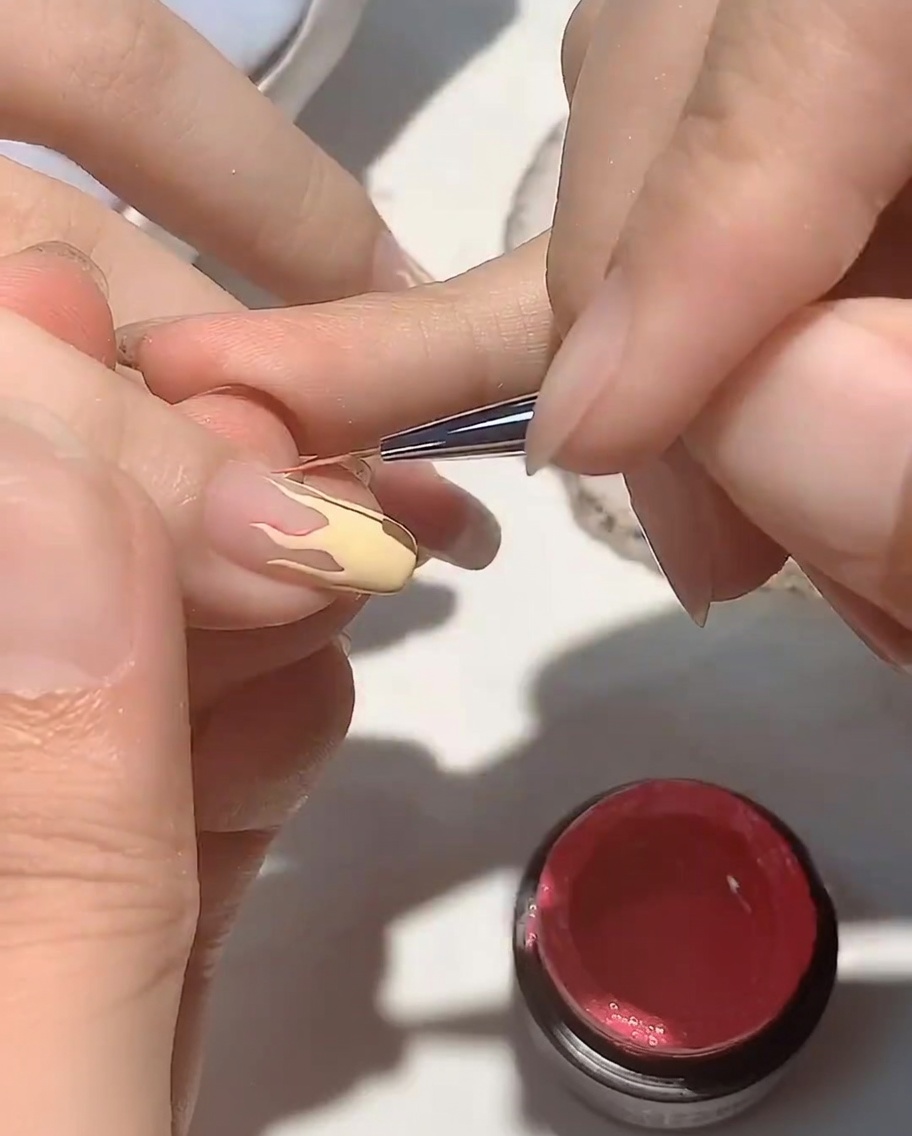
Use a small, flat brush to fill in the interior of the flame design with your peach-toned gel mixture. Ensure the gel is spread evenly to the edges without flooding the cuticle.
Tip: Work in thin layers to ensure the gel cures properly without wrinkling. - 19Cure the flame design
Place the hand into the UV/LED lamp to cure the freshly painted flame design. Ensure the fingers are positioned so the light reaches the entire nail surface evenly. Cure for a full 60 seconds to guarantee the gel is completely set before applying the final top coat.
Tip: Keep the hand steady inside the lamp to avoid any smudging or shifting of the uncured gel design.