Minimalist Fine Line Rose Nail Art — Elegant Step-by-Step Tutorial
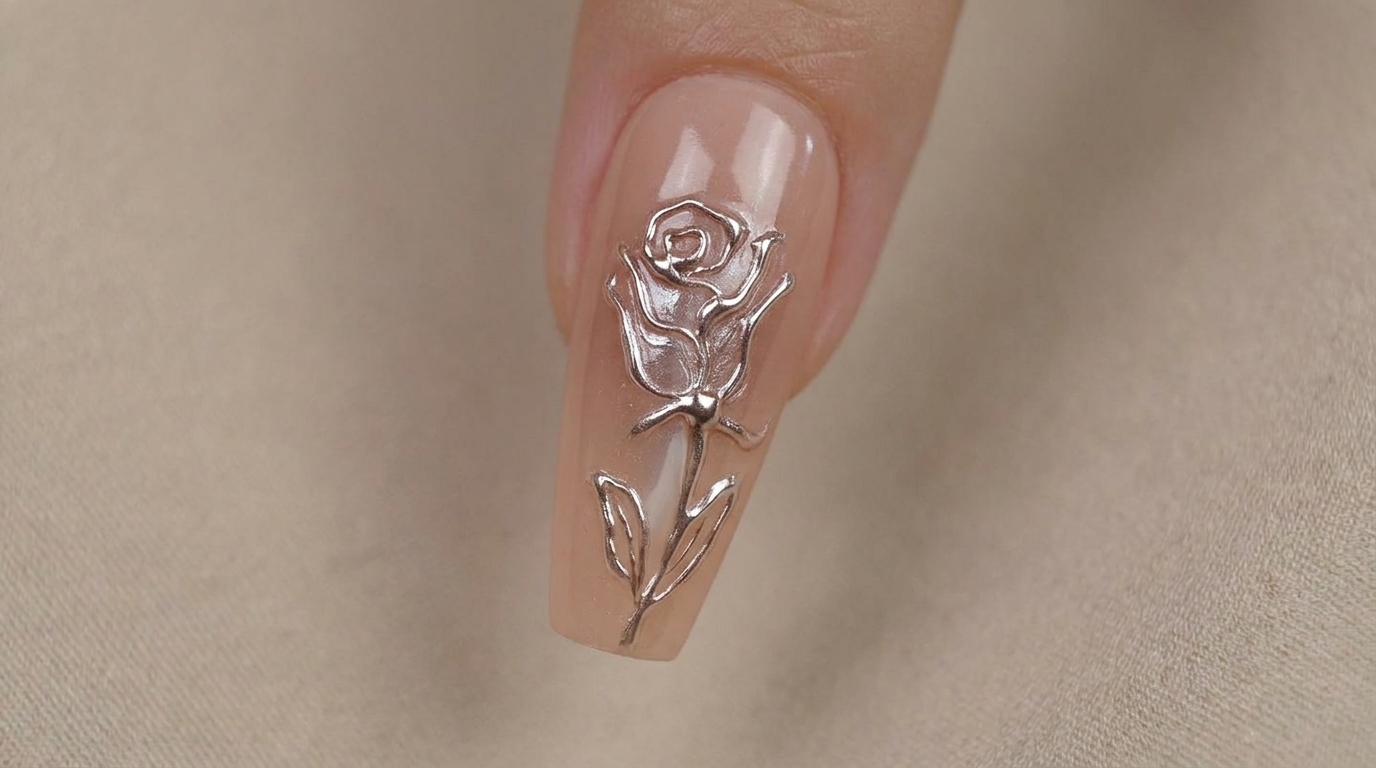
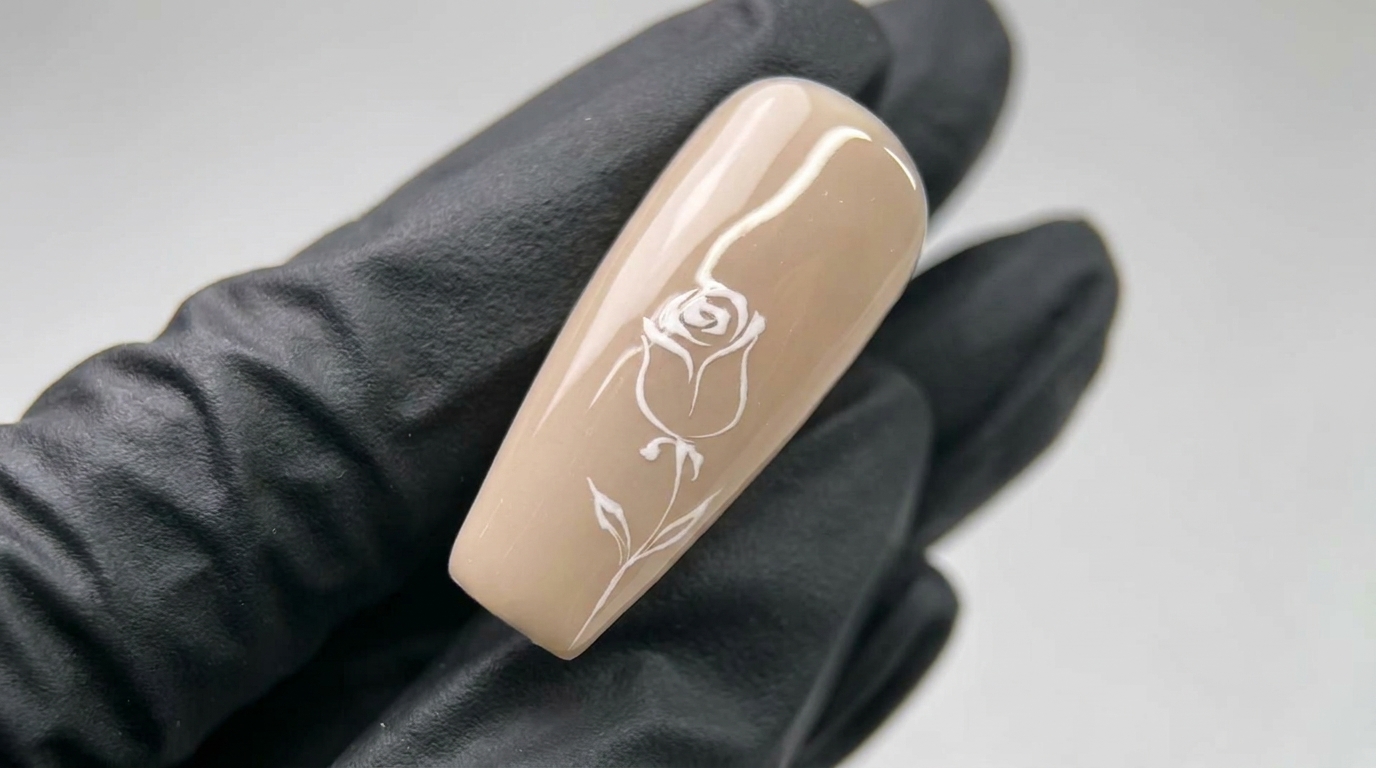
Create an elegant, minimalist rose design with delicate white fine lines. This sophisticated nail art is perfect for a chic, understated look.
Fine line nail art brings a sophisticated and modern touch to any manicure. This minimalist rose design uses precise brushwork to create a delicate, romantic aesthetic that elevates a simple nude base into a work of art.
Steps
- 1Paint the rose center
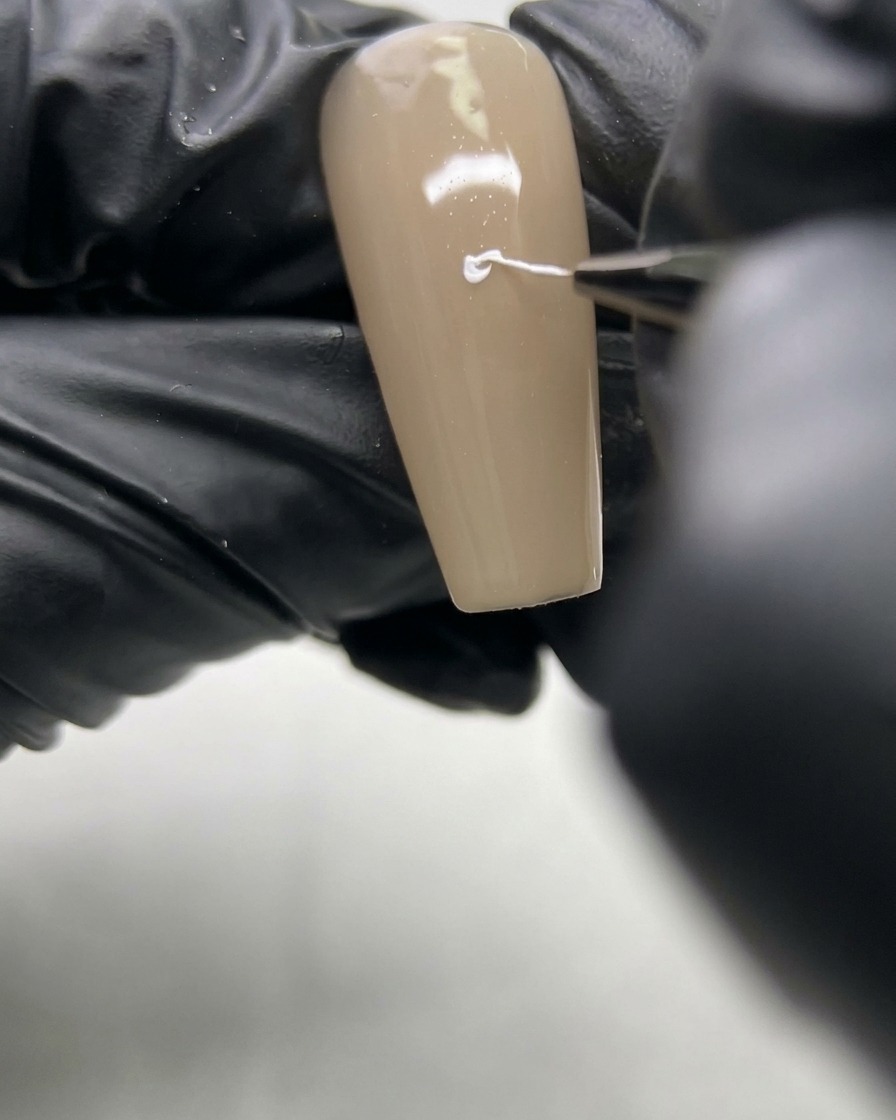
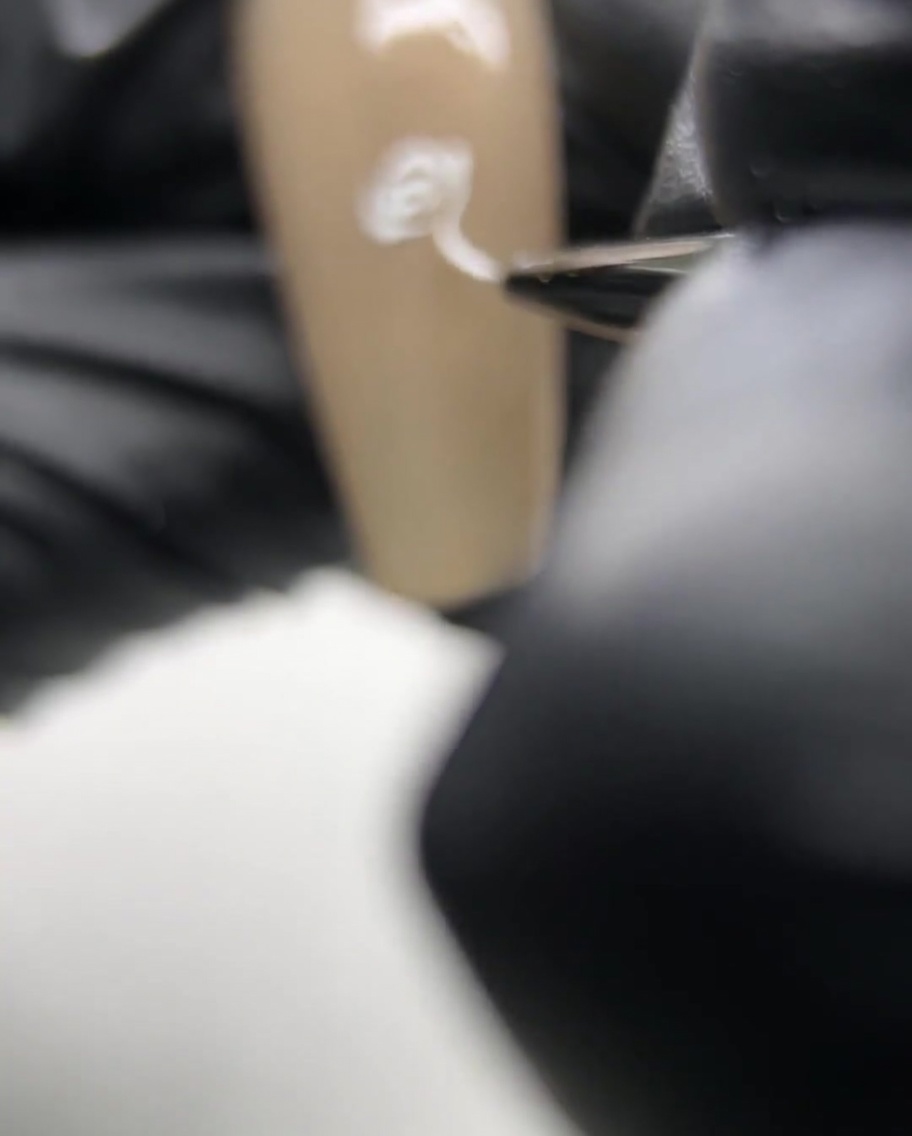
Using a fine liner brush and white painting gel, create a small heart shape in the center of the nail. This heart serves as the core of your rose design.
Tip: Keep your pressure light to ensure the lines remain thin and delicate for a detailed rose. - 2Form the rose structure
Extend lines downwards from the base of the heart to form a Y-shape. These lines will act as the structural foundation for the rest of the rose petals.
Tip: Connect the lines cleanly to the center heart for a seamless look. - 3Add top petals
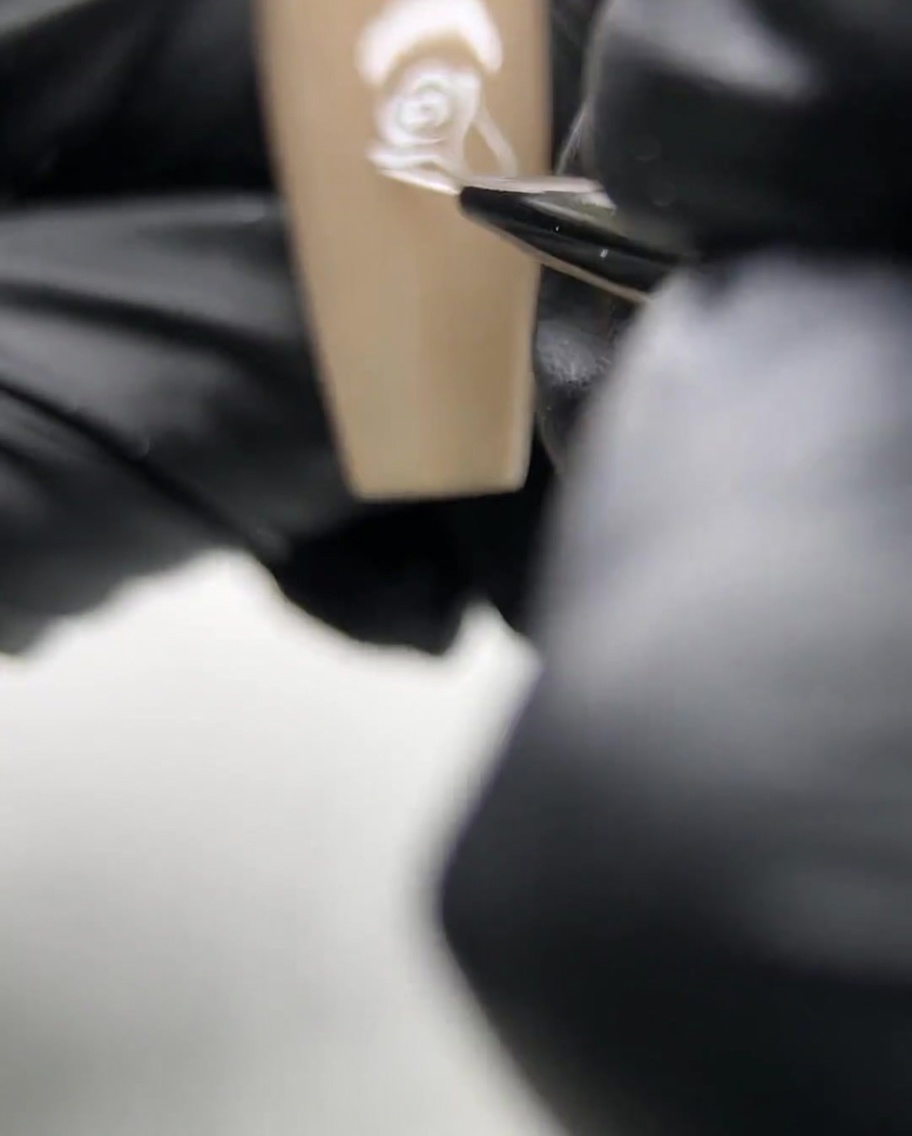
Draw curved lines on the top sides of the heart shape to begin defining the petal structure of the rose.
Tip: Use a smooth, sweeping motion to create graceful curves. - 4Round the petals
Continue adding curved lines around the central shape to give the rose a fuller, rounder appearance.
Tip: Vary the length of the curves slightly to make the rose look natural and layered. - 5Paint the stem
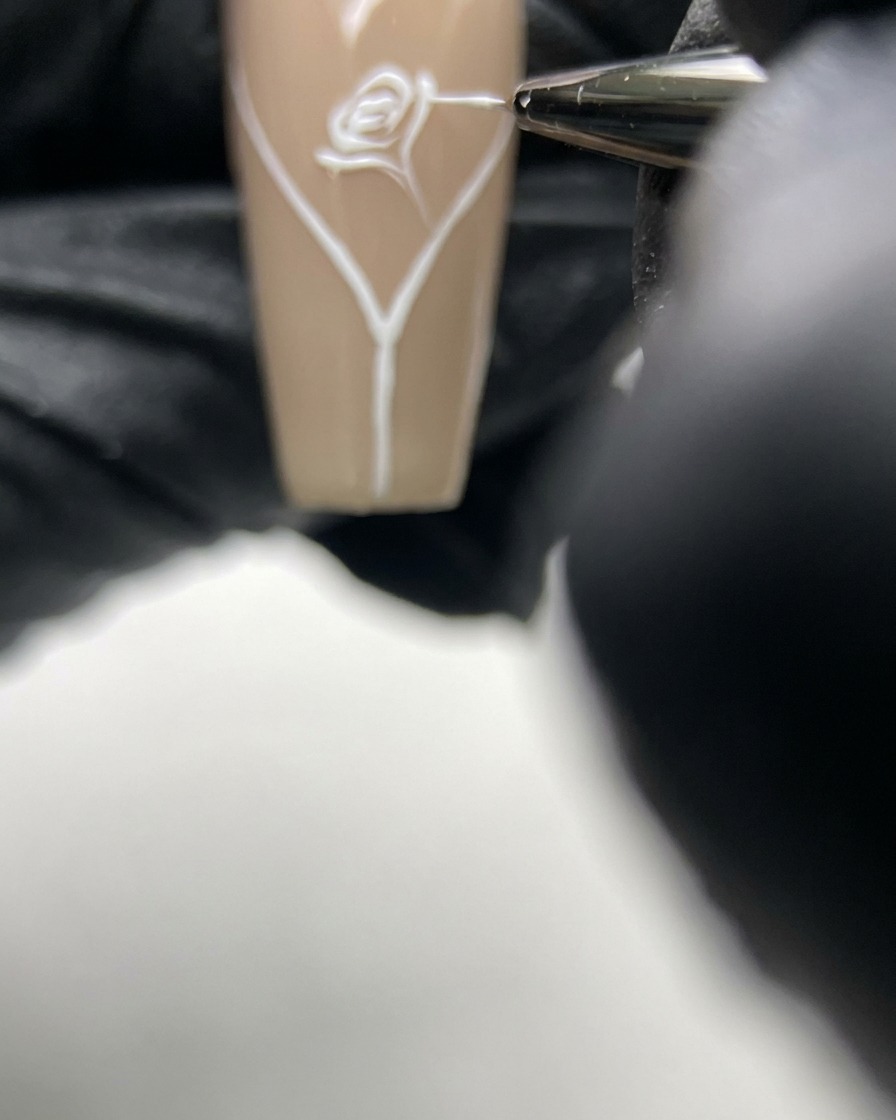
Extend a thin, straight line downwards from the base of your rose design to create the stem.
Tip: Pull the brush steadily to maintain a consistent line thickness. - 6Add rose leaves
Apply light pressure with your liner brush along the stem to create a leaf shape. Press down slightly to widen the center of the leaf and lift as you finish to taper the point.
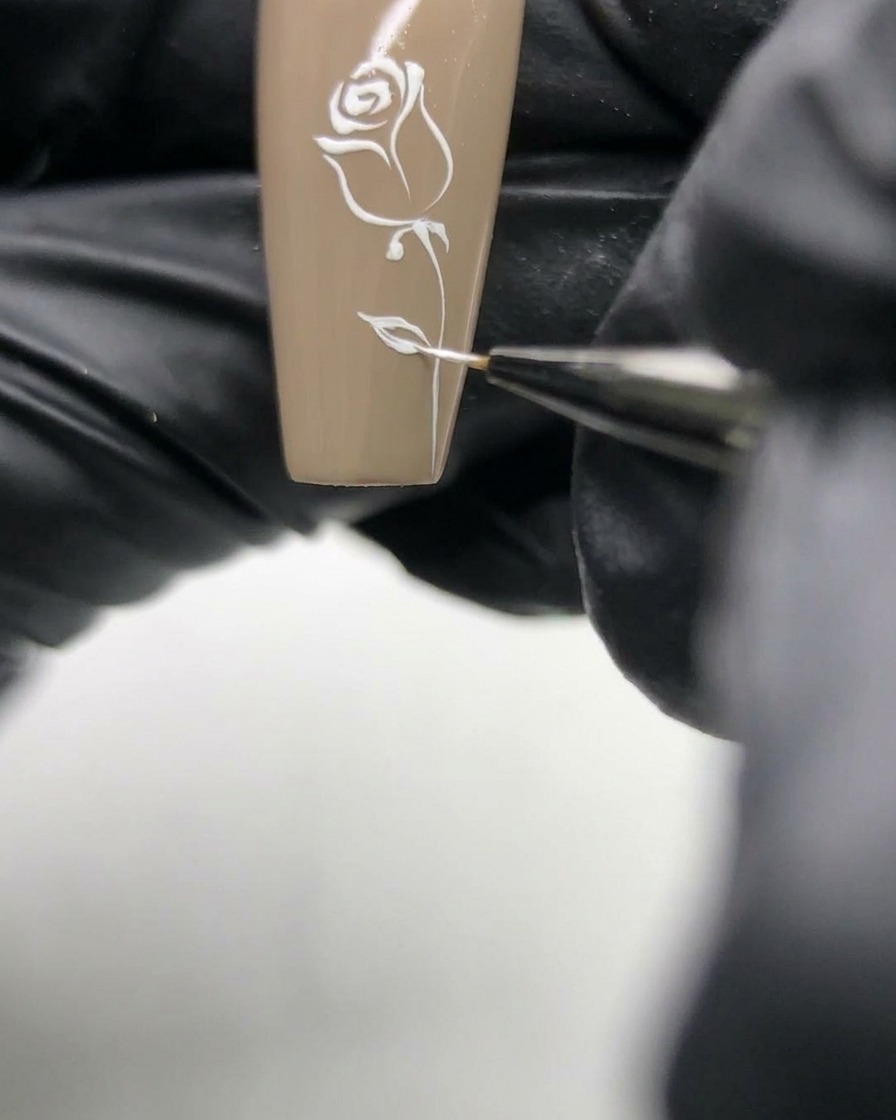
Tip: Practice the pressure technique on a practice tip first to master the leaf shape. - 7Add secondary leaf
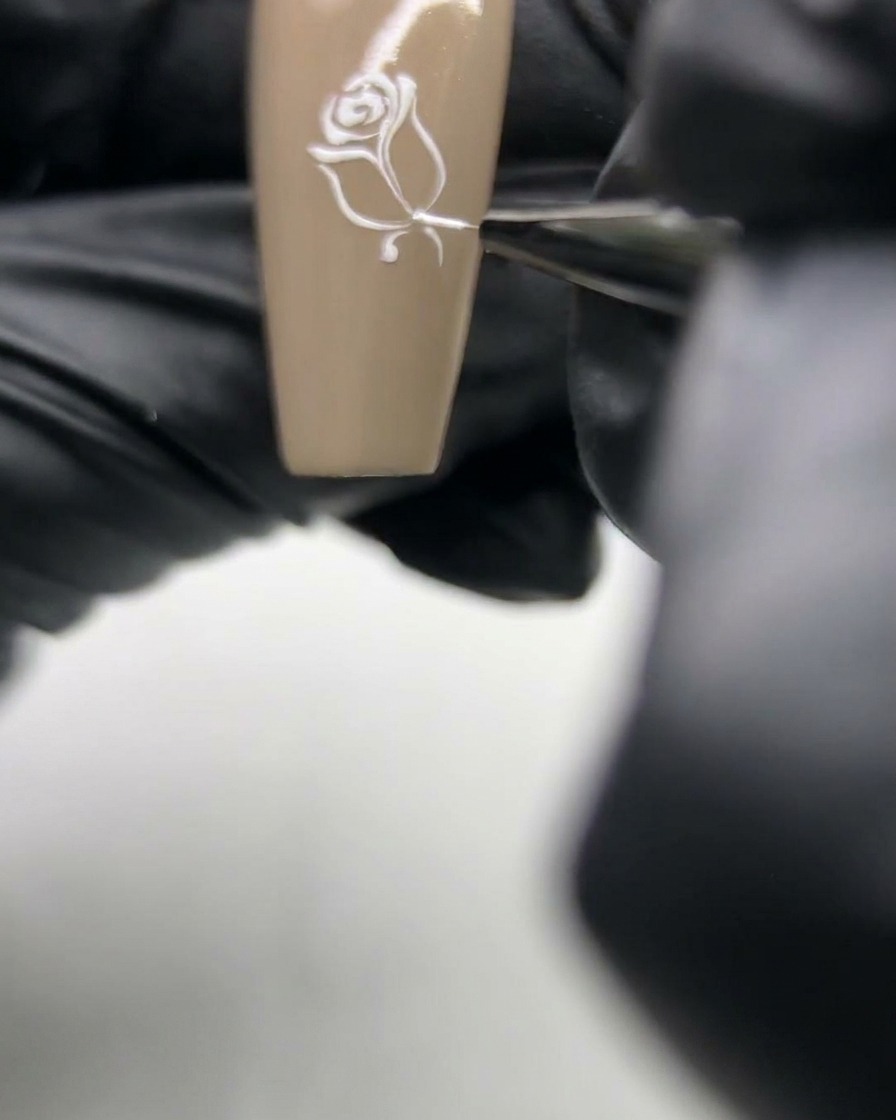
Using a fine liner brush loaded with white painting gel, apply gentle pressure to create the second leaf on the opposite side of the stem. Ensure the leaf shape is balanced and tapers to a fine point to match the first leaf.
Tip: Vary the pressure of your brush to get a nice tapered effect on the leaves. - 8Refine petal edges
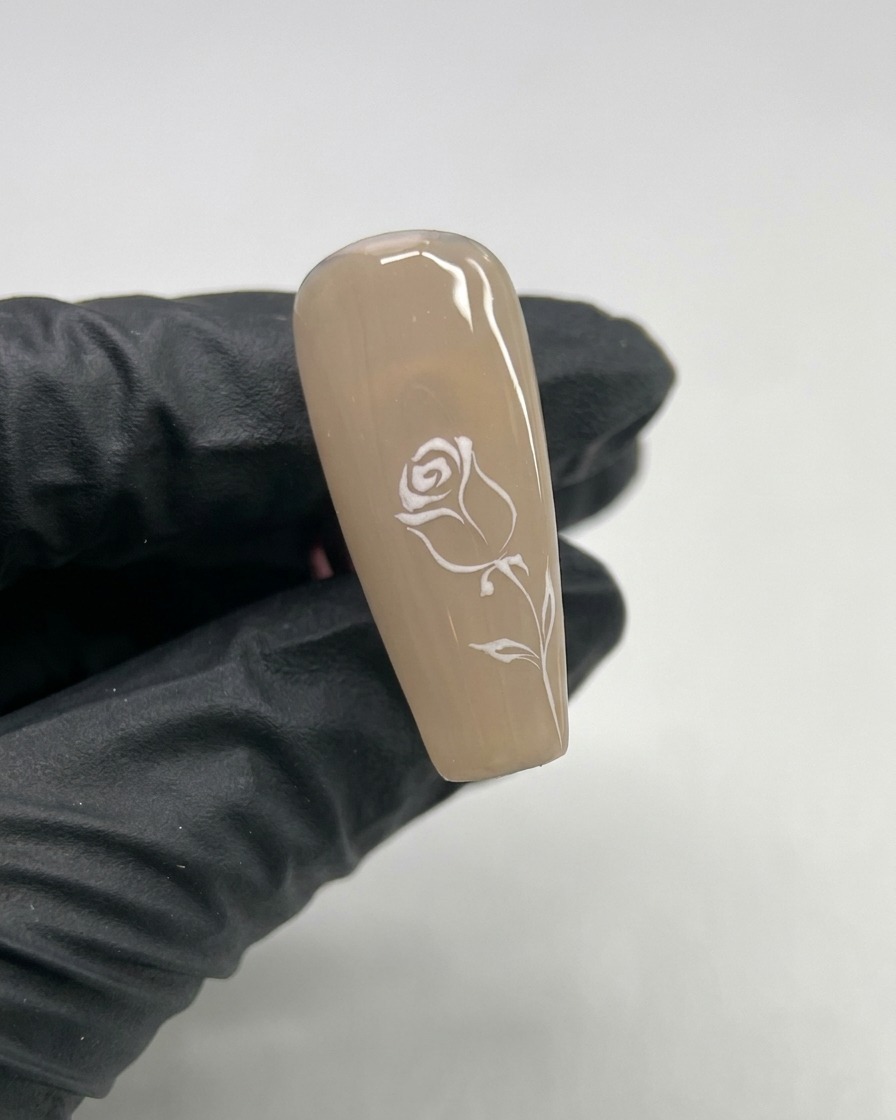
Carefully trace over the lines and edges of the rose petals to refine them for a polished, clean finish. This step helps define the shape of the flower and ensures all lines are crisp and consistent.
Tip: Keep your movements slow and steady to maintain crisp, thin lines throughout the design.