Romantic Love Letter Rose Nail Art — 3D Relief
Watercolor Tutorial
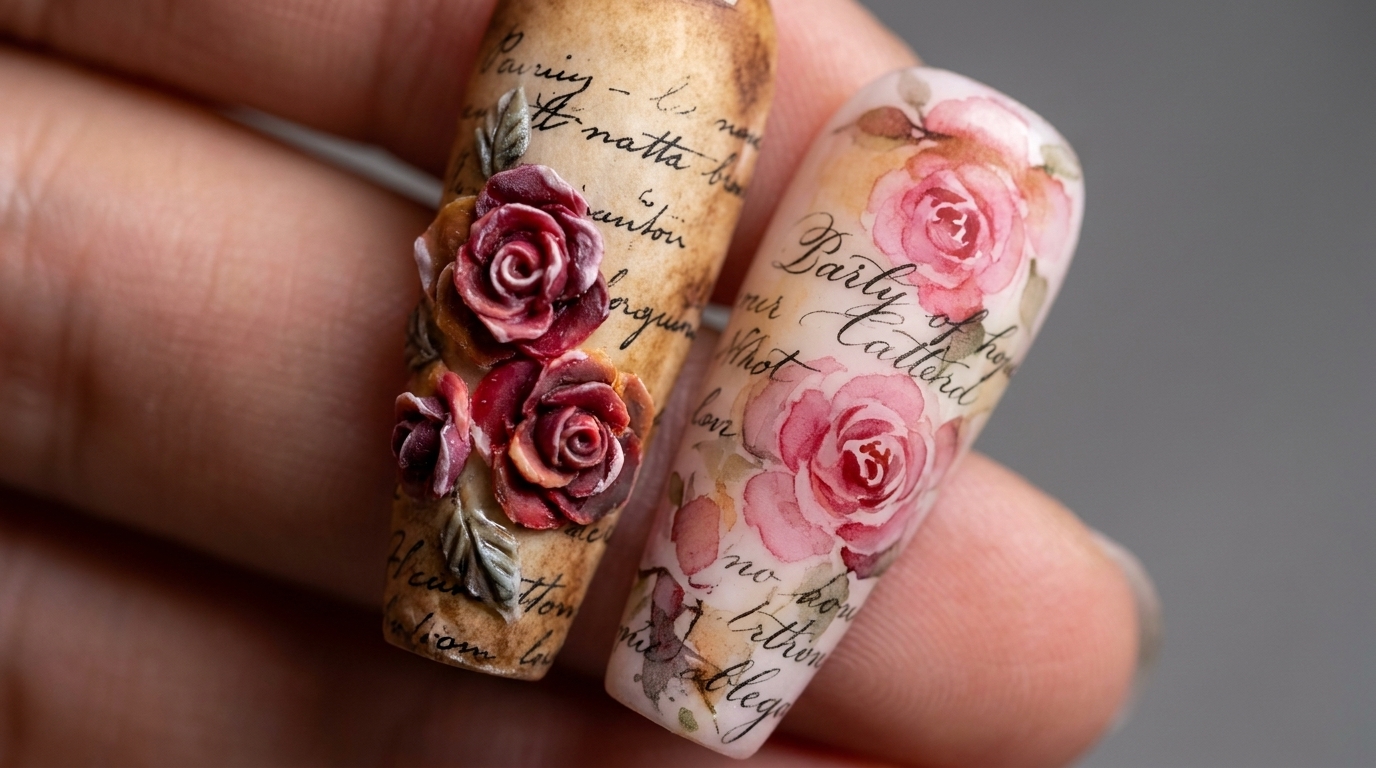
Master two vintage-inspired looks: intricate 3D relief sculpted roses and soft, romantic watercolor script nails perfect for an elegant, timeless manicure.
Step into a world of romance with these stunning love letter-inspired nail designs. Combining the tactile, structural beauty of 3D relief art with the soft, ethereal qualities of watercolor painting, these looks capture the charm of vintage correspondence. This tutorial will guide you through both techniques, helping you achieve a sophisticated, salon-quality finish right at home.
Steps
- 1Apply white sand gel
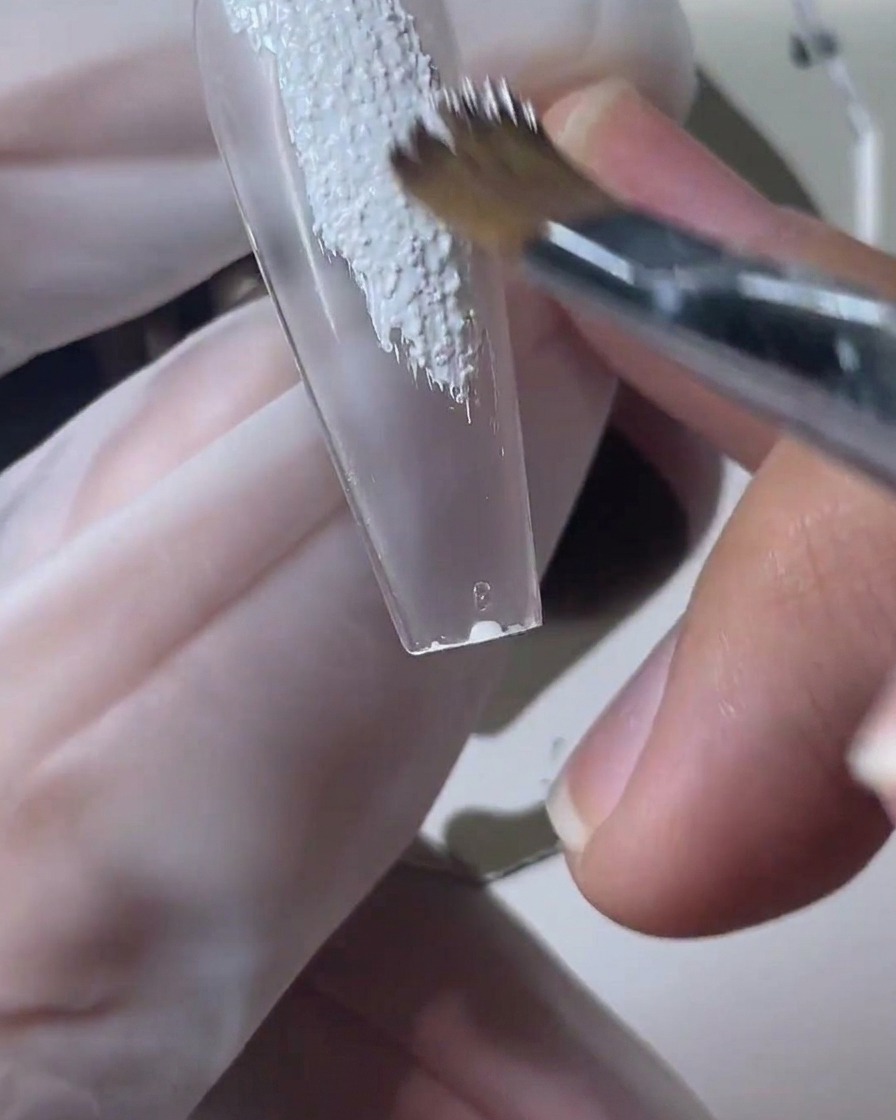
Apply white sand gel over the entire nail, concentrating the product along the edges to build the texture necessary for the 3D relief effect. Ensure an even application across the surface before proceeding to cure.
Tip: Focus on building thickness at the perimeter to create a more dramatic 3D border for the design. - 2Thicken edges for depth
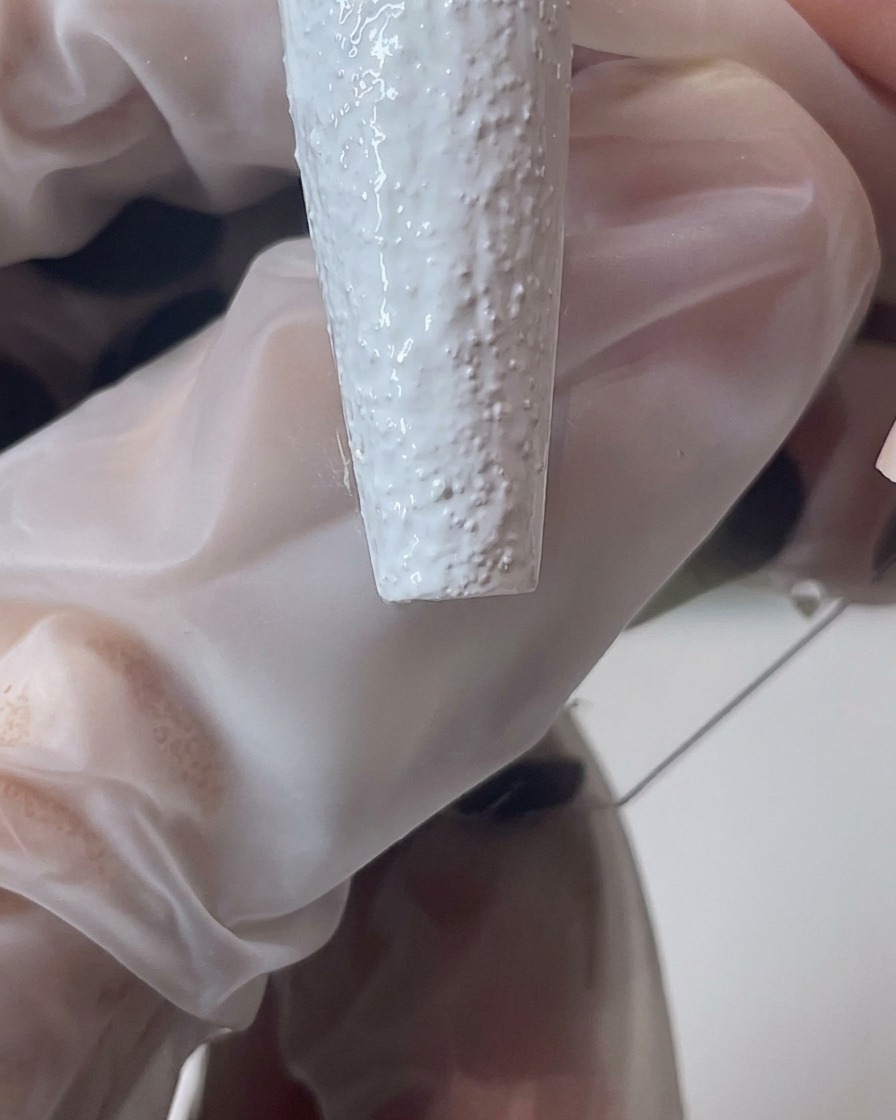
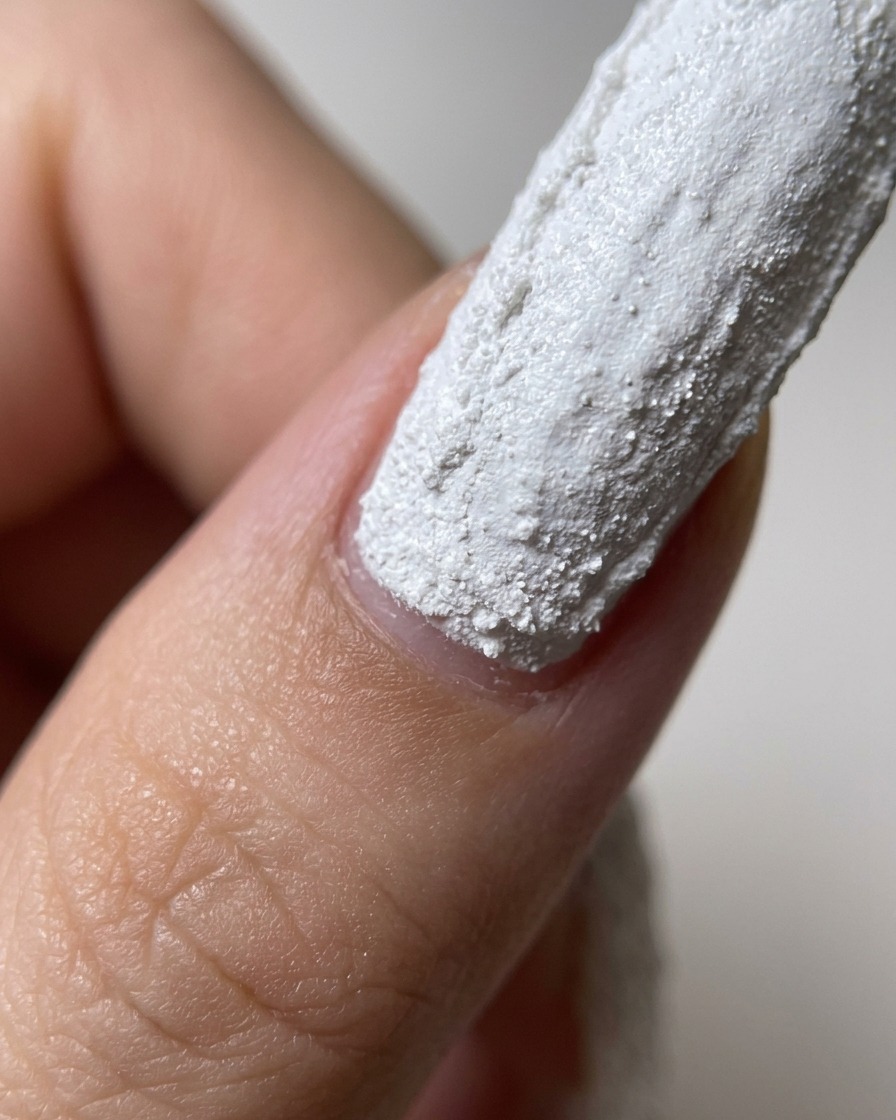
Continue to work the white sand gel, using your brush to push and build the product at the nail edges. This additional layering creates the depth needed for the 3D effect. Once the desired texture is achieved, cure the nail.
Tip: Ensure the gel is well-distributed but concentrated at the edges to maintain the structural look of the relief. - 3Apply matte top coat
After curing the textured white sand base, apply a layer of matte top coat over the entire nail. This provides a non-reflective surface that acts as the canvas for the pigment application. Cure thoroughly.
Tip: Ensure the matte top coat covers all the texture created by the sand gel to achieve a uniform finish. - 4Apply color pigments
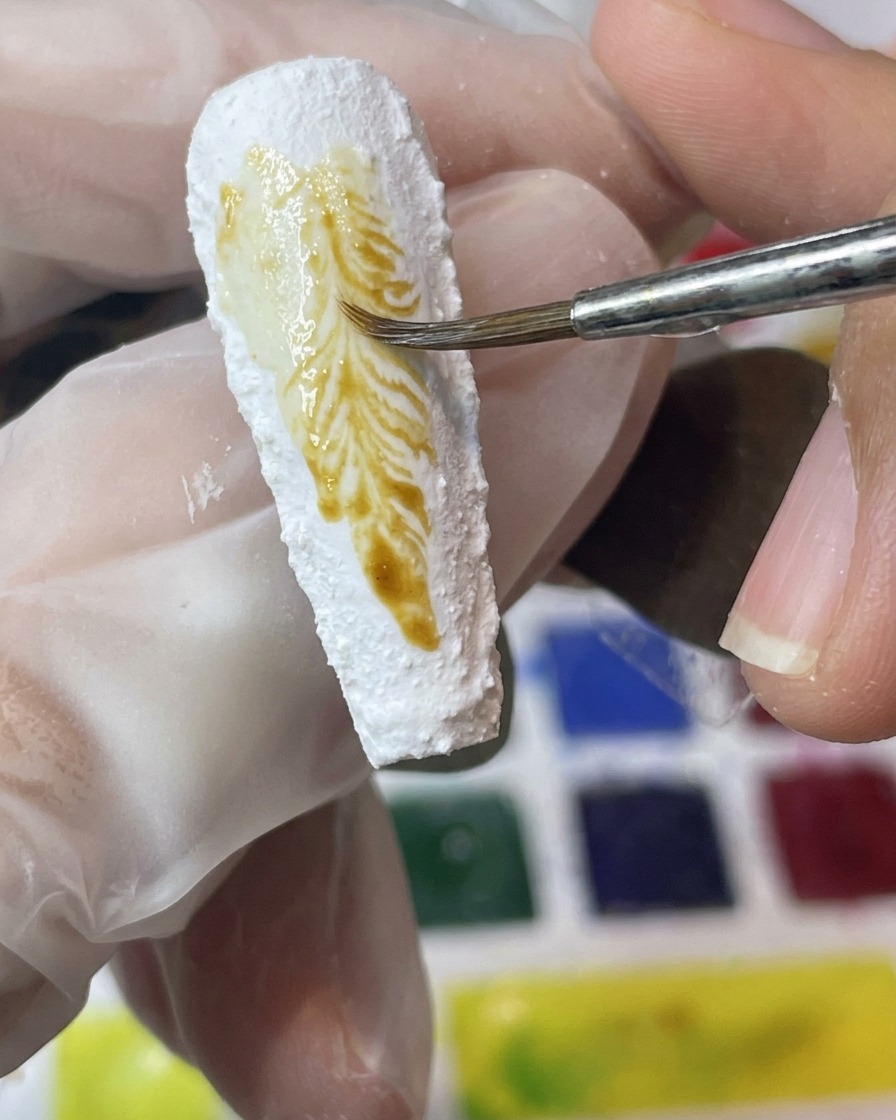
Using a brush, apply brown and yellow pigments over the matte-coated surface. Use the brush to blend the colors, creating a vintage or aged look. These pigments will settle into the texture of the sand gel.
Tip: Use a light touch to blend the pigments, allowing the texture of the base to show through the color. - 5Deepen edges with pigment
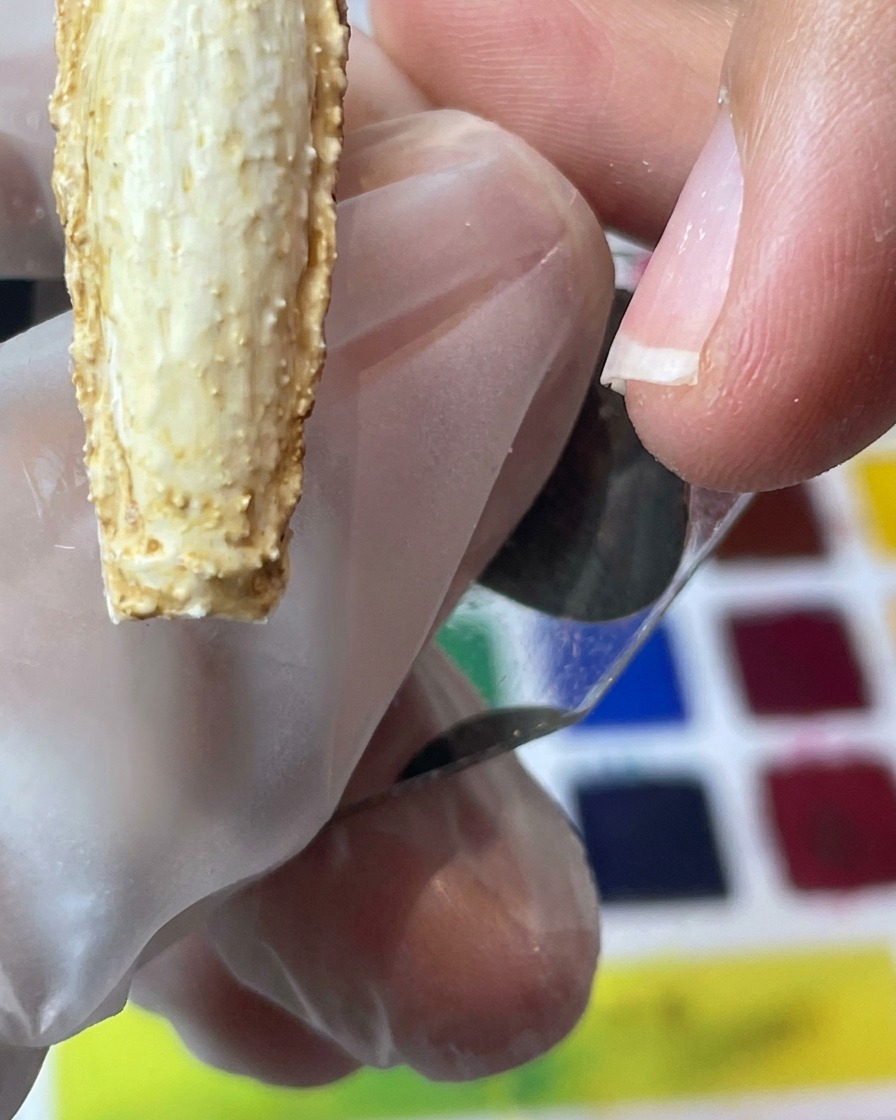
To add dimension, use a darker brown pigment to emphasize the edges of the nail. Apply this more concentrated color along the perimeter, blending it softly toward the center to create a subtle gradient or shadow effect.
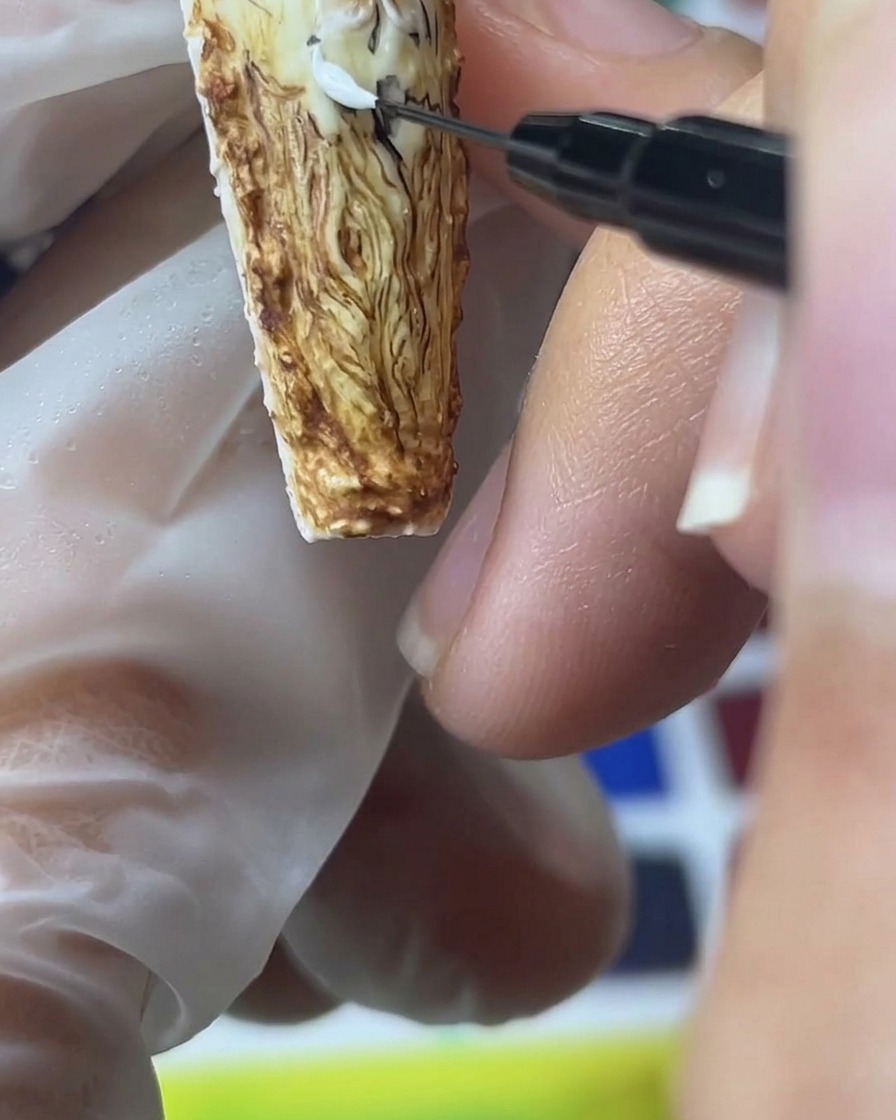
Tip: Focus the darker pigment on the very edges to define the frame of the nail design. - 6Paint English script
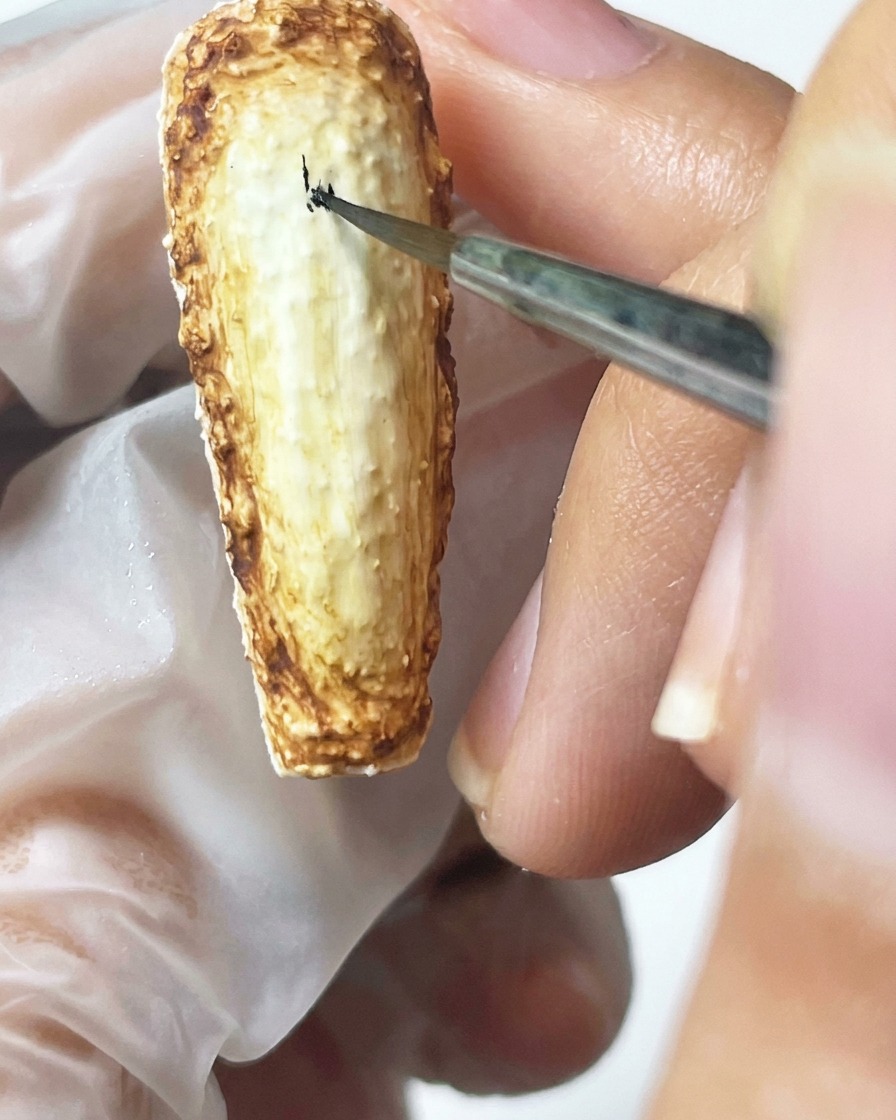
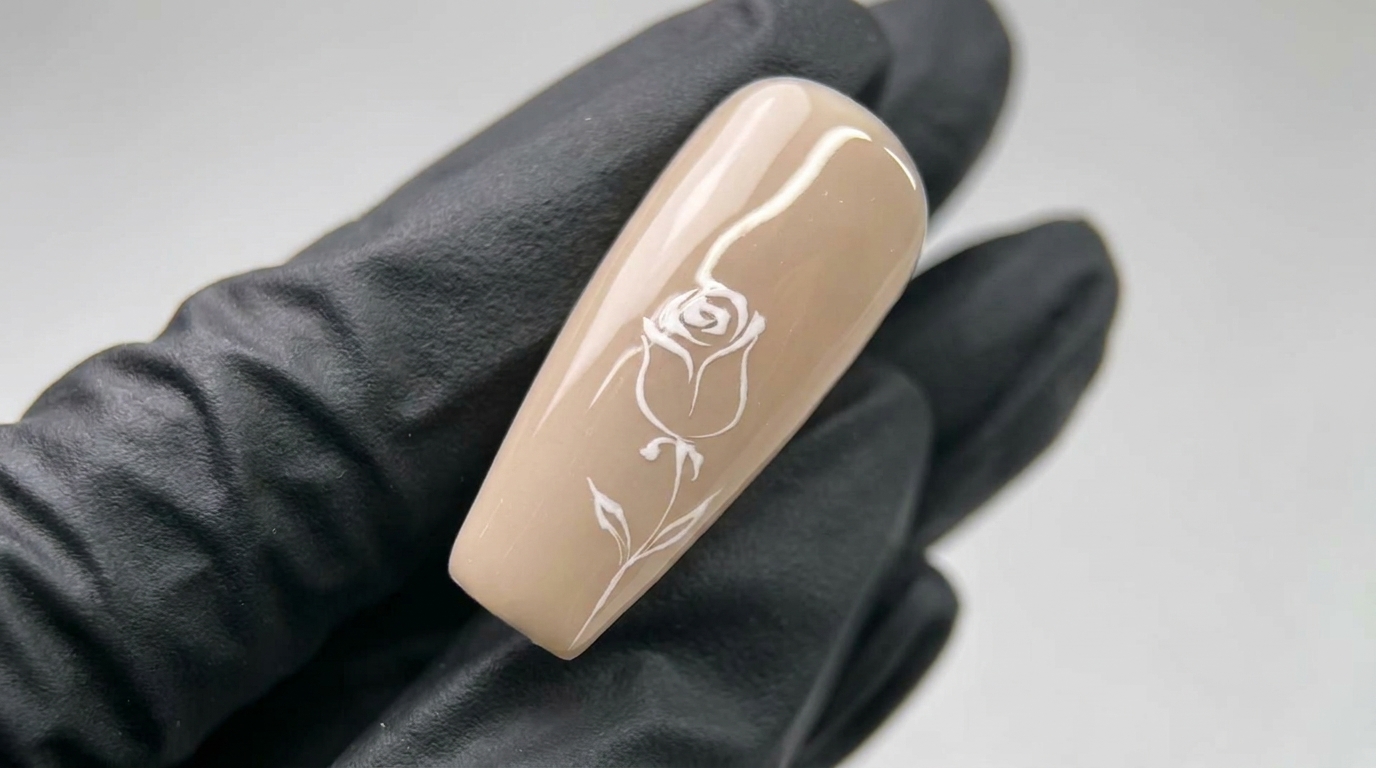
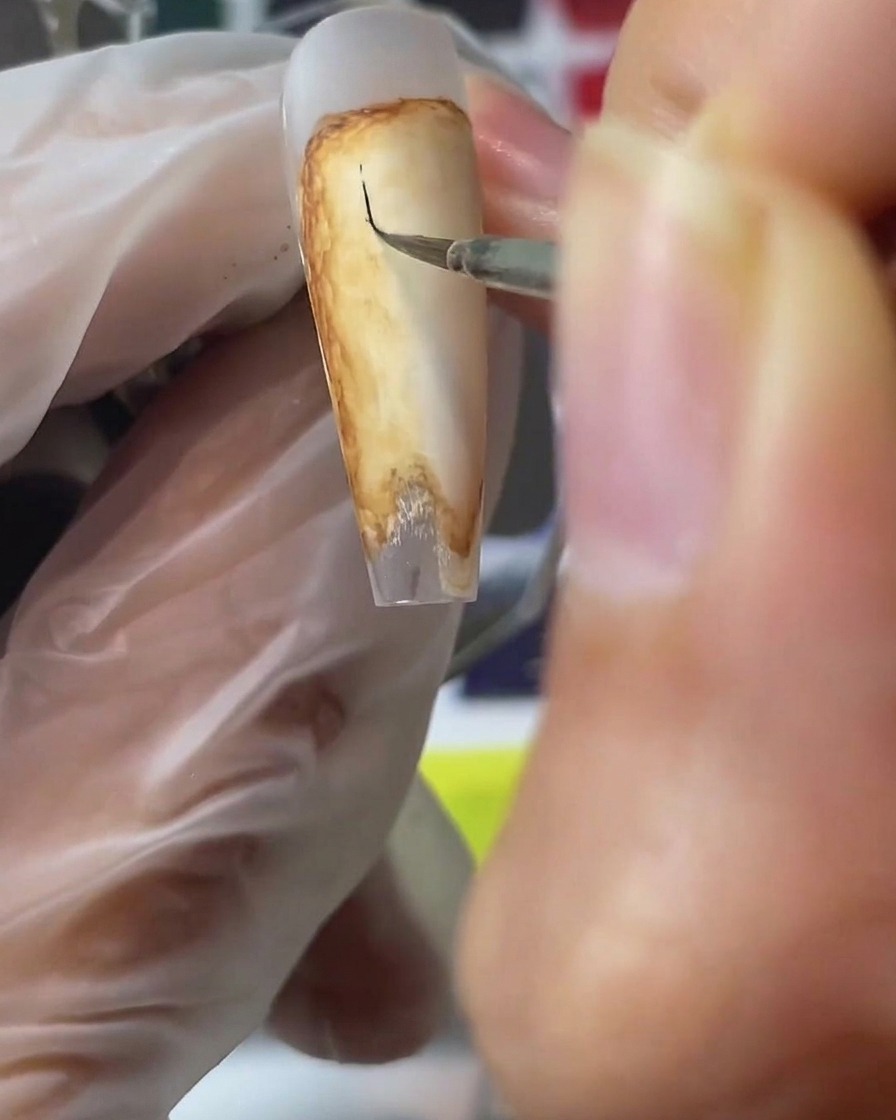
Using a fine liner brush and black watercolor or pigment, carefully paint English script lettering onto the colored nail surface. Ensure the letters are precise and follow a flow that complements the vintage style of the background.
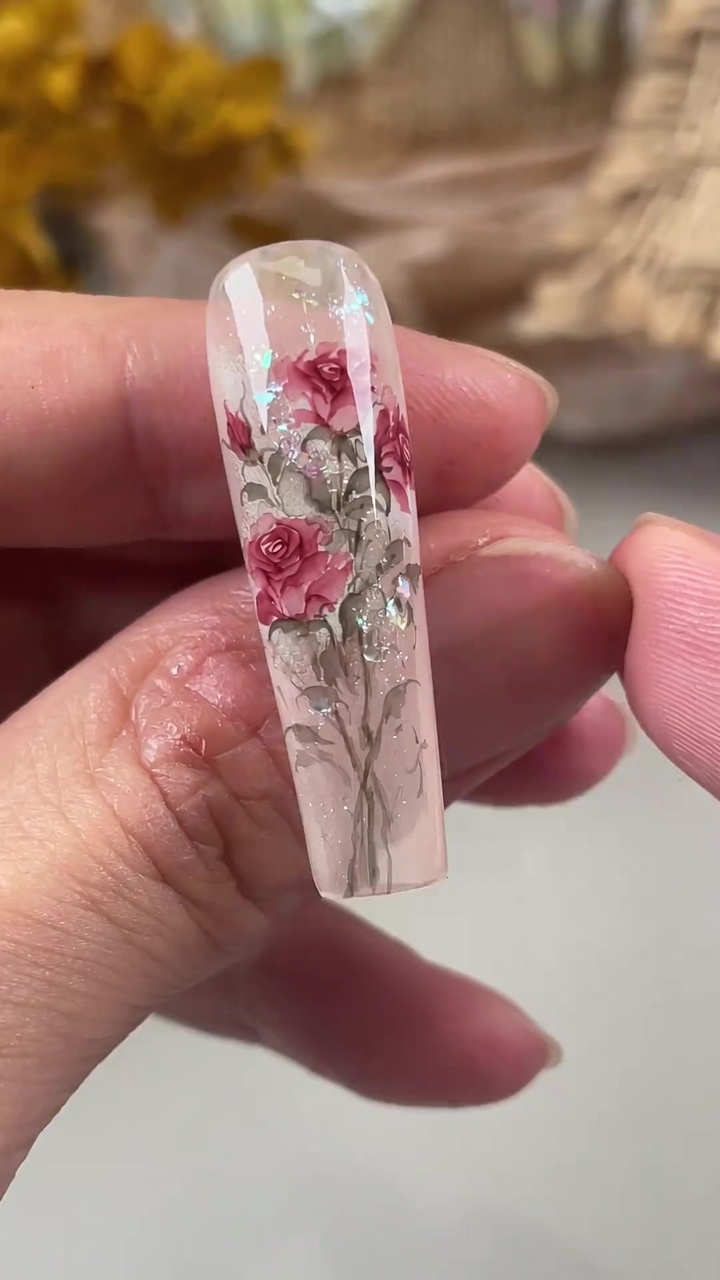
Tip: Keep your hand steady and use a very light touch to achieve clean, legible lines with the fine liner brush. - 7Sculpt 3D Rose Petals
Apply white sand gel with a fine liner brush to sculpt the individual 3D petals of the rose. Build the dimension by overlapping the layers, ensuring the outer petals are sculpted wider to create a realistic blooming effect.
Tip: Work carefully on one petal at a time to keep the 3D edges sharp and defined before curing. - 8Color the 3D roses
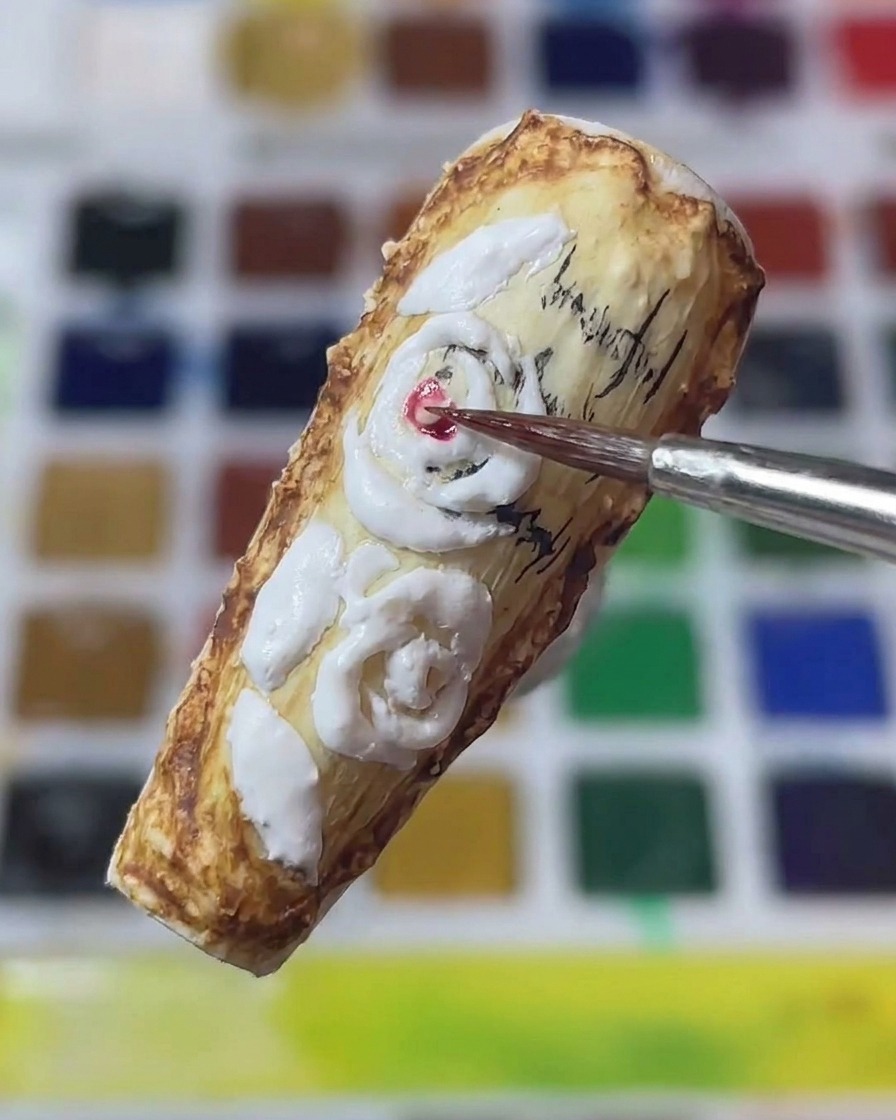
Using a fine detail brush, carefully apply red pigment to the center of the sculpted white 3D roses. Gently blend the color outwards to give the petals a realistic, gradient effect against the vintage background.
Tip: Use a highly concentrated red pigment or watercolor to achieve a vibrant center that fades softly into the white petals. - 9Paint the vintage leaves
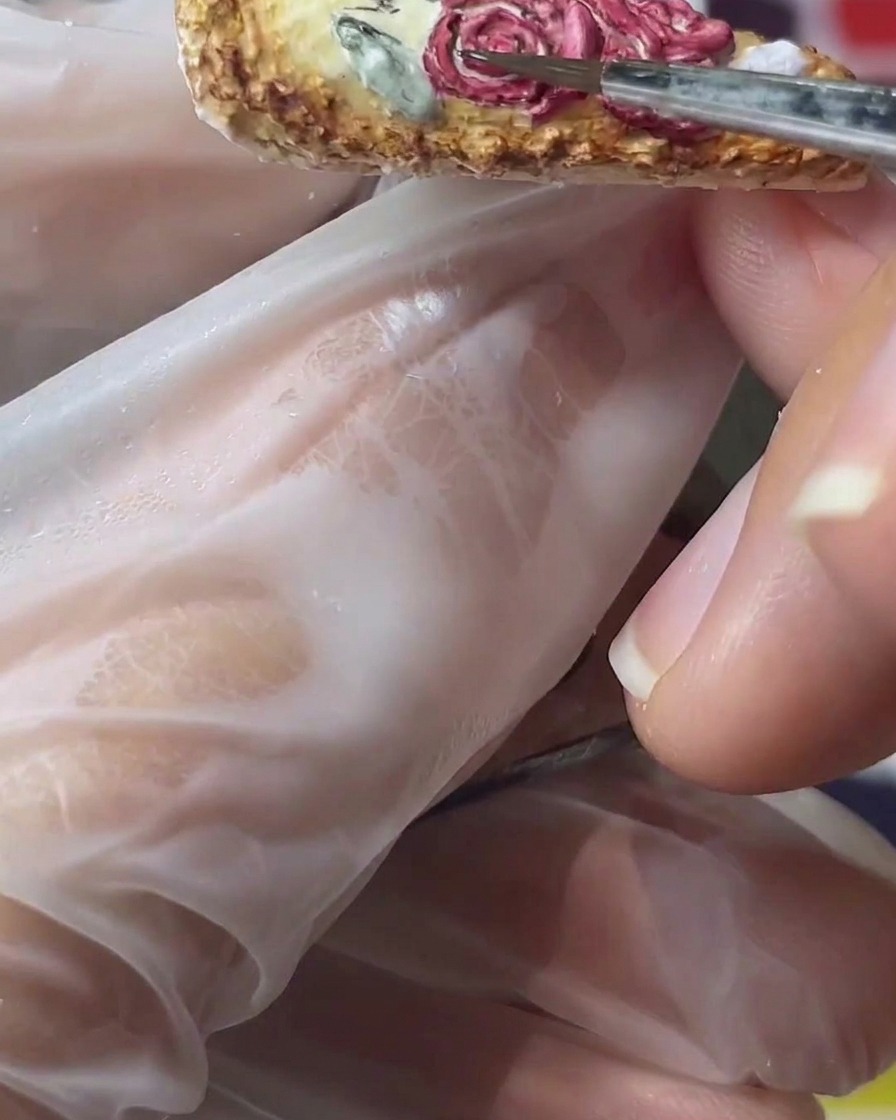
Dip your detail brush into a vintage green pigment mix and paint small leaves around the outer edges of the red 3D roses. Nestle the leaves close to the petals to frame the floral design beautifully.
Tip: Mix a touch of brown or yellow into your green to create a muted, vintage tone that complements the aged paper background. - 10Apply the white base layer

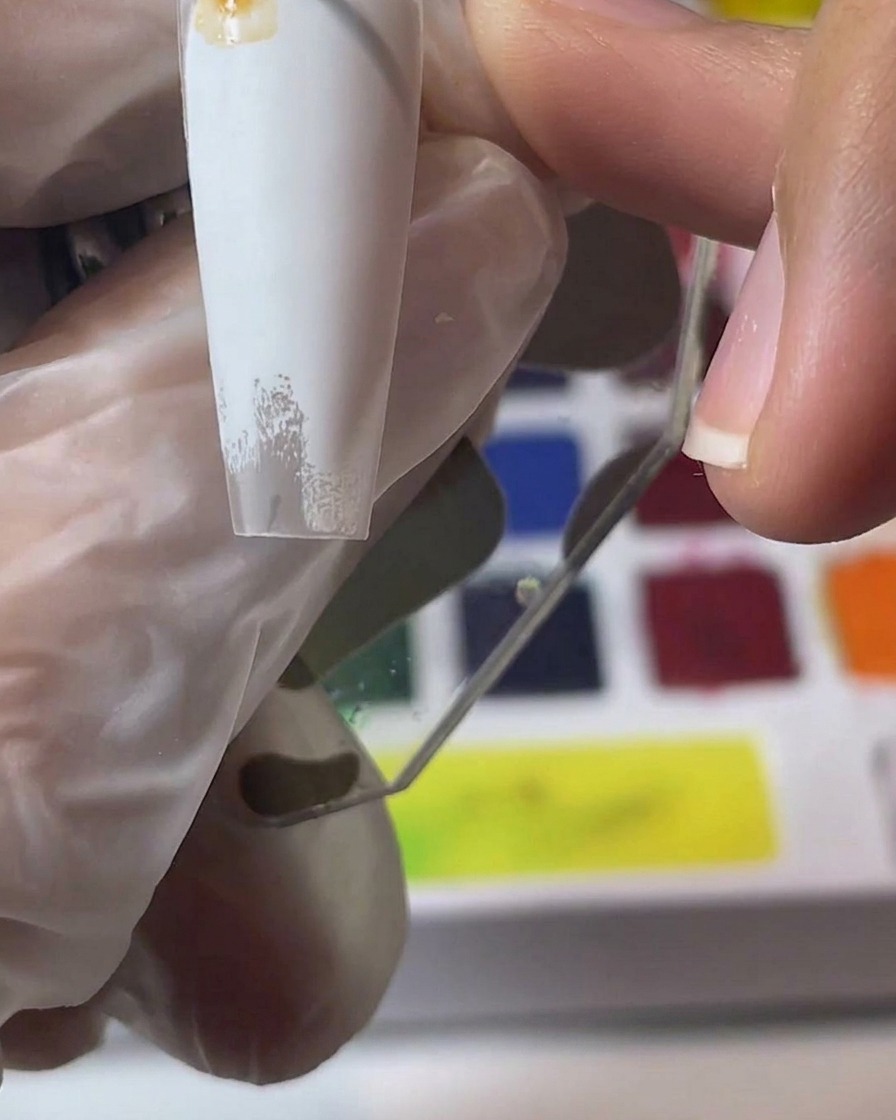
For the second watercolor technique, begin by applying a smooth, even layer of white gel over the entire prepped nail. This crisp white background will help the watercolor pigments stand out brightly.
Tip: Ensure the white gel is applied thinly to prevent wrinkling during the curing process. - 11Apply matte top coat
Once the white base is fully cured, apply a layer of matte top coat over the entire nail. Cure it in your lamp. A matte surface is essential for watercolor art, as it provides the perfect porous texture for the pigments to grip and blend.
Tip: Make sure to wipe the sticky inhibition layer if your matte top coat requires it, otherwise the watercolors will smudge rather than blend. - 12Create the aged paper background
Using brown watercolor pigment, begin gently washing the color over the matte white surface. Focus the deeper brown tones along the edges and corners to mimic the burned or weathered look of an old vintage love letter.
Tip: Dilute the pigment with a bit of alcohol or watercolor medium to create sheer, blendable washes rather than harsh lines. - 13Write Calligraphy Script
Use concentrated black watercolor or gel paint with a long detail liner brush to write elegant English lettering over the blended brown background. Apply minimal pressure to keep the script lines thin, crisp, and fluid like real ink.
Tip: Ensure the background is completely matte before writing to prevent the black script lines from bleeding or spreading.