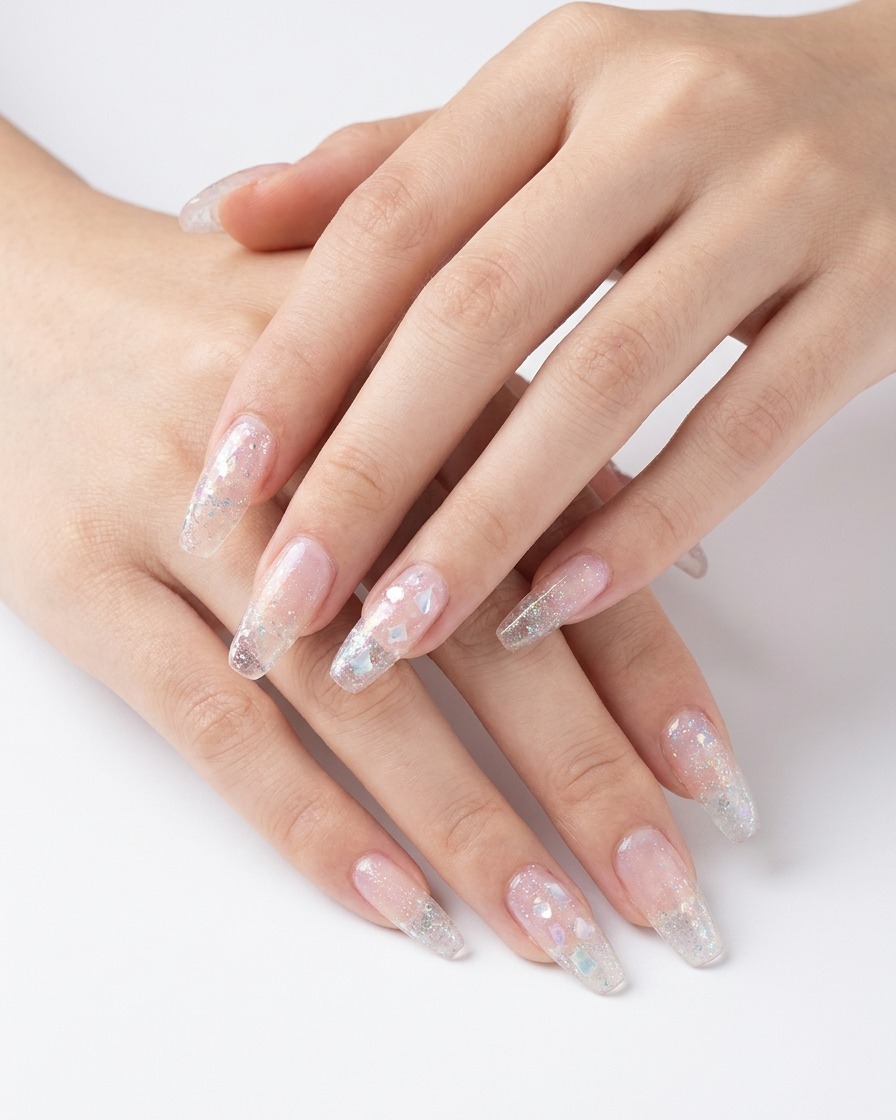
Acetate Moonlight Powder Gradient Nails — Elegant Step-by-Step Tutorial
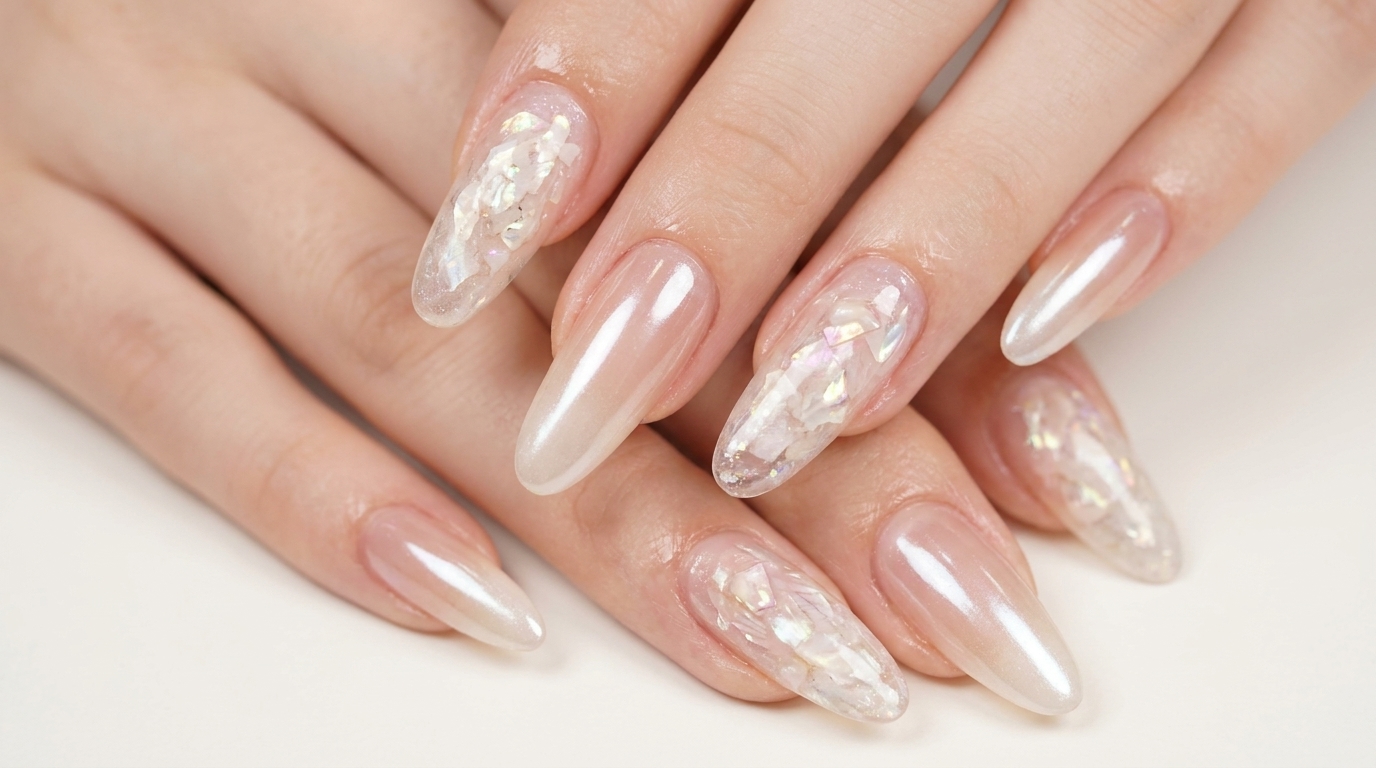
Achieve an ethereal acetate look with this stunning white moonlight powder gradient. Learn how to embed delicate shell pieces for a sophisticated finish.
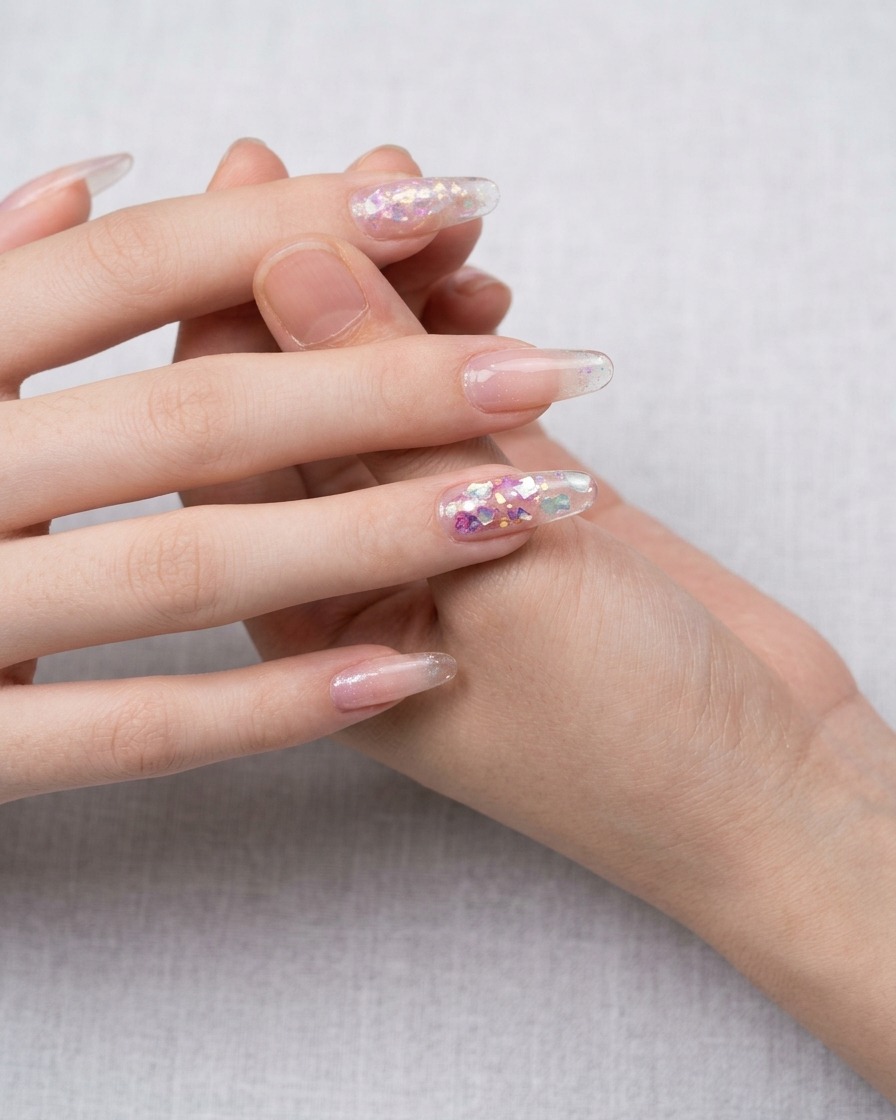
This elegant nail look perfectly captures the moonlight effect, combining the textured depth of embedded shells with a sleek, chrome-like finish. It is a sophisticated, versatile style that balances organic, translucent elements with a modern, high-shine gradient. Perfect for those who love a clean yet intricate aesthetic.
Steps
- 1Prep the cuticle area
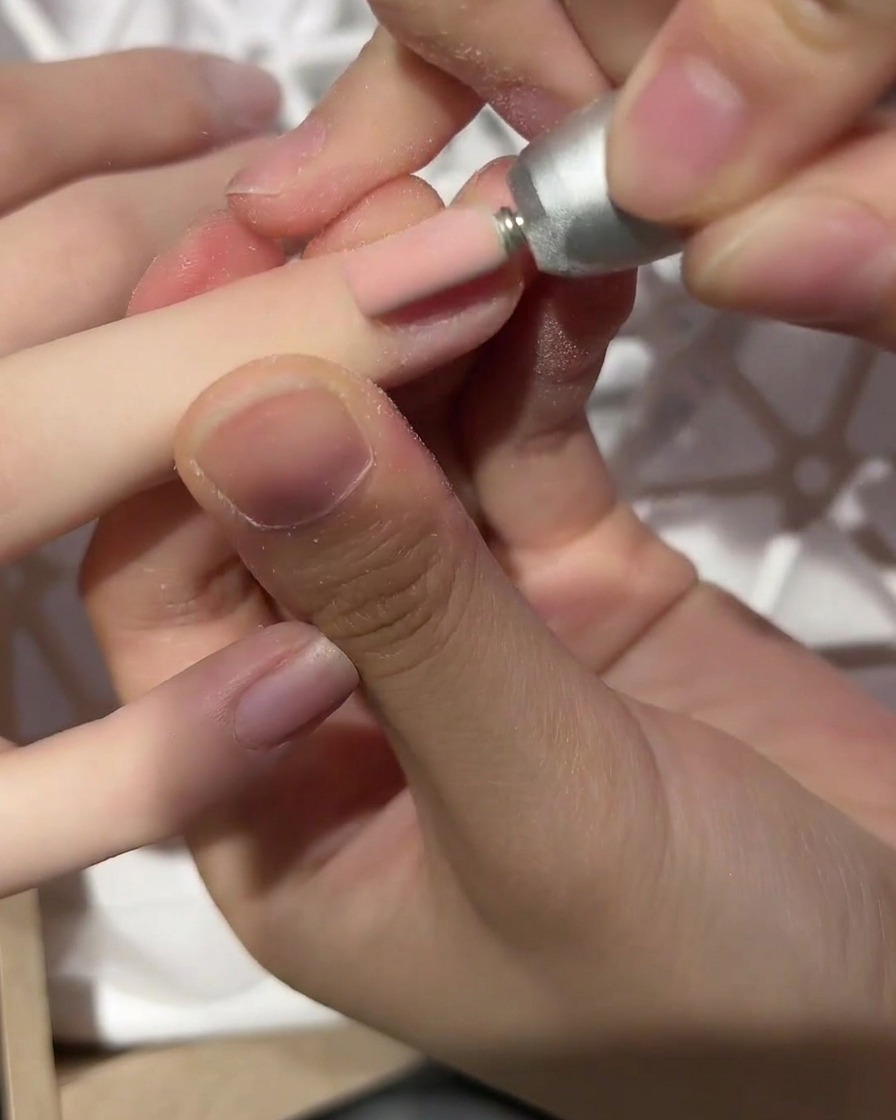
Using an e-file equipped with a barrel bit, gently push back and exfoliate the cuticle area. This removes dead skin and prepares the nail plate for better product adhesion.
Tip: Keep the e-file at a low speed to avoid damaging the delicate skin around the cuticle. - 2Buff the nail plate
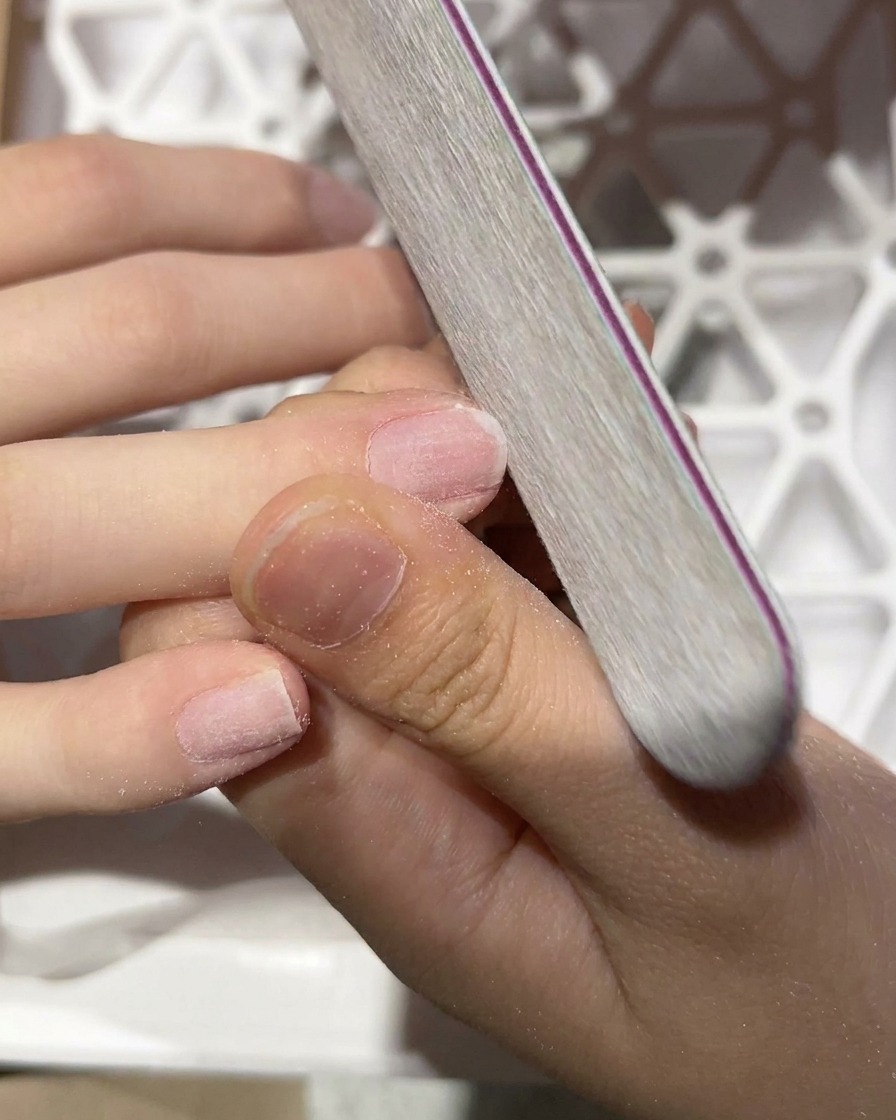
Using a hand file, gently buff the surface of the natural nail plate to remove the natural shine. This creates a slightly textured surface that helps the product bond securely.
Tip: Be gentle and avoid over-buffing, which can thin the natural nail plate. - 3Apply clear nail tip
Apply a small amount of adhesive or gel to the well of the tip, then press it firmly onto the free edge of the natural nail. Ensure there are no air bubbles trapped underneath.
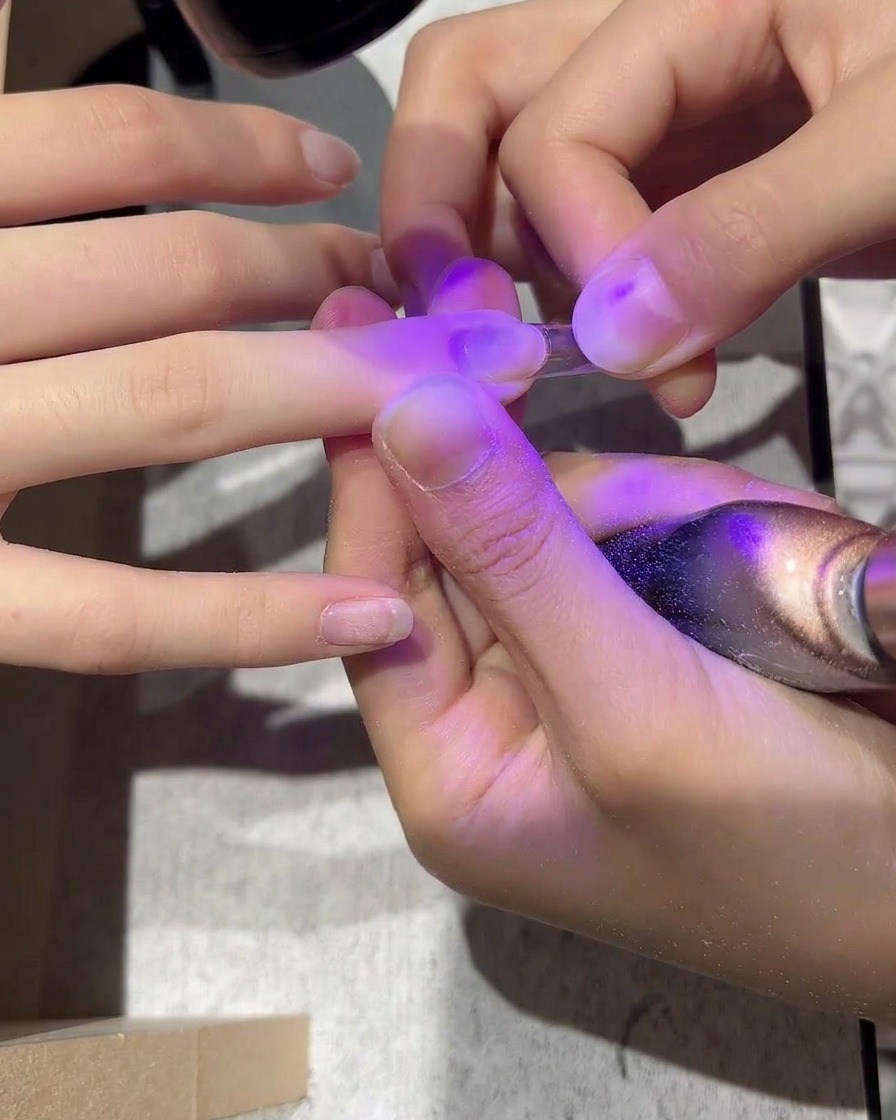
Tip: Apply the tip at a slight angle starting from the cuticle to push out excess glue or gel. - 4Cure the tip
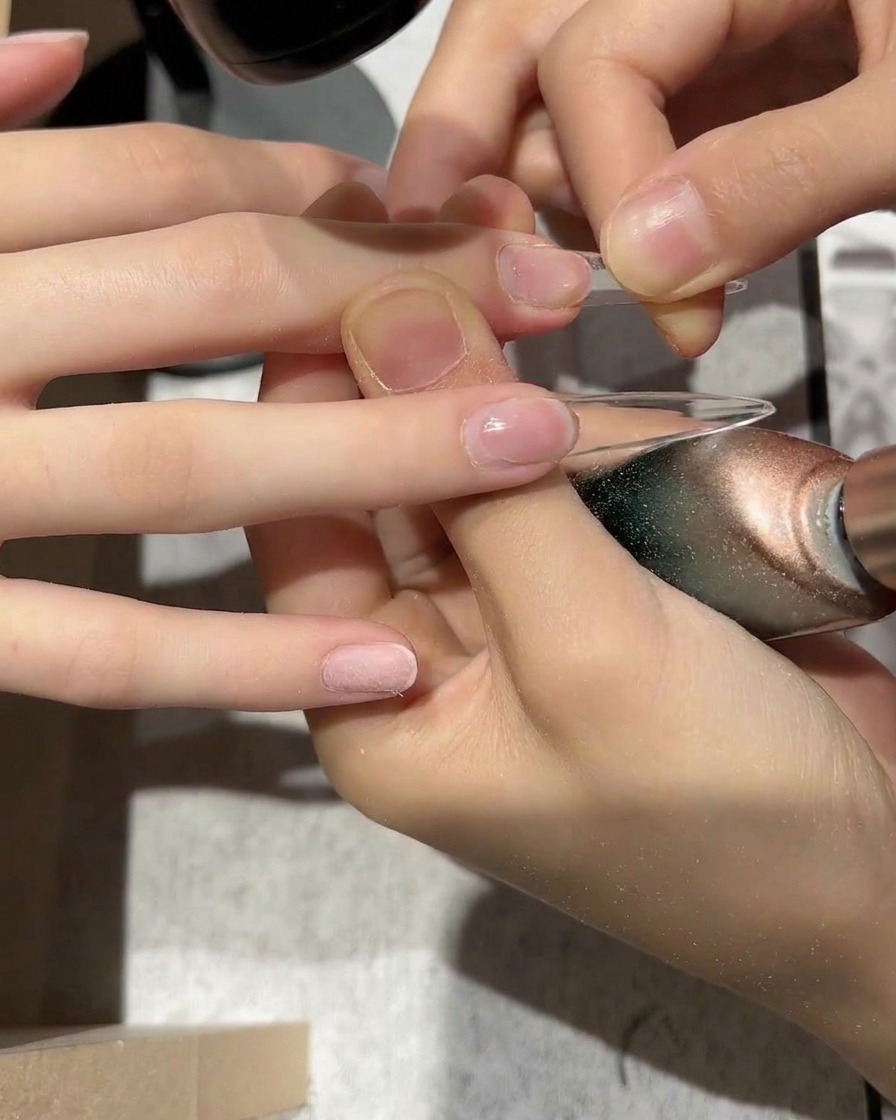
While holding the clear tip firmly in position, use a handheld mini UV lamp to cure the adhesive. This instantly sets the tip in place before proceeding with the rest of the application.
Tip: Ensure the lamp covers the entire bond area to prevent the tip from popping off later. - 5Trim the nail extension
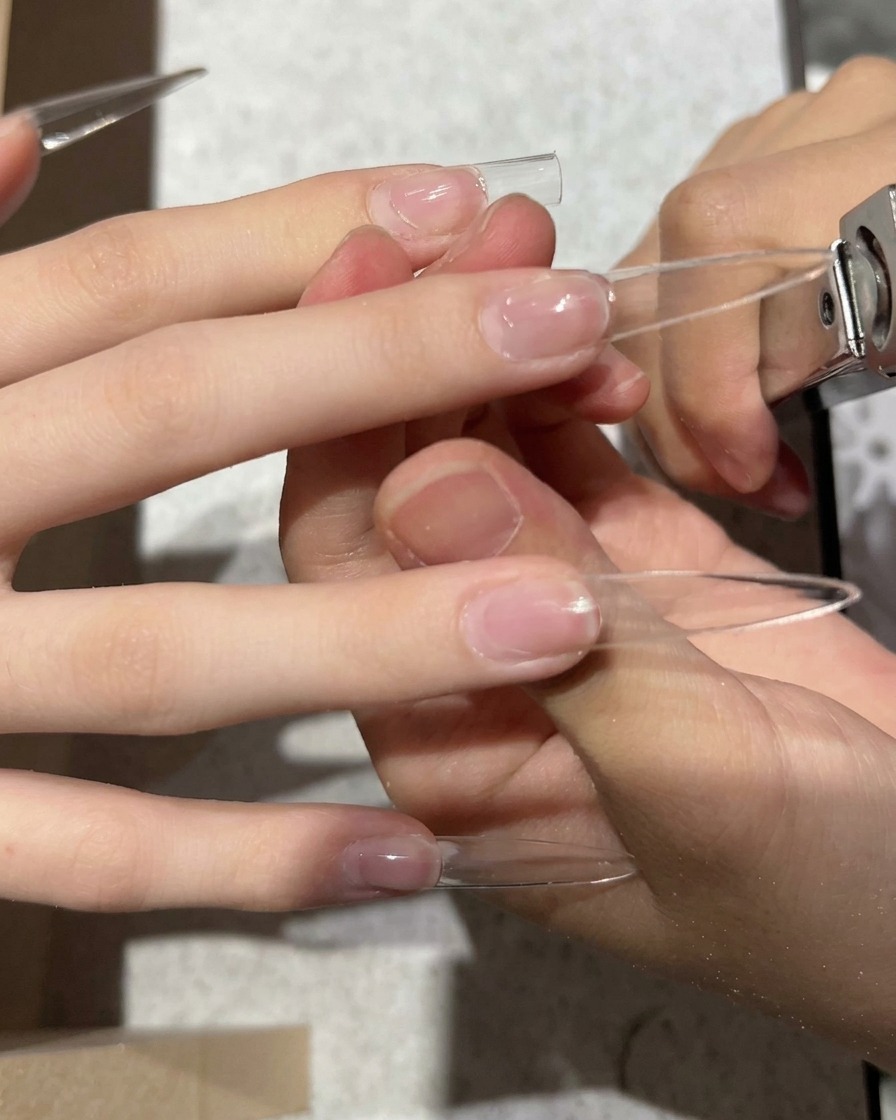
Using professional-grade tip cutters, carefully trim the clear extension to your preferred length. Work slowly to ensure the cut is straight and consistent across all fingers.
Tip: Hold the cutters perpendicular to the nail for a clean, straight edge. - 6Blend the tip seam

Use an e-file to carefully blend the seam where the clear tip meets the natural nail. The goal is to make the transition flush and smooth, creating a seamless appearance.
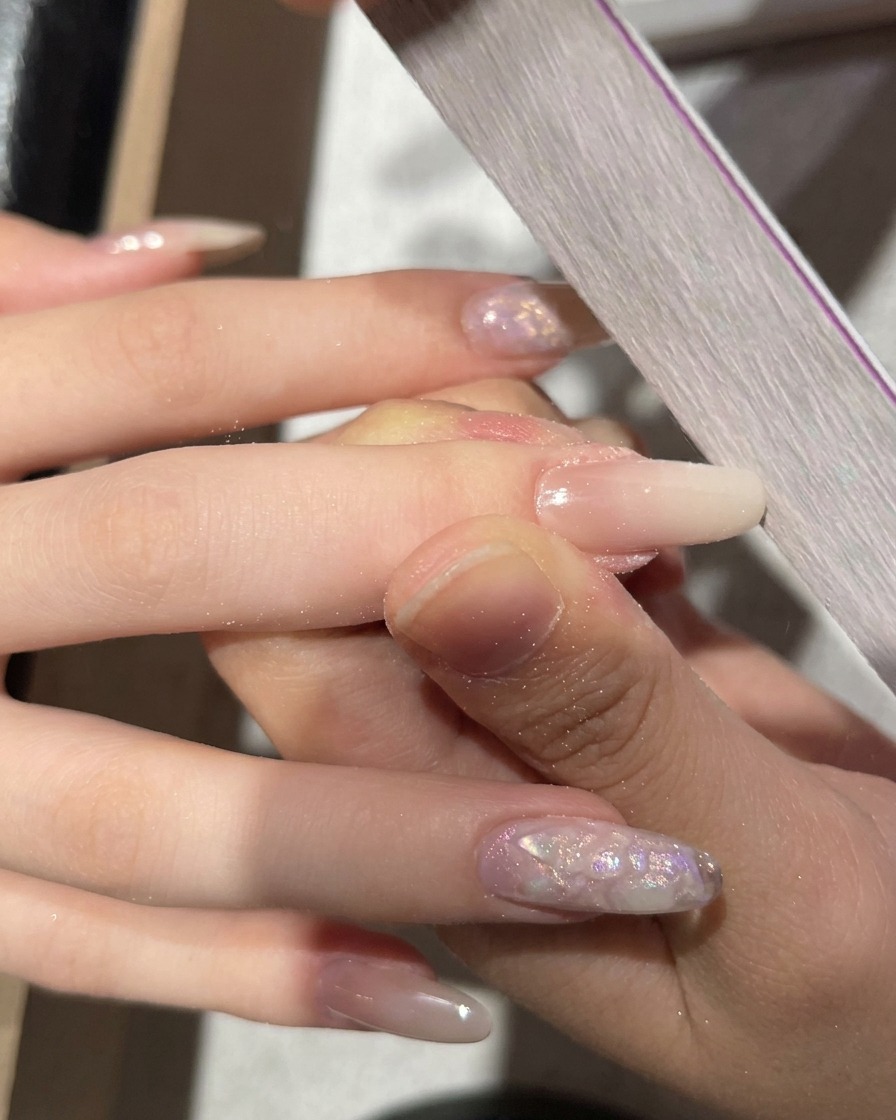
Tip: Use a light touch and keep the file moving to avoid creating grooves in the natural nail. - 7Shape the nails
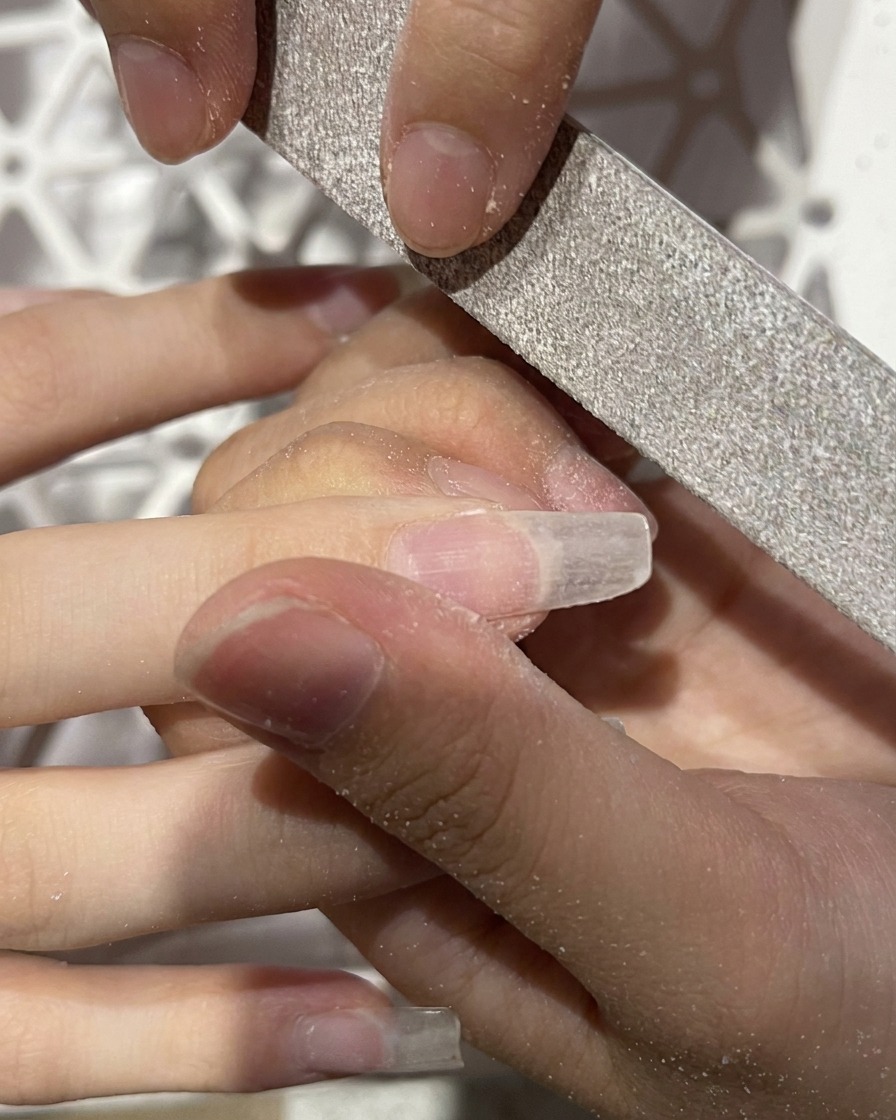
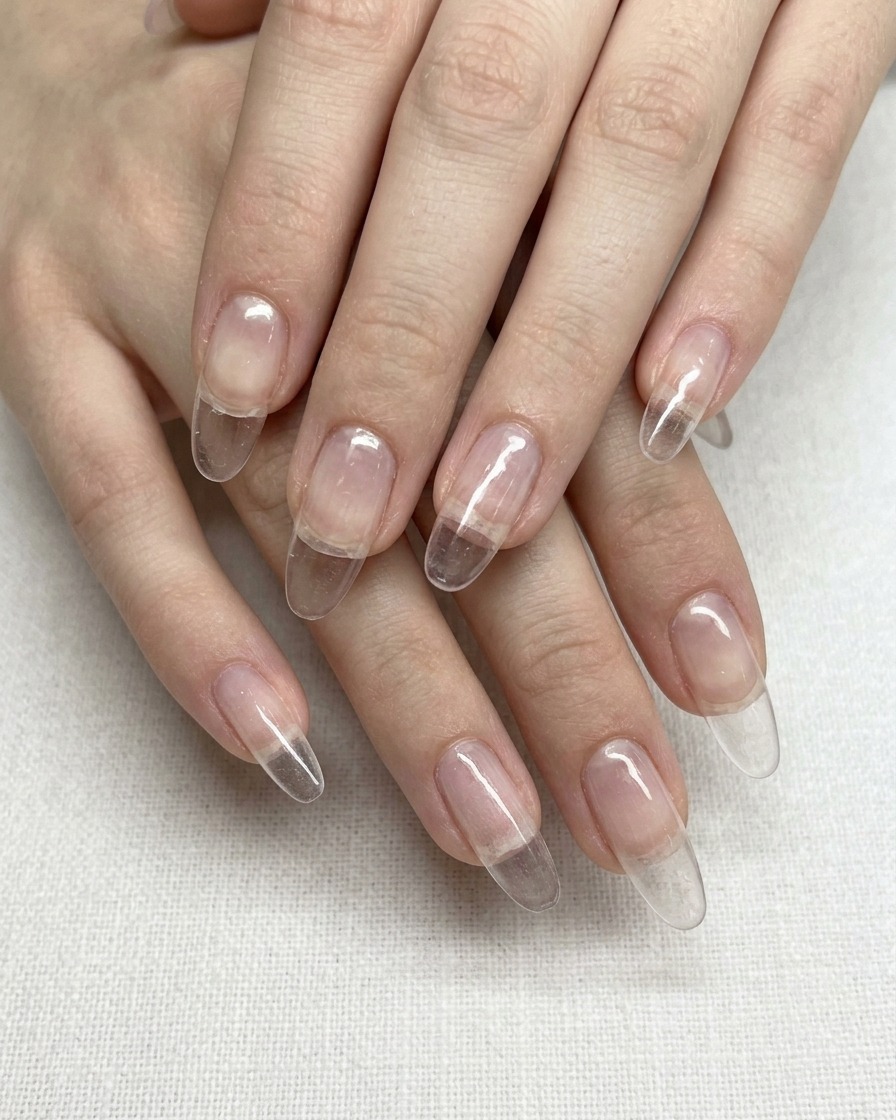
Using a hand file, carefully shape the free edges of your nail extensions into a smooth almond shape. File in one direction to maintain the structural integrity of the extension, ensuring a refined and consistent contour across all fingers.
Tip: Check the shape from different angles to ensure symmetry before moving to the next step. - 8Clean up cuticles
Using sharp, sanitized cuticle nippers, carefully trim away the excess dead skin around the nail plate. Ensure the nippers are held at a comfortable angle to provide precise control and avoid cutting live tissue.
Tip: Only remove the dead skin (the cuticle) to prevent irritation or injury to the living skin. - 9Clean the nail plate
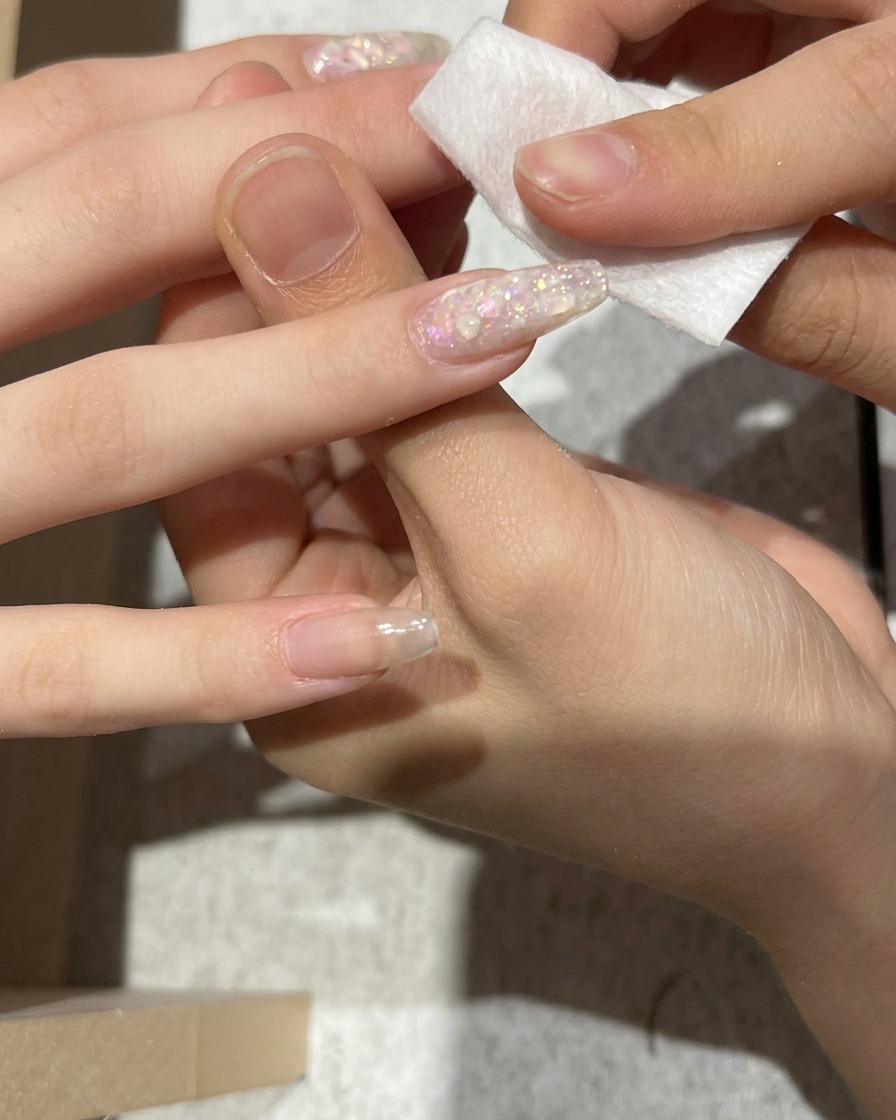
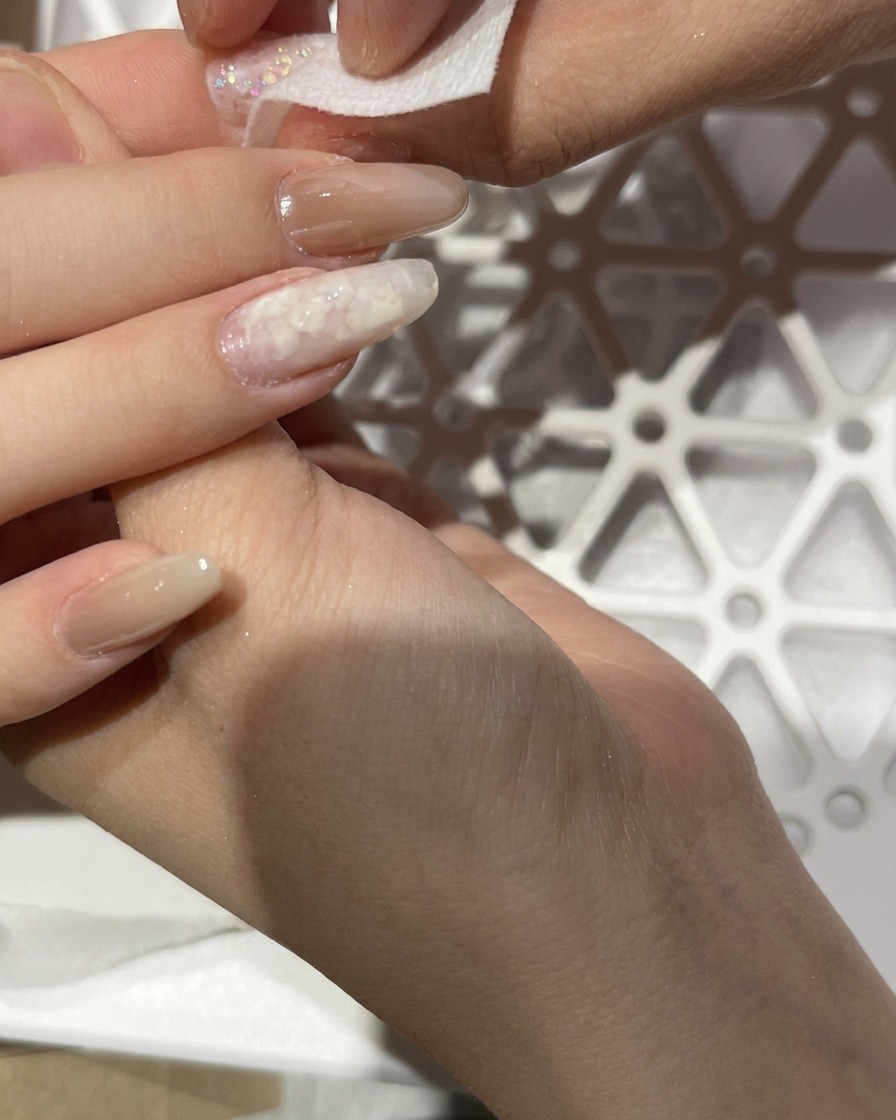
Using a lint-free wipe saturated with nail cleanser or alcohol, thoroughly wipe the entire nail plate. This removes any remaining dust, oils, or residue from the filing process, creating a perfectly clean surface for product adhesion.
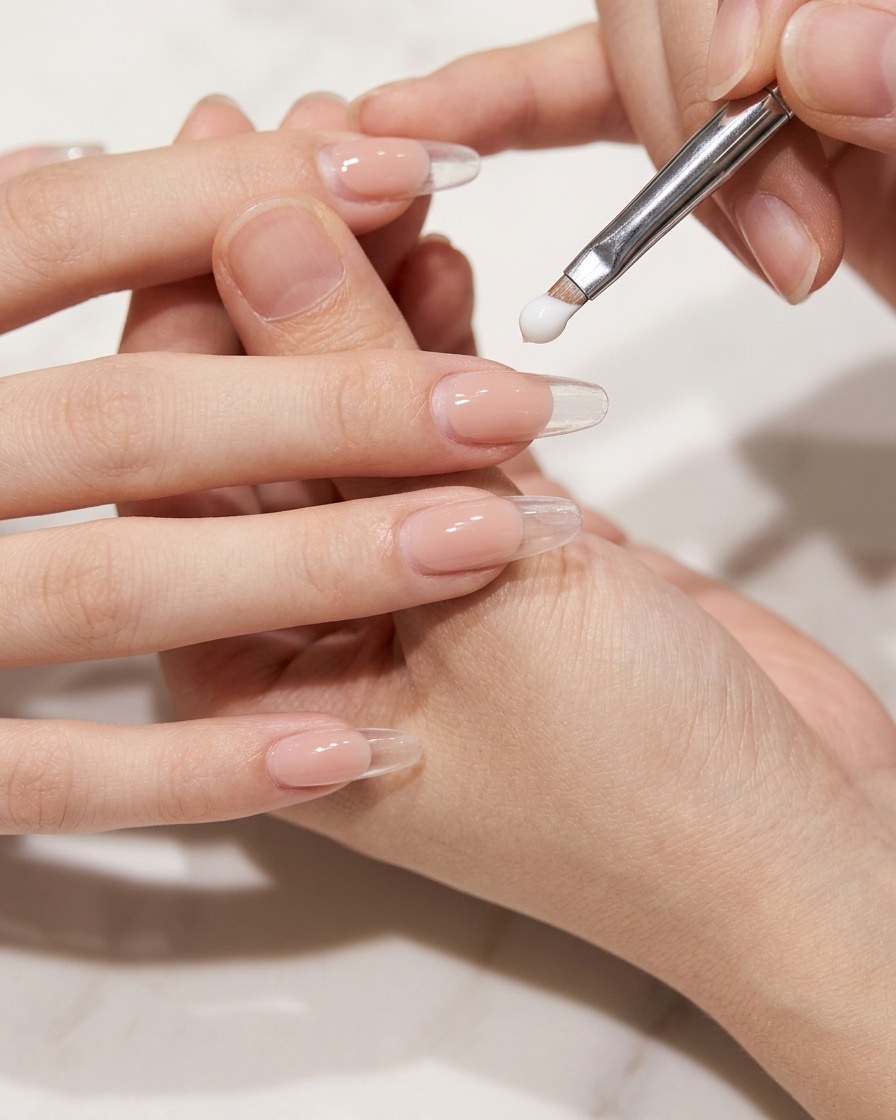
Tip: Make sure to clean the sidewalls and under the free edge where dust often hides. - 10Apply clear gel layer
Apply a thin, even layer of clear gel over the nail plate. This layer acts as a base to help secure the upcoming nail art embellishments.
Tip: Keep the layer thin to avoid bulk; you will encapsulate the design with more gel later. - 11Place shell pieces
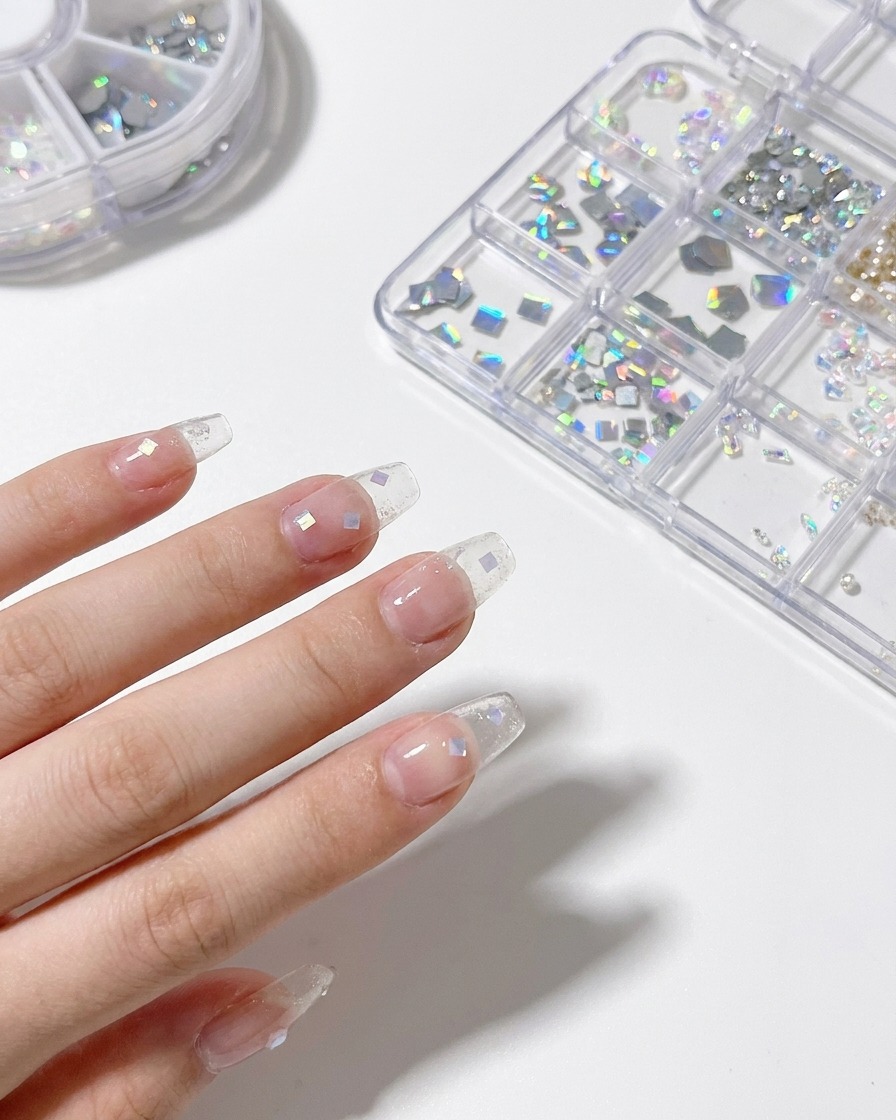
Using a dotting tool or tweezers, pick up individual iridescent shell pieces and place them onto the uncured clear gel. Arrange them to create your desired pattern across the nail surface.
Tip: Place the pieces while the gel is still wet to ensure they stay in position. - 12Cure the design
Place your nails under a UV or LED lamp to cure the clear gel and secure the shell pieces. Follow the manufacturers recommended time for a full cure to ensure the gel is completely hardened.
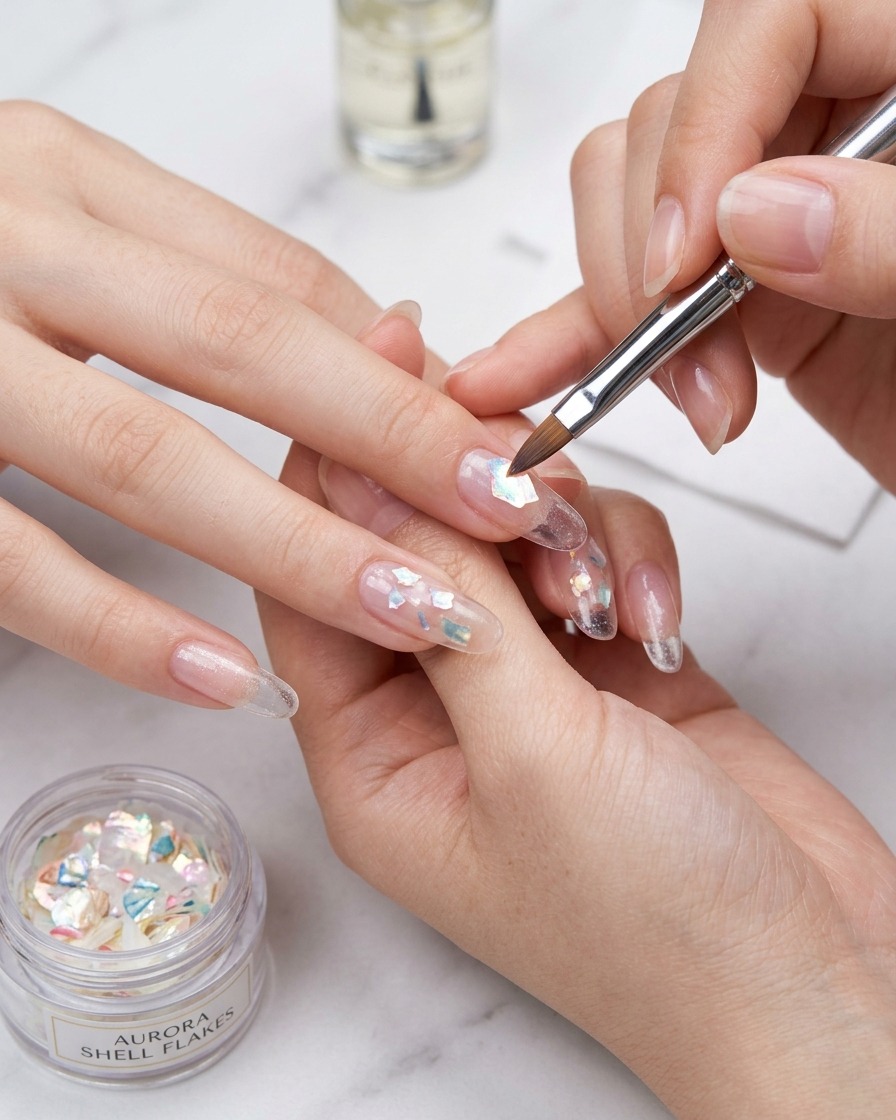
Tip: Keep your fingers flat and steady under the lamp to ensure even light distribution. - 13Layer shell flakes for depth
Continue building the design by applying a thin layer of clear gel, then carefully placing additional shell flakes onto the nail surface. This layering process creates a multi-dimensional, ethereal effect within the gel.
Tip: Vary the size and placement of the shell flakes to create a more natural, organic look. - 14Cure the shell flakes
Once the shell flakes are positioned, place your hand under the mini UV lamp to cure them. This locks the flakes into the clear gel layer, ensuring they remain secure for the next steps.
Tip: Ensure the nail is positioned directly under the light for a complete and even cure. - 15Encapsulate with builder gel
Apply a generous bead of clear builder gel over the entire nail to cover and encapsulate the shell flakes. This step adds necessary strength and structure to the nail while smoothing out any texture from the flakes.
Tip: Use a light hand to float the gel over the flakes to avoid displacing them. - 16Cure the builder gel

Place your nails under the UV lamp to fully cure the builder gel. Follow the manufacturers recommended time to ensure the gel is completely hardened and the structure is set.
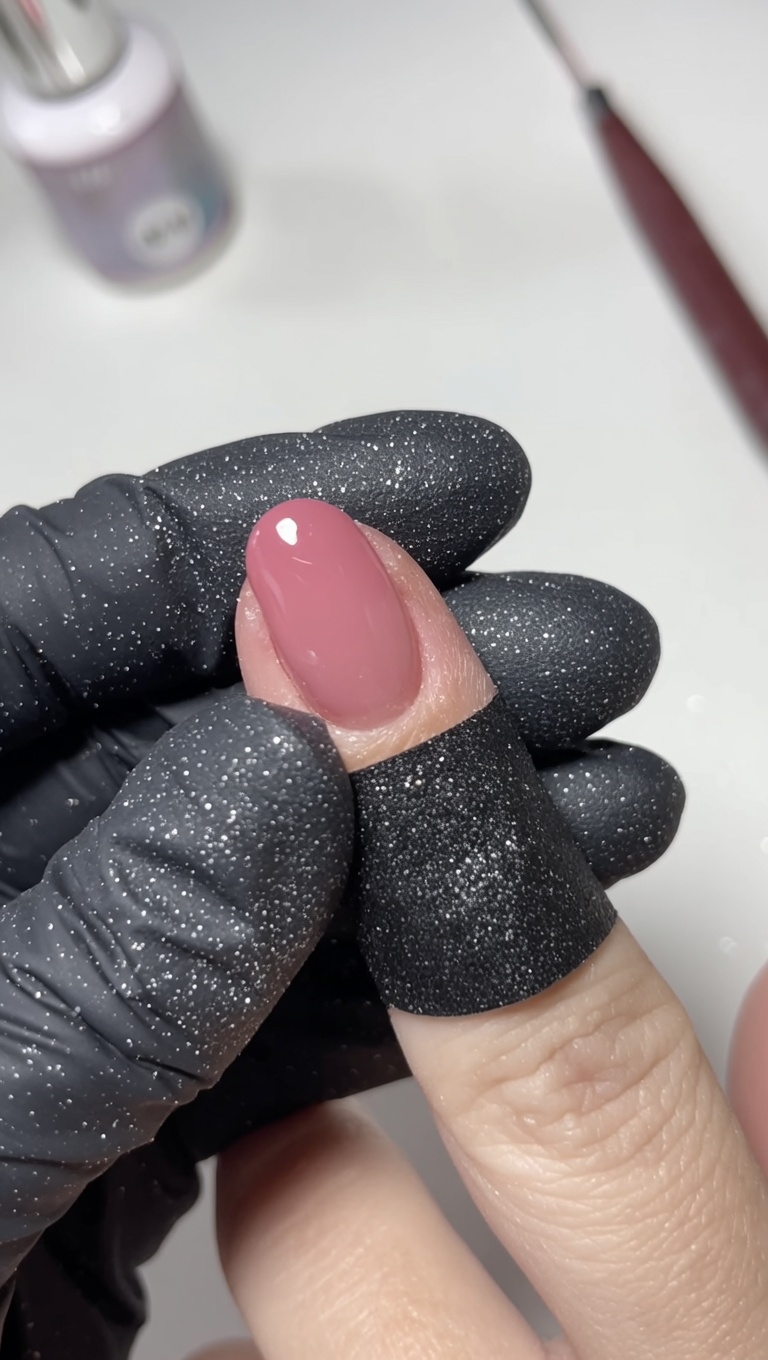
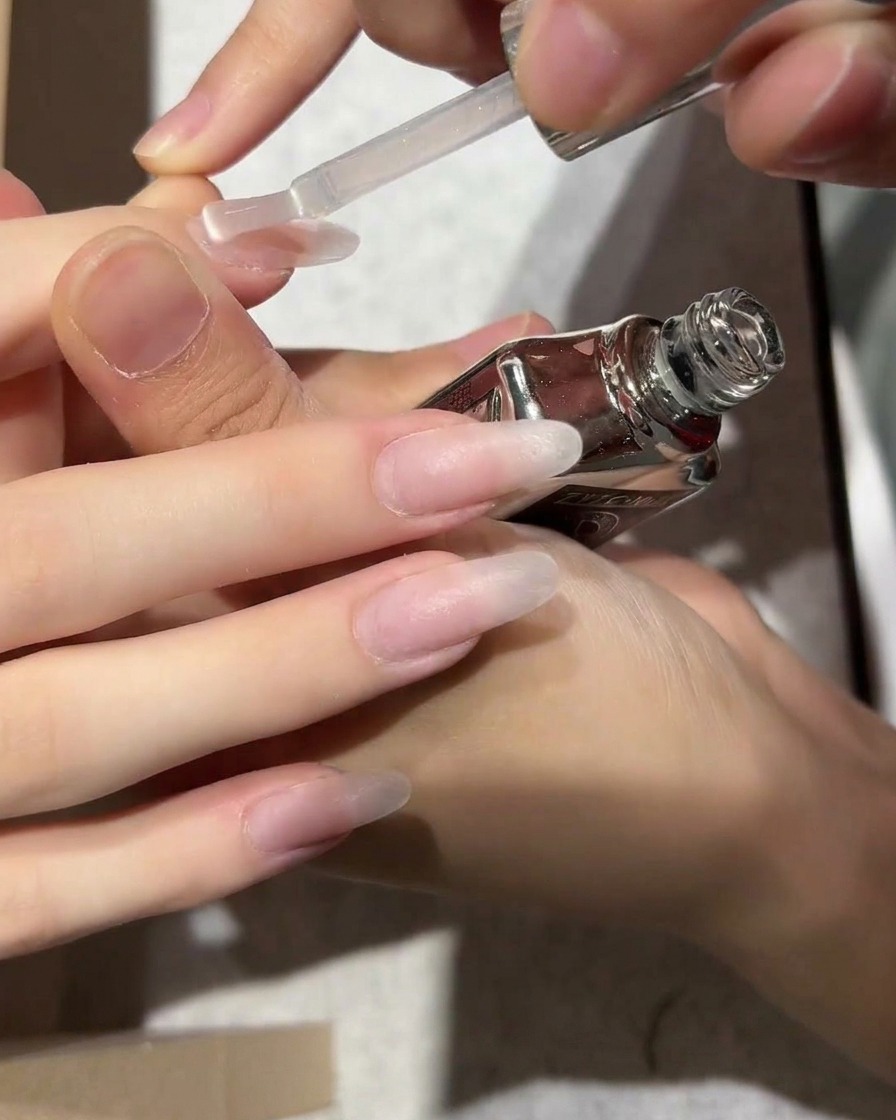
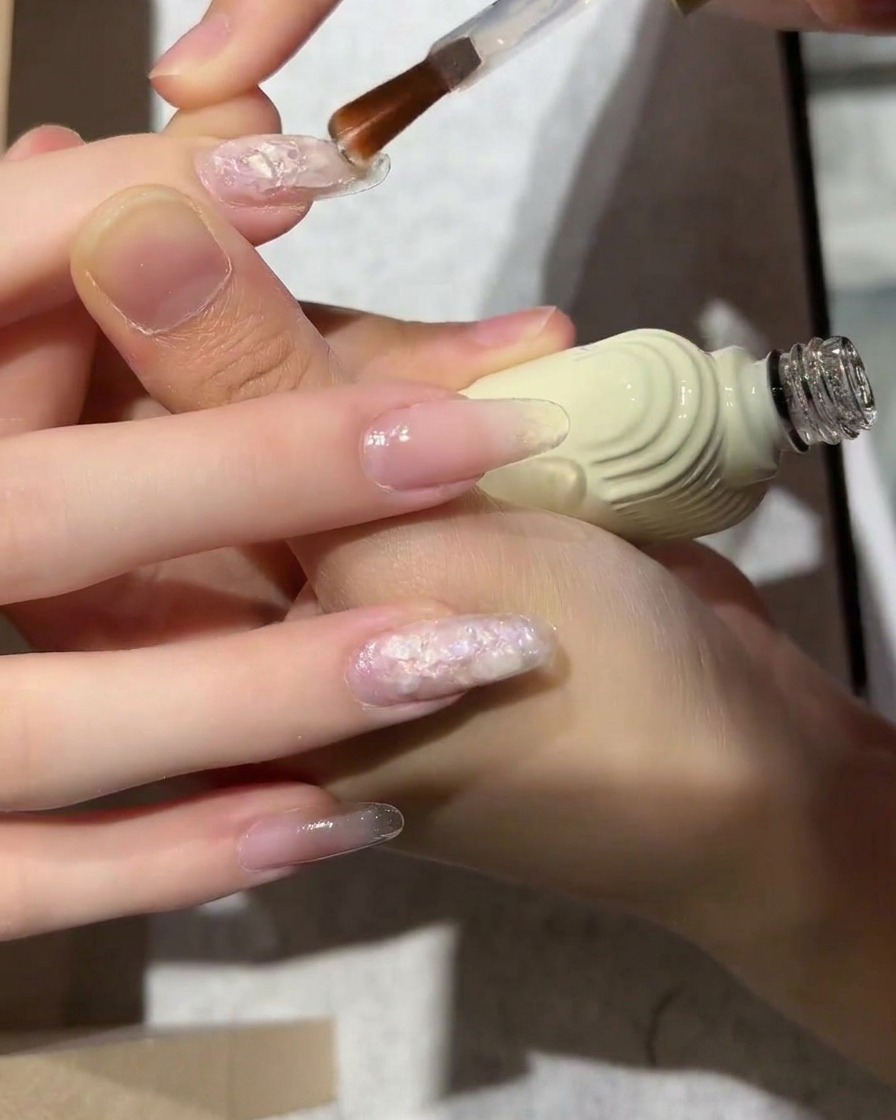
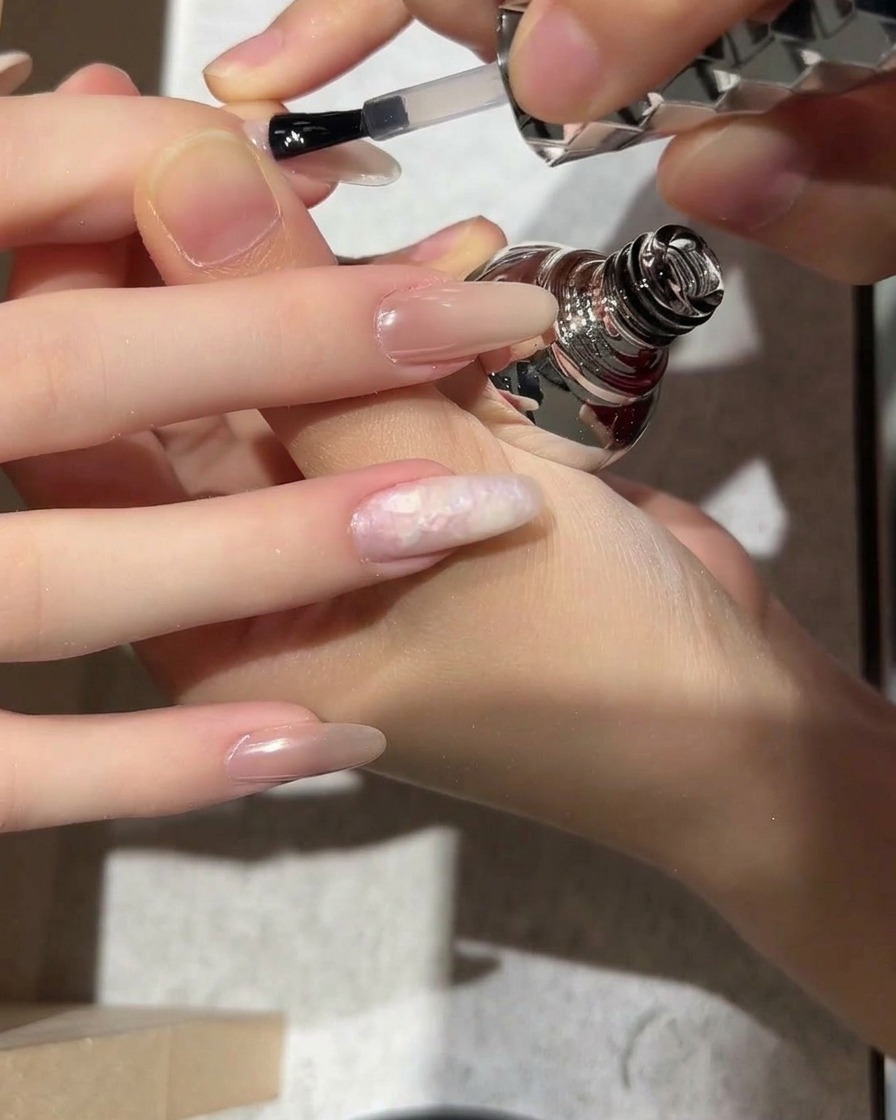
Tip: If you feel a heat spike, remove your hand from the lamp for a few seconds before re-inserting. - 17Apply nude-pink base
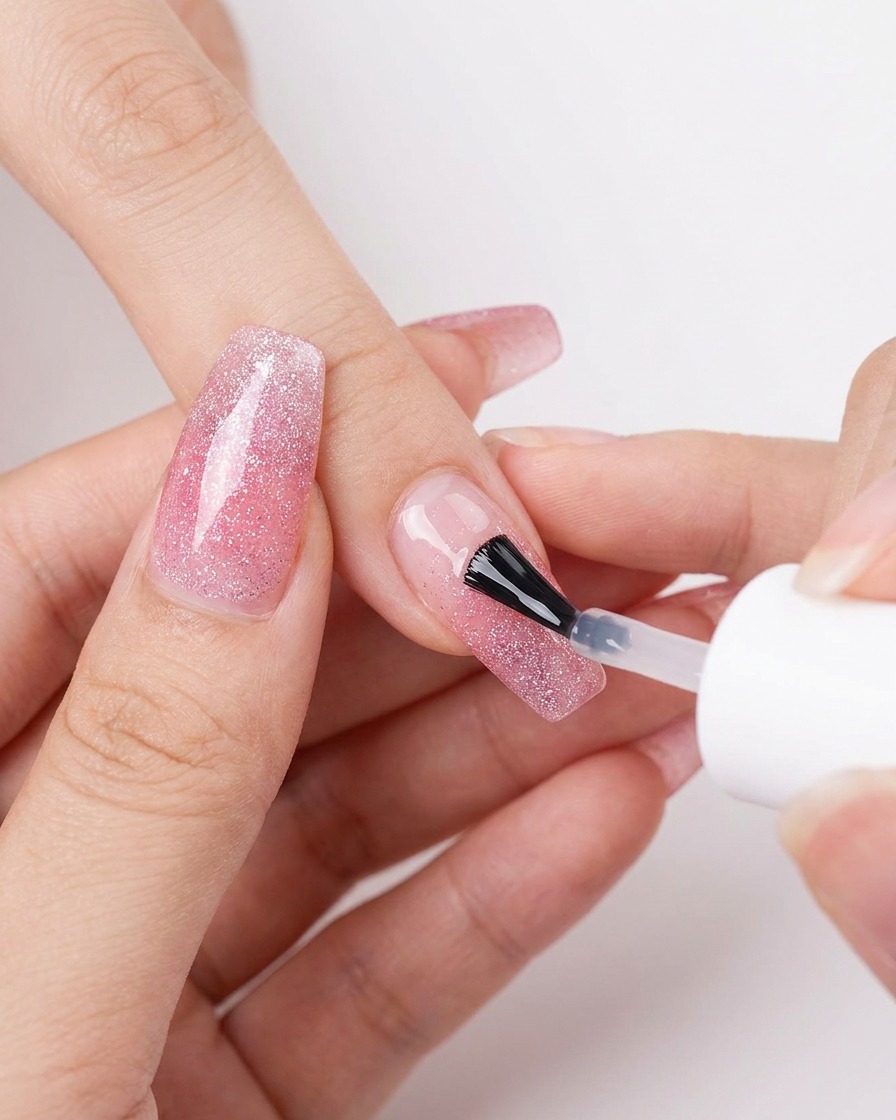
Apply a thin, even layer of sheer nude-pink gel polish over the encapsulated nail. This base color provides a soft, elegant background that complements the iridescent shell flakes beneath.
Tip: Keep the coat thin to ensure the shell details remain visible through the sheer color. - 18Cleanse the nail surface
After curing the base color, use a lint-free wipe soaked in gel cleanser to remove the tacky inhibition layer from the nail surface. This prepares the nail for the next stage of the design.
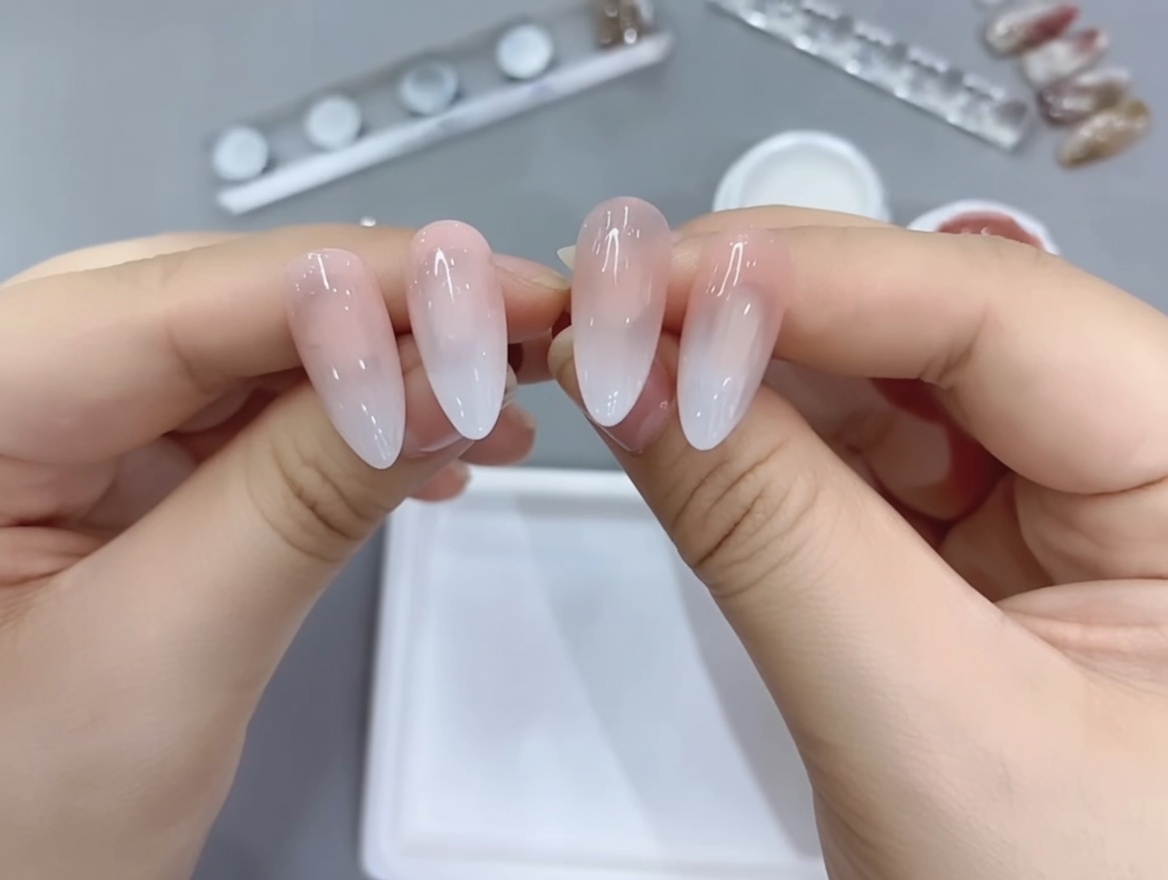
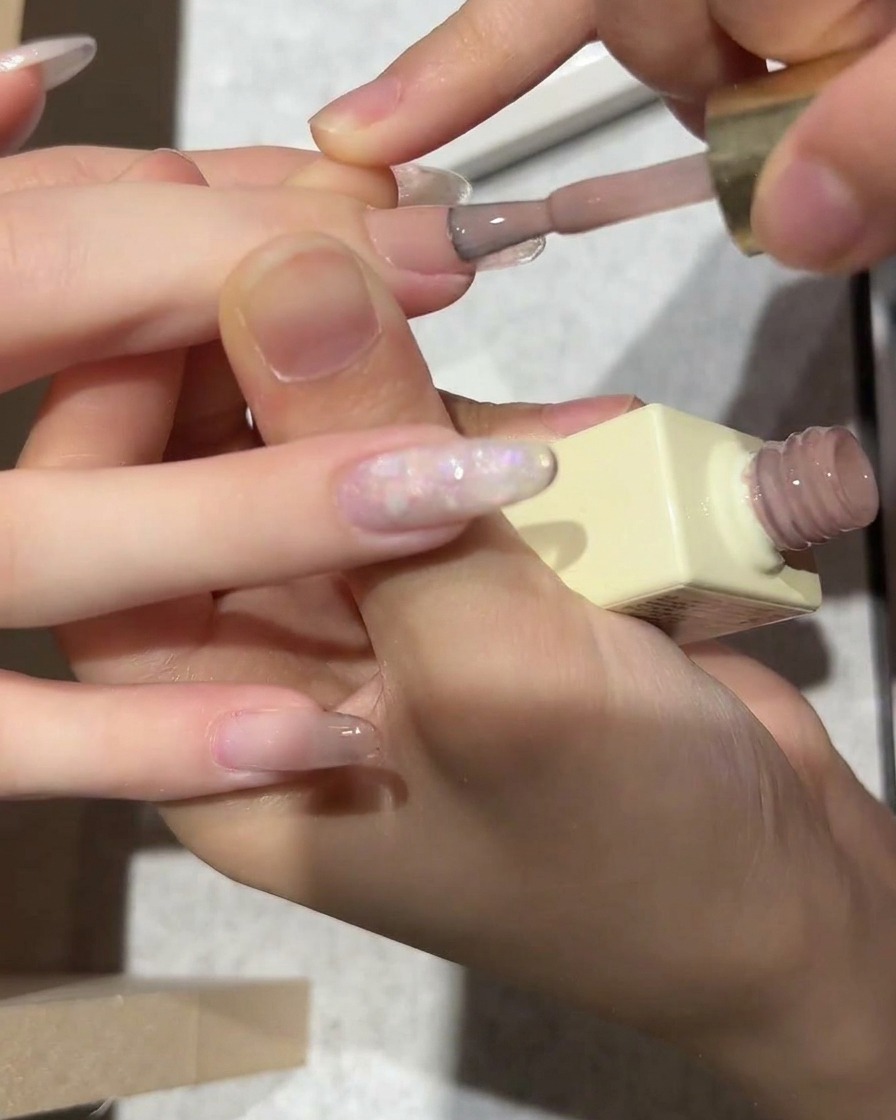
Tip: Use a fresh section of the wipe for each nail to prevent spreading sticky residue. - 19Create the gradient effect

Using a sponge applicator, lightly dab white gel polish over the nail bed to create a soft, seamless gradient effect. Focus the intensity near the tip and blend it gradually toward the center of the nail. Cure under your UV/LED lamp as directed.
Tip: Use a light tapping motion with the sponge to avoid creating visible streaks or textures in the gel. - 20Apply chrome base coat
Apply a thin, even layer of non-wipe top coat over the gradient. This specific top coat is essential as it provides the smooth, tacky-free surface required for the chrome powder to adhere properly. Cure fully under your lamp.
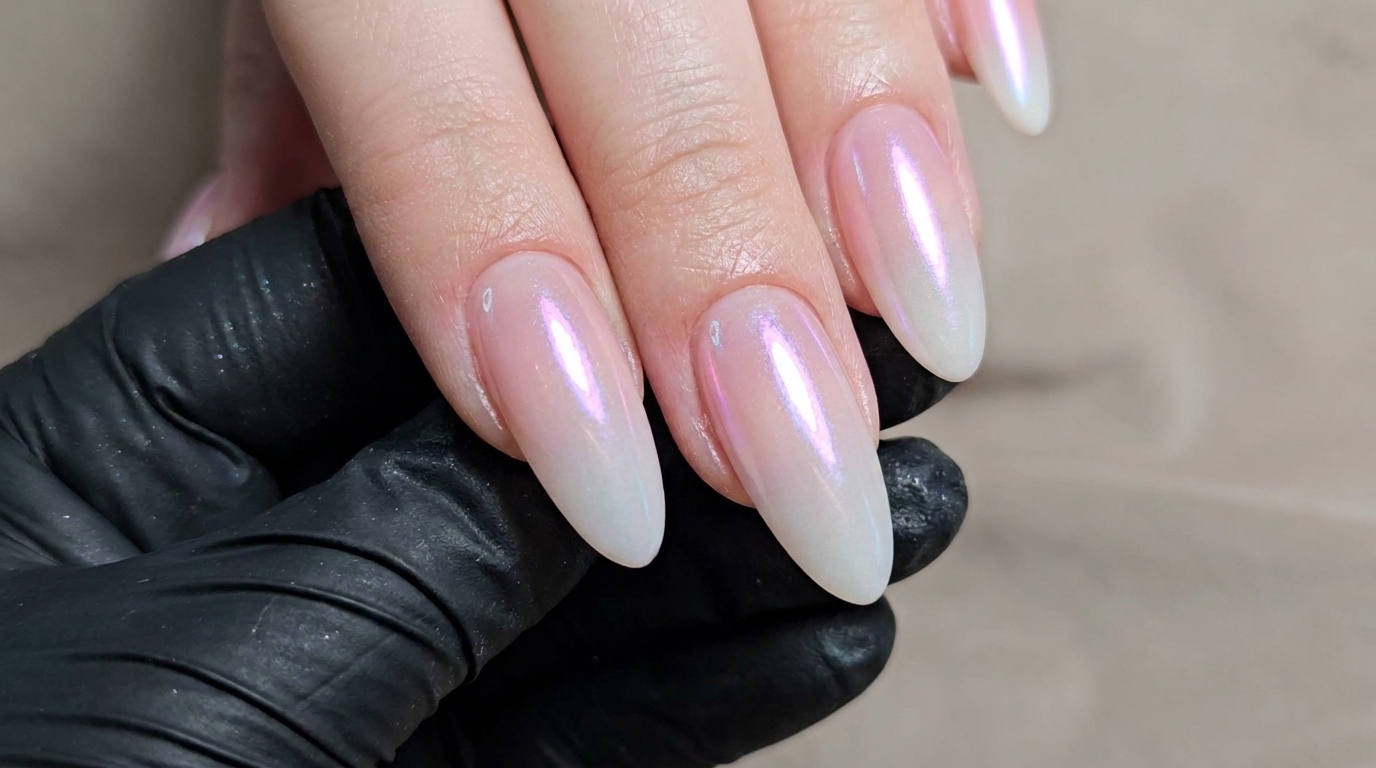
Tip: Ensure the top coat is applied smoothly without any streaks, as any imperfections will be magnified once the chrome powder is applied. - 21Apply moonlight powder
Using a sponge applicator, pick up a small amount of white moonlight chrome powder and gently rub it onto the cured, non-wipe surface. Buff it in circular motions until the surface achieves a high-shine, pearlescent finish.
Tip: A little powder goes a long way; start with a small amount and add more if needed to achieve an even, lustrous coat. - 22Smooth the nail surface
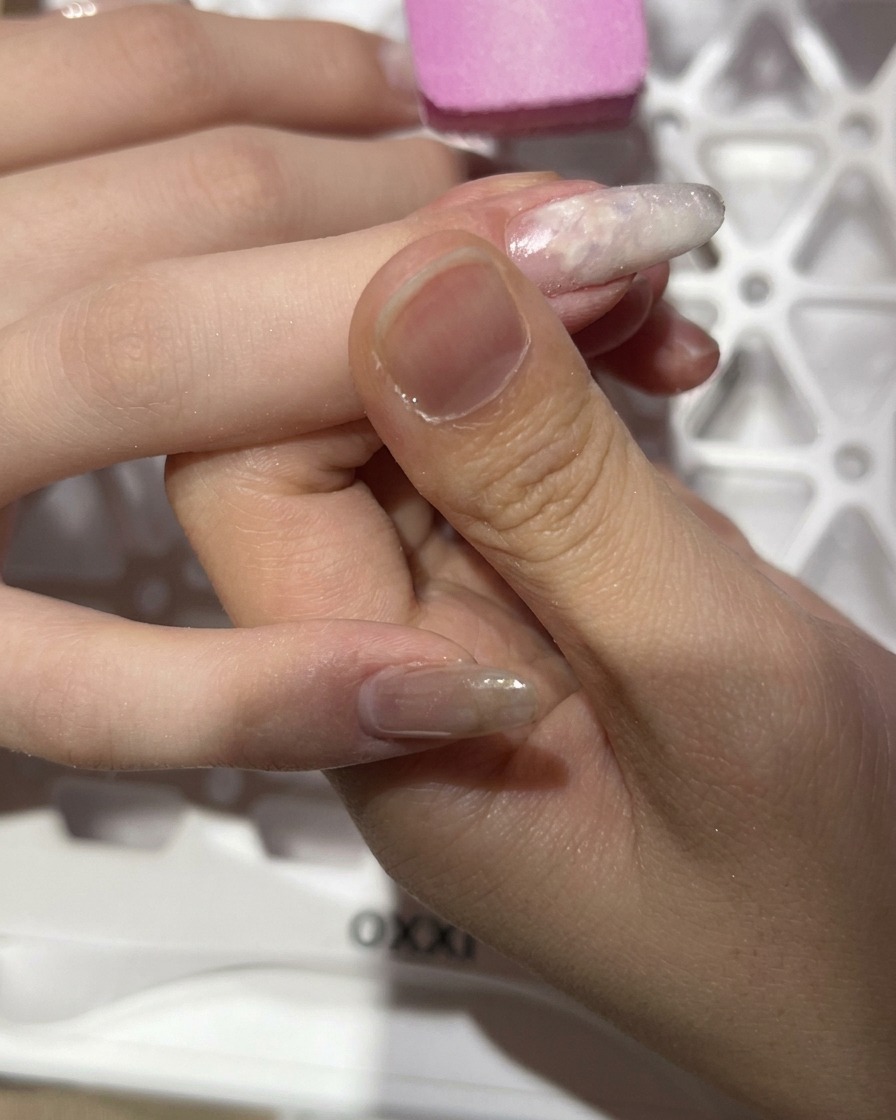
Gently buff the surface of the nail with a fine-grit sponge buffer. This step helps remove any loose powder particles or minor imperfections to ensure the nail is completely smooth before the final sealing layer.
Tip: Use light pressure to avoid buffing away the chrome effect you just applied. - 23Clean the nail surface
Using a lint-free wipe saturated with nail cleanser, thoroughly wipe the nail surface to remove all dust, powder residue, and debris created during the buffing process.
Tip: Wiping thoroughly is crucial for ensuring the final top coat adheres perfectly without trapping any grit. - 24Apply final top coat
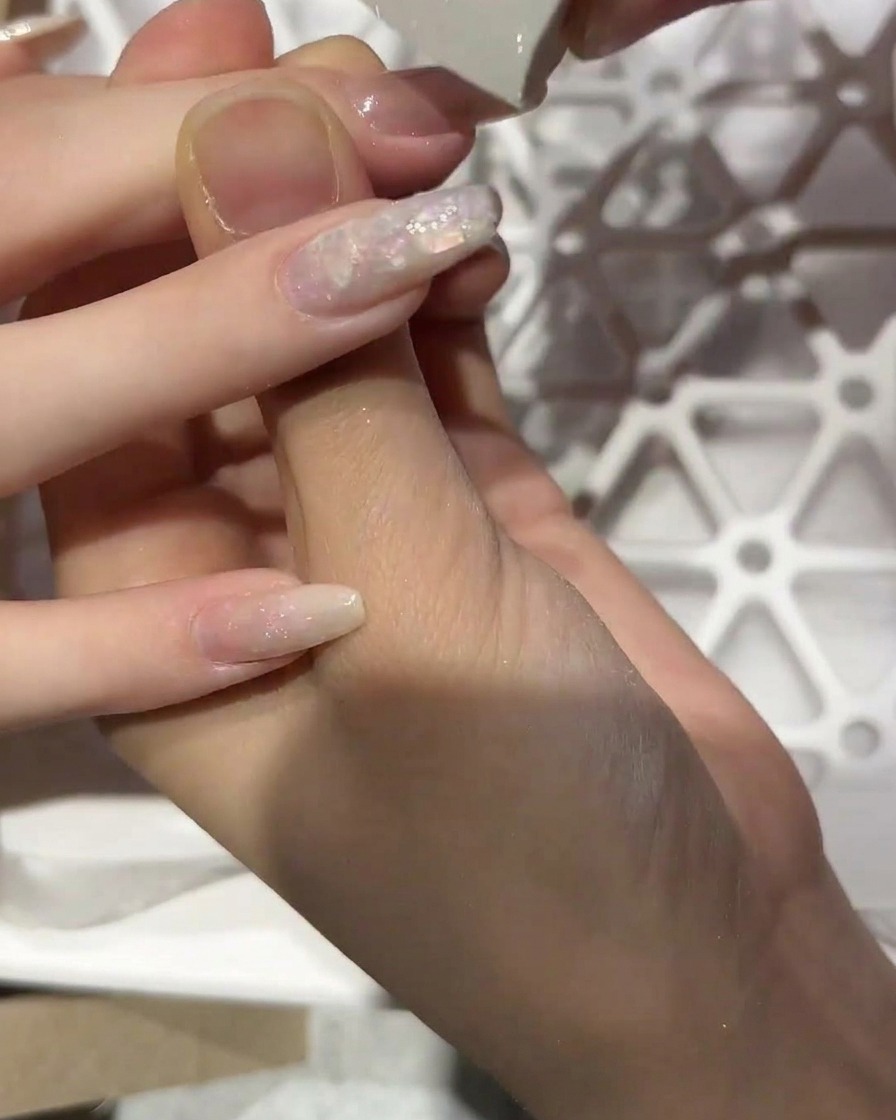
Apply a final clear, glossy top coat to seal and protect the design. Ensure you cap the free edge to prevent the chrome finish from wearing off prematurely. Cure under your UV/LED lamp.
Tip: Applying a second layer of top coat can provide extra durability and depth to the moonlight chrome finish. - 25Refine the nail shape
Use a hand file to carefully refine the free edge and sidewalls of the nail one last time. This ensures a crisp, clean shape and removes any minor bumps or unevenness created during the encapsulation and top coat process.
Tip: Keep your file angled slightly underneath the nail edge to avoid scratching the freshly applied top coat. - 26Apply cuticle oil
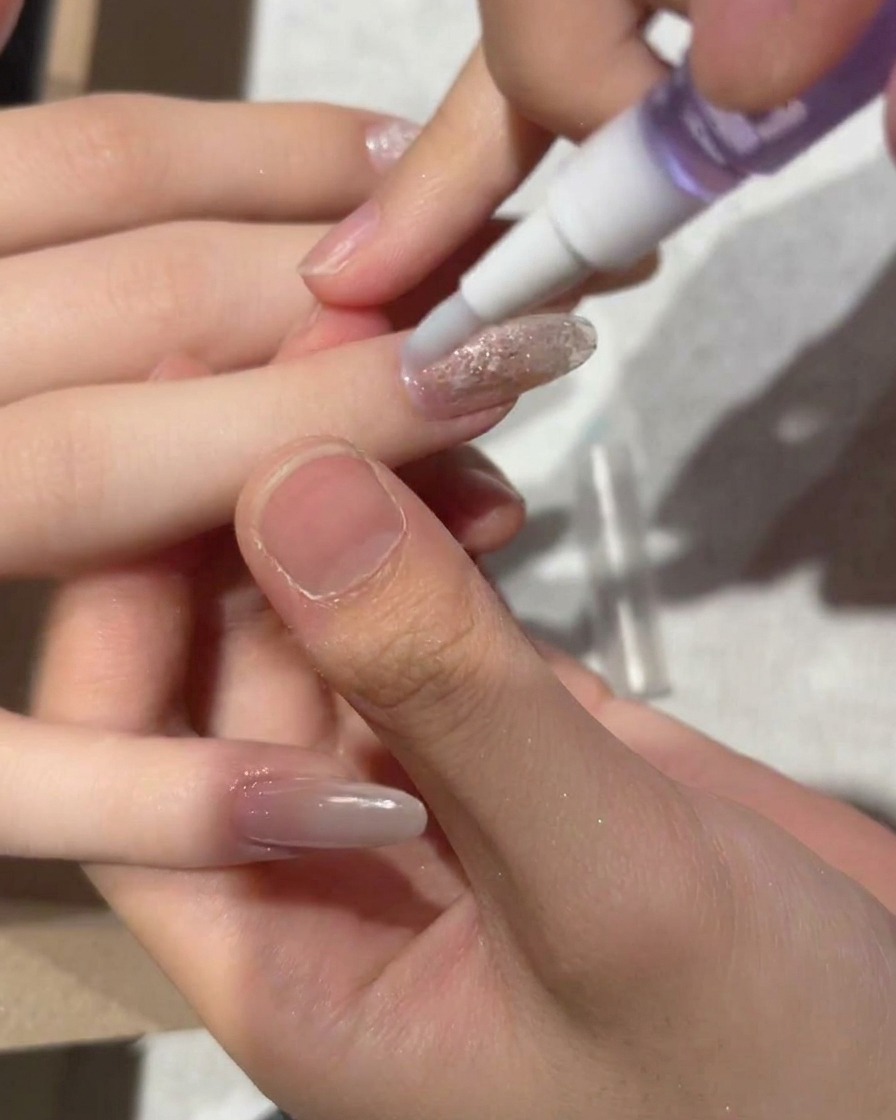
To complete the manicure, brush cuticle oil onto the skin surrounding each nail. Gently massage the oil in to rehydrate the cuticles and surrounding skin, which can become dry during the prep and filing stages.
Tip: Massaging the cuticle oil not only moisturizes the skin but also helps to stimulate blood flow to the nail bed for healthier natural nails.