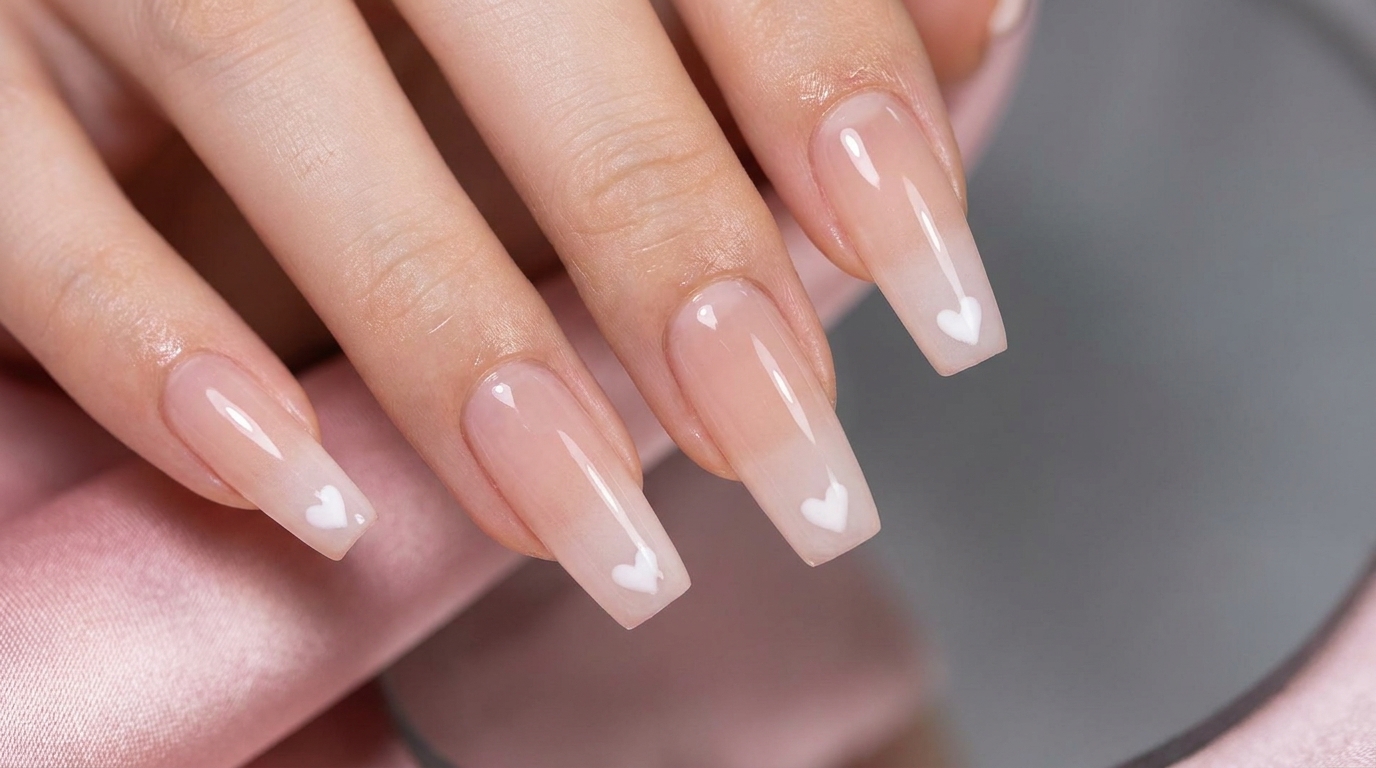
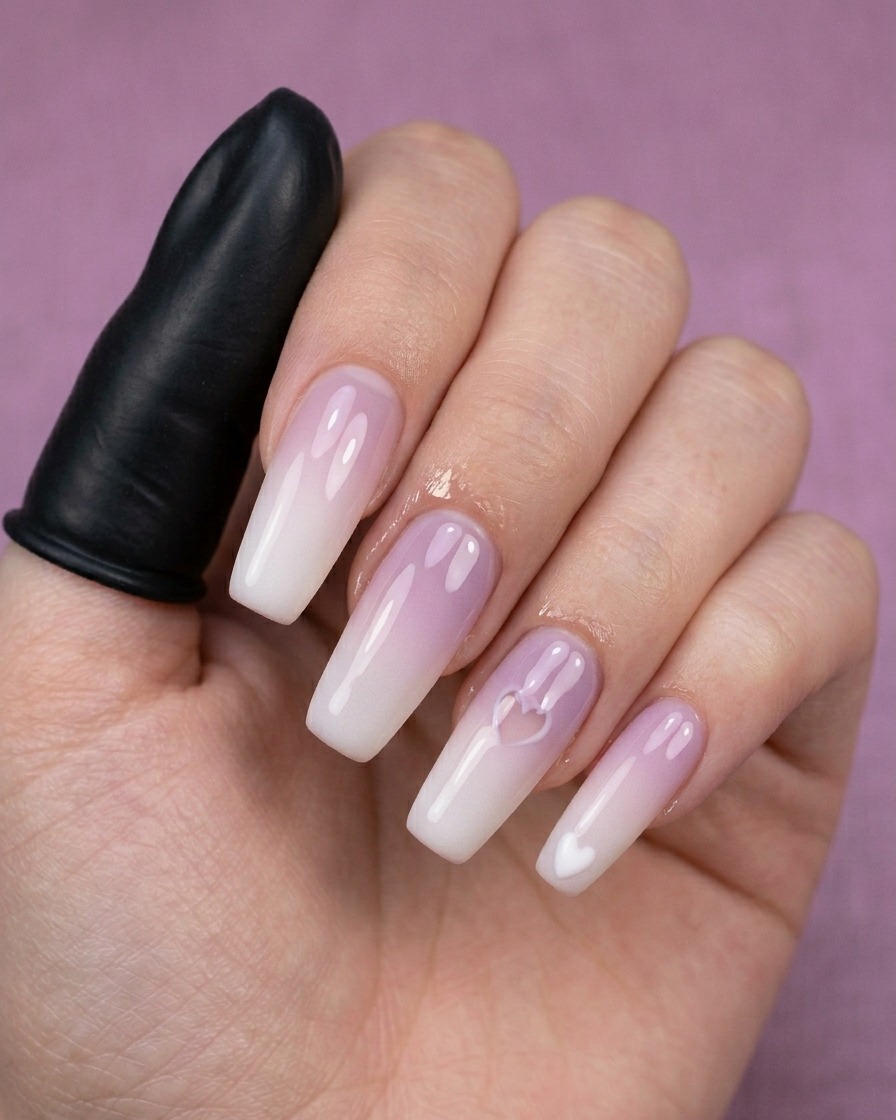
Sheer Nude Ombre Nails
Heart Art — Step-by-Step Gel Tutorial
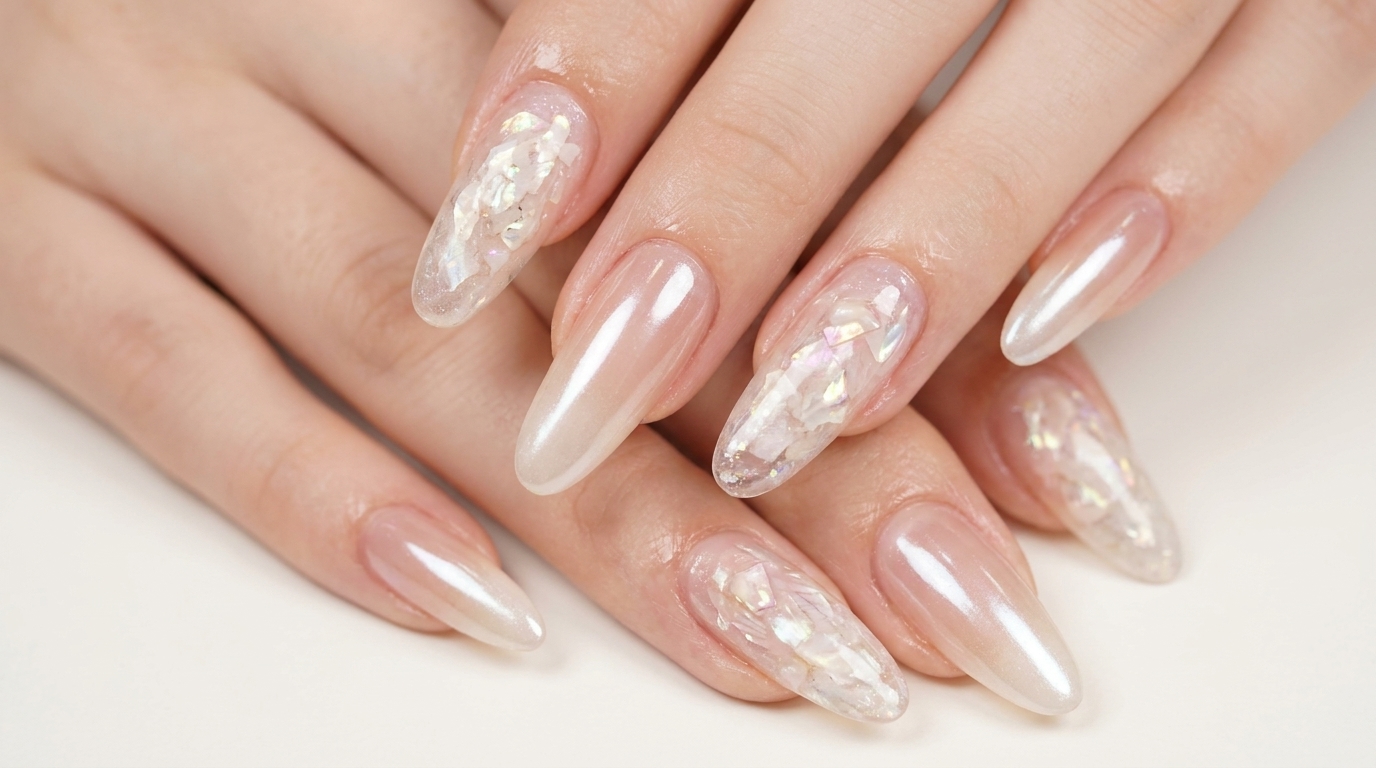
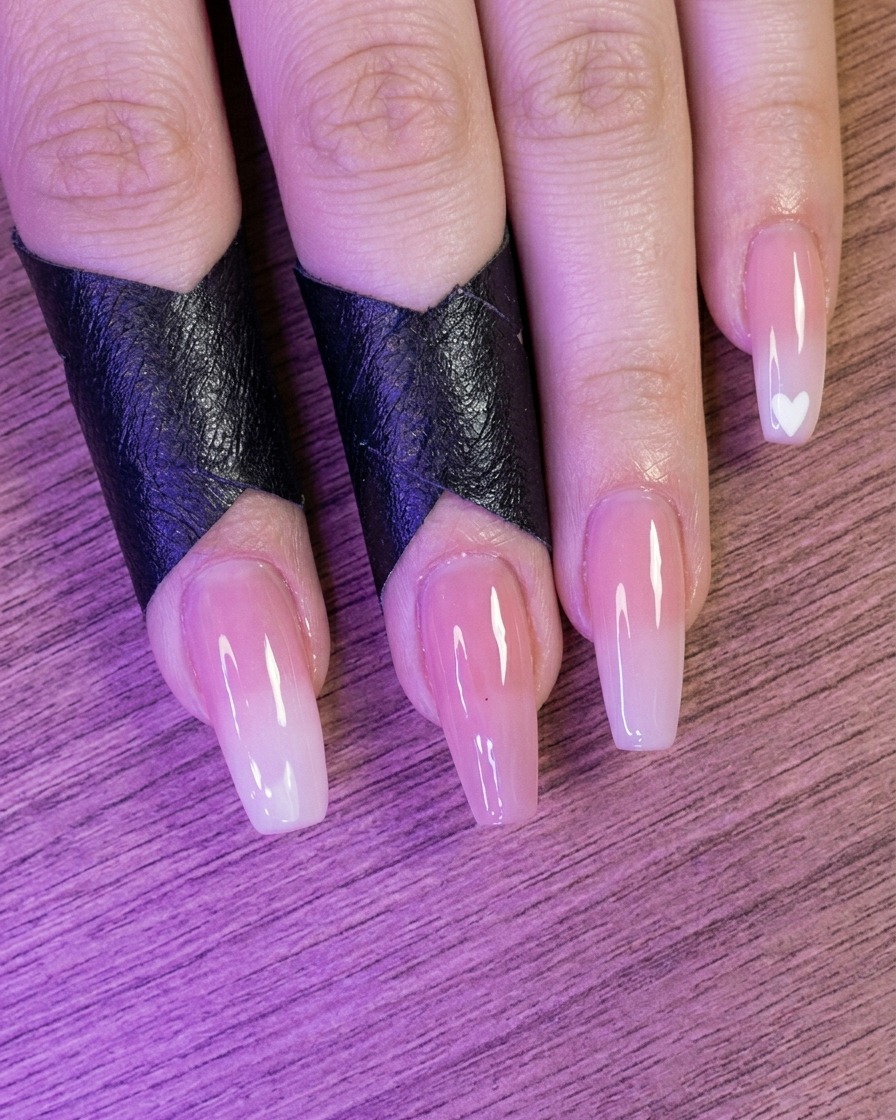
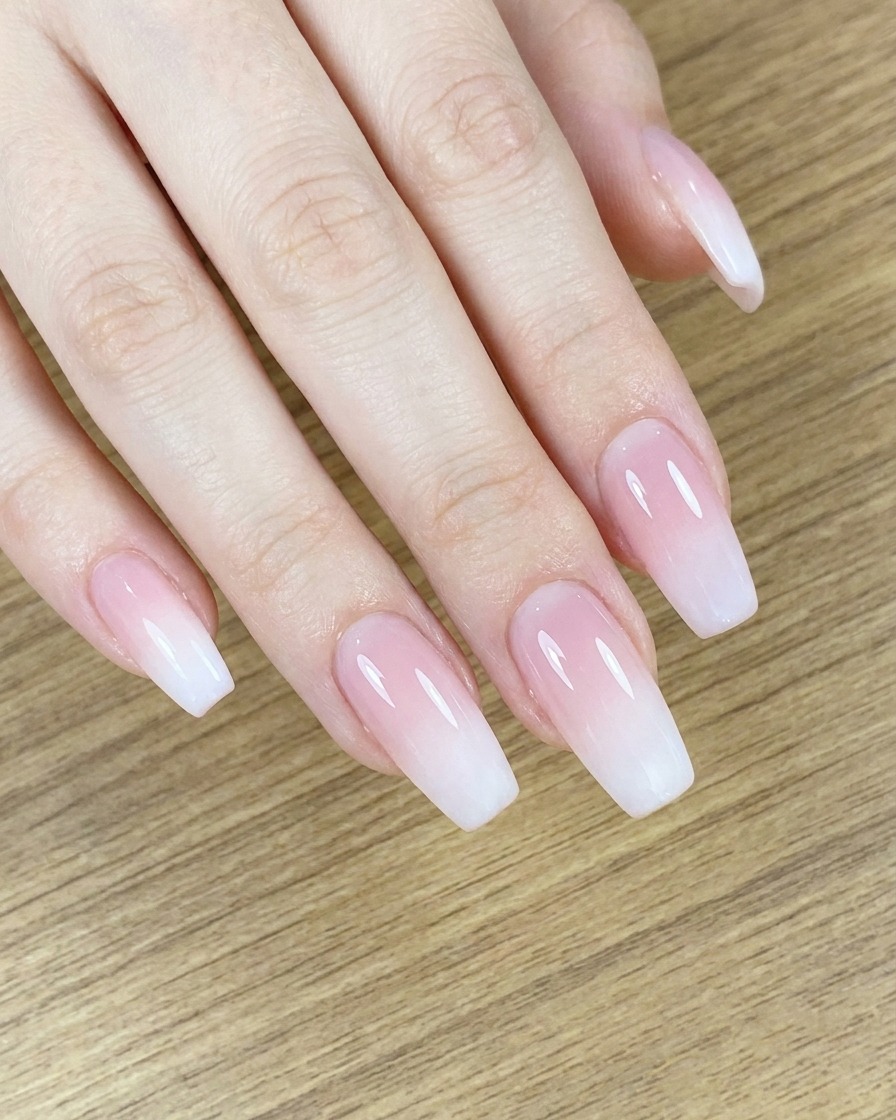
Create a delicate and romantic manicure with this sheer nude to white ombre gel tutorial, featuring a subtle gradient and dainty hand-drawn heart art.
Ombre nails paired with minimalist nail art create an effortlessly chic aesthetic that never goes out of style. This sheer nude and white gradient provides a soft, universally flattering base, while the delicate heart detailing adds a touch of sweet romance. Whether you are preparing for a special date night, a bridal event, or simply want to elevate your everyday manicure, this step-by-step guide will help you achieve a flawless salon-quality finish at home.
Steps
- 1Apply gel base coat
Apply a thin, even layer of clear gel base coat to your prepared nail, ensuring you cover the entire surface without flooding the cuticles. This provides a smooth foundation for your color application.
Tip: Keep the layer thin to prevent pooling at the cuticles and ensure a smooth cure. - 2Cure base coat
Place your nails under the UV or LED lamp to cure the base coat. Ensure all fingers are positioned correctly to allow for an even cure across all nails.
Tip: Follow your specific gel products instructions for the recommended curing time. - 3Apply nude base color
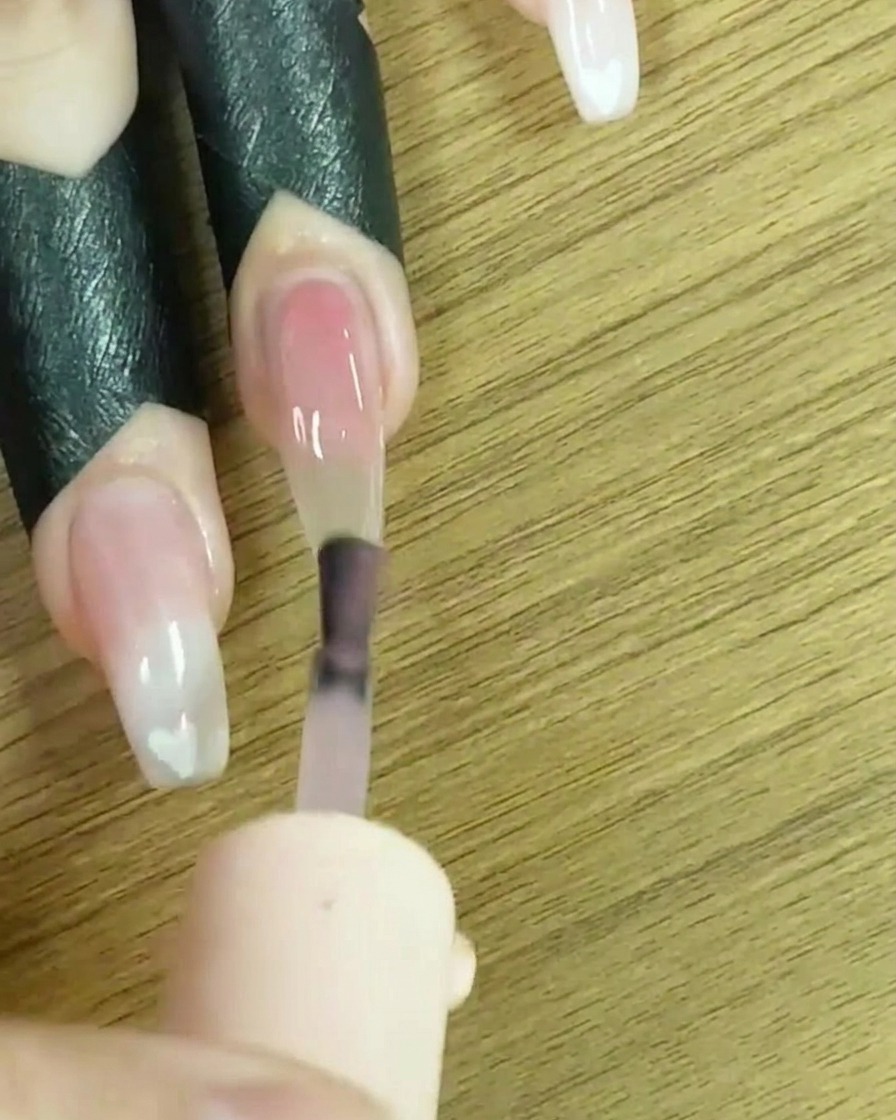
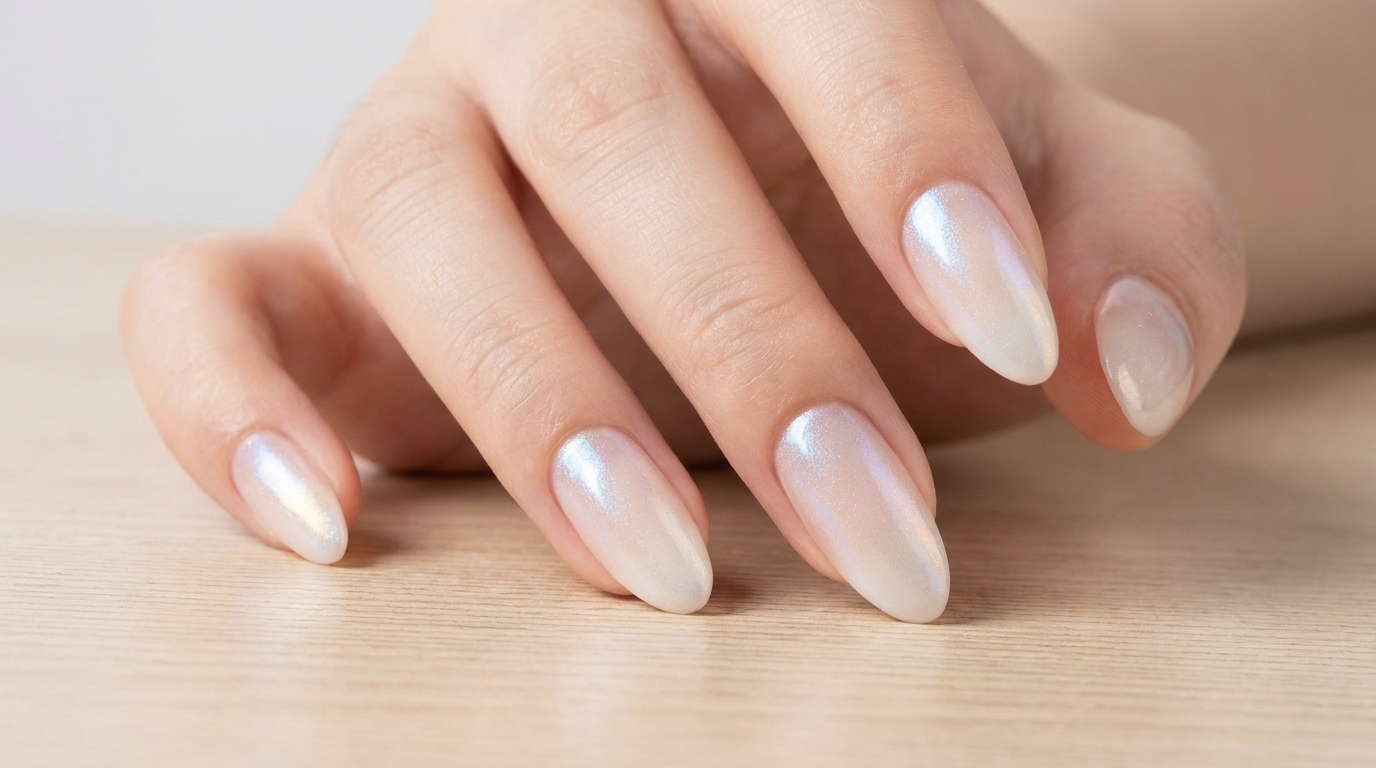
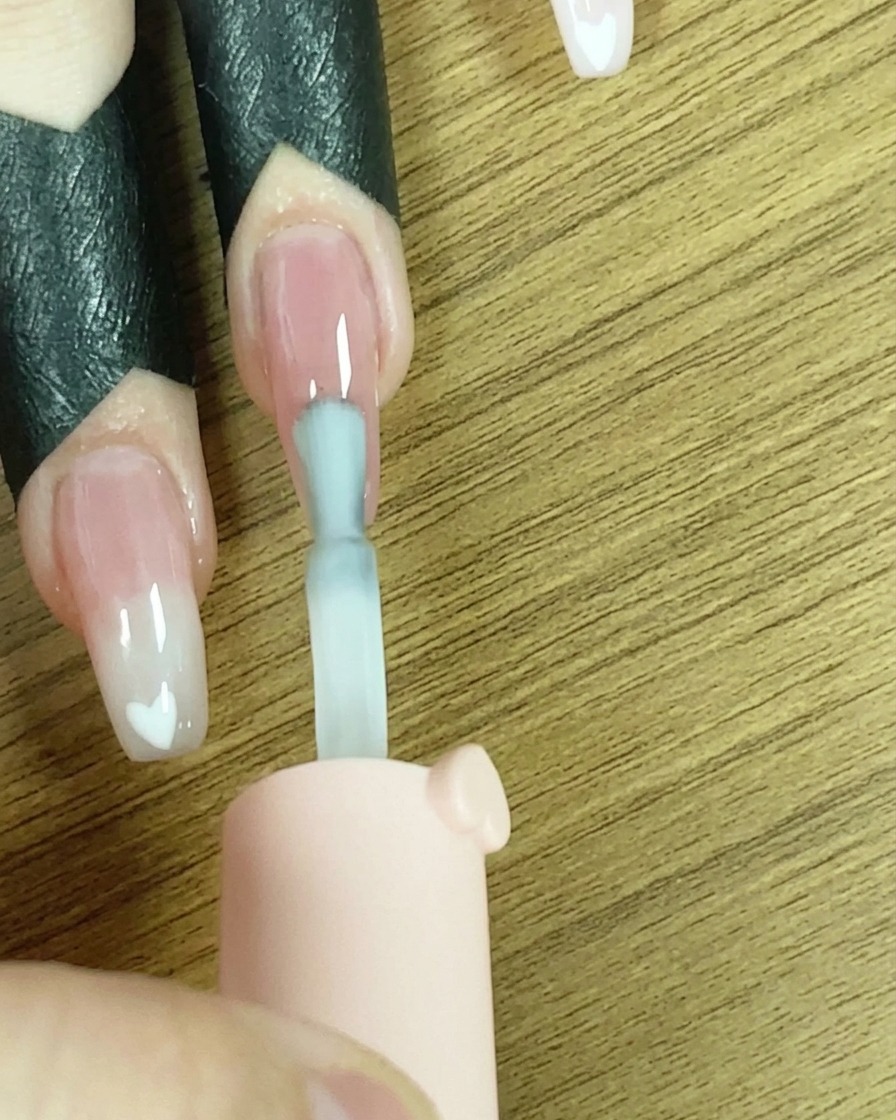
Apply a thin layer of sheer nude gel polish over the entire nail. This color will act as the base for your ombre design.
Tip: Apply in thin, even strokes to avoid streaks and ensure the color looks natural. - 4Cure base color
Place the nails under the UV or LED lamp to fully cure the nude base color layer. This ensures the base is set and ready for the ombre design.
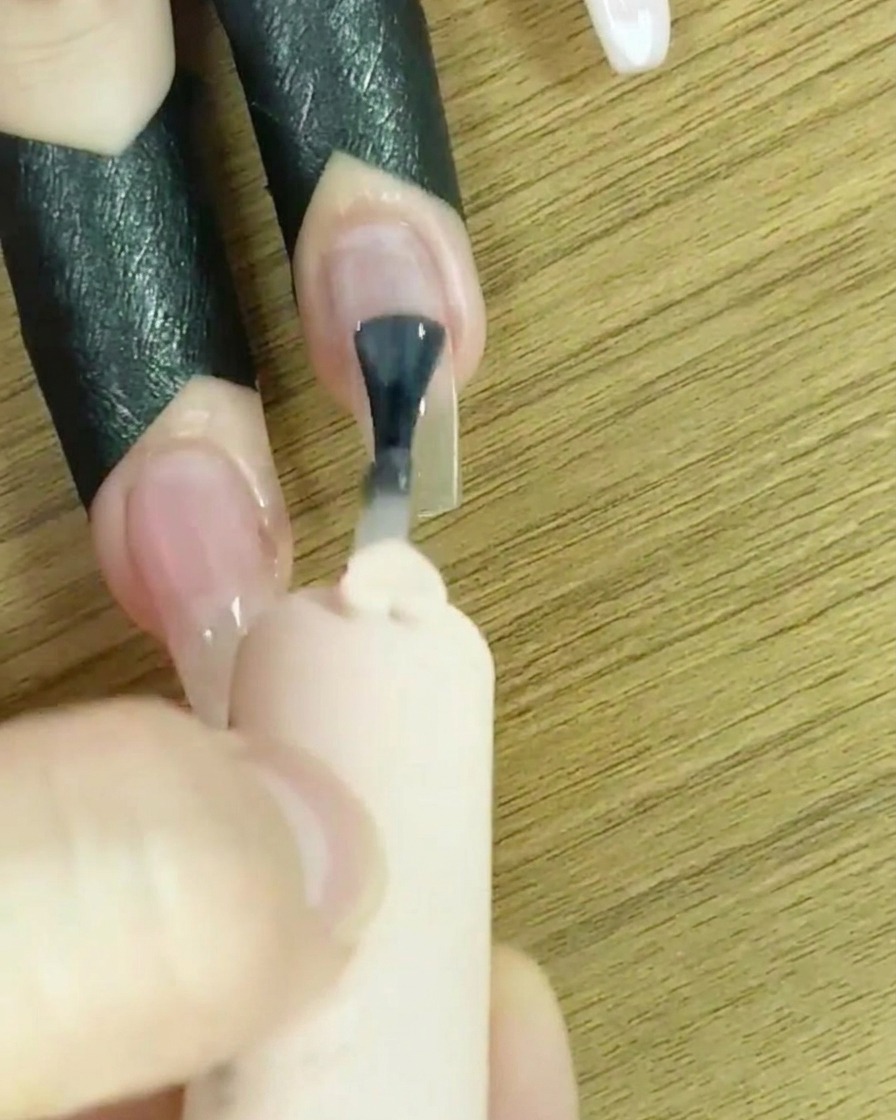
Tip: Ensure your hand is fully inside the lamp for the duration of the cure. - 5Apply white for ombre
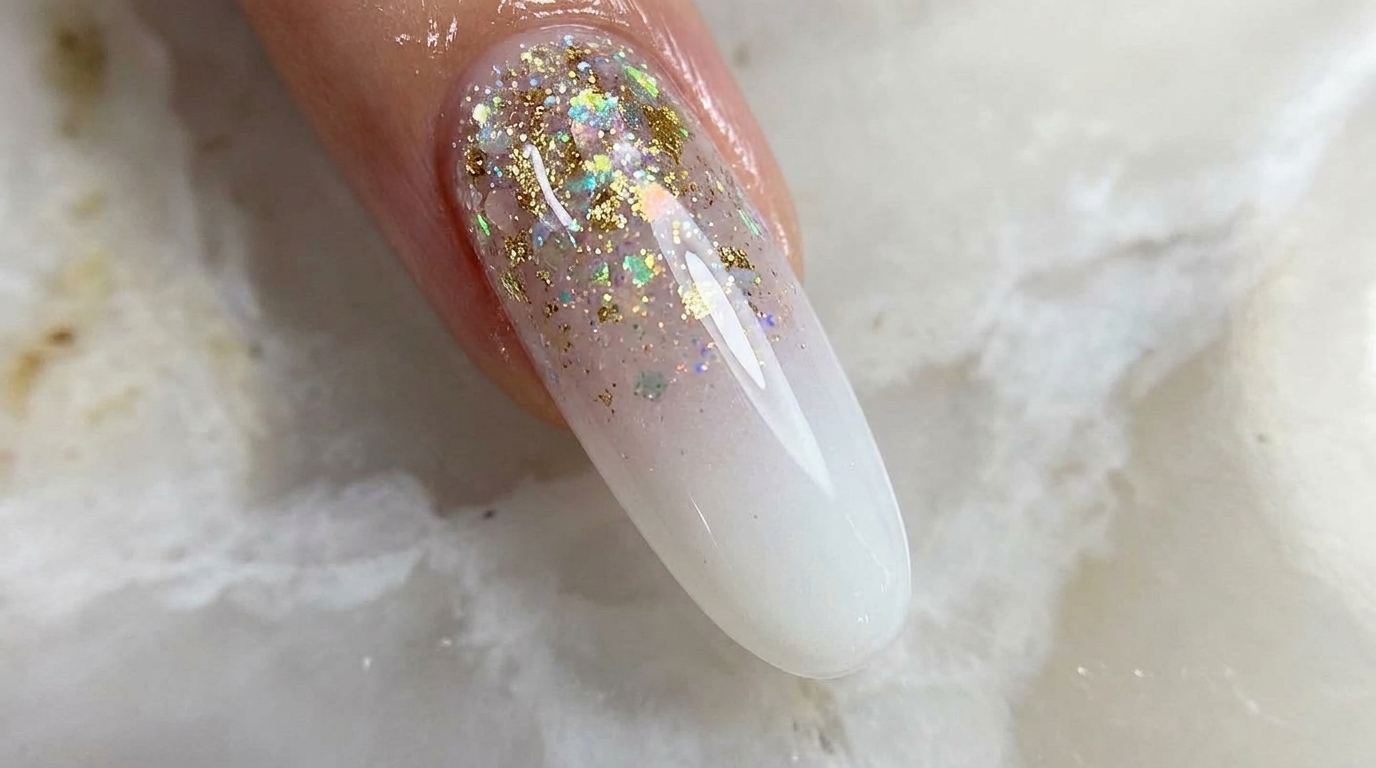
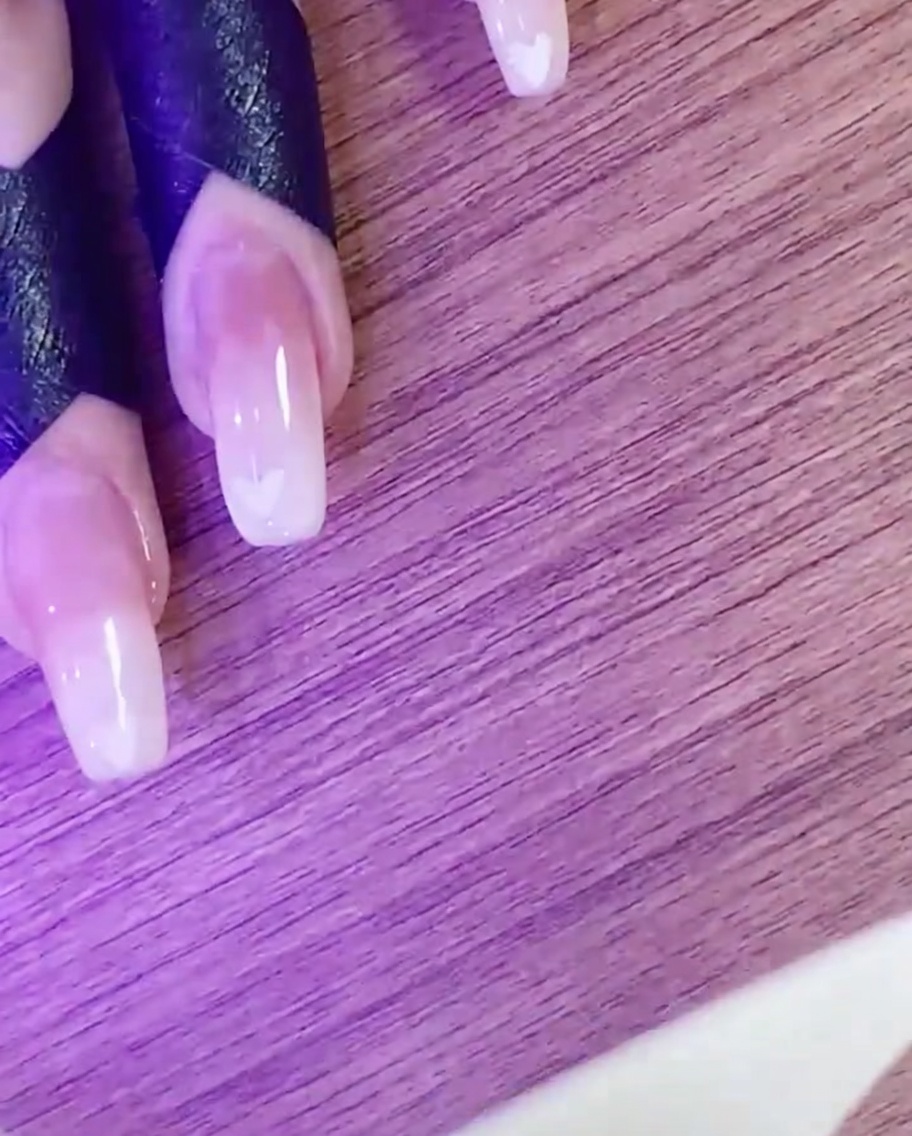
Using sheer white gel polish, apply a small amount to the tip of the nail. This concentration of white at the tip is the first step in creating your ombre gradient.
Tip: You do not need full coverage at this stage, just focus the polish on the free edge. - 6Blend ombre gradient
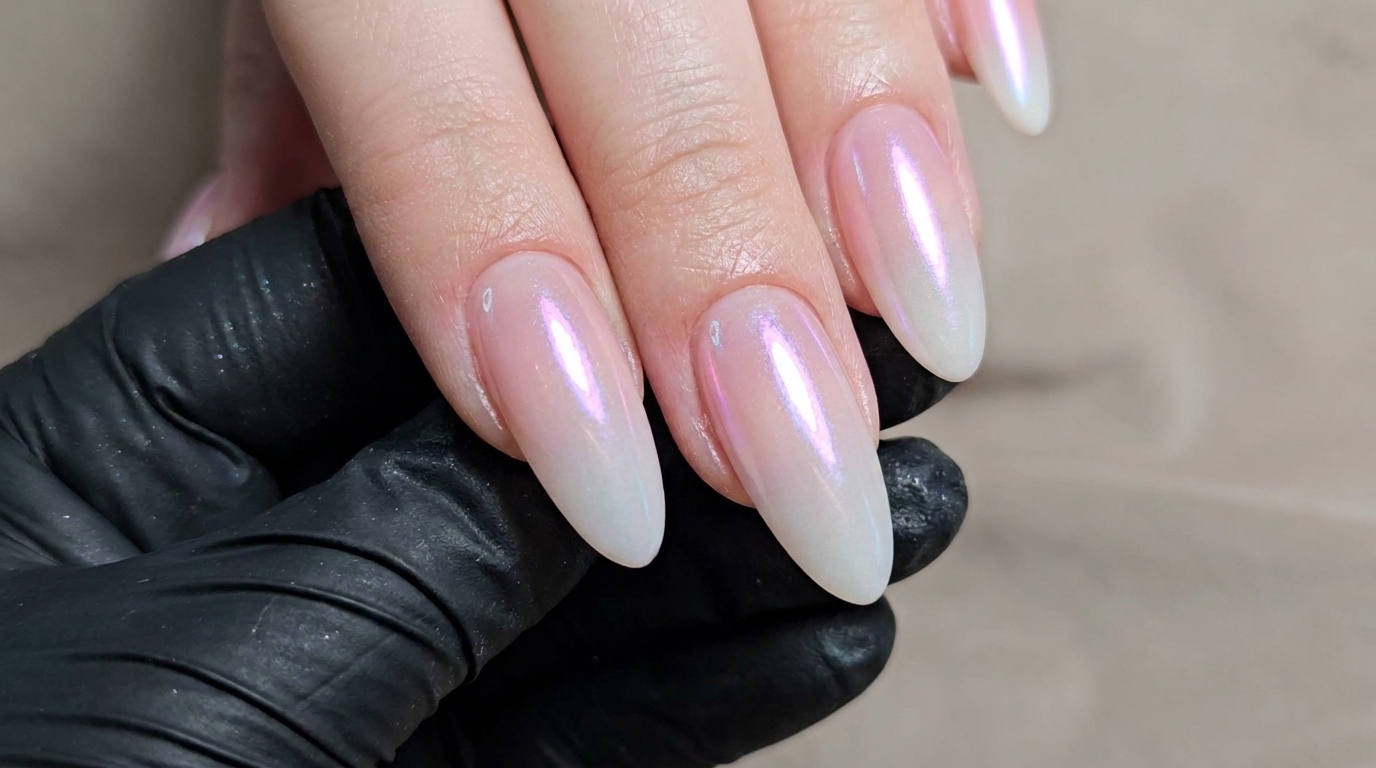
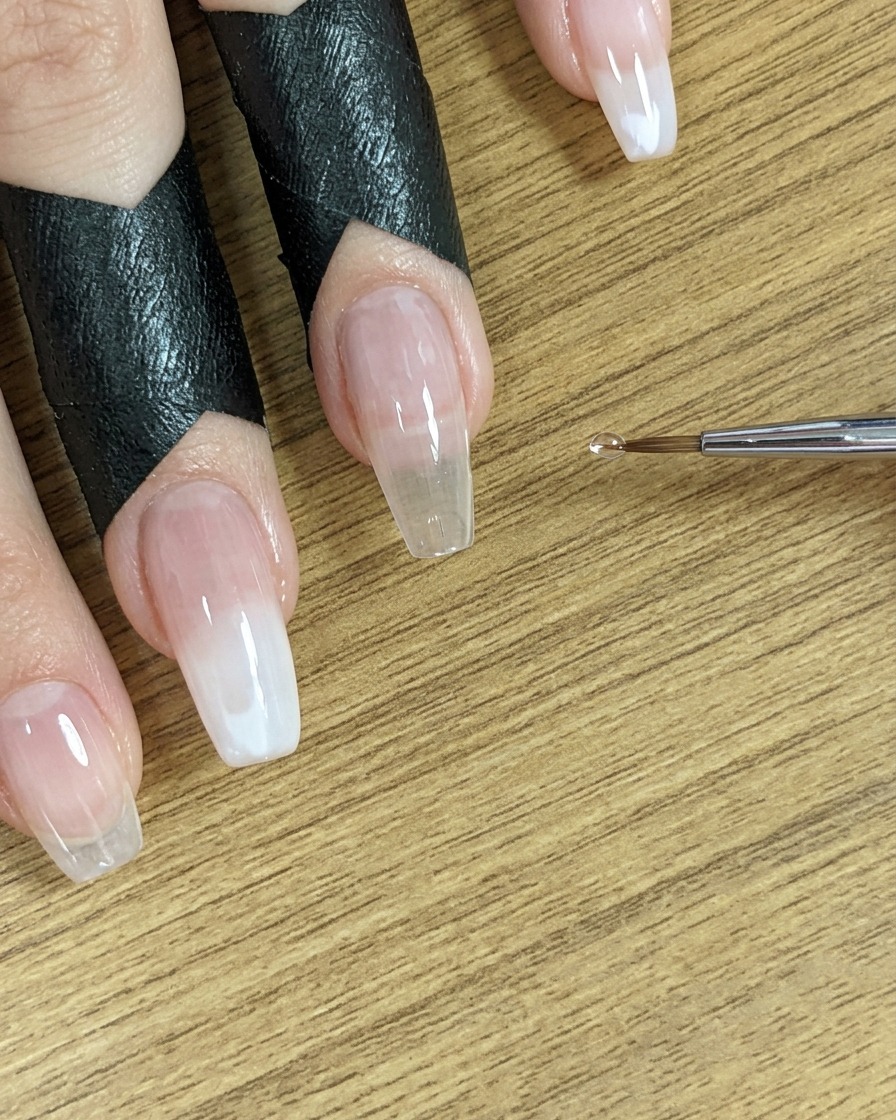
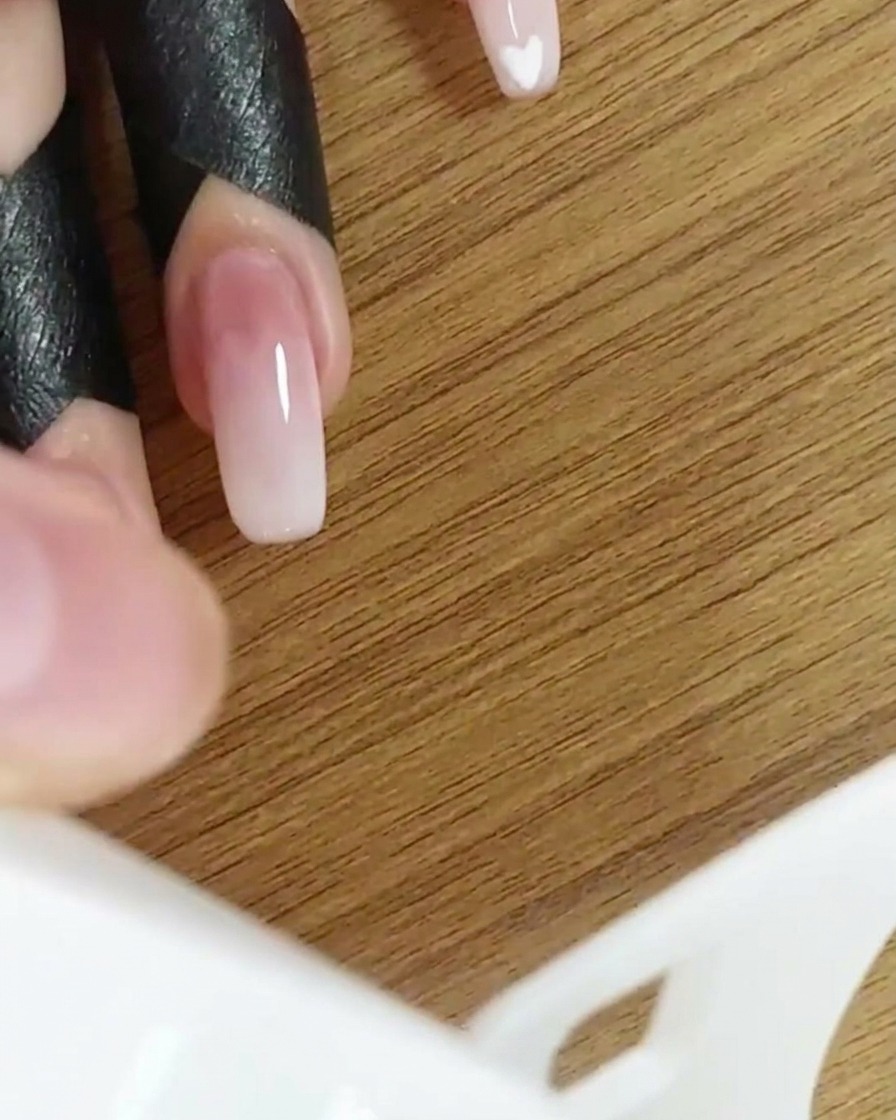
Take a clean detail brush and gently blend the white polish toward the center of the nail. Pull the color in light, soft strokes to create a smooth, seamless transition from white tip to nude base.
Tip: Use a light hand to avoid removing too much product; the goal is a soft, diffused look. - 7Cure the gradient
Place your nails under the UV/LED lamp to cure the gradient layer. Ensure your fingers are positioned correctly to allow the light to fully reach the entire nail surface, setting the polish and preparing it for the next step.
Tip: Keep your hand flat inside the lamp to ensure even curing across all fingers. - 8Draw a heart design
Using a dotting tool, carefully place two small dots of white gel polish near each other on the nail. Use the fine tip of the tool to drag the polish downward and connect the dots, shaping them into a heart.
Tip: Apply light pressure to control the size of the dots and the heart shape. - 9Cure the heart design
Place the hand back into the UV/LED lamp to cure the heart design you just created. This ensures the heart shape is firmly set and will not smudge when you apply the final top coat.
Tip: Cure for the full manufacturer-recommended time for art details to prevent peeling.