Milky White Gradient Chrome Nails — Elegant Step-by-Step Tutorial
Achieve a sophisticated look with this milky white gradient and aurora chrome finish. A simple, step-by-step guide to mastering the trendy glazed ombre effect.
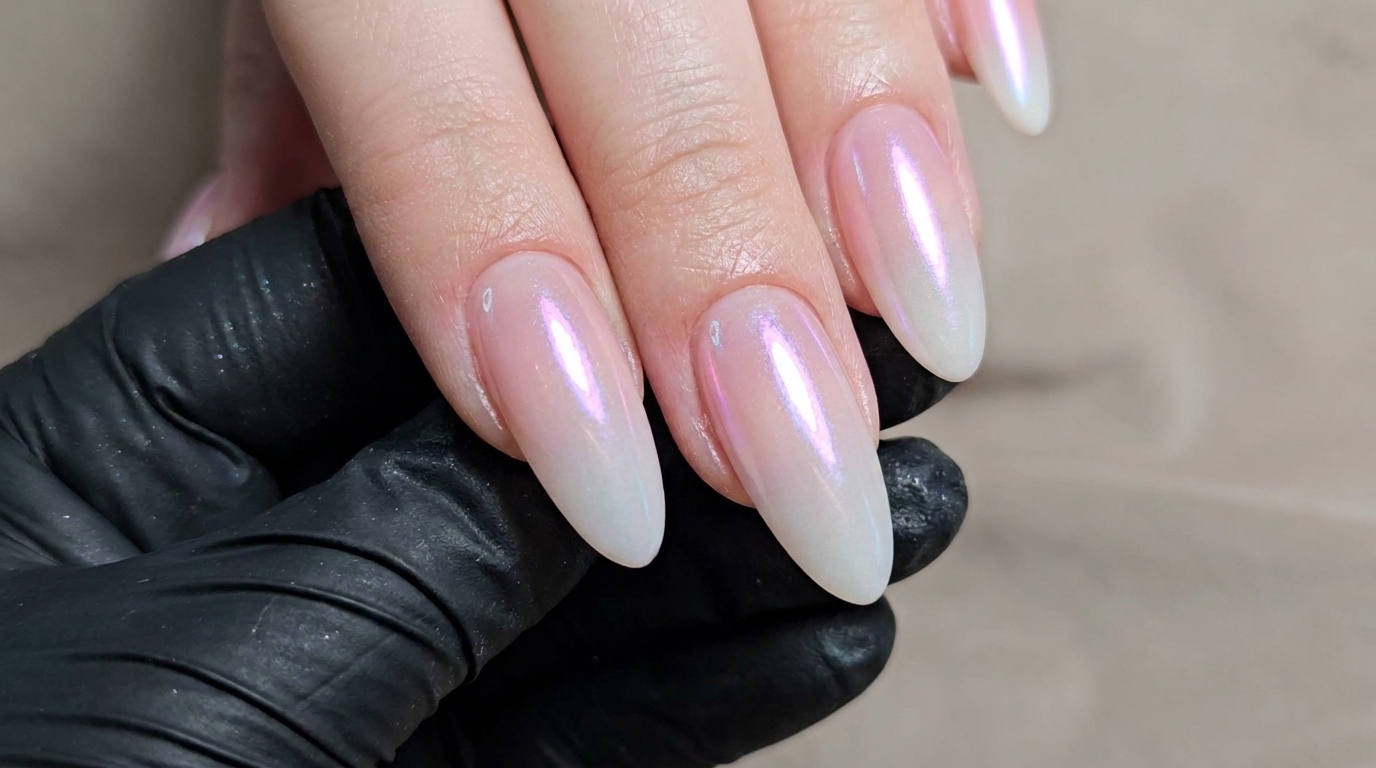
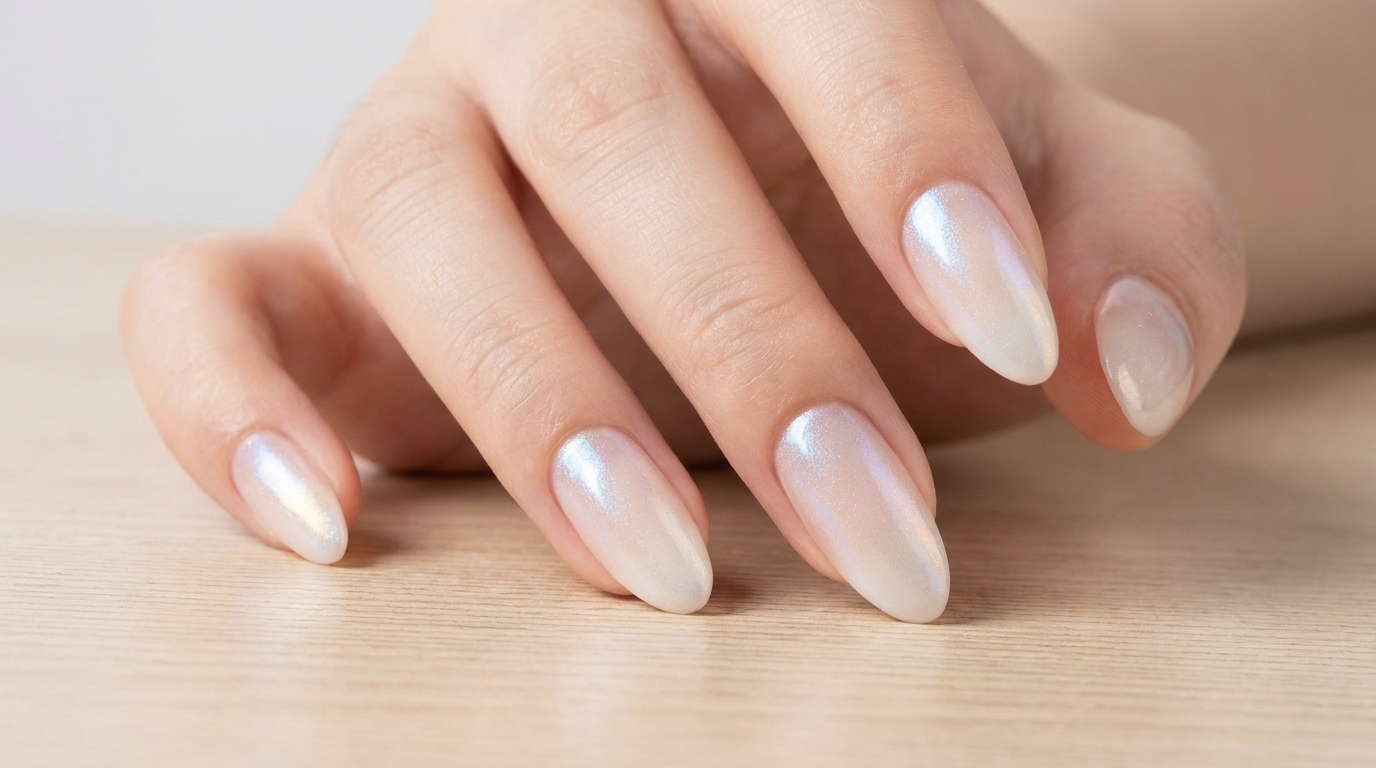
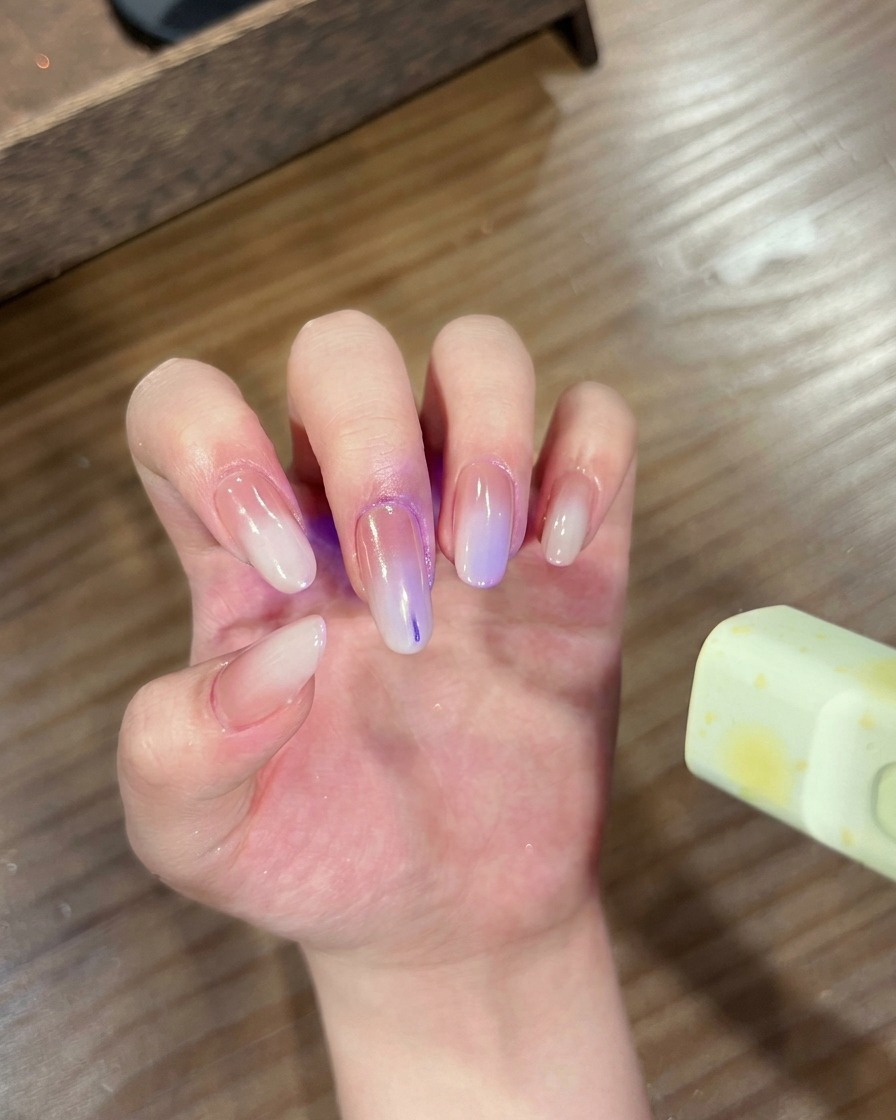
The milky white gradient paired with an ethereal chrome shimmer is the ultimate sophisticated nail trend. This look combines the soft, diffused aesthetic of a classic ombre with the modern, high-shine finish of aurora chrome powder. Perfect for those who love clean, elevated manicures that look stunning in any light.
Steps
- 1Apply sheer nude base gel
Apply a thin, even layer of sheer nude base gel to the entire nail plate, ensuring you cover the surface without flooding the cuticles. This provides a clean, neutral foundation for the upcoming gradient and chrome effects. Cure the layer as directed by the product instructions to ensure a solid base.
Tip: Keep the layer thin to prevent pooling at the edges, which ensures a smoother application of the subsequent layers. - 2Cure the base gel

Place your fingers under a portable UV/LED lamp to cure the base gel layer. Ensure all nails are positioned directly under the light source for the manufacturers recommended time to guarantee the gel is fully hardened and ready for the next step.
Tip: Check that the lamp is fully charged or plugged in to ensure consistent power output throughout the curing process. - 3Cleanse the nail surface

Using a lint-free wipe soaked in nail cleanser or isopropyl alcohol, gently wipe the surface of the cured nails. This step removes the sticky inhibition layer left after curing, creating a smooth surface for the white gel gradient application.
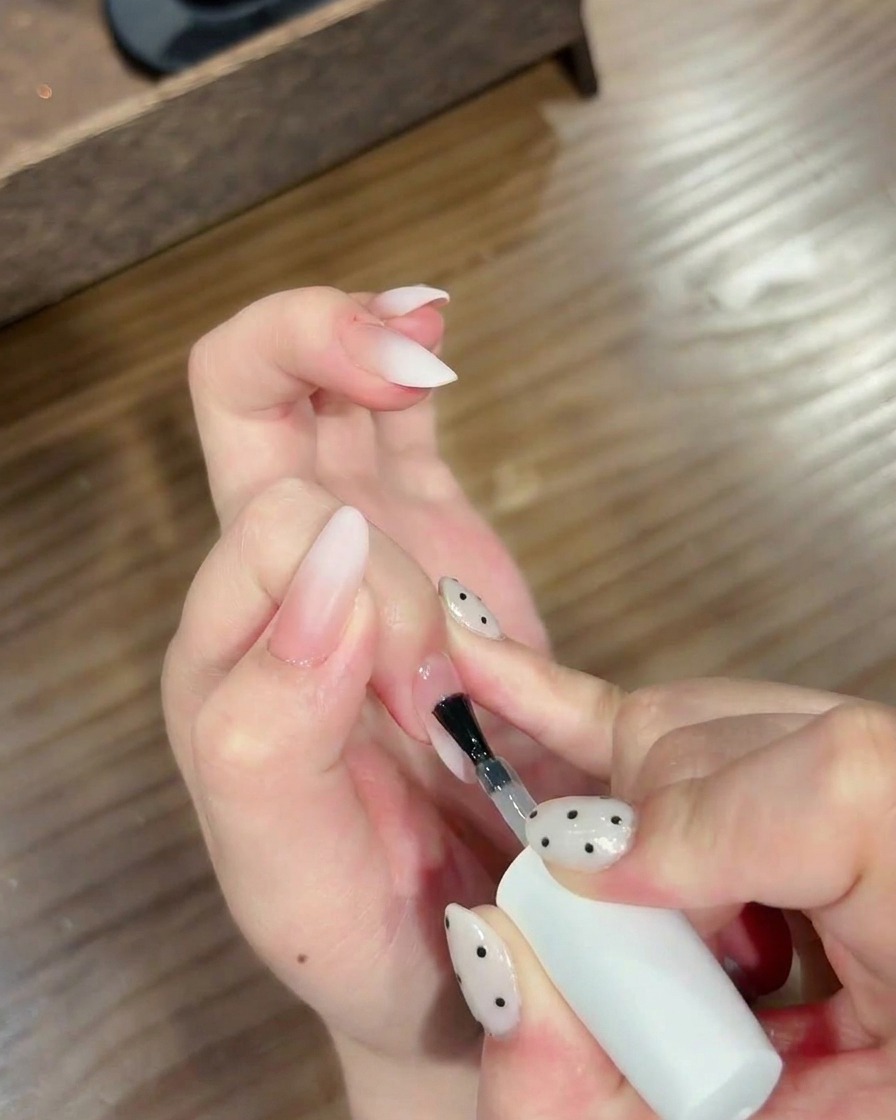
Tip: Use a fresh section of the lint-free wipe for each finger to avoid spreading any uncured residue. - 4Create the white gradient
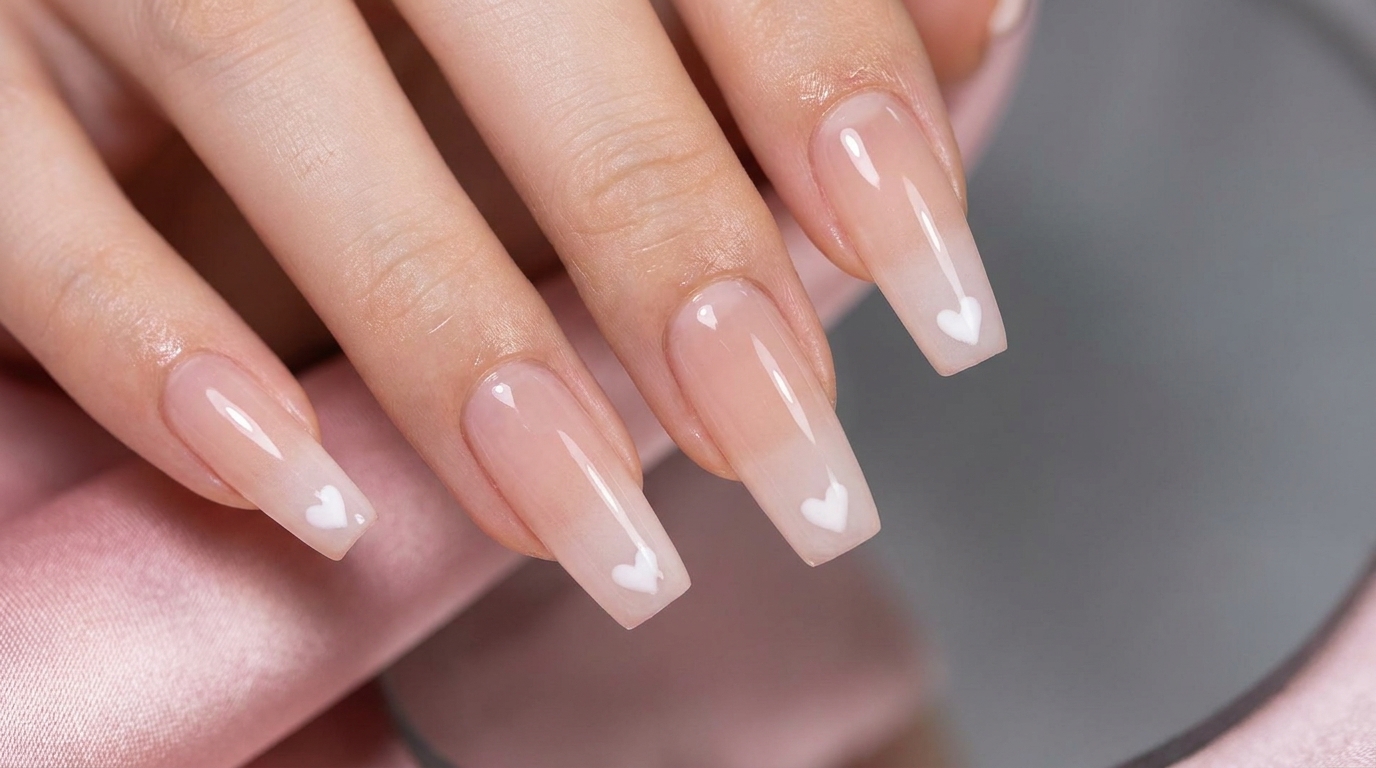
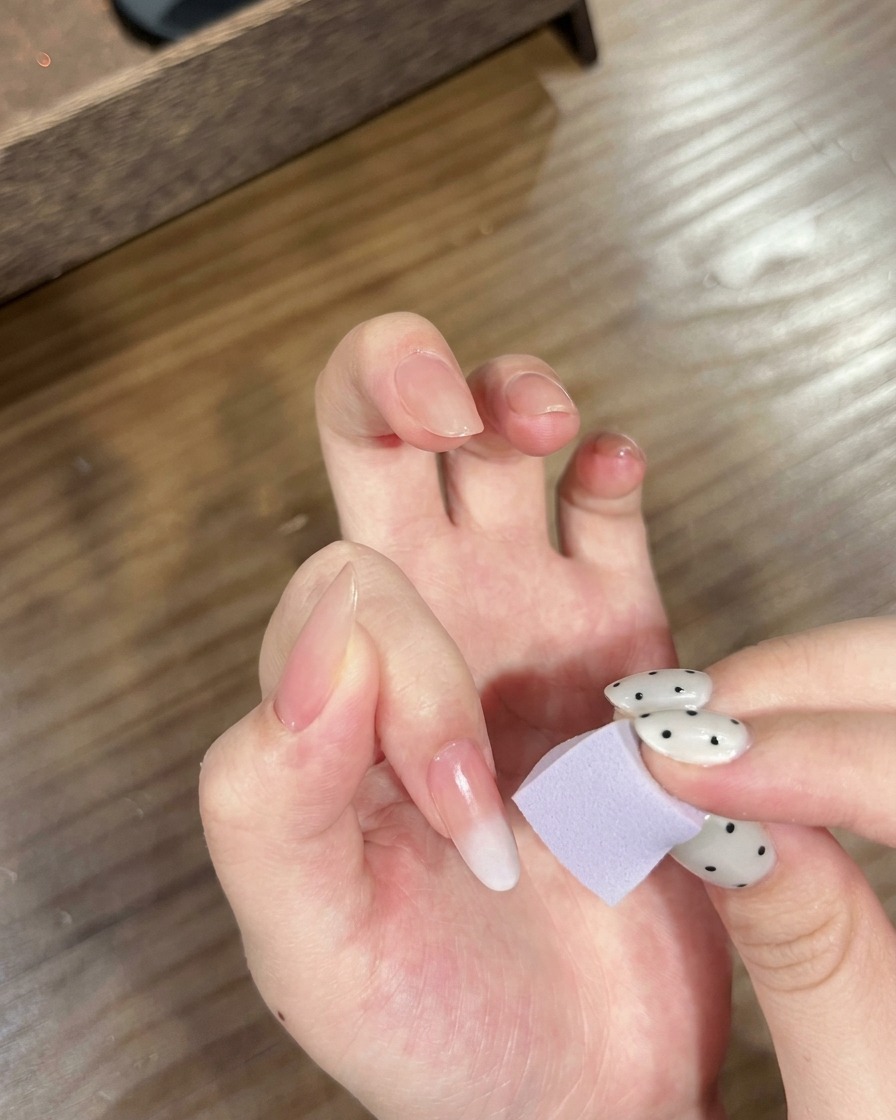
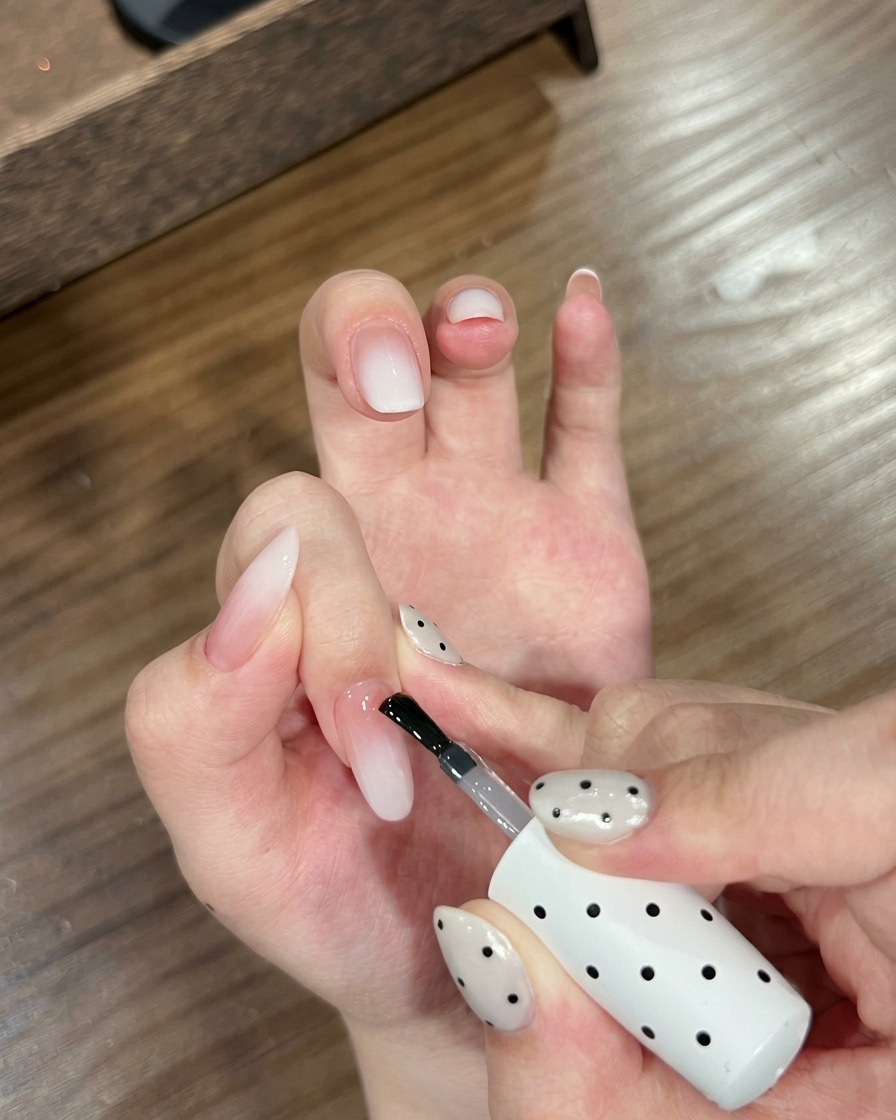
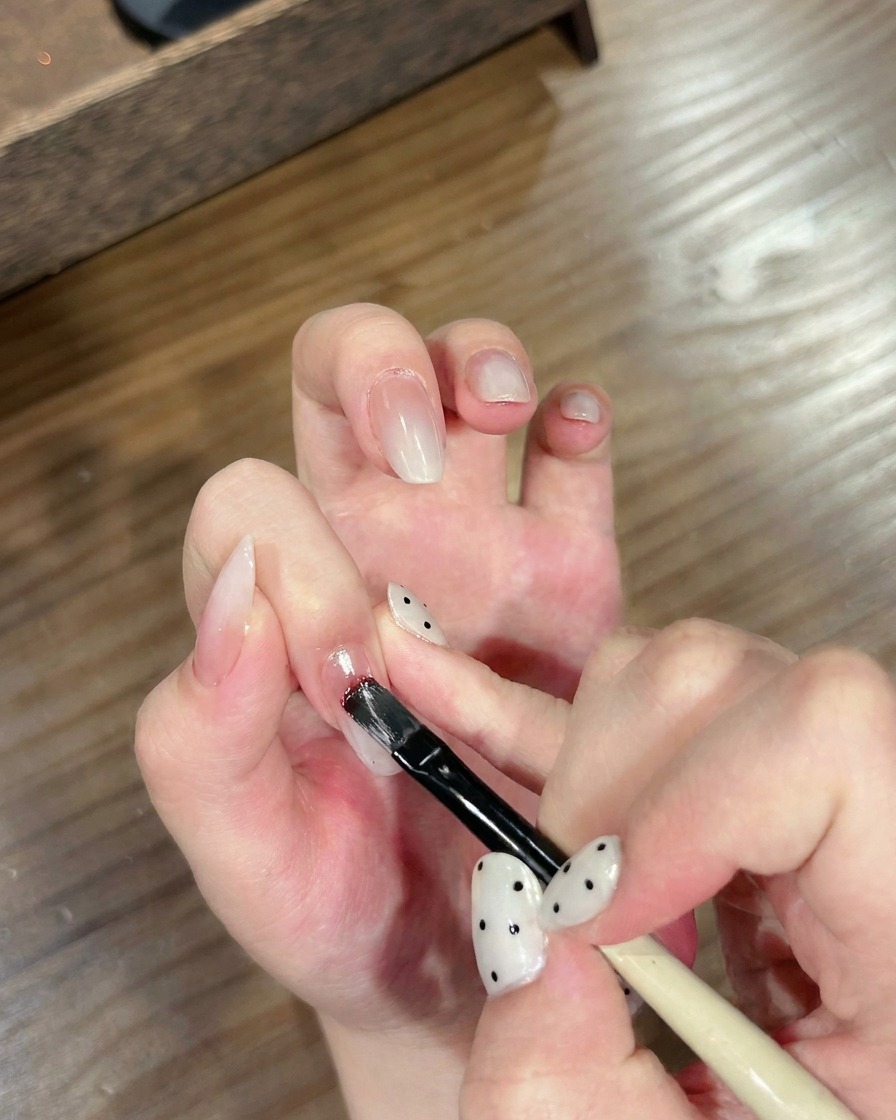
Using a makeup sponge or a small detail brush, gently dab white gel polish onto the tip of the nail. Gradually blend the color upward toward the center, using light dabbing motions to create a soft, seamless transition from the nude base to the white tip for a beautiful milky ombre effect.
Tip: Use light, dabbing motions rather than dragging the brush to ensure the blend remains soft and gradient-like. - 5Cure the gradient layer
Place the nails back under the UV/LED lamp to cure the white gradient layer. This locks the blended color in place, preventing the polish from smudging or shifting before the final steps of the manicure.
Tip: Ensure the nails are flat under the lamp to allow for an even cure across the entire gradient. - 6Apply non-wipe top coat
Apply a thin, even layer of non-wipe top coat over the entire nail, ensuring the gradient is completely covered and the free edge is capped. This provides a high-gloss, protective finish and creates the perfect surface for applying the chrome powder in the next step.
Tip: A non-wipe formula is essential here to allow the chrome powder to adhere properly without needing further cleansing. - 7Cure the top coat
Place your nails under the UV/LED lamp to cure the applied top coat. Ensure the entire nail surface is exposed to the light to guarantee a complete and even cure. Follow the manufacturers recommended curing time to achieve a durable, glossy finish.
Tip: Do not remove your hand early; an incomplete cure can lead to the top coat feeling tacky or wearing off quickly. - 8Apply chrome powder
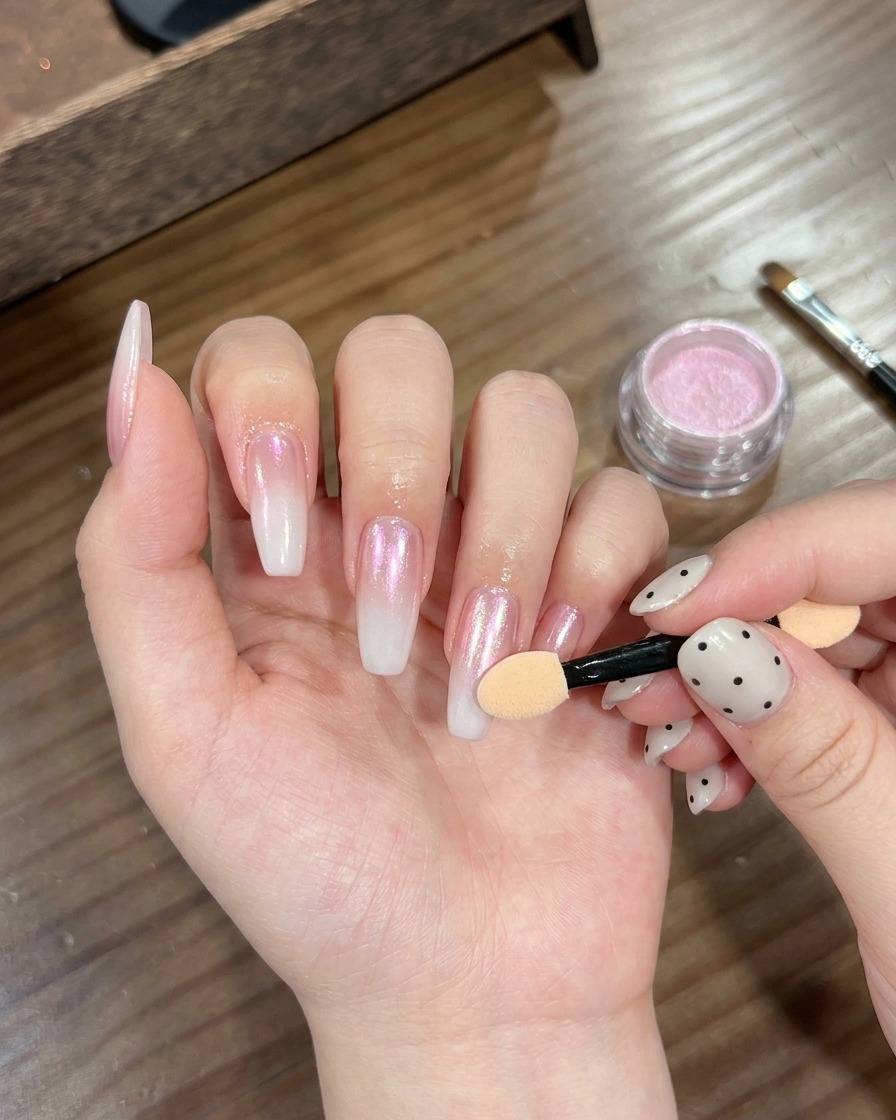
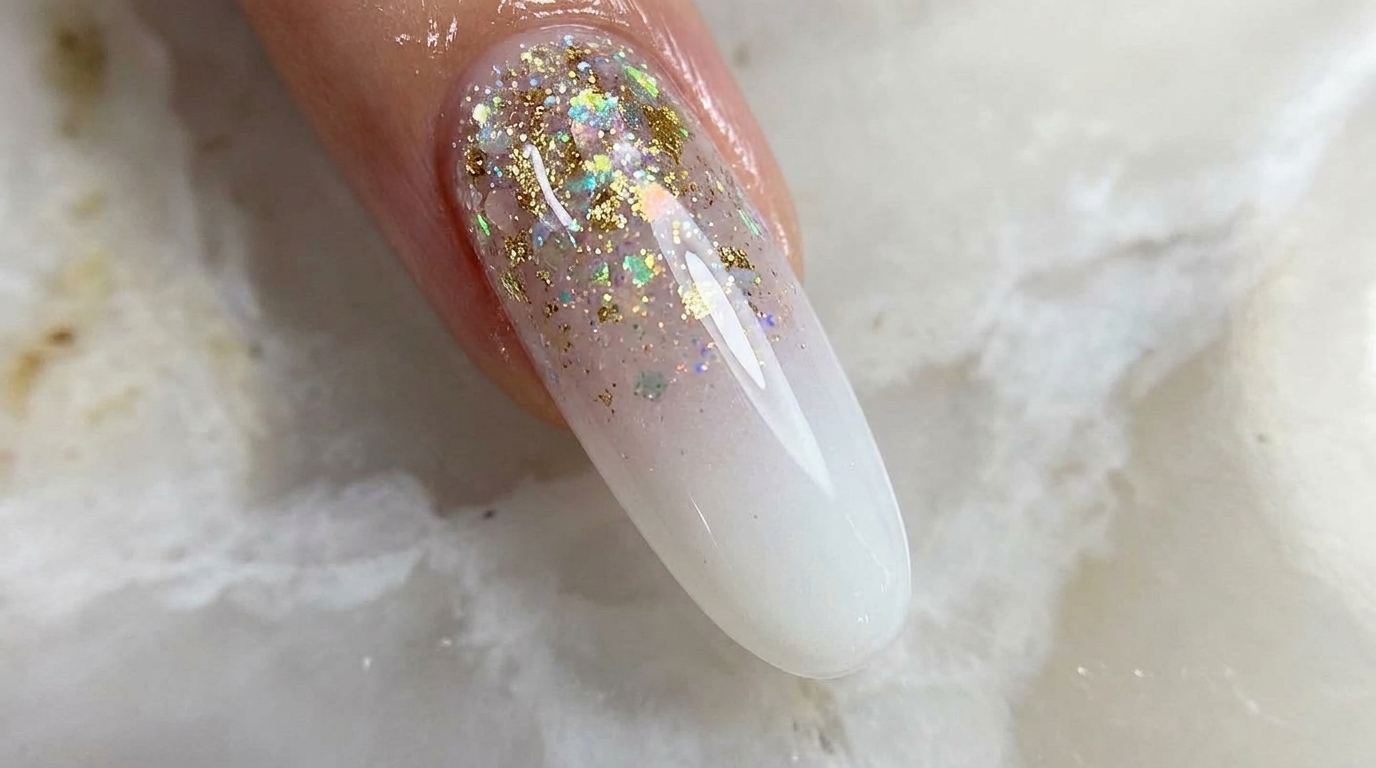
Dip the silicone applicator into the chrome powder and gently buff it onto the surface of the nail. Use light, sweeping motions to ensure an even, mirror-like coverage across the entire nail. Continue until the desired chrome effect is achieved.
Tip: A little powder goes a long way. Start with a small amount and build up coverage to avoid clumping. - 9Refine and smooth edges
Using a fine-grit nail file, gently refine the sides and tips of your nails to perfect the almond shape. Work with a light touch to smooth out any small ridges or uneven areas from the previous steps, ensuring the contour is clean and precise before sealing the design.
Tip: Use a light touch to avoid filing away too much of the gel structure youve already built. - 10Apply structural base gel
Apply a layer of structural base gel over the cured chrome powder. This acts as a protective seal, preventing the chrome effect from wearing away or chipping. Be sure to coat the entire surface and cap the free edge carefully.
Tip: Ensure the layer is smooth and free of bubbles, as this will be the base for your final top coat. - 11Cure the structural gel
Place the nails under your UV or LED lamp to cure the structural gel layer. This step hardens the gel, securely locking in the chrome powder and creating a durable foundation for the final top coat. Follow your lamps instructions for the correct curing time.
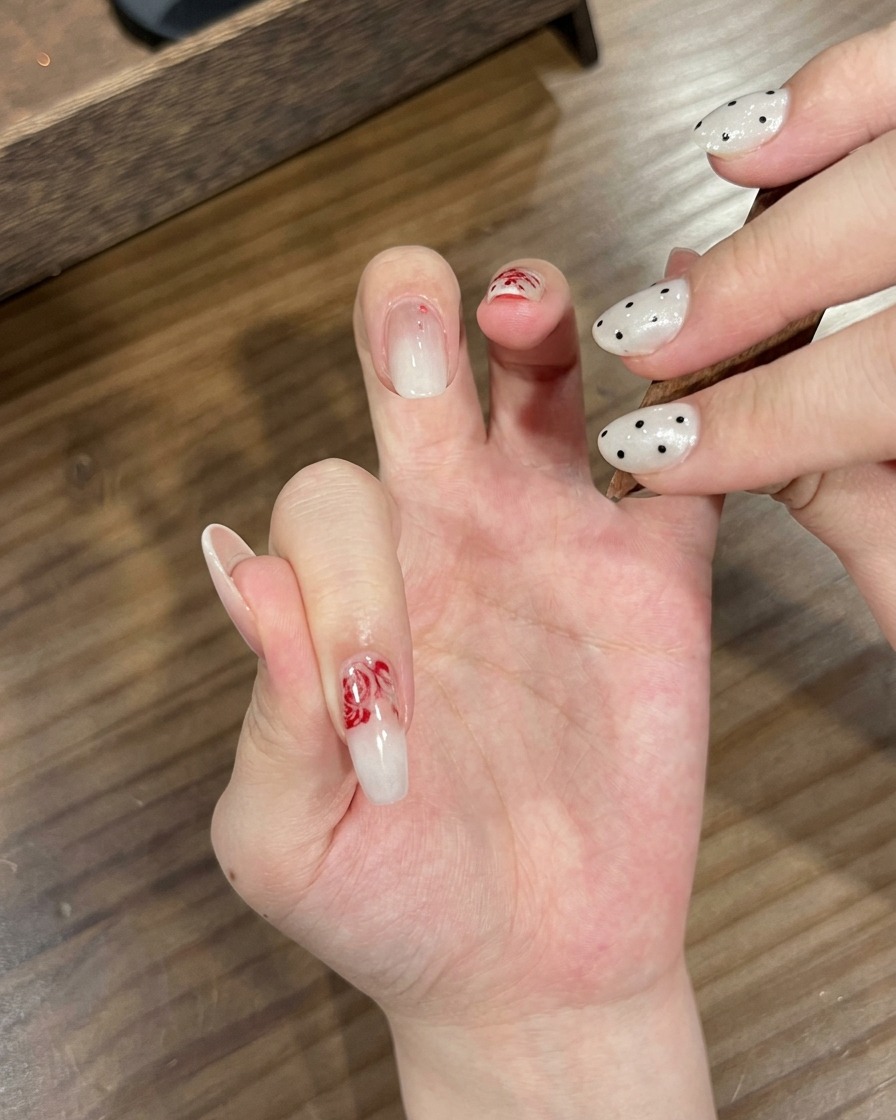
Tip: For a long-lasting manicure, make sure the nails are fully cured before proceeding to the final top coat. - 12Apply final top coat

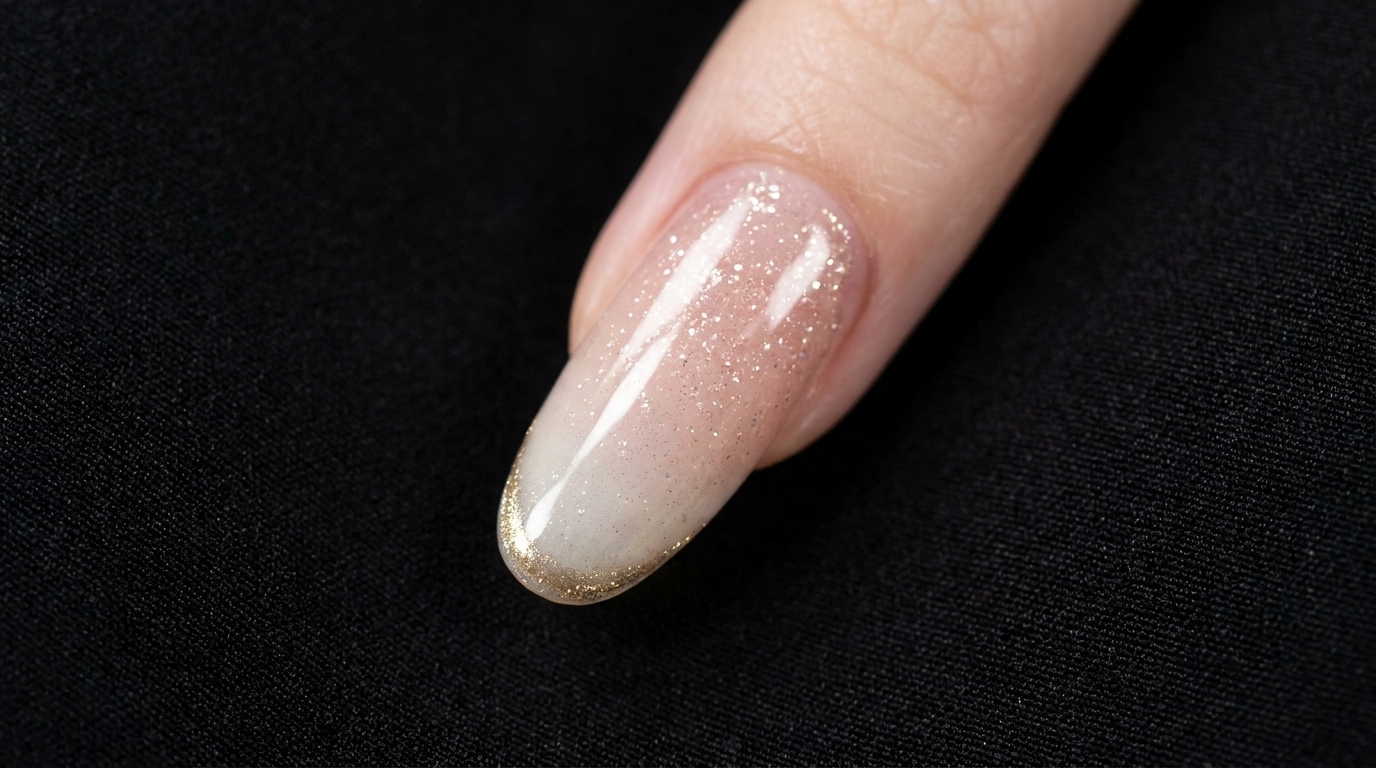
Finish your manicure by applying a thin, even layer of top coat over the entire nail. This final seal adds shine and provides protection to ensure your design lasts. Cap the free edge to prevent chipping at the tip.
Tip: Apply the top coat smoothly to achieve a glass-like finish, and be careful not to flood the cuticles.