Milky White Glitter Ombre Nails — Professional Step-by-Step Tutorial
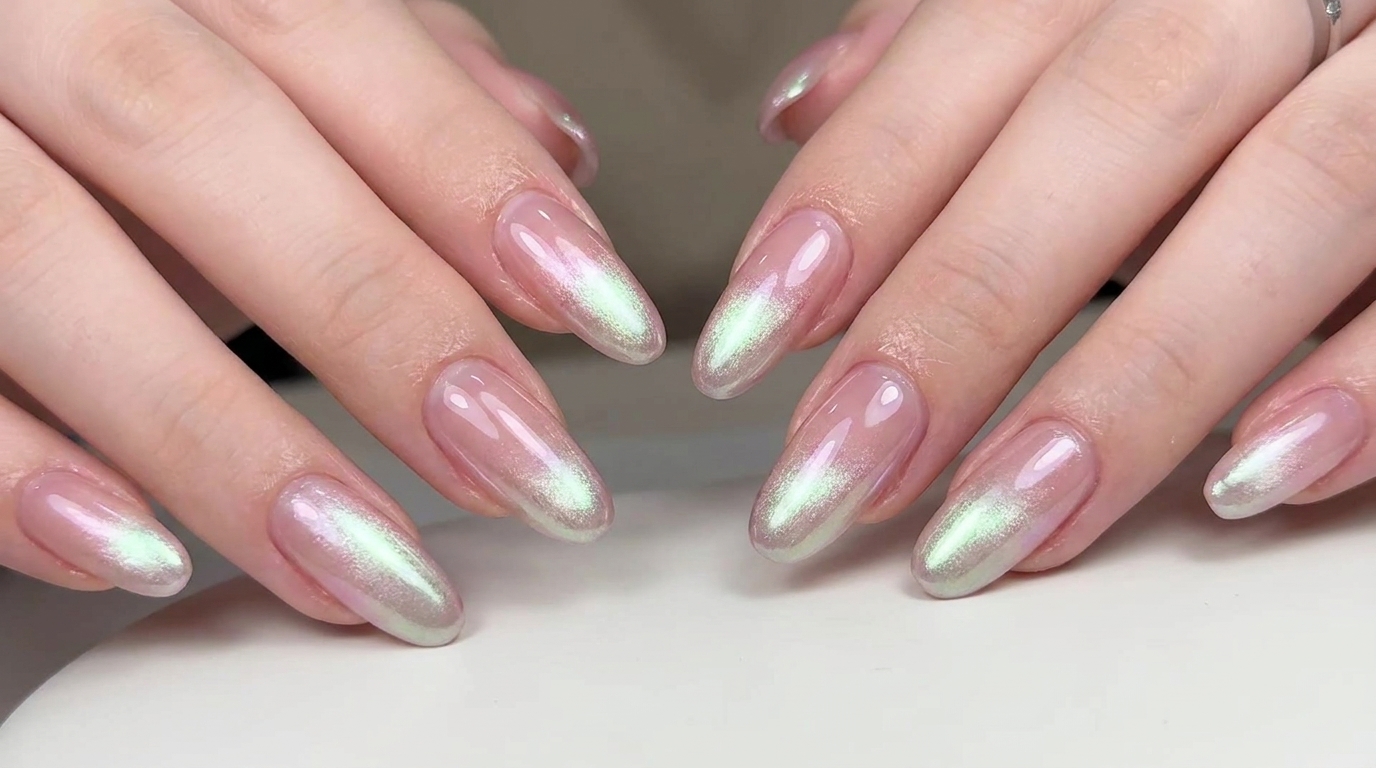
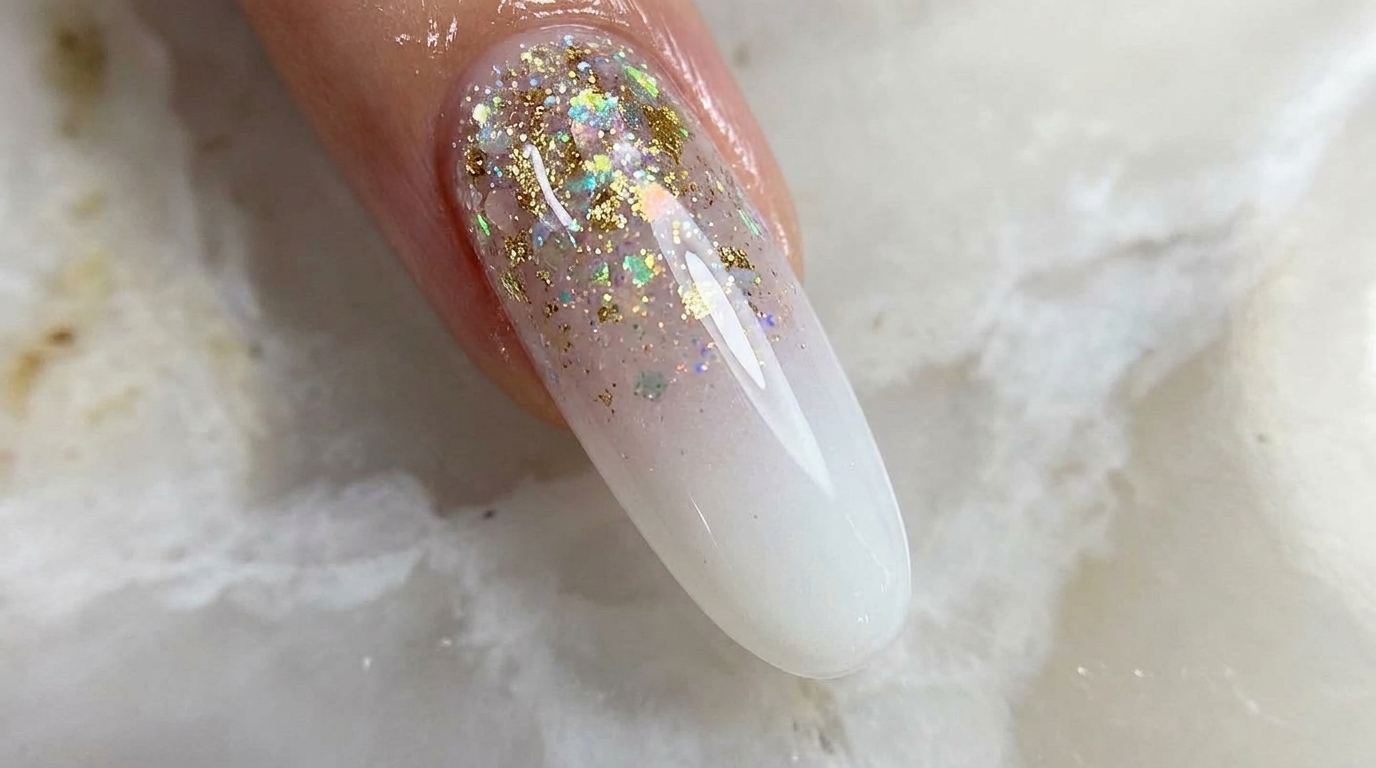
Create a dreamy milky white gradient with a sparkling glitter base using this simple sponge-blending technique. Perfect for an elegant, salon-quality finish.
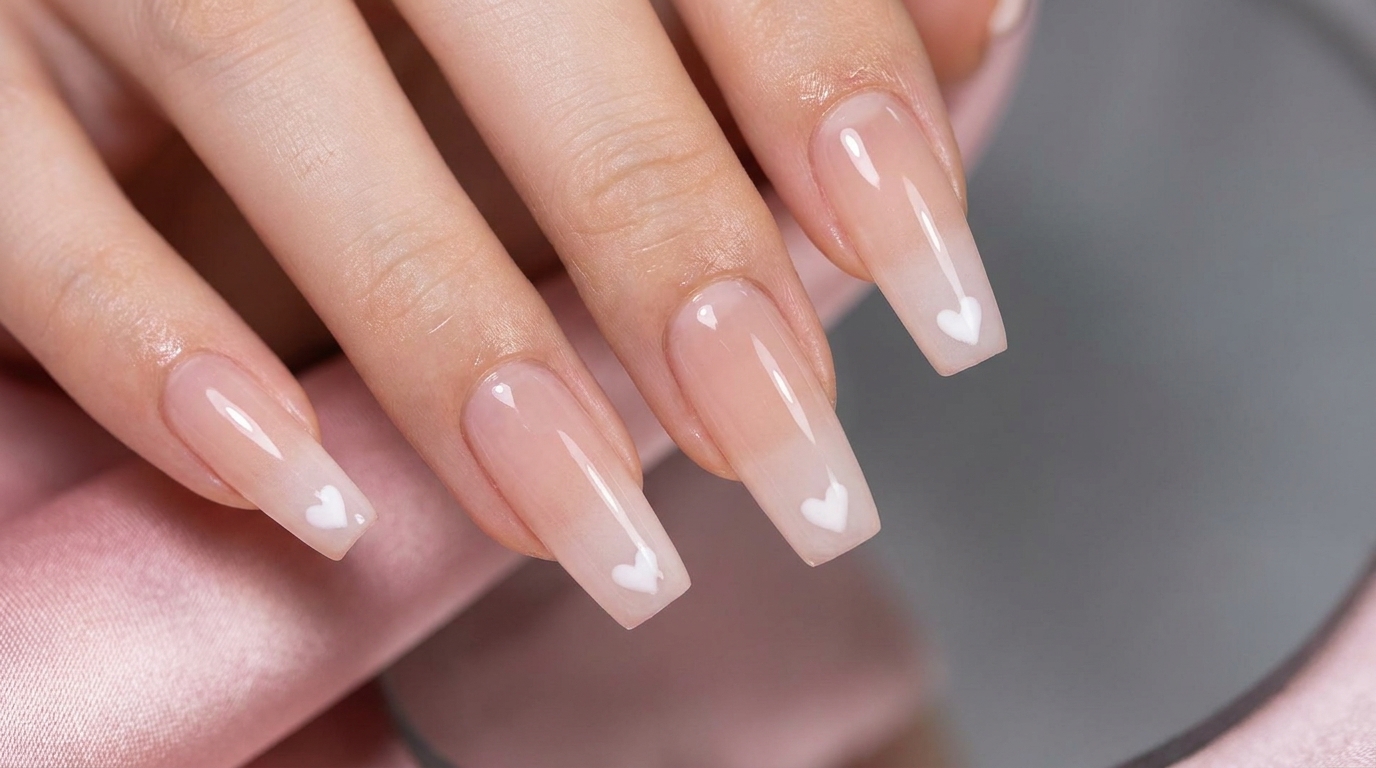
Milky white ombre nails are a timeless choice, offering a clean and sophisticated look that pairs beautifully with a touch of sparkle. This technique uses a simple sponging method to create a seamless transition between the glitter-dusted cuticle and the soft, opaque white tip. It is an efficient, high-impact design that works perfectly for both everyday wear and special occasions.
Steps
- 1Apply base coat
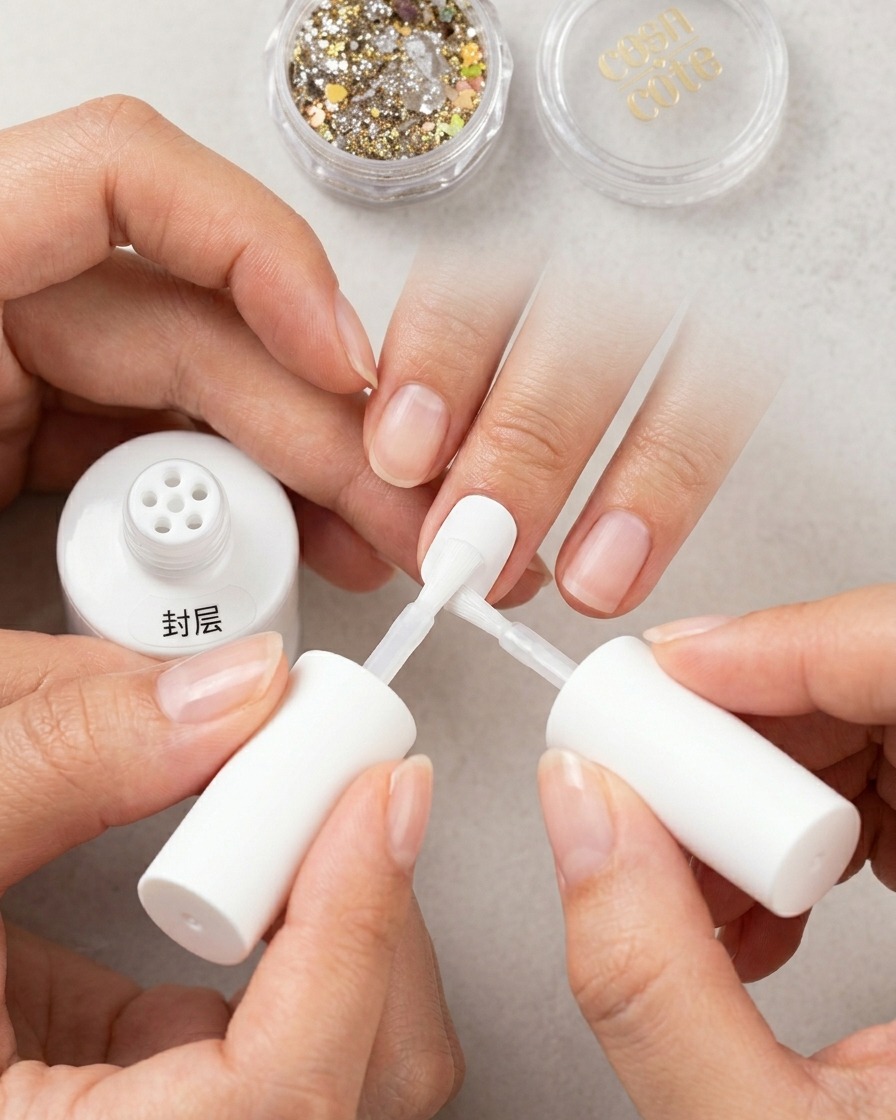
Apply a thin, even layer of base coat over the clear nail tip. This provides a necessary adhesive surface for the subsequent gel layers and ensures long-lasting wear. Cure in the lamp as recommended by your gel system.
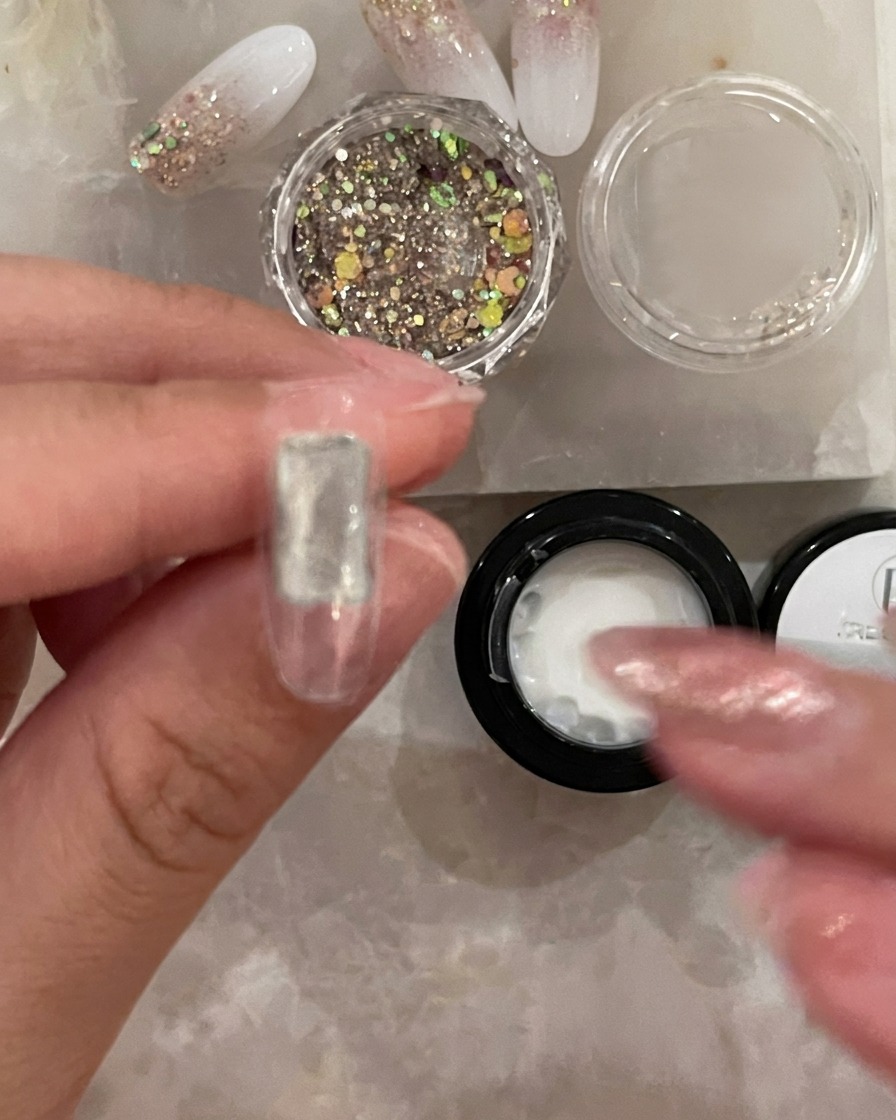
Tip: Ensure you cover the entire surface, but avoid getting base coat on the surrounding skin or cuticle area. - 2Apply glitter base
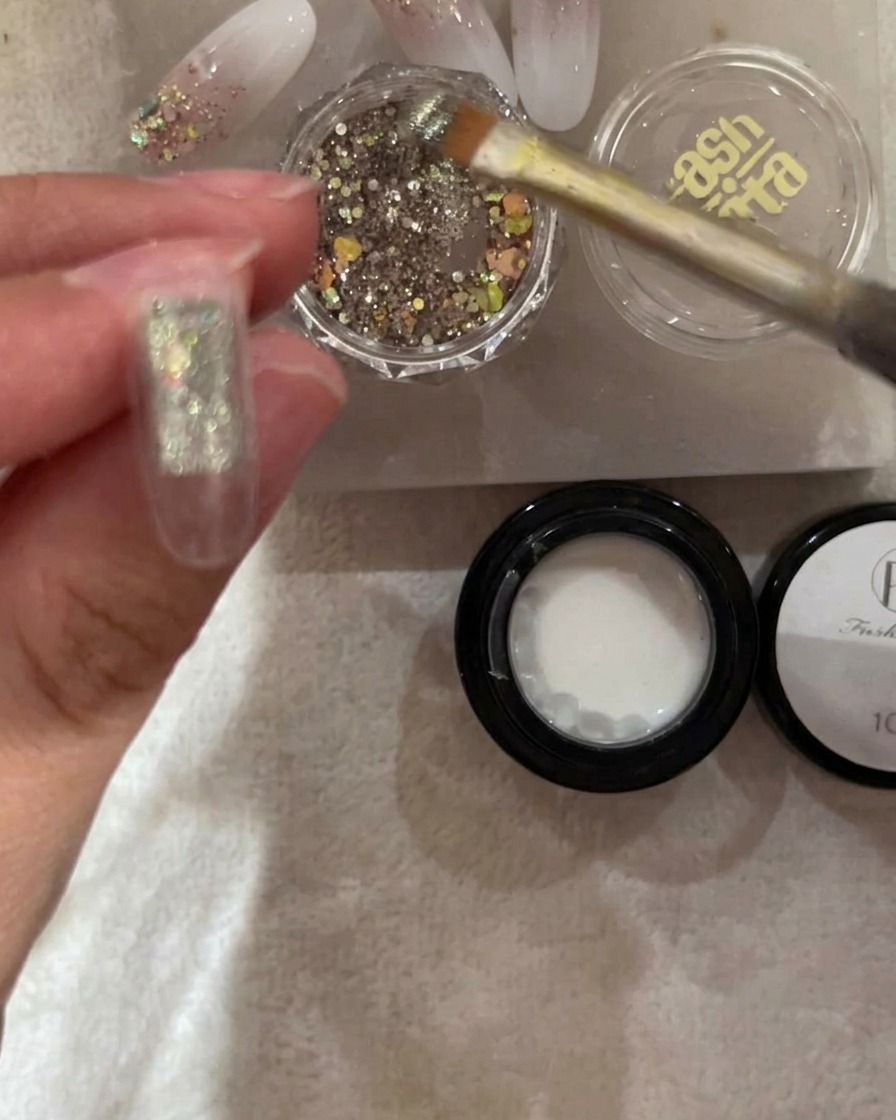
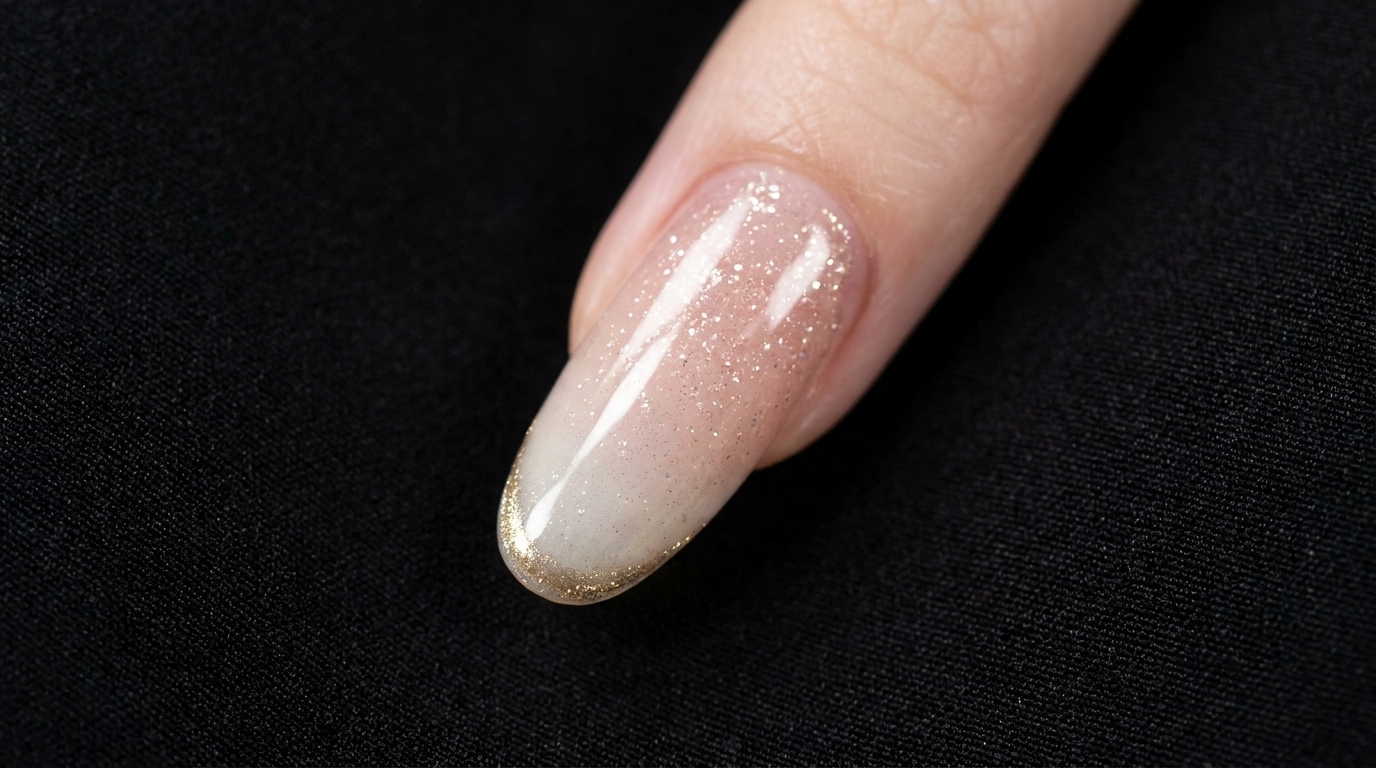
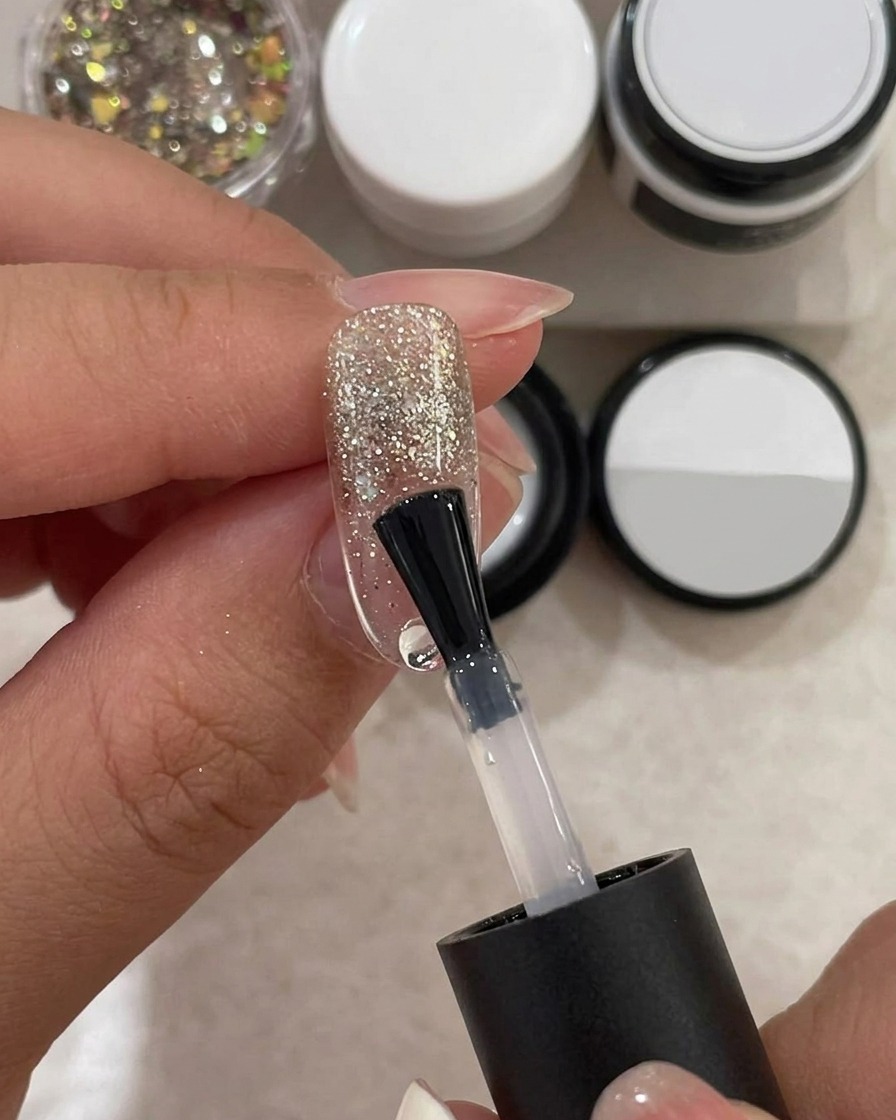
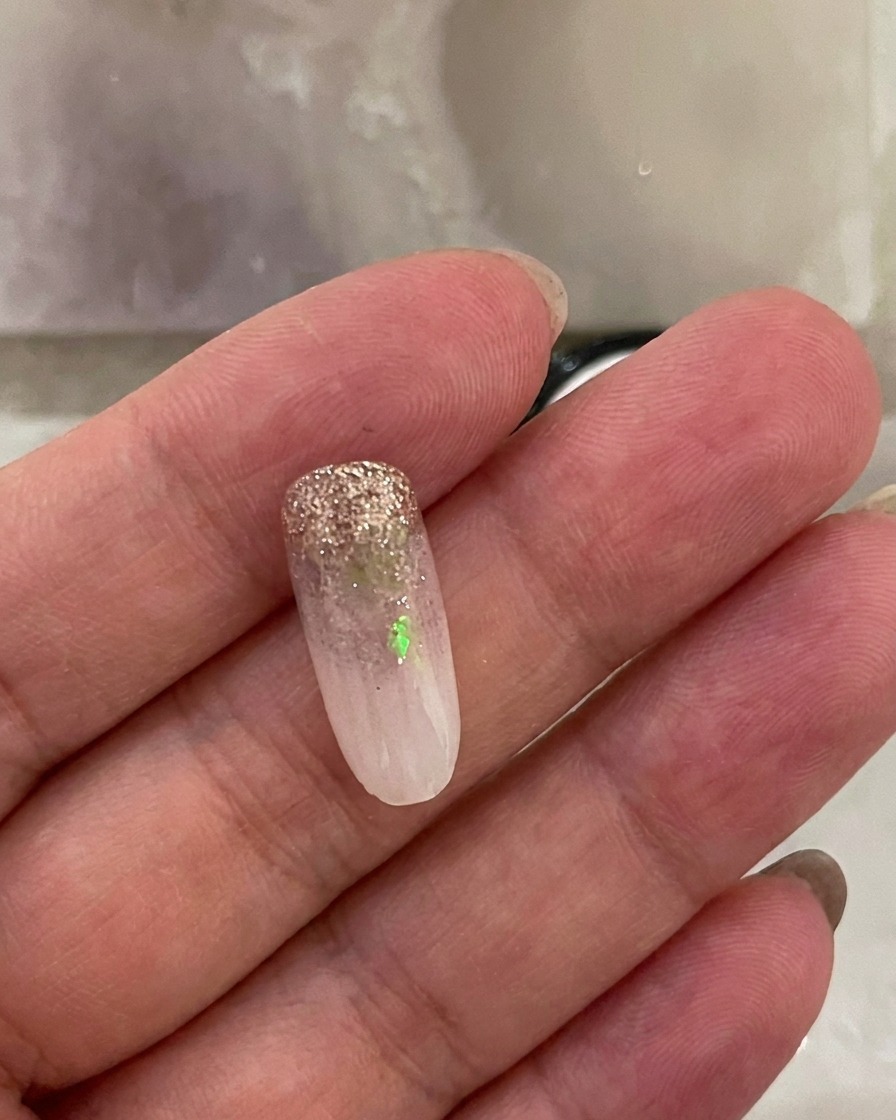
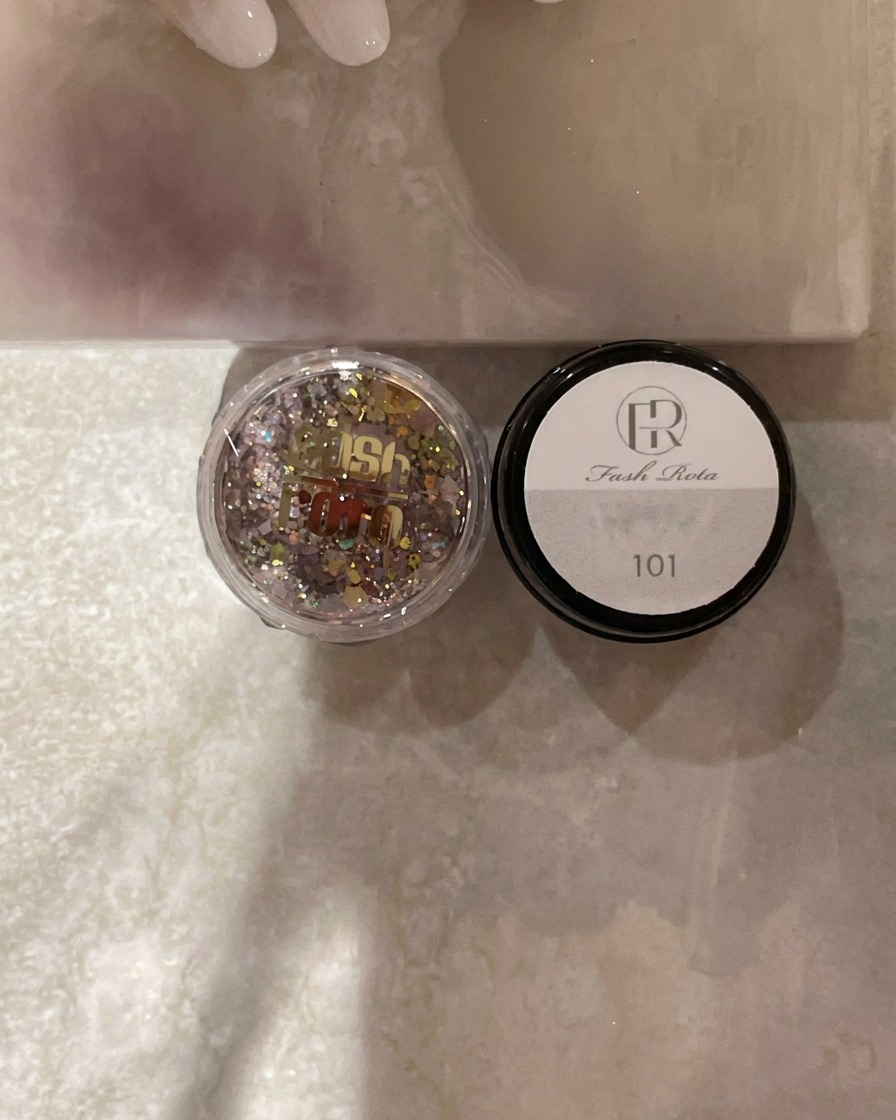
Using a nail brush, pick up a small amount of glitter and apply it to the back edge of the nail tip, which will serve as the cuticle area. Focus the concentration of the glitter at the back and gently fade it toward the center of the nail to begin the ombre effect.
Tip: Use a light tapping motion with the brush to evenly distribute the glitter particles without creating bulk. - 3Cure the glitter layer
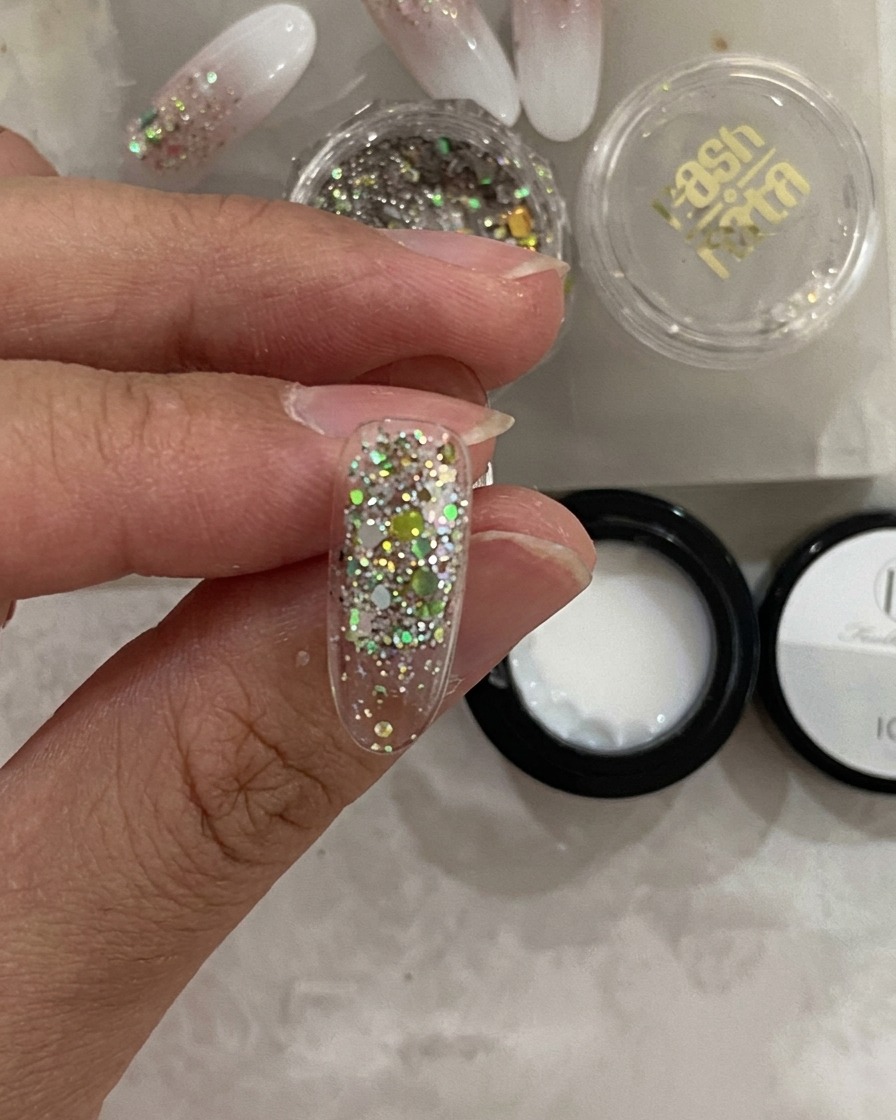
Place the nail tip into your UV or LED lamp and cure the glitter layer. This ensures the glitter is locked into place before you apply the next product, preventing the particles from moving during the leveling process.
Tip: Follow the curing time specific to your brand of gel and lamp to ensure full polymerization. - 4Encapsulate with structure gel
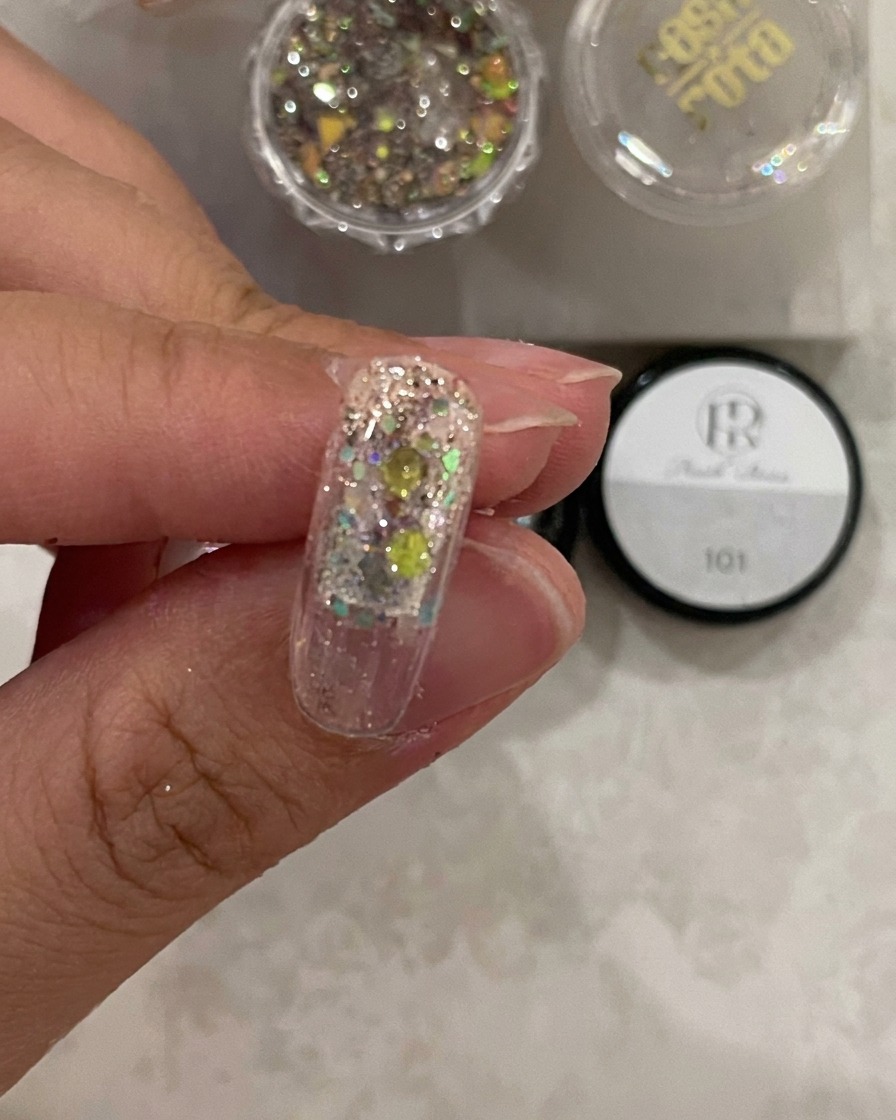
Apply a layer of structure gel over the entire nail surface. This step encapsulates the textured glitter, creating a smooth, level base for the upcoming milky white color application.
Tip: Allow the structure gel a few seconds to self-level before placing it in the lamp to ensure a perfectly smooth finish. - 5Cure the structure gel
Once the structure gel has been applied and leveled to your satisfaction, place the nail tip under the UV or LED lamp to fully cure the layer, creating a durable and even foundation.
Tip: Ensure the nail is positioned flat under the lamp to prevent the gel from pooling to one side while curing. - 6Apply first milky white coat
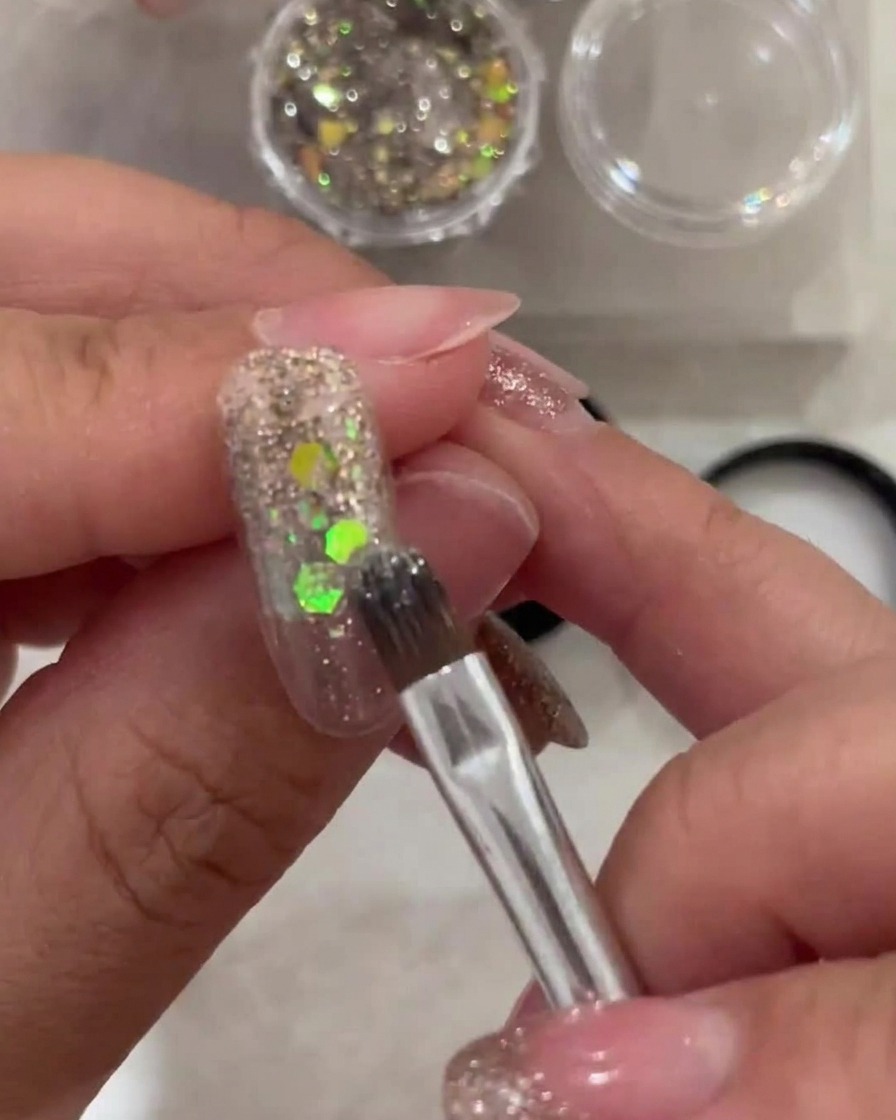
Using a number 9 brush, apply a thin first layer of the 101 milky white gel to the tip area of the nail. Working in thin layers is essential to achieving a smooth, natural-looking gradient that isnt too bulky.
Tip: Keep the layer thin to prevent the gel from running or becoming uneven, which makes blending much easier. - 7Blur the gradient
Take a clean sponge and gently pat the edge of the 101 milky white gel to soften and blur the transition line, creating a natural gradient effect. For a more seamless look, you can also gently pat the lower part of the nail. Cure under the lamp once you are satisfied with the blend.
Tip: If the gradient isnt smooth enough, lightly pat the area again with the sponge before curing. - 8Cure the gradient
Place the nail into the UV/LED lamp to cure the first layer of the milky white gradient. Ensuring a proper cure at this stage is essential for the durability of the subsequent layers.
Tip: Keep the nail flat inside the lamp to ensure even light distribution across the gradient surface. - 9Deepen the milky white color
To build intensity, apply a second layer of the 101 milky white gel to the tip area of the nail. Use the brush to gently pull the color towards the center to maintain the gradient, then pat with a sponge to blur the edge before curing.
Tip: Focus the second layer more heavily on the very tip to create a deeper, more opaque white effect.