White Moonlight Gradient Glitter Nails — Ethereal Step-by-Step Tutorial
Create an ethereal White Moonlight manicure with this simple gradient glitter look. We use sheer snow-velvet gels and gold chrome for a dreamy finish.
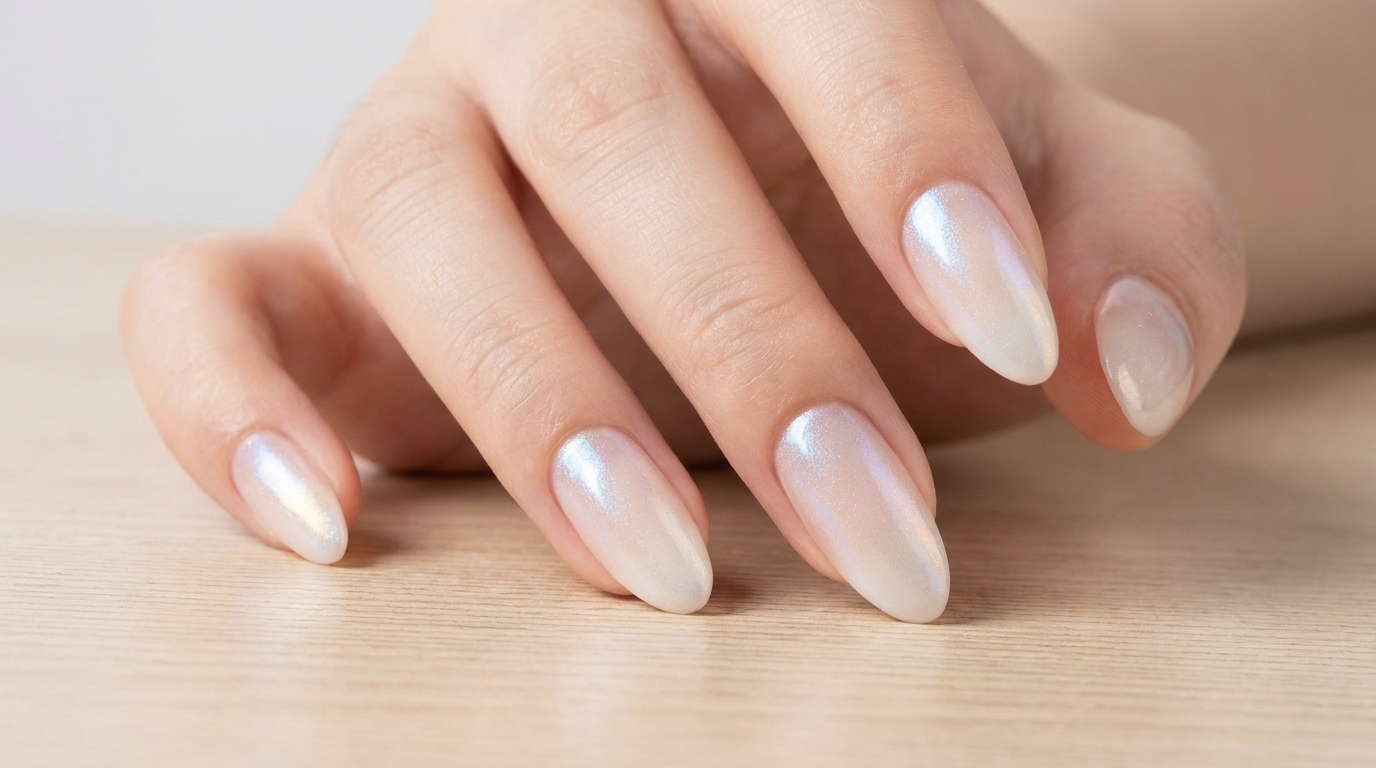
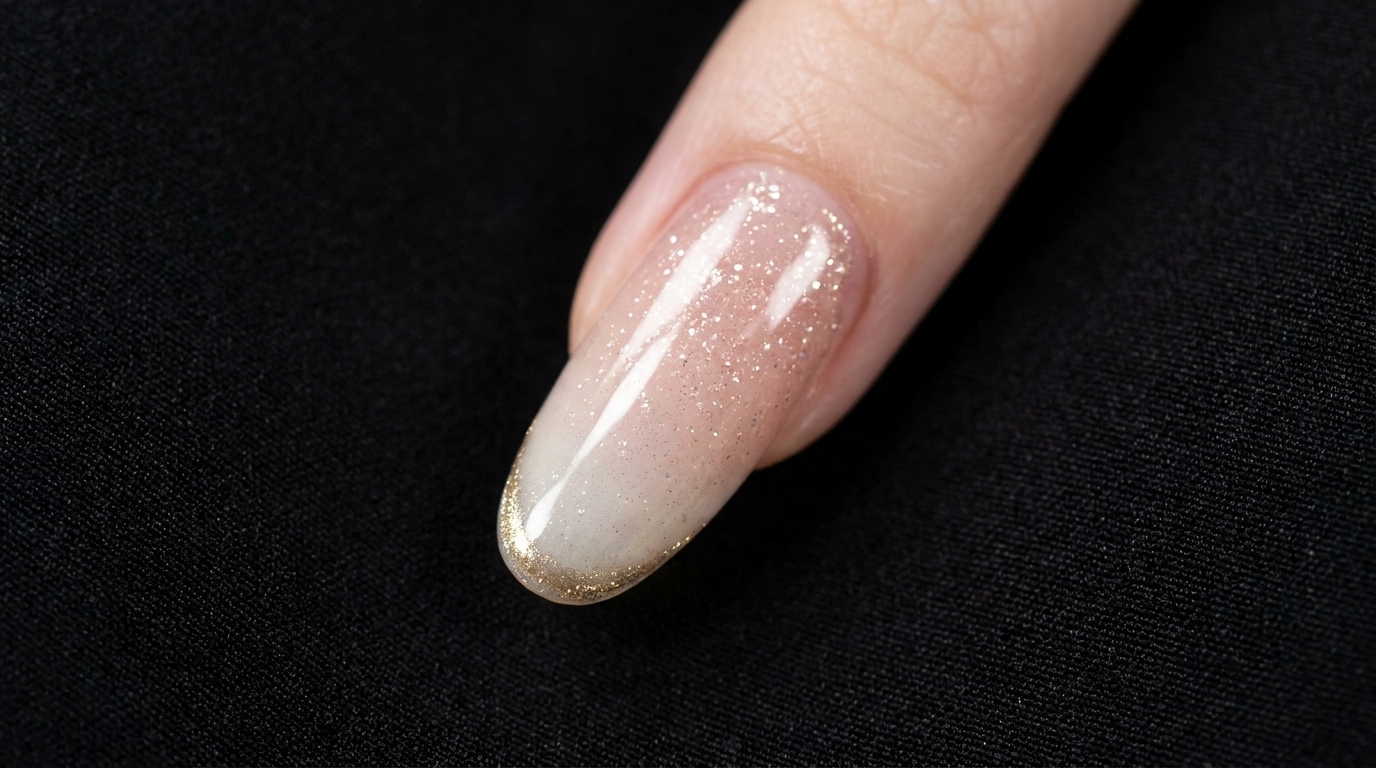
The White Moonlight look captures the delicate beauty of a soft white-to-pink gradient, elevated by shimmering snow-velvet textures and a touch of metallic gold at the tips. It is a perfect blend of elegance and whimsy that works beautifully for any season. Follow along to master this soft gradient technique and add a fairy-like glow to your nails.
Steps
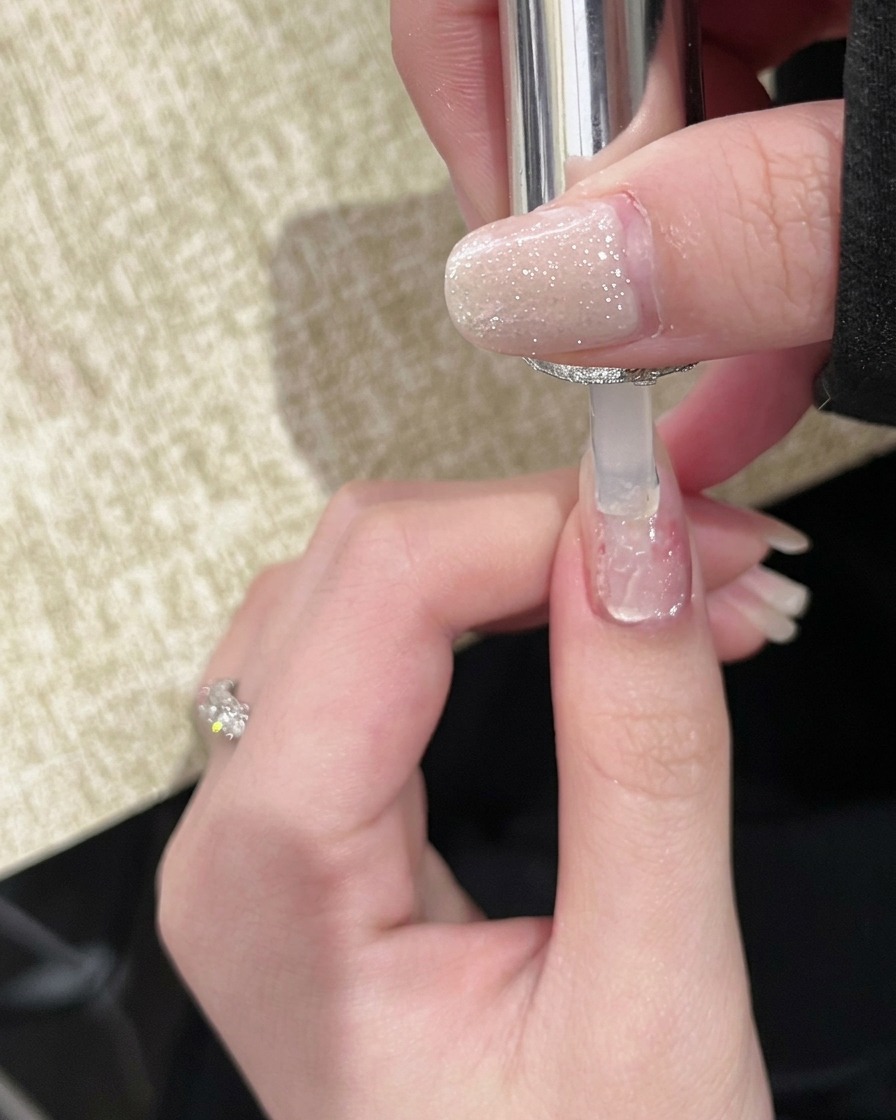
- 1Apply white blooming gel
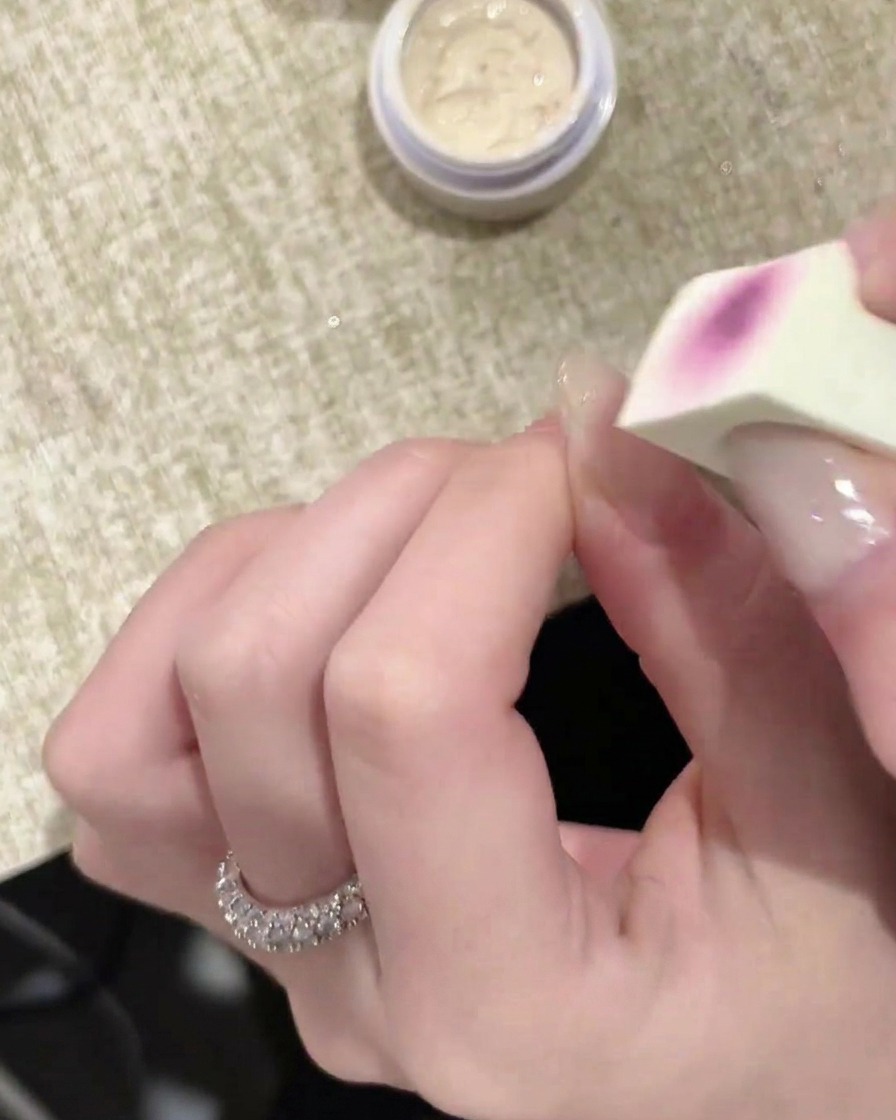
Using a sponge tip applicator, gently dab the white blooming gel onto the nail plate. This product serves as the base for our gradient design, allowing the subsequent colors to spread and blend seamlessly. Ensure an even application across the surface before proceeding to cure.
Tip: Use a light tapping motion with the sponge to avoid creating bubbles or uneven patches in the gel. - 2Cure the blooming gel
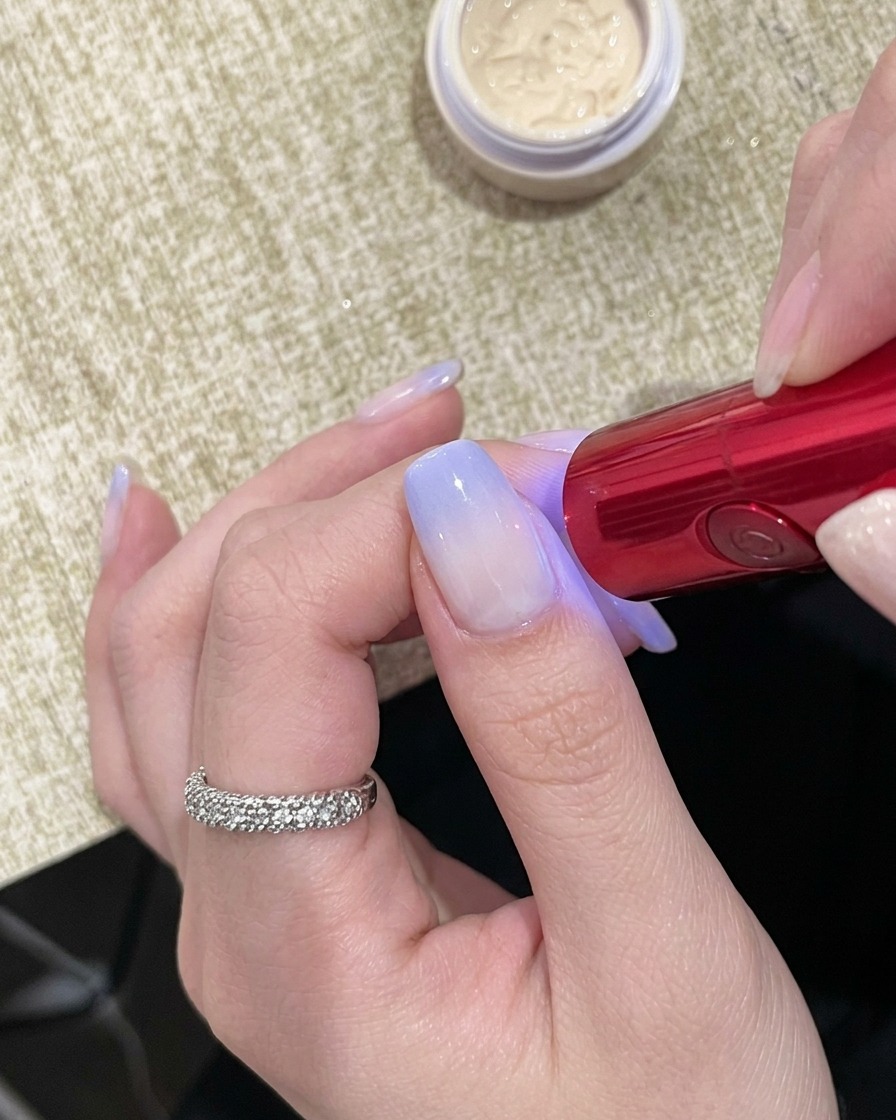
Place your nails under a handheld UV lamp to cure the white blooming gel base. This step sets the layer, creating a stable foundation for the following color applications. Follow your products specific curing time to ensure it is fully set.
Tip: Keep your fingers steady under the light to prevent the gel from shifting before it hardens. - 3Apply sheer pink glitter gel
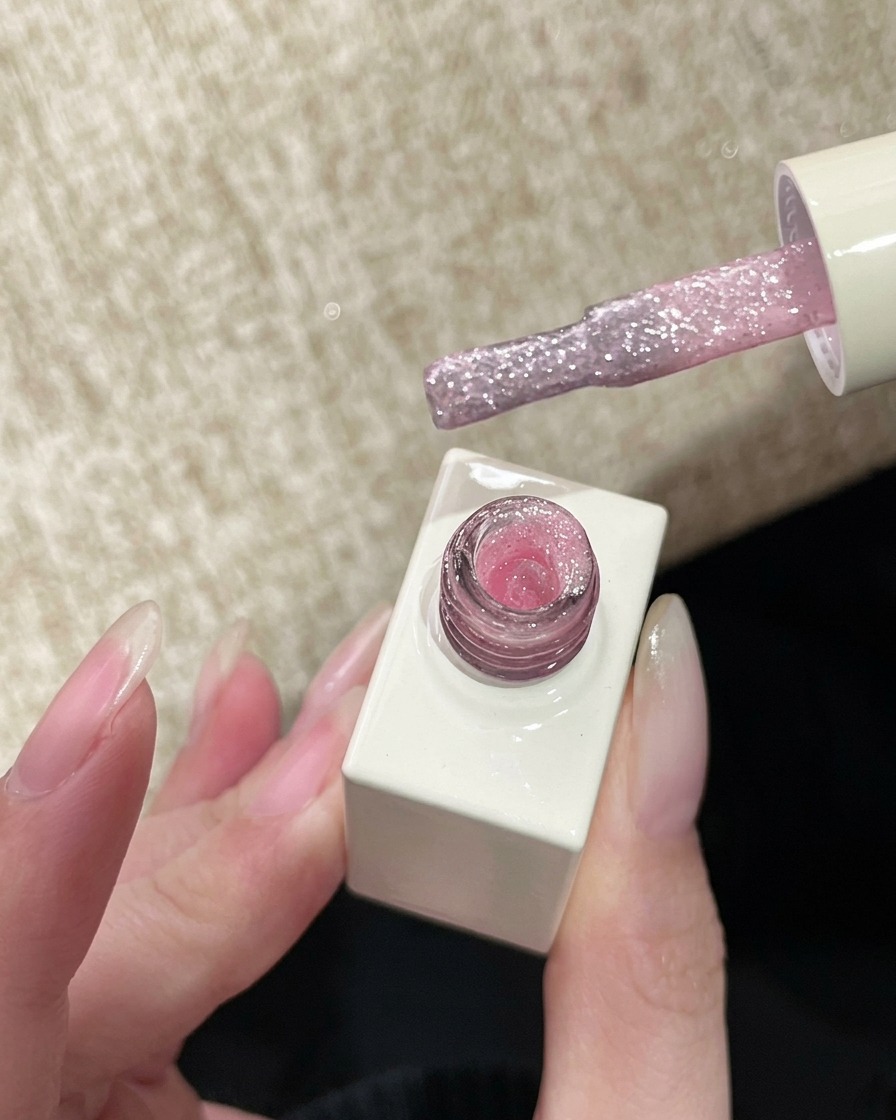
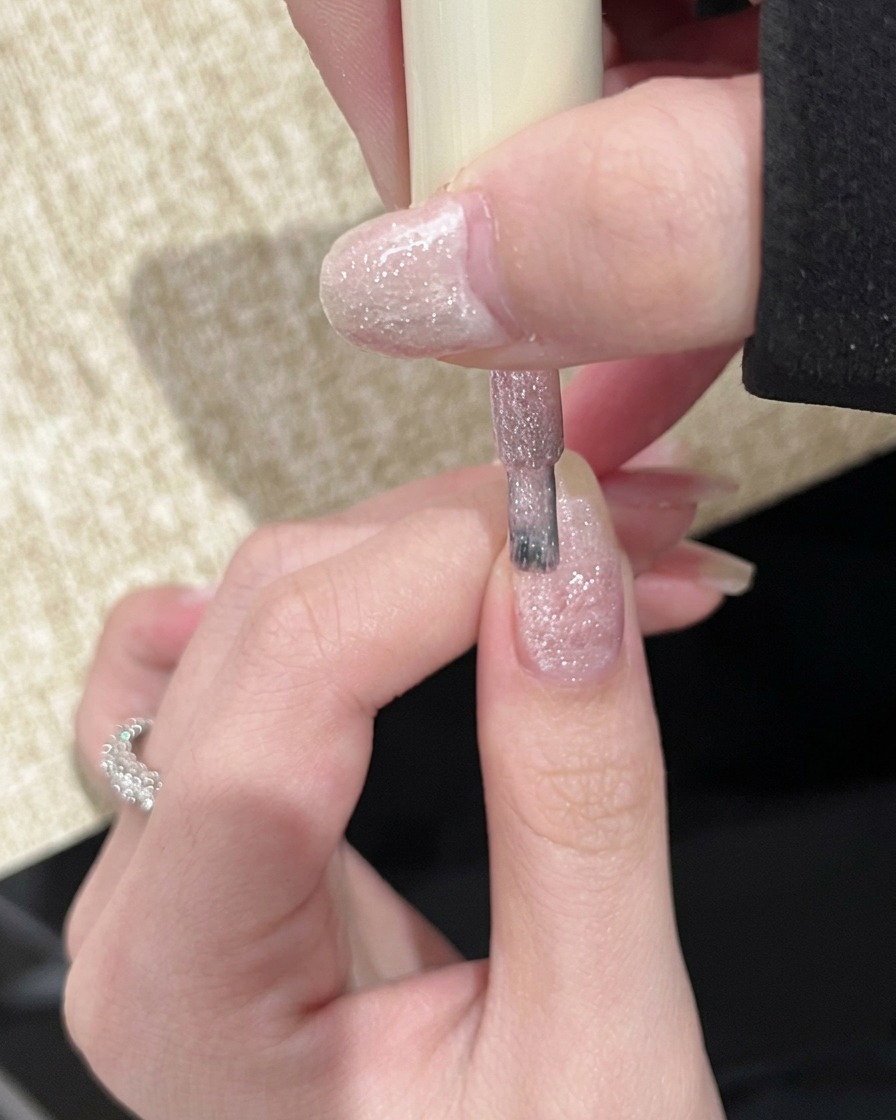
Take the sheer nude-pink snow velvet glitter gel and apply it to the lower half of the nail. This fairy-like, translucent shade creates the first layer of our gradient. Brush it on carefully, focusing on the bottom section to build the base of the transition.
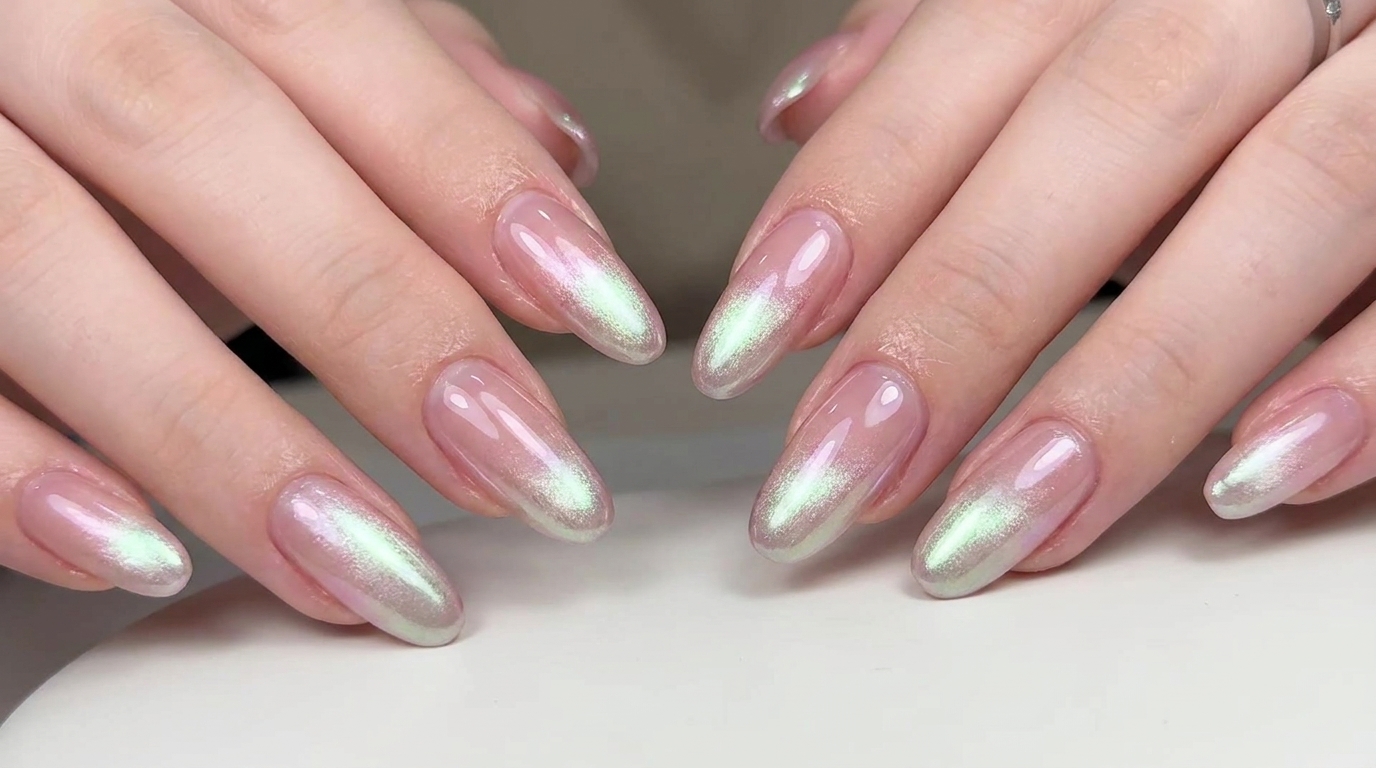
Tip: Since this gel is sheer, you can build up the intensity with thin layers rather than one thick application. - 4Create the gradient transition
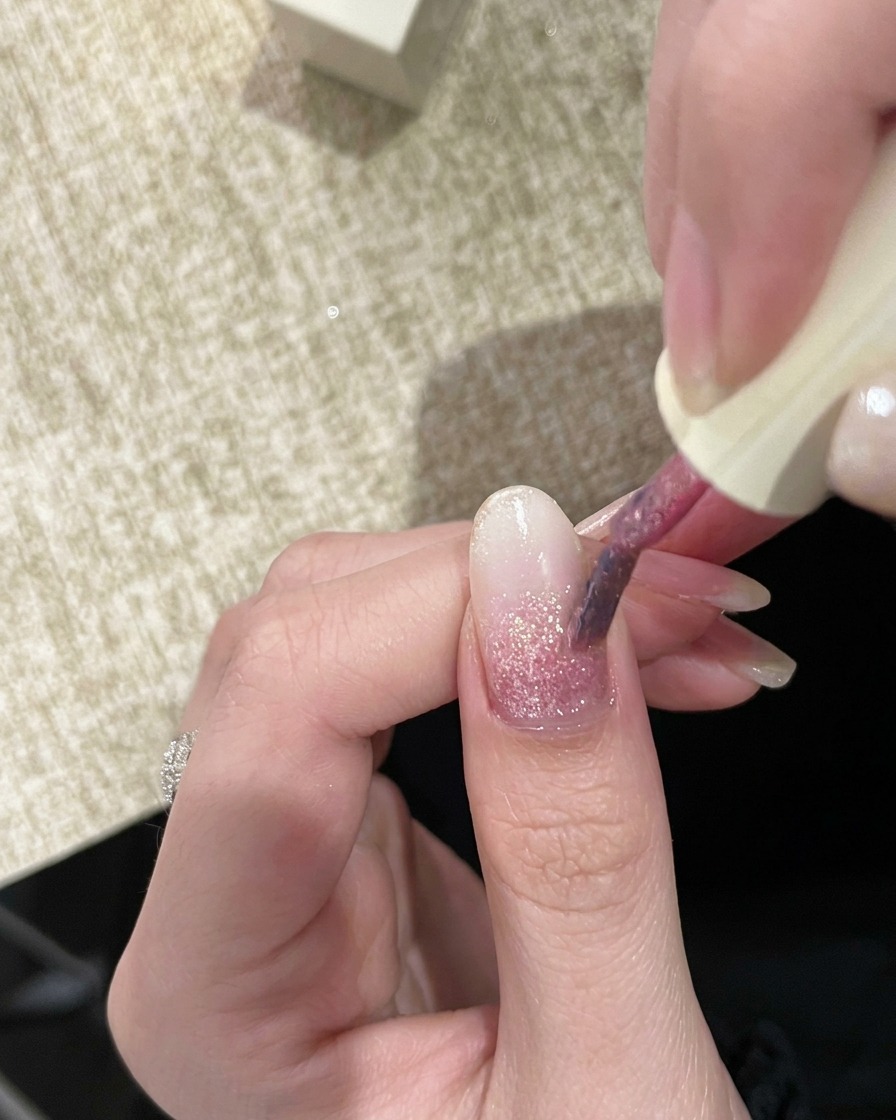
Clean your brush, then use it to gently blend the pink gel upwards toward the tip of the nail. This motion diffuses the product, creating a natural, soft transition from the pigmented base to the sheer tip. Continue blending until you achieve a smooth, ethereal effect.
Tip: Wipe your brush frequently on a lint-free pad while blending to keep the edges clean and prevent streaks. - 5Cure the gradient layer
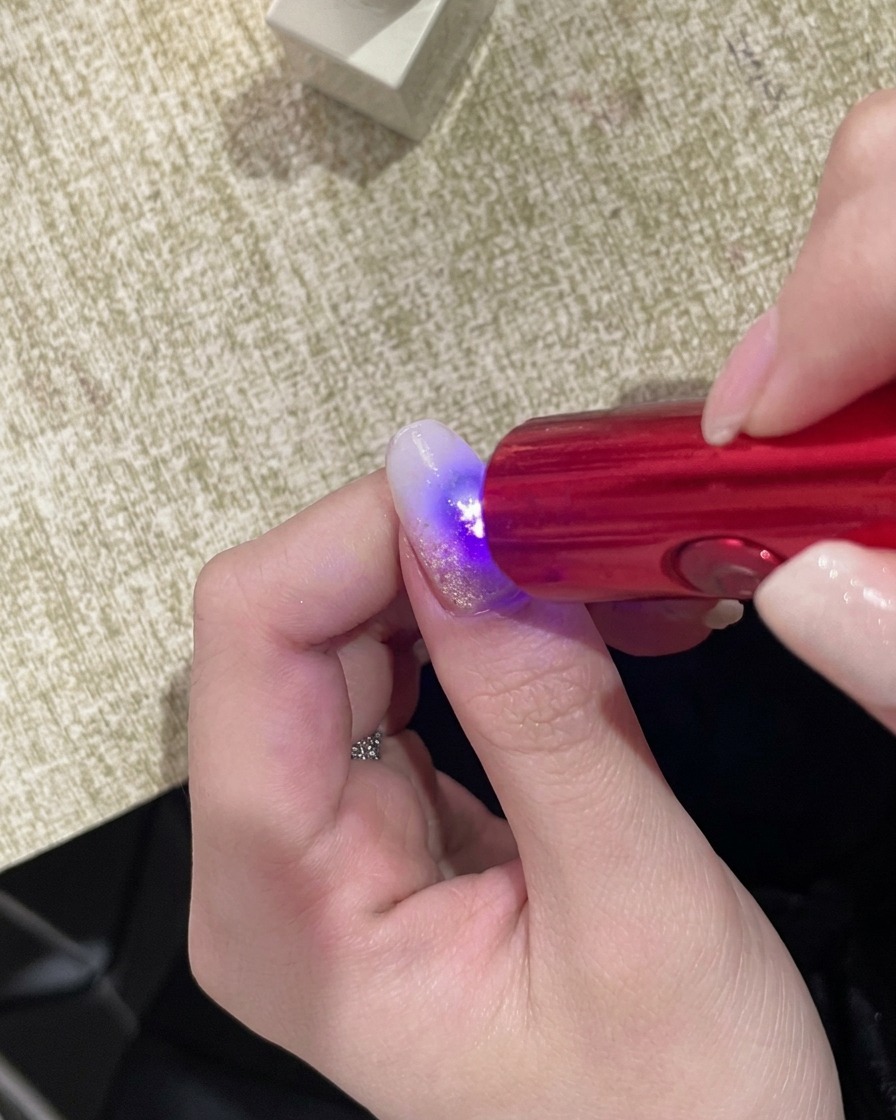
Once you are satisfied with the gradient, place your nails under the handheld UV lamp to cure this layer. This locks in the blended transition and prepares the nail for the next phase of the design. Always ensure the nails are properly positioned for an even cure.
Tip: Ensure the gel is completely cured before applying any further layers to maintain the clarity of the gradient. - 6Deepen the gradient color
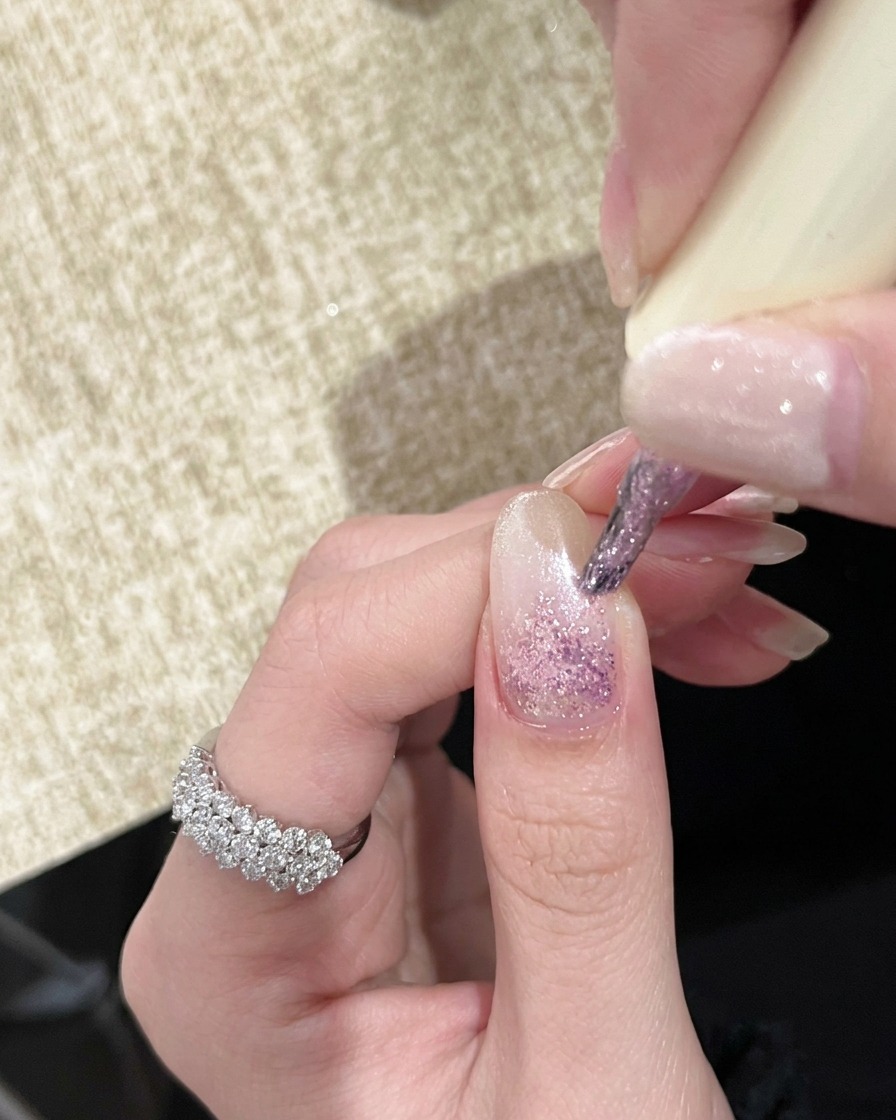
Apply a second, more pigmented pink snow velvet glitter gel over the same gradient area. Layering this richer shade creates the perfect depth, ensuring the final look is vibrant yet balanced. Gently blend it out slightly to maintain the smooth transition established in the previous step.
Tip: Keep this second layer focused on the same area to enhance the depth without losing the sheer effect of the first layer. - 7Cure the color layer
Place your nails under the UV lamp to cure the second layer of color. This ensures the pigmented gel sets properly, locking in the depth and transition created by the blending process.
Tip: Keep your fingers flat under the lamp to ensure even exposure and full curing across the entire nail surface. - 8Apply top coat
Apply a generous, even layer of clear top coat over the entire nail to seal the design. Ensure you cap the free edge to prevent chipping and protect the color layer underneath.
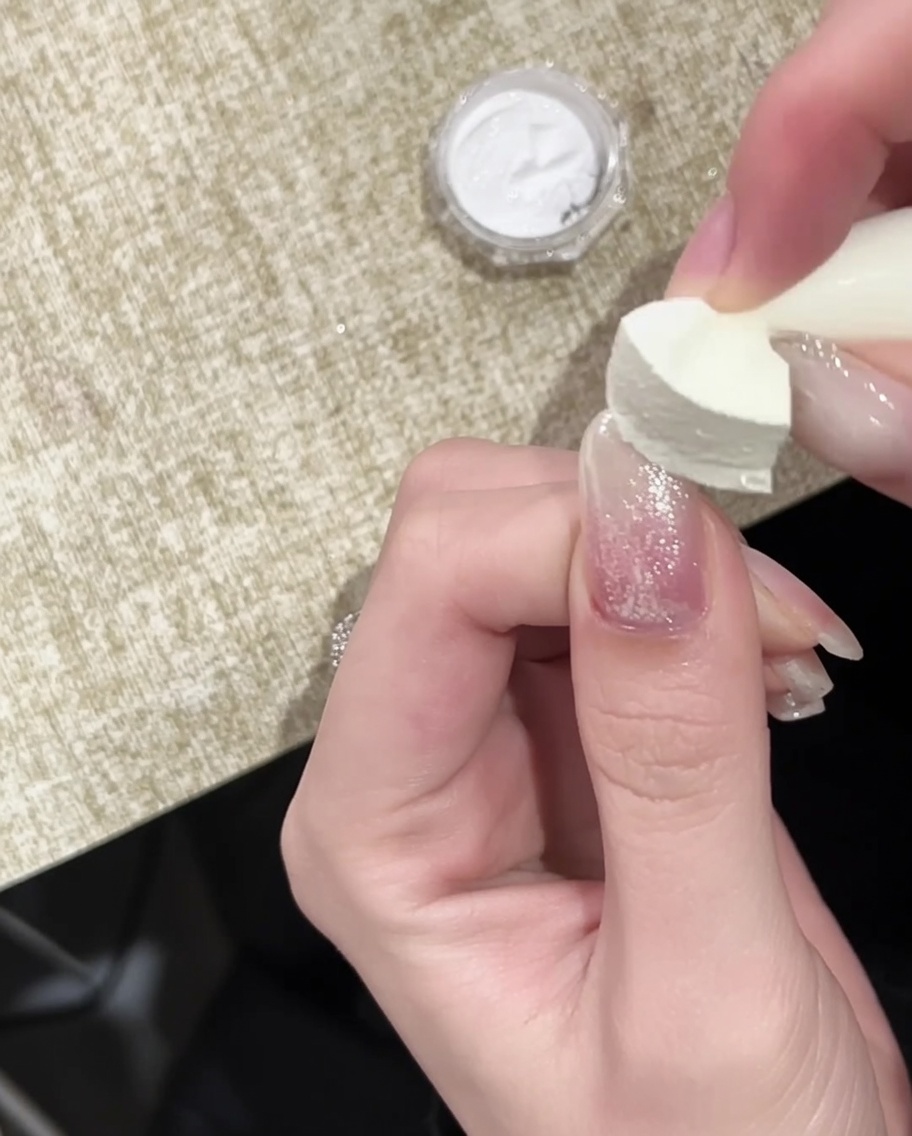
Tip: Applying a smooth layer of top coat provides a perfect, tacky surface for any chrome or glitter accents you plan to add next. - 9Apply gold chrome
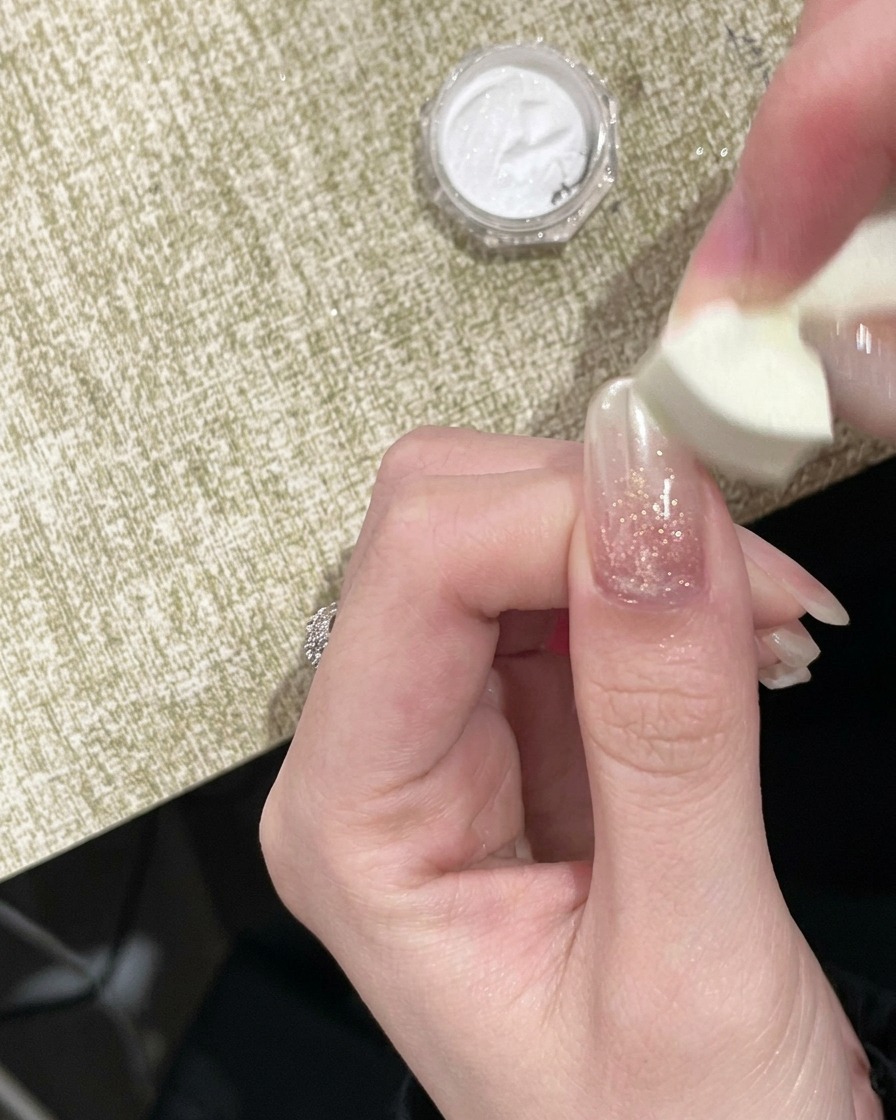
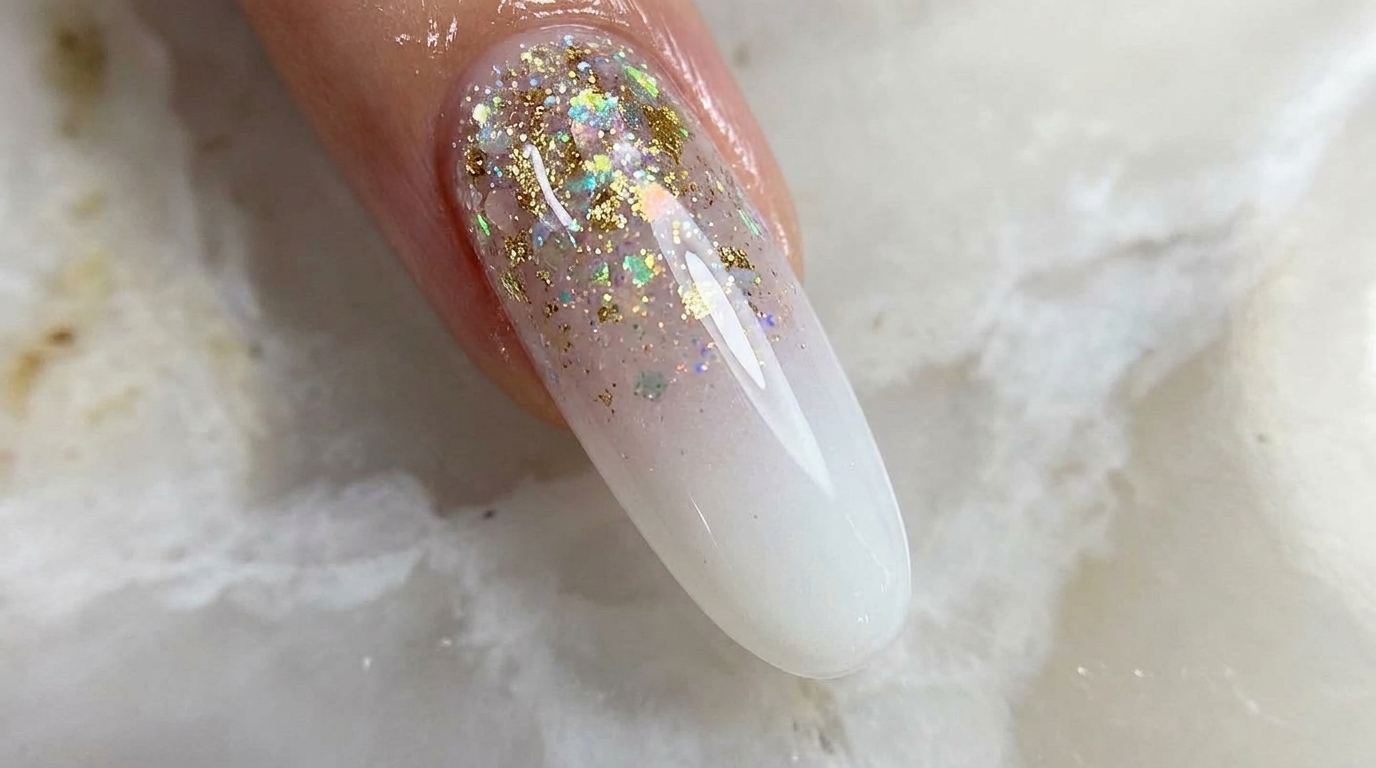
Using a sponge applicator, gently rub the gold chrome powder onto the tip of the nail while the top coat is still tacky. The powder will adhere to the uncured layer to create a soft, shimmering metallic effect.
Tip: Use a light touch when applying the powder to keep the effect subtle and blended at the edges. - 10Seal with final top coat
Apply one final layer of top coat over the entire nail to seal in the chrome powder and provide a high-gloss finish. Cure fully to ensure the manicure is durable and scratch-resistant.
Tip: Ensure the entire surface is covered to lock in the metallic finish and prevent the chrome from rubbing off.