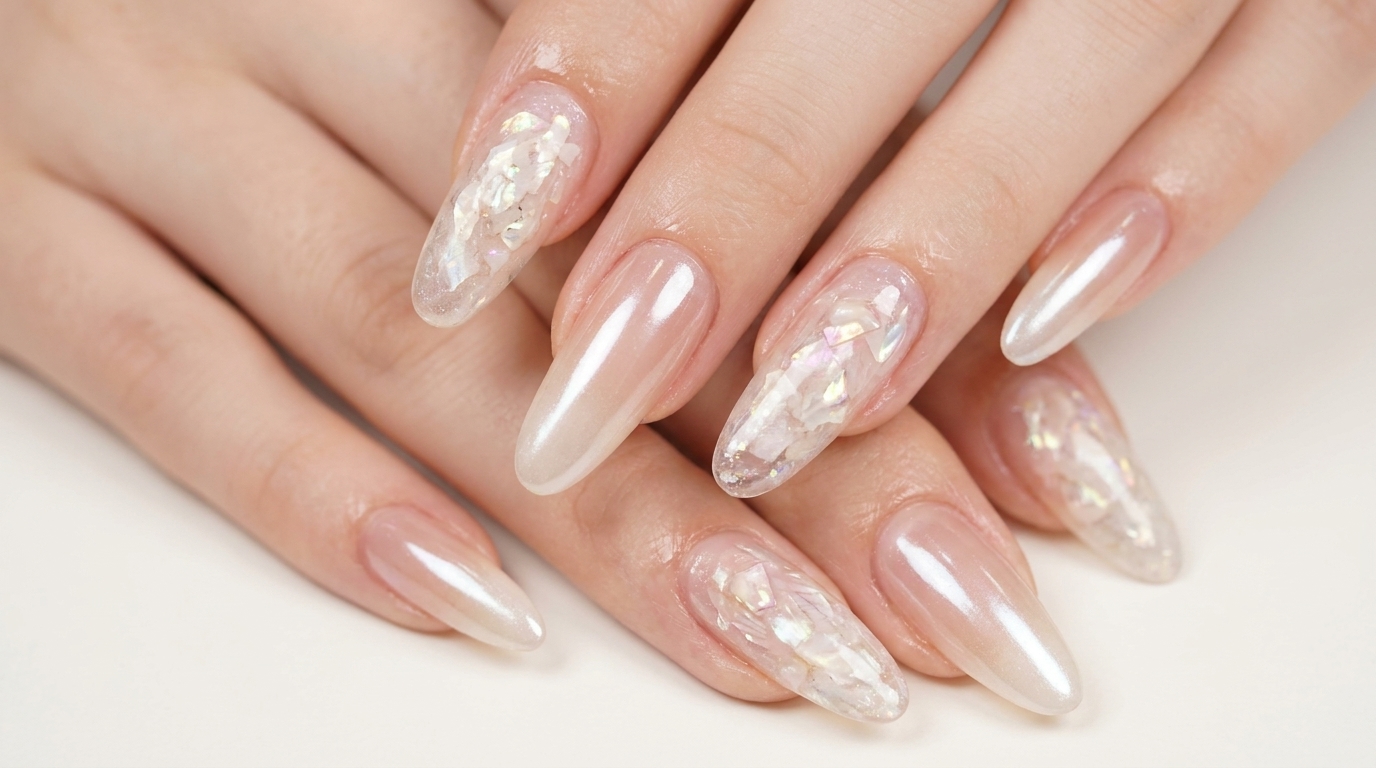
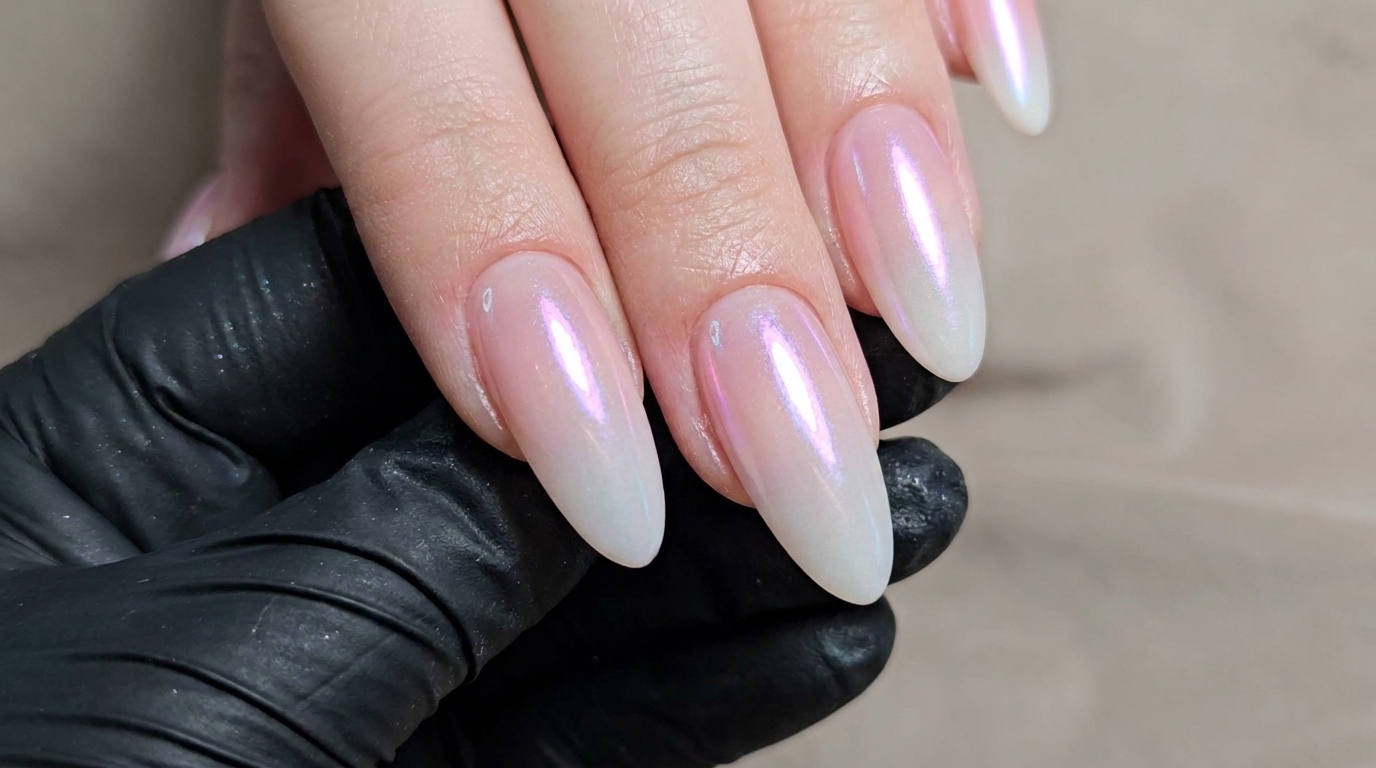
Moonlight Pink Milky White Gradient Chrome Nails — Step-by-Step Tutorial
Create an ethereal look with this dreamy moonlight pink-to-white gradient. This tutorial shows you how to achieve a seamless blend and pearlescent chrome finish.
The milky gradient look combined with a soft chrome aurora finish is the perfect way to add an ethereal, high-end glow to your manicure. By layering sheer pink with a soft white tip and finishing with a pearlescent powder, you can achieve a sophisticated, salon-quality style at home. This technique balances subtle color transitions with a luminous, eye-catching surface that looks beautiful in any light.
Steps
- 1Apply first base color layer
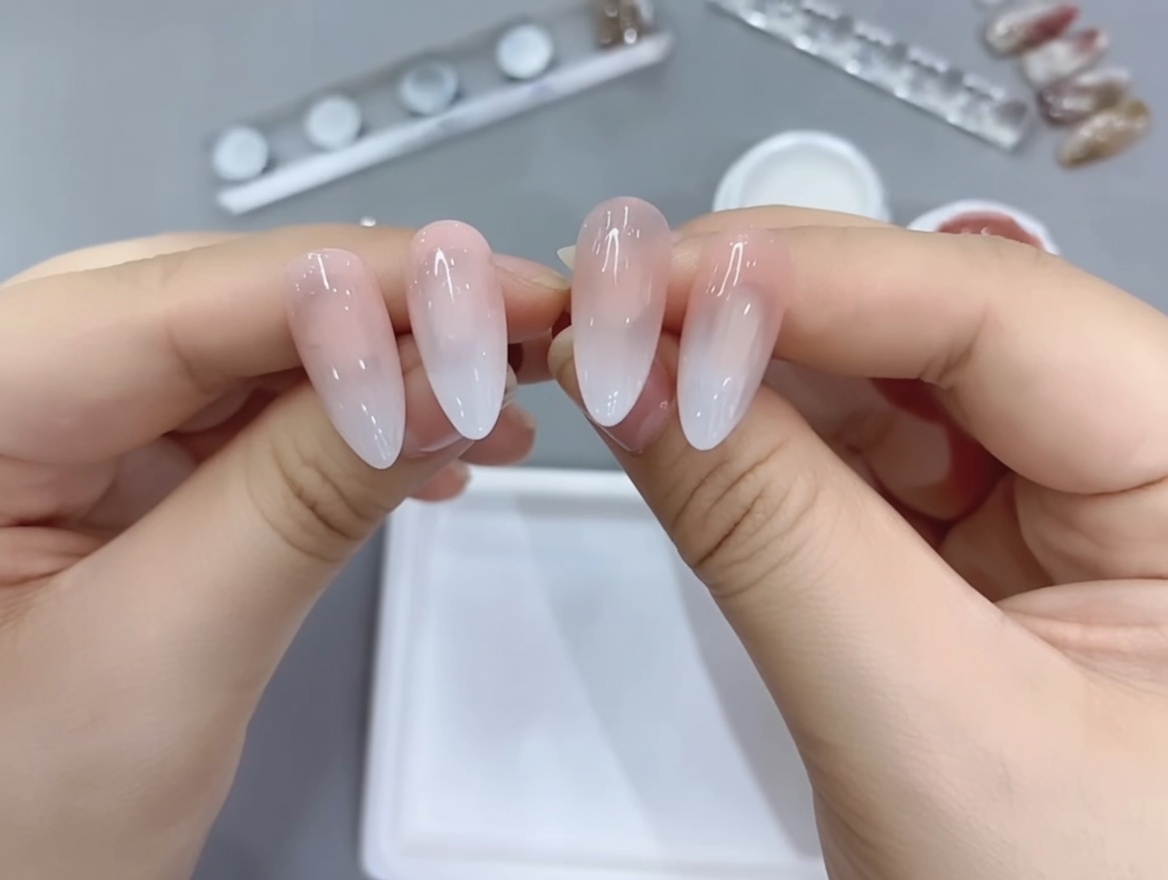
Apply a thin, even layer of the sheer nude pink base gel to the nail tip. Ensure the product is applied smoothly without pooling at the edges. This layer acts as the foundation for your gradient look.
Tip: Work in very thin layers to ensure proper curing and prevent the gel from running. - 2Apply second base color layer
Apply a second thin layer of the sheer nude pink base gel over the first layer. This helps build up the color opacity and creates a solid, uniform base for the gradient application.
Tip: Cap the free edge with this second layer to improve the longevity of your manicure. - 3Apply milky white gradient

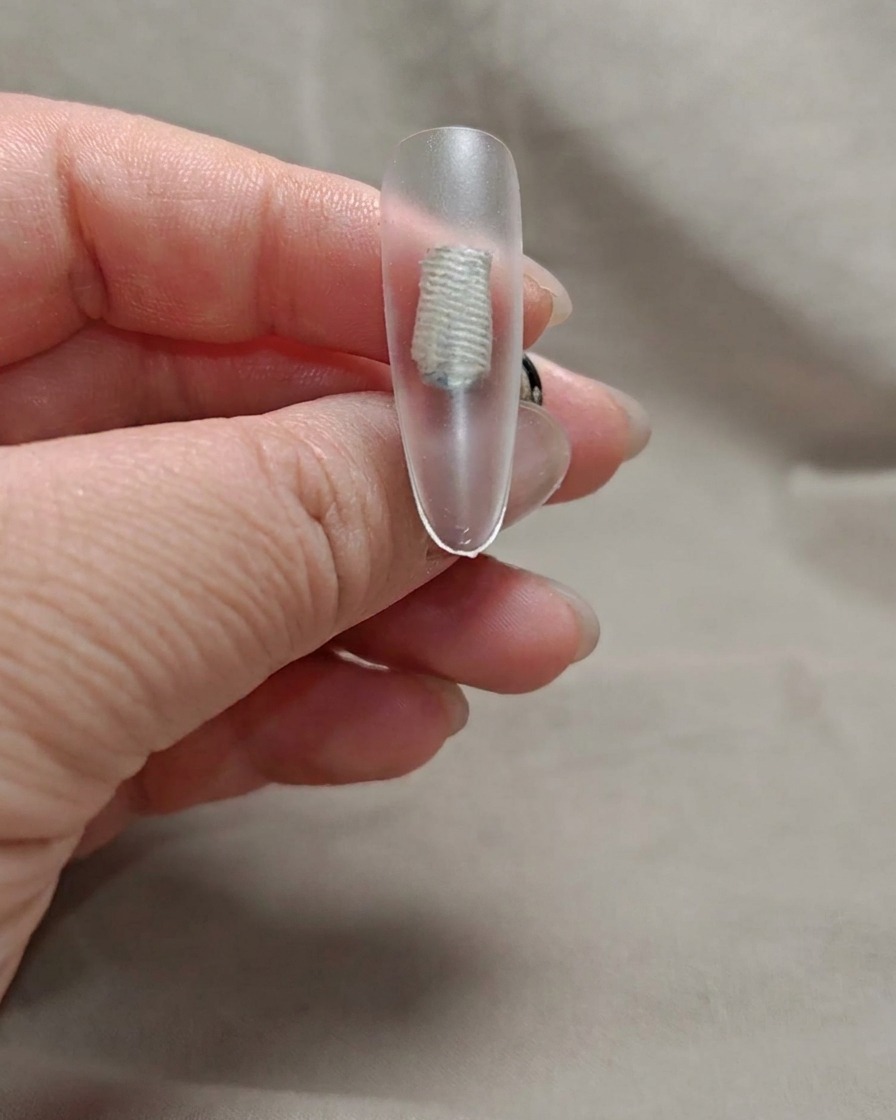
Apply a small amount of milky white gel to a makeup sponge. Gently dab the sponge onto the tip of the nail, focusing the color on the free edge and fading it upward to create a soft gradient effect.
Tip: Use a light tapping motion to avoid creating harsh lines or streaks. - 4Build gradient saturation
Repeat the dabbing process with the milky white gel on a sponge. Focus on the very tip to build up the opacity of the white, ensuring it transitions seamlessly into the pink base.
Tip: Lightly overlapping your previous dabs will help create a smoother transition. - 5Perfect the gradient transition
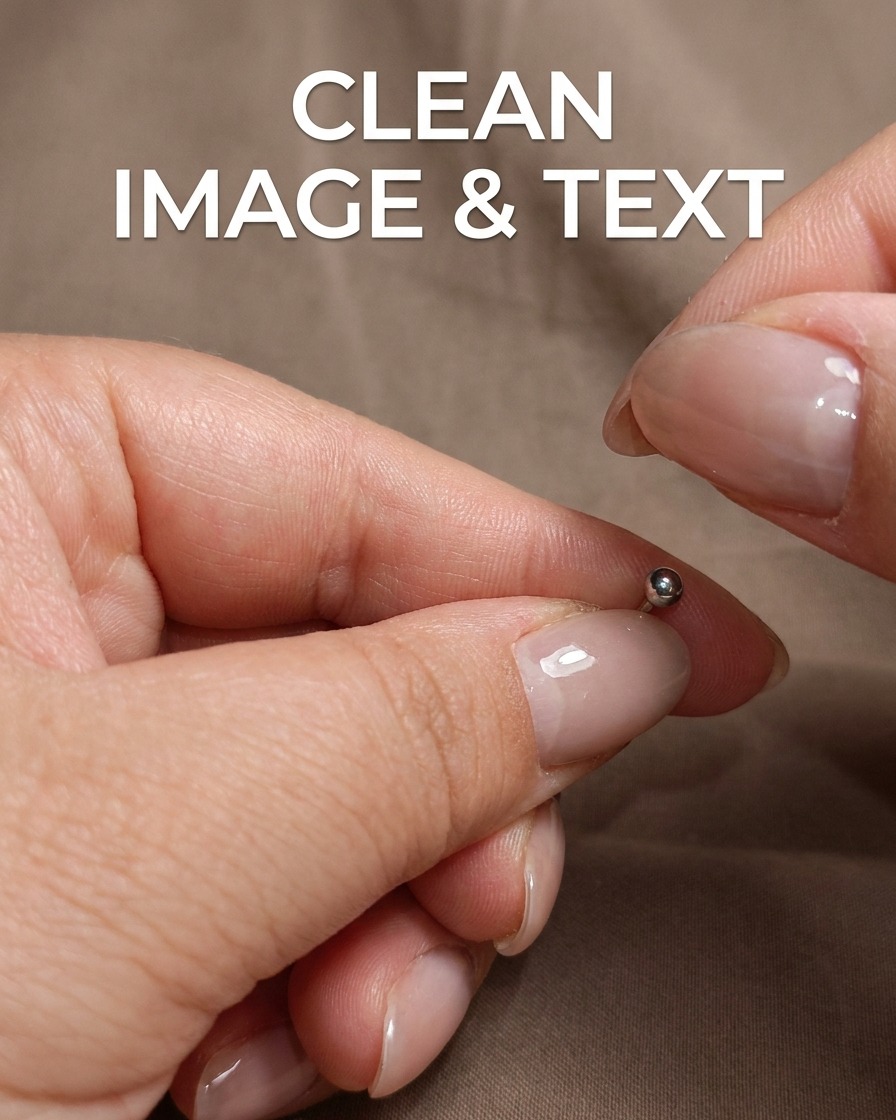
Perform one final, light pass with the sponge to perfect the gradient transition. Ensure the white color is concentrated at the tip and fades naturally into the nude pink base.
Tip: If the gradient looks patchy, a final light tap can help even out the pigments. - 6Apply no-wipe top coat
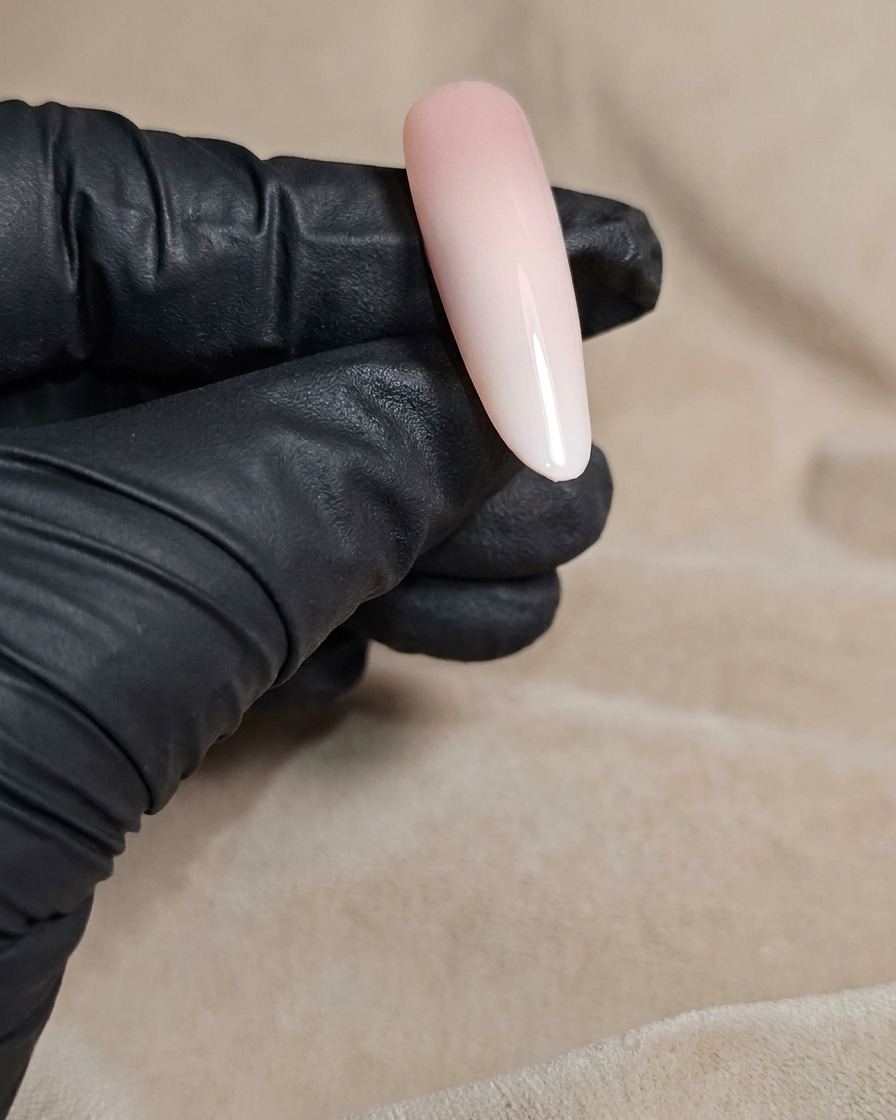
Apply a layer of no-wipe top coat over the finished gradient. This will smooth out any texture created by the sponge and prepare the surface for the chrome application.
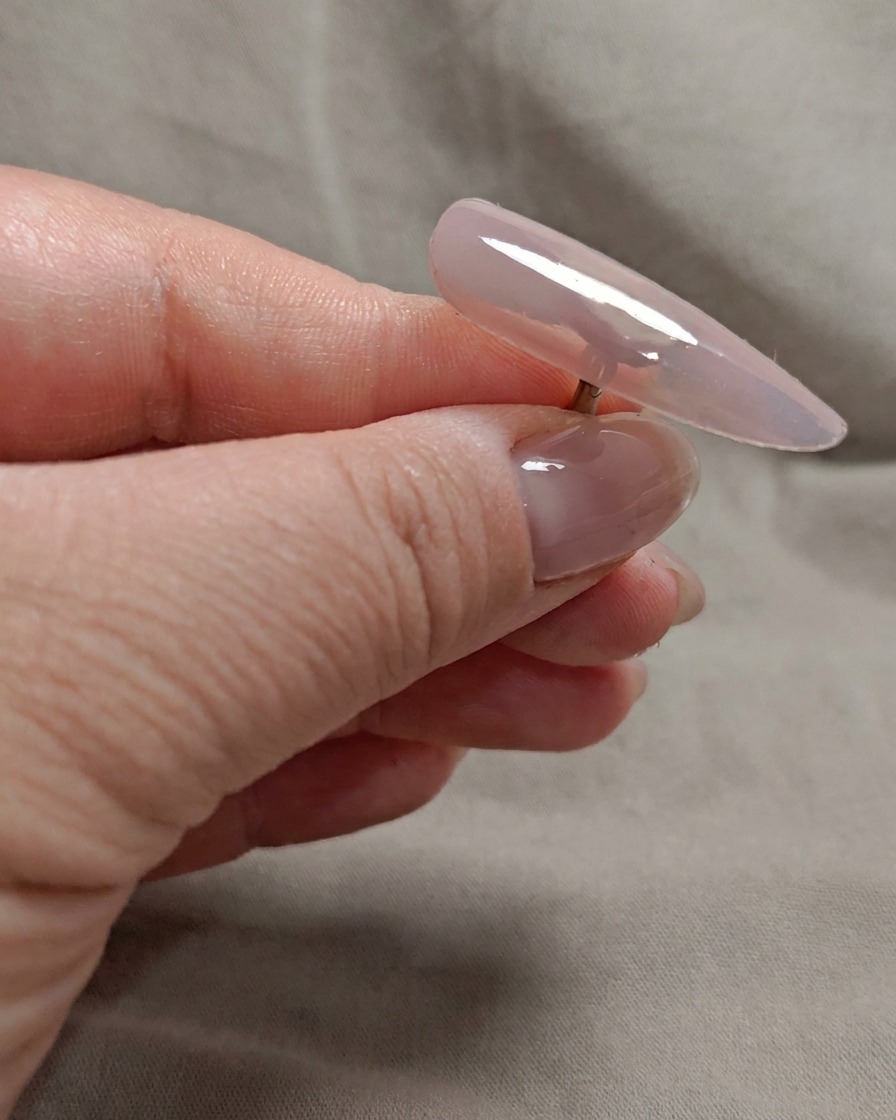
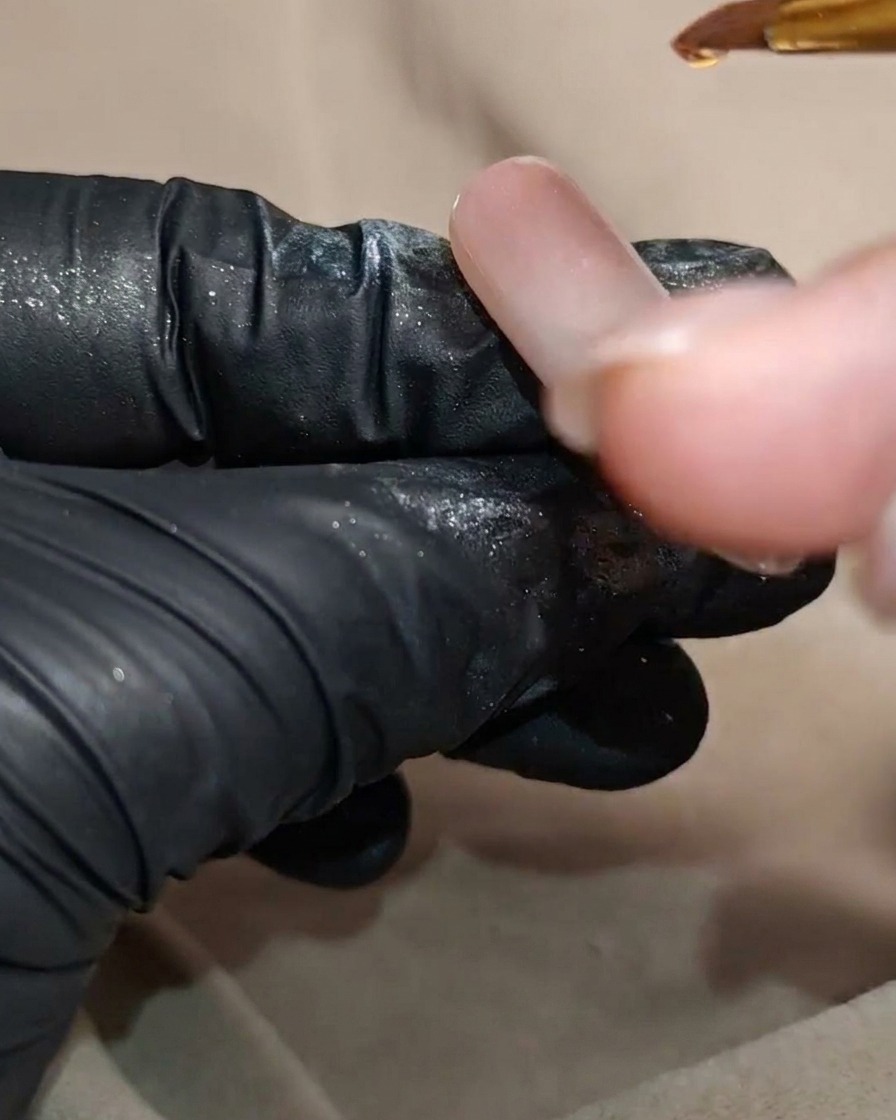
Tip: Ensure the surface is fully covered for a smooth, high-gloss finish. - 7Apply white chrome powder
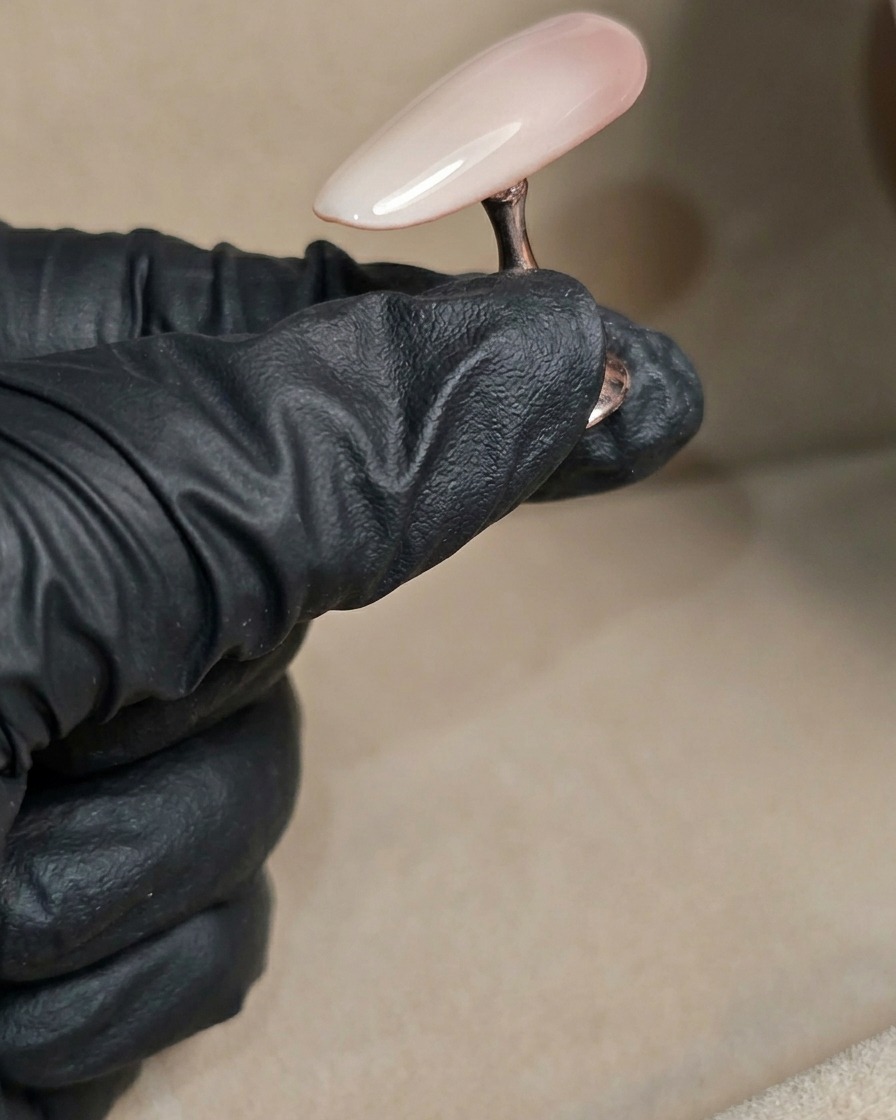
Using a sponge applicator or your fingertip, gently rub the white chrome powder over the cured top coat surface. Ensure even coverage to achieve that smooth, mirror-like effect. Carefully dust off any excess powder from the surrounding skin before proceeding to the next step.
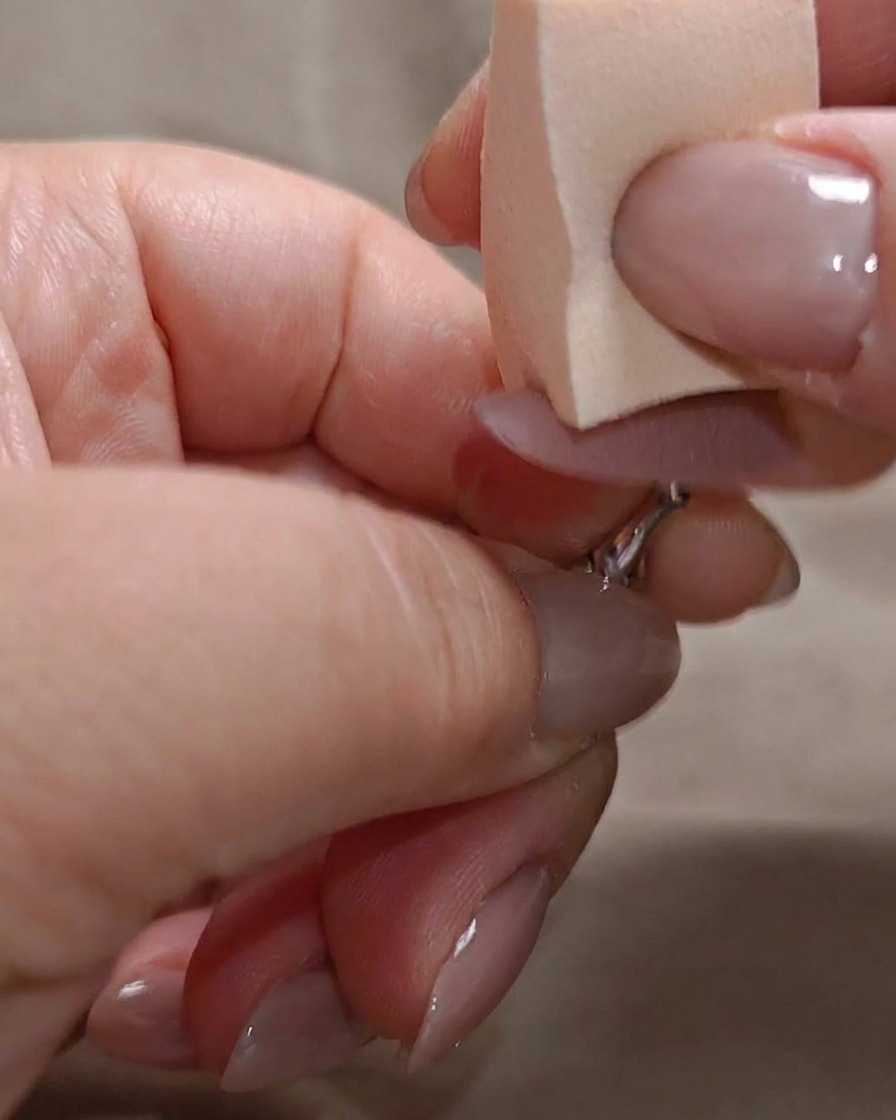
Tip: For the smoothest finish, ensure your base layer is completely cured and smooth before applying the chrome. - 8Refine nail edges
Using a fine-grit nail file, gently file the sides and the free edge of the nail tip. This helps refine the shape and smooth out any edges where product might have pooled. Cleaning up these areas ensures a crisp look and prevents the finish from chipping.
Tip: Use a light touch to avoid removing too much product while shaping. - 9Seal edges with base gel
Apply a thin layer of base gel specifically around the edges of the nail. This step seals the chrome and edges to enhance durability and prevent premature lifting. Cure briefly if necessary to lock the seal in place.
Tip: Applying base gel over the filed edges helps protect the manicure and keeps it looking fresh longer.